
Elite Forces 1/18 F6F Hellcat Part 4 - Center Wing Section
By Rodney Williams
We begin this building segment with 19 images. Like my previous stories I have written some data on the photos.
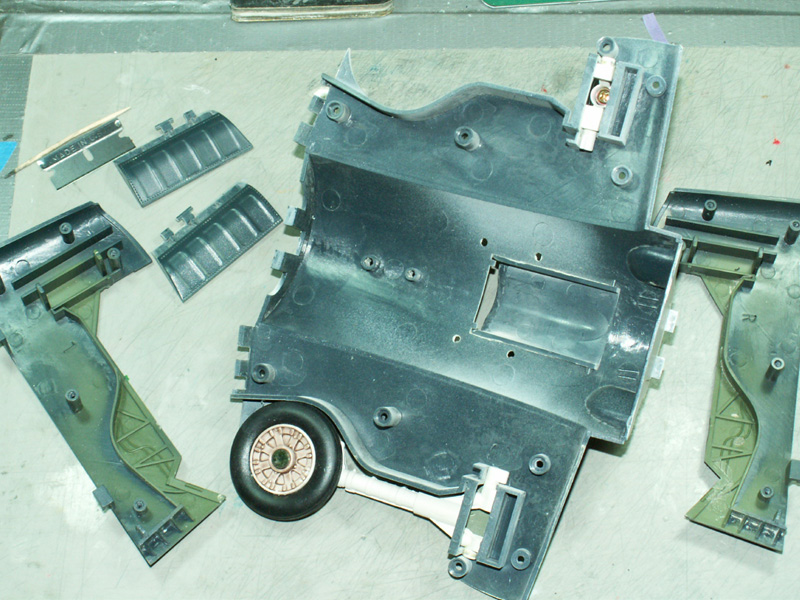
If you regress to the story on the landing gears, it helps refresh your memory as I show a few things about this so called center wing section.
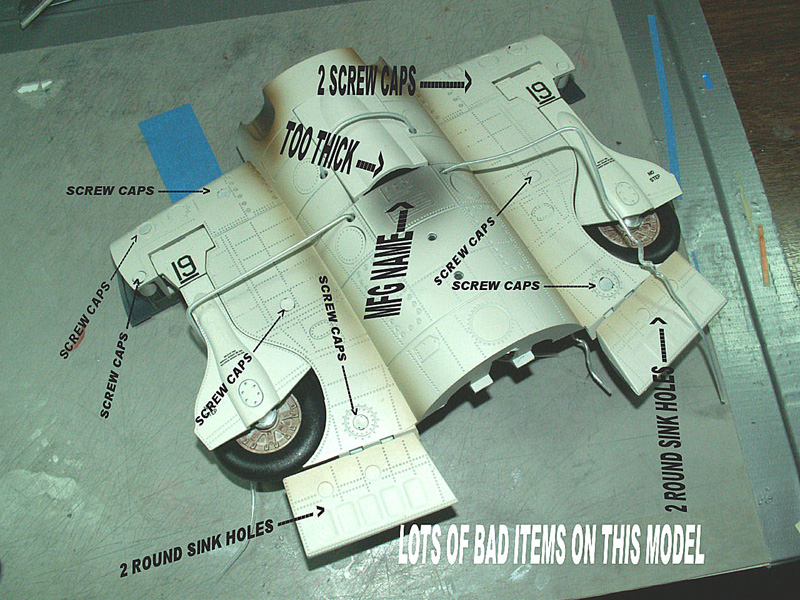
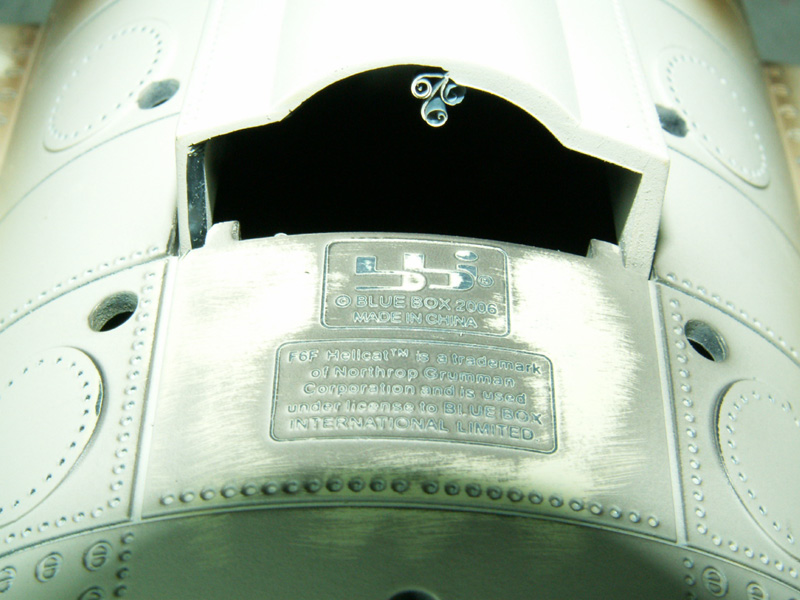
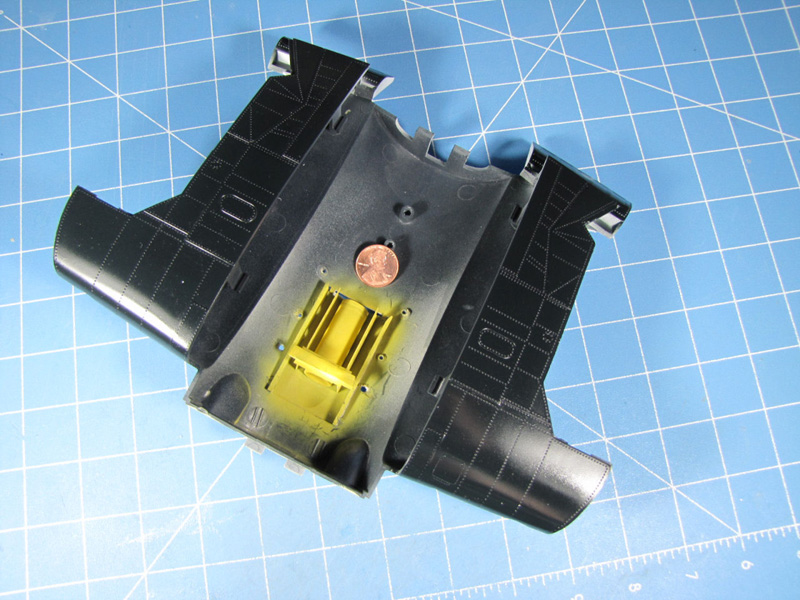
My first photo shows the bottom of the center wing section with lots of words written on it before I began revising it and the landing gears.
An American expression: this model sure "takes the cake" for screw ups.
I have built over 130 models in the last 30 years and this one tops them all.
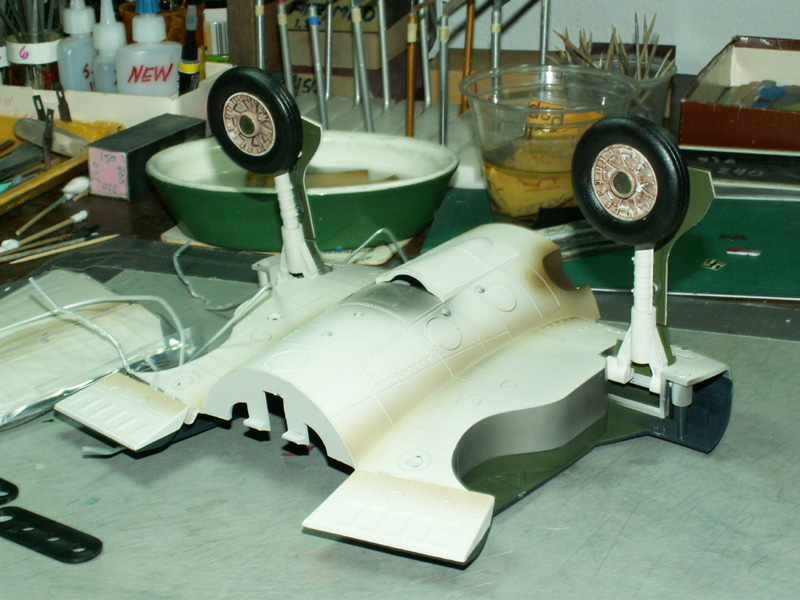
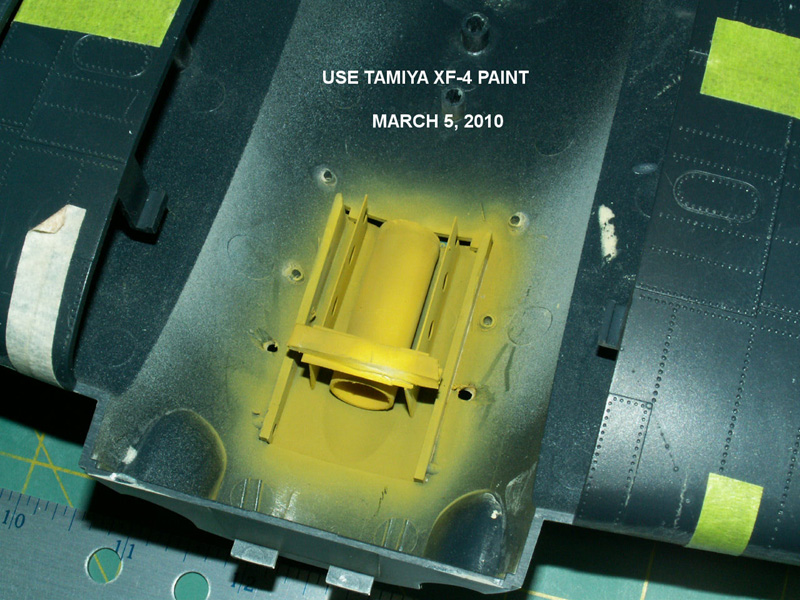
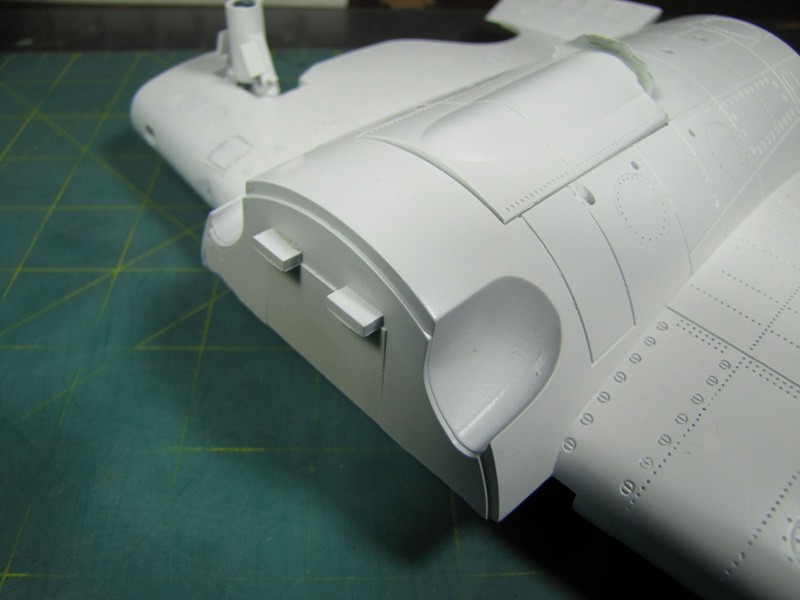
I used some styrene tubing and built in the round exit vent tube just like I did on my clients 1:32 scale F6F-3 (photo's #7 and #8).
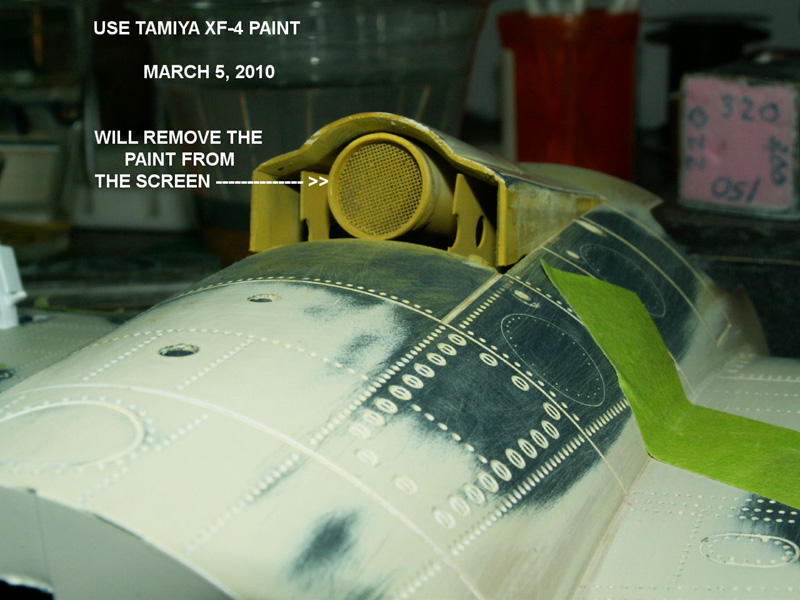
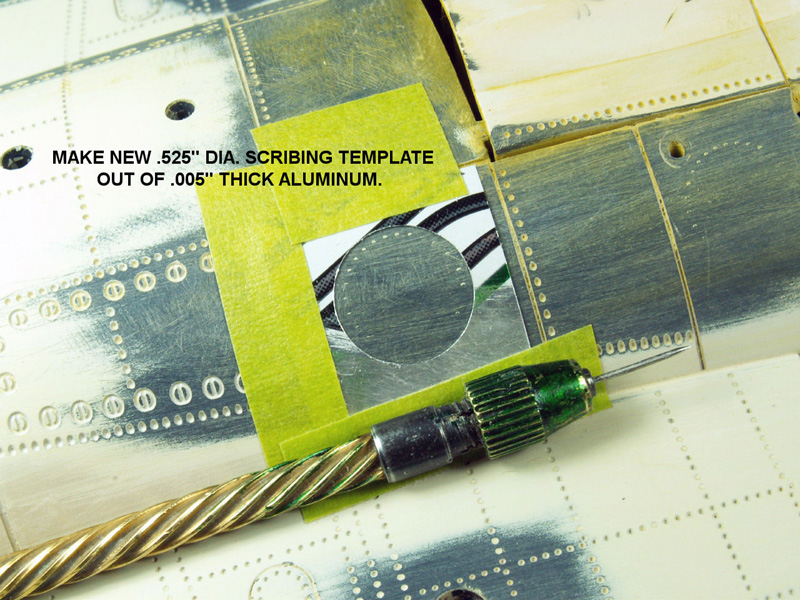
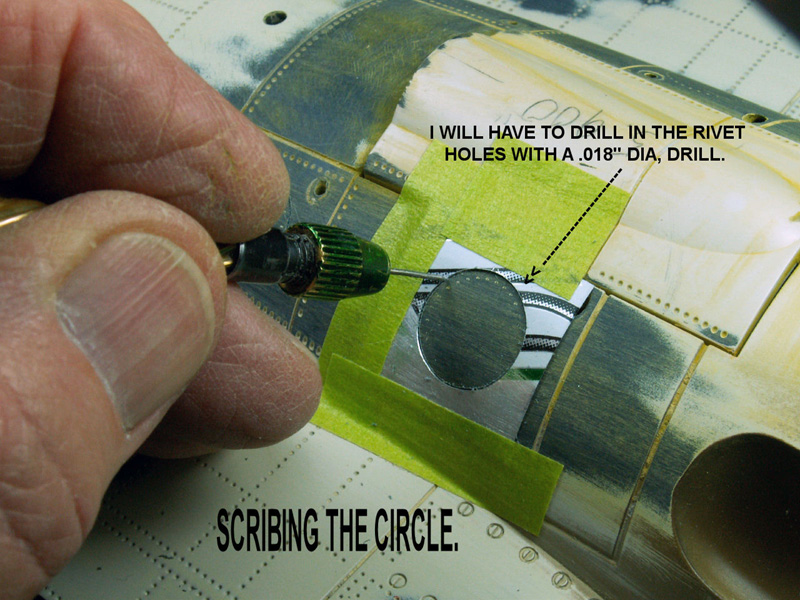
I had to make my own scribing templates by using cola can aluminum. In fact I posted a story on this site year's ago. Its' titled is "MY TOOLS" which shows you how to make them. I think the story is under the "TIPS" section.
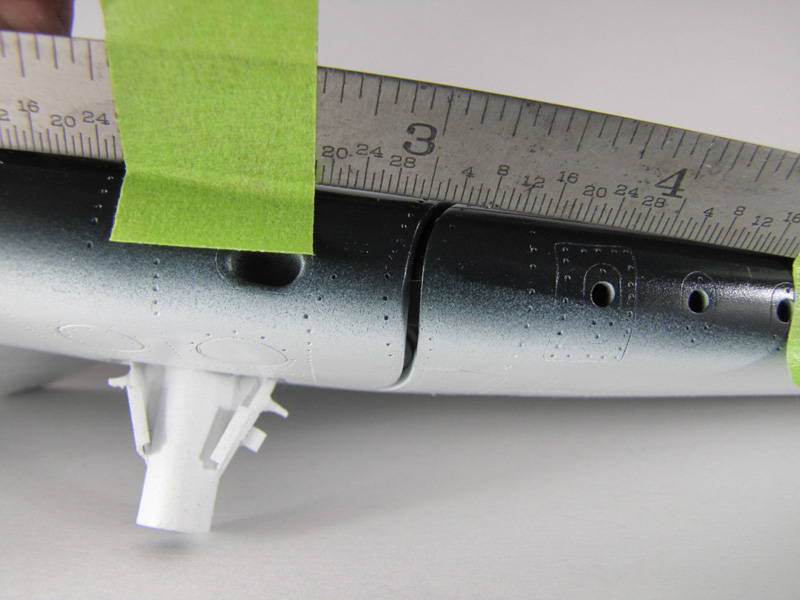
I taped the fuselage together then dry fit in the finished center section. The front has a couple of tabs that fit up inside the back end of the cowling. There are two tabs on the back of the center section which more-or-less snaps into the mid section of the fuselage. I noted that once you snap this together, you can not get it apart.
I plan on cutting these tabs off so that I can align the section properly to the fuselage then glue it.
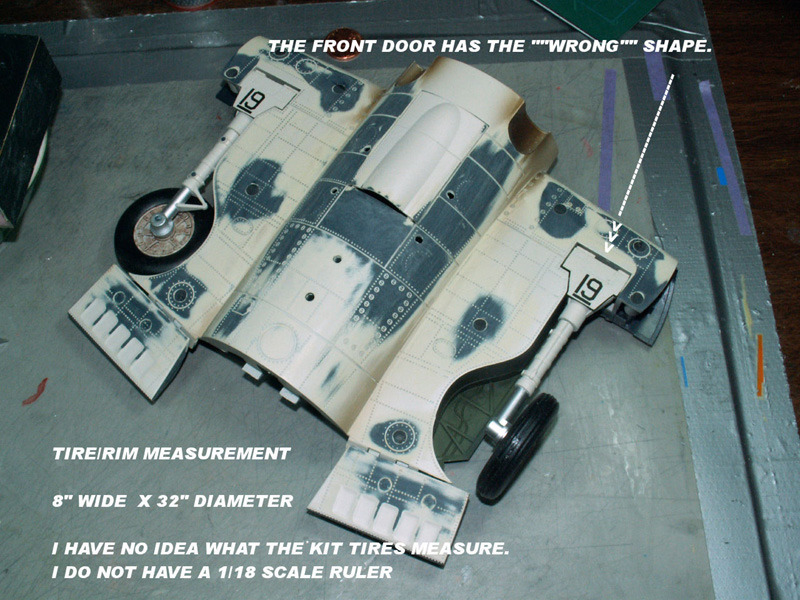
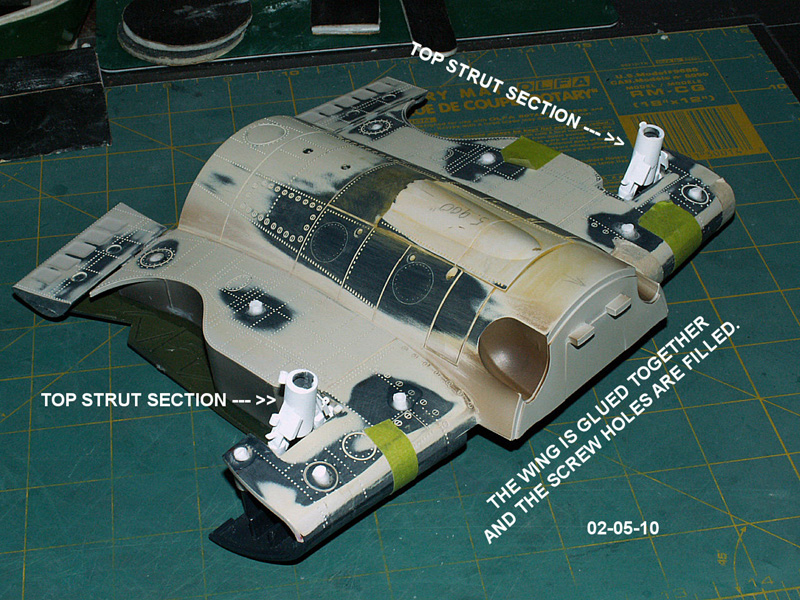
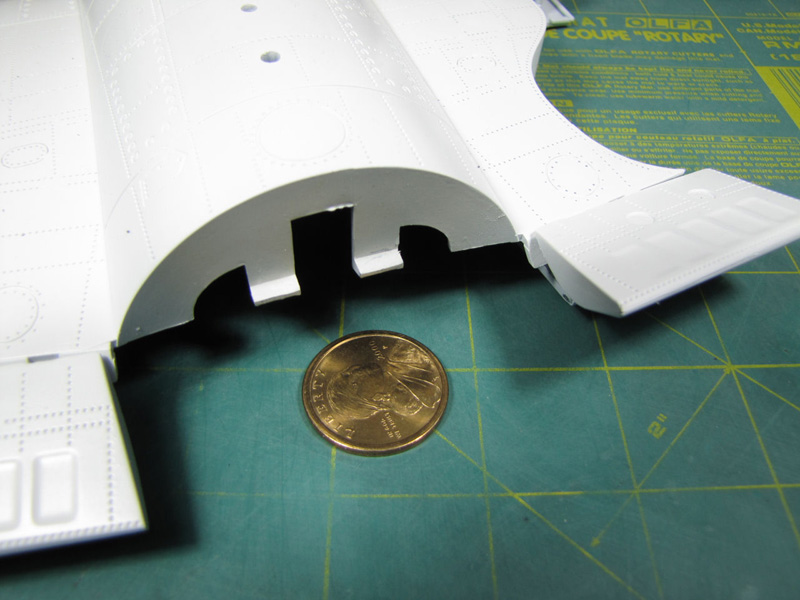
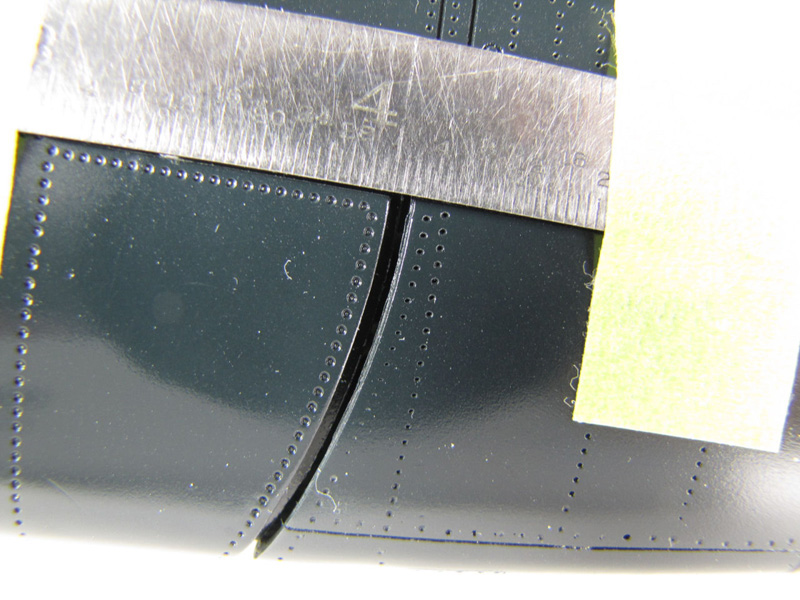
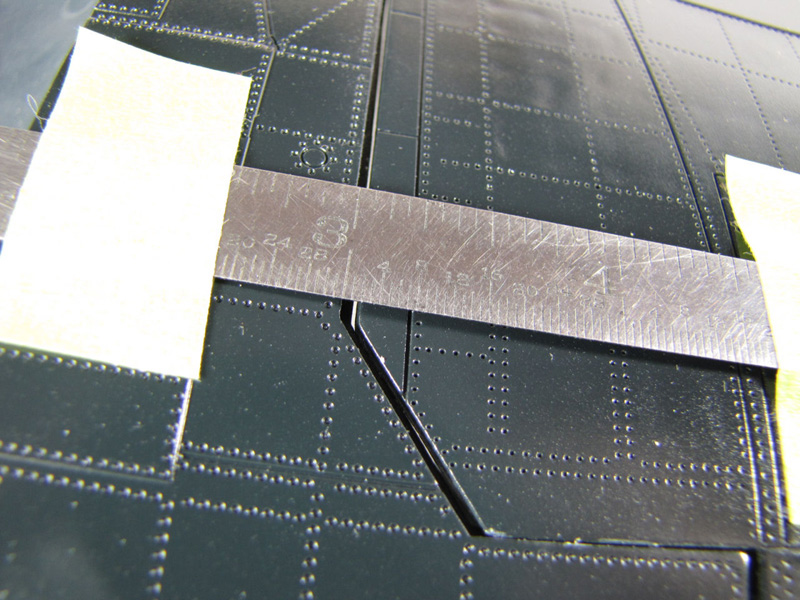
Both of the outer wing panels are finished so I dry fitted them to the center wing section after I had cut off the same type of locking tabs. Three close-up images will let you see that there is a large gap between the two wing sections.
I sent these photos to my client and he wants me to fill up the "GAPS". That can be fixed by carefully cleaning off the paint in the wing's notched area then gluing on some .030" styrene strips.
The stories for both outer wing sections are forth coming. I have broken them down into a few segments to show how I made the wing tip lights, the insignia templates and air brushing on the colors, gun camera and the leading edge landing light.
That's it for now.
Rodney


Part 1 | Part 2 | Part 3 | Part 4 | Part 5 | Part 6 | Part 7 | Part 8 | Part 9 | Part 10 | Part 11 | Part 12 | Part 13 | Part 14 | Part 15 | Part 16 | Part 17 | Part 18 | Part 19 | Part 20 | Part 21
© Rodney Williams 2009
This article was published on Wednesday, July 20 2011; Last modified on Saturday, May 14 2016