
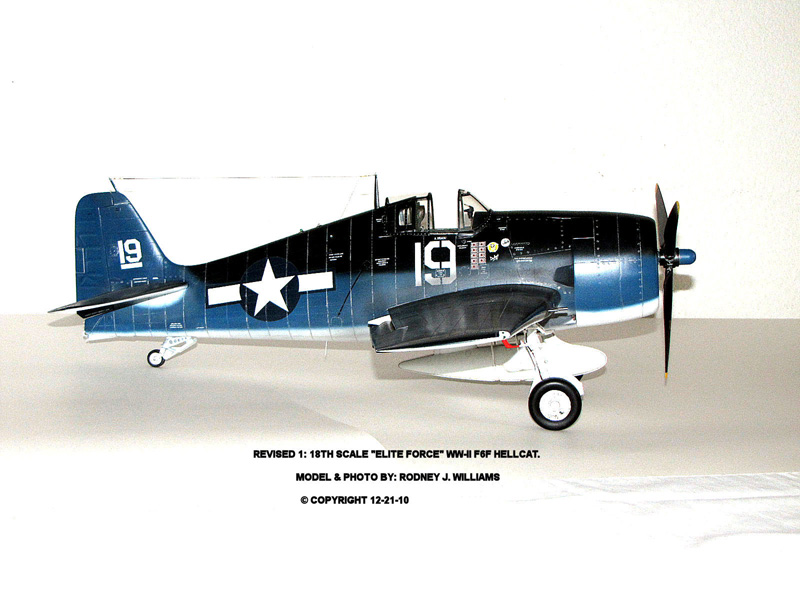
Elite Forces 1/18 F6F Hellcat Part 21 - It is finished
By Rodney Williams
In my last story you viewed the painted model and how I airbrushed on the insignias.
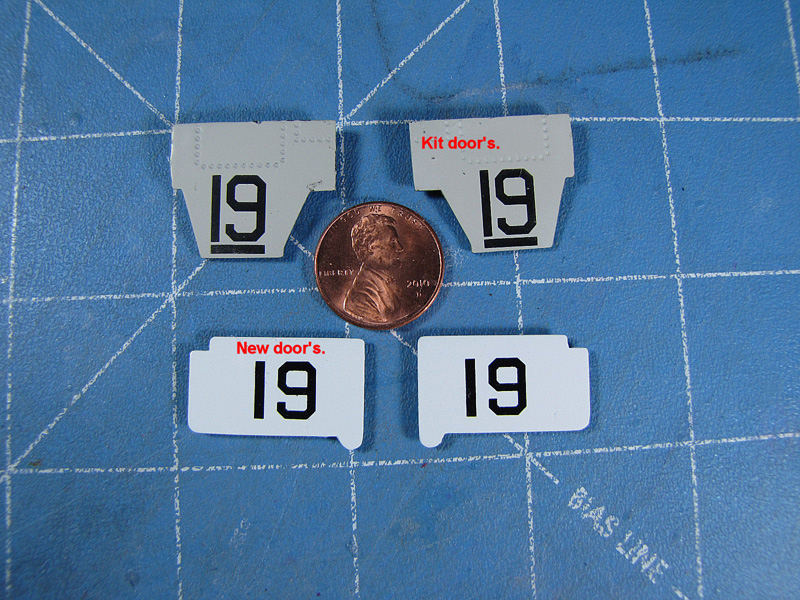
With several days of paint drying time I started to apply the stencils that my client sent to me. The company is called "DM - Custom Decals". I have used the "DM" decals before so I knew that they would go onto the model just fine. I have no idea where the company is located but I assume if you use your computer´s Search Engine you can find them.
The decals that were put on the new front doors came from my Microscale decal collection. The sheet number is 72-0026.
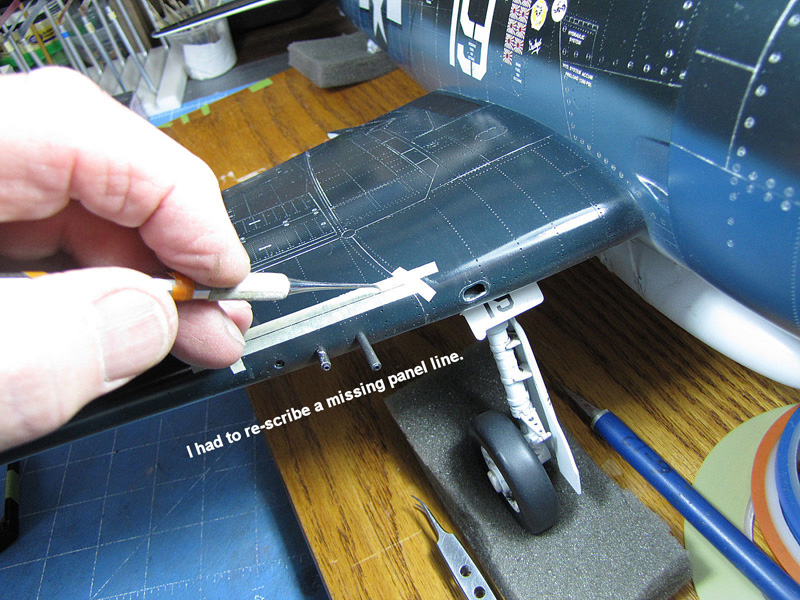
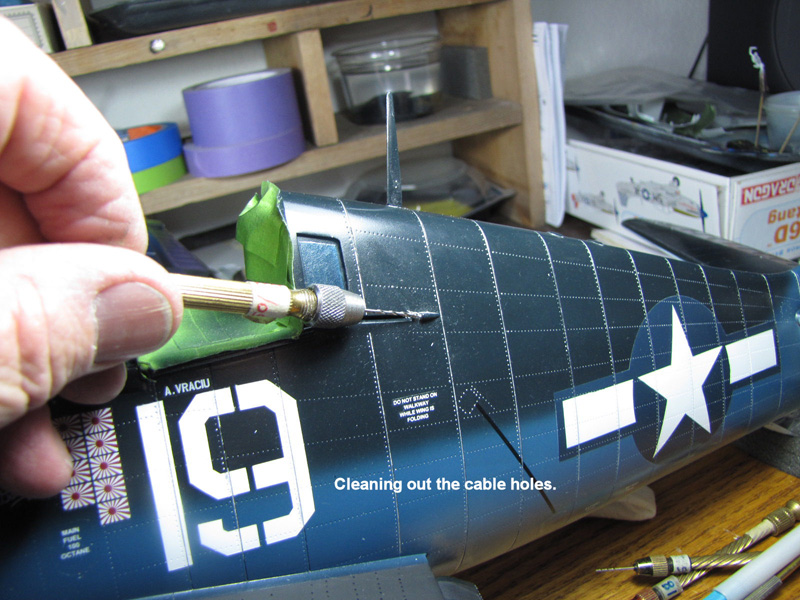
On final assembly one of the things I do is to look real close at the model and see if there is anything missing. And 97% of the time I find something like the enclosed photo showing me scribing in some missing panel lines. I have to clean out the paint that gets into some of my access holes.
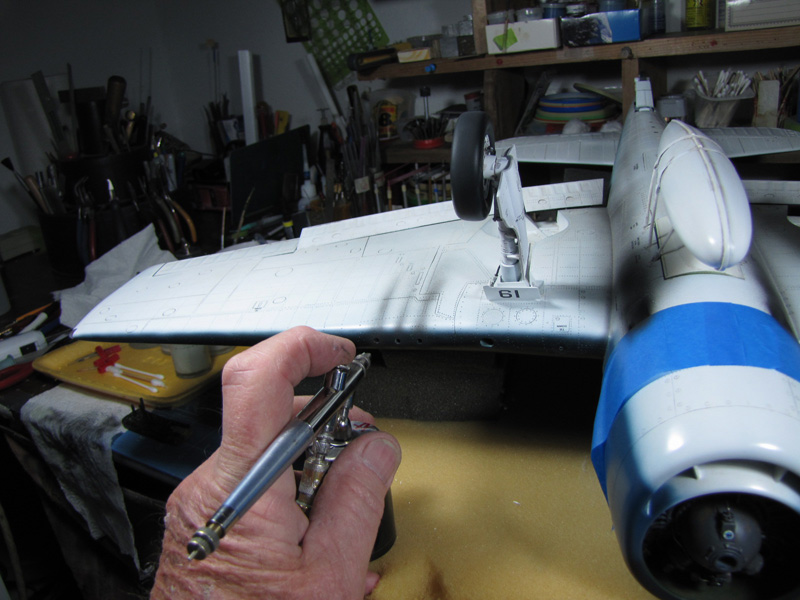
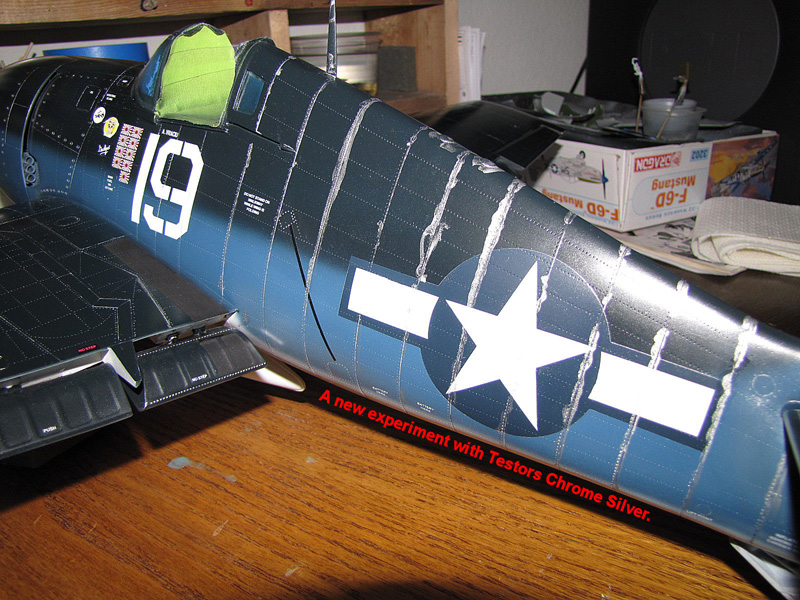
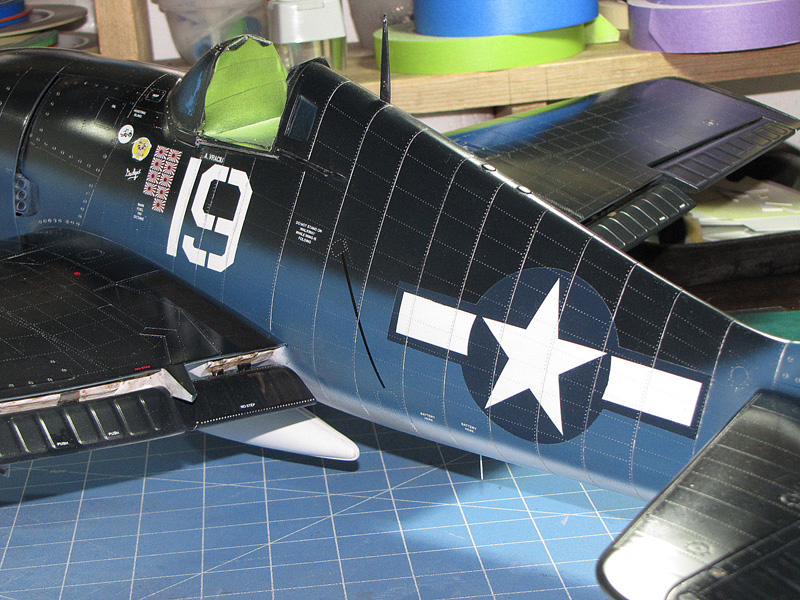
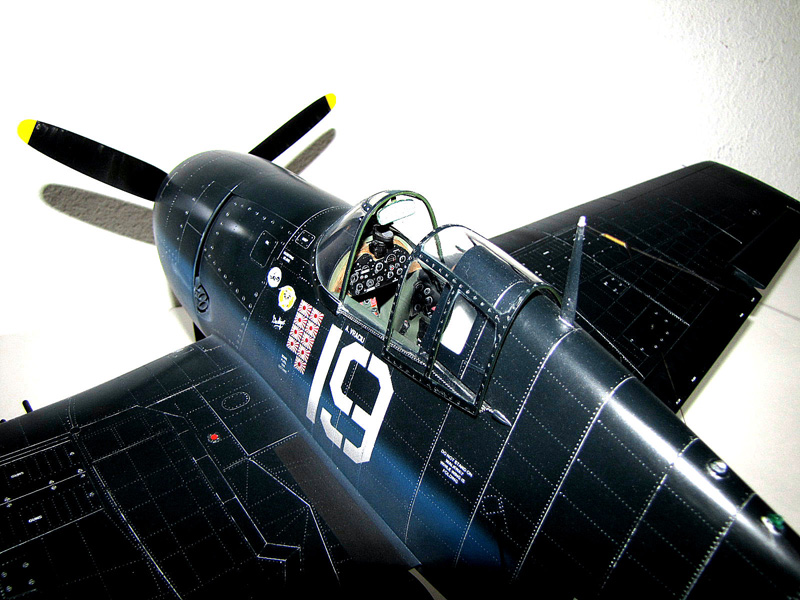
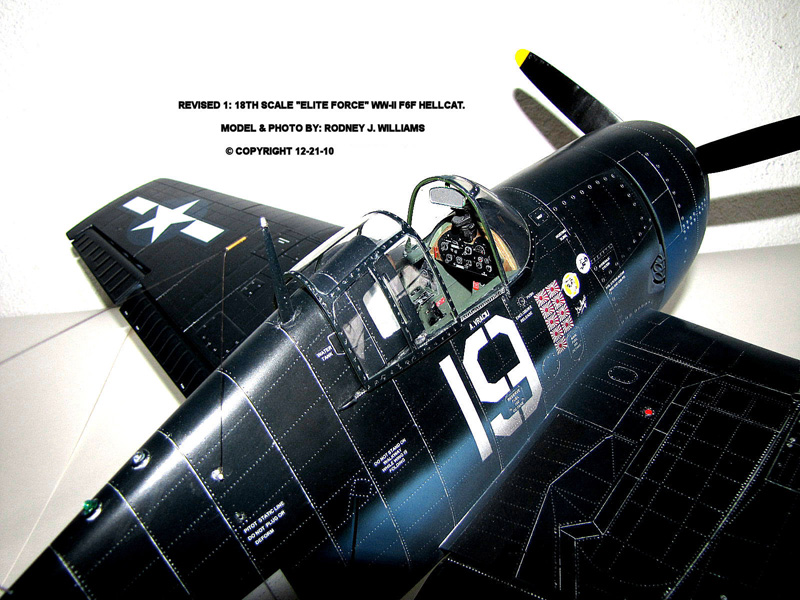
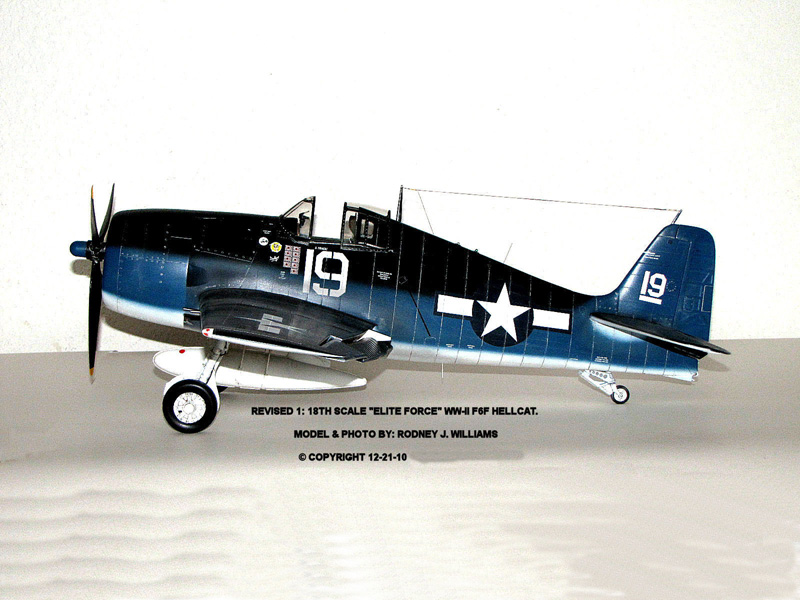
I experimented with a new application so I could "highlight" the very dark blue paint. I did a "test" on some scrap parts that were pre-painted with the same Tamiya XF-17 Sea Blue Acrylic paint which was over coated with Future Floor Wax, (FFW).
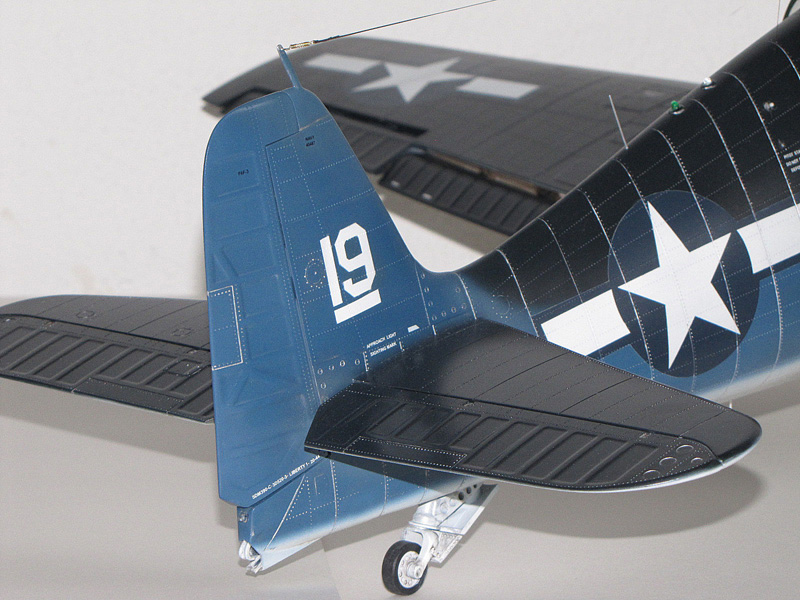
I applied some thinned-down Testors Chrome Silver paint to the panel lines and let it dry for about an hour. Next, I used "Mineral-Spirit´s" (paint thinner) on Q-tips and on small pieces of clean rag material and wiped the excess paint off the model.
The FFW coat protects the paint and the paint thinner does not remove any of the Future nor the paint, so I come out smelling like a "ROSE" as they say here in America.
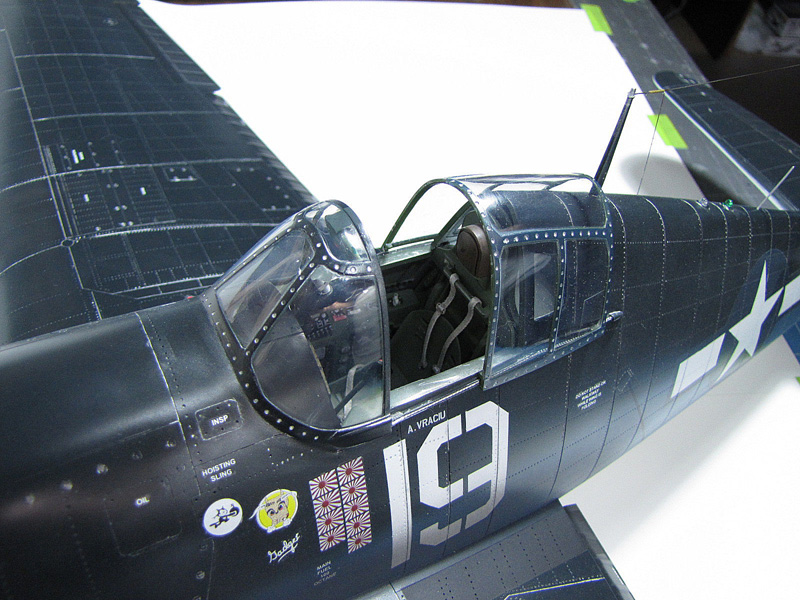
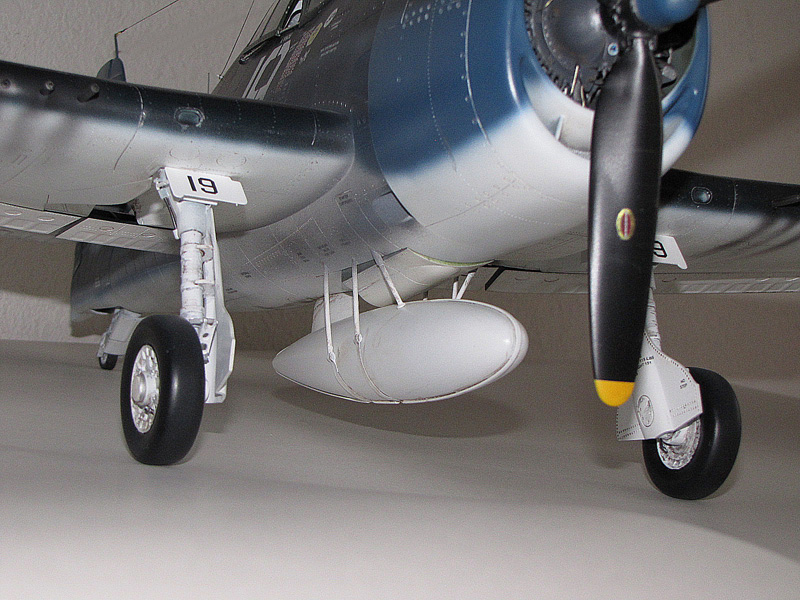
The rest of the parts were put on the model, (e.g.: drop tank and its braces, 2 whip antenna´s; gun camera lens; tail light; the tail´s tie-down bracket; the 2 top fuselage lights and the sliding canopy).
I check everything over once again and say: It´s time to attach the black human hair antenna wires and hand made tension spring. And let´s not forget the propeller.
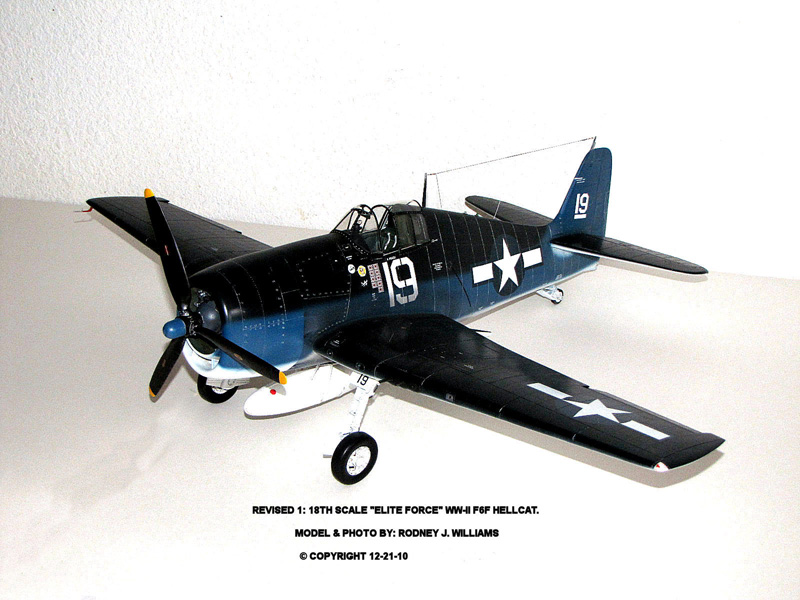
Now it´s time to take the photos of the finished model. My work bench table doubles for my photo studio, but my white paper back ground is too small. I use a white sheet on our dining room table and push it up to the white textured wall. The sheet is a bit wrinkled but I take the photos anyways. I see other models on the web sites with wrinkle up backgrounds so I guess I can do it too.
In closing up this "long" model project I hope that you have enjoyed everything. If you have learned anything from this event, this will make me happy as that is why I write "how-to" stories.
My work log says that I spent 551 hours rebuilding this model. This does not include taking almost 3,500 photos with my new digital camera, or downloading them to my P.C. These hours do not include a few dozen more hours that I spent on writing all of these stories; however this is the fun part of the job.
I have mentioned my 1:32 scale F6F-3 model during this episode and someone wrote and ask me to post it on this site. It was posted on Skywriters site back in 2000 however the photos were much smaller in those days. I´ll contact the managers on LSP and see if it´s OK. If so I can show how I scratch built the cockpit with 214 hand made parts, including full blown scratch-built wheel wells and landing gears.

Part 1 | Part 2 | Part 3 | Part 4 | Part 5 | Part 6 | Part 7 | Part 8 | Part 9 | Part 10 | Part 11 | Part 12 | Part 13 | Part 14 | Part 15 | Part 16 | Part 17 | Part 18 | Part 19 | Part 20 | Part 21
© Rodney Williams 2010
This article was published on Wednesday, July 20 2011; Last modified on Saturday, May 14 2016