
Elite Forces 1/18 F6F Hellcat Part 3 - The Drop Tank
By Rodney Williams
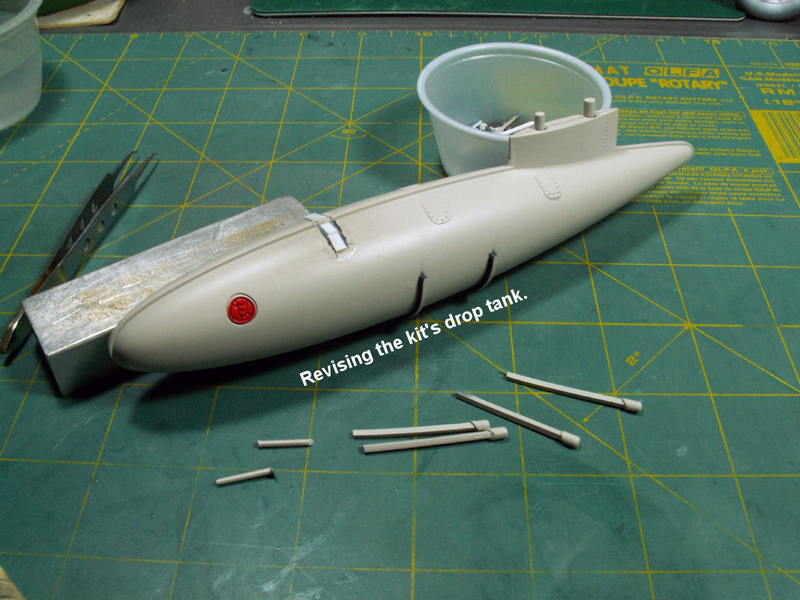
This drop tank had two "half moon" tank straps which slipped up inside the bottom of the tank and had square-like rods that you pushed up into the bottom of the fuselage.
I just rough sanded these half moon items, including the slots that were in the bottom of the tank then super glued in these items and cut off the square posts, (see photo number one).
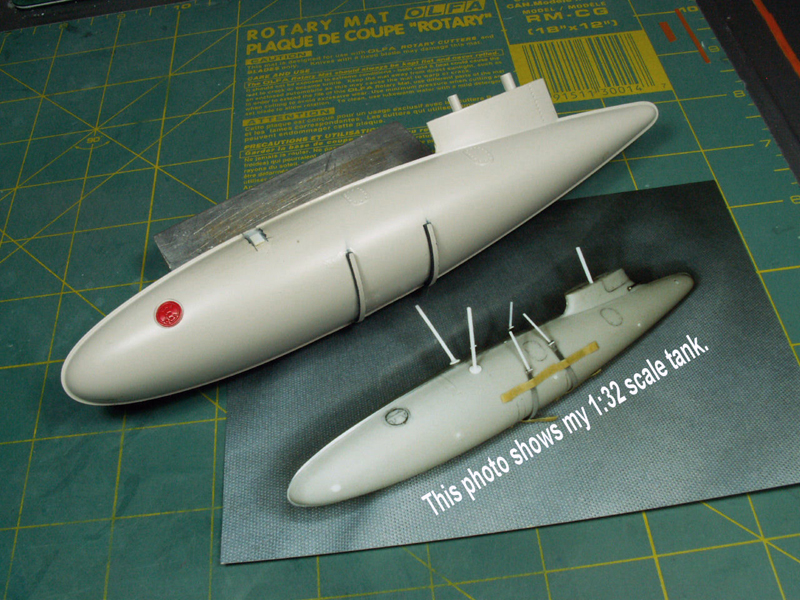
My second photo shows the kit&s tank and a photo of my 1:32 scale F6F-3 tank that I built way back in 1999.
I misted on some white paint then sanded it off so that I could find any flaws in the tank. As always there were some minor flaws that were fixed.
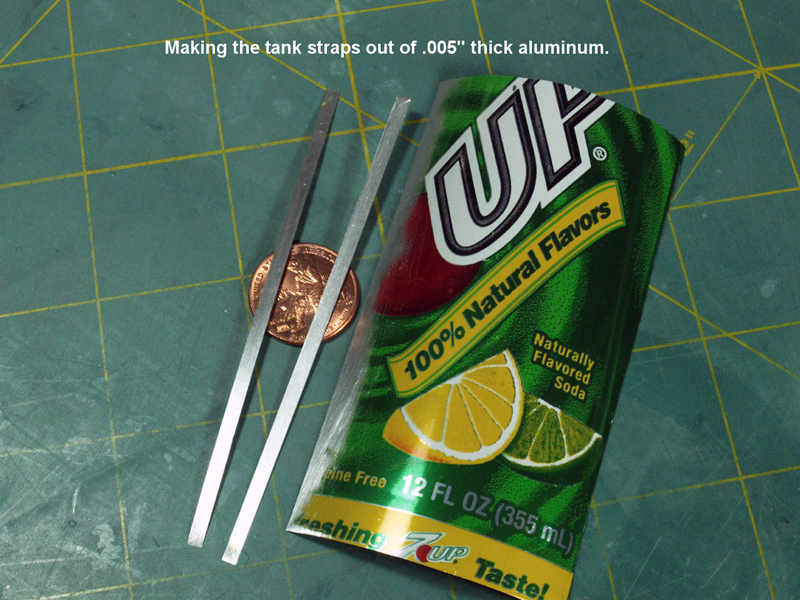
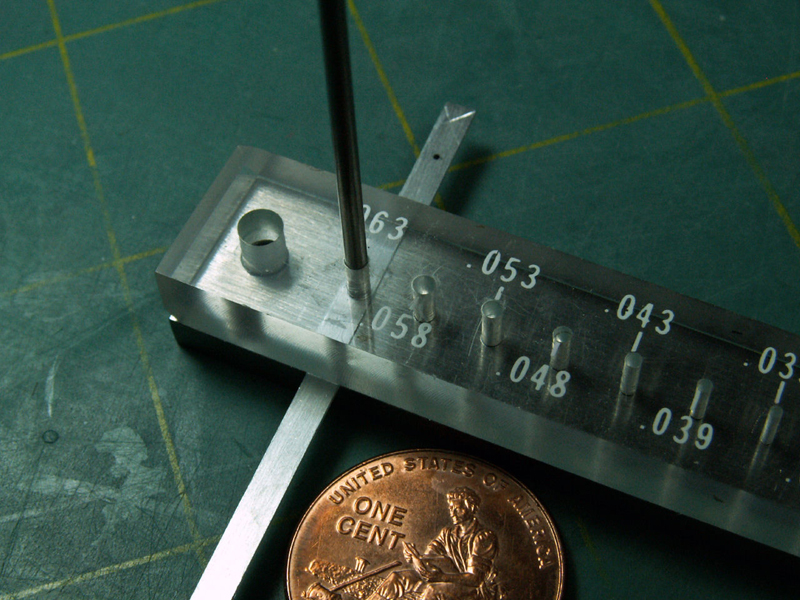
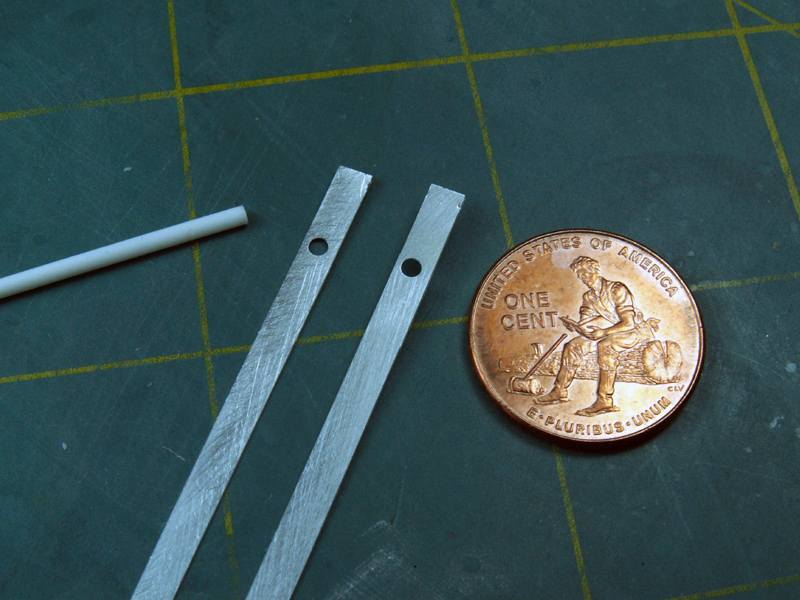
I looked at a few of my 1:32 scale tank photos then just cut the tank straps out of .005" thick aluminum then punched in some .063" diameter holes into the straps.
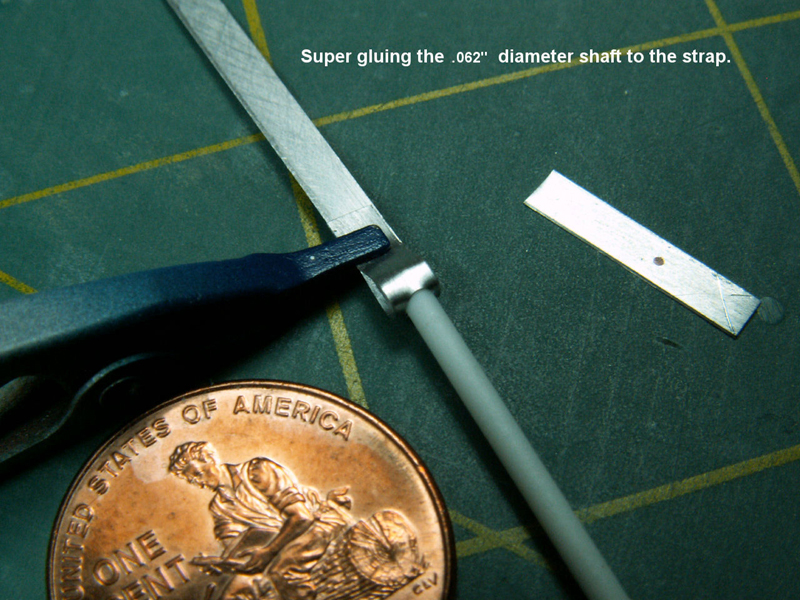
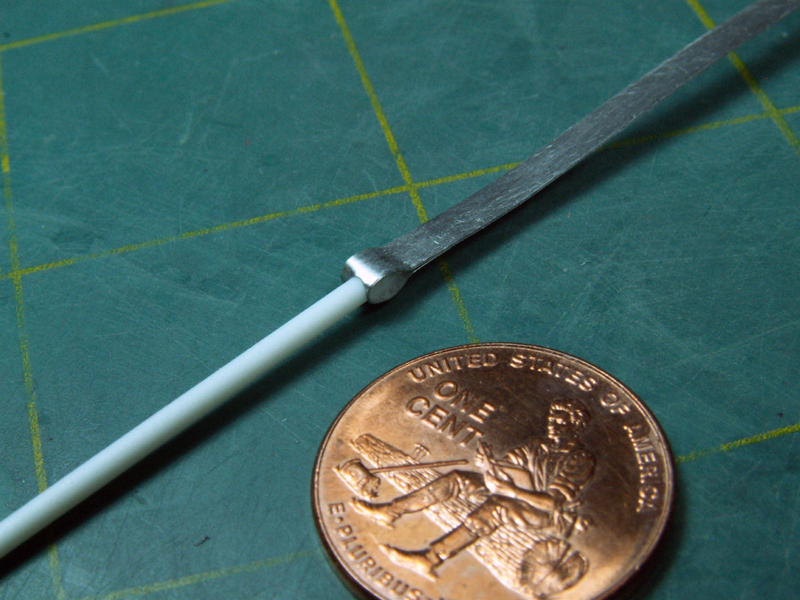
The round styrene rods were placed into the holes then the aluminum was carefully bent around the rods and held in place with some small spring tension clamps. They were super glued together.
WARNING: Metal like the aluminum has to be sanded before you glue it together. Then you must take care of these finished parts as the super glue will break loose very easy...some practice is definitely in order.
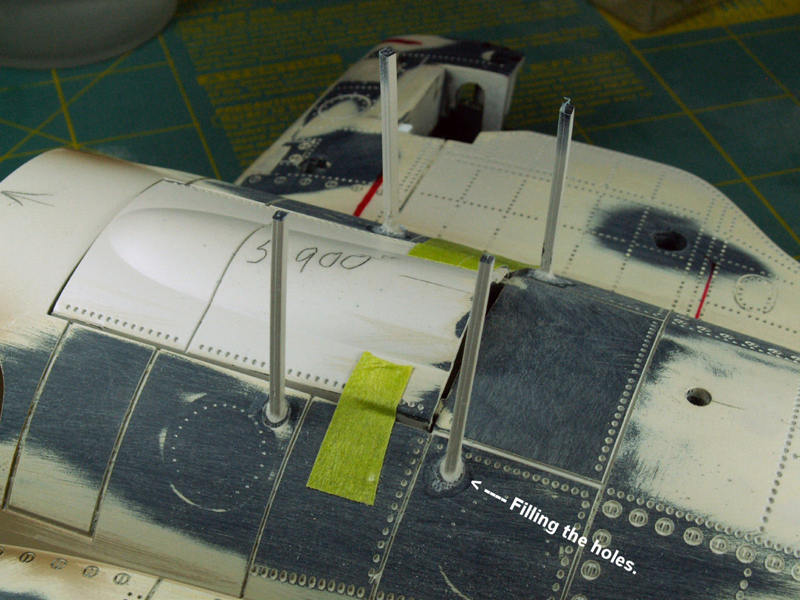
The square holes in the fuselage were filled in with scrap plastic and sanded flush then I drilled in new .062" diameter holes.
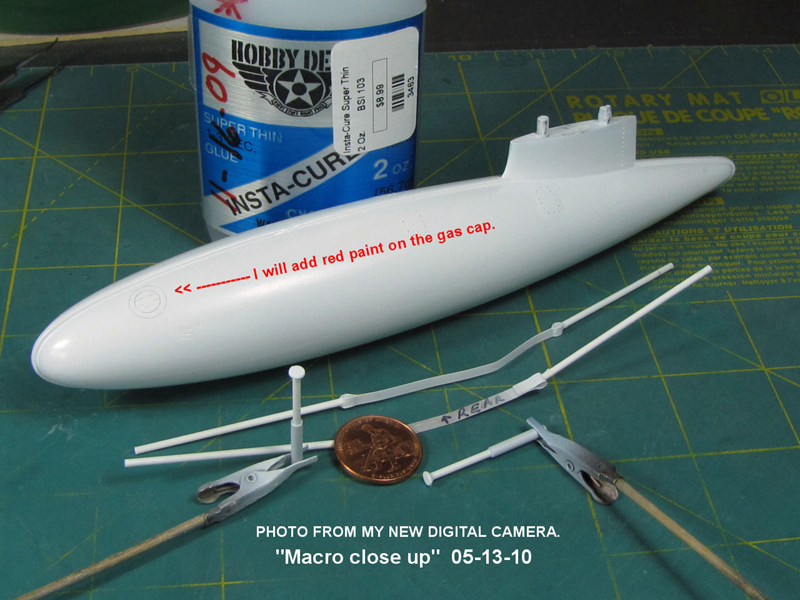
The tank kit did not have the two sway braces so it was scratch-building time for these items. This was a real hard job !!! I took some .062" diameter white styrene rods and glued the ends to some pre made disks. The disks were .120" diameter by .020"thick. I used my Waldron punch and die set to punch out the disks.
There were several access panels on the tank that were raised up about 1/16 of an inch. I felt that they were a bit out of scale so I sanded then down to bare minimum.
The gas filler cap seems to be in the wrong place so I relocated it to match some other real tank photos. My photo shows a screw-up by me, so I filled it in, and started over.
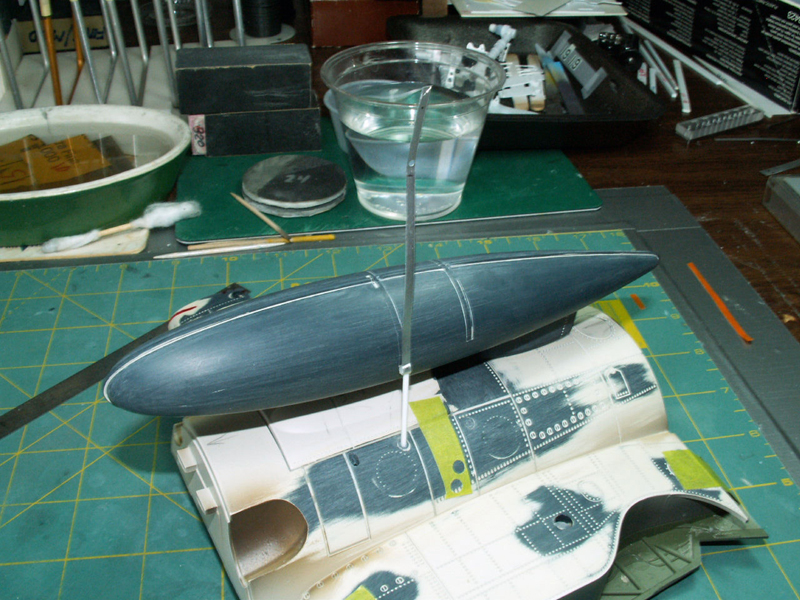
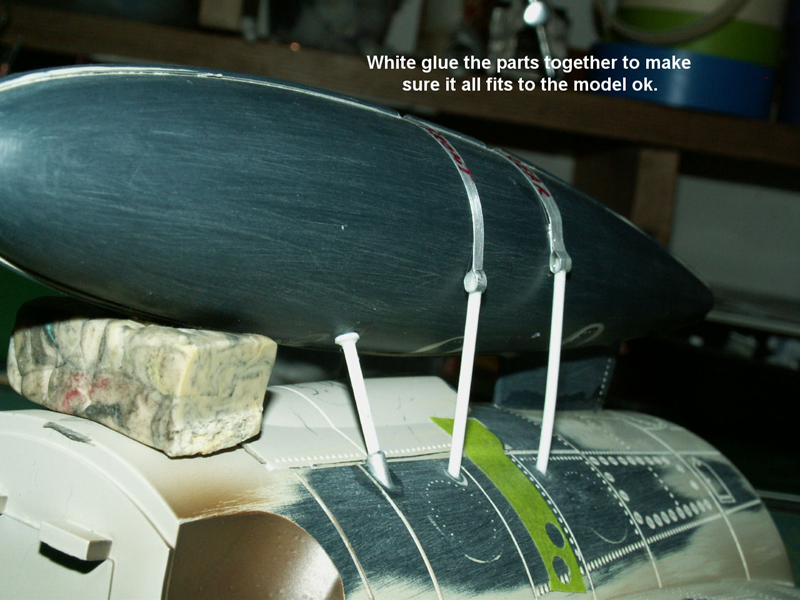
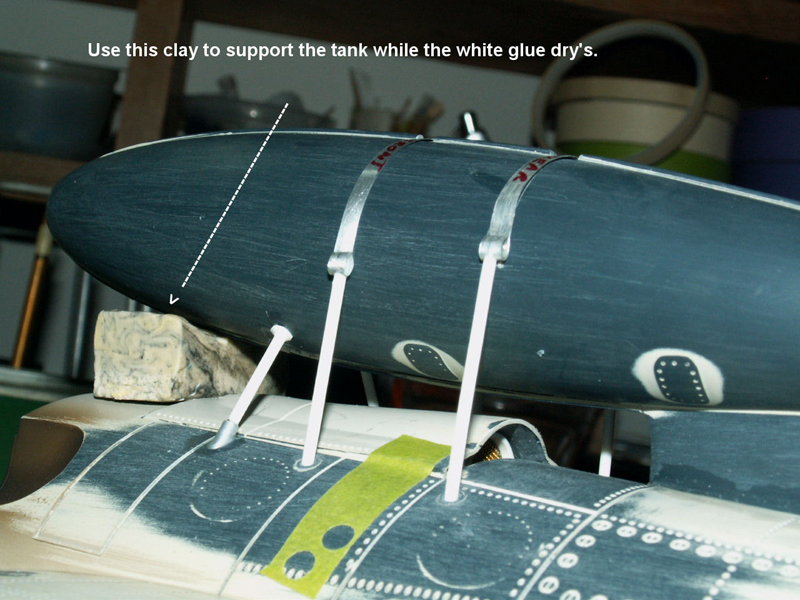
After I think I had everything re-built right I put it all together using white glue and made sure it all fit nicely and looked RIGHT.
Study the enclosed photos and have fun building your models.
Check back in a few weeks so you can read my next segment..."The Wing."


Part 1 | Part 2 | Part 3 | Part 4 | Part 5 | Part 6 | Part 7 | Part 8 | Part 9 | Part 10 | Part 11 | Part 12 | Part 13 | Part 14 | Part 15 | Part 16 | Part 17 | Part 18 | Part 19 | Part 20 | Part 21
© Rodney Williams 2009
This article was published on Wednesday, July 20 2011; Last modified on Saturday, May 14 2016