
21st Century Toys P-38J-15-LO “Lucky Lady” in 1/18 Scale – Part 8
By Jay Wheaton
Welcome back to this final installment on the Lucky Lady P-38 build. The only items not complete at this point were the outer wings, and boy I was seeing the finish line! I wanted to just knock them out, but there was too much to do to get them right. What were the problems? First, the ailerons looked awful and needed to be replaced. Not only did they look awful, but they were not the right size. The span was OK, but the chord was too short. Second, absence of tip lights, landing light, and pitot mast. Third, the lower surfaces had molded-in representations of dive brakes which are not effective on the J-15 (came later). And fourth, the fuel filler cap was unrealistic (like all the others). The solutions – make new scratch built ailerons and new wing cutouts for them with a local spar, make new scratch built tip lights, landing light, and pitot mast, just leave the dive brakes alone, and add new fuel filler caps same as the other four places on the inner wing. I will explain all this.
So the wing halves came apart and like usual great care was taken to not harm the parts or the hands/fingers:
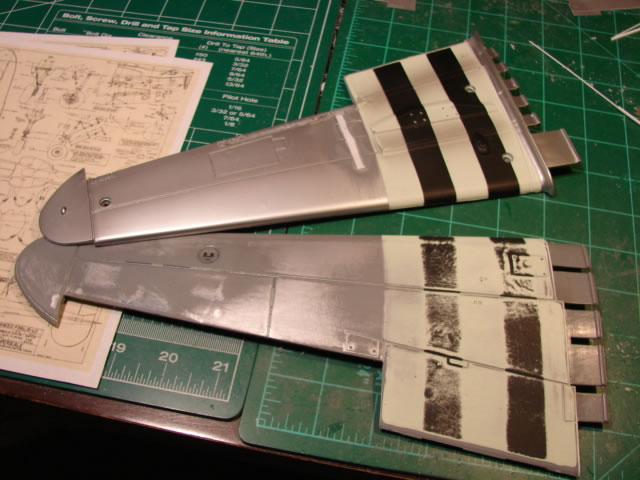
What you see there is a new enlarged cutout for the aileron and some more miscellaneous clean-up work. That white strip is filler material for the HVAR rocket tree that came with the original toy (Lucky Lady didn’t have rockets).
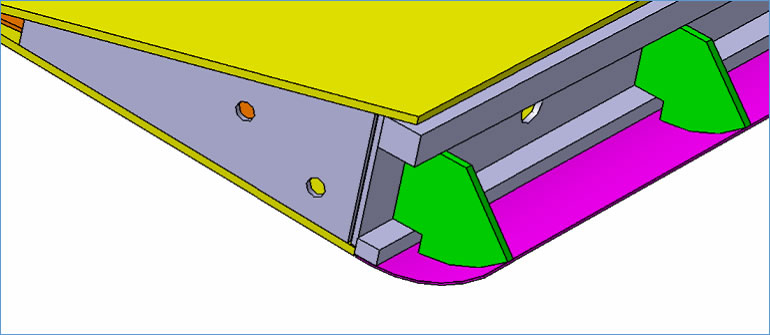
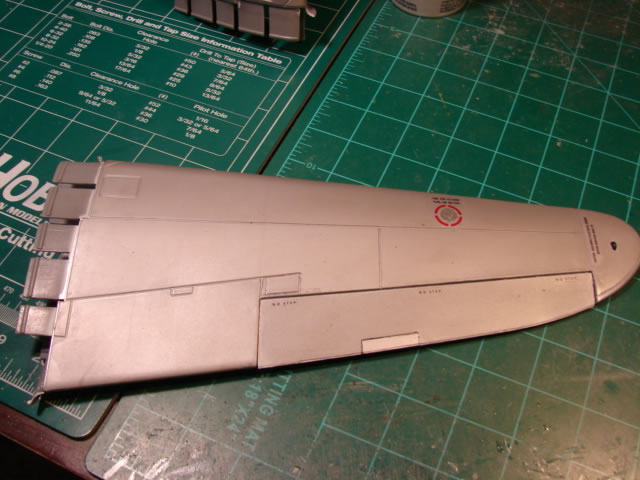
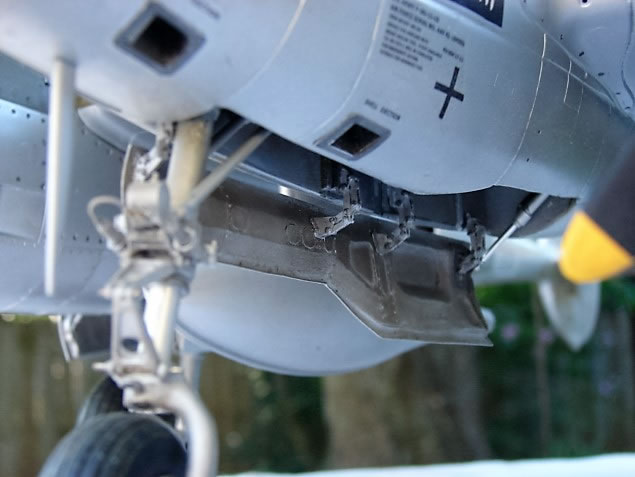
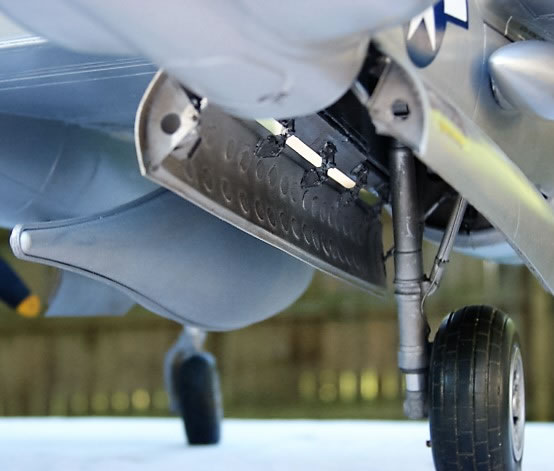
Here is the dive flap; note it is molded into the wing itself:
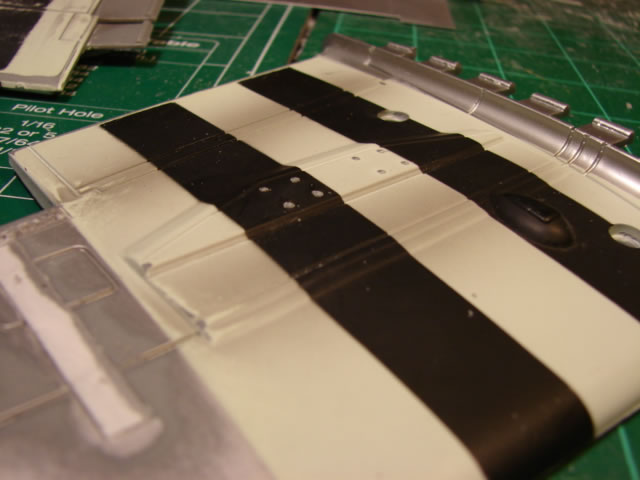

Dive flaps you ask? As I understand it, P-38s had a real fatal flaw early on. The aircraft would go into a compressibility mode during a dive, so much so that the pilot could not get out of it, often resulting in the dive continuing right to ground. Other aircraft exhibited this phenomenon, but not as severe. Enemy pilots learned of this limitation, and took great advantage of it by diving away if they lost the advantage in a dogfight or were attacked. A relatively easy getaway. It was learned later on in the P-38’s development that dive flaps under the wing would modify the flow around the wings, and horizontal tail, and allow the pilot to pull out of the dive. The change was quickly incorporated into the production line with late J-models and subsequent, and was eventually retrofitted to some earlier models in the field. This must have been a most unwelcome surprise for the enemy. I have reason to believe Lucky Lady didn’t get the mod. The reason I decided to do nothing with the dive flaps is that to remove them would have destroyed the structural integrity of the outer wing. You can see in the picture of the inner surface. To grind or sand the flap off would have left a huge hole in the wing lower surface right where it attaches to the boom. I didn’t like it, but that’s how it is – she has dive flaps.
The ailerons on the toy were separate parts – good. But they were very poorly represented and were too short in the chord. I would make new accurately sized ailerons, and attach them permanently to the wing (no rotating). Here is an original aileron (to be tossed):
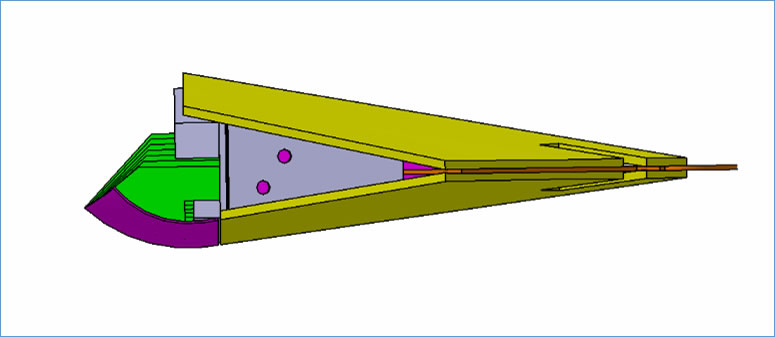
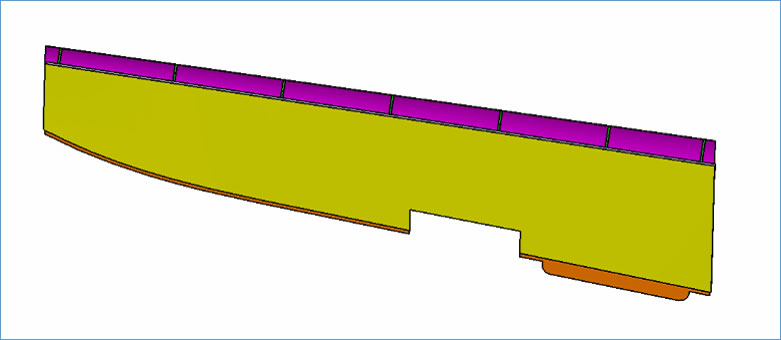
As was done so often on this build, I created a computer model of a new aileron, to be made from plastic sheet and bar stock:
So off I went fabricating parts:
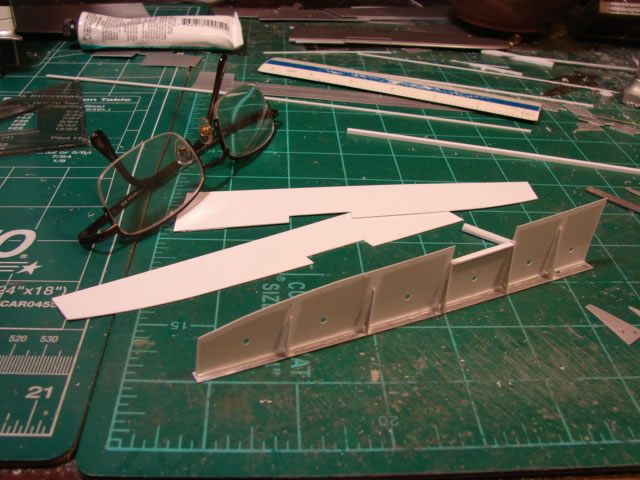
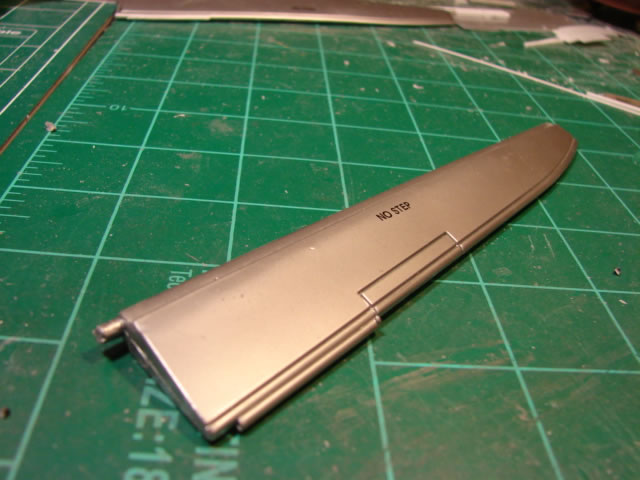
This work was very similar to the rudder and elevator work done weeks before. Here is a finished aileron with the old part for comparison. Not nearly as clunky now, and the chord length is correct:
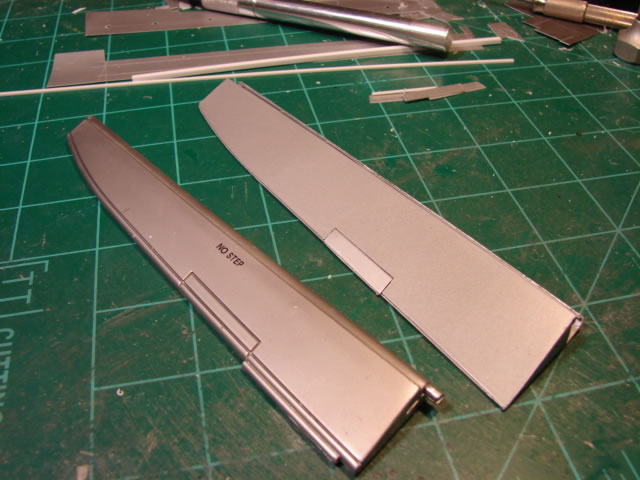
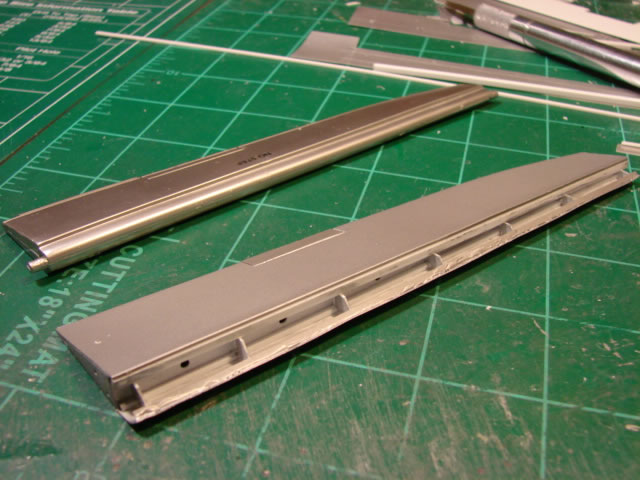
Note the circular section lower LE panels. There is no similar panel on the upper surface, because the aileron hinge was actually just under the wing upper surface. It was basically a piano hinge. Here is what the new aileron looks like on the wing:
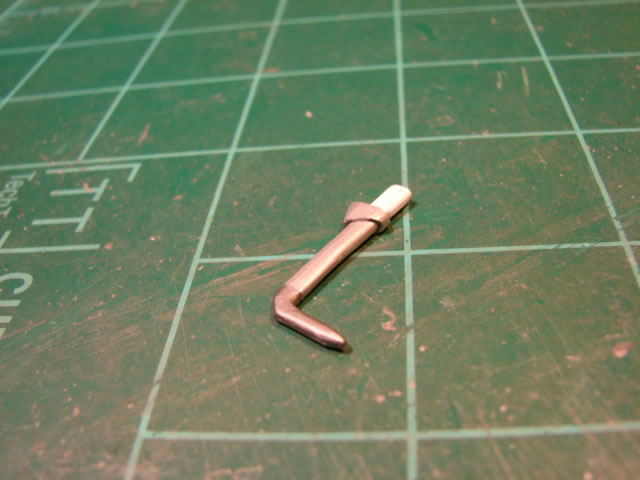
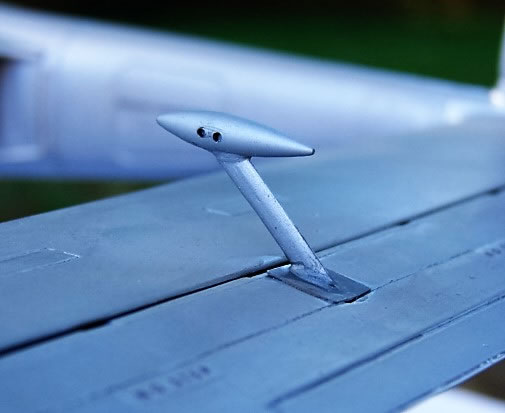
The toy came without a pitot mast. No problem; I scratch built one:
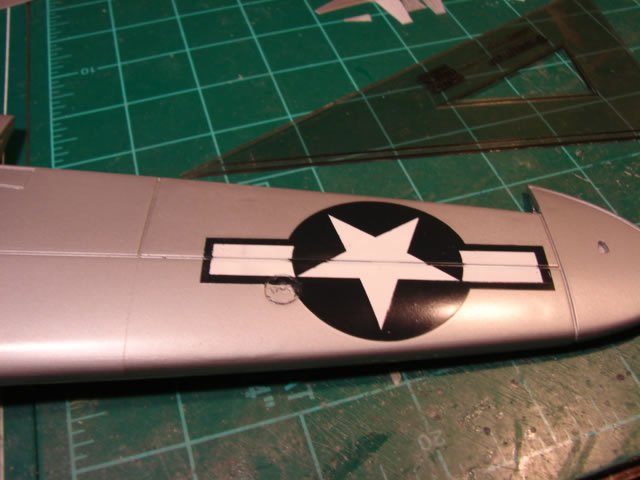
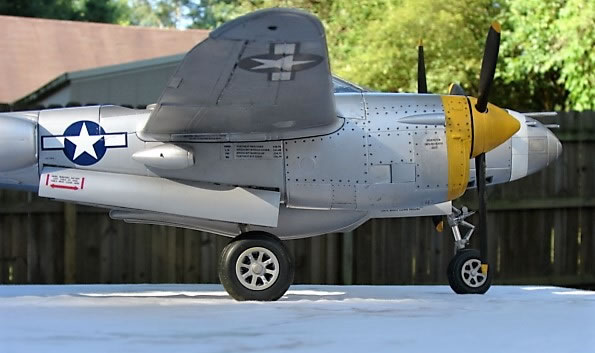
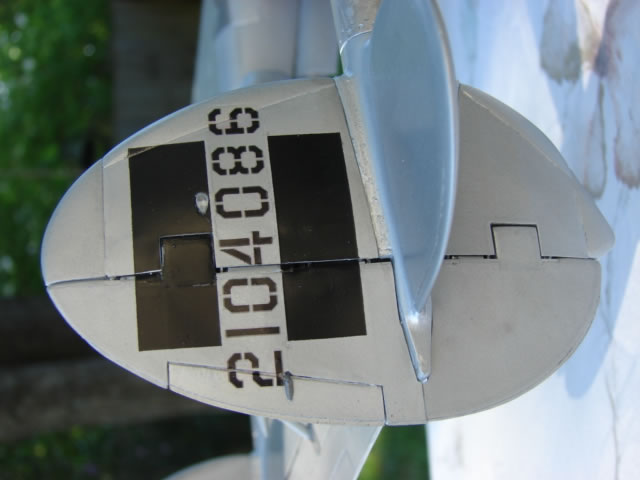
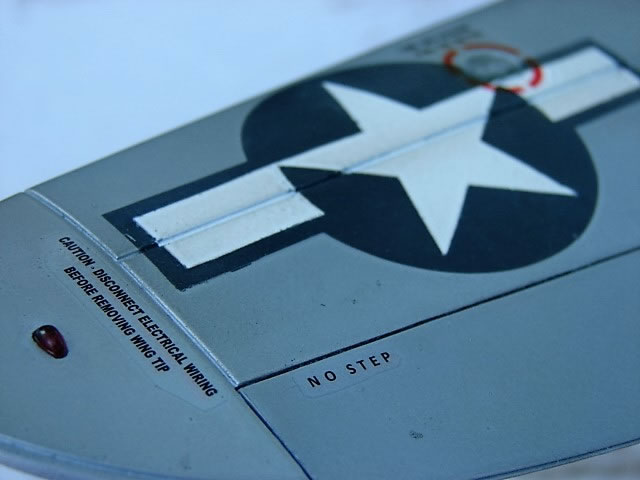
I used my stencil set for the star insignia, and it worked to my satisfaction:

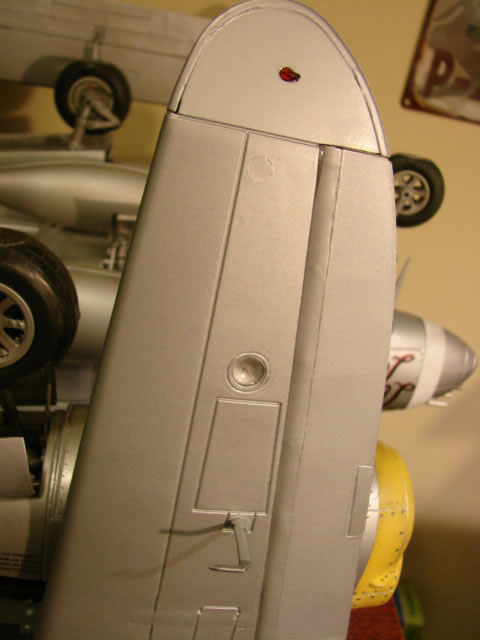
The tip ID lights were fabricated from clear acrylic, just like the tail lights. Some clear paint, careful drilling of the cutouts, and voila:
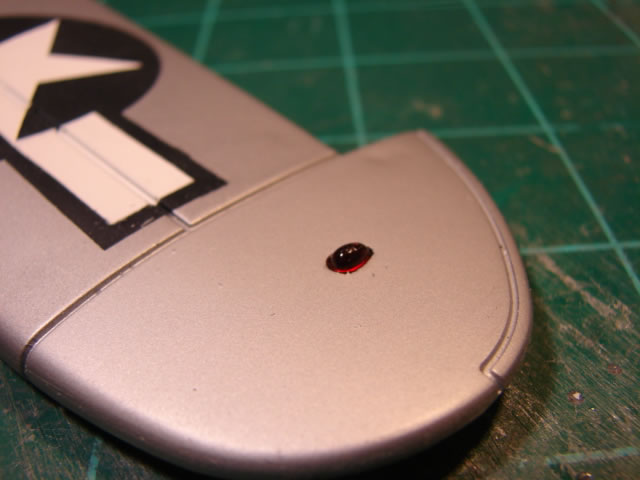
There was a landing light on the LH wing, the kind that hinges down, and the fuel filler caps identical to those on the inner wing (made of brass). Those were done without incident. I largely ignored panel lines, partly because I was tired and wanted it all done, and partly because they weren’t that bad, and partly because I suck at panel line restoration! And then the outer wings were done:

Here is the sum total of my work to date (about 2½ years worth), waiting for final assembly:
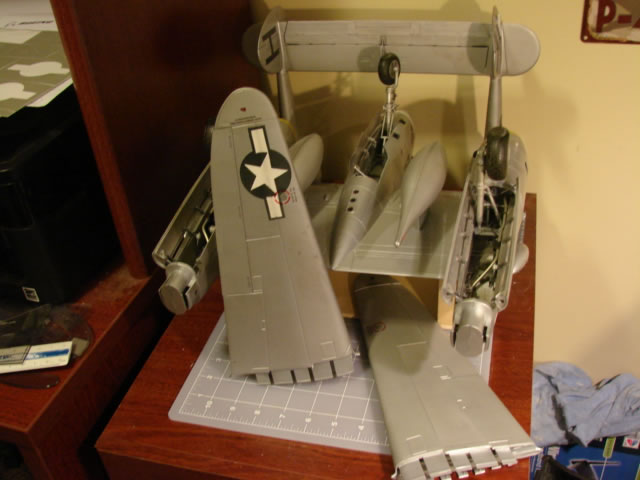
It’s all there!
So the obvious next step was to put it all together. First I had to completely clear away the stuff on my modeling table:

Got to be very careful, but all the parts snap in place such that it can be disassembled again. That should be useful.
My aim all along was to make this look like a P-38 and get rid of the toyish looking features. Mission accomplished. Some of you true masters could do a better job, but I got it pretty far.
This model is truly giant. My next challenge is to devise some sort of space where it can be displayed effectively, yet not use of too much space, and not be subject to being bumped and damaged. Its wings and tail tend to overhang shelves or tables.
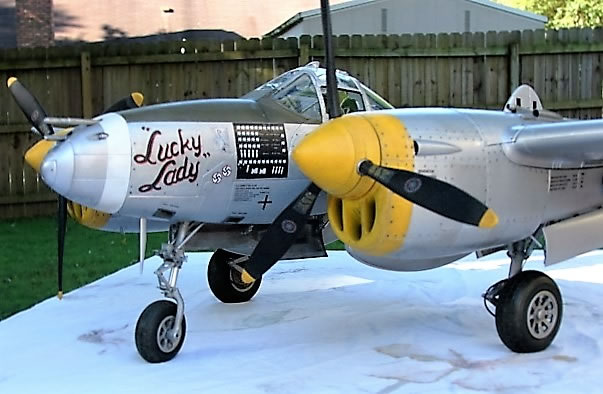
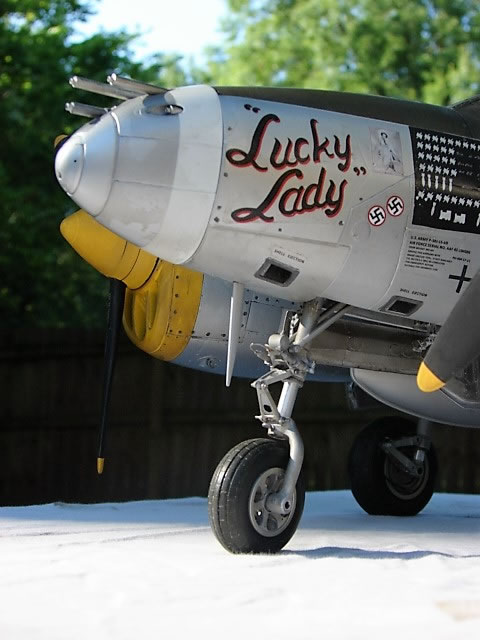
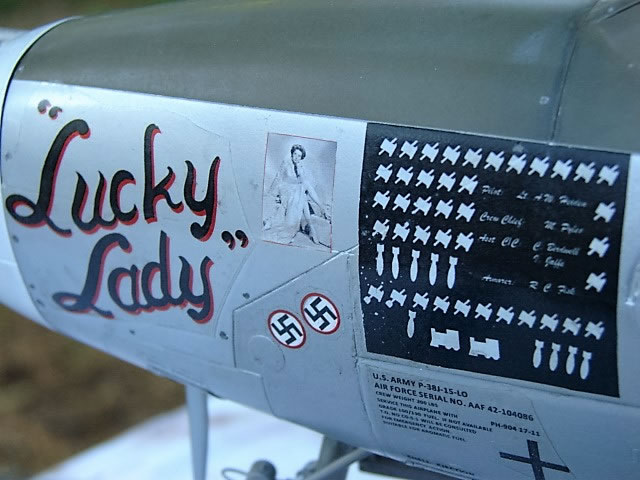
Now you get the walkaround, but first the “before shot” from 2 ½ years ago:
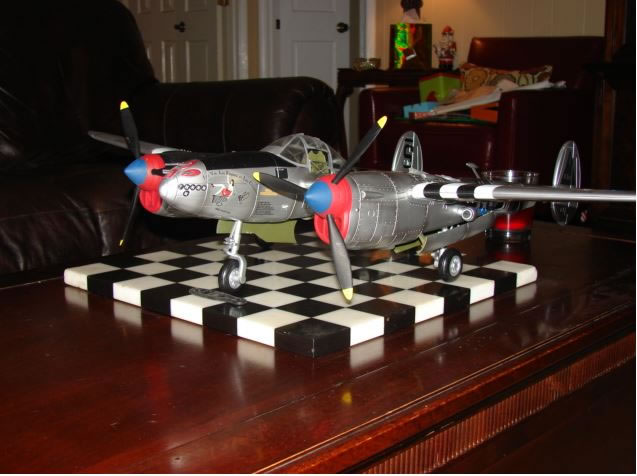
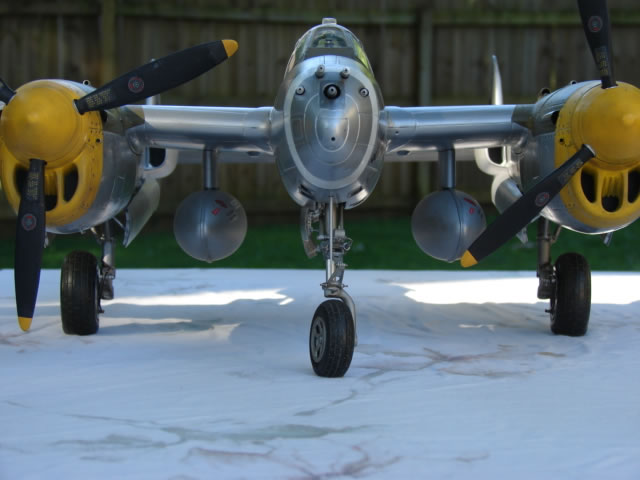
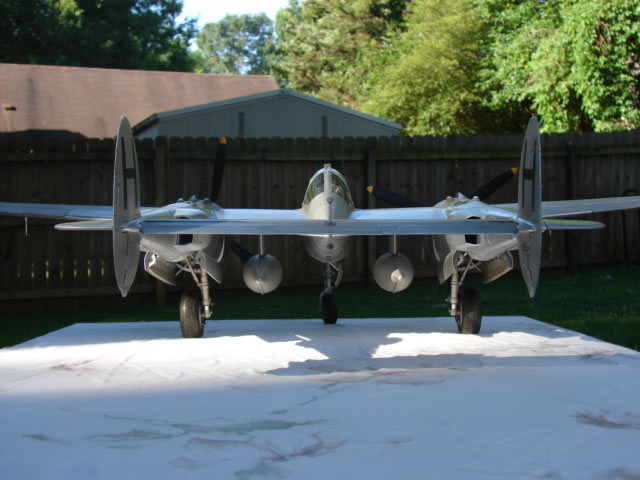
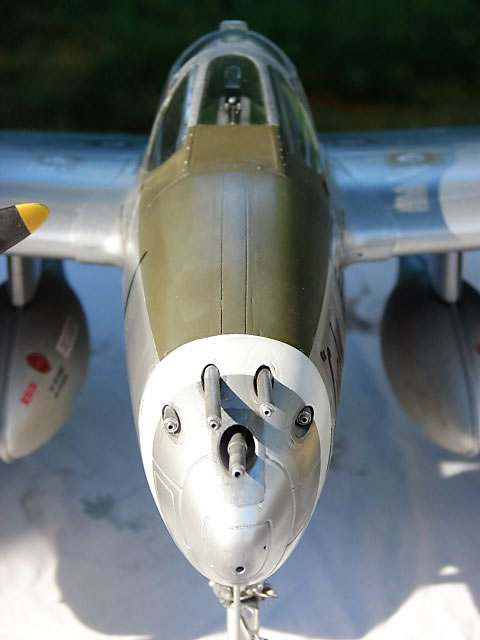
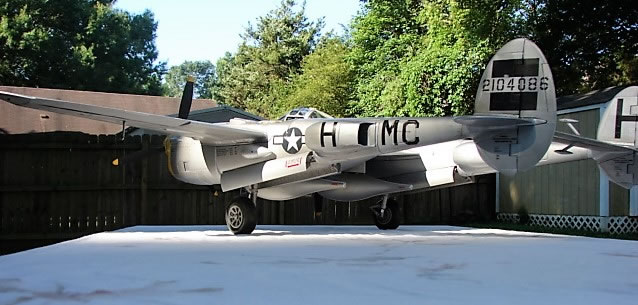
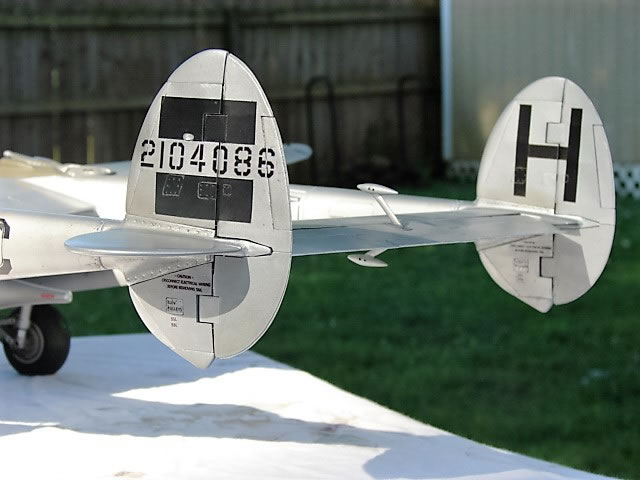
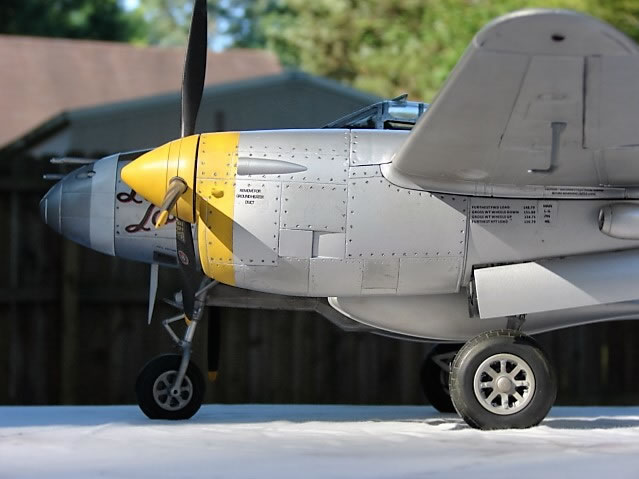
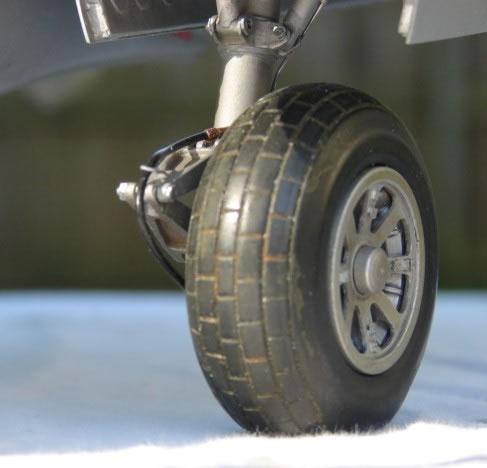
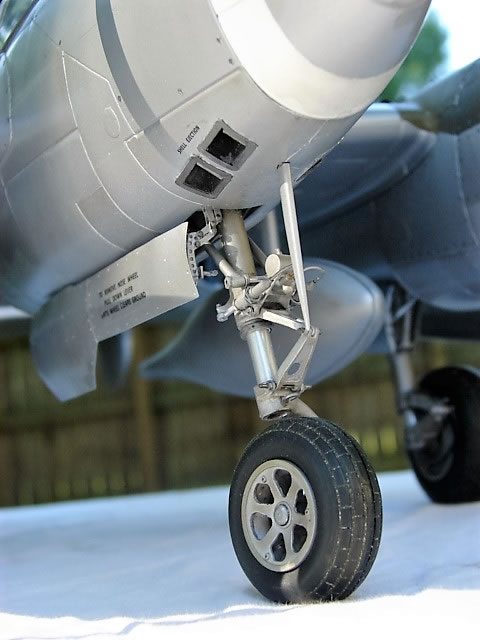
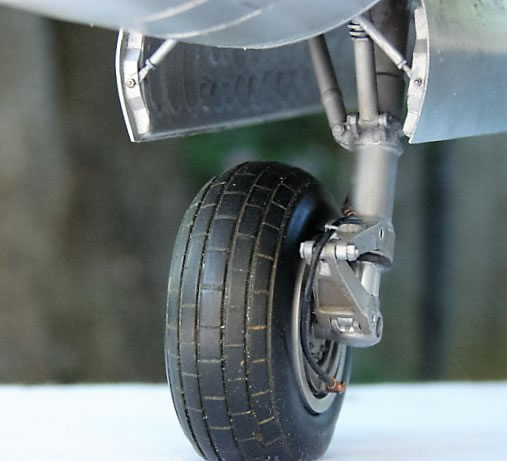
And now for your inspection, Lucky Lady P-38J-15:


I would like to thank LSP for providing the venue in which to tell my story, the LSP modelers who followed the build as it happened providing encouragement and recommendations, John Clement (P38 Johnny) for all sorts of technical support, and Randy (aka sluggo) for providing stencils free of charge. I hope you all found the build interesting.
Part 1 | Part 2 | Part 3 | Part 4 | Part 5 | Part 6 | Part 7
© Jay Wheaton 2016
This article was published on Friday, November 04 2016; Last modified on Friday, November 04 2016