
Vintage Fighter Series 1/24 Curtis P-40 Tomahawk Part 4: The Final Chapter
By William Joyce
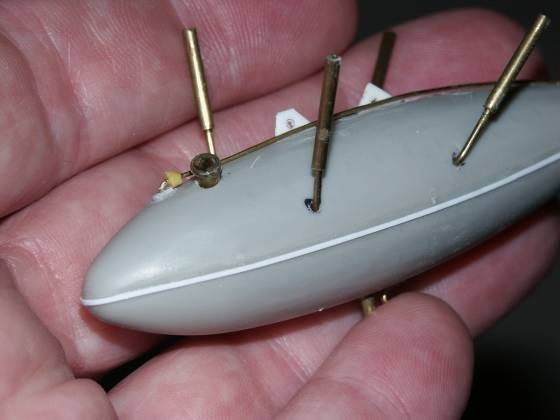
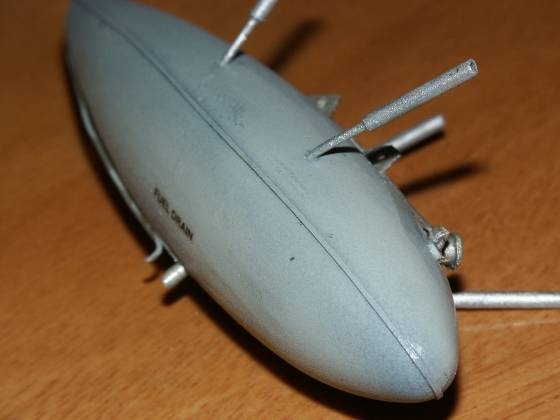
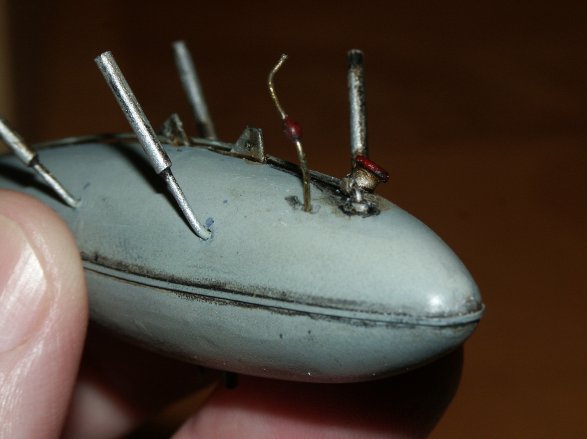
I back-tracked a bit and worked on the fuel tank by adding a seam. This was done with Evergreen Styrene. The tank was then primed, pre-shaded, painted, and then Futured. The fit here is good all around.
I primed and pre-shaded in preparation of the camo paint job.

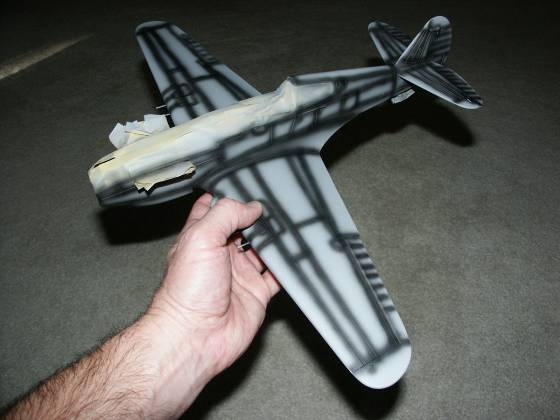
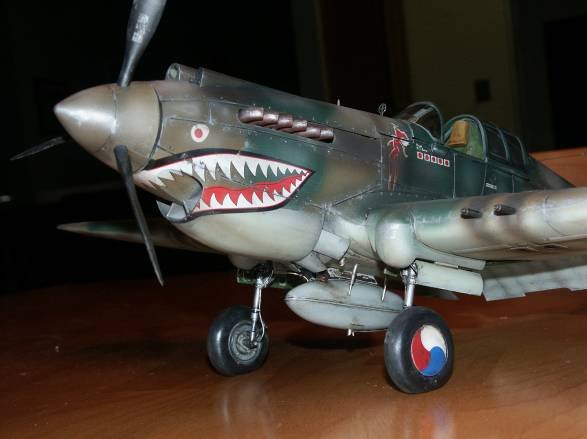
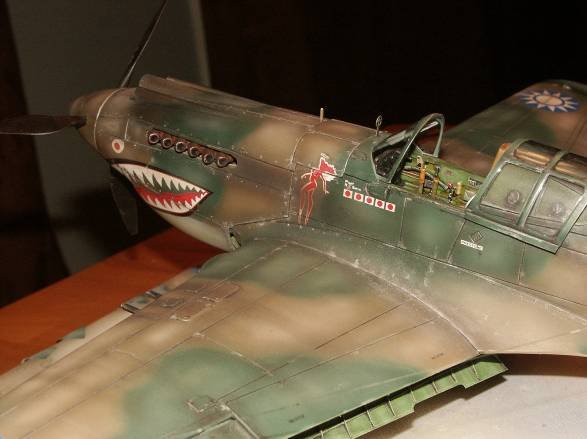
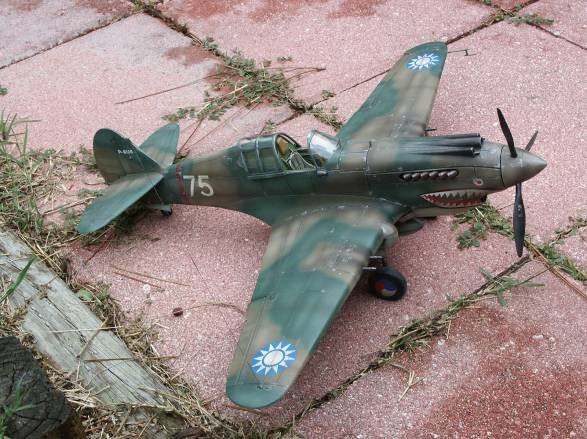
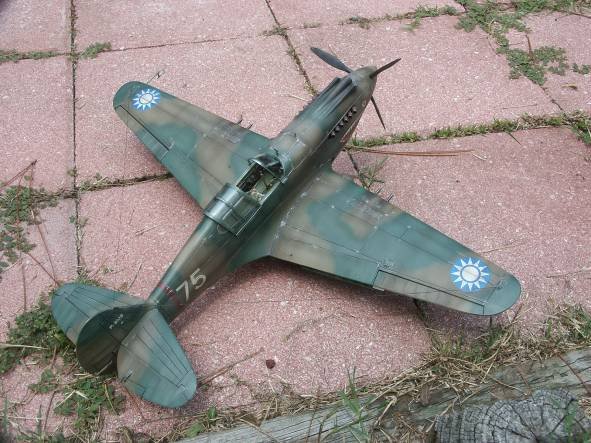
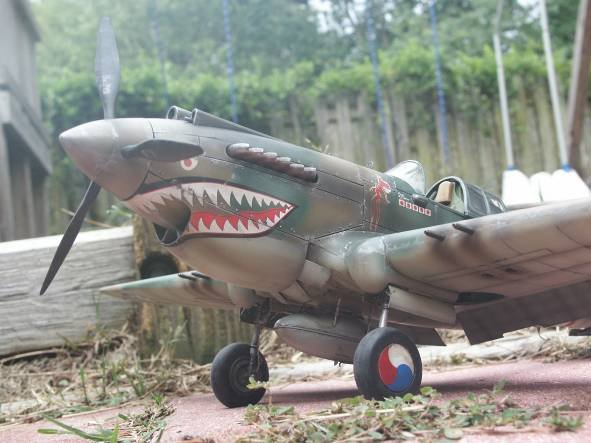
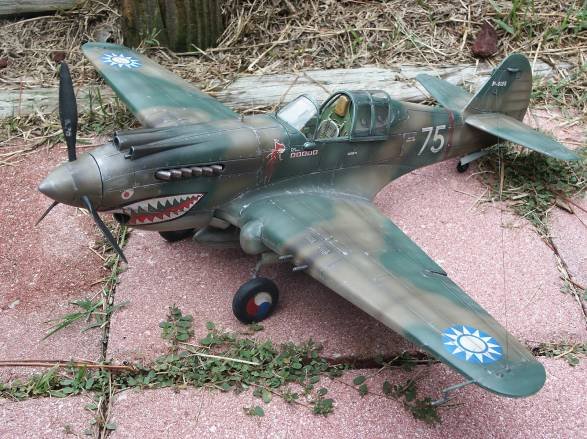
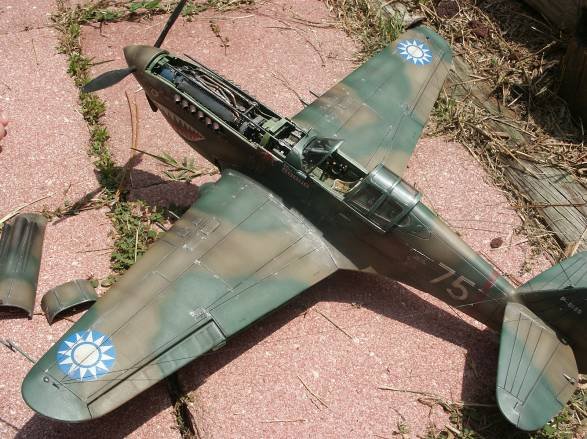
For the paint job I used Model Masters paints, RAF Sky Type for the underbelly, Euro I Dark Green & Dark Earth for the camouflage. The underbelly was painted first then I masked off to paint the brown using a little heavier grade paper placing bits of rolled-up masking tape underneath to raise the paper off the model an 1/8 of and inch or so.
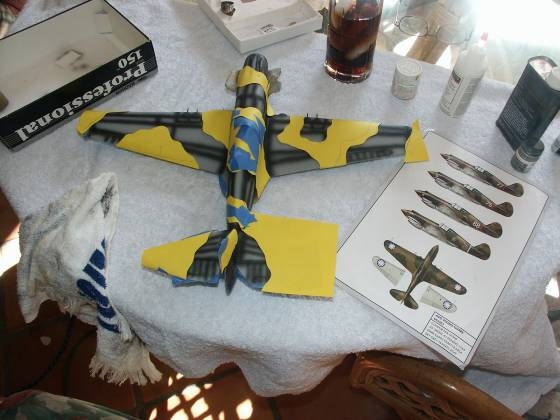
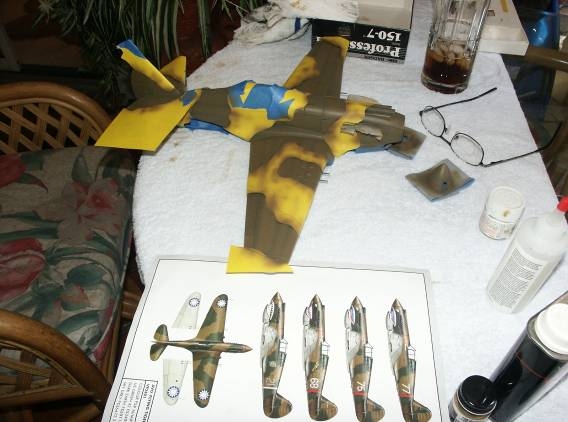
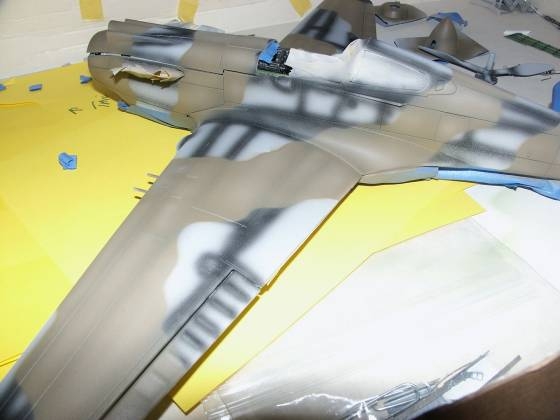
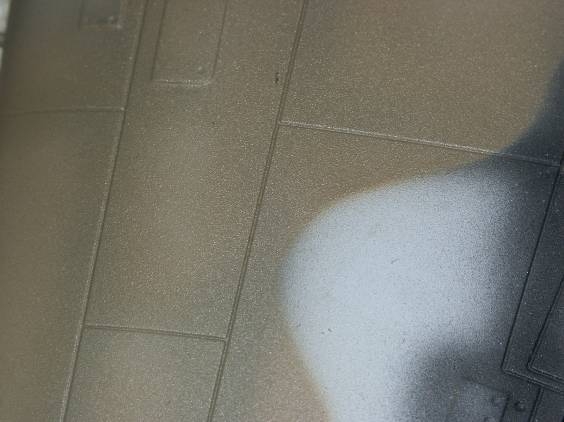
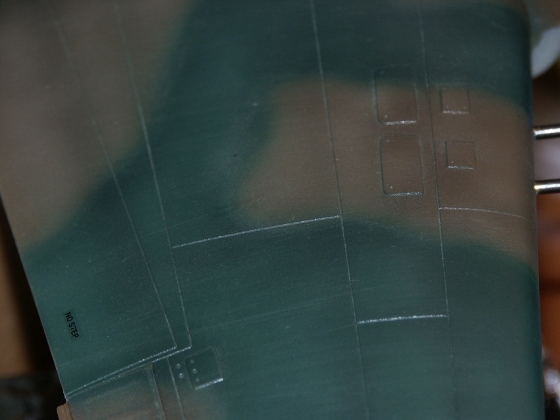
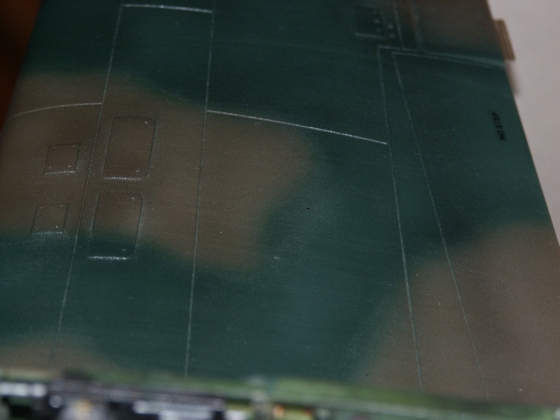
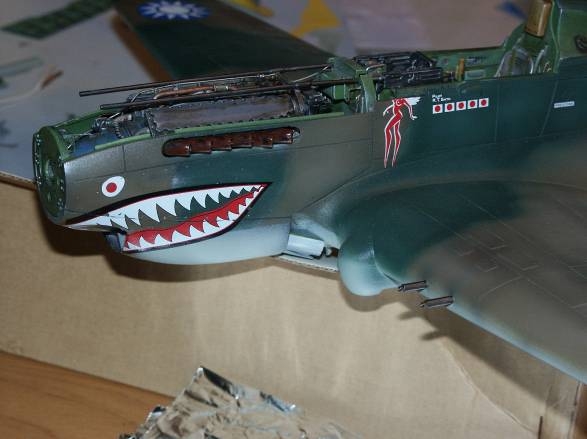
I did not want that hard edge between the green and brown. I just don't like hard edges with camouflage paint jobs. Looking at historical photos it definitely looks like the planes were painted with a hard edge thou…….I just think the kit would look to much like a toy? Next I airbrushed the green free hand. The Badger 150 airbrush spraying at 15 psi really provides the control needed here. The final effect is a semi-hard edge I think….it kinda looks like a sharp edge and it kinda doesn't. Immediately after applying the base coat for both the green and brown I add white to lighten the base color, thin the mixture and spray (center working out) to "fade" the surface. Later I apply Tamiya Buff to further enhance the fading affect.
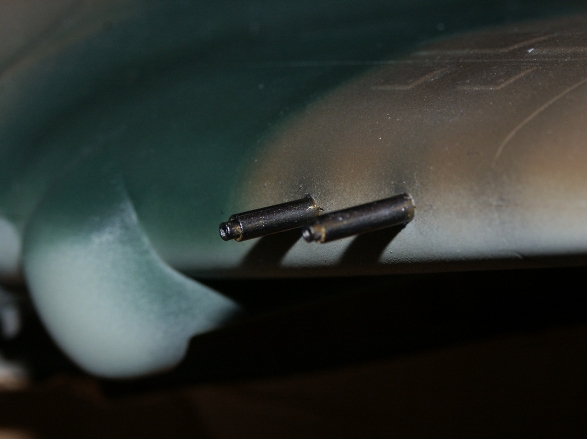
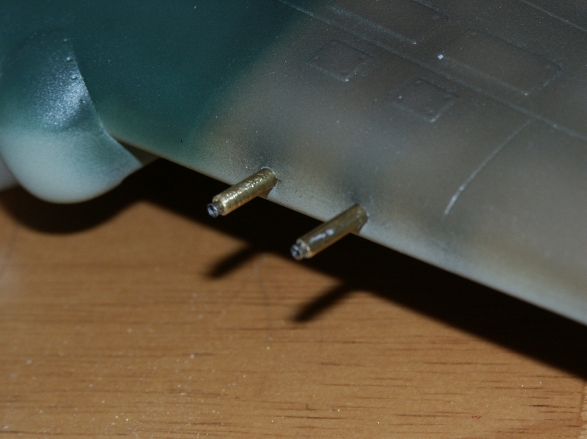
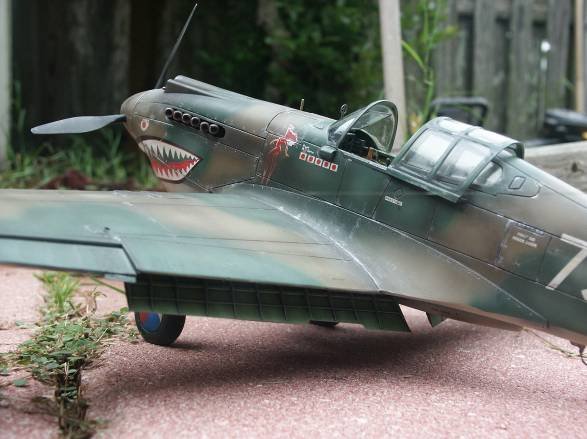
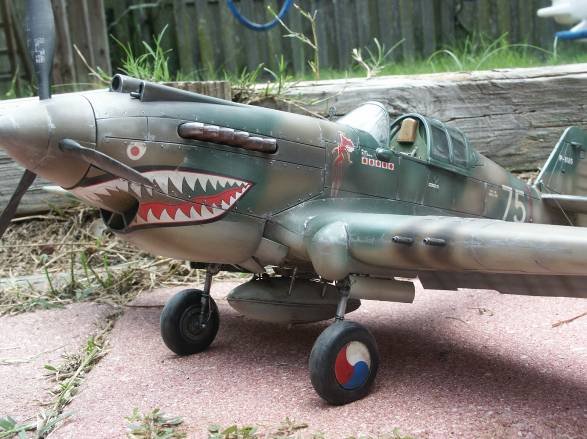
Next I looked at the wing guns a second time and felt they just didn't look big enough. Come on you remember Kelly's Heroes…….beefing up the Sherman's main gun by placing a piece of pipe over the barrel. Gotta love Oddball….. Why don't you knock it off with them negative waves Moriarty……I'm drinking wine and eating cheese, and catching some rays…….woof, woof!! So that's just what I did wine and all!! I took some larger brass tubing cut to length and slid it right over the barrels. I like the final affect much better. I would like to say or recommend that putting down the model and just walking away allows time for reflection. I just seem to develop tunnel vision at times and putting down the kit allows for a fresh perspective.
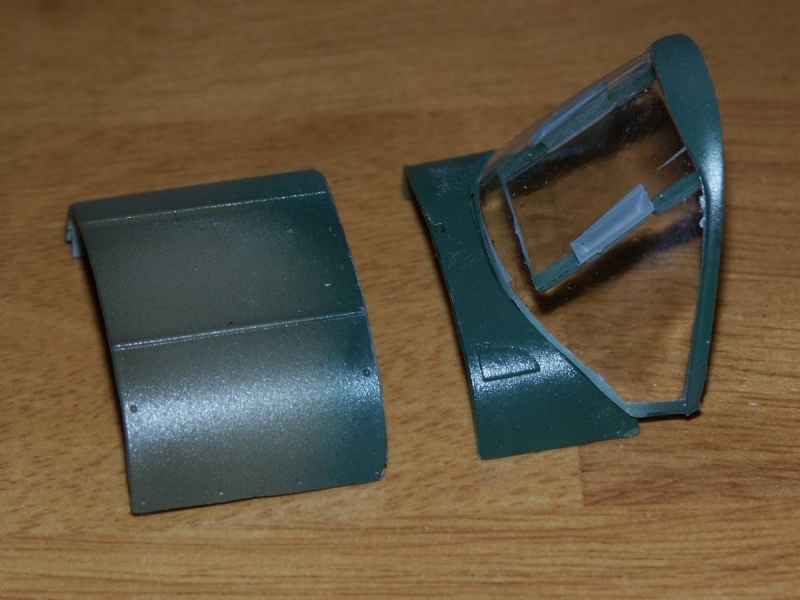
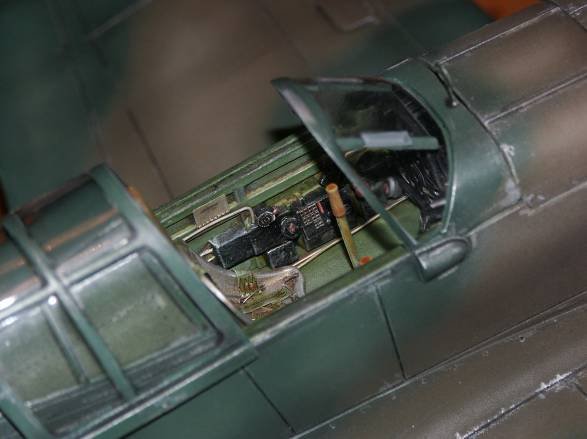
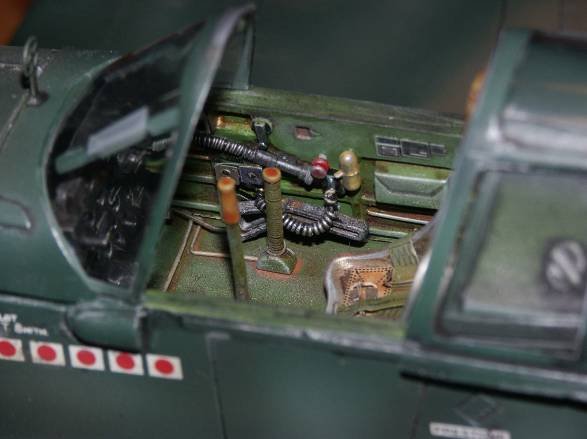
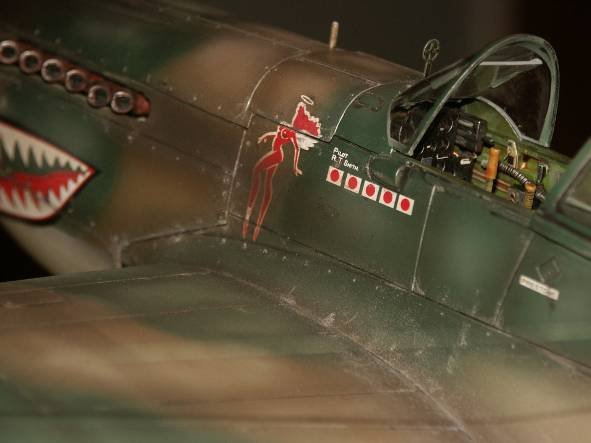
I also decided to cut the top cover immediately in front of the windscreen. Now I can glue the windscreen section to the fuselage and just remove the two sections to display the engine and gun compartments. The mounting pins for the windscreen were not affected by cutting at the panel line. I felt this would provide for a more realistic display.
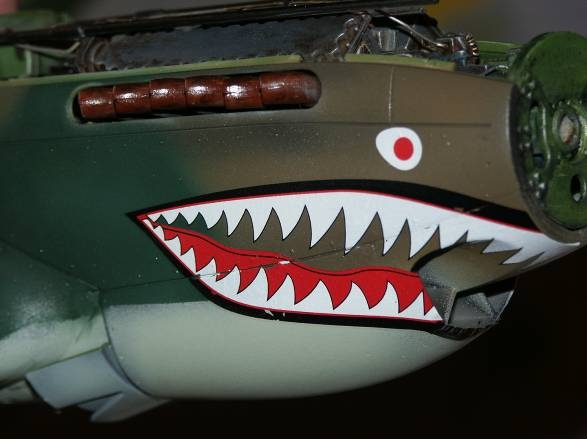
I Futured the entire kit surface in preparation for decaling. The decals for the kit are really thin……that's a good thing. I did have trouble with the tiger shark mouth. It actually took me three tries before I got it right…by that I mean placement without ripping the decal to shreds!! I have to say here, the kit decals are very very good…..it's me that goofed them up. Once again modeler error……I'm getting pretty good at that!!
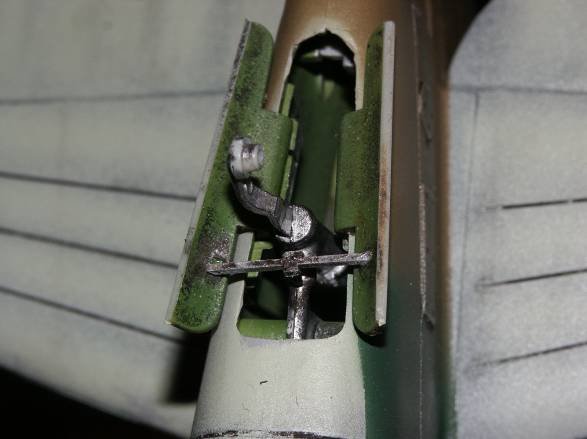
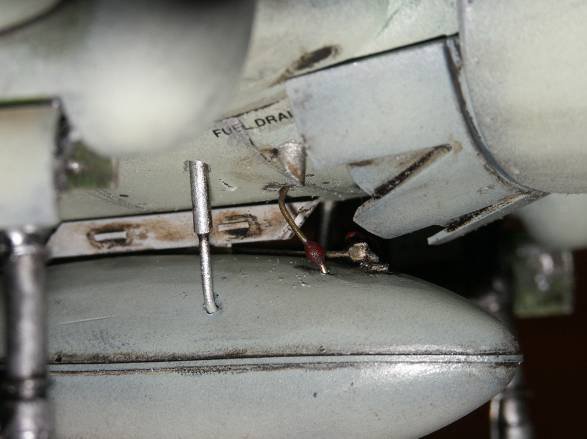
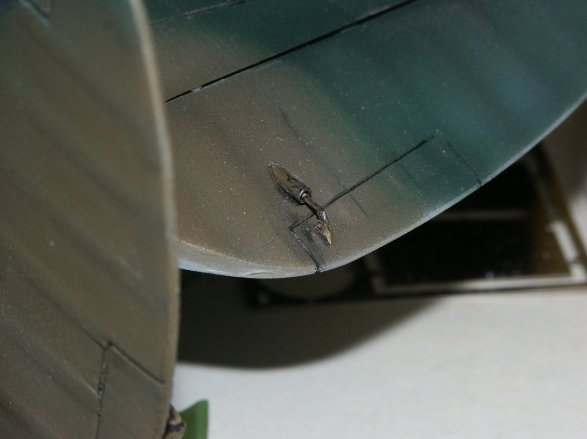
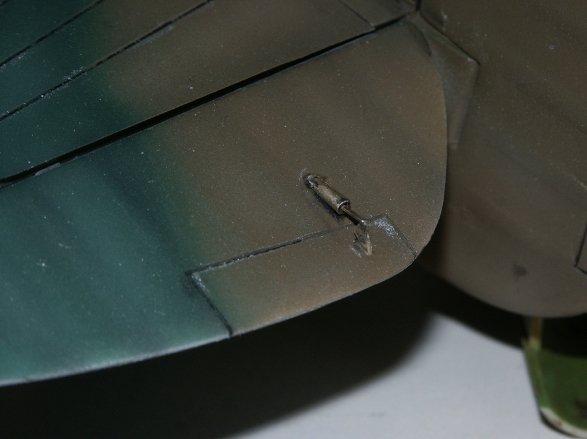
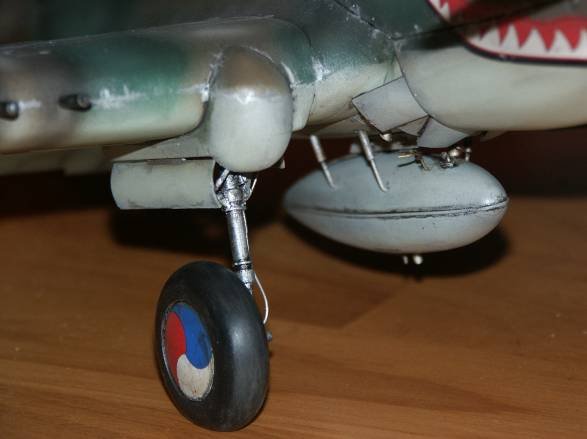
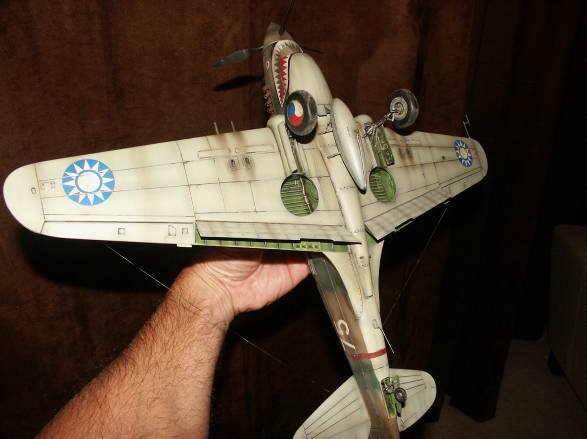
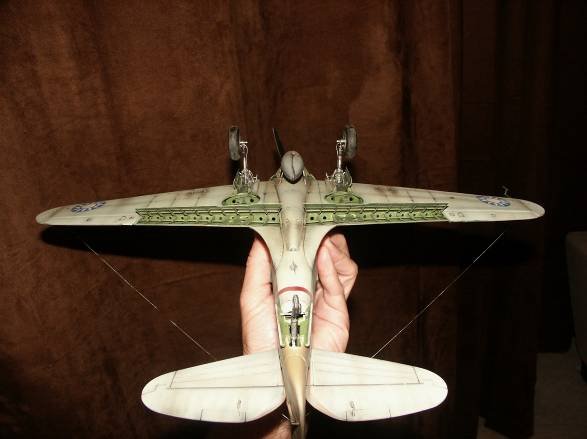
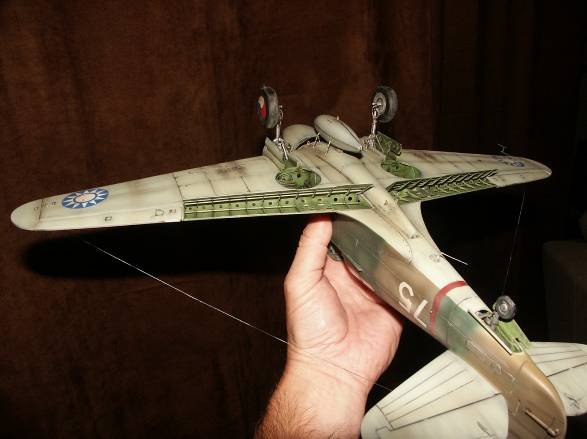
Before I weathered I added some detail to the main wheel-wells in the form of door reinforcement and linkage. I also added linkage to the tail wheel doors, a fuel line to the drop tank and trim-tab operator arms to the stabilizers.

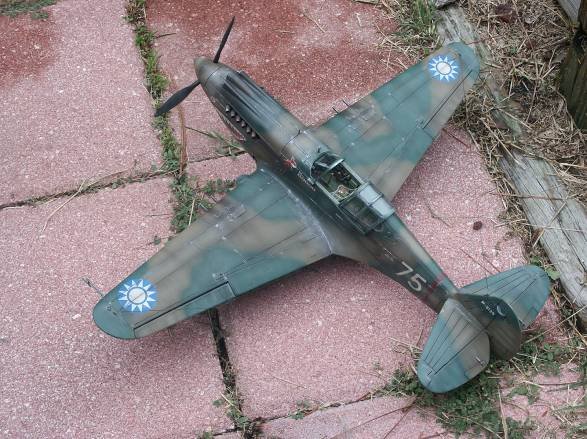
I followed the standard for weathering. I must say I like to weather on the heavy side. I feel you have to really fake-out the human eye to present a realistically aged aircraft and I bet the environment was pretty harsh on these birds. First I Futured to seal in the decals (allowed 48 hours to dry) then applied an oil wash, chipped with a silver pencil, sprayed Tamiya Buff (well thinned) for an enhanced fading effect and finally applied the Red-Brown/Black mixture for exhaust and gun residue stains and post shading (applied to panel lines, wing and tail section areas). The last step was to add antenna lines via stretched spru and Wa-La there you have it.


Conclusion
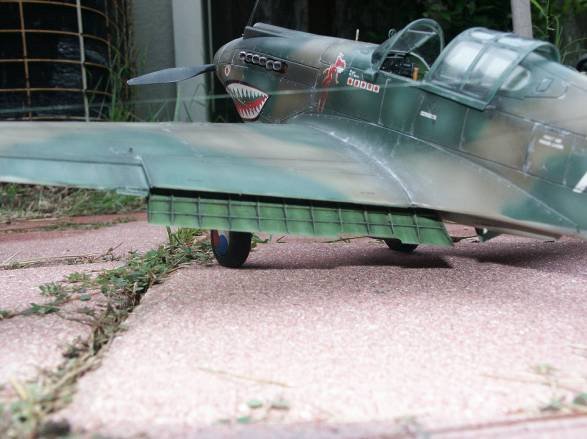
If you want to build a big P-40 this is it...yes it's the only one available in 1/24 scale, however, the kit is a very good representation in my opinion. It went together with no major problems and yes a true master modeler can go to town here. I do want to say Robin's (Cammett) aftermarket flaps are awesome. As mentioned previously they really do enhance the flap area, were a breeze to put together, and the fit was absolutely perfect...my pictures do not do them justice. I highly recommend the set and wish that I would have purchased the rest of Robin's after market accessories for the kit...we learn from our mistakes!!
Next up will be the Vintage P-47 or the Airfix P-51...not quite sure yet? I purchased a pre-production P-47 kit from Robin at Cammett and what a kit! This time I purchased all of Robin's aftermarket accessories for the JUG. My first impression of the kit is a very, very good one!!
© William Joyce 2008
This article was published on Wednesday, July 20 2011; Last modified on Saturday, May 14 2016