
Model Monkey | P-51D 3D-Printed Exhausts
Reviewed by Tim Biggers
Steve Larsen, of Model Monkey, was kind enough to send me a sample of his latest aftermarket exhausts for the new Revell P-51D kit, now available from Shapeways. My friend Chris Nicoll recently posted an excellent and very detailed review of the same product, so I will take a slightly different tack to avoid being too redundant. Chris' photography skills and equipment are superior to mine, but hopefully they will be clear enough to do the product justice.
My first impression when unpacking them was that the level of detail was really fantastic! I will dispense with a photo of the product as it arrived, as the translucent frosted acrylic was difficult to photograph, and I can't improve on the great photo Chris posted. Since he did everything the right way, and followed the instructions to the letter, I decided to do the opposite and not follow the instructions at all and see what happens! I am normally a "follow-the-directions" kind of guy, but let's face it, some of us are lazy and impatient, so lets see what the average lazy sot like me can make out of these cool little things.
The very first thing I did when I unwrapped them was try to photograph them, which didn't work well at all, so I let them sit about a week until I could get back to them to try again. I suppose they finished curing some during that week (so I guess I sort of followed one of the instructions without meaning to), because they were much stiffer when I came back to them than they had been when I unwrapped them. The next step was to shoot some Tamiya Fine Grey Primer on them. No, I did not wash them, or anything else, first. The good news is that the paint went on just fine, and allowed me to photograph them better.
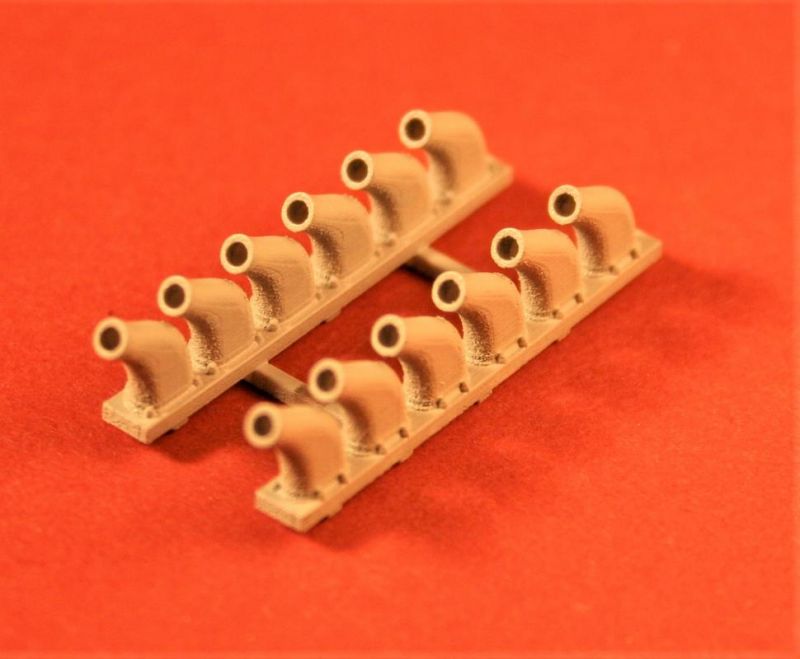
Now that I could see them better, I felt that the tube walls appeared a bit thicker than I would like (a limitation of the 3D printing process, not Steve's modeling skills, I'm sure) so I separated the two pieces and "very carefully" ran a small reamer bit (by hand, mind you) down the pipes to thin the walls down, and quickly discovered two things.
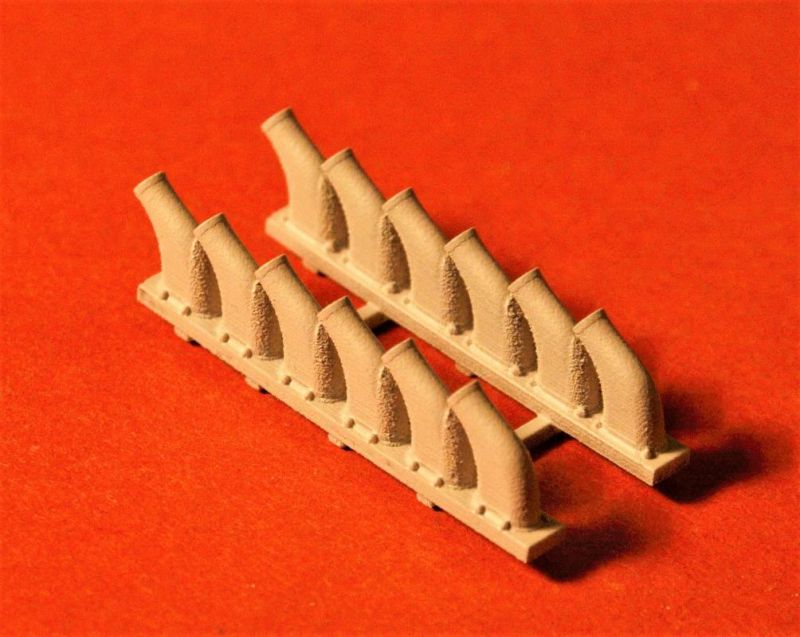
One was that, holy cow, I'm a clumsy oaf when I drink too much coffee (I promptly broke a chunk out of one pipe), and two, that some of that waxy medium Steve mentioned was apparently still in the pipes. I tried soaking them in Dawn detergent solution to get it out of there, which it didn't, so I did another thing Steve said not to do (sorry, Steve!), and I cleaned them with lacquer thinner and a toothbrush. That did a fantastic job of removing the primer I'd put on them, and any other residue that might have been lingering, and got most of the goo out of the pipes, but I still had to clean the rest out with the reamer. Job done, I fixed the piece I broke with tweezers and some thin CA, and shot a coat of primer on both again. Once dry, I used the conical end of the stick to lightly de-bur the inside edges of the pipes on one, but did not sand the outside at all. Another coat of primer on that one, and I had this:
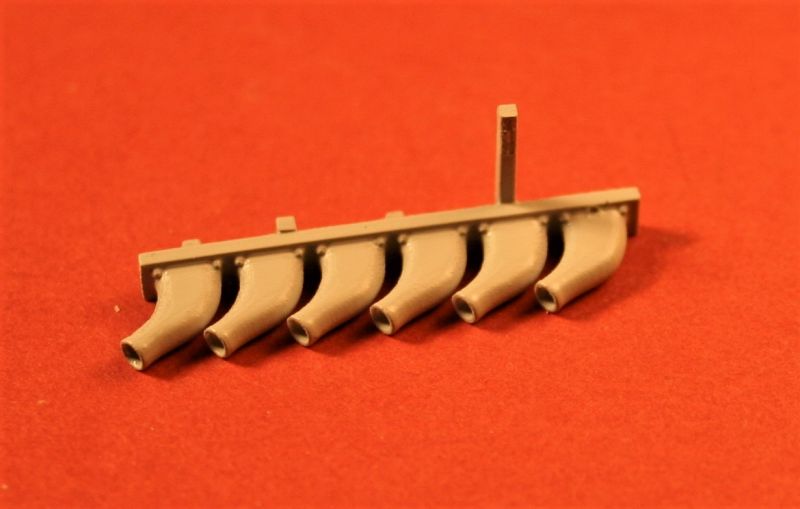
I set the first one aside and repeated the process one the other side, but this time I finished reaming out the pipes on this one before de-burring and the final primer coat. Like Chris, I also use gunmetal as my go-to base color for exhausts, so I finished the reamed one off with Testors Model Masters Metalizer gunmetal from a rattle can.
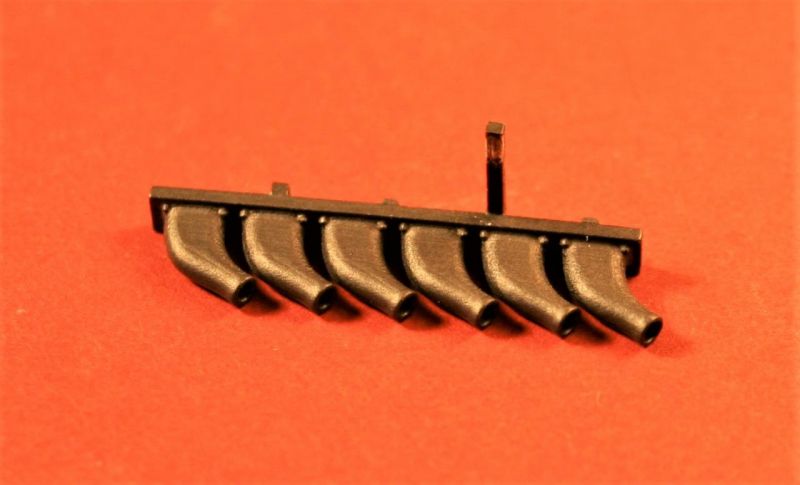
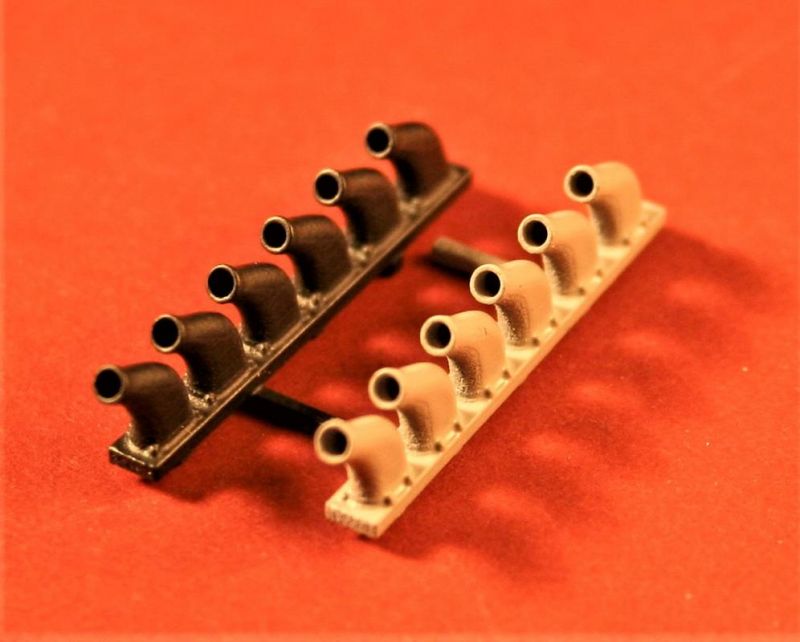
A final photo shows the two separate halves for comparison. On the right, one coat of primer, light de-burring of the pipes, then a final coat. On the left, primer, light sanding outside, ream out the pipes and de-bur, primer, paint. I think the thinner pipe walls are pretty noticeable, especially when compared to the original product above.
I did not do any post-shading or anything yet, but I'm pretty confident they will look the part when that's done. I do not have the new Revell kit, or any other P-51 kit right now (besides the old Revell P-51B, and that would be a joke) to compare them to, but that's been well covered already by Mr Nicoll.
Conclusion
Bottom line verdict, I'm looking forward to using these on the new Revell kit when I pick one up, as I love how a Mustang looks without the shrouds. I wouldn't want to cover these babies up anyway! I'm impressed with Steve's 3D modeling skills, the level of detail, and with the overall quality of the frosted acrylic print by Shapeways. Given that these stood up very well to me doing a bunch of stuff to them you're not supposed to do (aside from the coffee-induced shaky-hand incident) I'd say they're well worth the small price, and I would very much recommend them.
Thanks again to Steve Larsen of Model Monkey for the review sample!
© Tim Biggers 2018
This review was published on Monday, May 21 2018; Last modified on Monday, May 21 2018