
Model Monkey | P-51D 3D-Printed Exhausts
Reviewed by Chris Nicoll
Modeler attraction to the new Revell P-51D is due to many different factors – the low price of the kit, the great detail provided in the cockpit, the quick build due to not having to build an engine (and no removable panels) as well as being an early model (-5) Mustang without the tail fillet. The kit benefits from Radu’s research and influence, which comes out in the detail and easability in building.
With any kit there are areas that can stand in some aftermarket details – and the Revell kit is no different. Areas such as the flaps are one area of need due to an issue with the styrene injection process, the landing gear covers also have similar issues. The clear parts' problems with clarity are well documented.
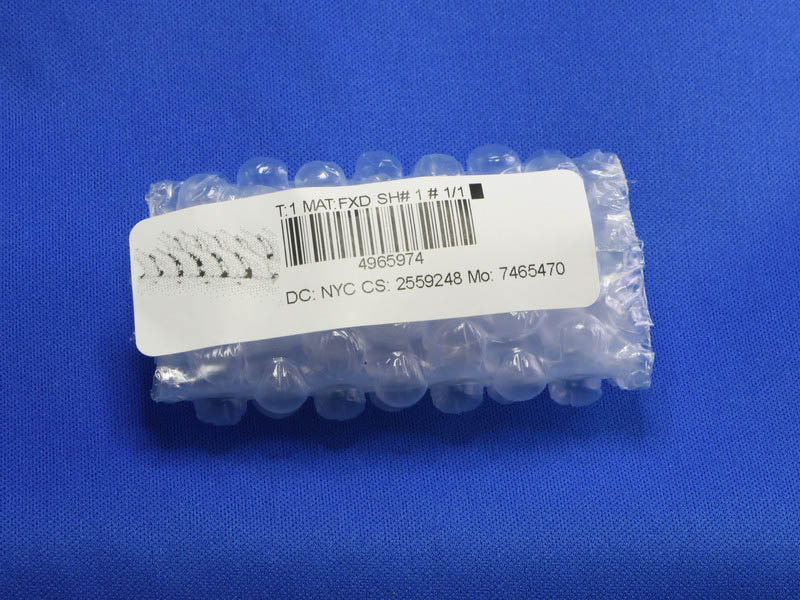
This review is for an upgrade that is popular with aircraft modelers and represents a significant change from the kits parts: the engine exhausts. Model Monkey (shipped from Shapeways) makes a set of 3D-printed exhausts for the Revell kit that they provided and is the subject for this review.
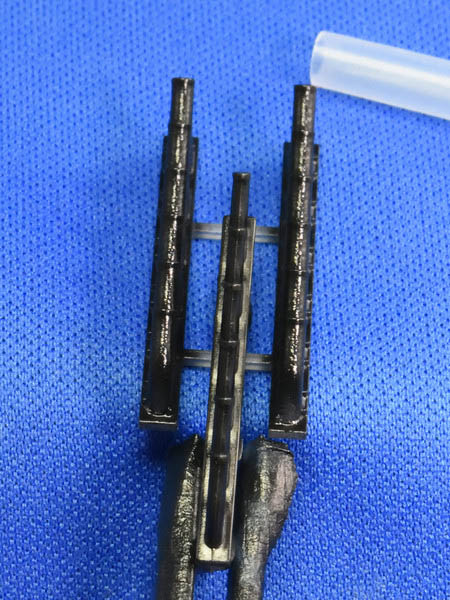
Upon unwrapping the exhausts, the first thing to notice is that they are somewhat translucent.
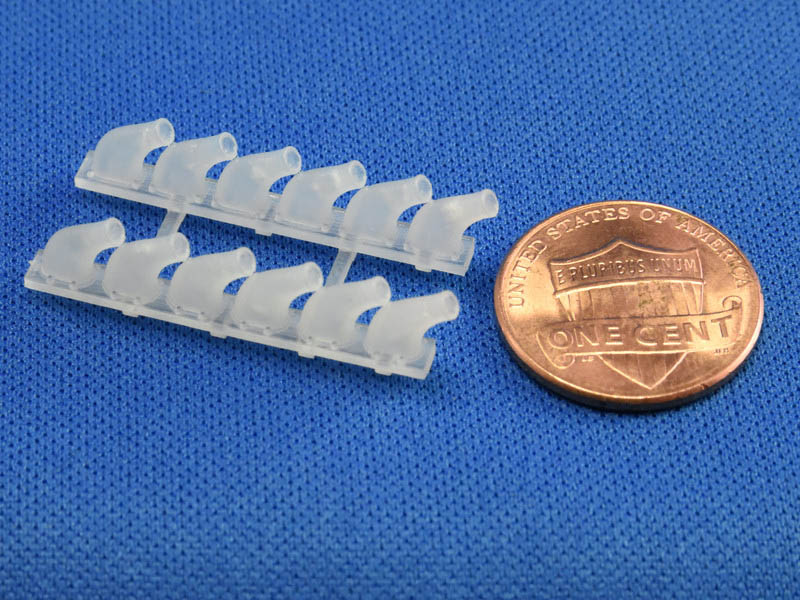
The parts are extremely light weight and seem to be a bit flexible so I doubt they are any more fragile than the usual resin parts and might be actually be less fragile. They are constructed of a plastic material instead of resin. From the designer, Steve Larsen: The print layers for your exhausts will be just 16 microns thick, that's 16 hundredths of a millimeter.
Part of the prep for the 3D-printed parts, as detailed on their website, is a good soaking in dish detergent and perhaps a bit of a scrub with a toothbrush, then exposure to sunlight to complete the curing process:
How do I prepare my new parts?
- Leave the parts in their plastic bag until you are ready to use them. Clean your new parts with a mild water-based liquid dishwashing detergent like "Dawn", "Fairy", "Neophos", "Sun", "Sunlight", "Joy", "Vim", or "Simple Green" in water. Let your parts soak for a few hours to remove any wax.
- Expose your "Frosted Detail" parts to direct sunlight or place them under an ultraviolet (UV) lamp for several hours (more is better) to fully harden the resin.
- If necessary, smooth "Frosted Detail" surfaces with an "air eraser" (click here to see an example). Smooth "Strong and Flexible" plastic surfaces by applying thin layers of primer then smooth the primer.
- Use the correct primer and paint for the type of plastic your part is printed in.
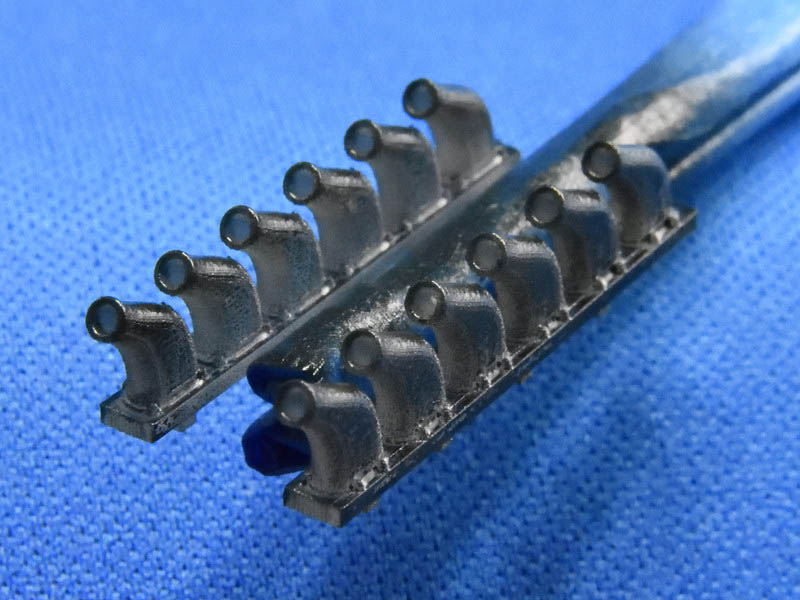
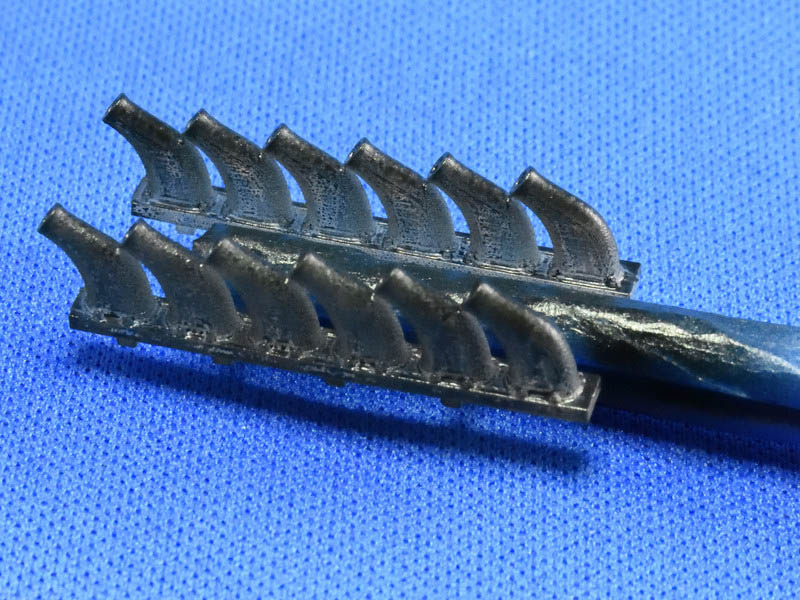
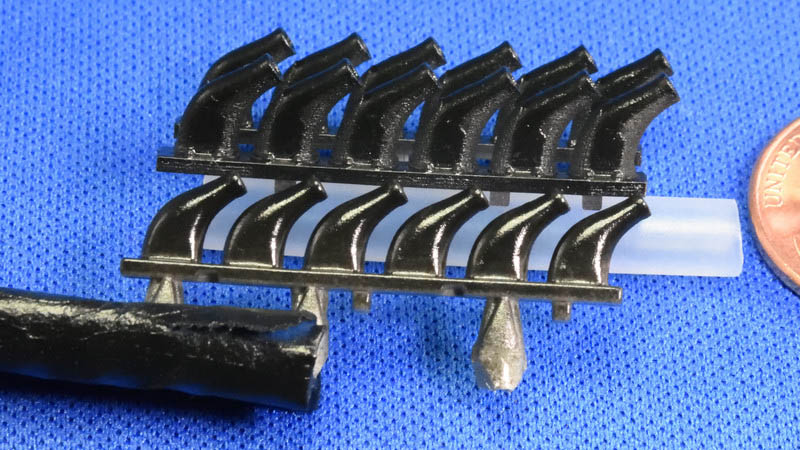
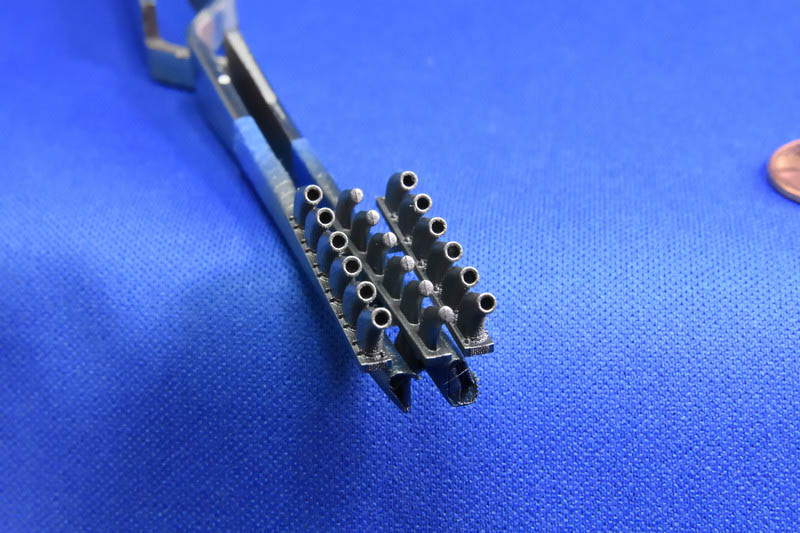
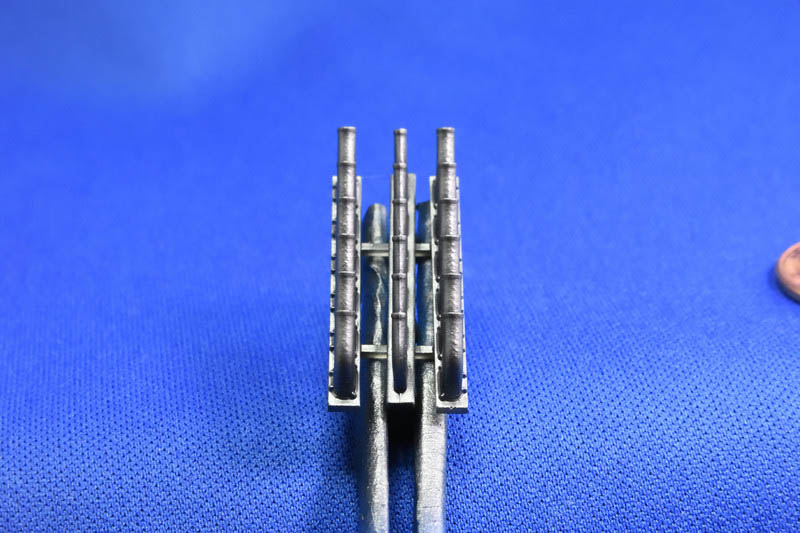
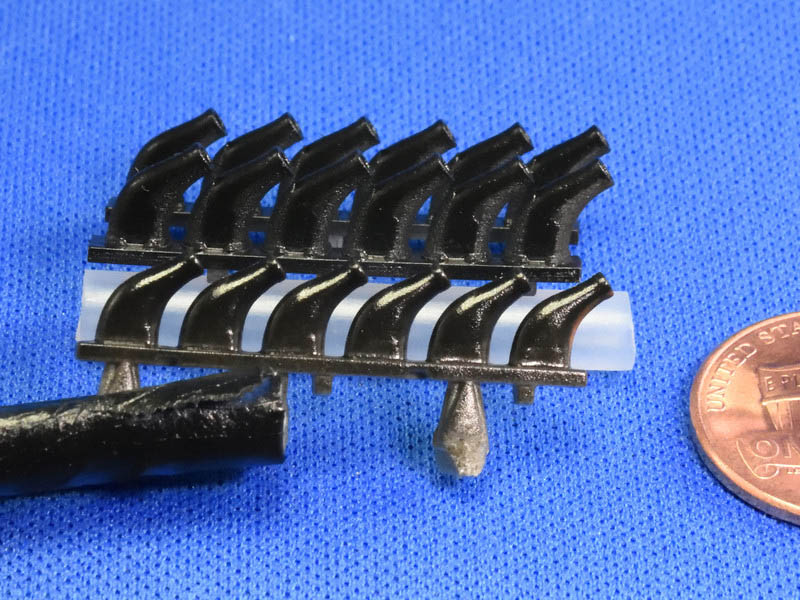
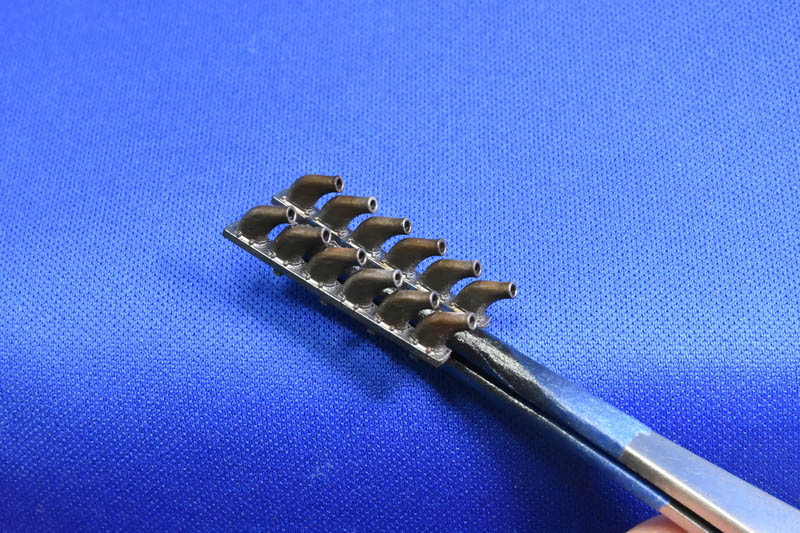
The level of detail of the 3D exhausts is much improved over the kit exhausts, including the bolts which sometimes seems to be left out (and on the Tamiya P-51 are on the mounting plate, not the exhaust ports themselves). These pictures show the exhausts with a dusting of Vallejo gloss black primer to highlight some of the details:
One thing to keep in mind with the Model Monkey exhausts is that their size and shape is different from the kit exhausts and thus will not easily work with the kit exhaust shrouds. The MM parts are fuller and rounder than the kit parts which seem to be more ‘pinched’ in the body of the exhaust pipe. If I were to compare I would say the Model Monkey exhausts are the roundest, Tamiya kit comes next, but definitely a bit narrower and the Revell Kit parts are the narrowest.
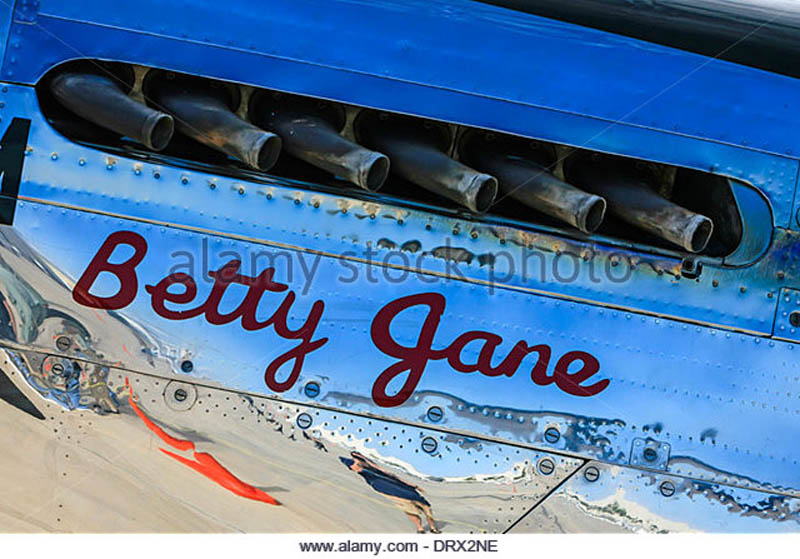
The Model Monkey exhausts are not as narrow as the kit parts, and I think look more like actual Mustang exhausts as shown in this picture:
With a coat of gunmetal which I use as a base for most of my exhausts, usually followed by some dry brushing with various shades of brown:
The texture of the exhausts works better than the kit exhausts as I like that matte appearance on my exhausts. With a full coat of gloss black primer you can see the difference in texture, but to the eye it just looks like the kit part is glossy and the MM exhausts are a matte finish:
Where the differences really come out is after the two options are painted so here are some views so you can see for yourself. Base coat of Vallejo gun metal, then a dry brush with a dark brown, then light brown and white powders to pull out some details and offer some variety in colors:

For the Revell kit, and especially for Mustangs with unshrouded exhausts, the Model Monkey exhausts represent a clear upgrade on detail and shape over the kit parts. If you are building a Mustang with shrouded exhausts I don’t have an answer for you regarding the MM exhausts as the Tamiya shrouds do not offer another option. I expect Model Monkey will look at providing shrouds as well as exhausts in the future.
I do like the texture provided by the 3D printing process especially for the exhausts. I didn’t have any issues using the Vallejo Gloss Black primer, drybrushing with Vallejo paints or using Doc O’Briens’s weathering powders.
Thanks to Steve Larsen of Model Monkey for the review sample.
© Chris Nicoll 2018
This review was published on Thursday, May 10 2018; Last modified on Thursday, May 10 2018