
Trumpeter's 1/32 F4F-4 Wildcat Part 3: "The Right Wing"
By Rodney Williams
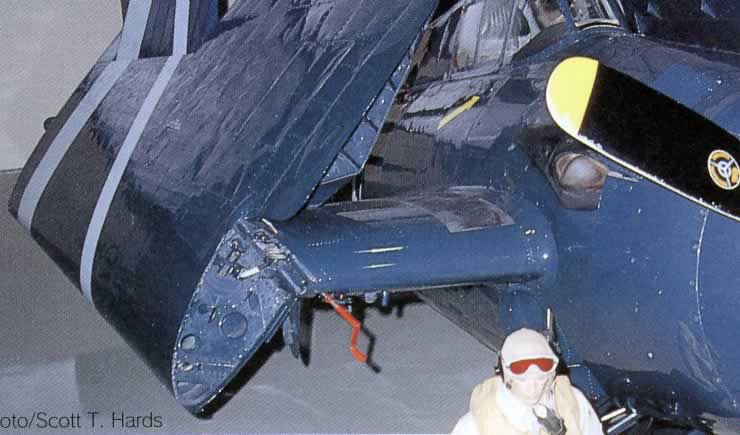
Unlike the left wing, my client wanted the right wing in its folded position. I looked at the three books I have on the F4F, including my Wildcat photos from my WW-II scrapbook. Not one photo shows any F4F with only one wing folded whether it's parked on land and/or on a carrier deck. To me, this is dead wrong, but that's OK as my client wanted his model displayed this way.

I noted one other important item concerning the wings being folded. When both wings are locked in place with the "Jury Strut" attached, both of the aileron's are in the "UP POSITION". So to all the expert modelers out there in model land, I have a question:::: When you put just one wing in its folded position, is the aileron in its' flight position and/or in a up position?
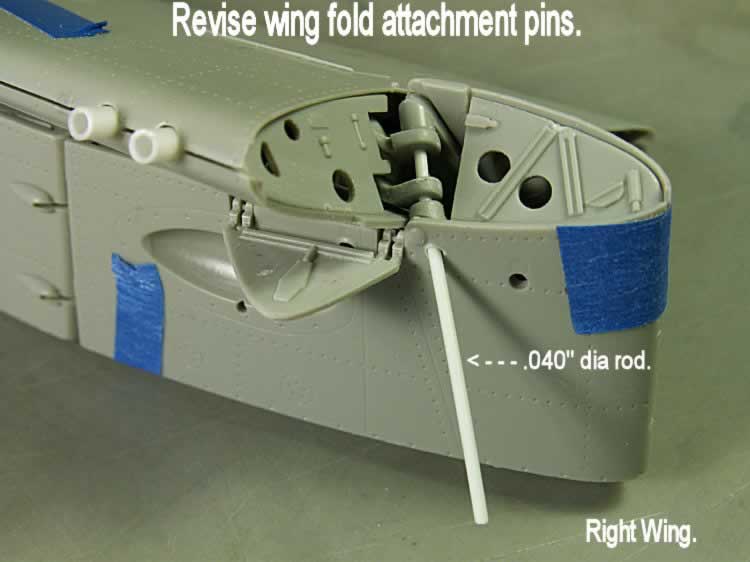
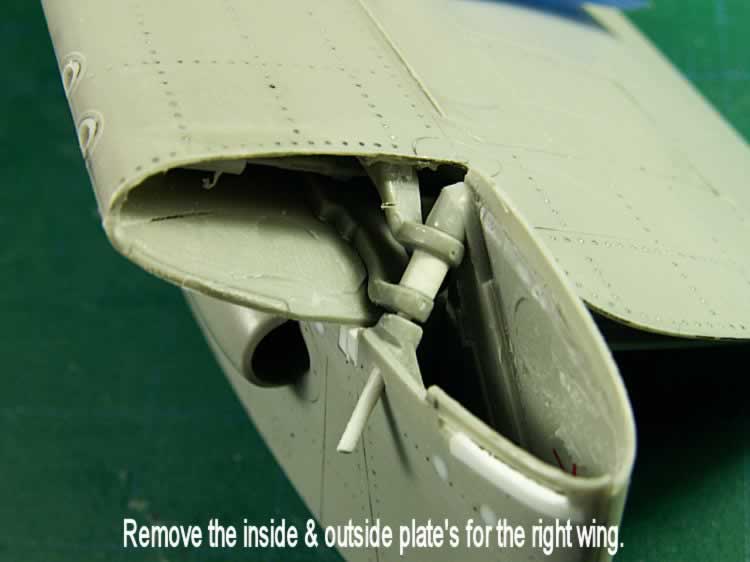
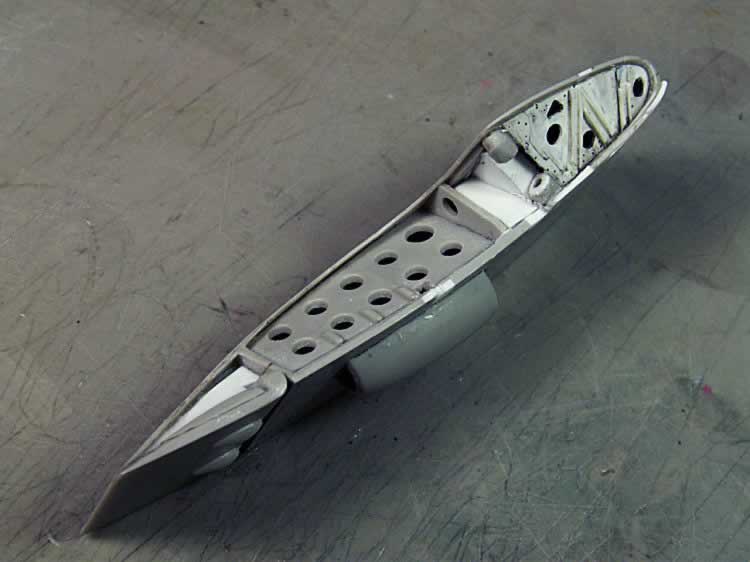
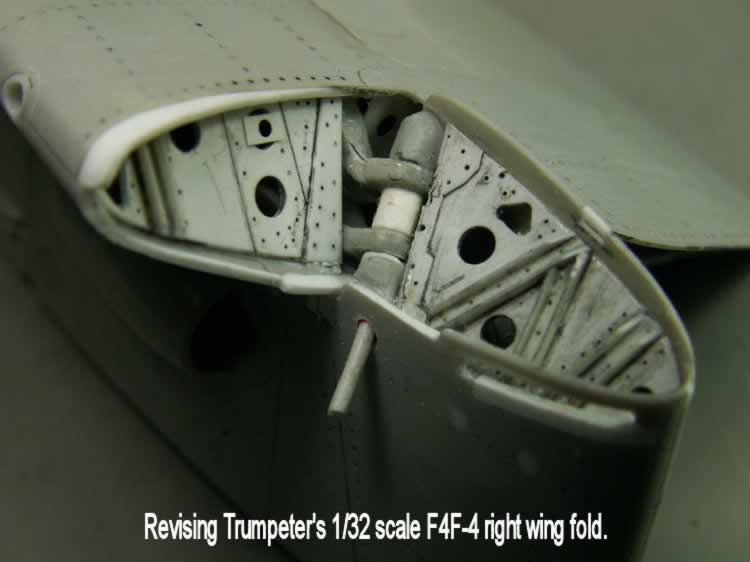
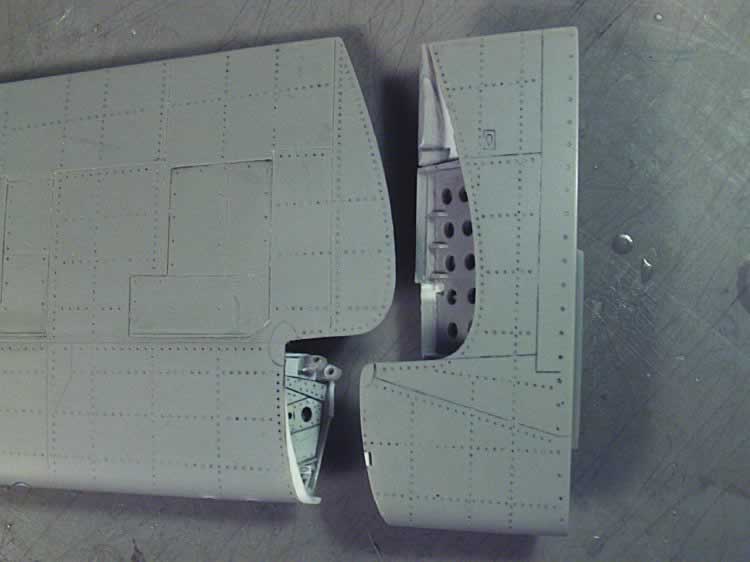
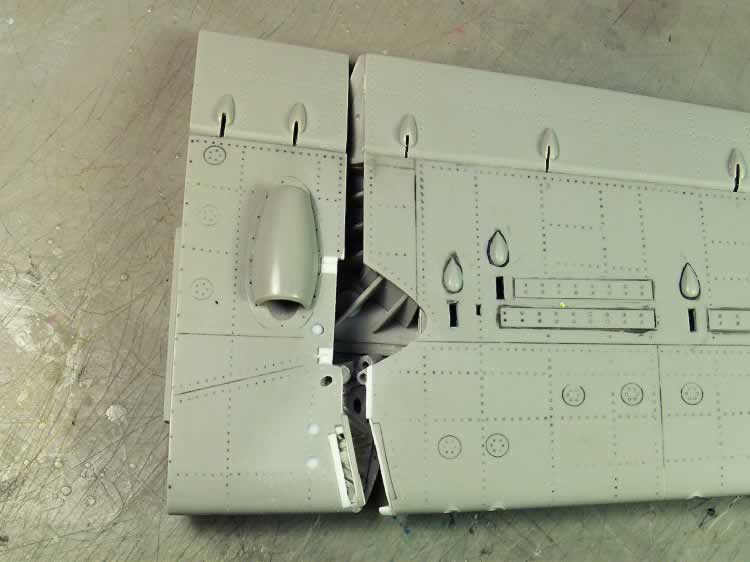
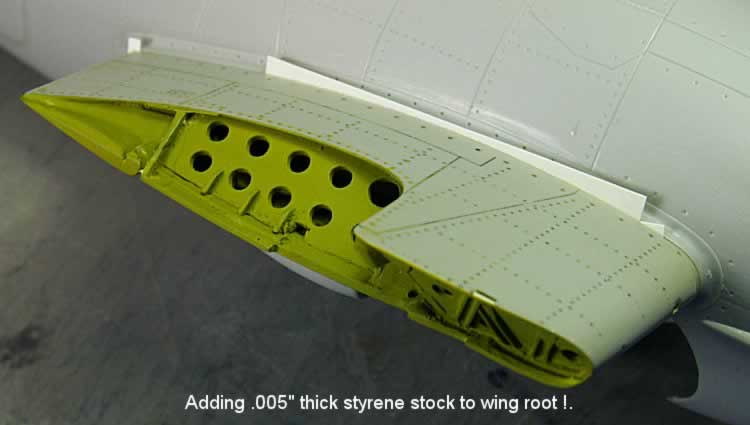
I whited glued all the parts together and followed the kit instructions. My problem was: If I permanently glued the 4 wing sections together, ( except where the pin-hinge system is located) it makes it difficult to work on the two wing sections when they can mover around and possibly break the hinges. I revise mine and drill in a hole down through the lower hinge. NOW, I can work on both wing section without the worry of breaking the plastic hinges.
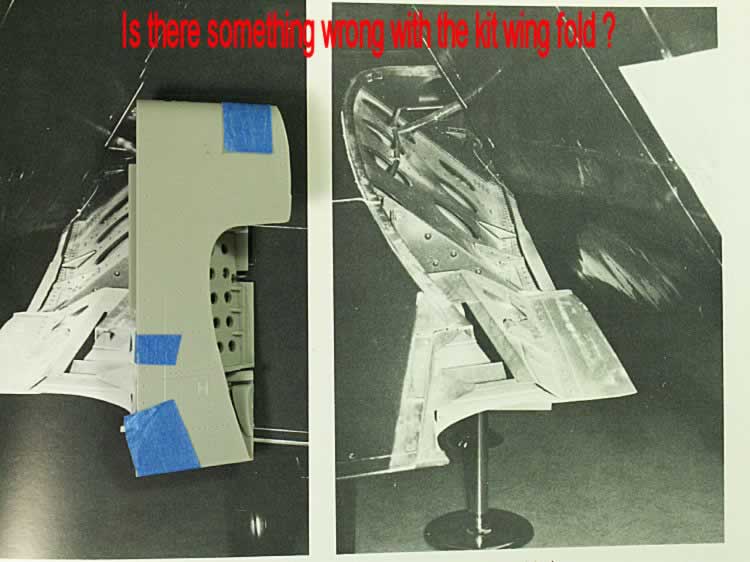
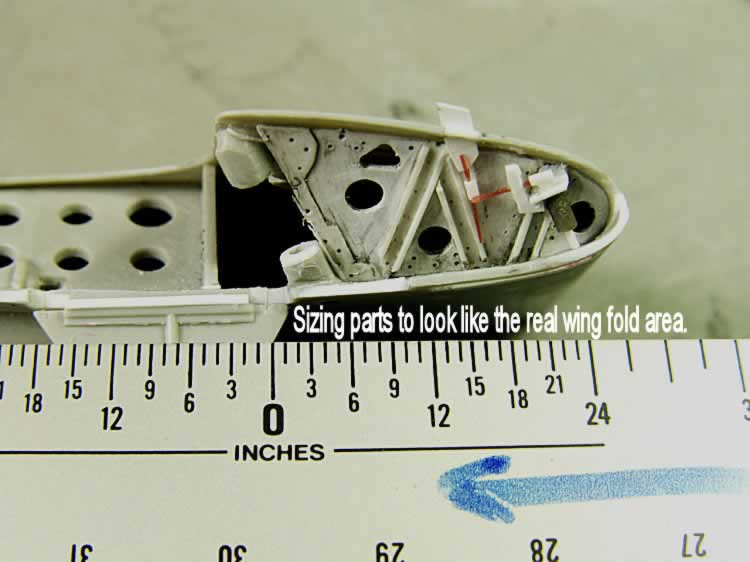
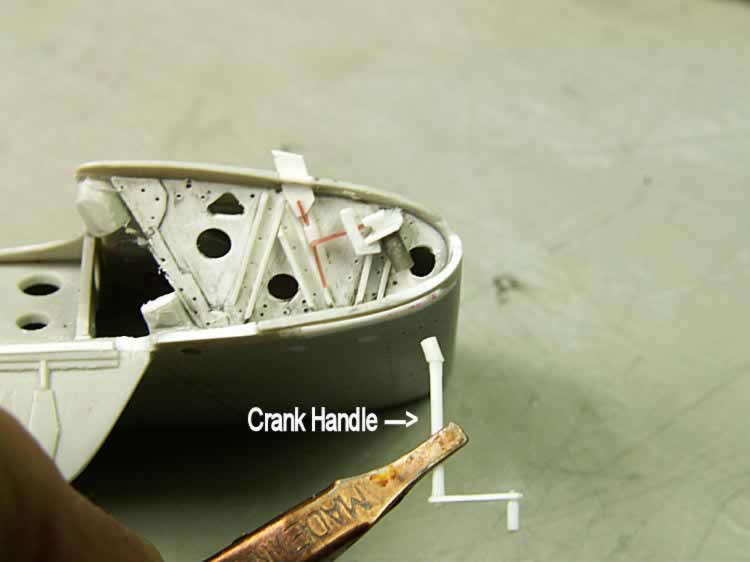
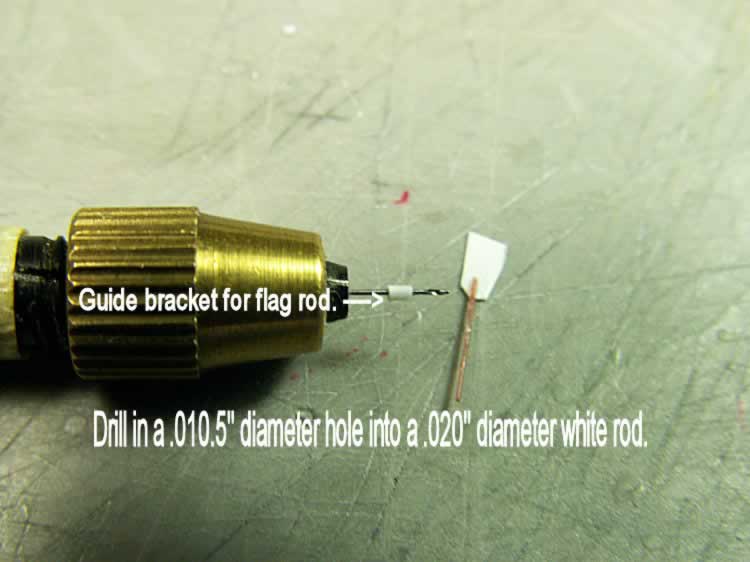
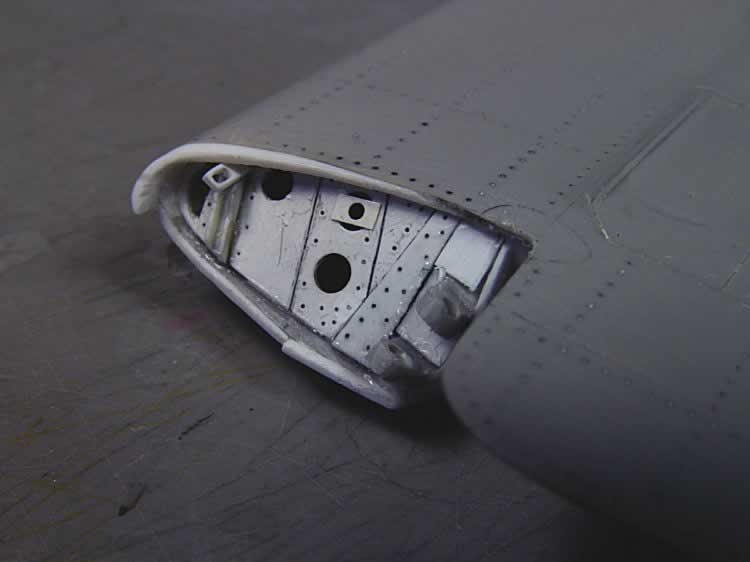
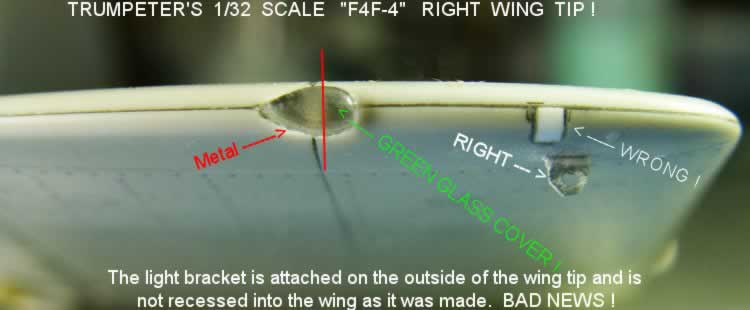
This model is to be built "OOB"...but I say no way am I going to put my name on a model, that has so many missing parts, including parts that are not made right.
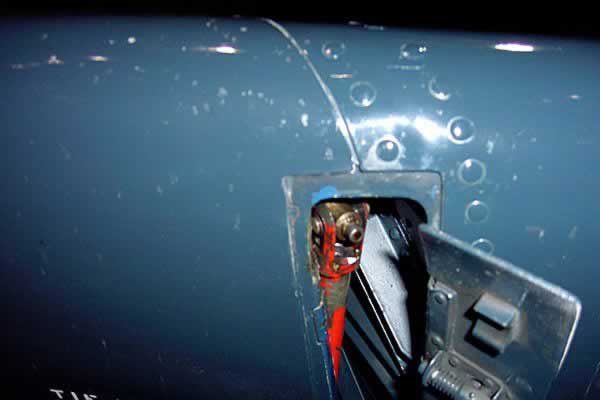
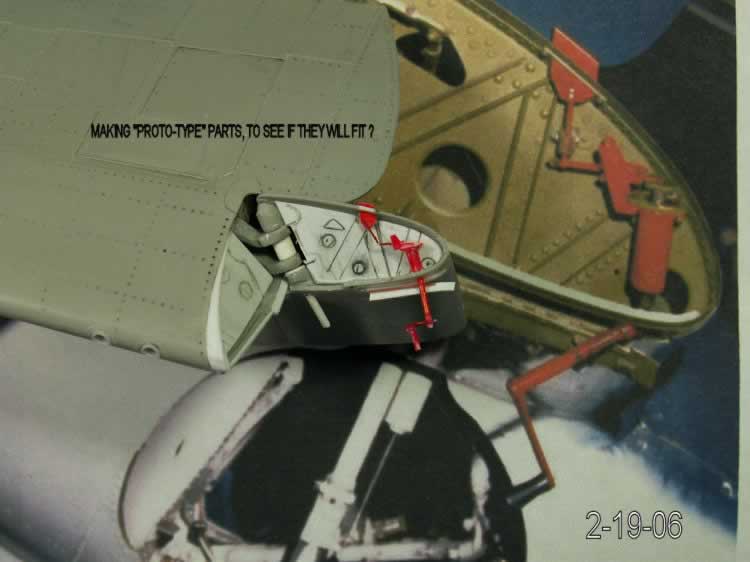
I email Clarence Wentzel who lives near the Kalamazoo Museum. Clarence was so kind to go over and get me some extra wing fold photos. What you see in the real photos is what I tried to accomplish on the kits wing fold area. I just tore out some of the wing parts and started from scratch.
A modeler wrote a story about his F4F-4 and said that he spent 25 hours building it. I did not keep a running account on building this model, but I'll safely say that I invested over a 100 hours on the right wing.
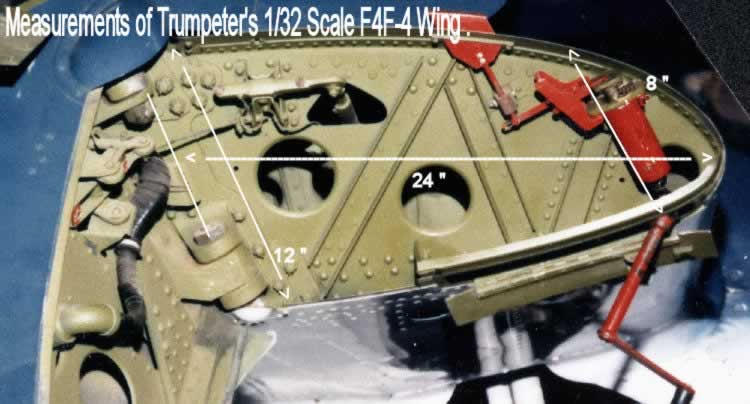
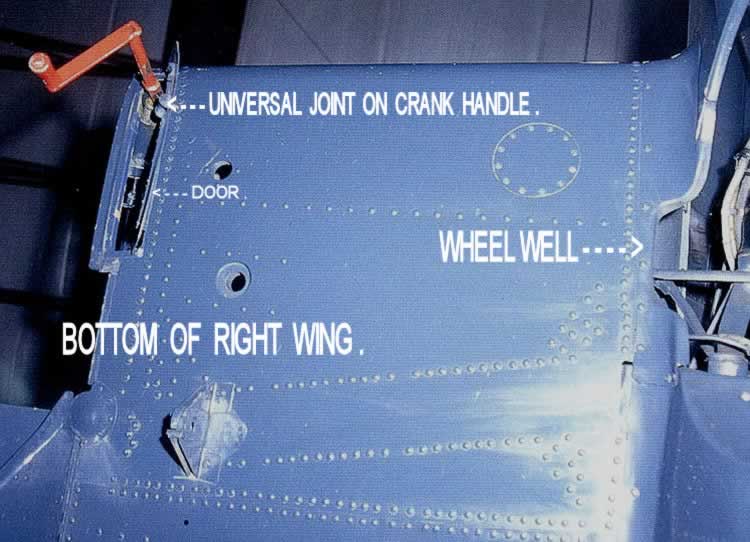
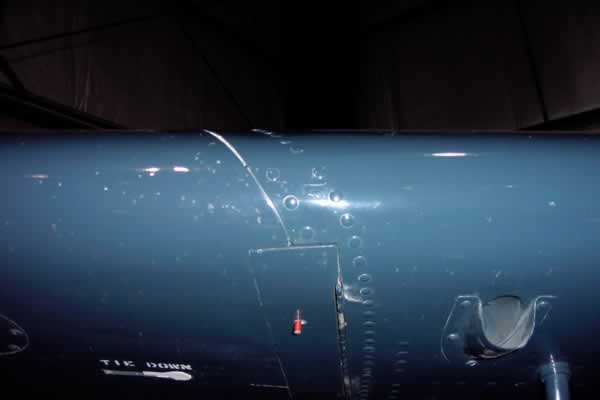
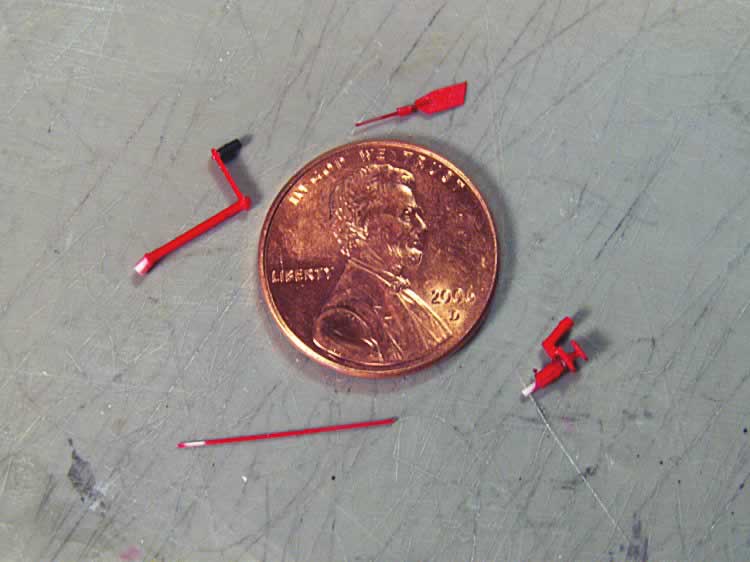
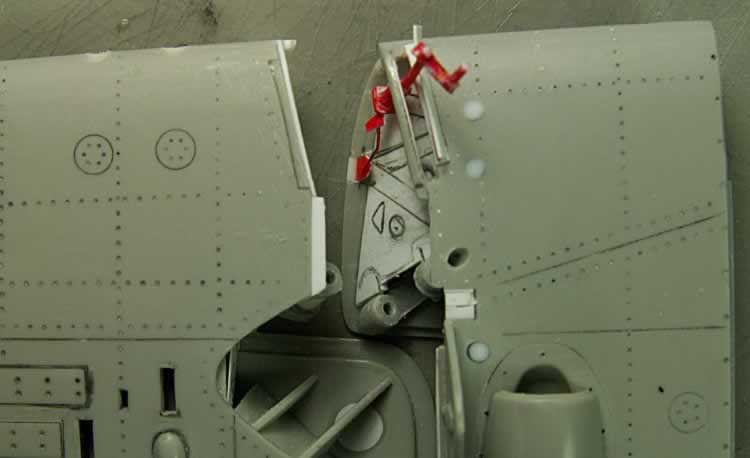
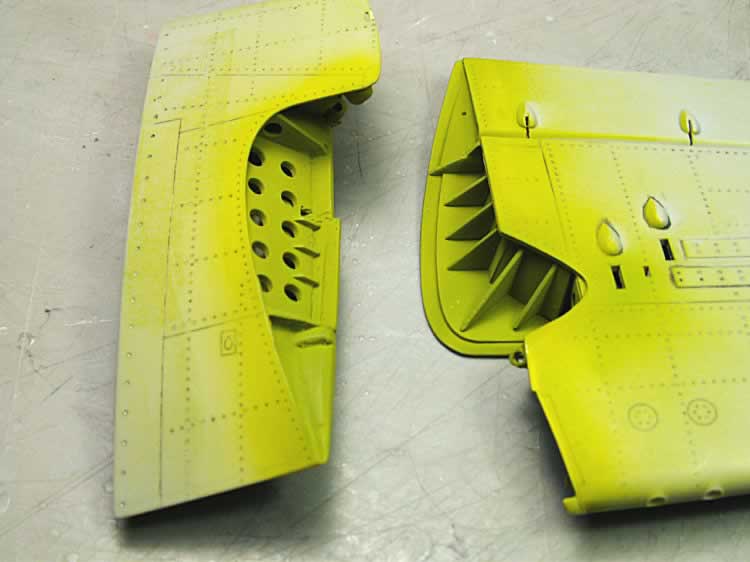
The rest of the photos have written note on them so let the photos tell the rest of the story.


In my next review we will work on the "OOB" cockpit...another surprise!
Part 1: The Left Wing | Part 2: The Tail | Part 3: The Right Wing | Part 4: The Cockpit | Part 5: The Wheel Wells | Part 6: The Engine | Part 7: The Fuselage | Part 8: Finish
Happy Modeling.
© Rodney Williams 2006
This article was published on Wednesday, July 20 2011; Last modified on Saturday, May 14 2016