
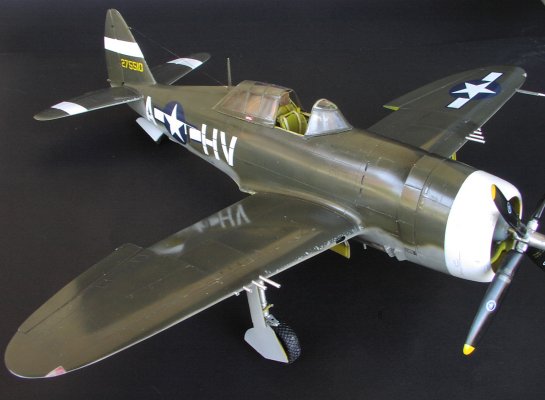
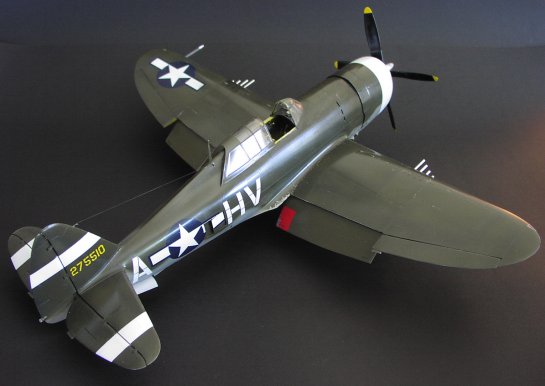
Revell 1/32 P-47D-11
By Chris Sherland
History
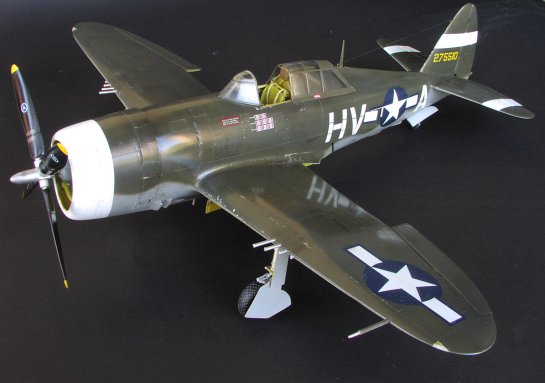
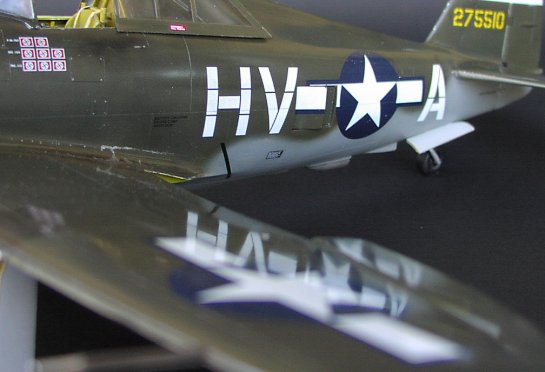
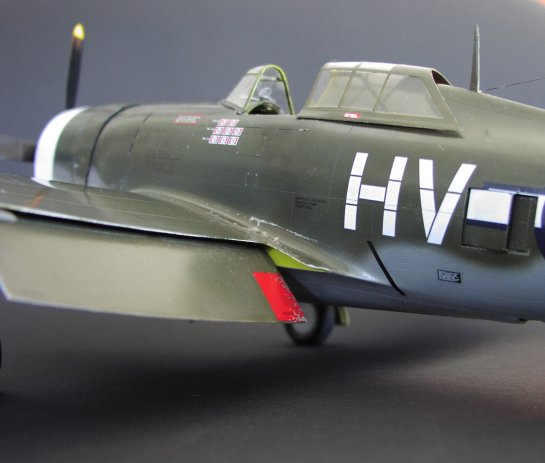
The build represents Francis "Gabby" Gabreski's second personal P-47 ("HV-A" 42-75510) while flying with the 61st FS, 56th FG, 8th AF, out of Halesworth in January of 1944.
Gabby scored 10 kills in this machine including 2 Fw 190, 3 Bf 109, and 3 Bf 110. The ground crews of the 56th FG were a critical part of that groups success. Early on it was decided by the 56th brass that all group ships be waxed for increased performance to help get any edge possible over the smaller more nimble German interceptors they fought. Gabby's D-11 was no exception, and I have finished it as it might have looked after a touch-up pass on it's wax job.
All 56th ships were repainted in March of '44 when 8th AF command loosened the leashes on fighter markings a bit. The ETO ID bands (white stripes on tail surfaces and band on cowling) were allowed to be removed/replaced at this time. The 56th chose red cowlings with red, yellow, and blue rudders to mark the 3 squadrons.
Gabby's D-11 is shown just prior to that repainting. While Gabreski's crew was meticulous at keeping this Jug clean and healthy, it was showing signs of major wear and tear in the form of staining and chipping as well as some denting in the cowling and wing leading edges.
The Kit
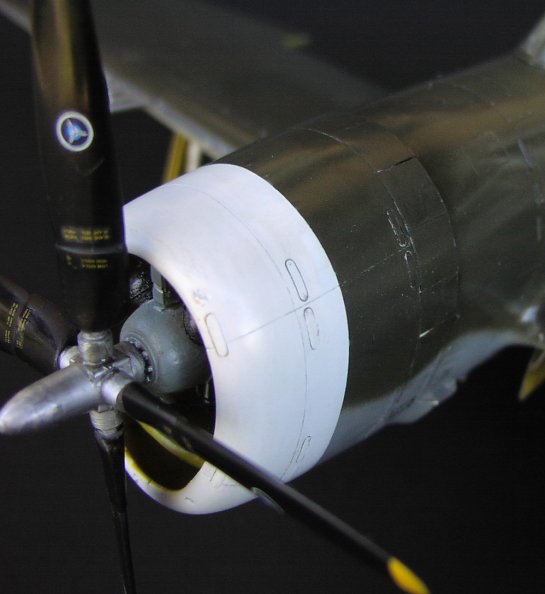
A lengthy article on the construction of this build is available (Building and Detailing the Revell 1/32 P-47 Razorback), so I won't go too deep here. Save to say that the kit was sanded, rescribed, and the J Rutman P-47 Detail set was used. Also a Teknics R2800 resin engine kit was used as a replacement for the kit motor.
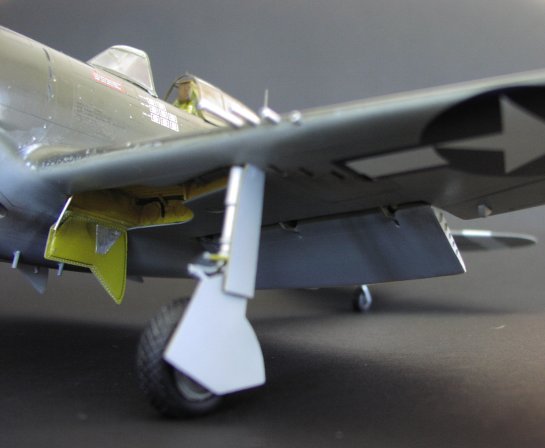
Painting and Weathering
Gunze, Tamiya, and Polyscale acrylics were used for the basic color application. I mixed the darker drab color from Gunze Olive Drab, Black, and Violet. Future floor wax was used pre- and post-decaling as a clear coat.
Once the Future coats were dry I weathered the ship with pastel chalks and Testor's Model Master Aluminum Non-Buffing Metalizer. A final coat of Future was buffed out using a soft rag and "Novus' Plastic polish No. 2."
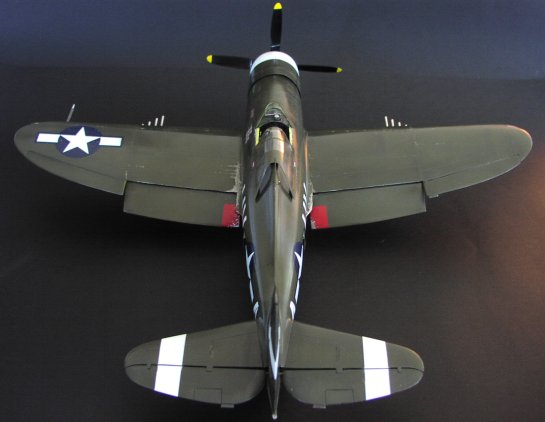
I wanted to capture the "Dark Drab" look I've seen in so many photos of 56th FG ships. The mix I settled on looked a bit dark at first but served as a great base for a pass with standard Gunze Olive Drab for panel highlighting. This gets that dark drab effect but still retains some good old olive drab tones.
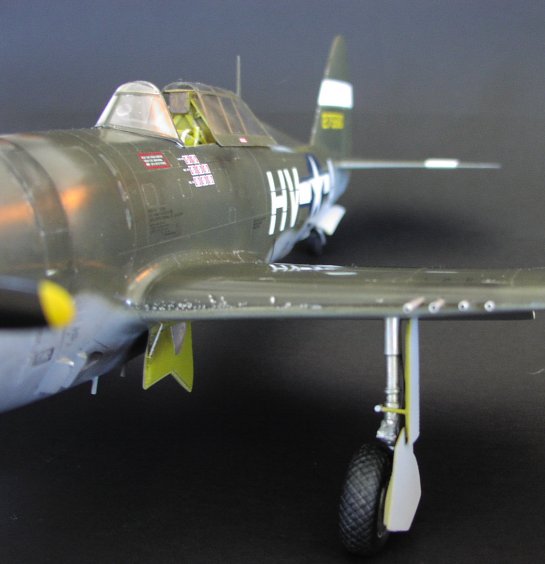
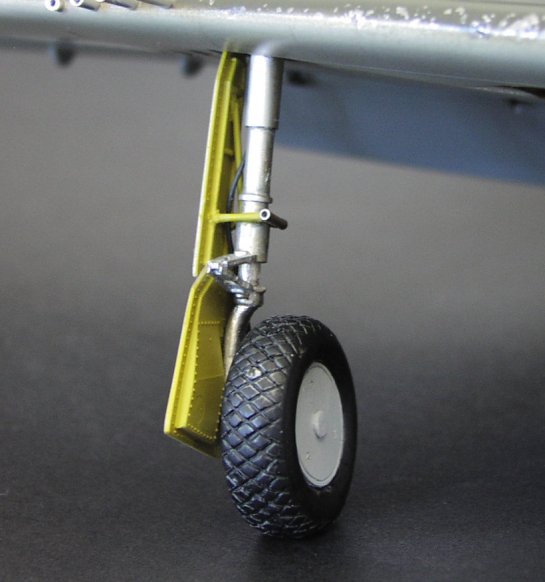
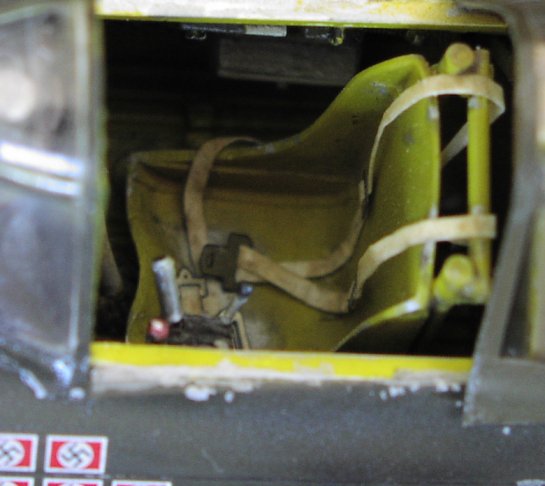
The build took me over a full year. Many distractions fractured any focus I had and the ship lay dormant for a good 3-4 months more than once. That said I found it hard to complete this build with any real consistency. Many hours spent scratching the gear bays and venting ports were contrasted by a very rushed completion that saw some fairly sloppy modeling. All told it was bitter sweet to finish this bird. From a couple of feet away she's stunning, but get out the magnifying lens and it's pretty grizzly in there.
This was my first (and probably last for a while) super detailed build. I learned a tremendous amount and honed lots of new skills. Above anything else it's raised my confidence level for new modeling challenges, and reinforced some old lessons over again.
As it sits it's no contest winner, but I can't find anything wrong with big Jugs in general!
© Chris Sherland
This article was published on Wednesday, July 20 2011; Last modified on Saturday, May 14 2016