
Tamiya 1/32 Vought F4U-1A Corsair: Goodyear Aircraft Production #4 - Part 3
By Rodney Williams
I continue this story with the finalization of the painting process and adding the rest of the kit decals.
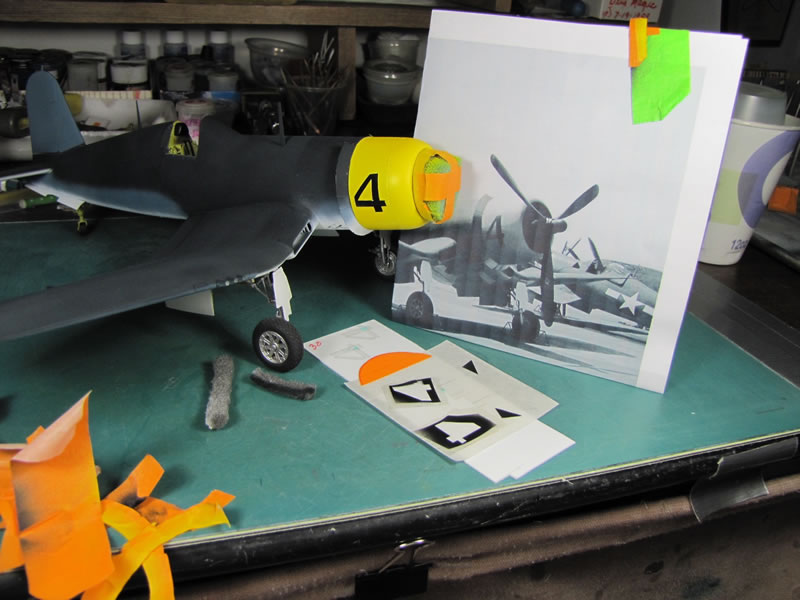
I have dozens of spare decals, including several sizes of numbers and letters. I did not find a suitable #4 decal so I knew that I had to make my own painting template. This presented no big problem as I have done this many times over the past 30 years of modeling.
I use some new flat white paper stock and proceed to draw the number four on the paper then cut it out with a new #11 knife blade. I place the #4 on top of the real photo of the Corsair that was at the 1946 Cleveland Air Races.
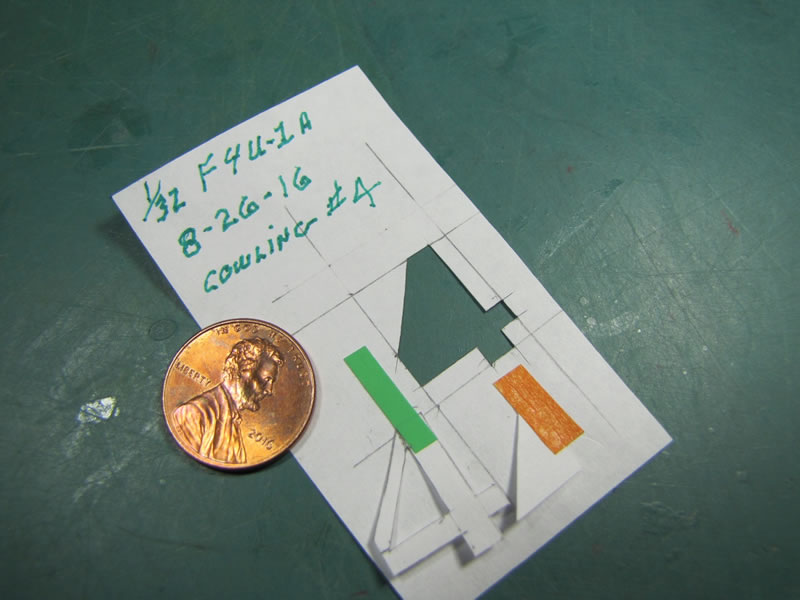
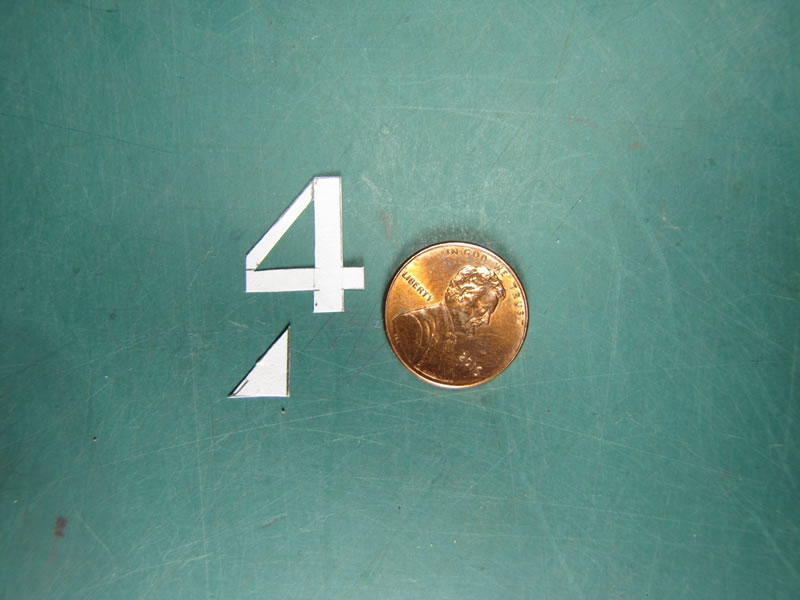
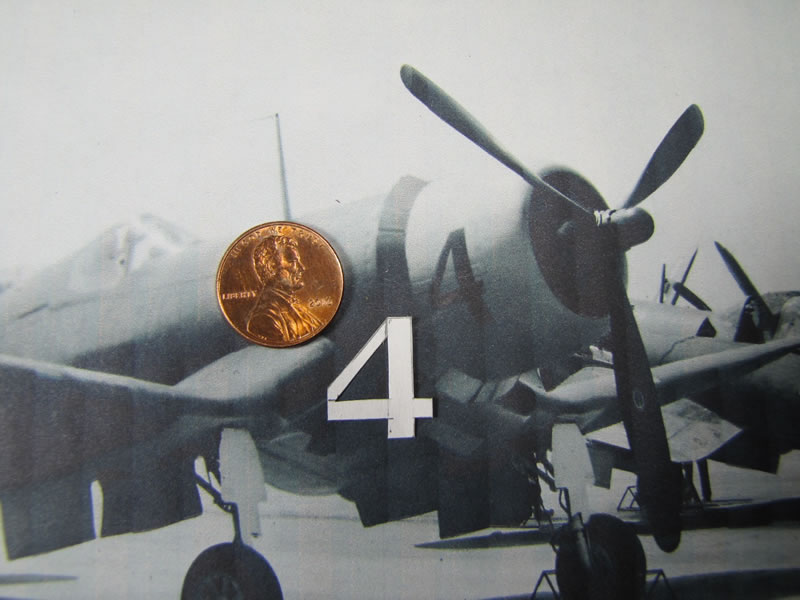
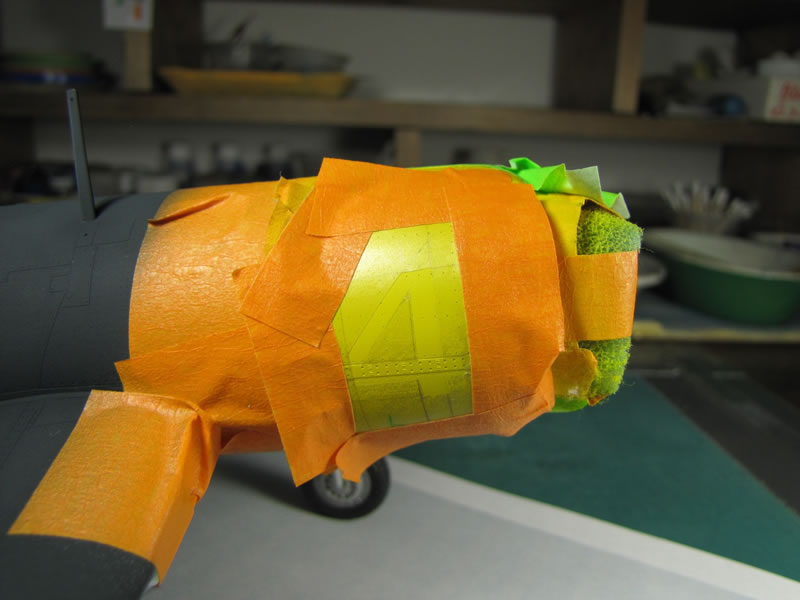
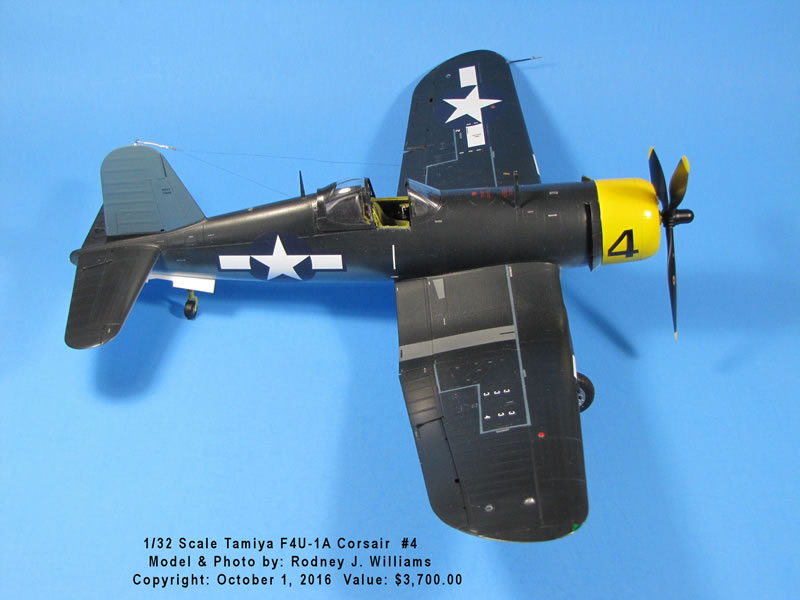
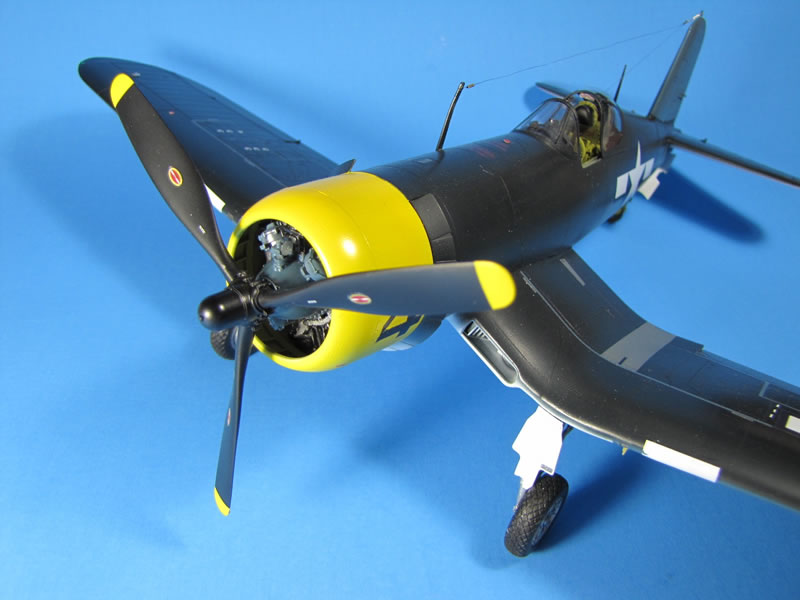
My white paper number is place on the right side of the pre-painted yellow cowling and I accept the outcome. I position the #4 on top of the artist frisket film that I bought in the mid 1980s.
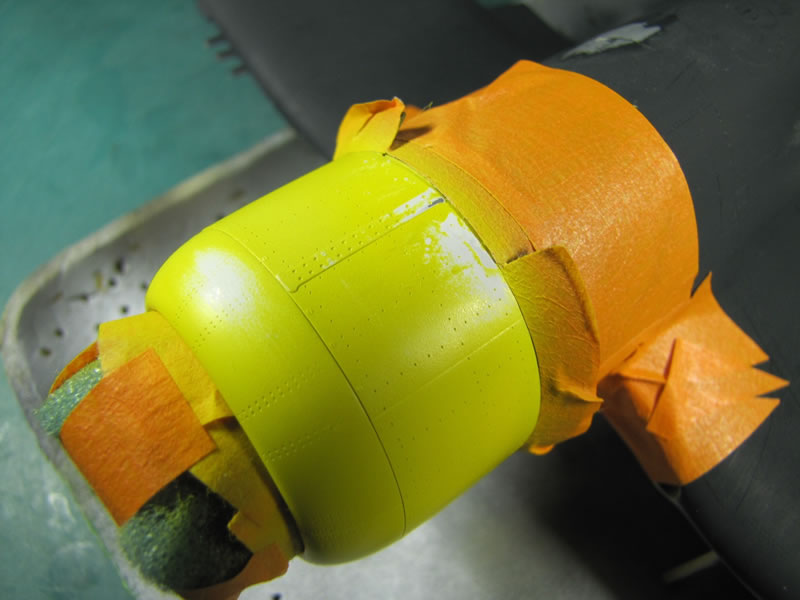
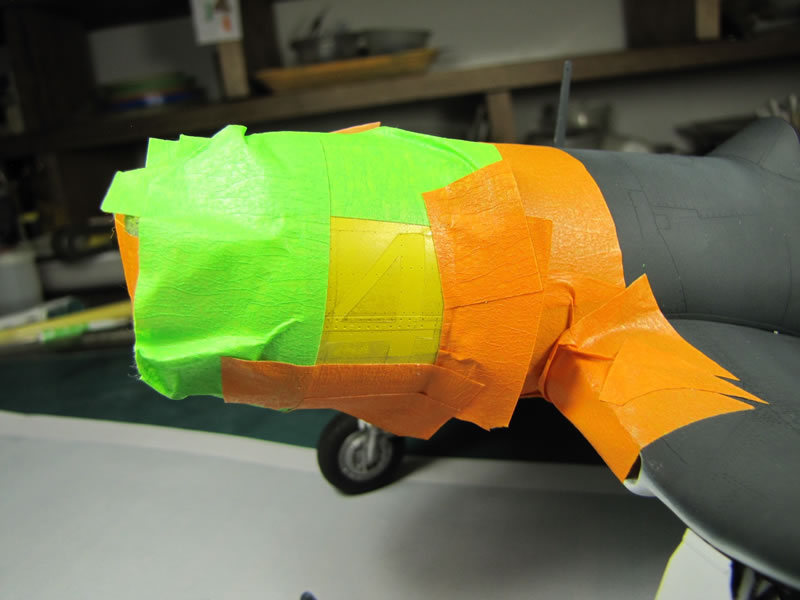
After tracing the number on the film it is cut out and I remove the backing paper then attach the #4 painting template to the right side of the cowling.
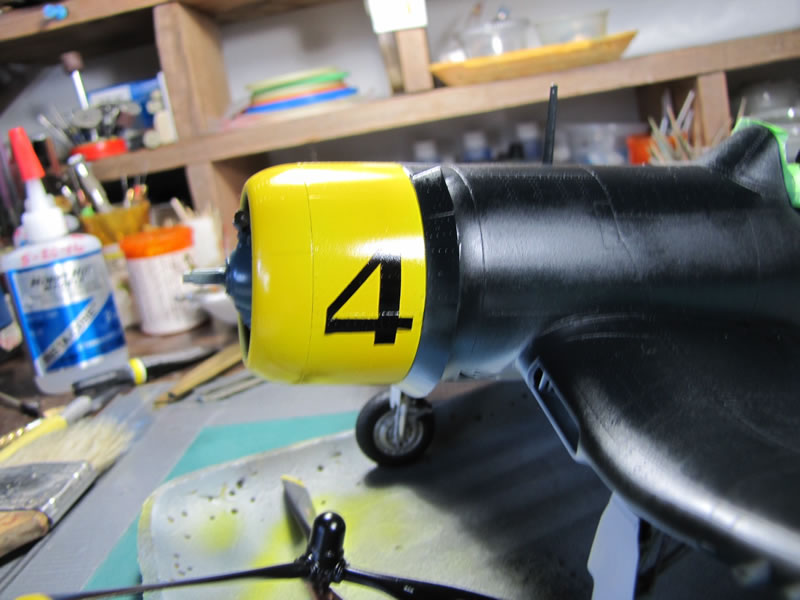
Next, I airbrushed on my Tamiya X-1 Gloss Black paint and let it dry for about an hour, then I removed the film from the cowling.
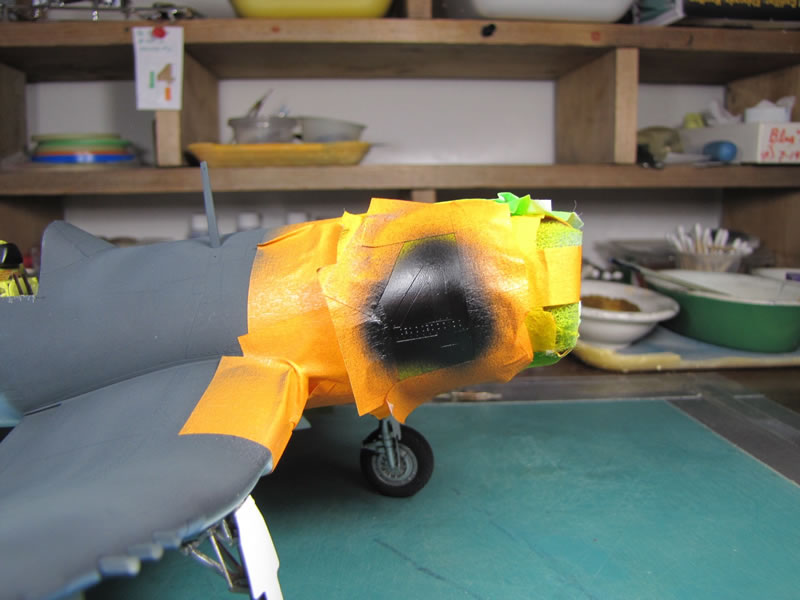
Even though the film is slightly over 30 years old it stuck to the painted surface and came off easy and did not leave any sticky residue nor pull any paint off.
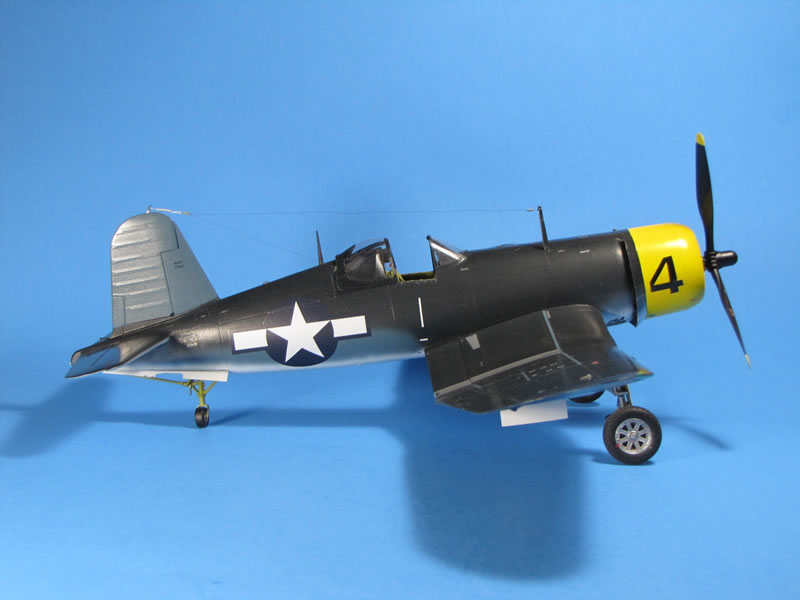
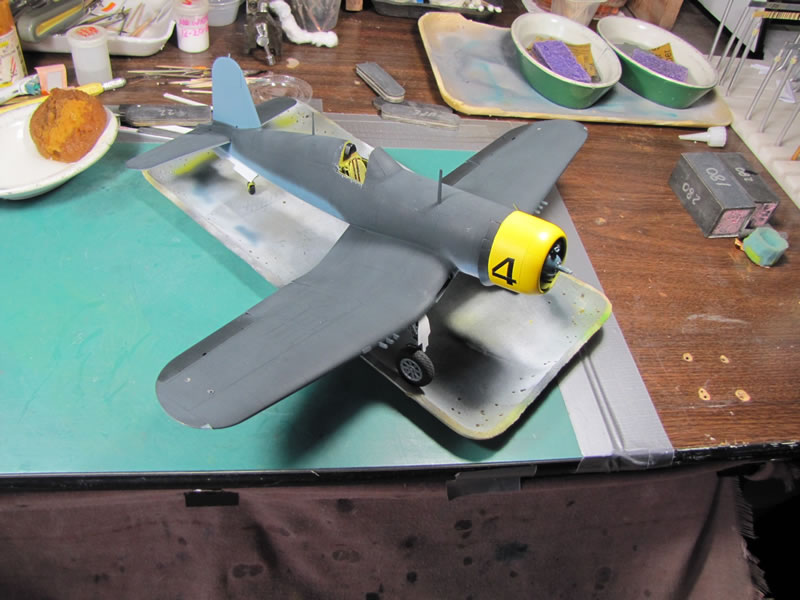
I place the printed picture of the real airplane next to the model and look at my #4 that I just painted on the cowling and I say to myself: “It’s good enough!”
I duplicate the same process on the left side of the cowling and it looks OK.
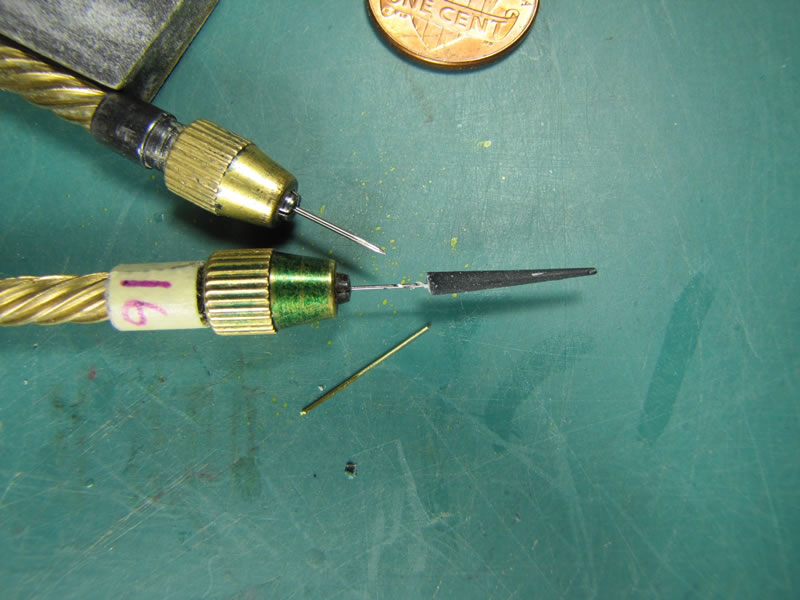
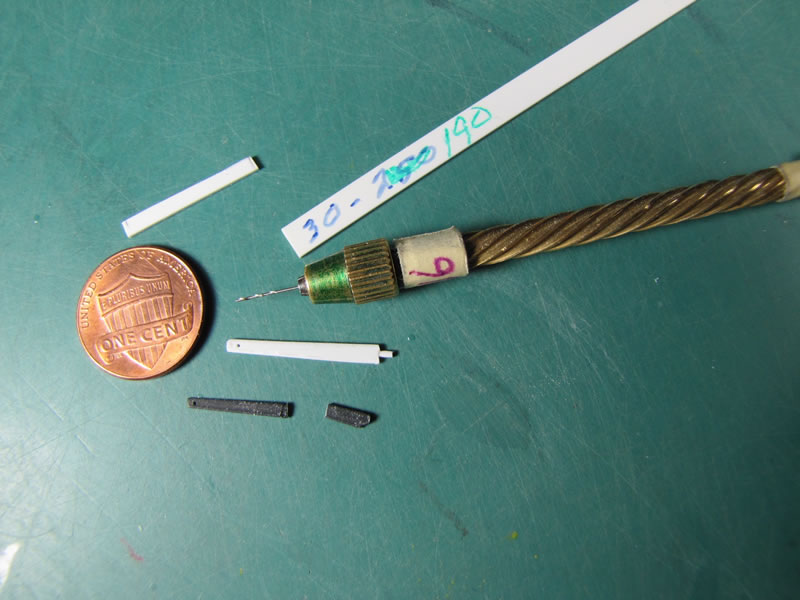
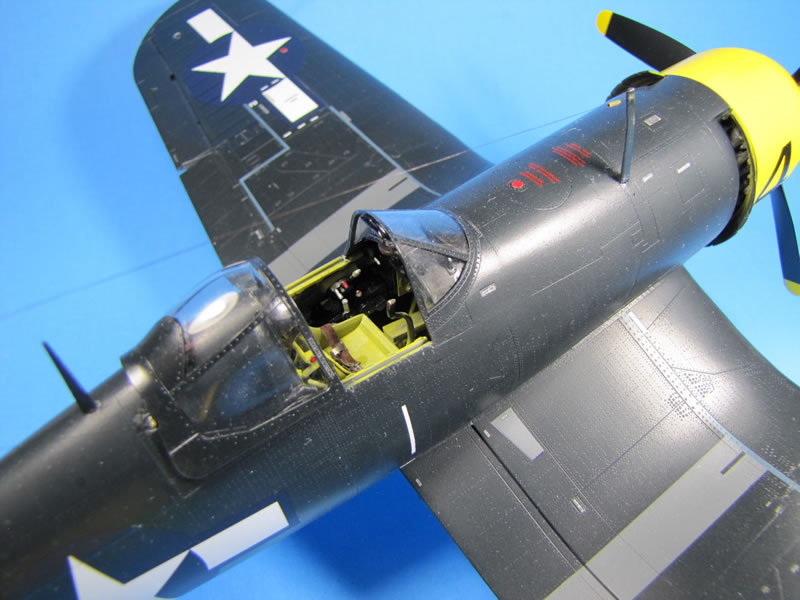
I luck out with my shaky hands and break off both antenna posts. I had to sand the areas on the fuselage and then re-drill in the two 0.16” diameter holes. I clean off the glue on the aft antenna post and re-drill in the hole so that I can re-insert the 0.15” diameter brass rod and then re-attach it to the model.
While working on the main antenna post I broke it again so I just made a new front post and then attach it to the model. After checking the alignment of both posts, I re-painted the areas.
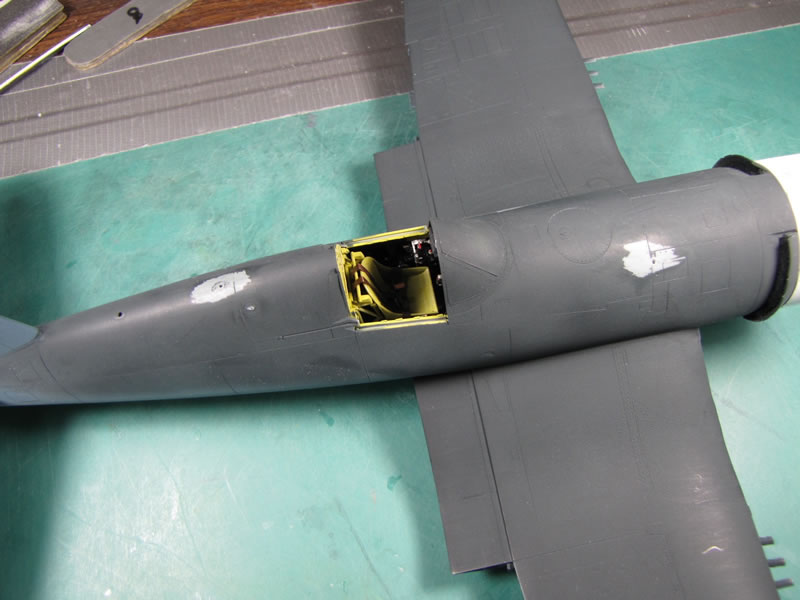
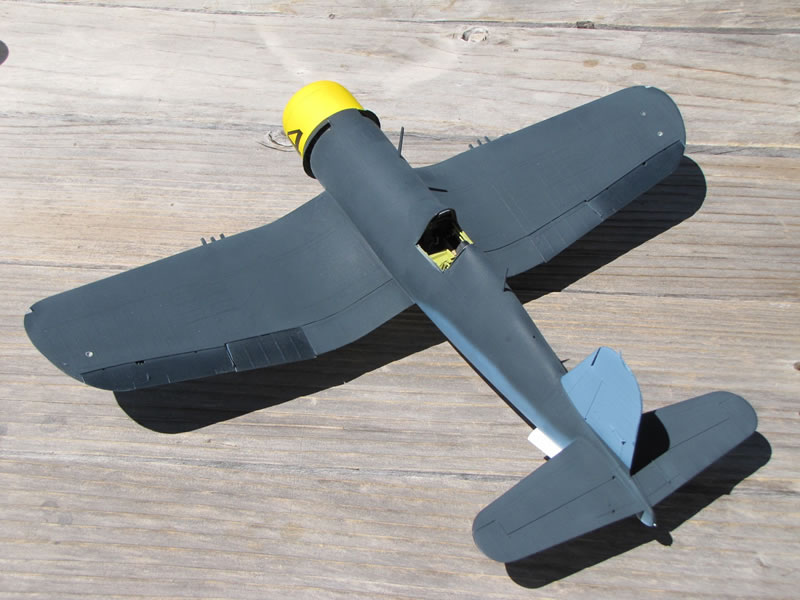
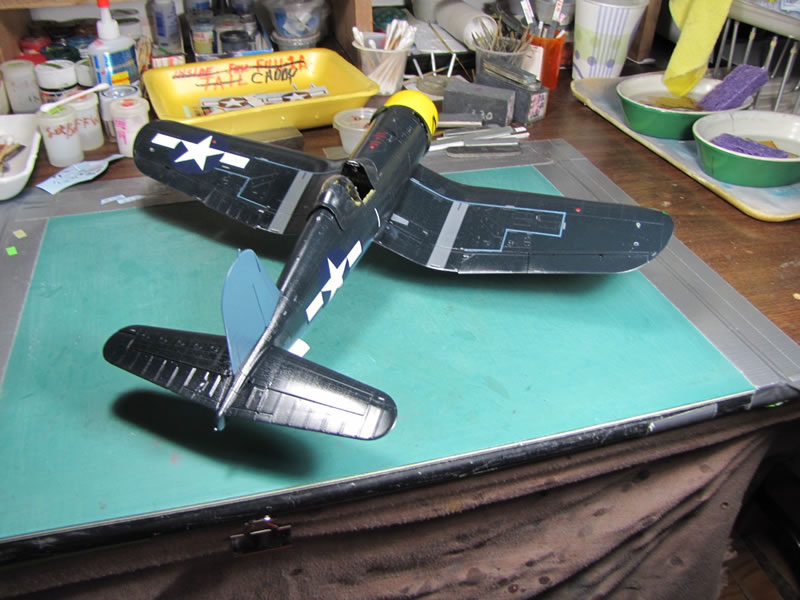
I had airbrushed some Future on the aileron parts and attached them to the model then I took the model outside and looked at it in bright sunlight.
You will note that the model shows two different colors.
However after the entire model is clear coated with the Future it gives off the darker gloss sea blue effect to the paint.
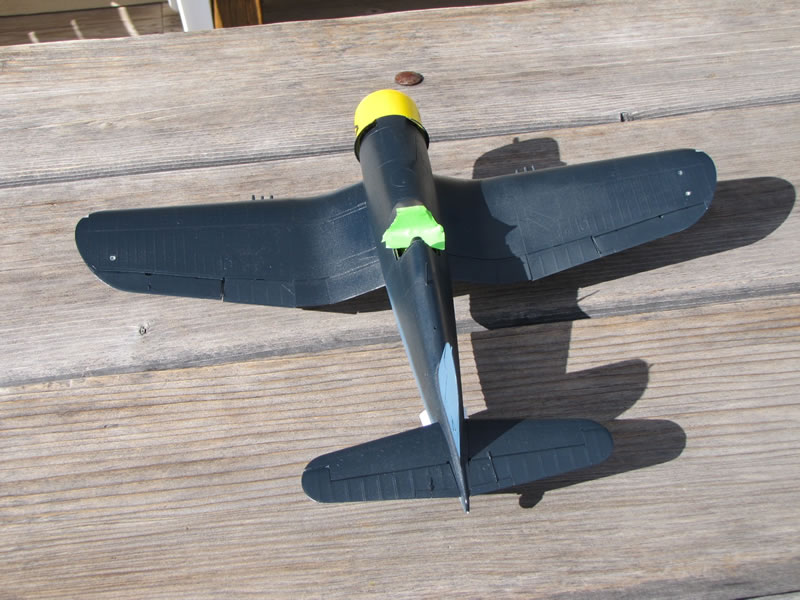
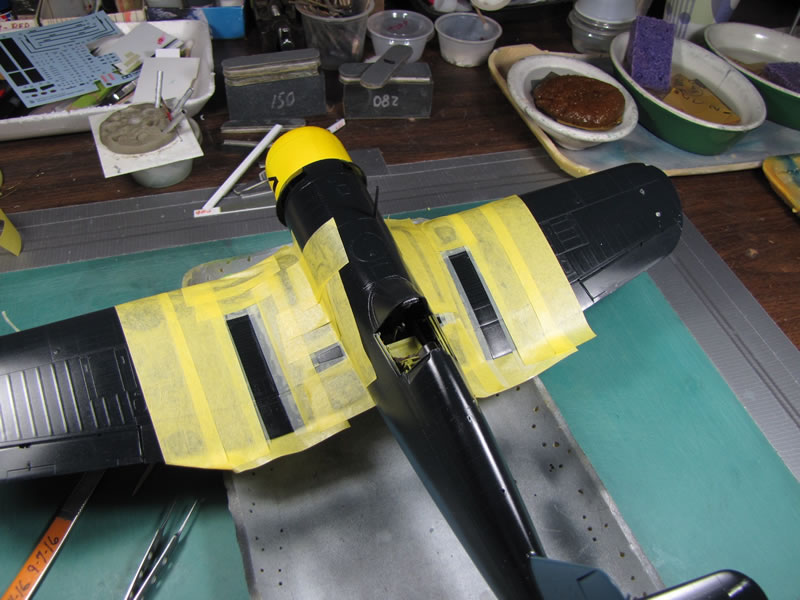
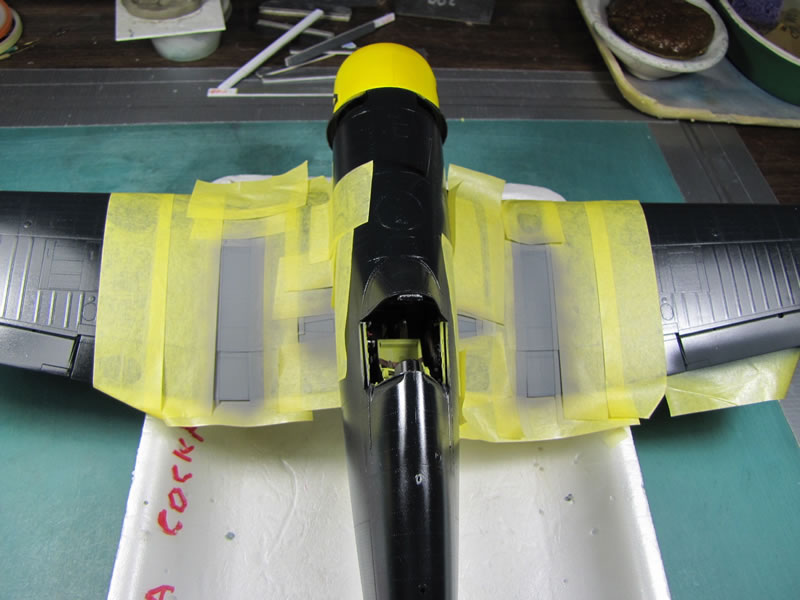
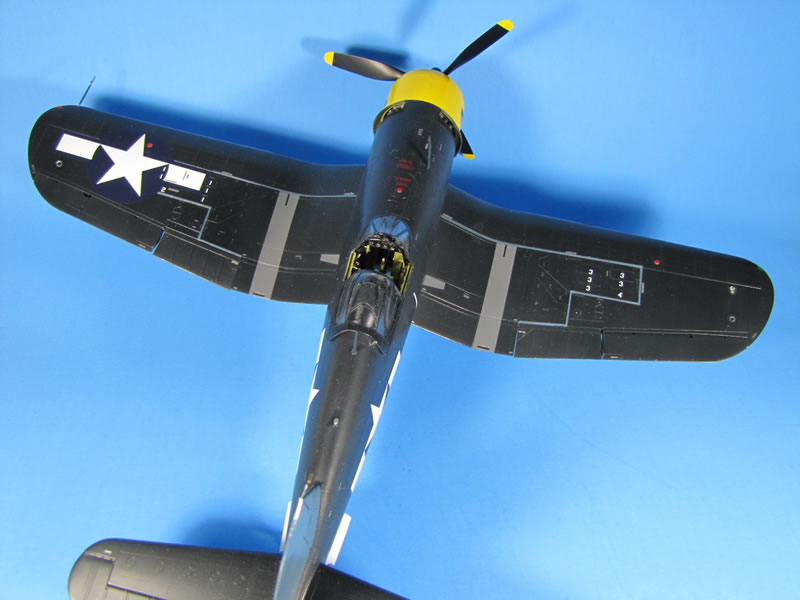
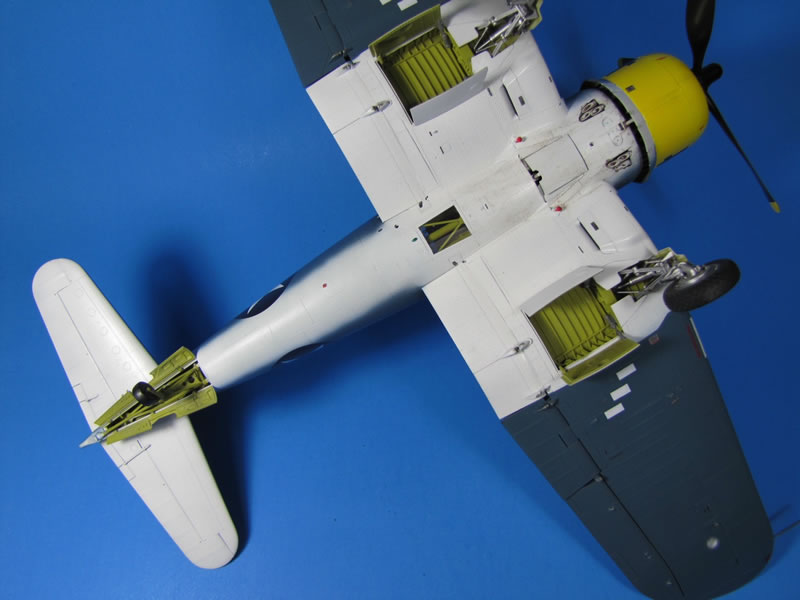
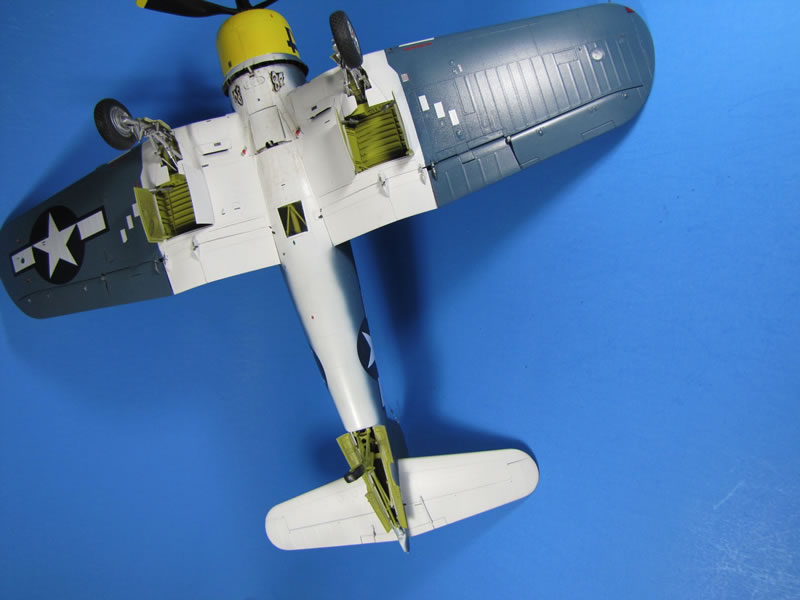
Due to my physical problem with my hands, I choose to paint on the wing walks and little stripes rather than try to apply the kit decals.
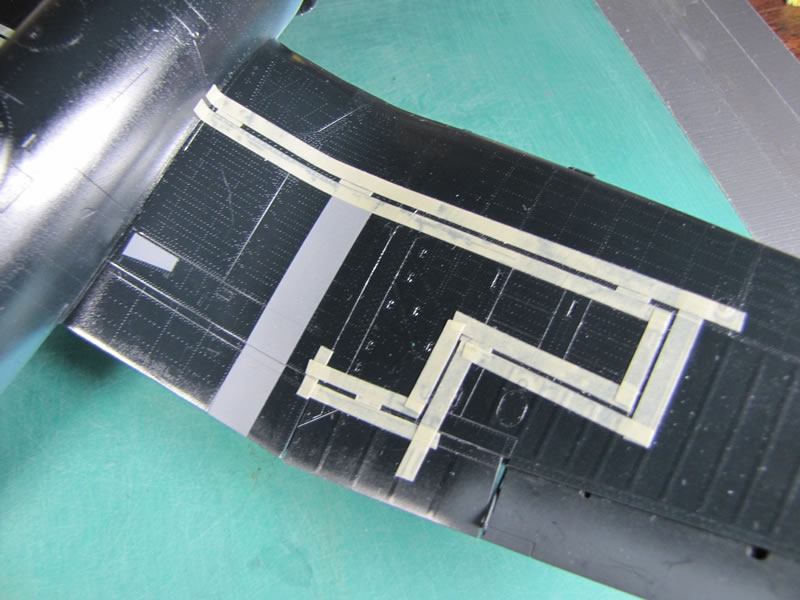
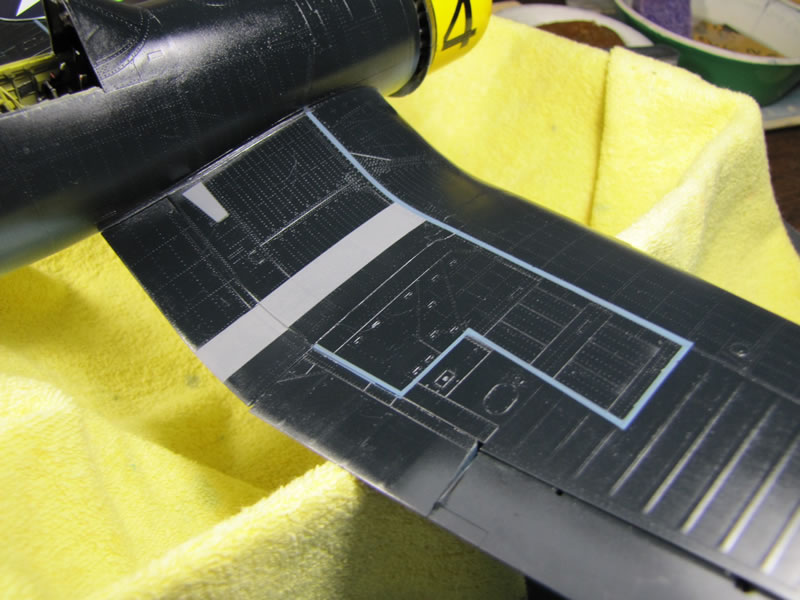
I mask off the wings with my fine-line masking tape and spray on some black paint then remover the tape in a couple of areas.
I could barely see the difference between the black and dark sea blue color, so I re-painted the walkways with a very dark grey color. I used my medium blue paint for the little stripes that were on top of the wings. The blue and grey colors are not the right color but just remember that I built the model for ME and not for a Customer.

If you do the same for your model and like it, well that’s it. If others don’t let it, it’s just tough luck for them.
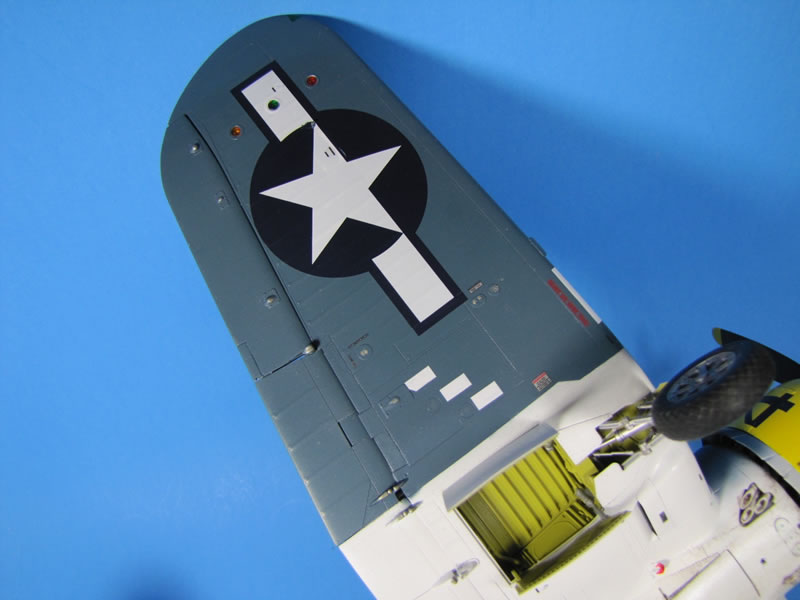
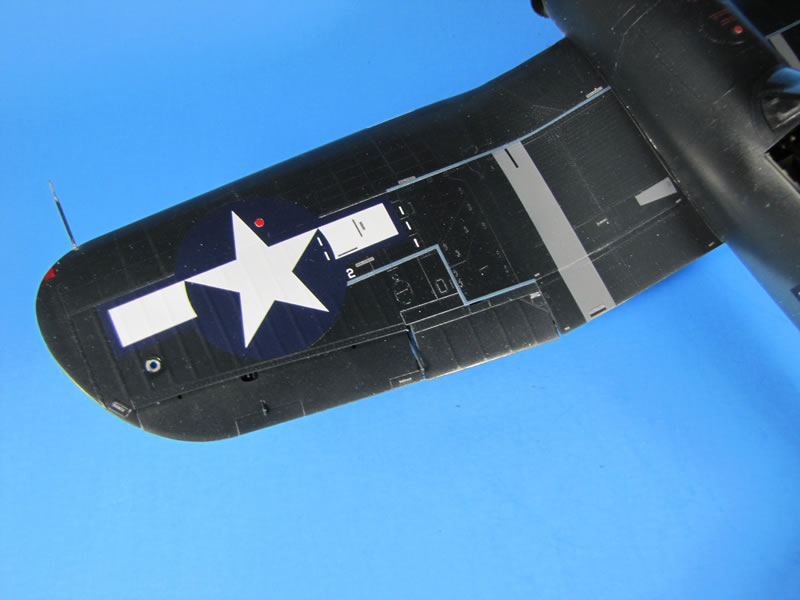
The kit insignias laid down on the model real good and the same goes for the other smaller decals.
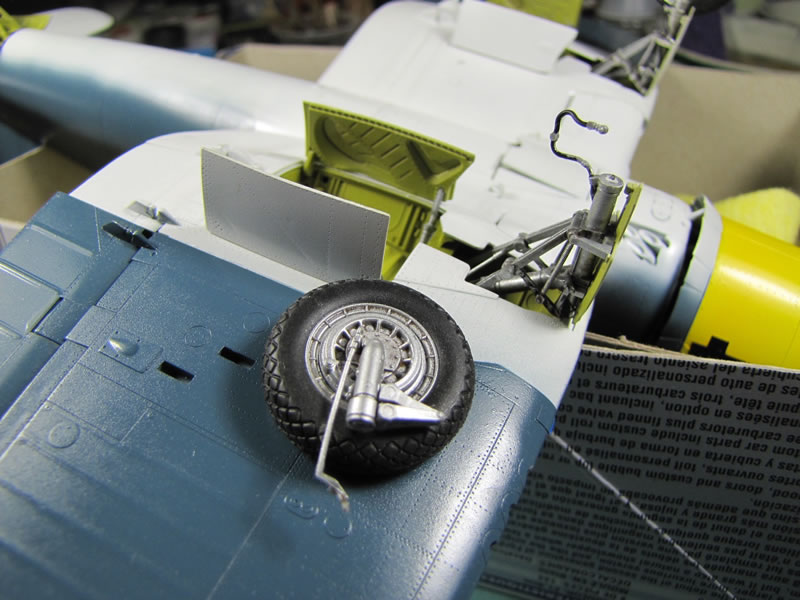
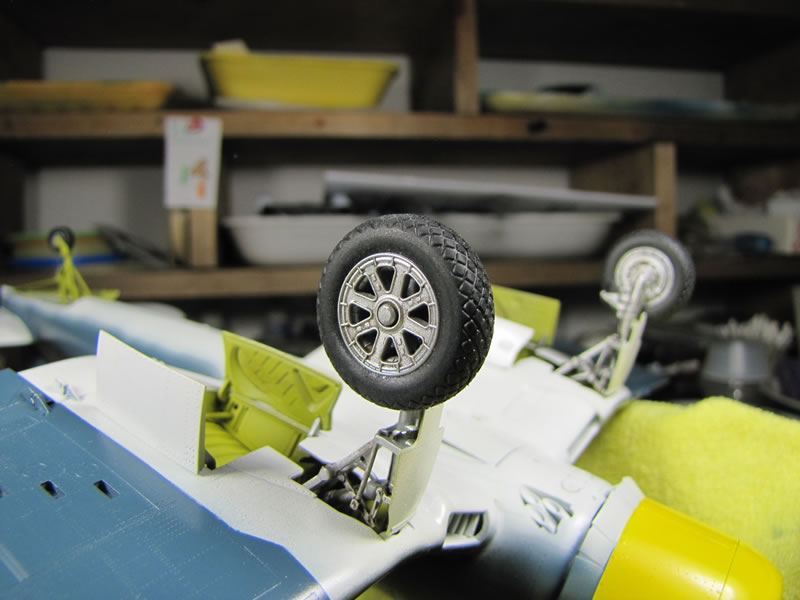
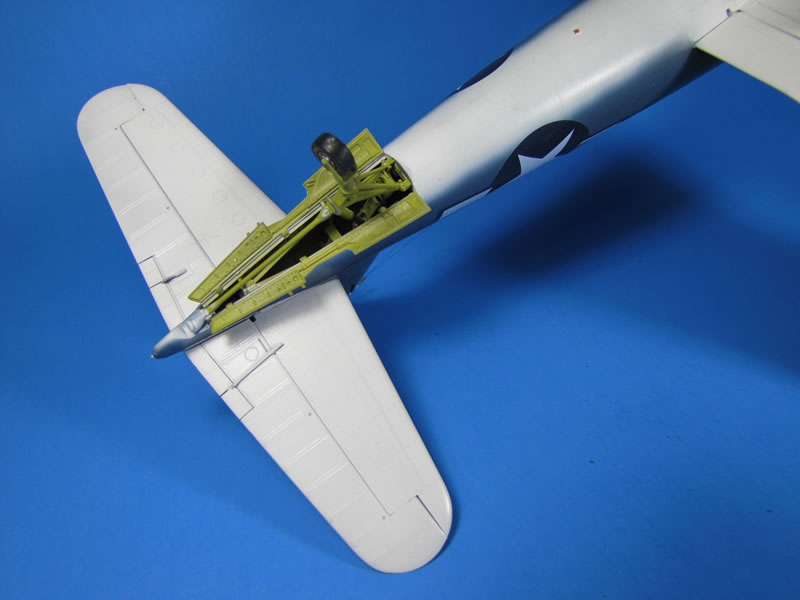
Last but not least, I broke off the left main landing gear and had to fix it.
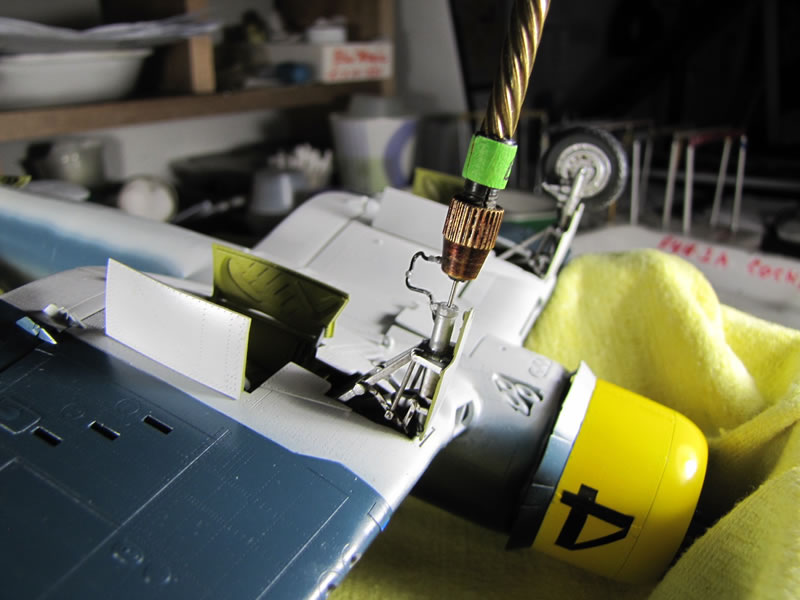
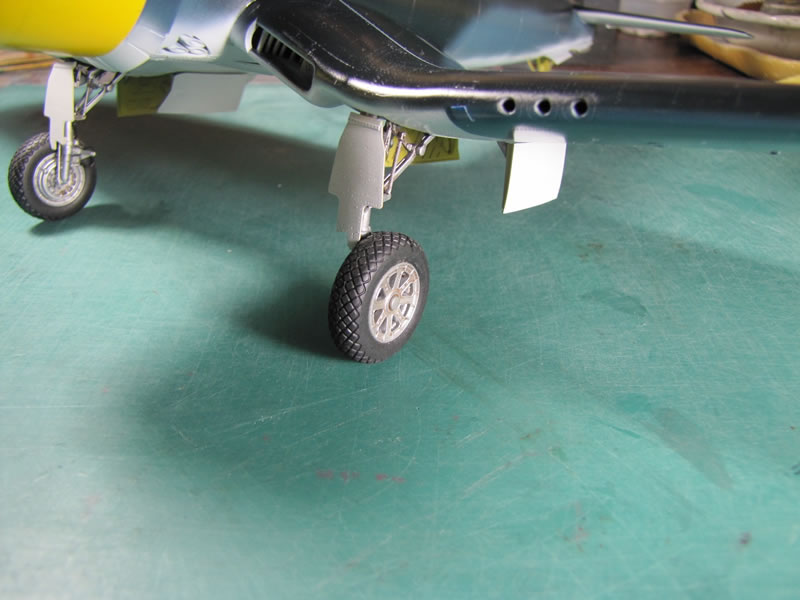
I attached the ladies black hair antenna wire, but I forgot to put on the tube that covers the spring part that is next to the rear post.
I took the model to the 2016 IPMS/USA GRAND JUNCTION, COLORADO’S annual contest, which is called Westfest. I was surprised that the model won an award for the following three reasons.
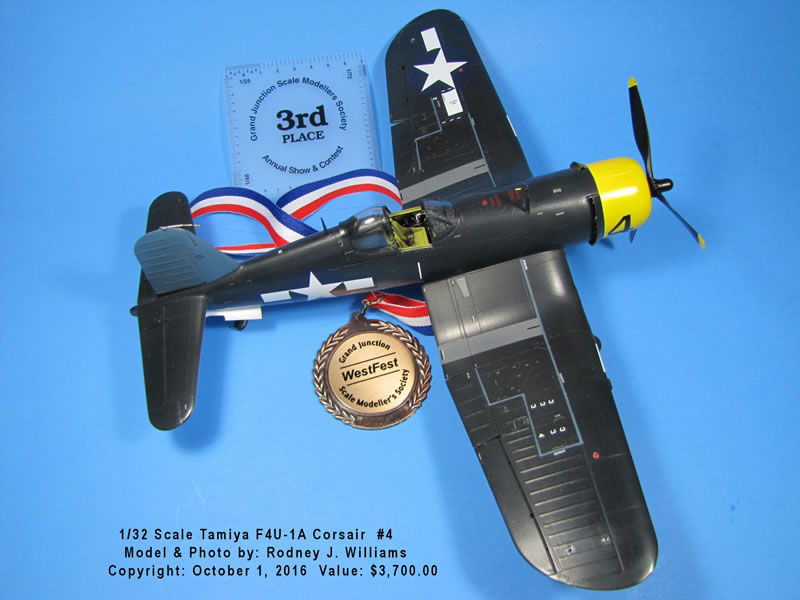
First off it had the wrong color of paint on top of the wings. Secondly, my main antenna post was bent over slightly toward the model’s centerline and I forgot to use the tube that goes over the rear spring.
© Rodney Williams 2017
This article was published on Tuesday, March 14 2017; Last modified on Tuesday, March 14 2017