
Tamiya 1/32 Vought F4U-1A Corsair: Goodyear Aircraft Production #4 - Part 2
By Rodney Williams
I begin this building segment by drilling a 0.16” diameter hole into the antenna post that is part of the rudder and slip in a smaller diameter short section of wire. The wire insures me that I have a nice hole to attach the spring on final assembly.
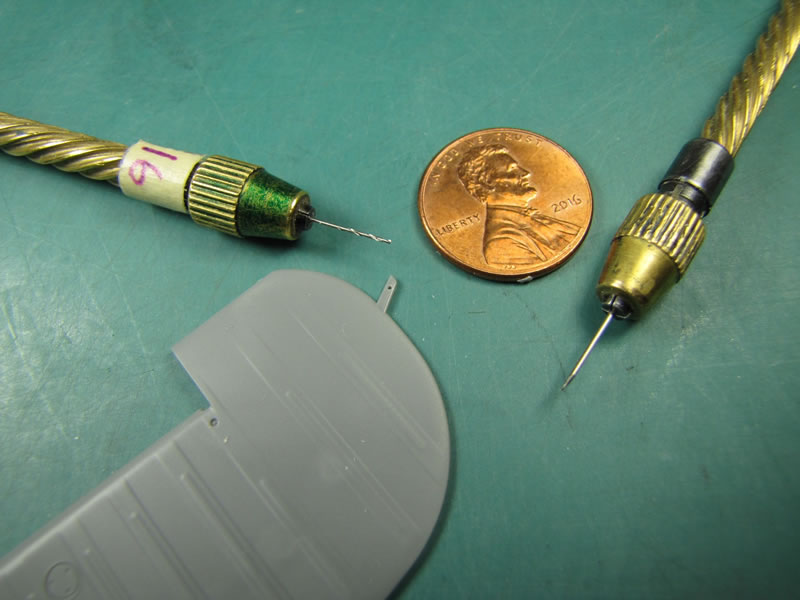
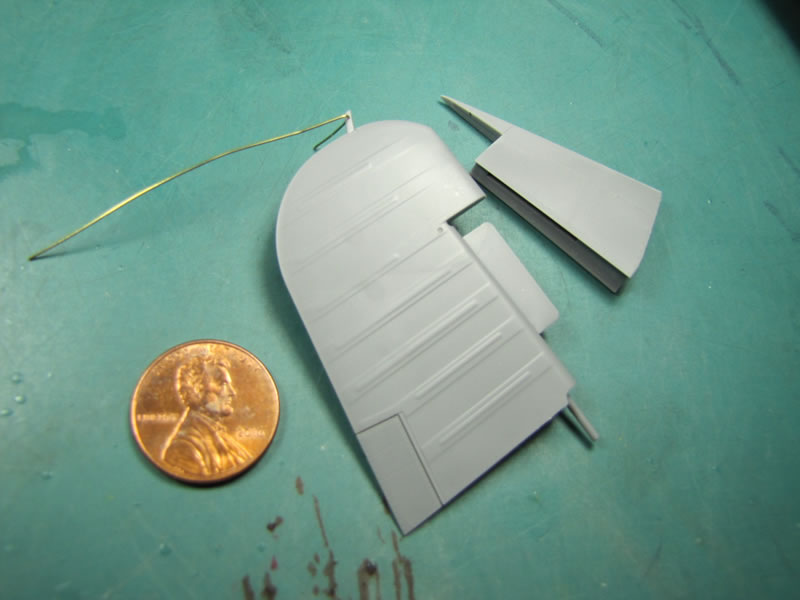
I remove the wire and tape a piece of foam-board over the post so I don’t break it off while attaching the fin to the rudder and then attach the fin/rudder combo to the top of the fuselage.
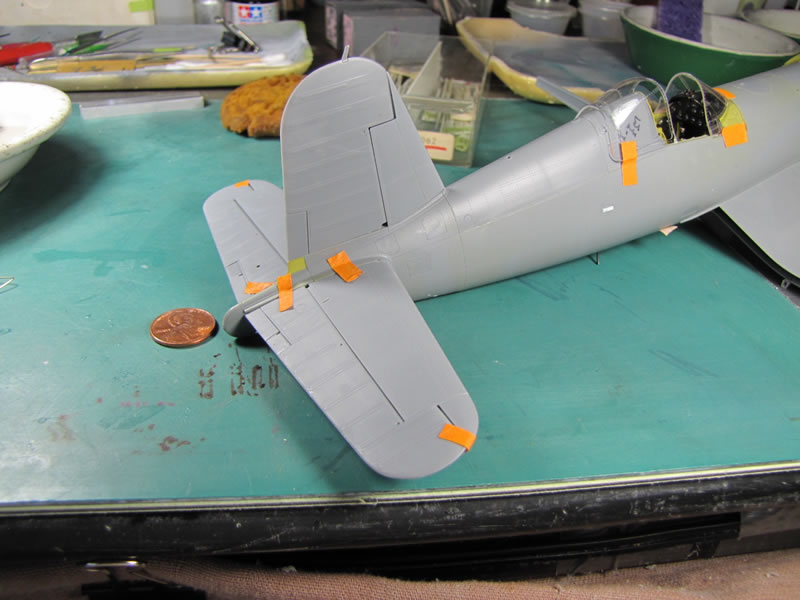
I do not have a photo of the foam-board on the fin, however one photo shows that the fin is ready to be attached to the rudder. Another photo shows that I have dry-fitted the tail units to the fuselage with some orange colored masking tape.
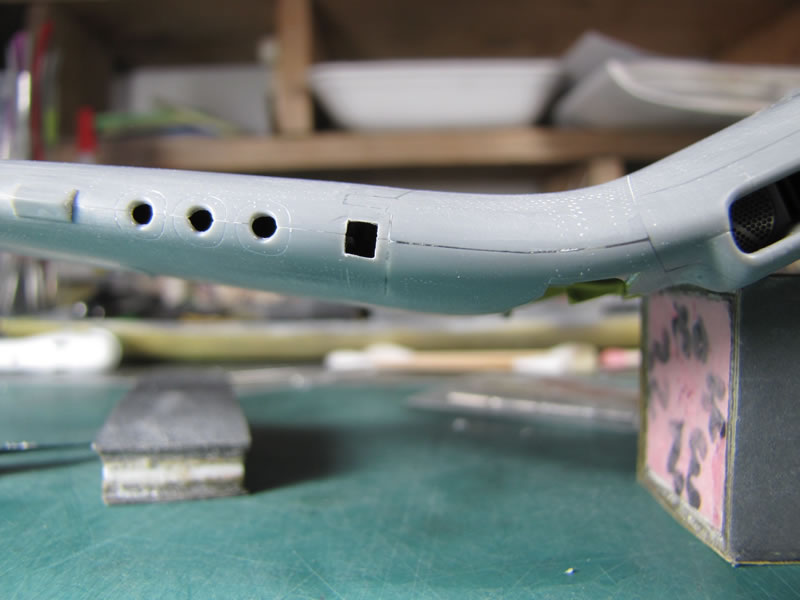
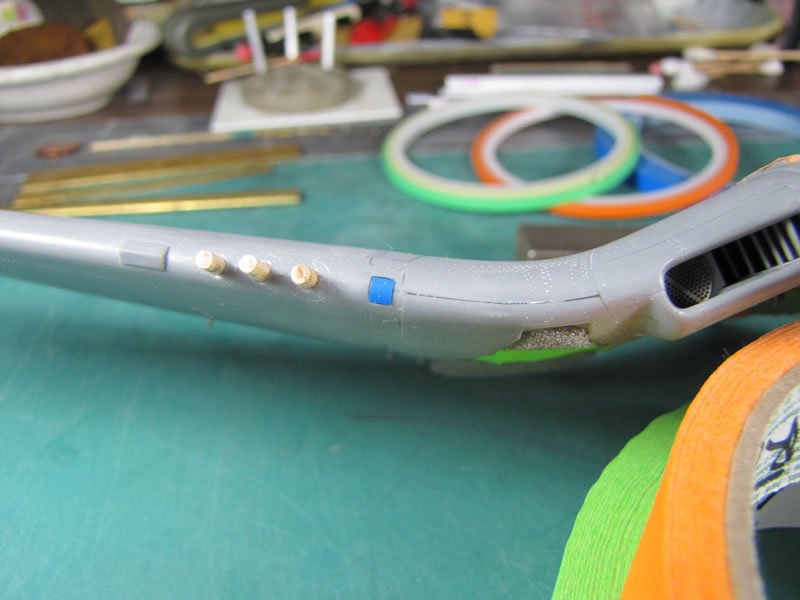
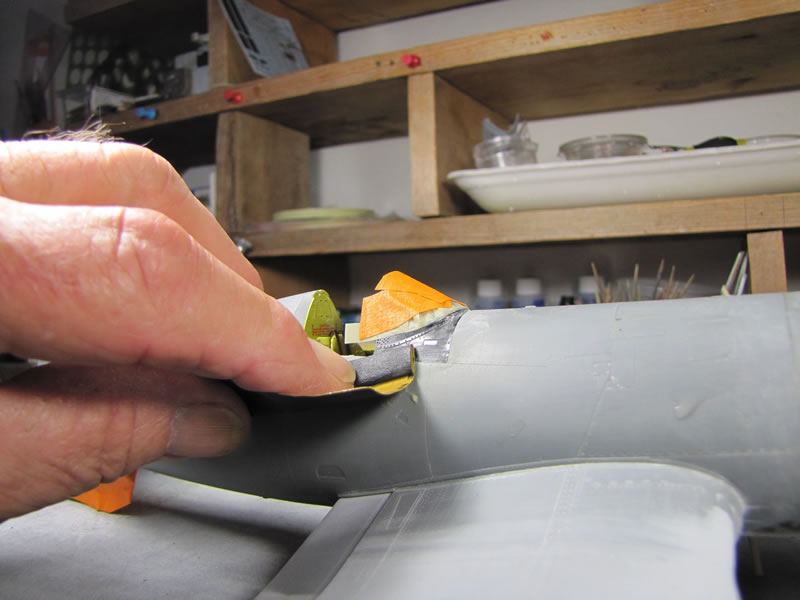
Since the clear wing tip light covers are open on the inside I drilled in a 0.22” diameter hole into the wing tips and coat the surface with one of my silver marking pens. Next I insert a 0.20” diameter pre-painted white styrene rod then removed it.

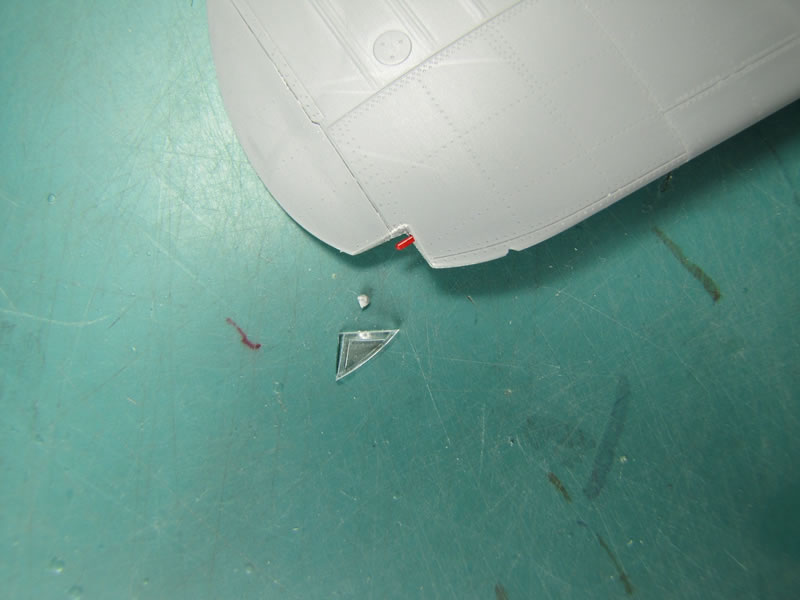
The red and green rods along with the clear covers would be installed at a later date.
My next operation is the building of both landing gear struts, so I follow instructions #53 & #54. The parts go together with no fit problems at all, including the two part tire rims.


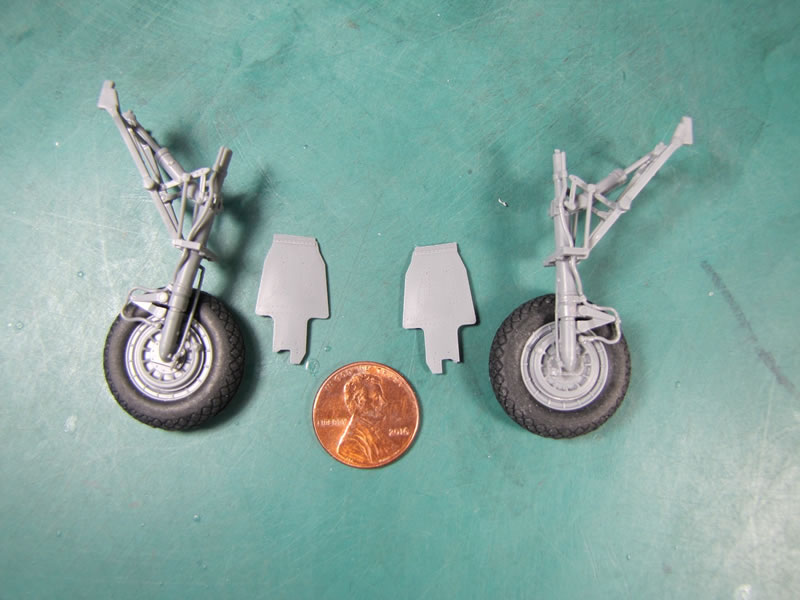
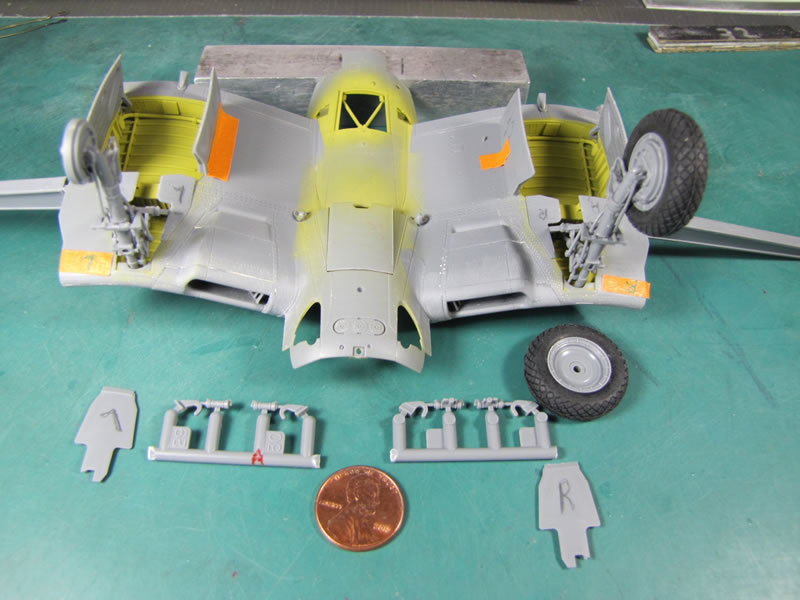
One photo shows the main landing gear struts dry fit to the model, including the doors. I remove the parts, which will be painted and attached close to what I call “final assembly”.
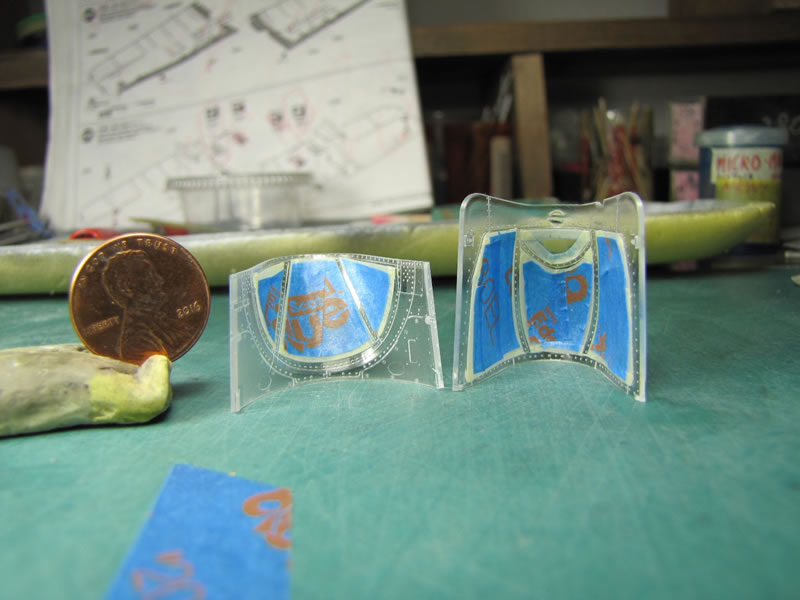
Due to my ever-present shaky hands I did not use any of the kits pre-made inside canopy/windscreen masks.


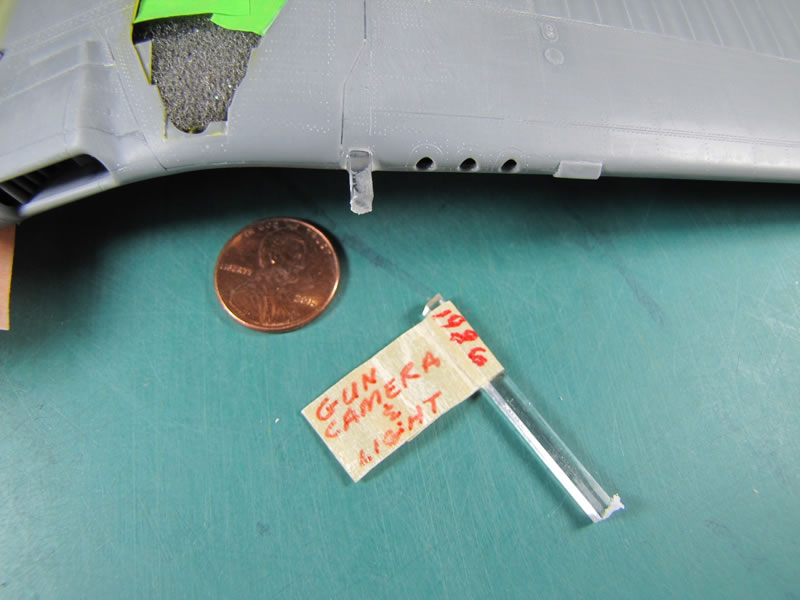
I did not use Tamiya’s clear gun camera lens as I have used this square clear rod on all my 1/32 scale Corsairs since I built my first one in 1986. The clear part is sanded down to 2000 grit and then I polish it with Blue Magic metal/plastic polishing cream. I apply a square piece of masking tape on it so it does not get scratched during the building process.


For some unknown reason Tamiya did not make any 0.50cal machine guns, never-the-less they can be seen when the wings are locked down in flight position.
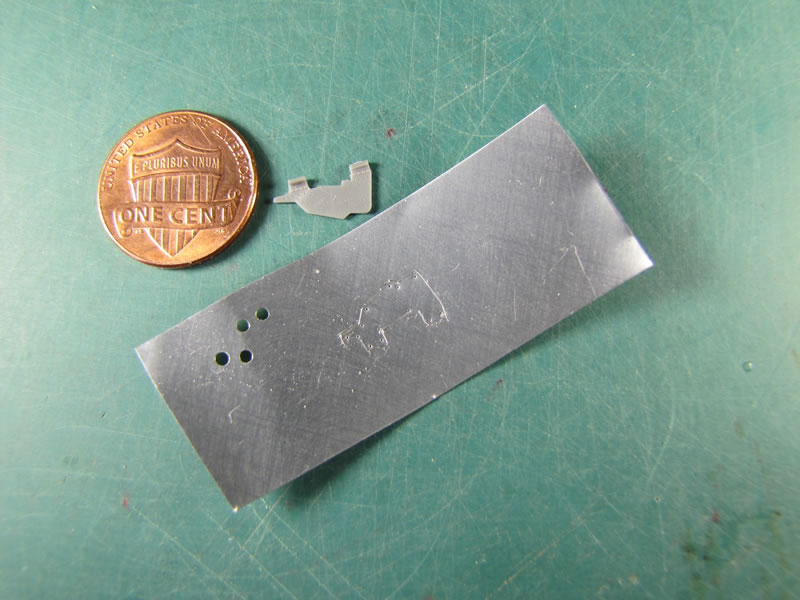
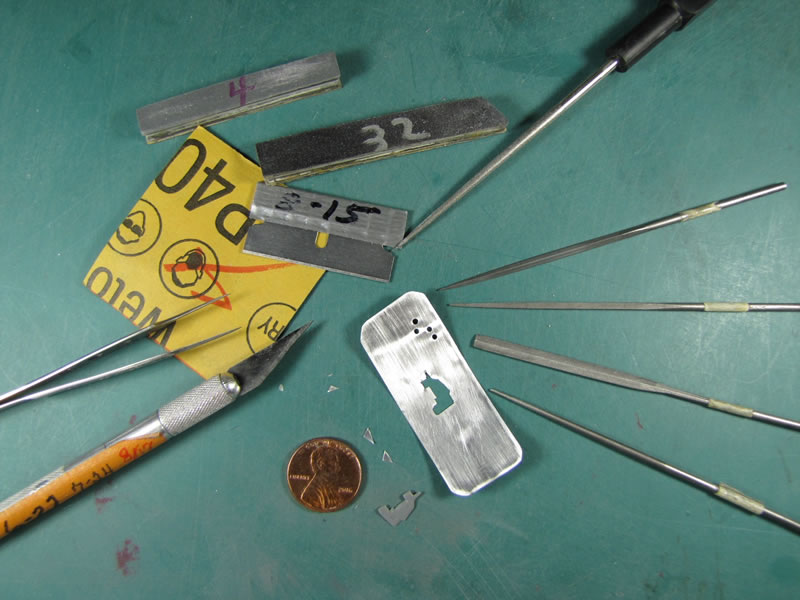
I glued in the small part that fits on top of the wing folding area and then made my own scribing template as I have done in the past. The aluminum is 0.05” thick cola can material.

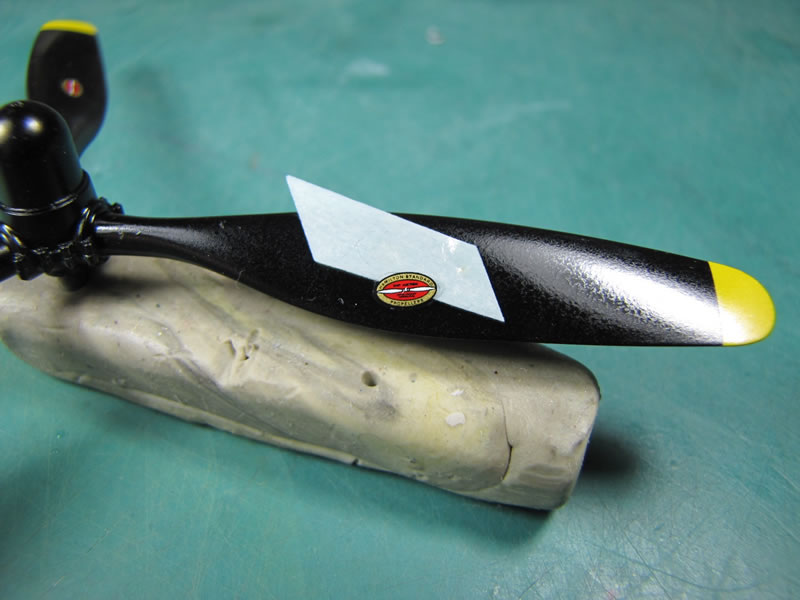
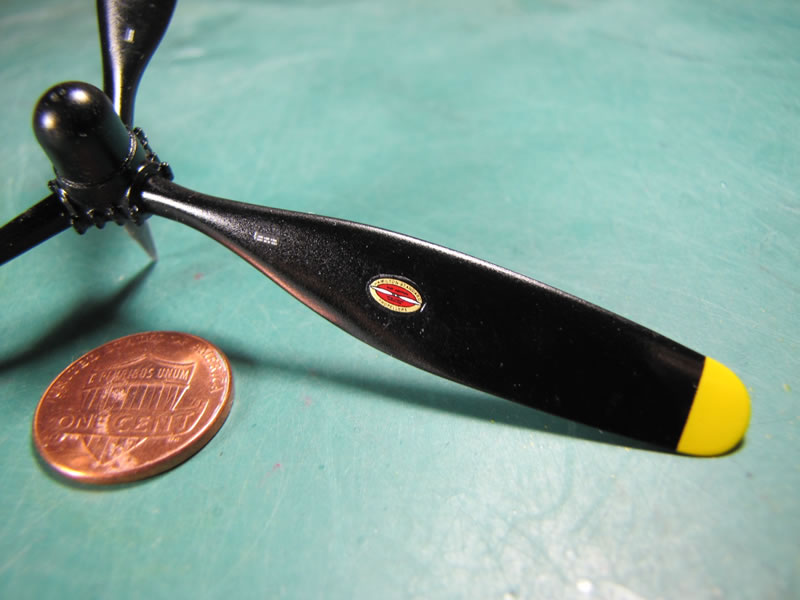
Several other operations have been performed including the prop, which has the kit’s excellent Hamilton-Standard decals on it.
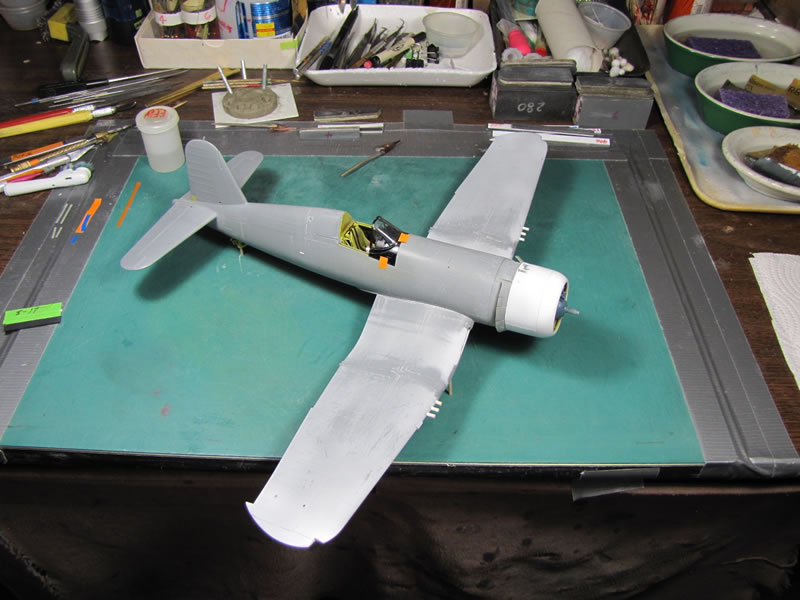
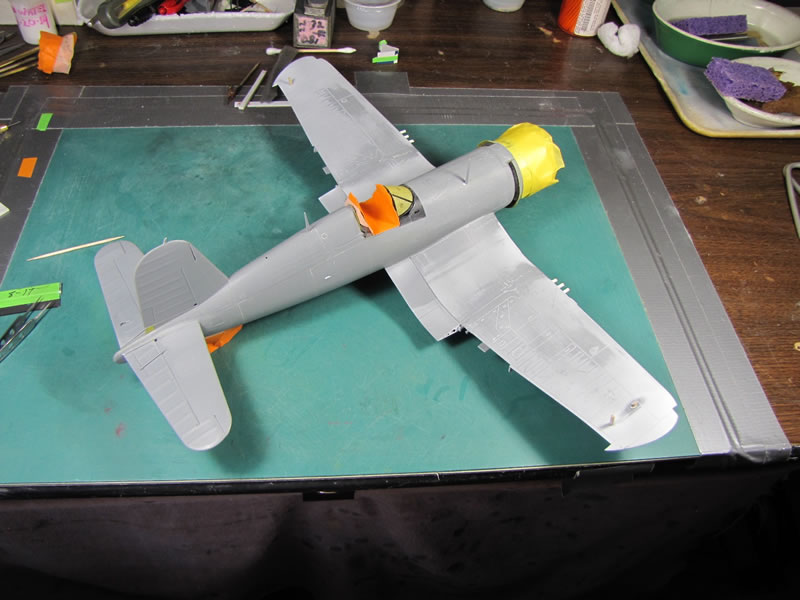
My next photo shows that I have the wings and tail plane parts glued onto the fuselage and it appears that final sanding has been completed, yet there is some orange tape on the windscreen. This signifies that the windscreen is only dry fit to the fuselage.
First off, I double check everything that is in the cockpit and make sure that there are no missing parts and that everything is in perfect alignment before I glue on the windscreen.
The windscreen was re-attached to the fuselage area and it seemed to be a perfect fit. After carefully applying “micro-dots” of Future Floor Wax (FFW), to the seams I let it dry overnight. The next day I add my super glue to the area.
In 1986 I learned to use FFW for a sealer for a couple of reasons. First off it dries clear and it is hard to remove the part, unless you dissolve the wax with Denatured Alcohol (DA). Second and most important is that it stops the CA from fogging your clear parts.
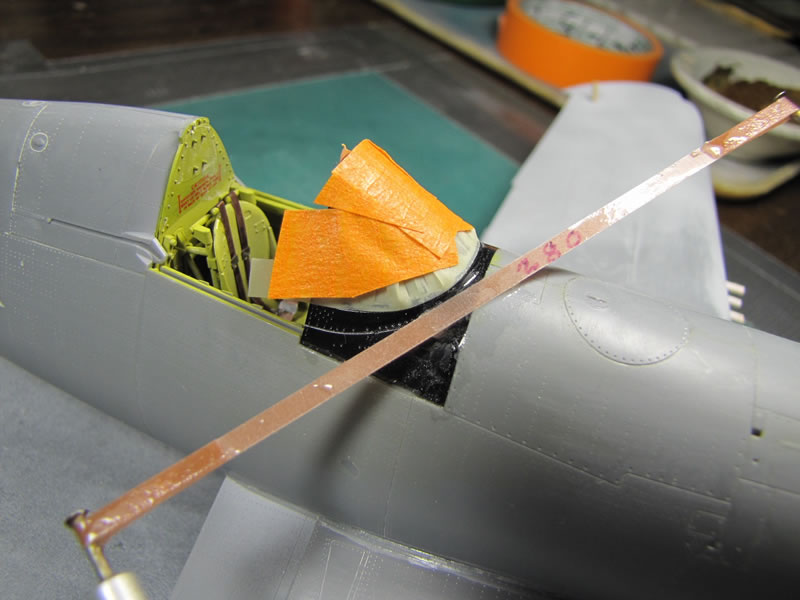
I mask off the clear exterior area of the windscreen and add some heavy-duty orange tape on top of the fine-line tape just to make sure that I don’t ruin the clear parts while I was sanding the glued area.
A few panel lines had to be re-scribed in and once finished I had to do more sanding, which was accomplished by using my Flex-i-files that have different grits of sandpaper attached to each one.
Paint Application Time
Reviewing all of the building applications I made sure that I did not miss anything that should have been built and installed on this model.
The bottom of my model has been painted with Tamiya’s white and medium blue flat paints. After they have dried for a few days I mask off the back of the cowling so that I could spray on my Tamiya X-8 Gloss Yellow color with one of my Badger-200 airbrushes that I have owned since the early 1980s.

I learned to paint certain areas of a model white before I apply any light color, like yellow, light blue, etc. This method brings out the true color of the paint.
Do yourself a favor and paint a bare plastic area on one of your models with a light/medium color. Then paint the same color on top of another area, which has been painted with white paint. Now take your model outside at noon and look at the colors in bright sunlight. You will be amazed at the difference in the color.
I dusted on some flat white paint on the top of the FG-1A and found a couple of minor flaws and fixed them.
After carefully examination I felt that it was time to mask off the vertical fin/rudder combo and spray on my medium blue color.

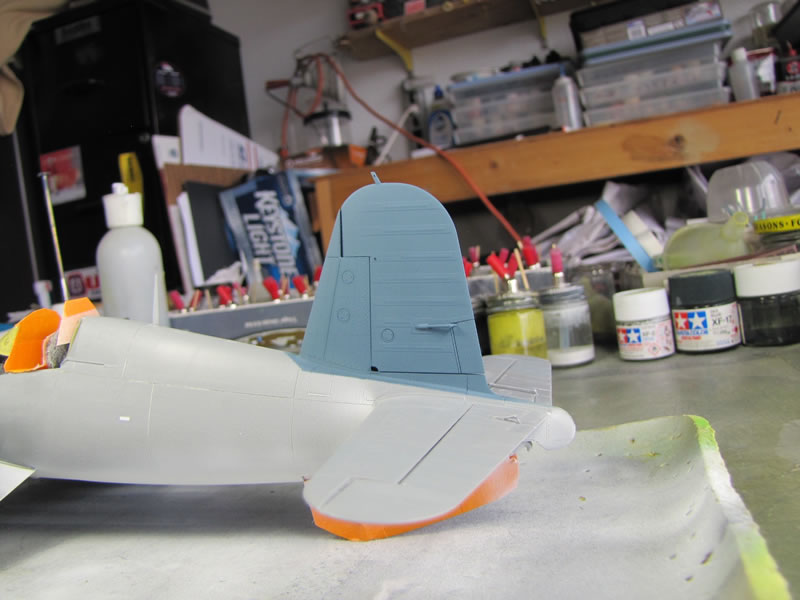
I mask off the cockpit, rudder-fin combo & the pre-painted yellow cowling and proceeded to apply Tamiya’s XF-17 Sea Blue paint on top of the model.
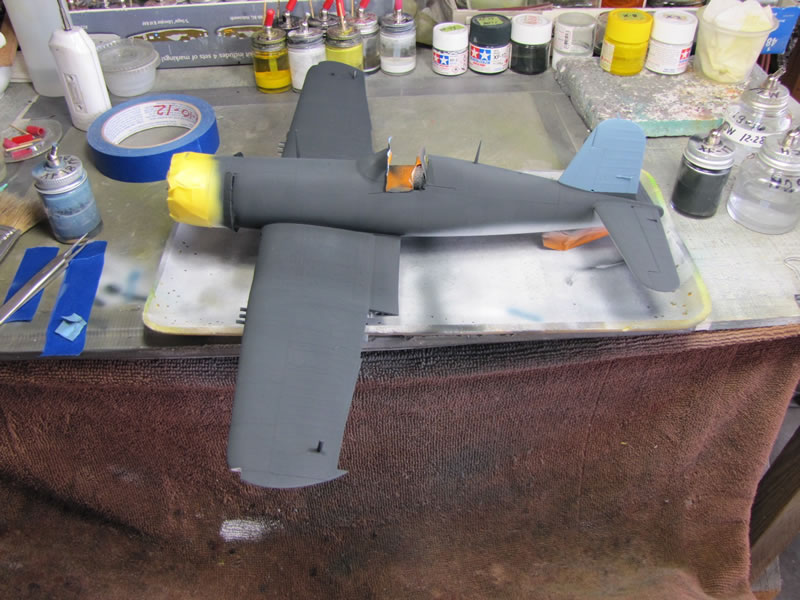
We will continue the painting process in Part 3 along with the finalization of the model so please stay tuned to LSP.
© Rodney Williams 2017
This article was published on Thursday, March 09 2017; Last modified on Tuesday, March 14 2017