
Revised Canopy - Laird Turner Meteor-Racer #29
By Rodney Williams
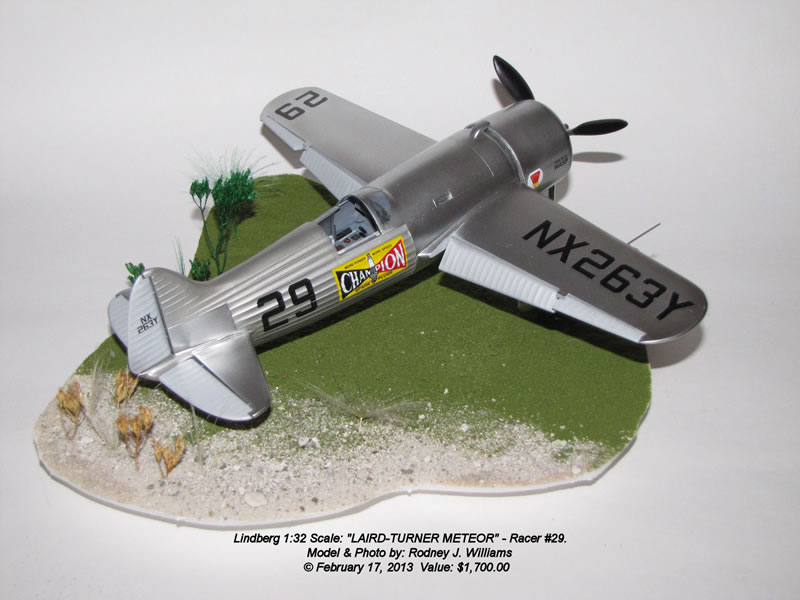
REVISED CANOPY-LAIRD TURNER METEOR – RACER #29
Text & photos by Rodney J. Williams
July 12, 2013
In my original story not long ago I mentioned that I would fix my canopy.
The canopy was attached with a couple of micro-dots of super glue so all I did was flick it with my index finger that was placed on my thumb and it came off A-OK.
I sanded off the left over super glue on the fuselage’s cockpit area and on the one-piece canopy.
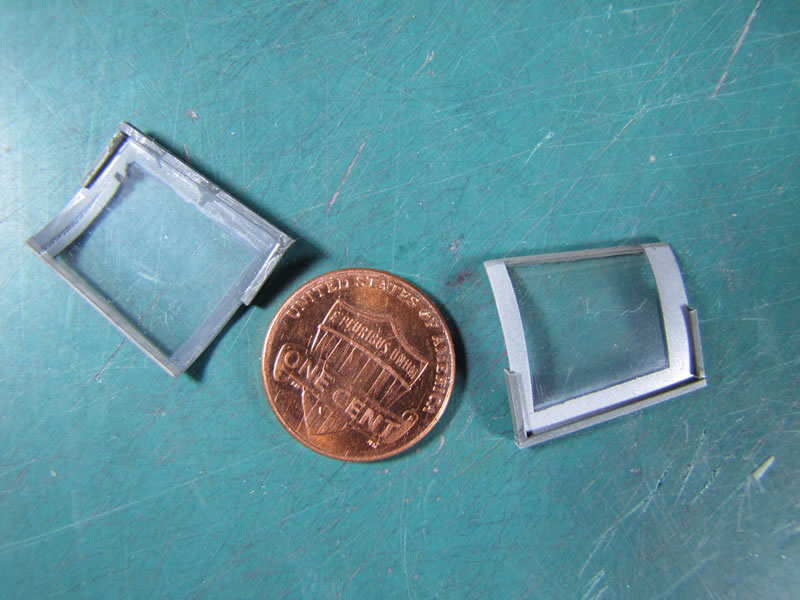
The photos show that I cut the canopy into two sections and sanded them smooth.
I used some grey looking Evergreen “u” channel plastic and made a frame for each window.
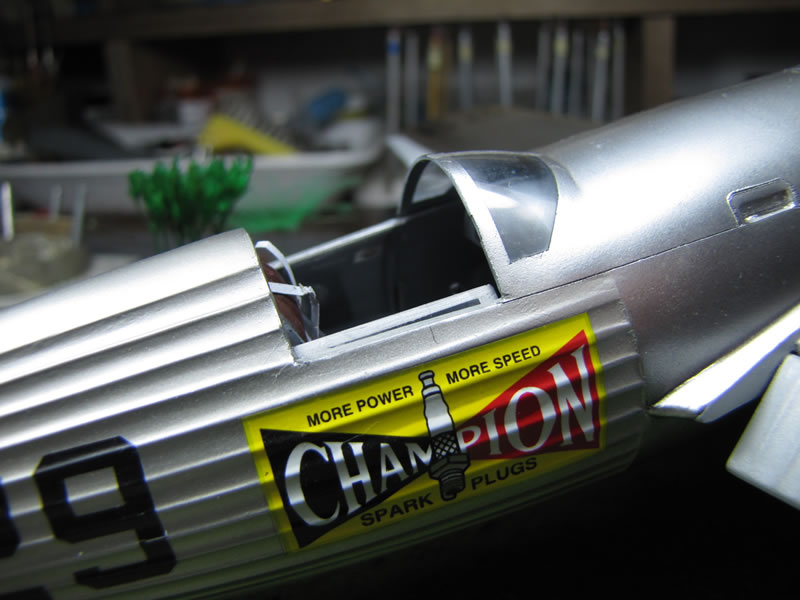
I needed to re-paint the rail on the cockpit area and touch up the sanded canopy areas.
For several years I have been using the “SHARPIE” brand paint markers so I used the “Metallic Silver” marker that had a nice clean point to its end and just rubbed it along the fuselage’s cockpit opening and on the canopy sides.
This worked out just fine so there was no need to mask off the parts and use my “Badger-200” airbrush. However I did mask off the front of the windscreen and carefully applied my marking pen inside the taped area to make my center frame on the windscreen. After I removed the tape I liked the vertical bar that I had applied with my marker.
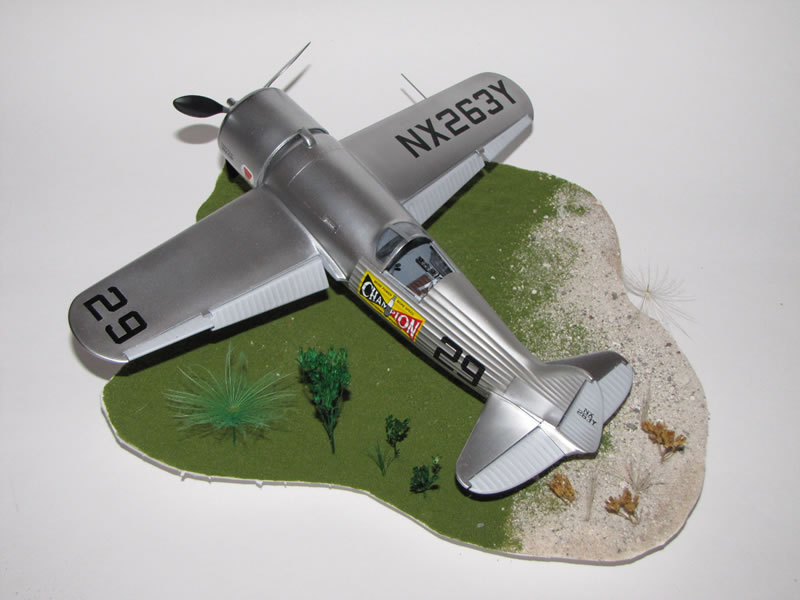
The windows are now finished being revised and were dry fit down inside of the cockpit. To my surprise I had plenty of room to align them properly, so I added a couple of microdots of white glue.
As mentioned, the cockpit is not a duplicate of the real one but now with the windows down inside the cockpit, the model looks more like the real racer.


Happy modeling.
© Rodney Williams 2013
This article was published on Saturday, July 20 2013; Last modified on Saturday, July 20 2013