
Messerschmitt Bf 109E-3
Photos By Max Otten
Photos were taken at the South African Military History Museum, Johannesburg (South Africa) in 2015.
The Messerschmitt Bf 109E-3 is an aircraft that crash-landed during the Battle of Britain due to fuel shortage. It was sent to South Africa for a propaganda tour and afterwards came to the museum. During shipment the wings (and tail) clearly have been removed and when the aircraft was re-assembled, these parts were either missing or not used. The aircraft looks to be in reasonably original condition (though the yellow of the nose may be more recent). The top camouflage is the familiar splinter scheme while the fuselage sides have a faint mottle. Identification number is Red 2. The photo in the background is not of the same aircraft (its id number is 4).
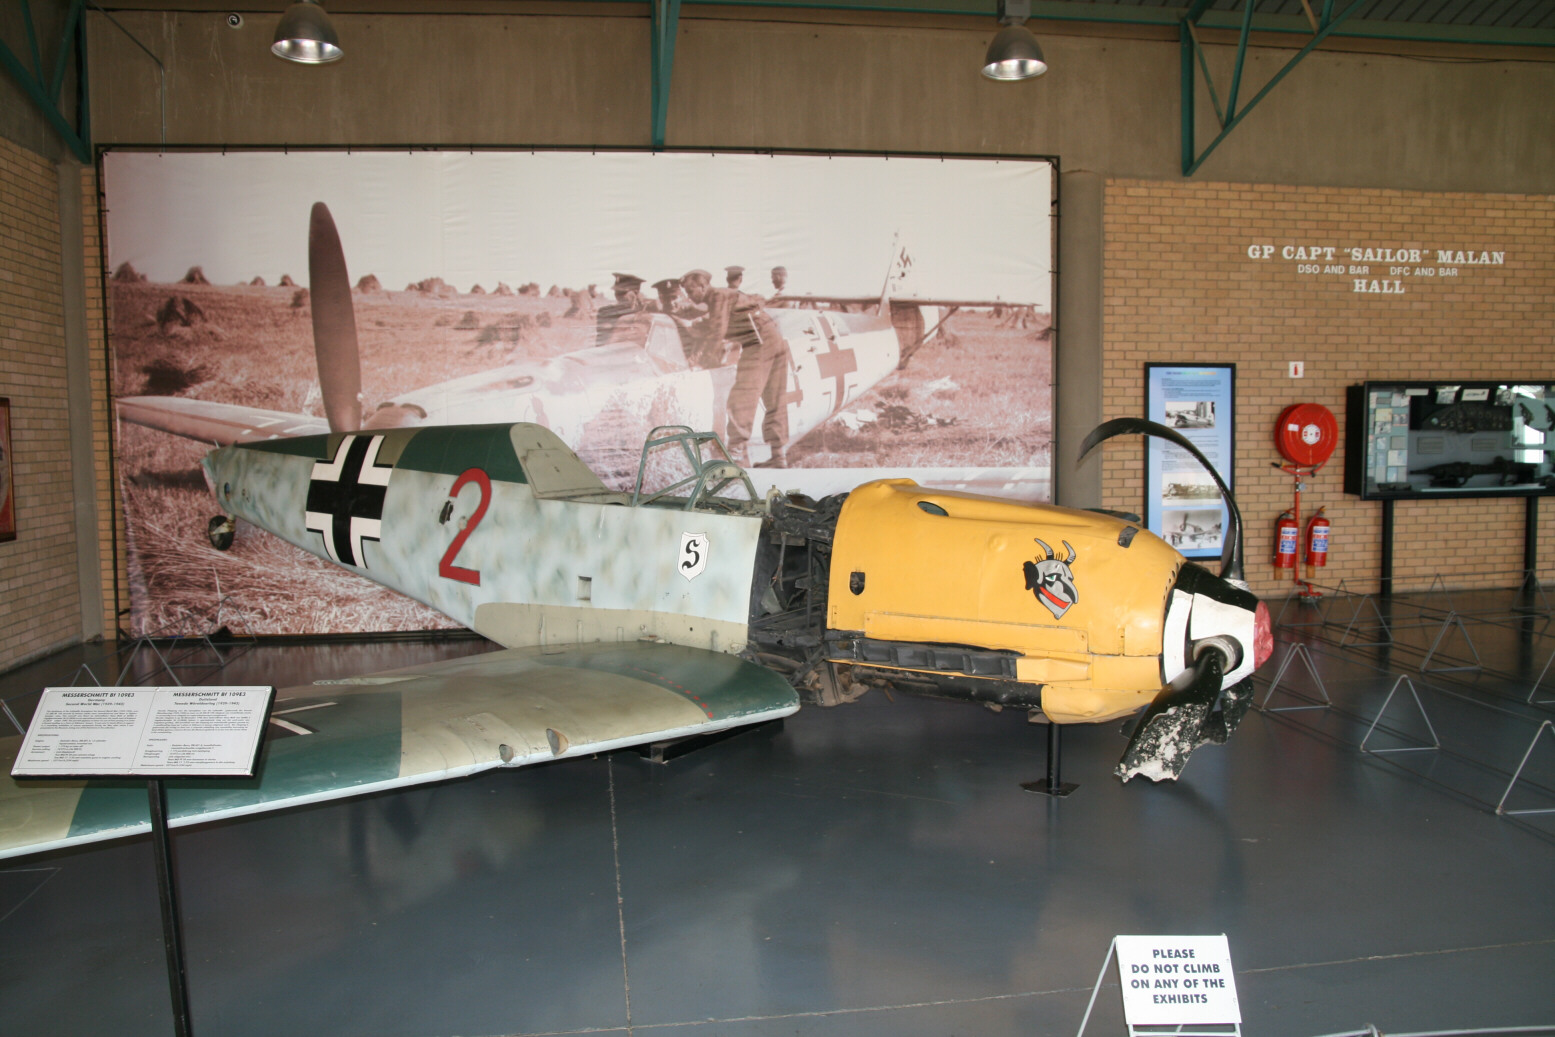
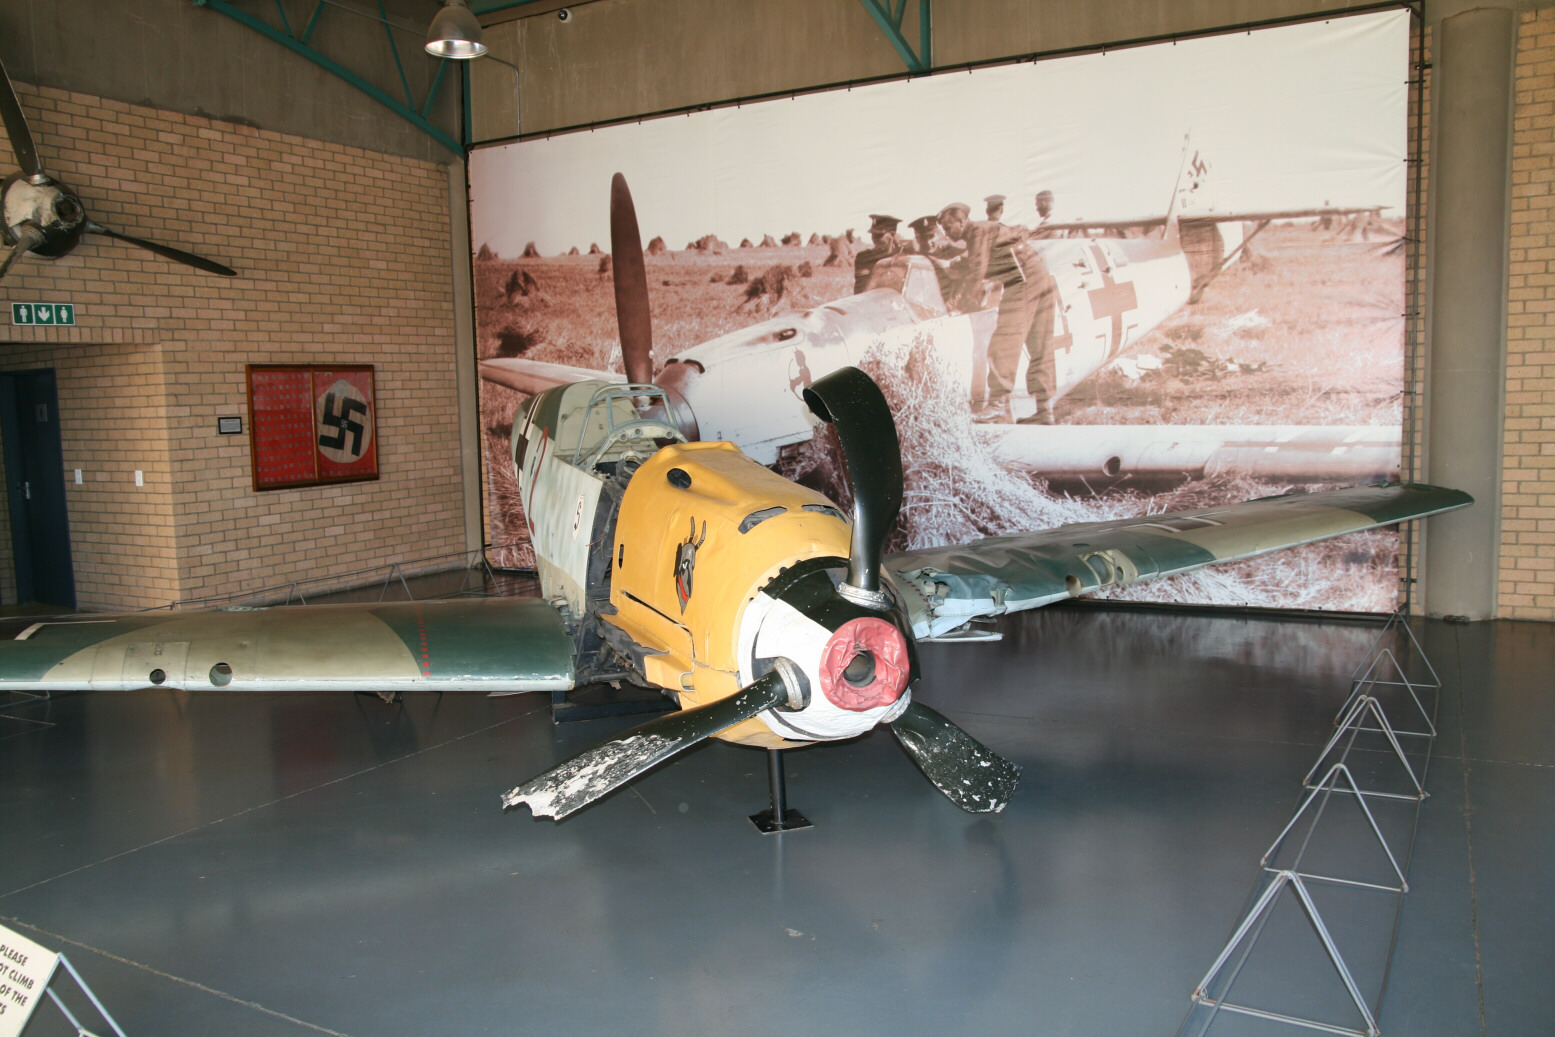

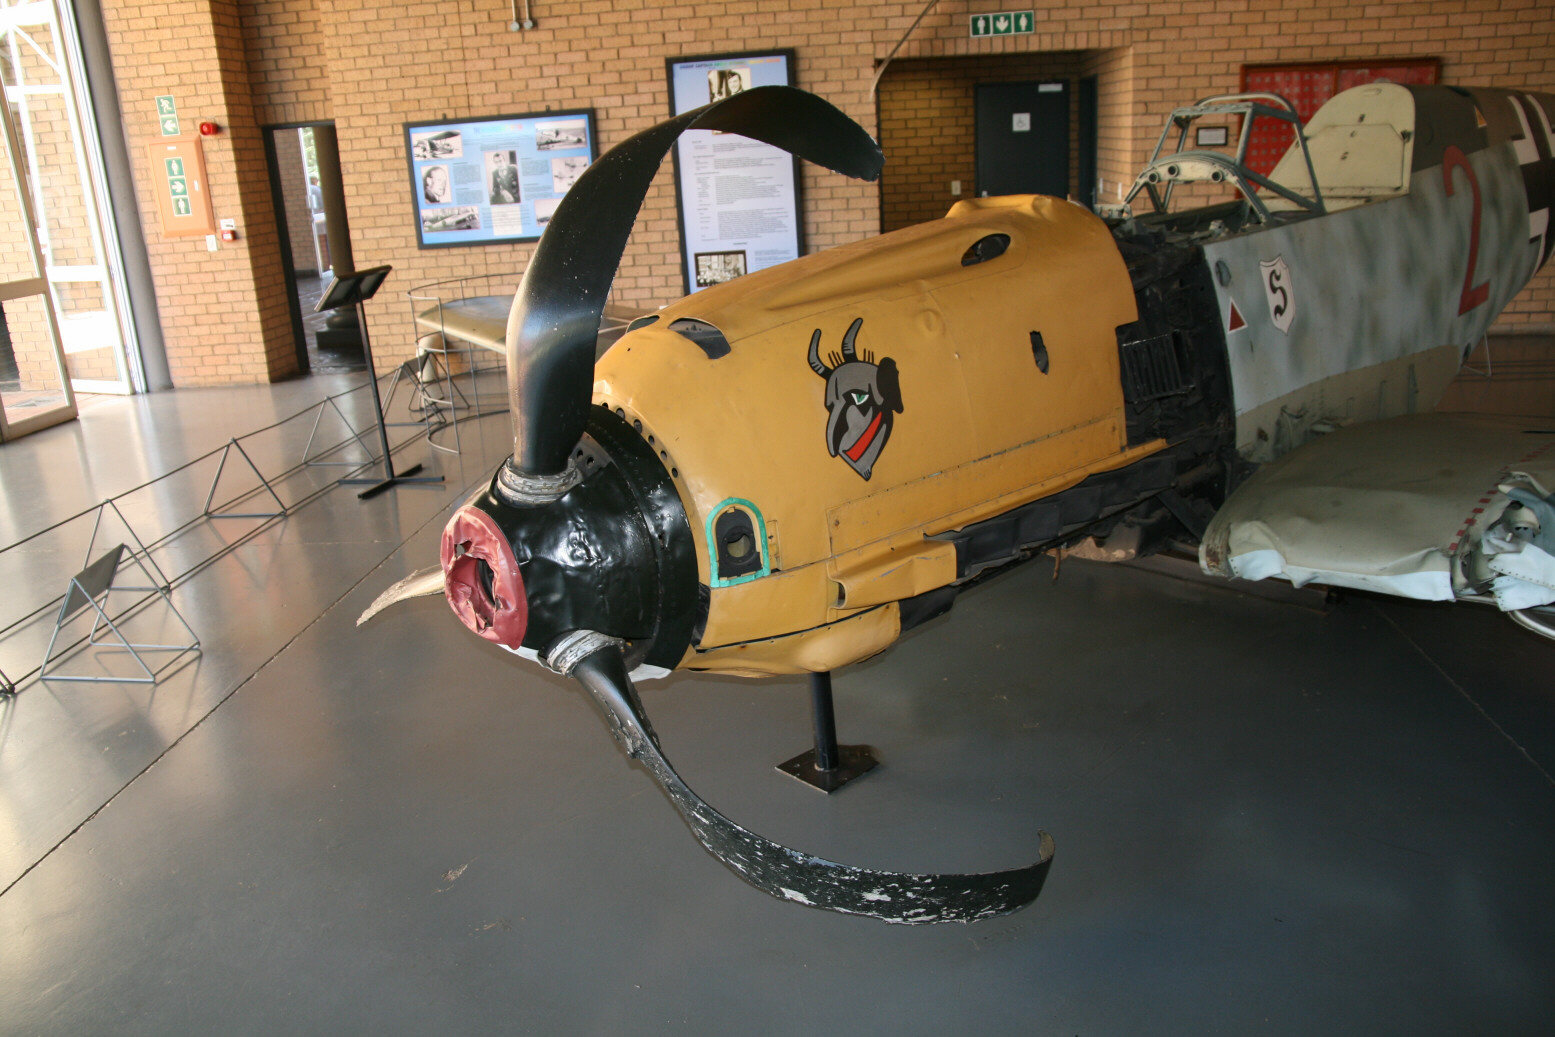


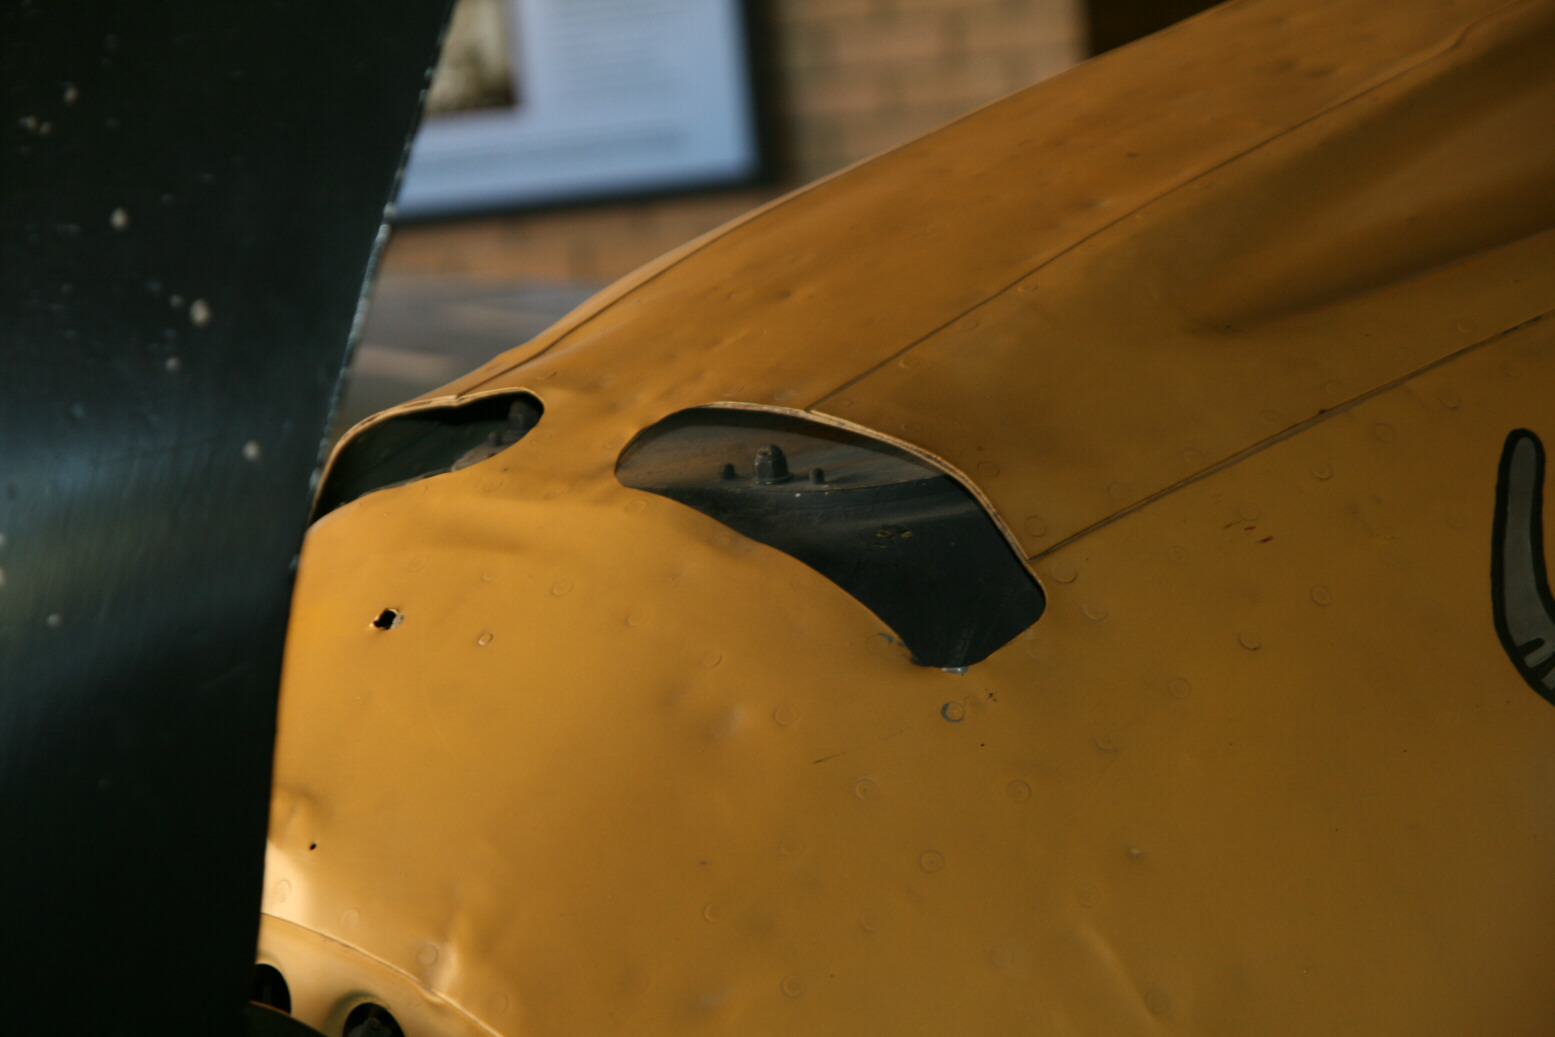
Photos 1 through 5 (above) show the aircraft from various angles. There is considerable damage to the spinner cap, the propellers and the port wing. Photo 6 (above) shows a close-up of the yellow nose with the devil’s face nose art.

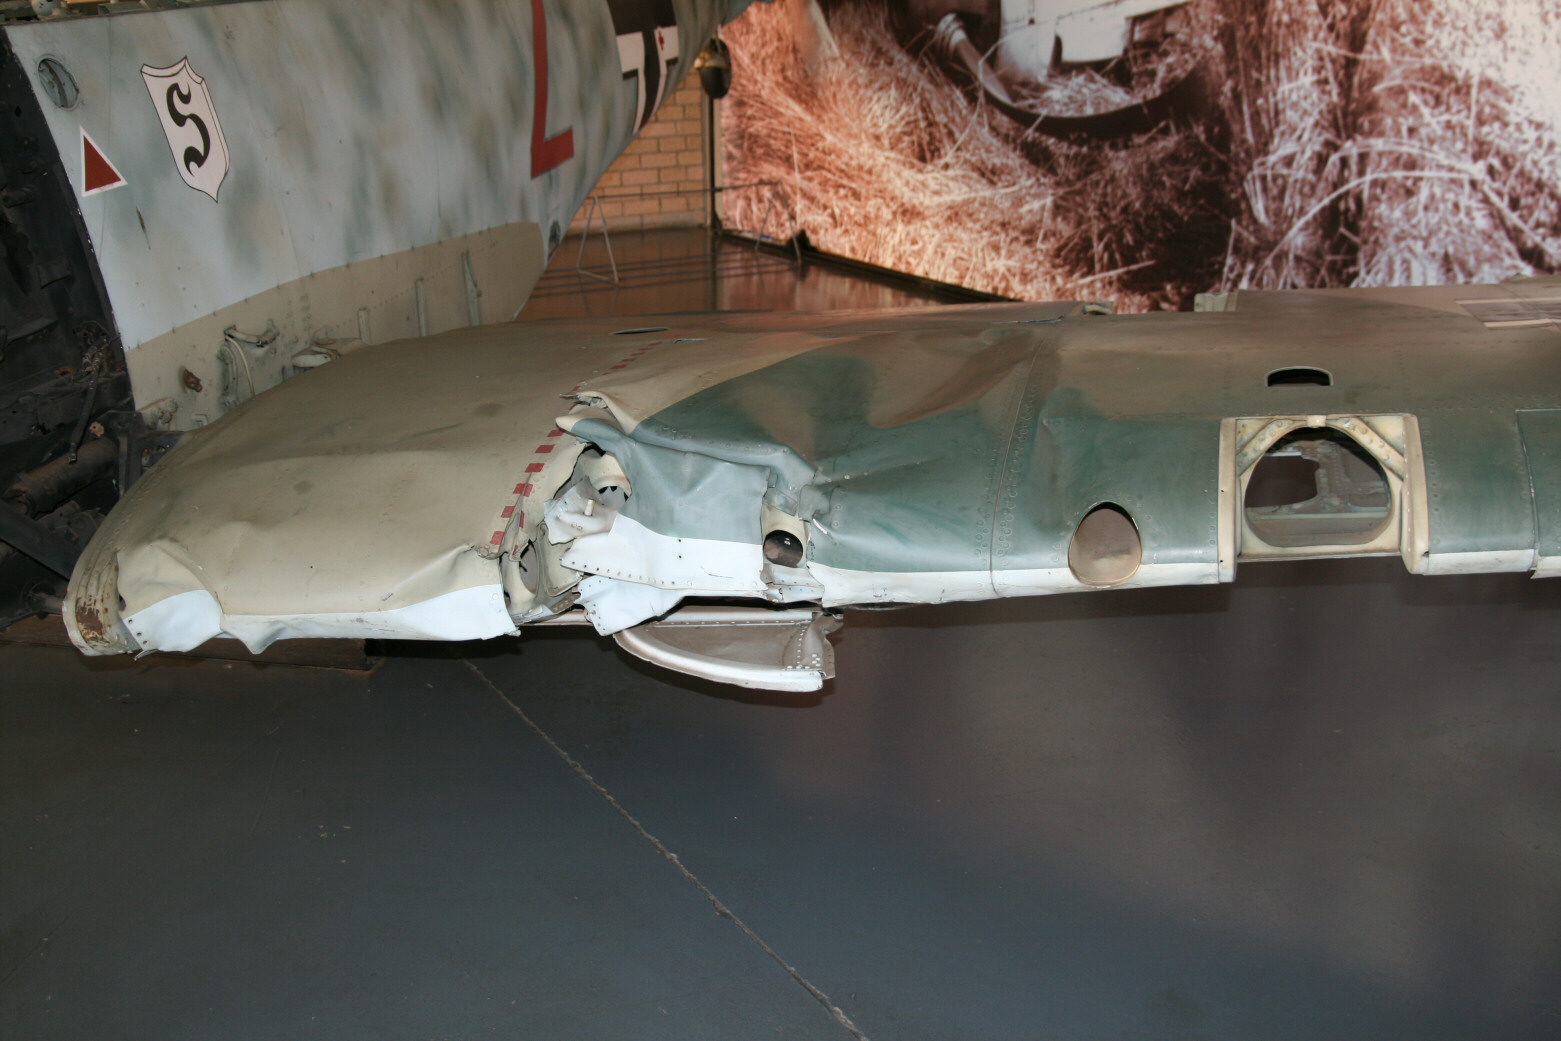

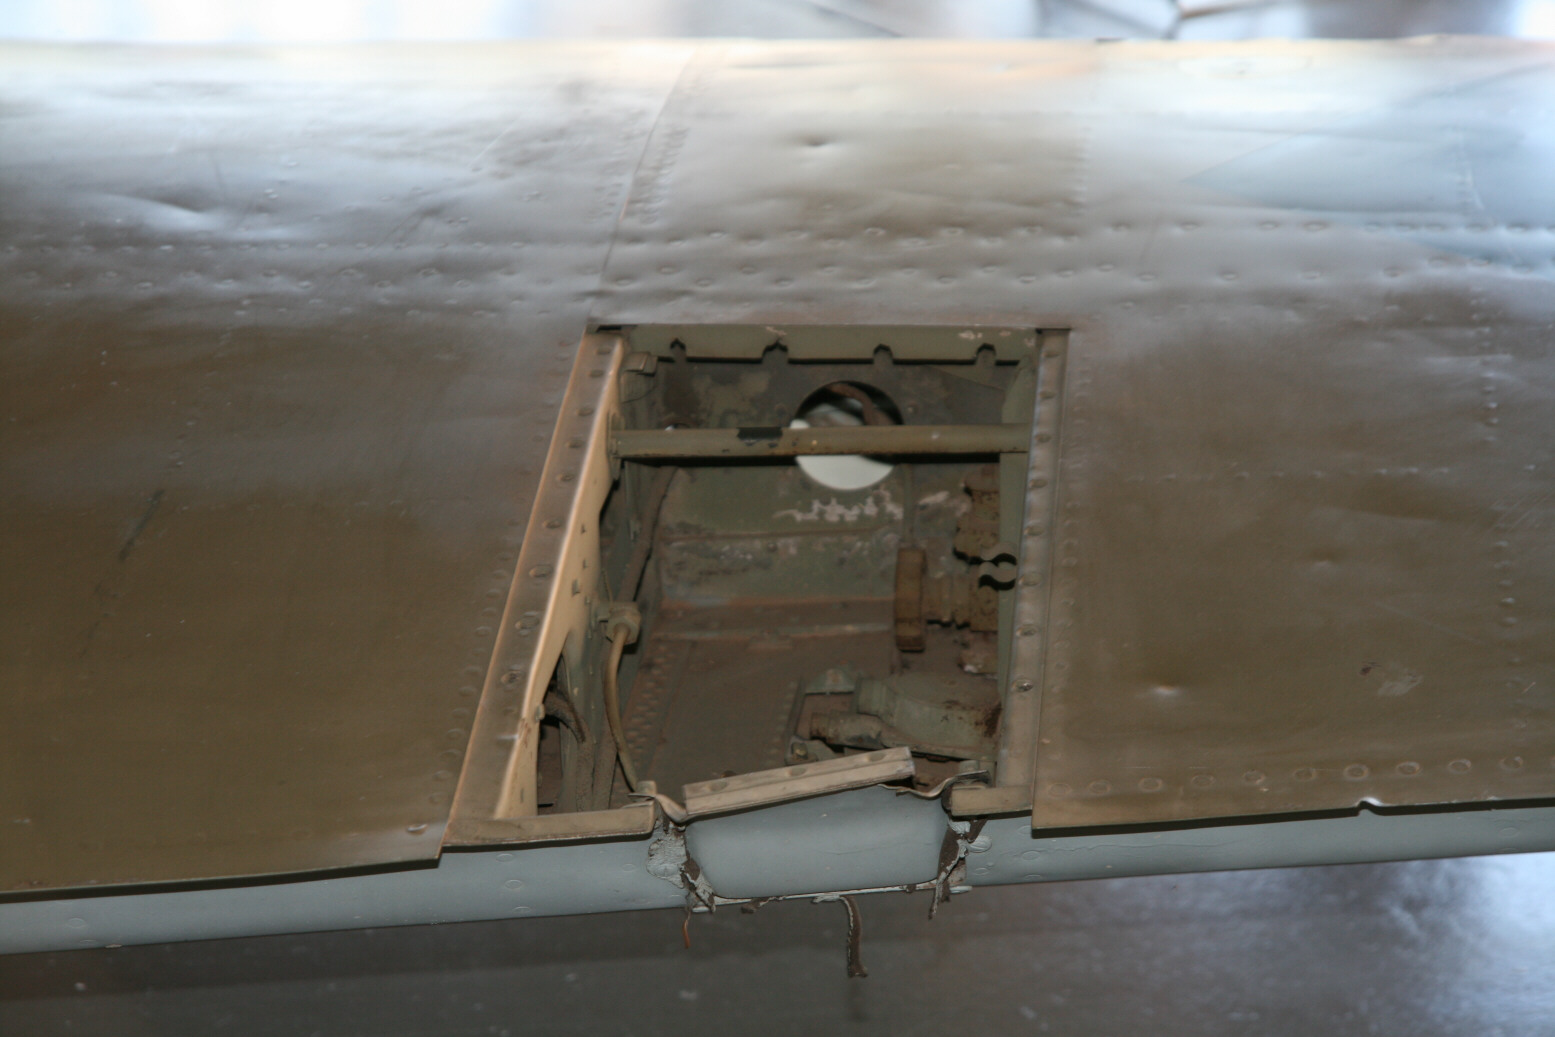
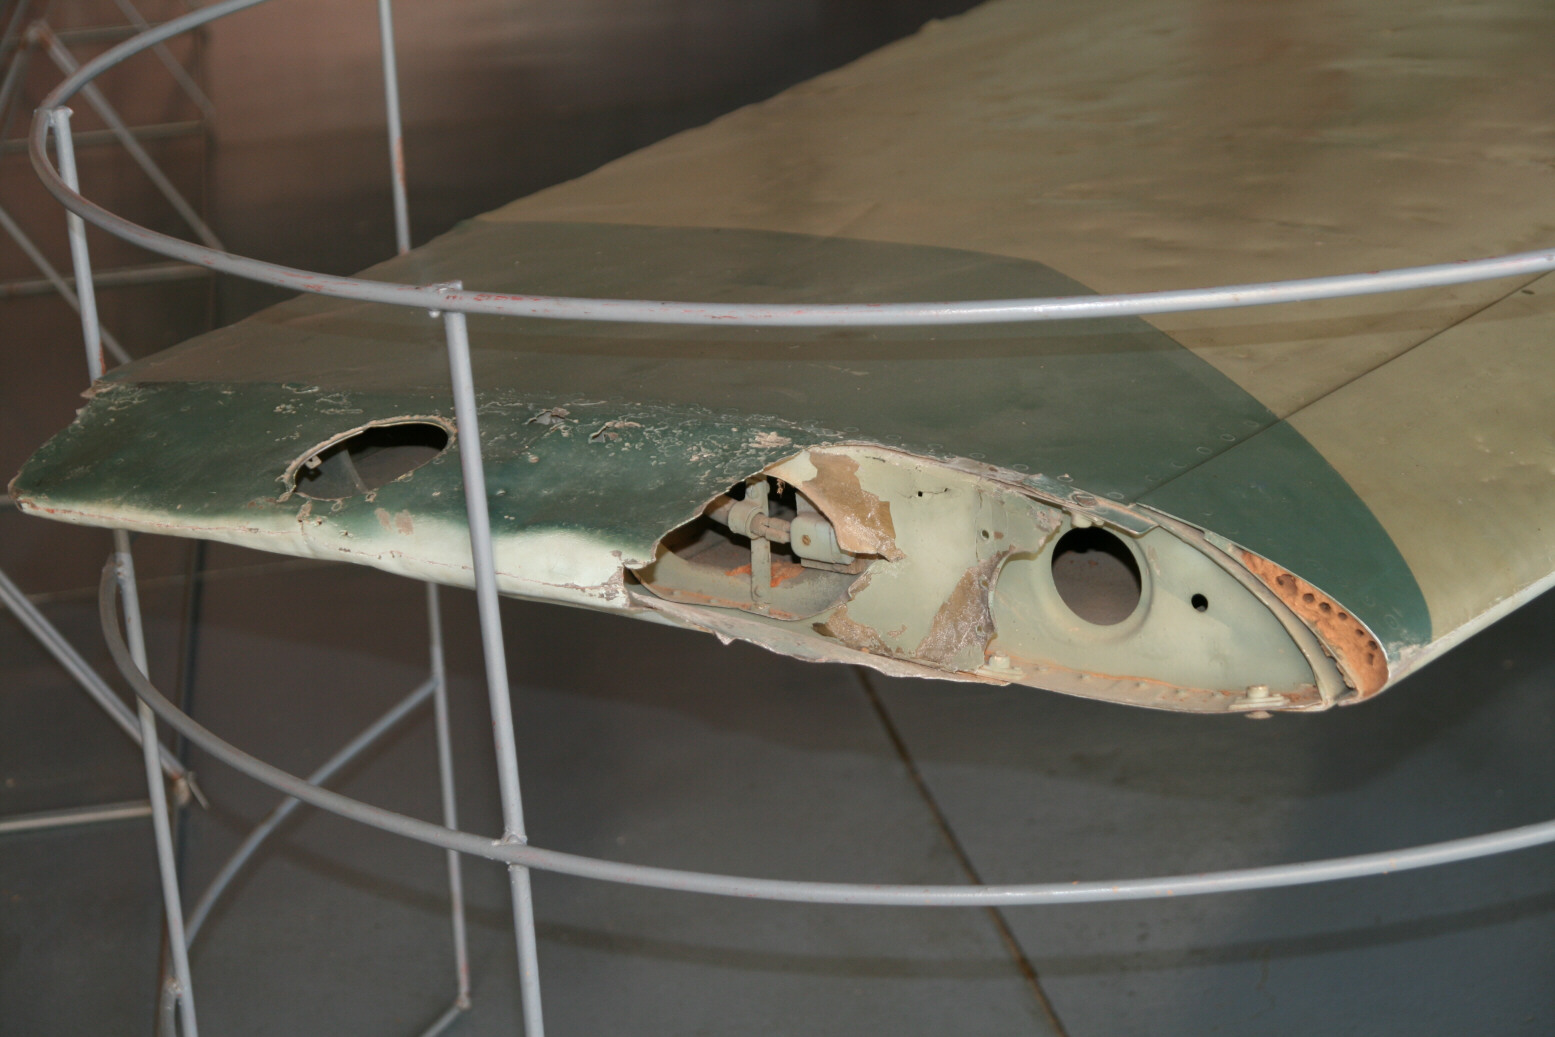
Photos 7 through 11 (above) are of the port wing. Photo 7 shows the internal structure of the wing tip, with the cap missing. Photo 8 shows the damage to the front of the wing and the empty cannon port (the big hole, with the cover plate missing, not the round hole inboard of it; the smaller hole is where a machine gun was on earlier types). Photo 10 shows a close-up of the damaged area, with the landing gear hanging down slightly. Photo 11 shows the gun access (the hatch is missing) at the trailing edge of the wing.


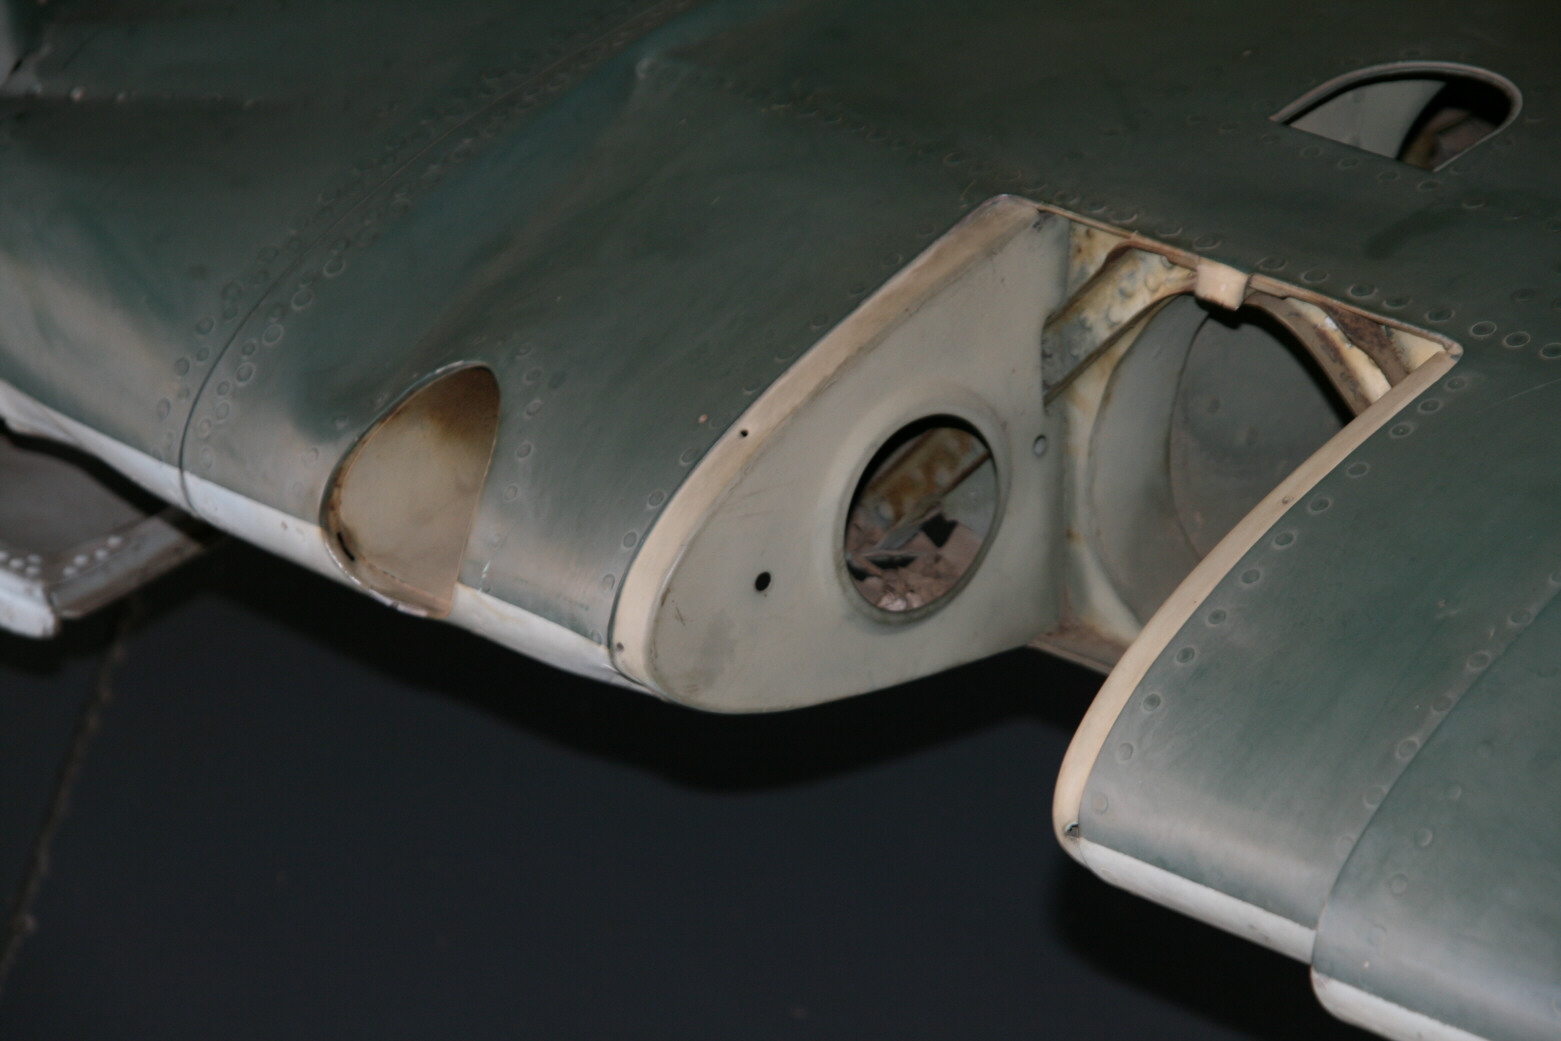
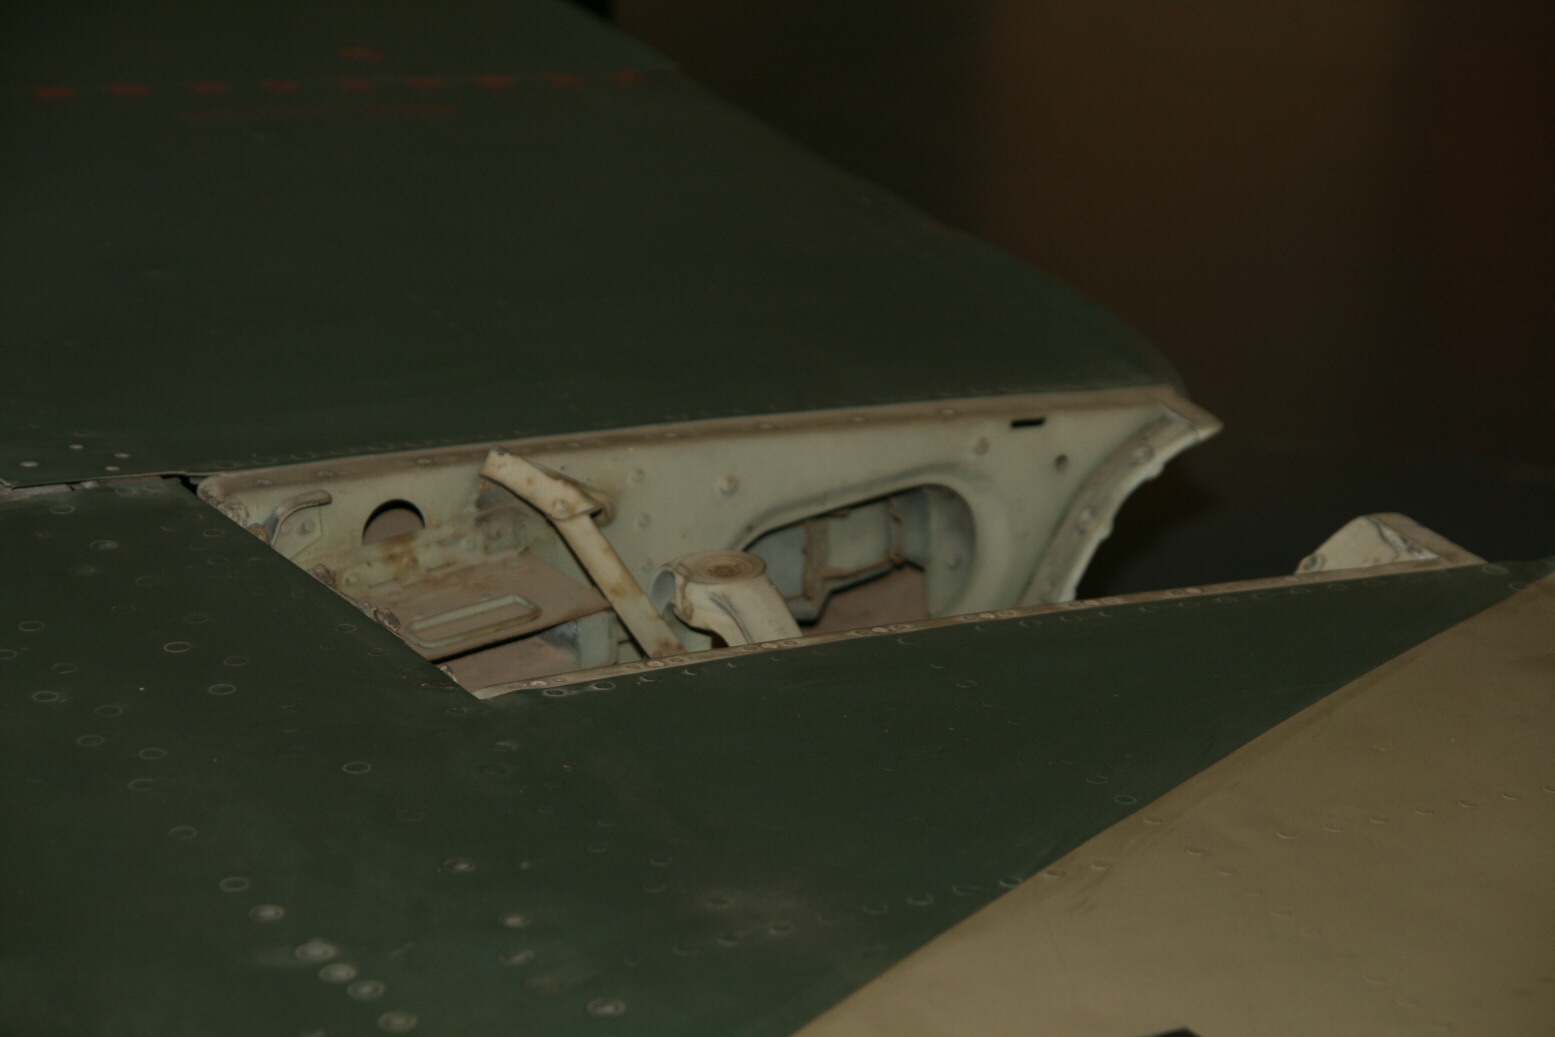
Photos 12 through 15 (above) are of the starboard wing. Photo 12 shows the gun ports, now with the cannon cover still attached. Photo 13 shows the gun access at the trailing edge. Photo 14 shows the wing tip, this time with more of the cap present (the fence is not part of the aircraft). Photo 15 shows the stenciling on top of the wing (Nicht betreten = no step).

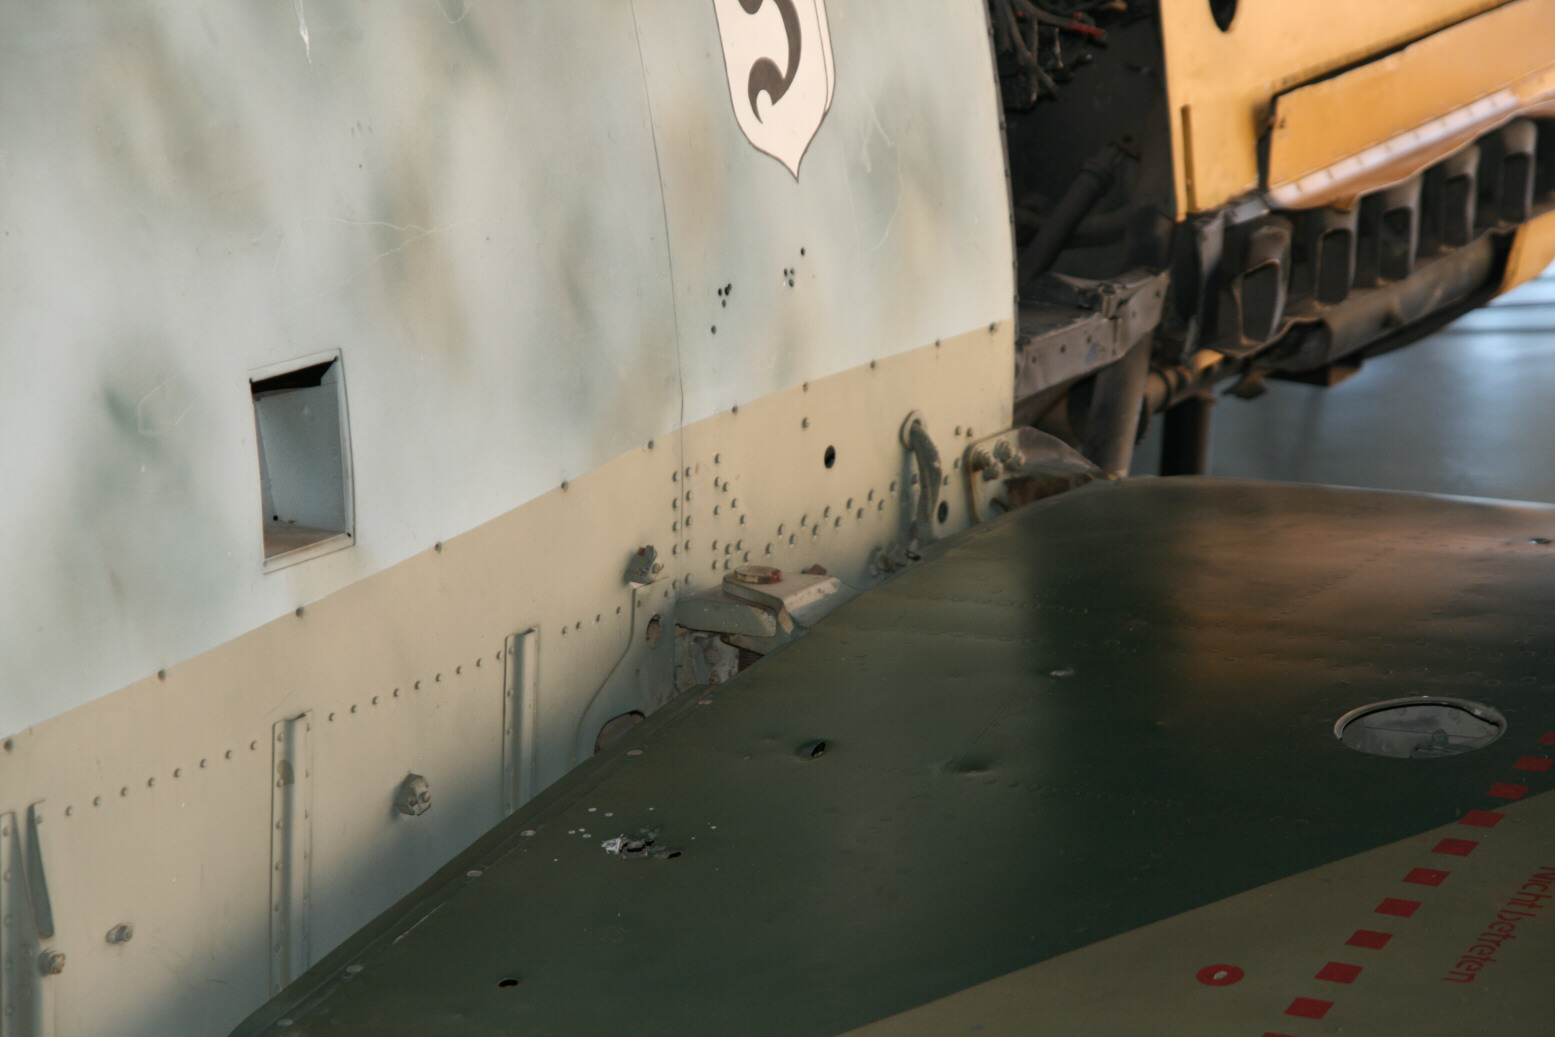
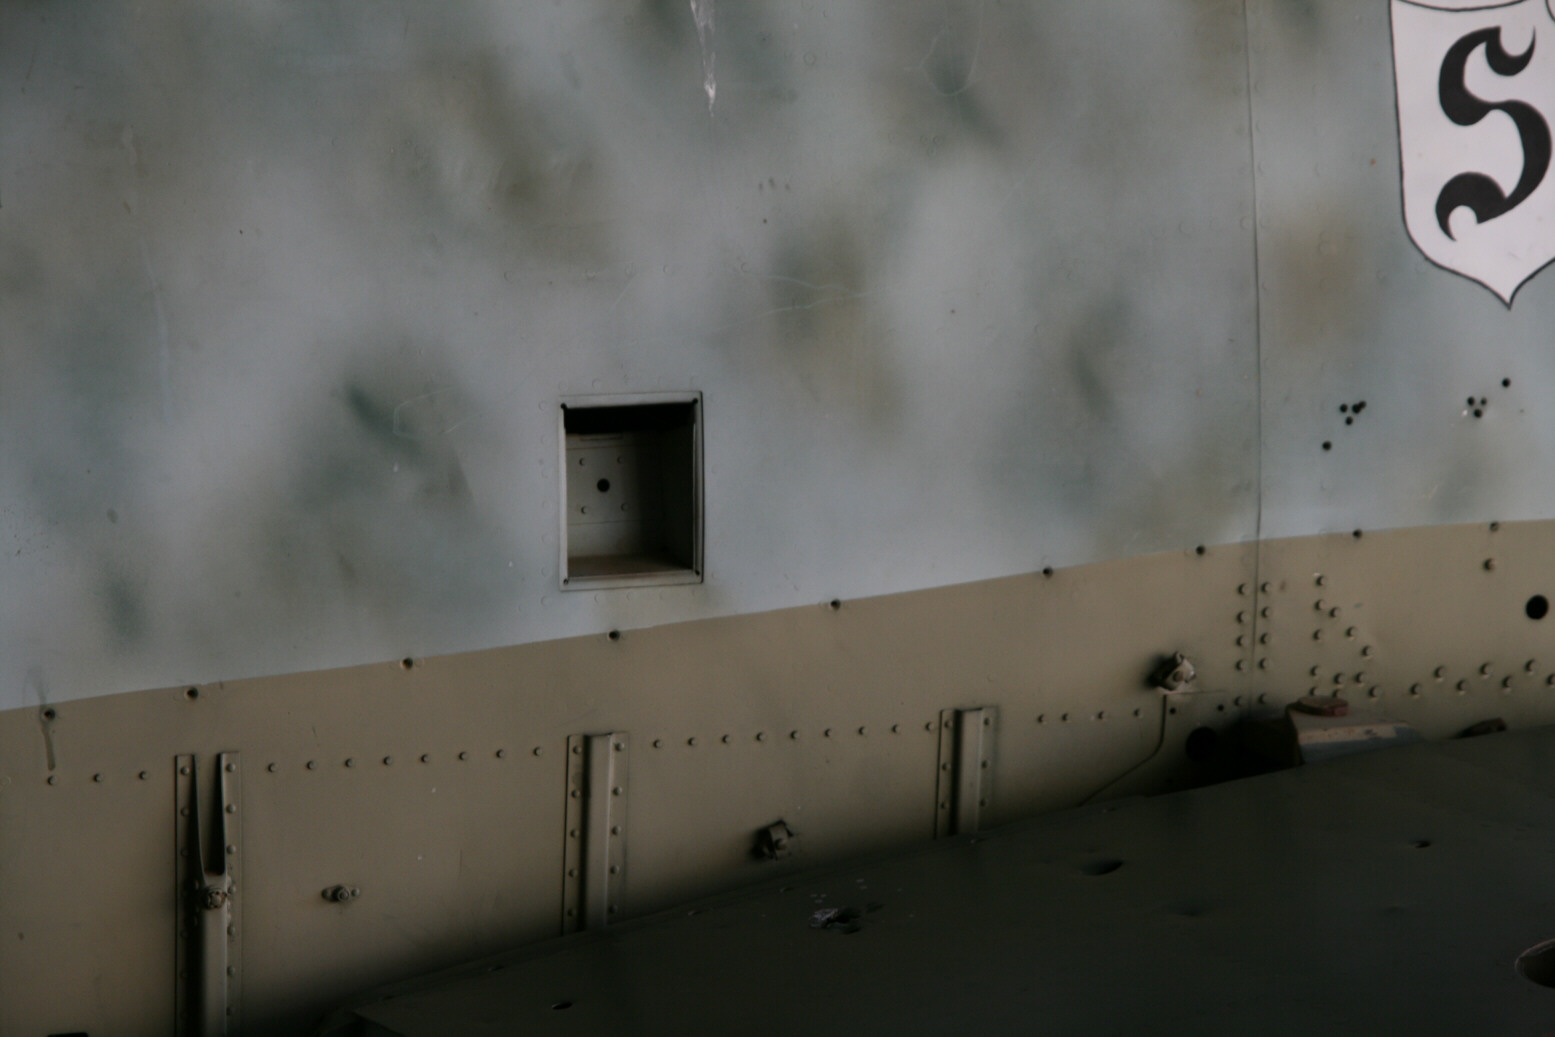

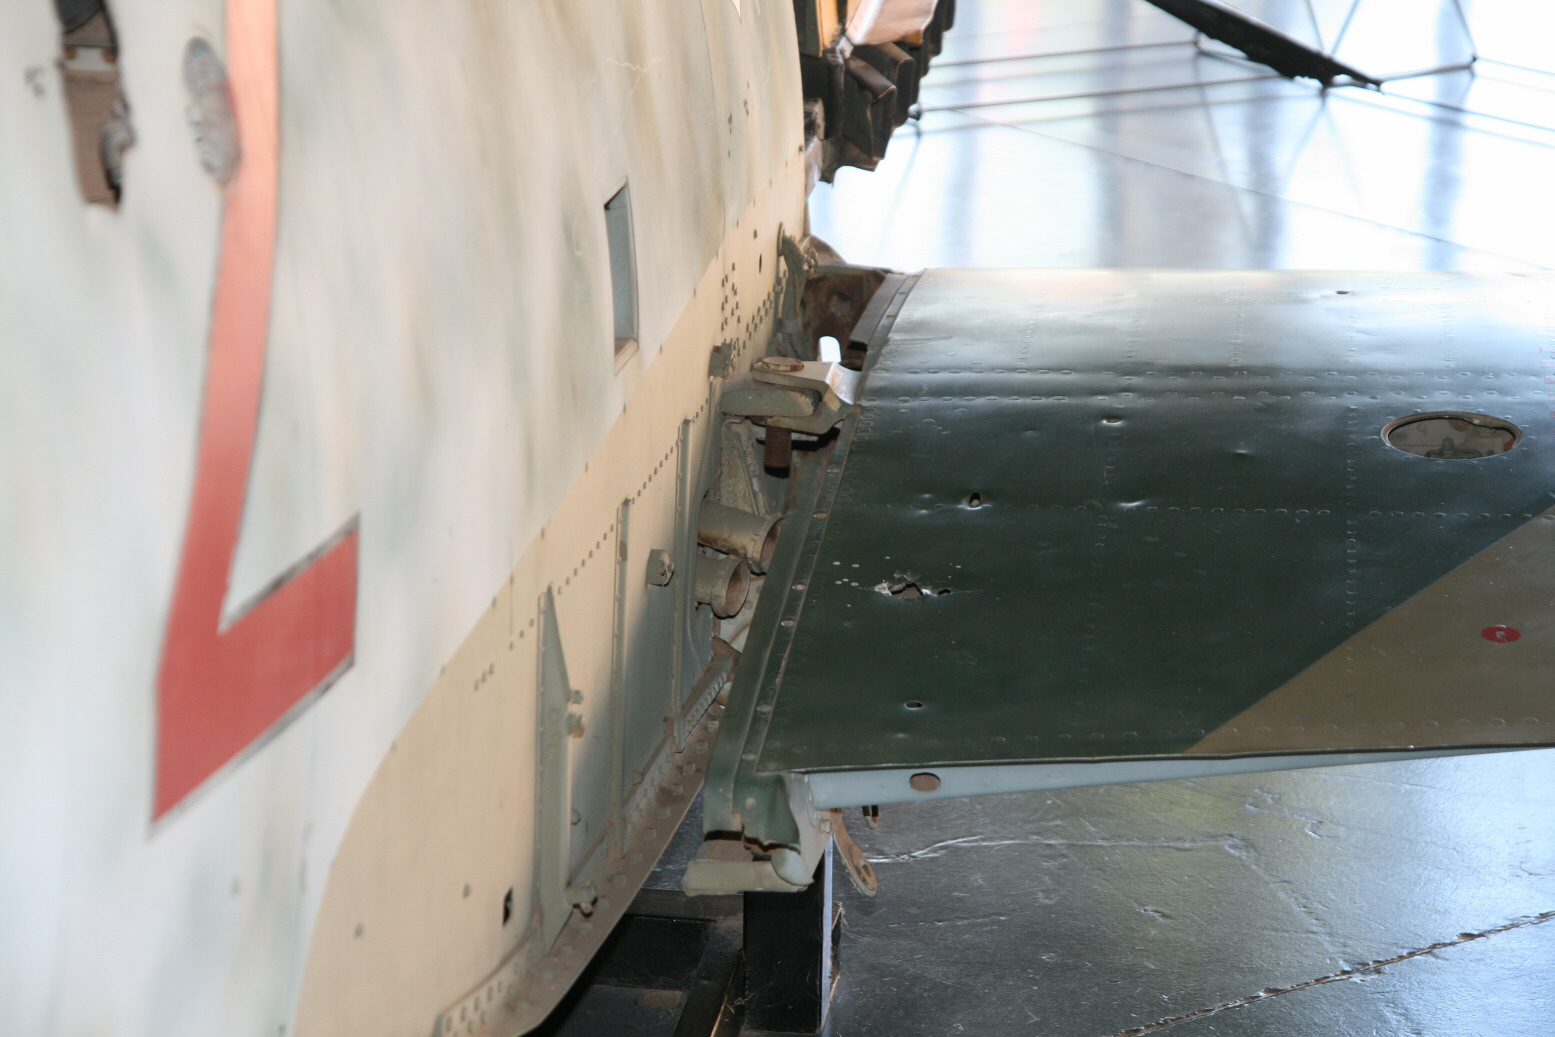
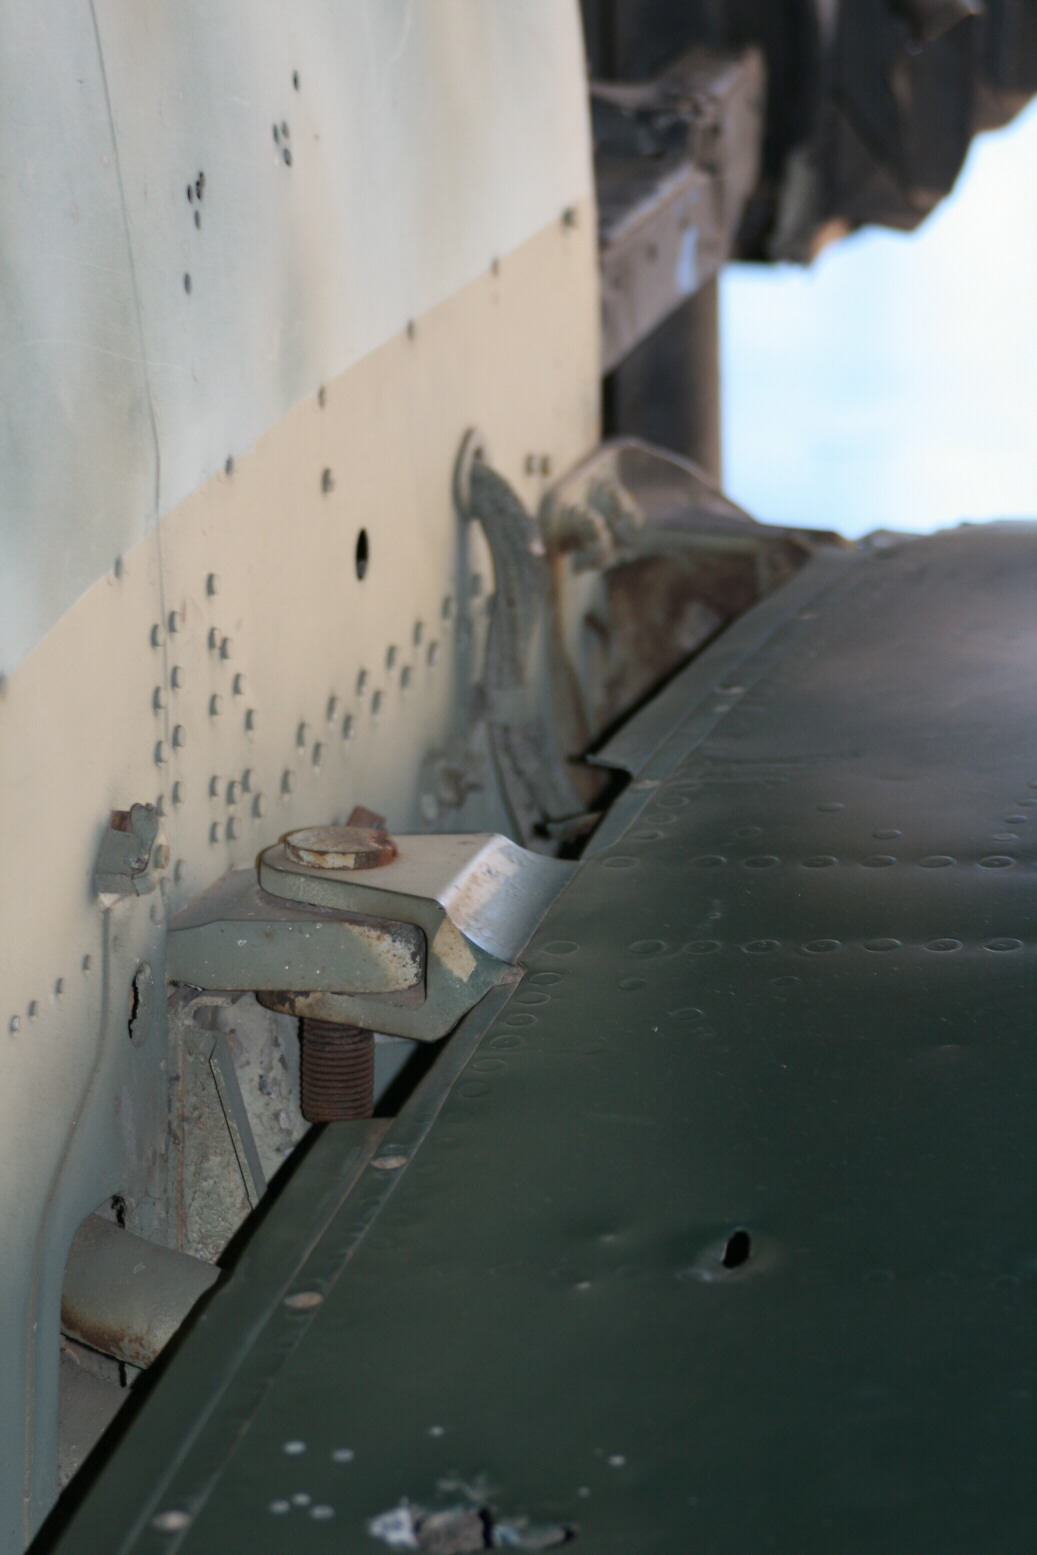
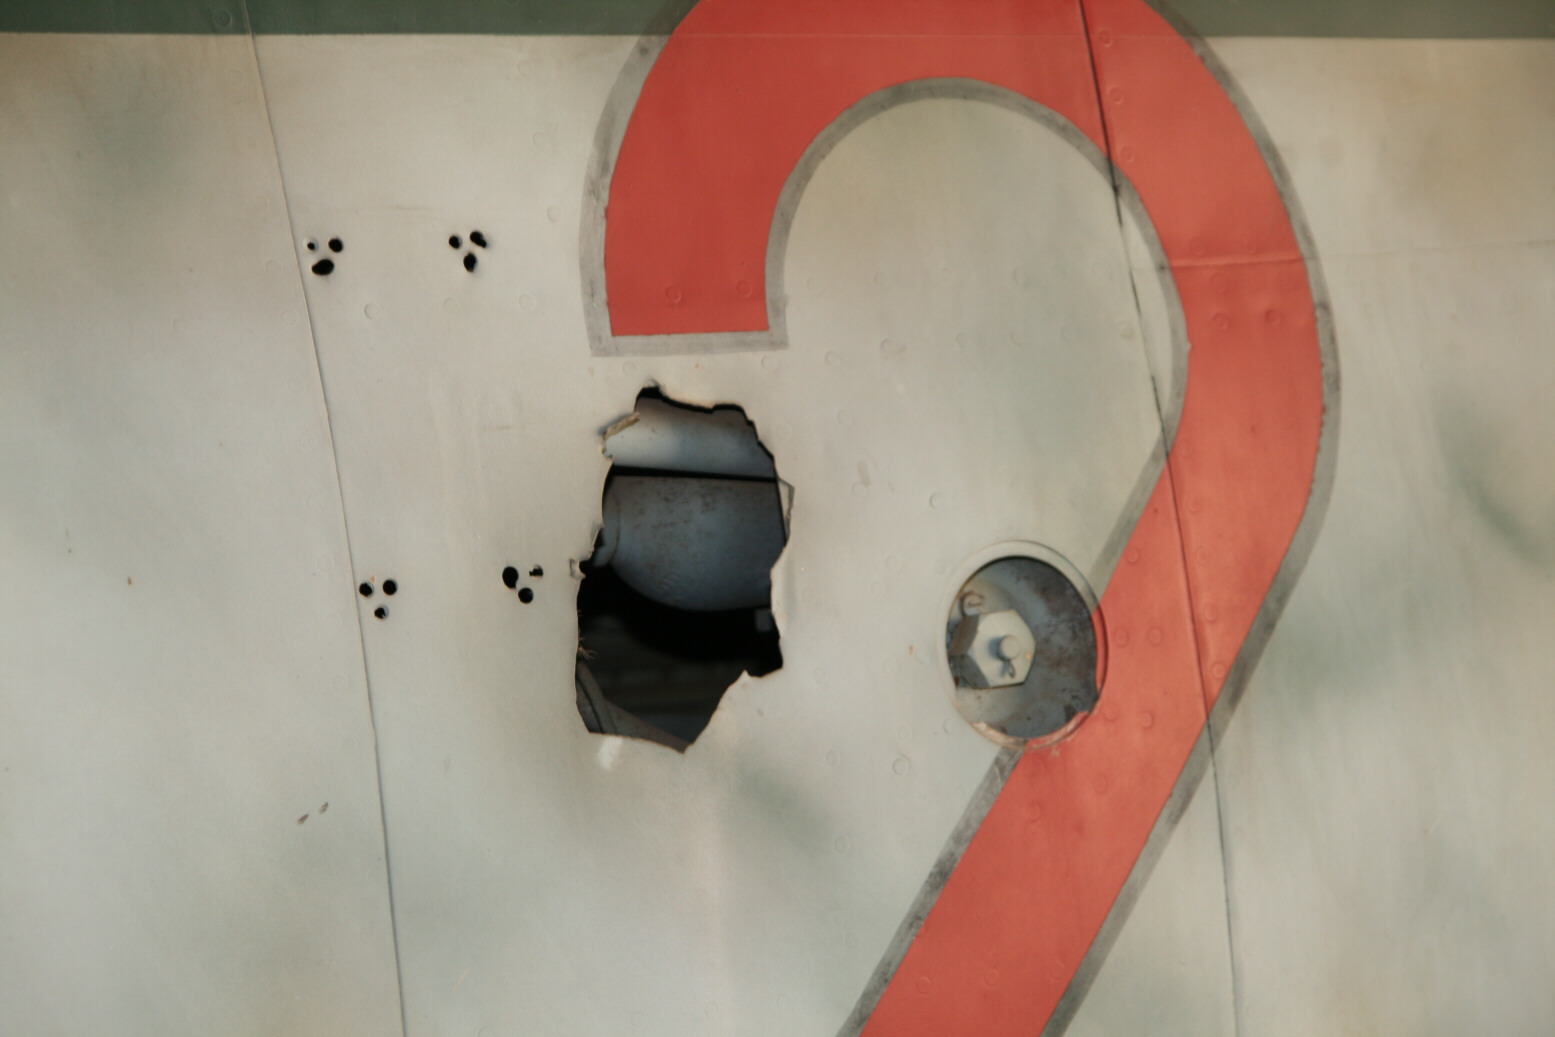
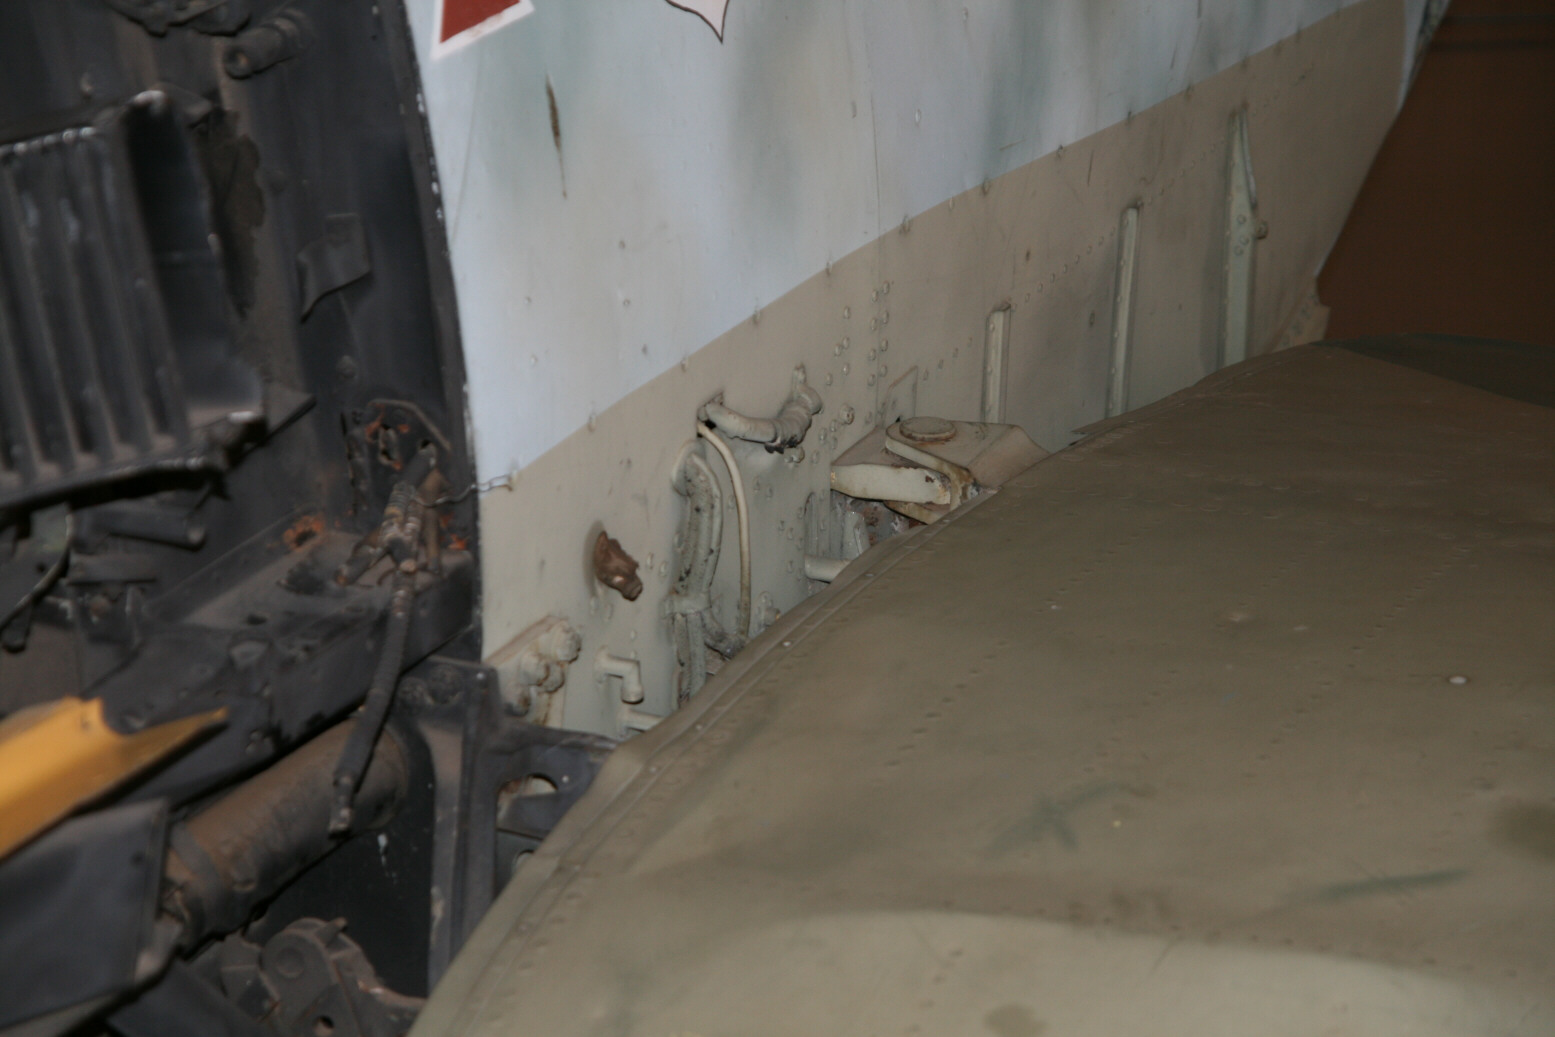
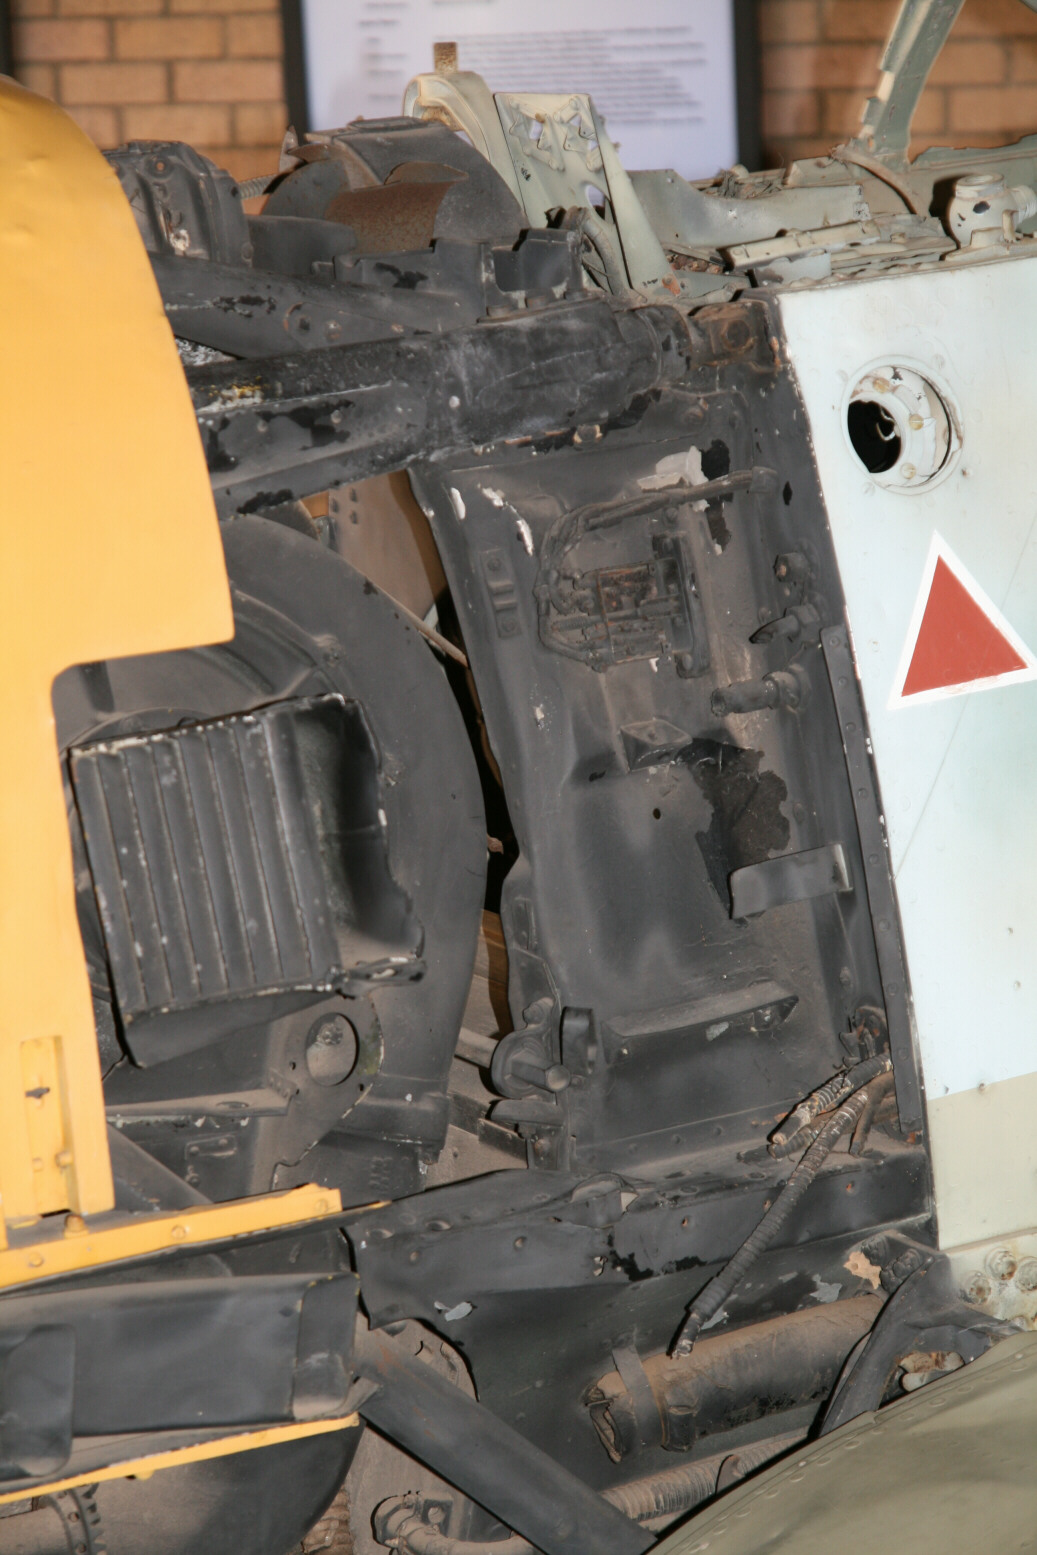
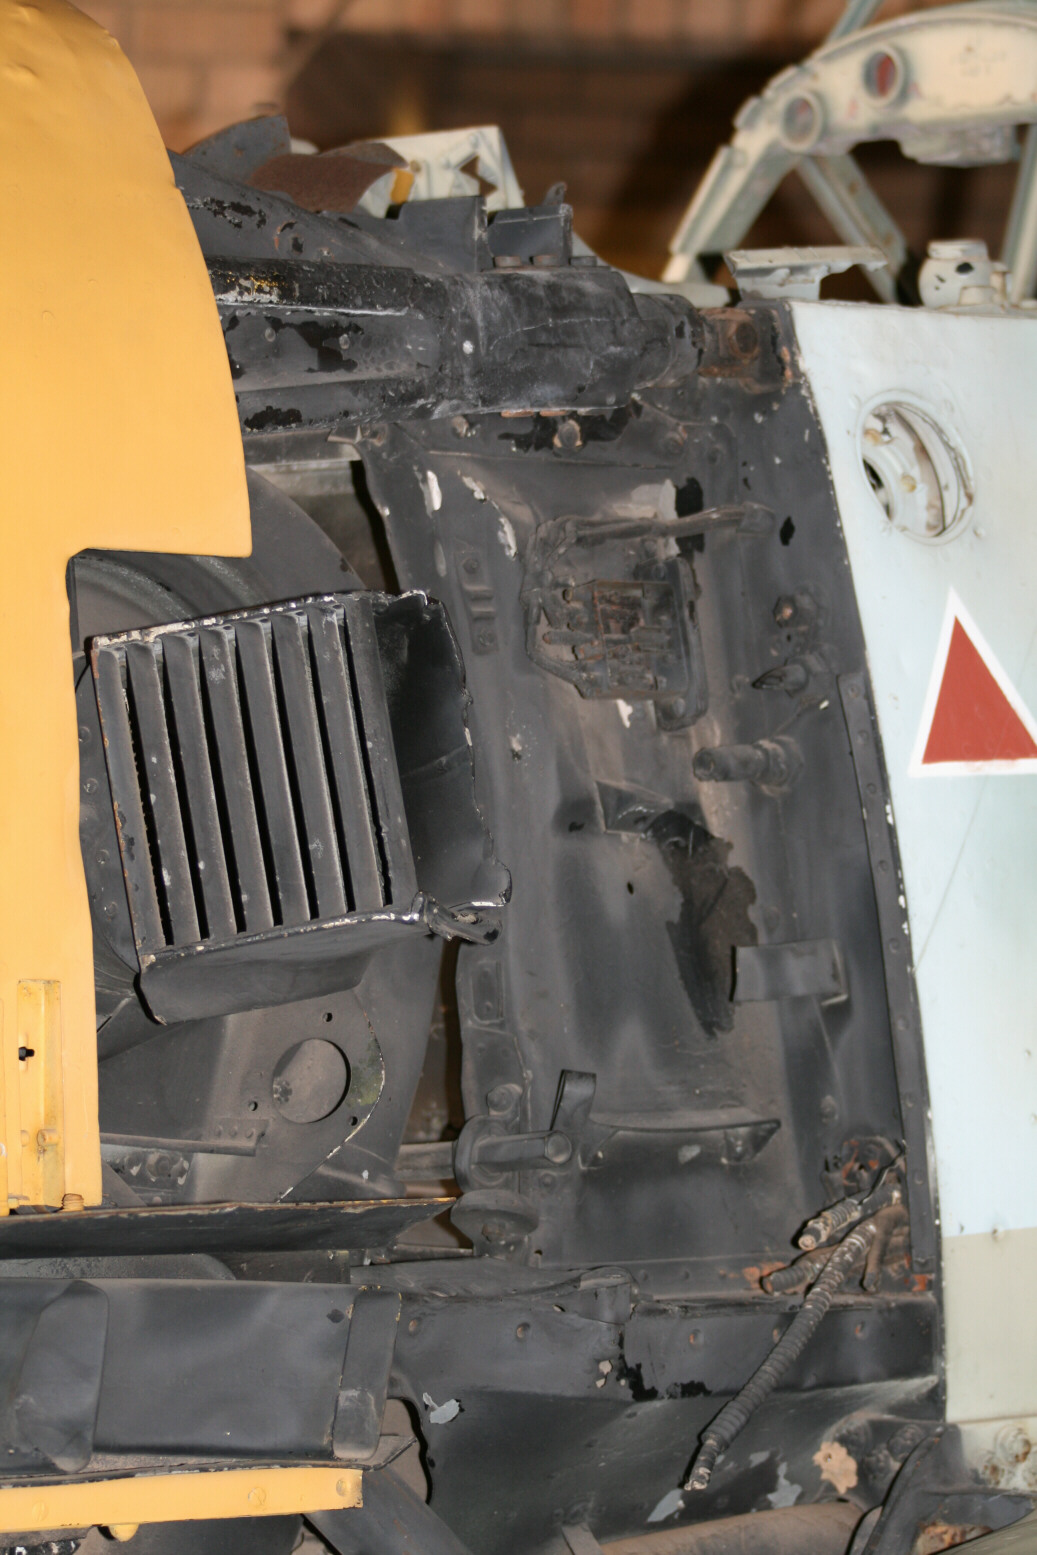
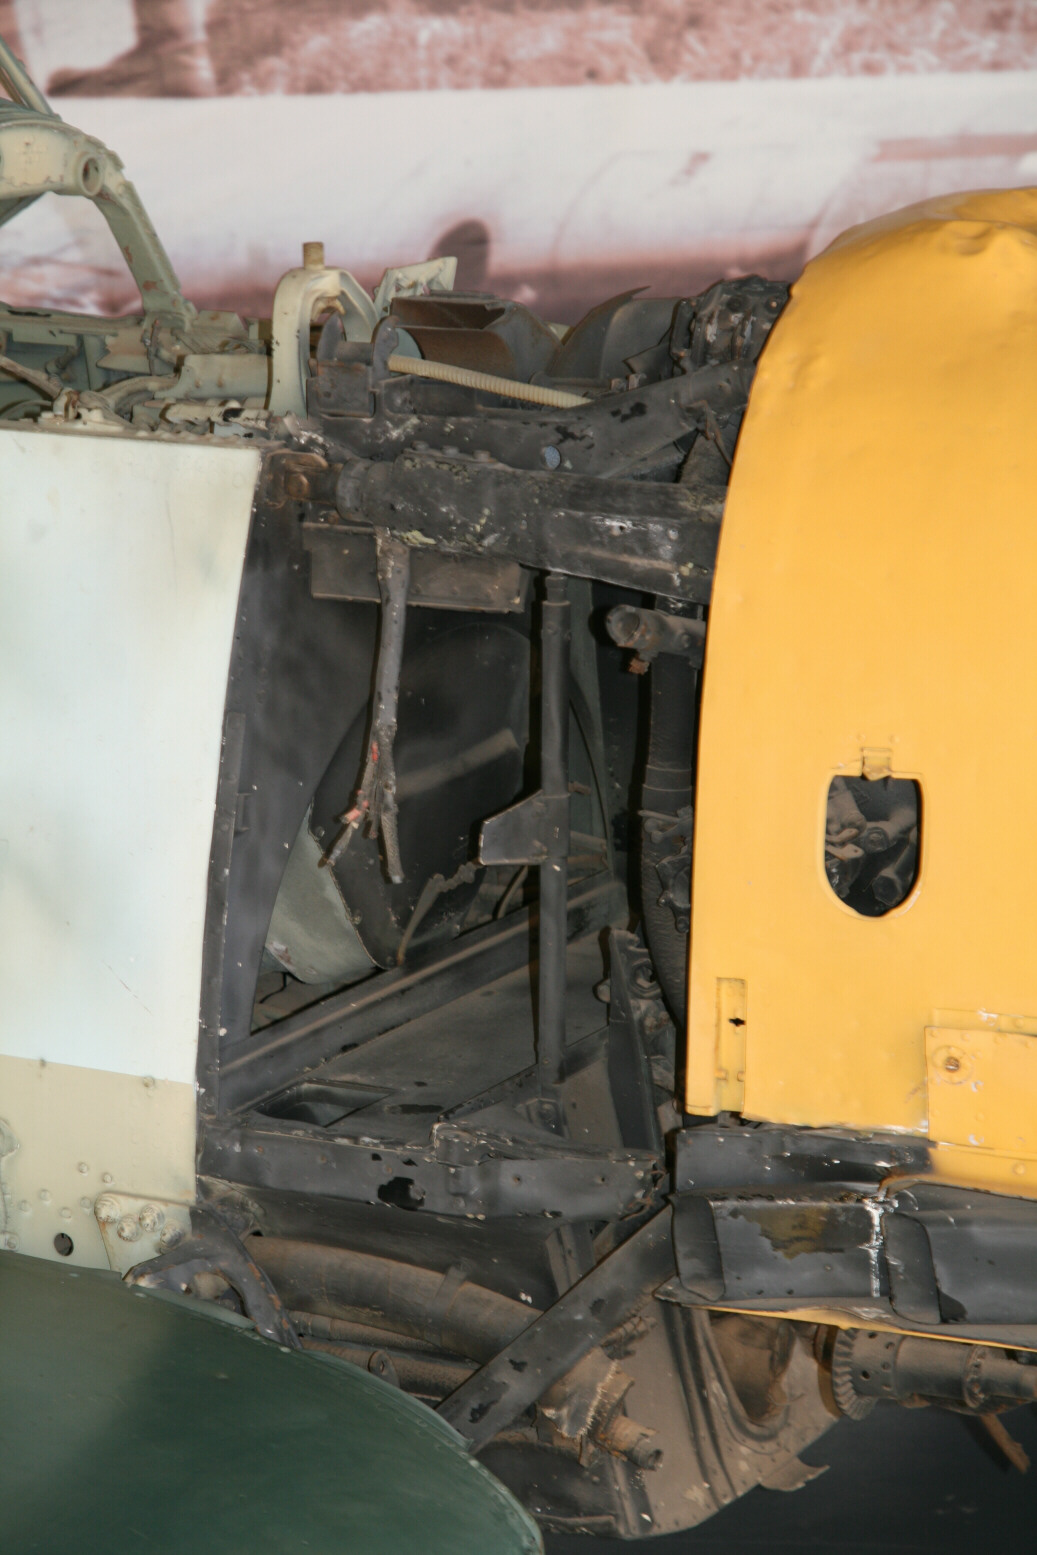
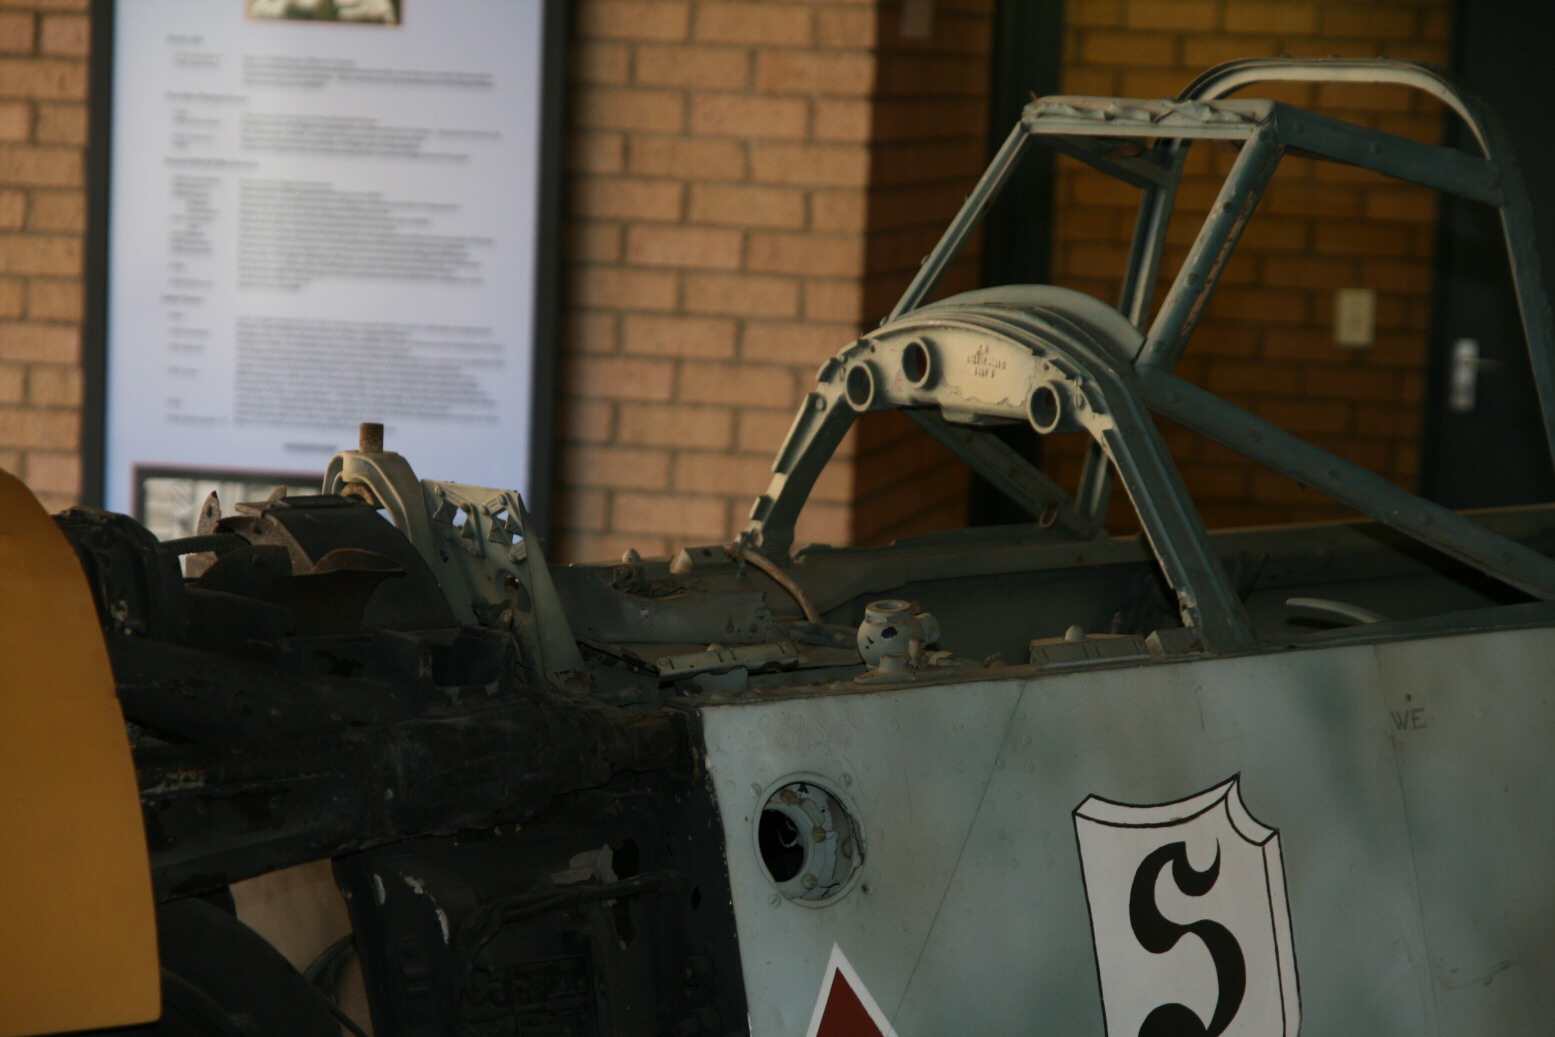
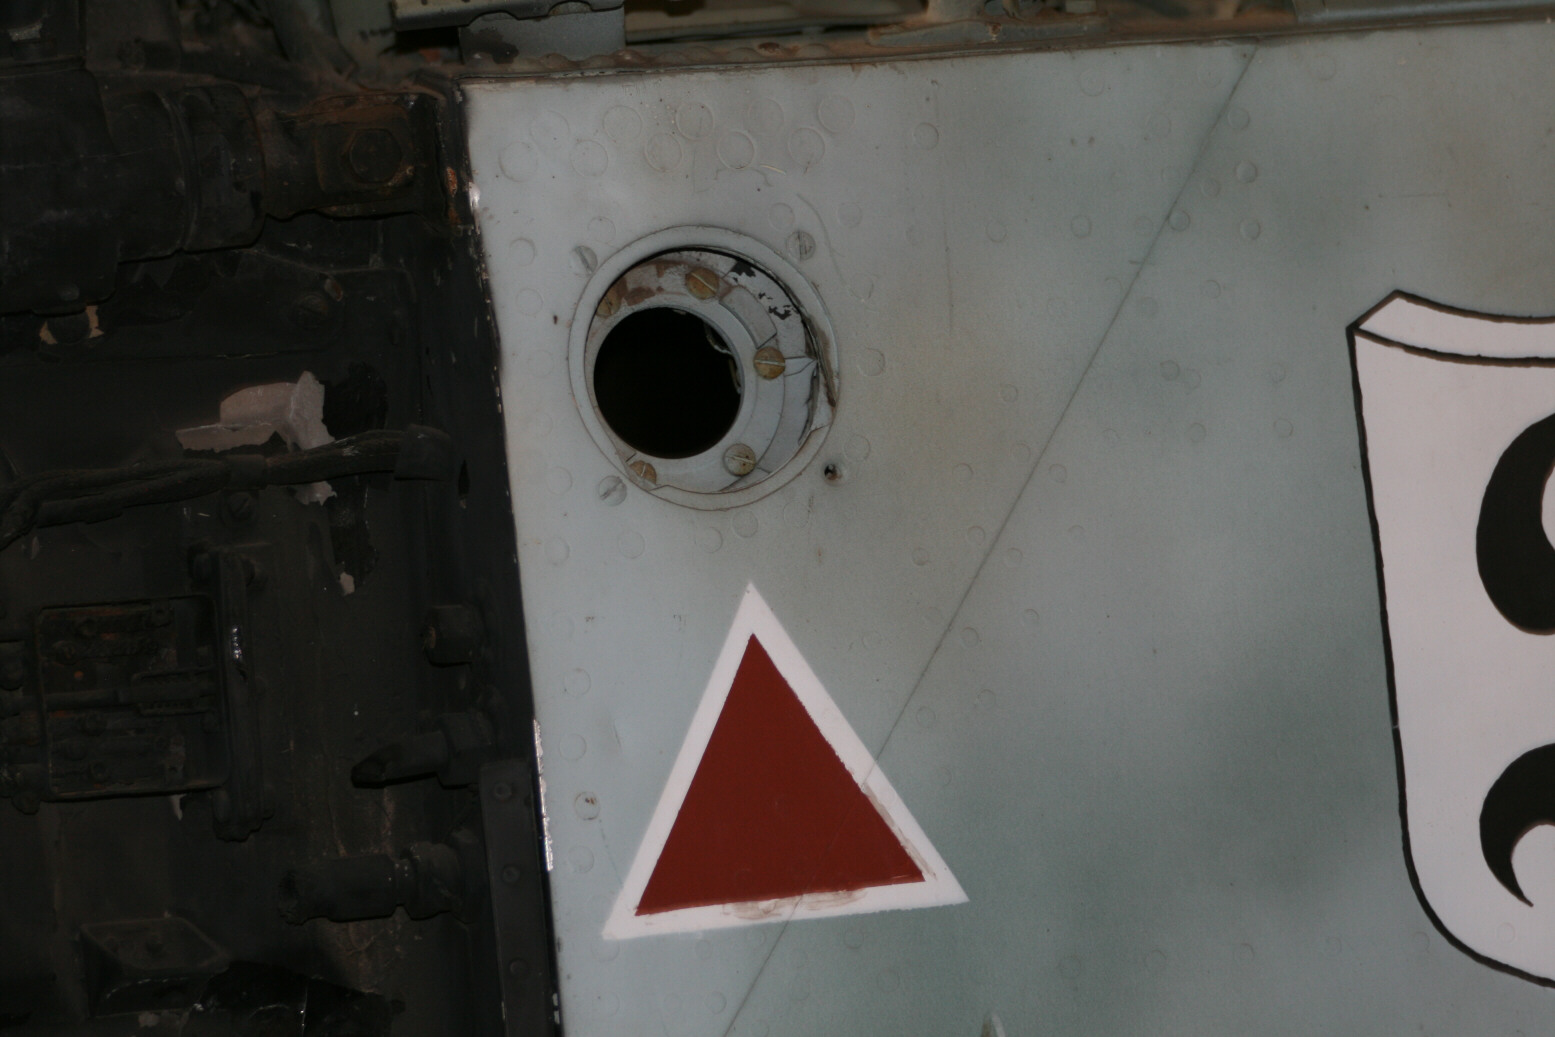
Photos 16 through 22 (above) show the port side of the fuselage with the missing wing fillets and the wing attachment points. The purpose of the small rectangular access hatch is unknown to me. There is a hole in the starboard fuselage, next to the red 2 plus some now bare attachments points. The view of the port wing attachment (photo 23, above) isn’t as good as that of the starboard wing.

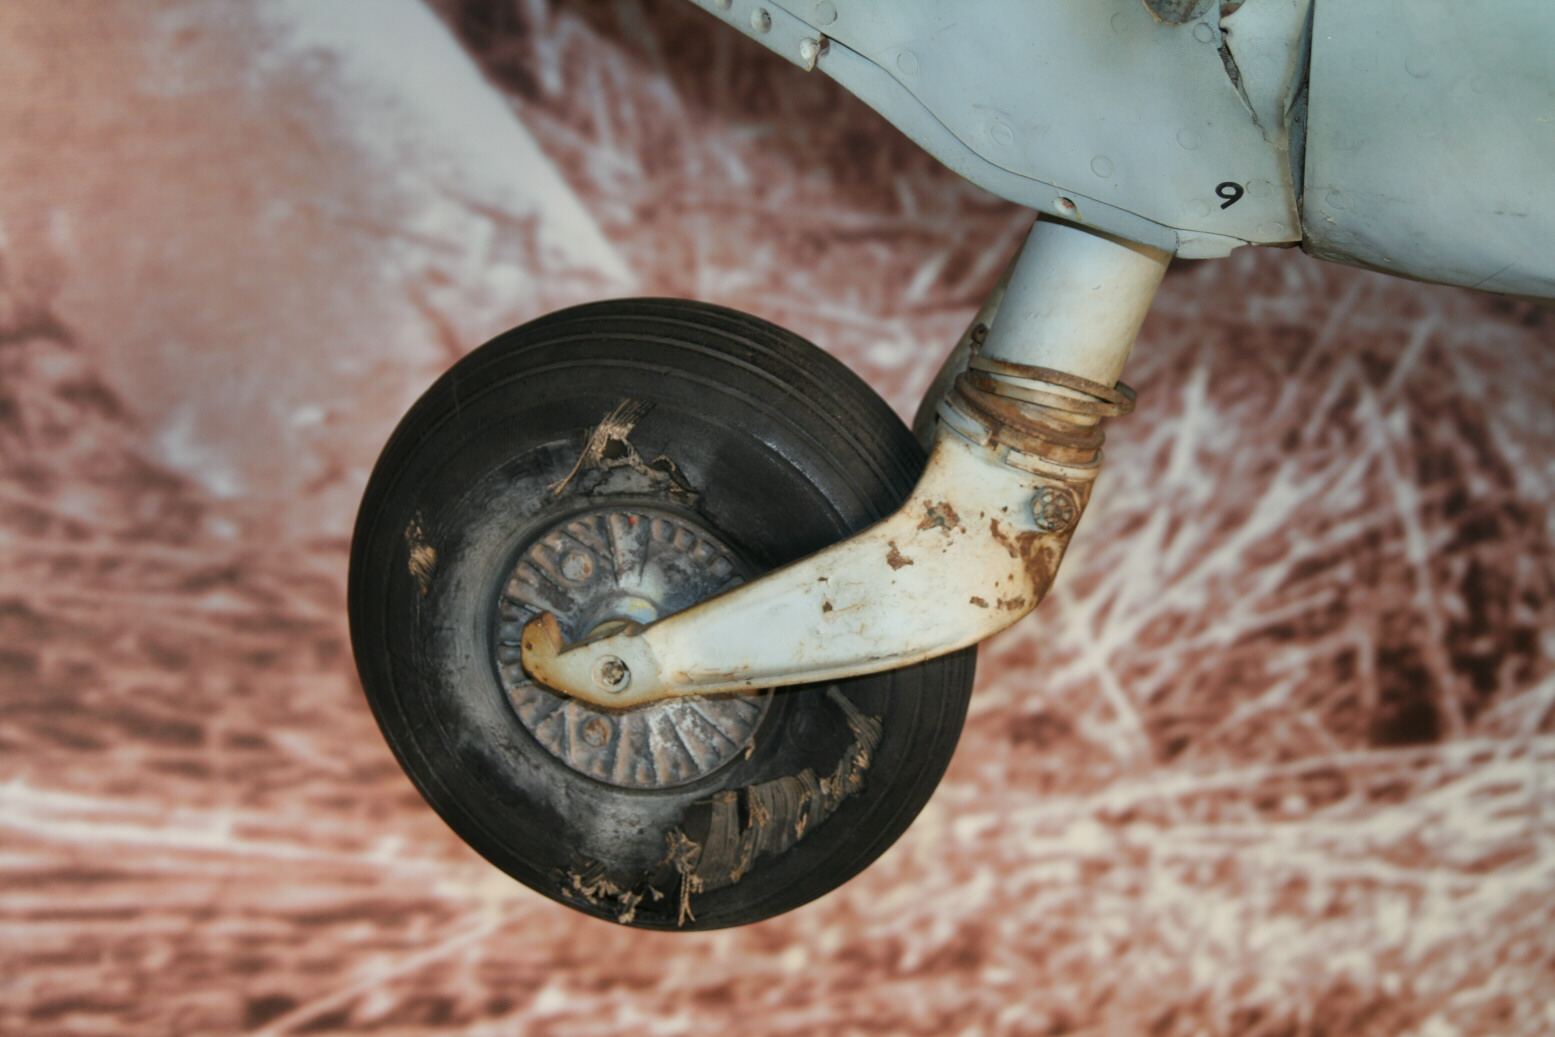
Photos 24 and 25 (above) are of the tail (or, rather what is left of it) and the tail wheel.
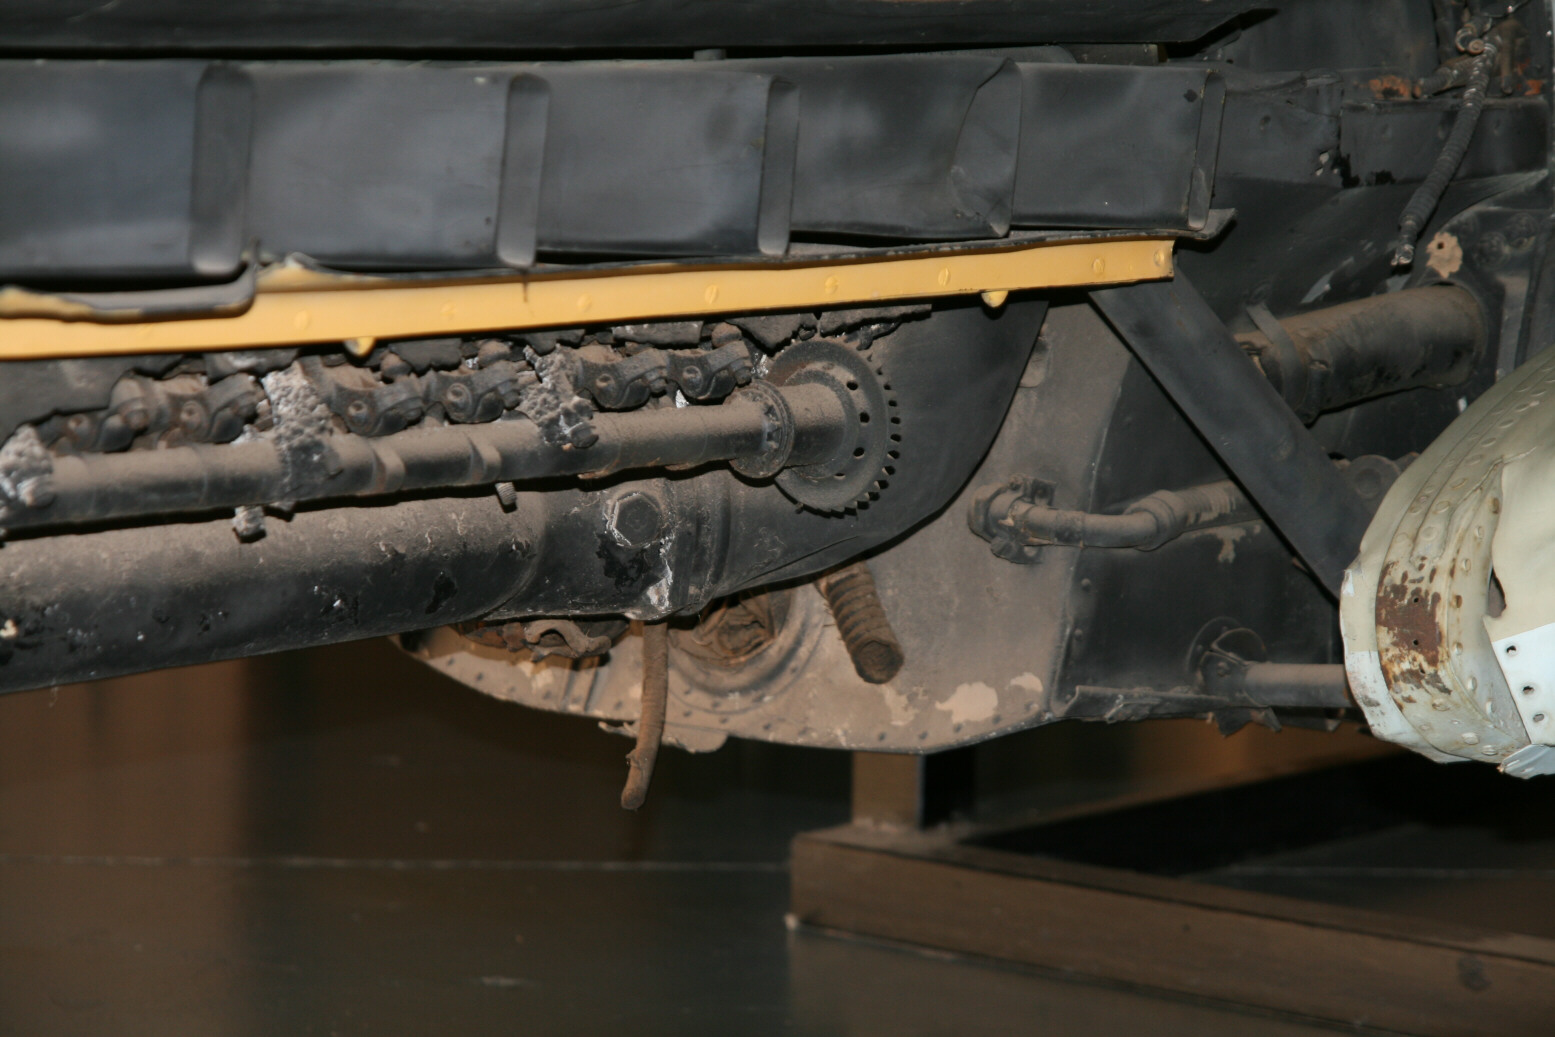

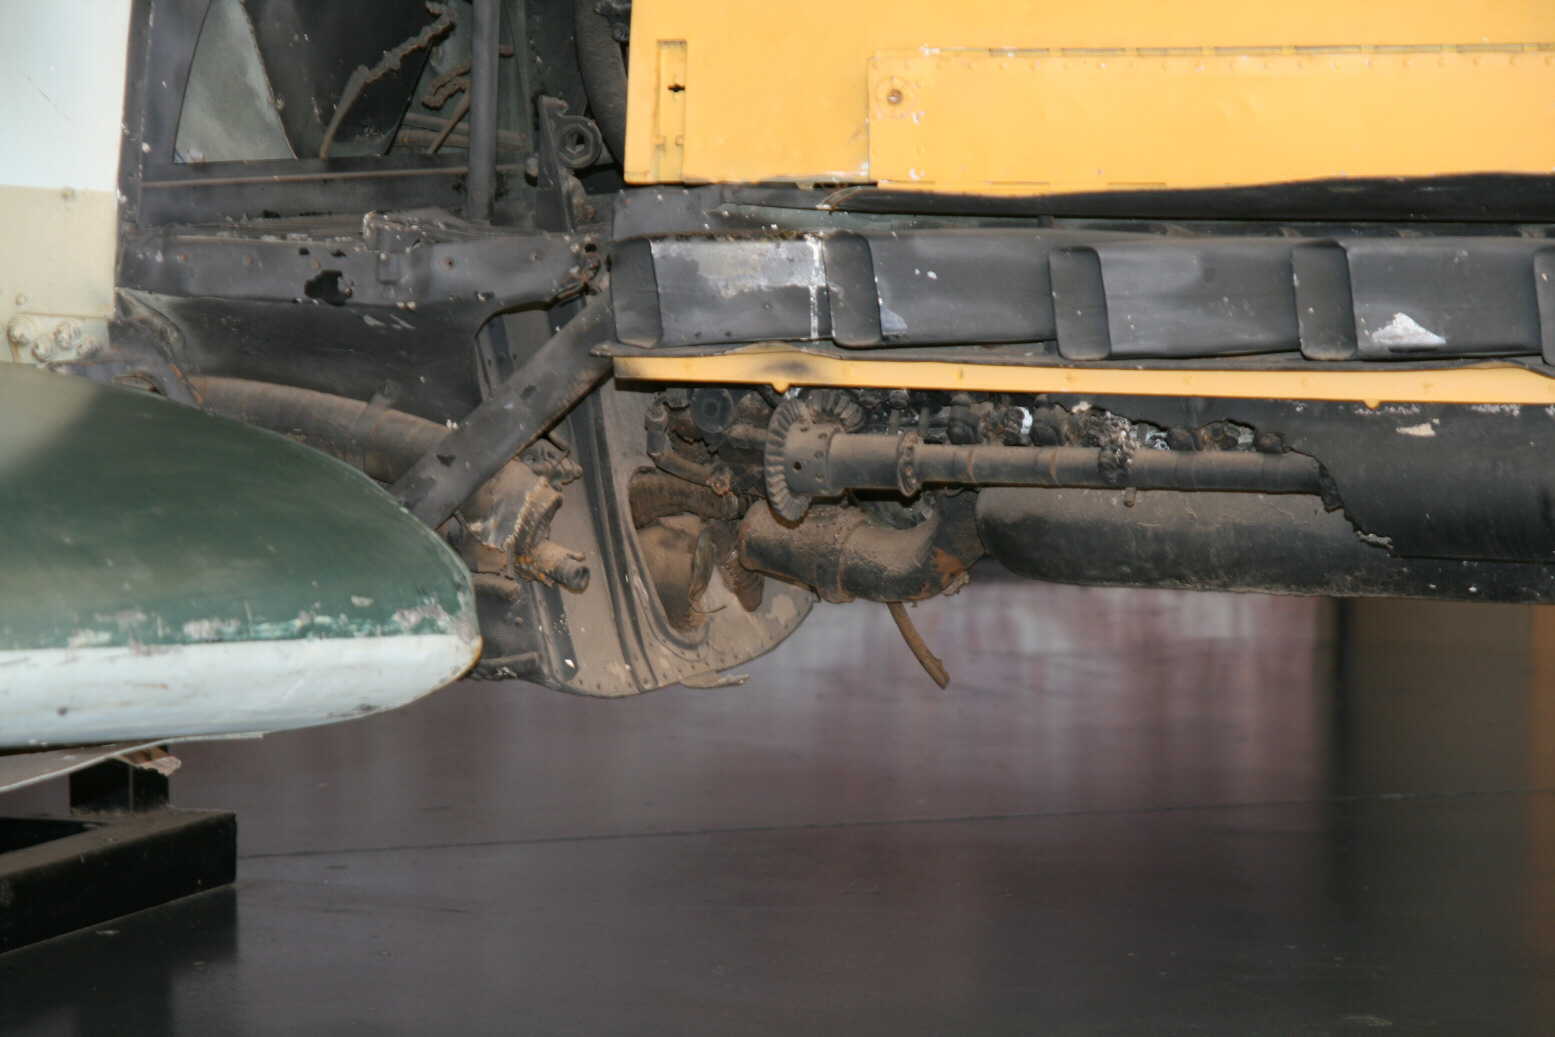
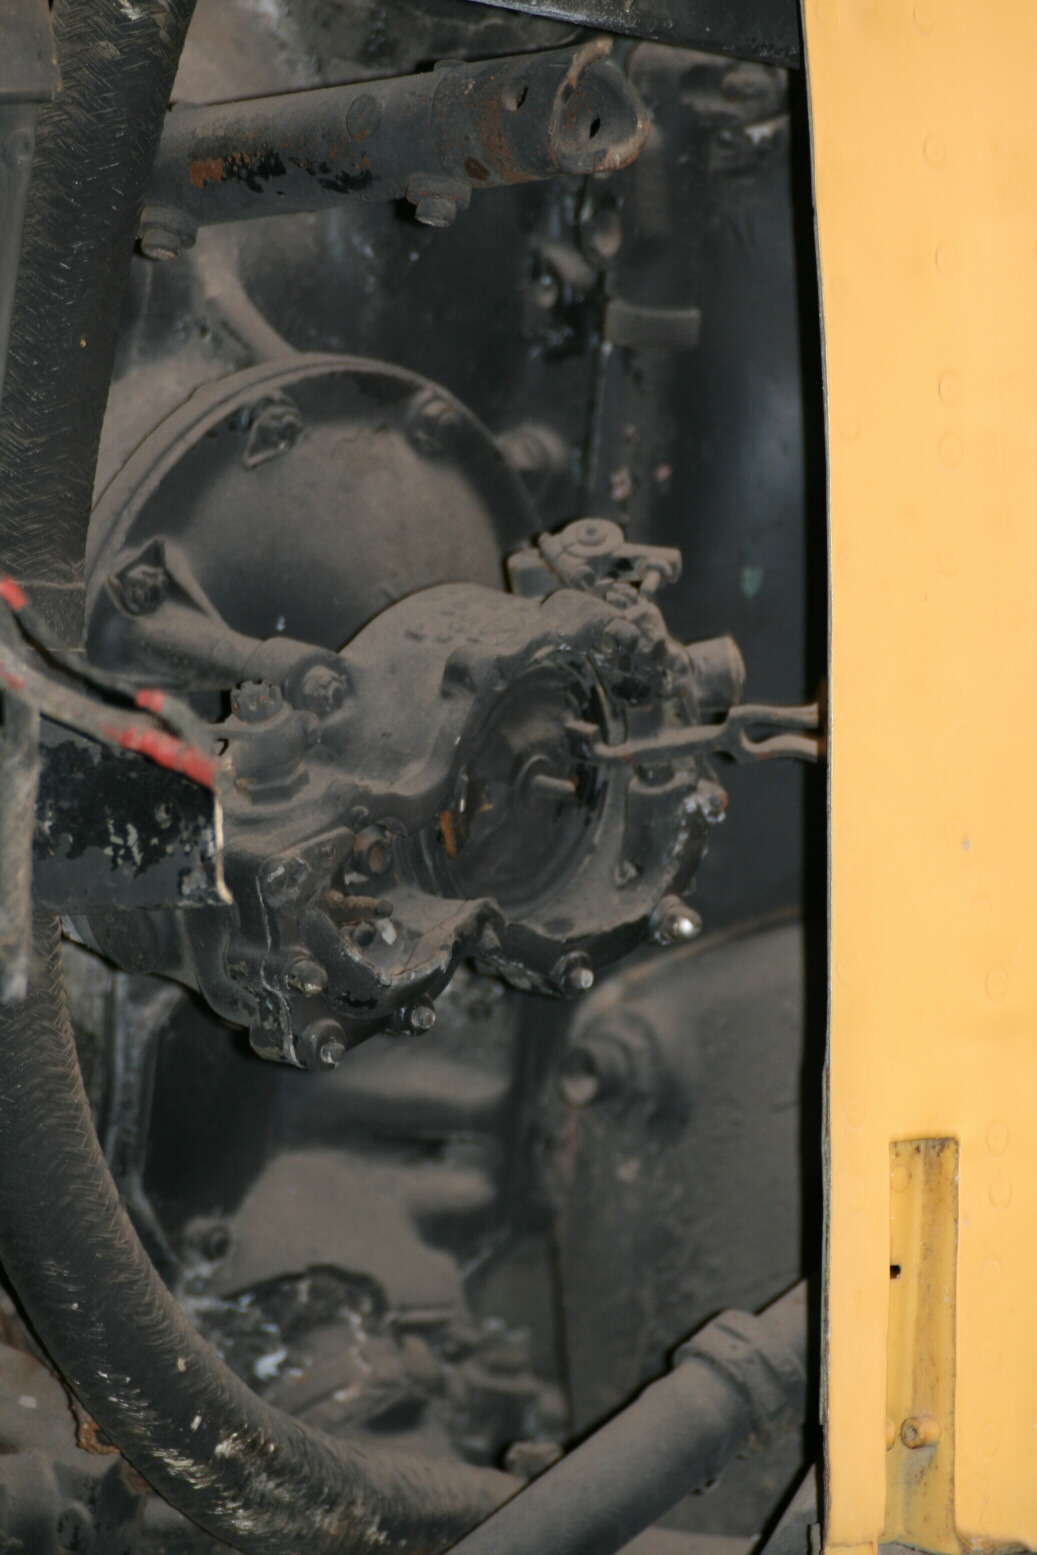

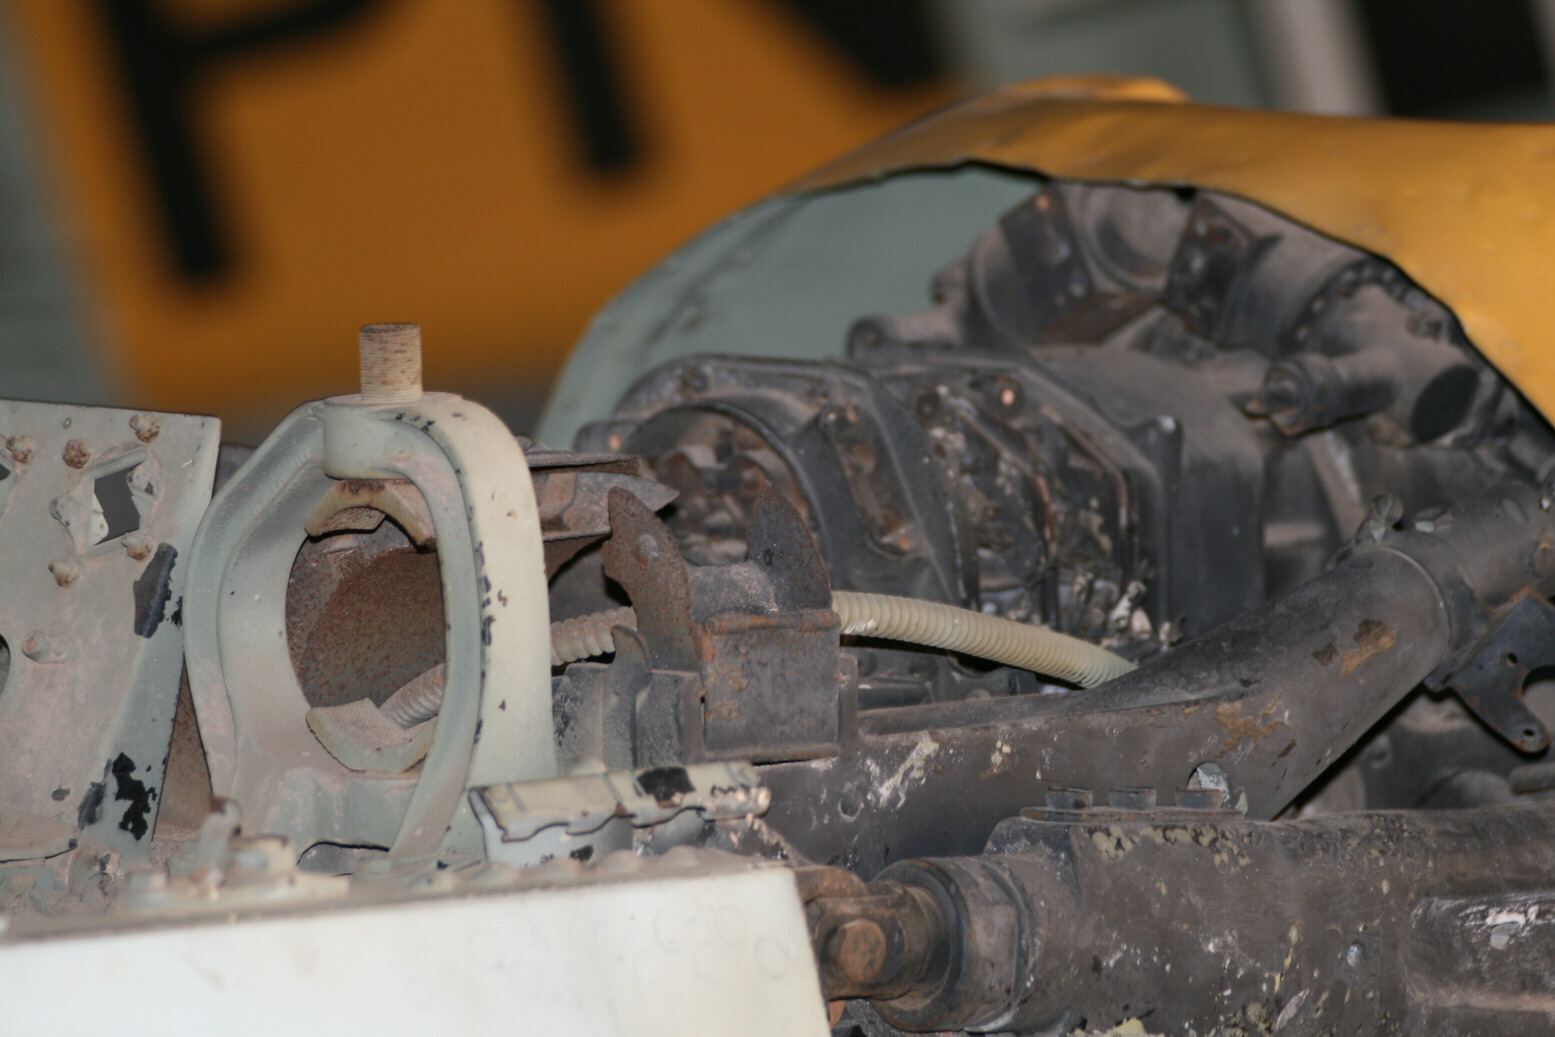
Photos 26 through 36 (above) show the nose and the exposed parts of the engine, 26 through 30 from the port side, 31 through 34 the starboard side and 35-36 on top.

Finally, photos 37 and 38 (above) show the fuel and oil filler points.
© Max Otten 2015
This article created on Thursday, May 07 2015; Last modified on Thursday, March 31 2016