
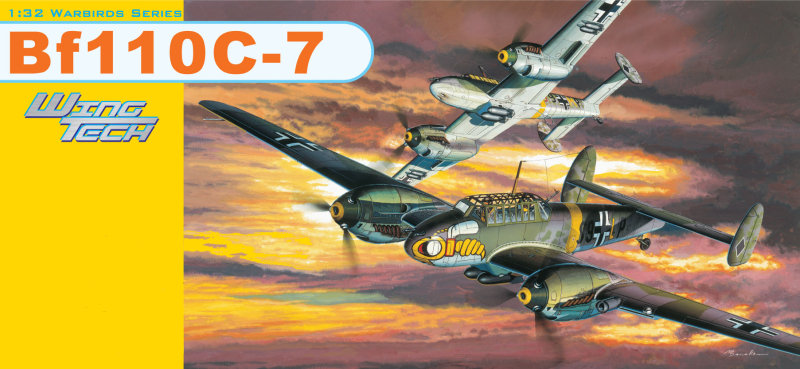
Dragon | 3203: 1/32 Messerschmitt Bf 110C-7
Reviewed by Randy Bumgardner
So, whatever you have read, or written, or said about Dragon's first offering in 1/32 scale, the P-51D - forget about it. Dragon brought in the big guns for this kit - including Jerry Crandall and Mark Proulx - to ensure it was a success. This kit is the inaugural kit in their new "Wing Tech" series, a series that essentially parallels their "Smart Kit" series of armor kits. If this is the case, then we can expect some very nice details and lots of options from forthcoming kits in this series. Making extensive use of their slide molding technology, which Dragon has lots of practice with on their armor kits, Dragon has certainly reached down deep on this one. Last year, Revell re-issued their Bf 110C. That kit was simply the old tool Bf 110C in a new box. This year, Dragon has entered the large scale Luftwaffe market with a new tool Bf 110C-7, ou la la! Granted, each kit plays to a different market segment and pocketbook size. So a head to head comparison may not be an apples to apples endeavor.
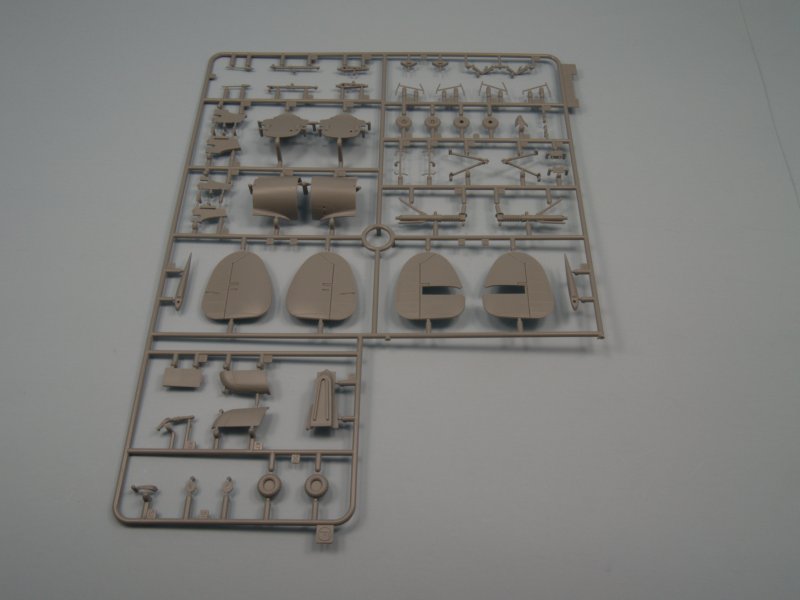
Upon removing the cover of the typically sturdy Dragon box - with some very nice artwork, the buyer is presented with 15 individually bagged parts trees. A very nice touch by Dragon to individually bag the parts trees - minimizing any scratching due to parts rubbing on each other during shipment. As such, none of the parts in my review sample showed any signs of scratching or wear and tear. Two of the trees contain the clear parts for that greenhouse canopy, landing lights, etc., with the balance molded in grey styrene. Dragon also supplies the modeler with a photoetch fret containing seat harnesses and the loop for the direction finding antenna. For a really good look at the parts trees, better than I can photograph them, Dragon has them on their website. Click on each individual sprue to load the corresponding image of that sprue.
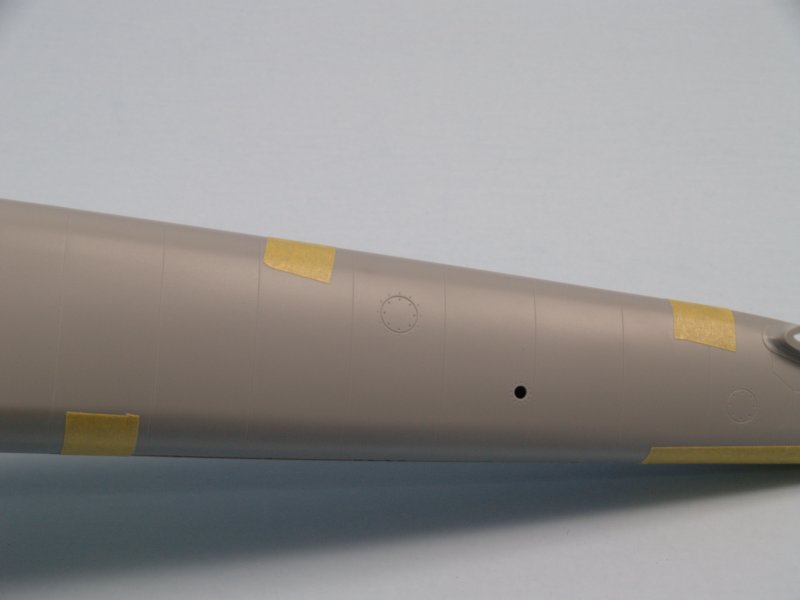
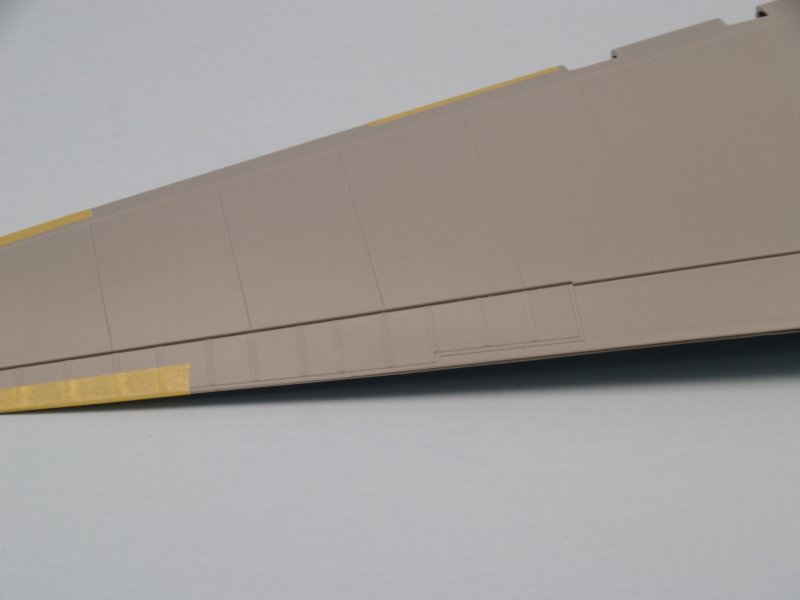
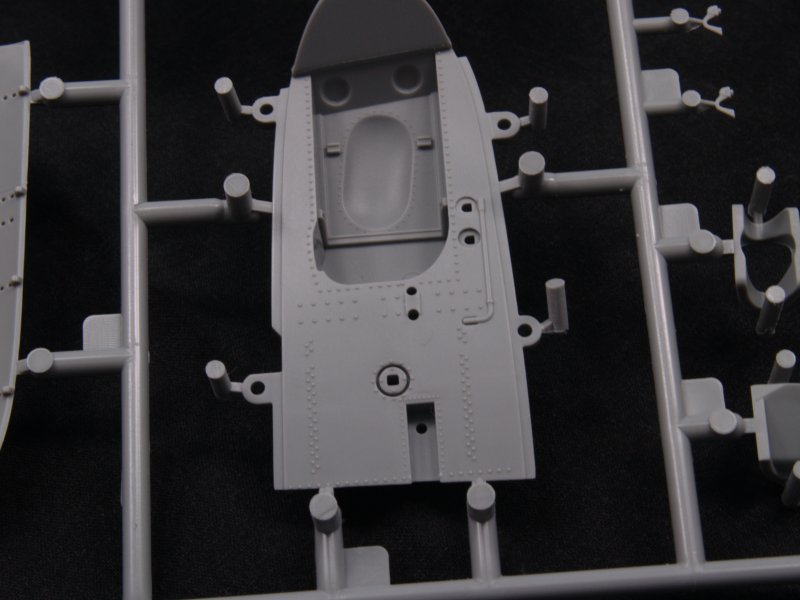
The parts are molded in grey polystyrene with nice petite, subtle panel lines and rivets where appropriate. Remember all the fuss about the panel lines and rivets on their P-51? Well, forget about it. The parts on my sample contain no flash, the molds are nicely polished - so there is no "pebbly" texture to polish out of the surface prior to painting, and the surface detail is nice and crisp and consistent throughout the parts supplied. The panel lines do get deeper when necessary, for example, the boundary to the control surfaces on the wings and empennage. The plastic is not overly brittle, so it can be sanded and shaped easily without distortion due to it being too soft either. However, based on what's in the box, there should be no need to reshape anything on this kit.
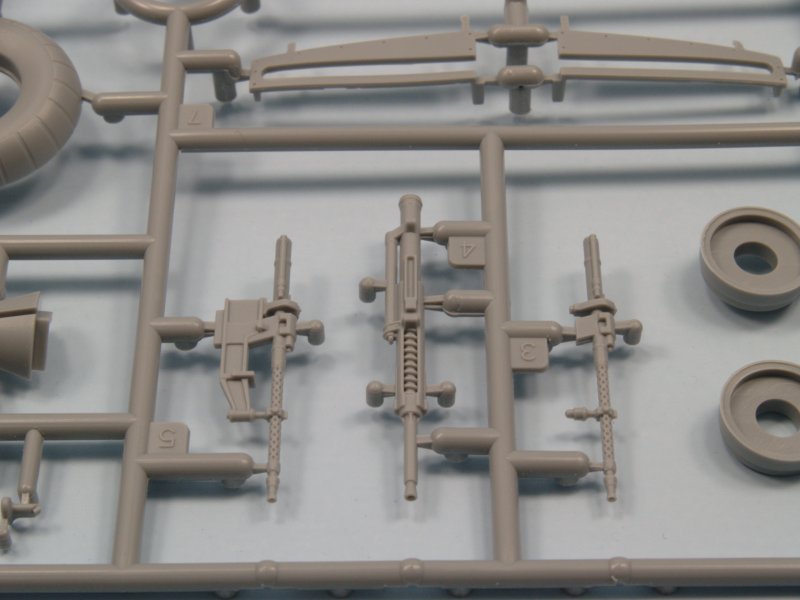
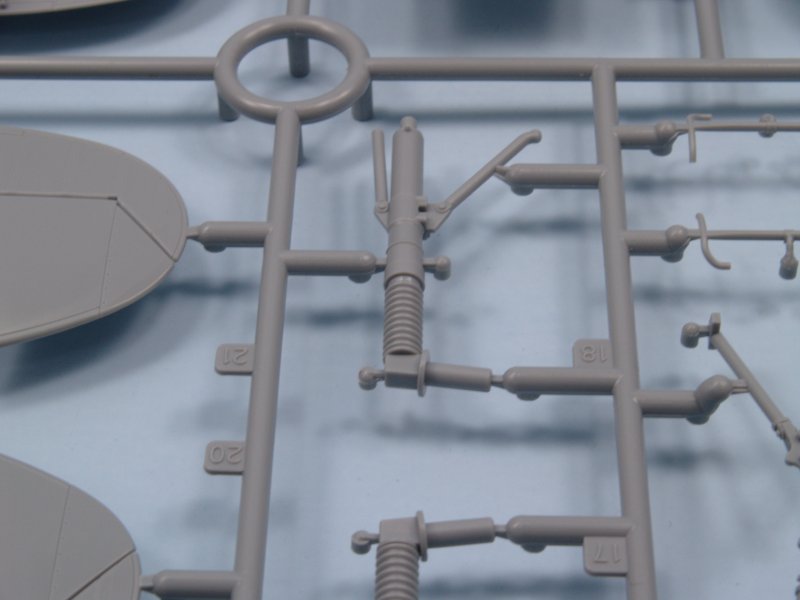
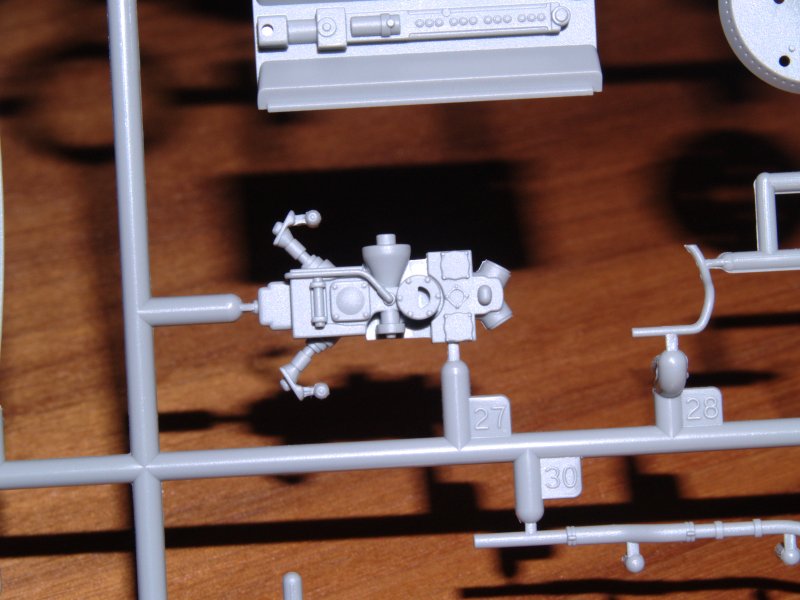
The detail on the parts is amazing. Not being an armor modeler, I don't have the experiences with Dragon's use of slide molding technology. So, this is my first real exposure to what slide molding has to offer. I am very impressed. For instance, the detail on the MG FF/M and MG 17 guns is very well done. As is the detail on the main gear legs and in the cockpit. There are subtle details present that are very well articulated. Unfortunately, the ends of the exhaust aren't hollowed out - a minor point, but, with the advantages of slide molding, something that is certainly achievable. One word of caution, though. There are a number of very finely molded parts, so the modeler needs to be very careful detaching them from the parts trees.

The instructions are what we've come to expect from Dragon. There are twelve steps, each containing an exploded parts view of the construction for that step. The assembly sequence begins in the cockpit and follows a logical progression through the kit. Beware, some of the steps actually have sub-steps, and sub-assemblies that must be built up first. Pay attention to the instructions and all should be well with this build.
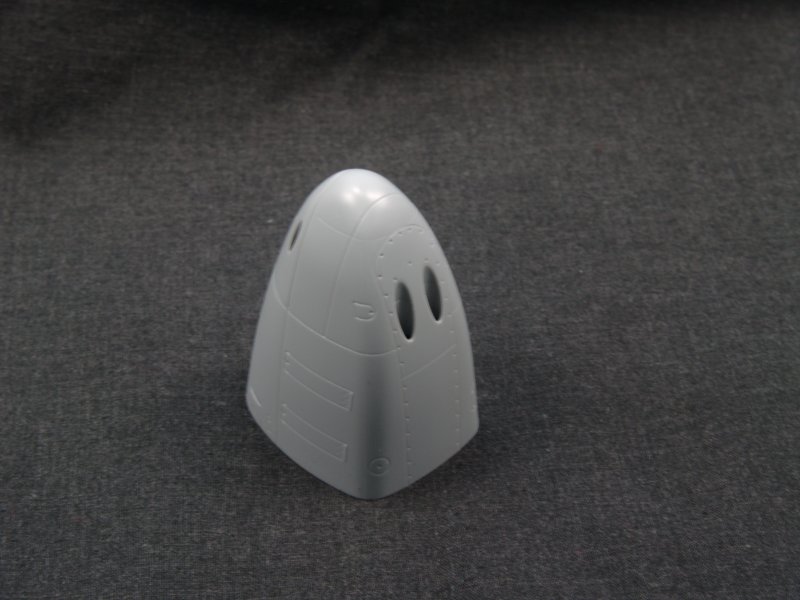
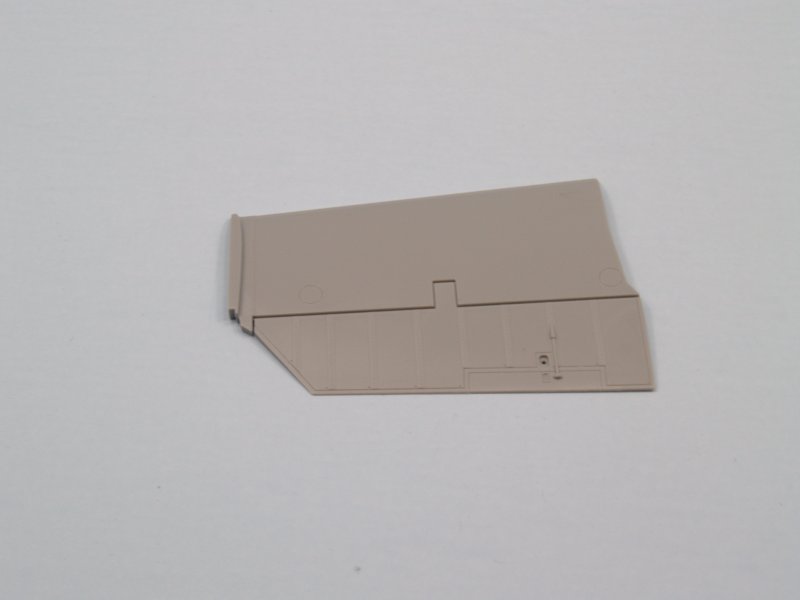
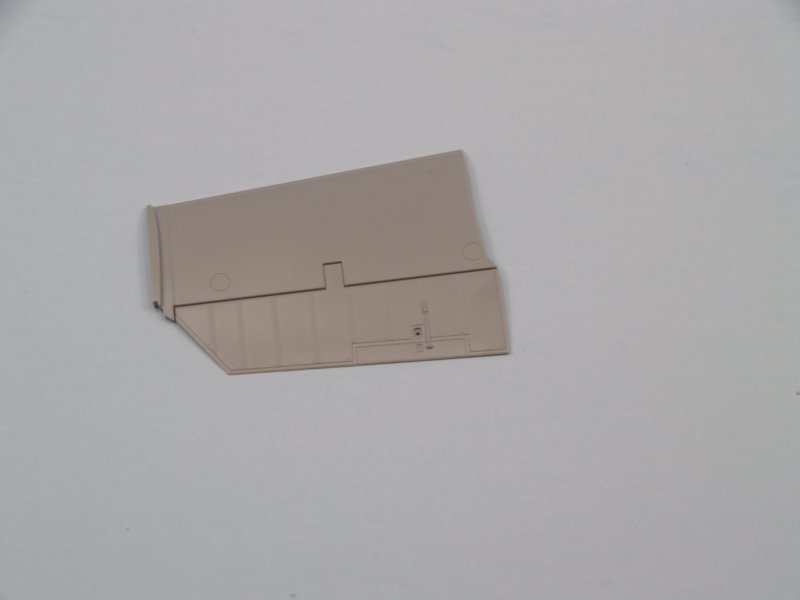
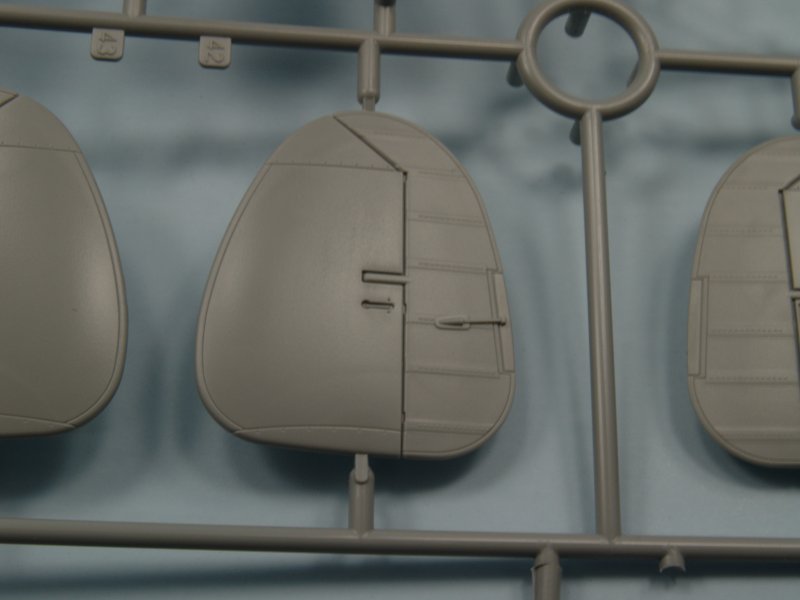
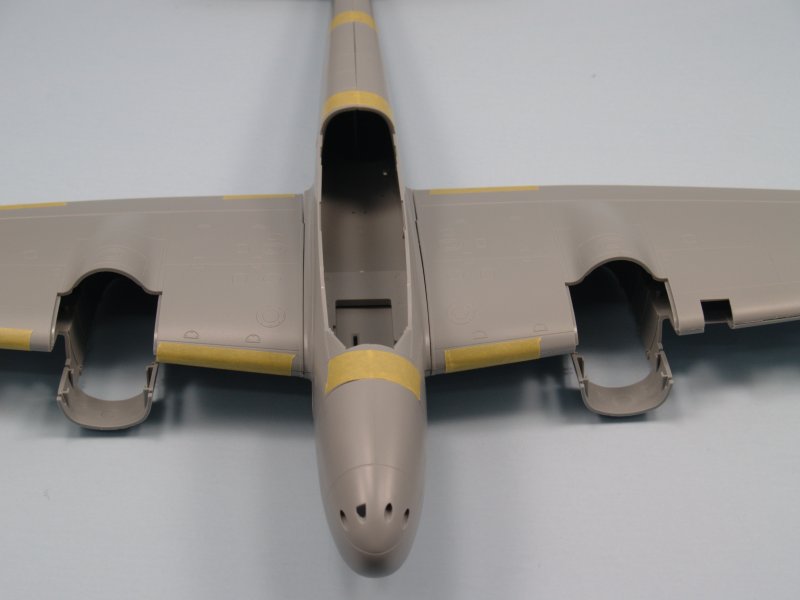
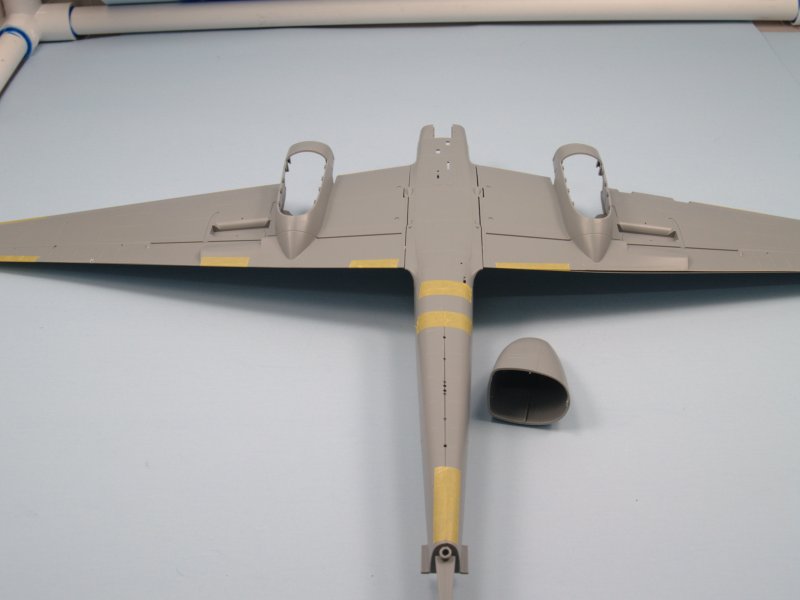
Right out of the box an Bf 110C-7 can be built. Dragon has included some optional parts - parts marked not for use on the parts list in the instructions - that may indicate future versions are in the works. Examination of the parts breakdown lends further support of the hypothesis that additional versions are in the future. The nose cone is molded separately, so an 'E', 'F', or 'G' can be easily done. The engine nacelles are molded separately, so we could see an 'F' or 'G', or even a tropical 'E' version with the deeper oil cooler. The tail section is molded so that the long boat tail can be produced for the 'D' or 'E' versions. Even the wingtips are molded separately, and this would indicate that Dragon could issue a 'B' version with the rounded wingtips - sounds like a long shot, but an intriguing long shot nonetheless.
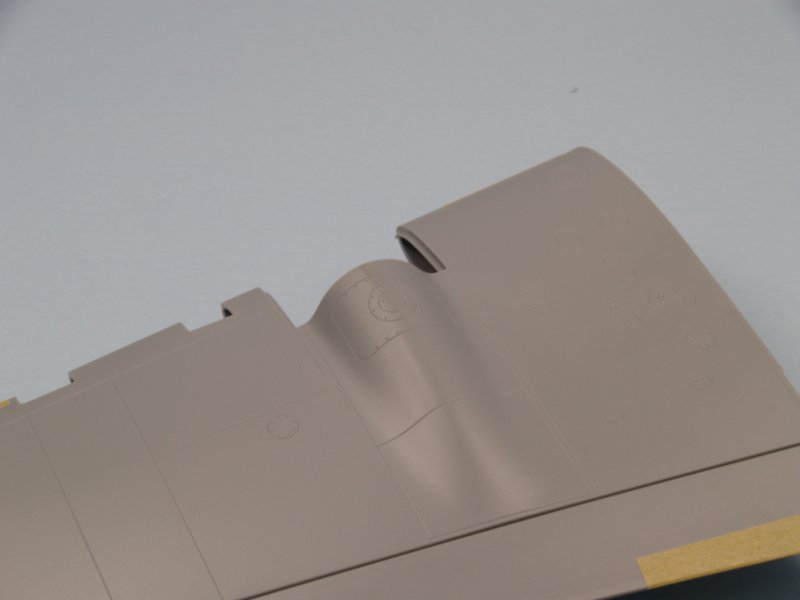
So, from stem to stern, what do we have? The design of the molds allows for a fairly easy, straightforward assembly. The parts are broken down to allow for maximum mold reuse, but not at the expense of overly complicating the build process. Examining the panel lines reveals that they are all in their correct locations. No phantom panel lines, nor are there any panels that are out of place or irregularly shaped. The fabric surfaces are not grossly overdone. They have a "squarish" look to them, but, overall, they do look the part and are fairly restrained.
The wing to fuselage joint uses a spar system for rigidity and support, as well as ensuring the dihedral is correct. That's nice to see as this model will be a large one and the additional strength and support at the wing root will be welcomed. The main landing gear have three attachment points in each nacelle that provide a positive location and a sturdy joint. This is well done as these joints will be supporting the majority of the weight of the model.
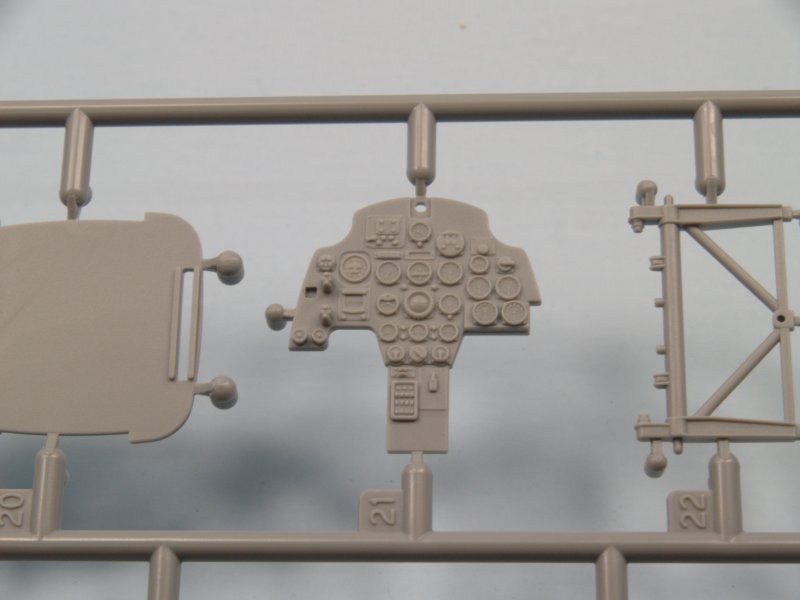
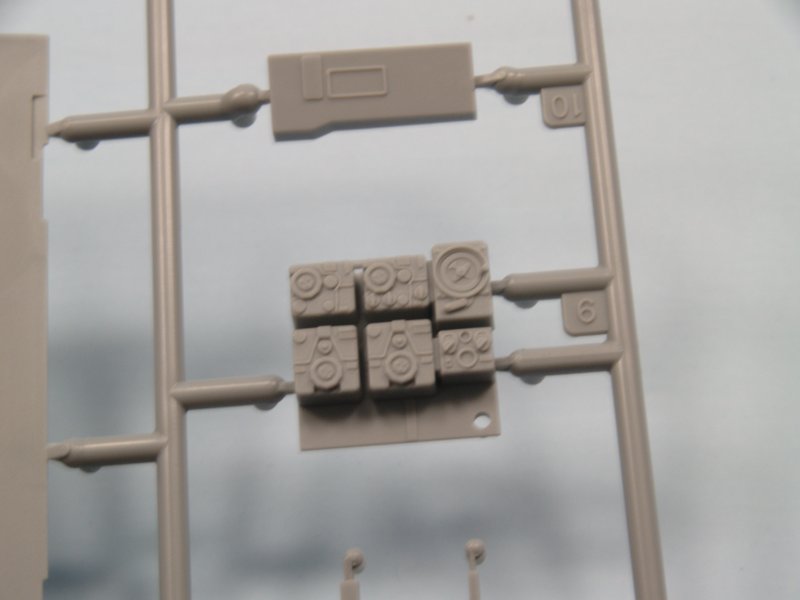
Examining the parts in detail, we shall begin with the cockpit. Composed of 71 well molded parts with very nice details. The instrument panel is a straightforward single piece affair with great detail on the face. There are no dial decals, nor a fancy sandwich assembly. Simple detail painting with a wash and drybrush will make this thing pop. If you would rather use decals for the instrument faces, they are available from third party sources. The cockpit, including the radio operator's position and rear gunner's position, builds up into a tub with stout locating pins for attachment to the inner fuselage halves. The MG FF/M cannons are assembled as a separate sub-assembly and fit into a hole in the cockpit floor at the radio operator's position - easily showing the splendid details in this area.
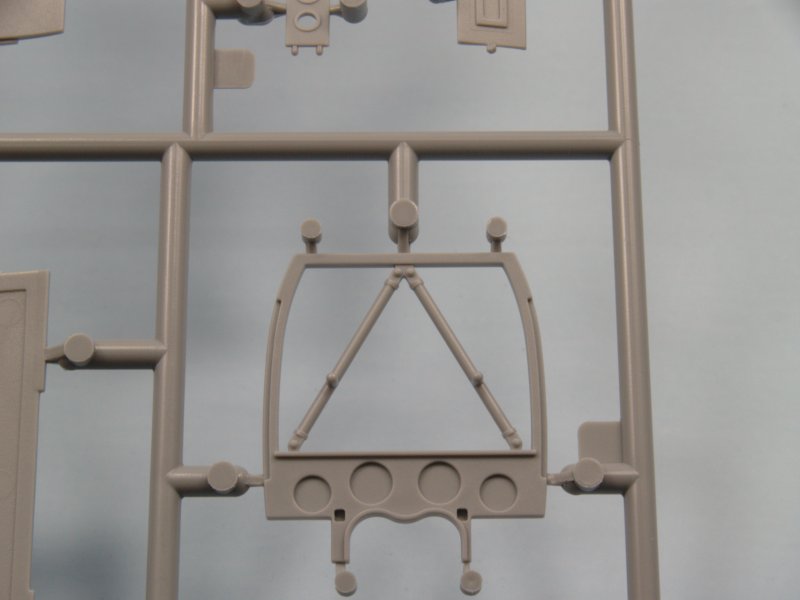
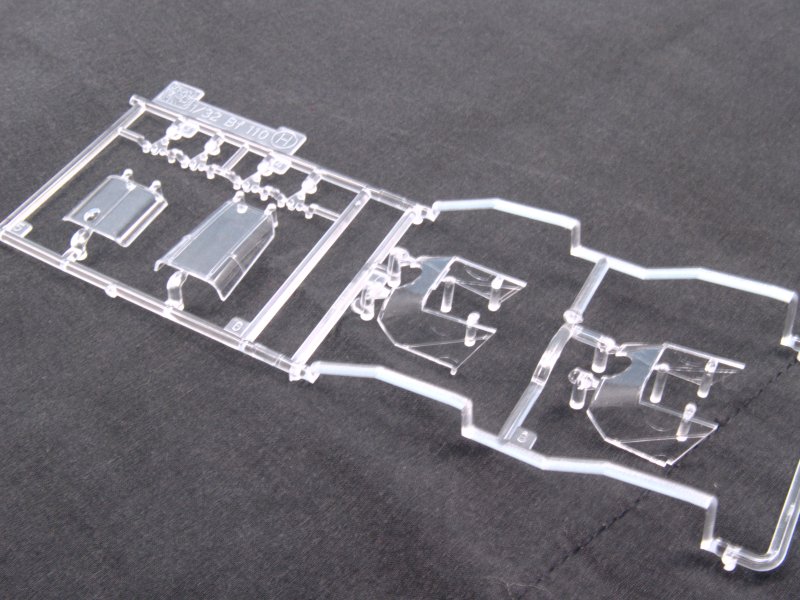
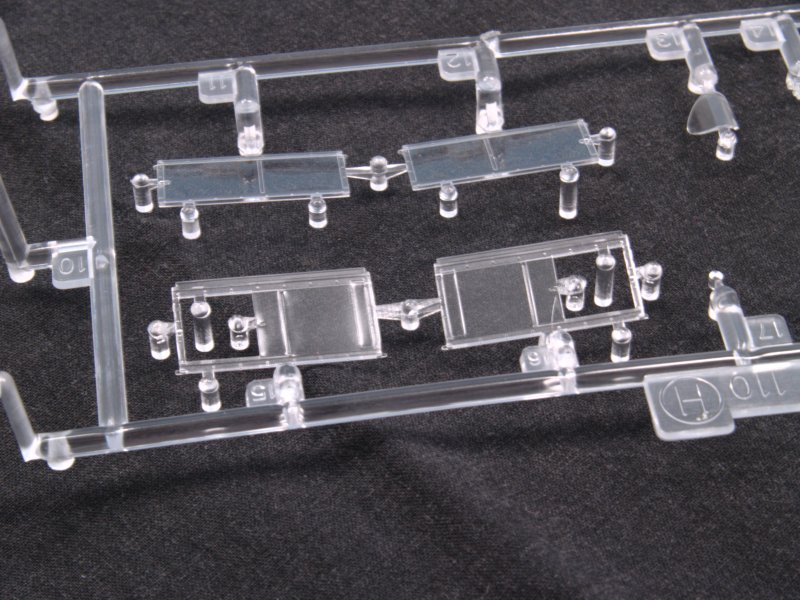
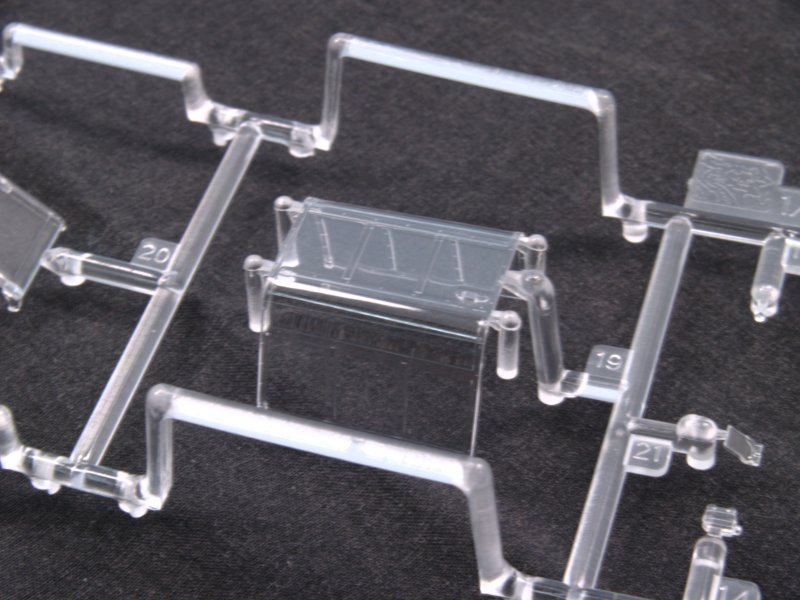
All of this detail is easily viewable because of that characteristic greenhouse on the Bf 110. Dragon does a good job with the clear parts, as they are a distinguishing feature of this aircraft. The glass around the pilot's and rear gunner's area can be positioned either open or closed. Dragon even took the opportunity to offer the modeler two versions of the side glass on either side of the pilot - the sliding window is open or closed. The clear parts themselves are thin and fairly distortion free. There are no scratches or other blemishes on the parts that need to be polished out. The attachment points to the parts trees are small and attach on edge to minimize breakage and sanding when removing these parts from the trees.
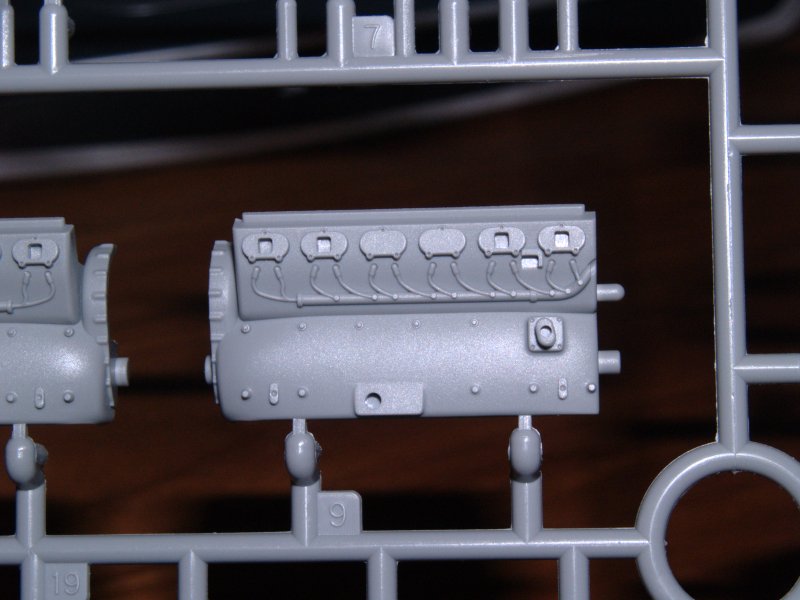
The engines of this kit are little models themselves. Each one builds into a fantastic representation of the DB 601N suitable for displaying with the cowls removed. To really super-detail the engines, the modeler need only to add some plumbing to "busy up" the area. However, straight from the box with some detail painting and a wash, these will look fabulous. Upon examining the instructions, Dragon does not provide the modeler with the option for displaying the cowls open. That is not to say it cannot be done - only that there is no formal option provided for in the kit instructions. Looking at the way the parts are manufactured, it would appear that Dragon did allow for the upper and lower cowling to be removed, exposing the detail of the engine assemblies. One issue I have found concerns the tropical filters. Dragon provides for a tropical air filter for the port supercharger air intake. However, no tropical air filter is provided for the starboard supercharger. It probably can be scratchbuilt, but that's not the point. Although the color and markings guide in the instructions show both aircraft with the tropical filters, I'm not sure either of these aircraft used the tropical filter.
Just behind the firewalls reside the wheel wells. These are a multi-part affair built up in stages. Dragon provides the structural ribs that form the walls of the wells as separate parts rather than as molded on detail. This allows finer control of the detail and greater detail on the individual parts. The inner faces of the gear doors contains some nice subtle molded on detail, as does the floor (or ceiling) of the wheel wells. Here, the rivet detail adds a nice touch to the overall "ambiance" of the wheel well. Pay very close attention to the instructions as well as the parts while installing the inner well structure. The instructions call out the ribs for one of the wells but not the other. Obviously there is symmetry between the port and starboard wheel wells, but pay close attention to what goes where in one and in the opposite as well.
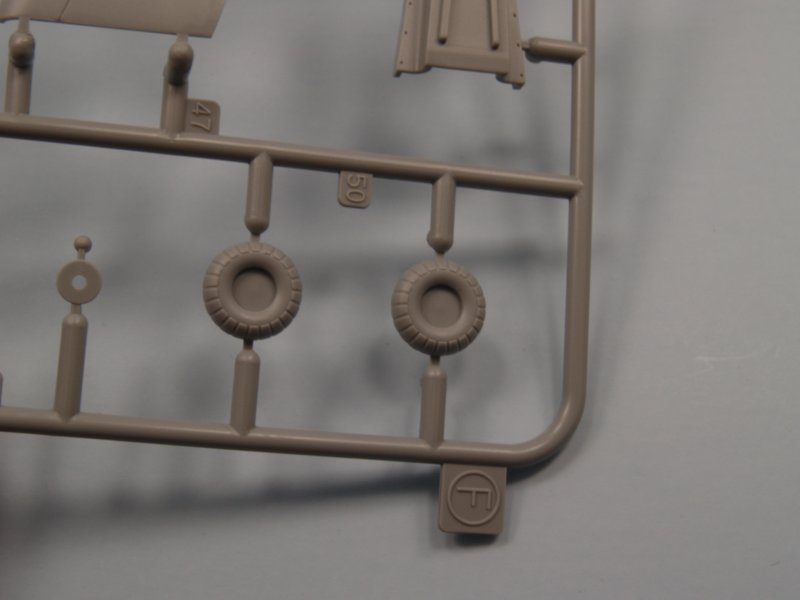
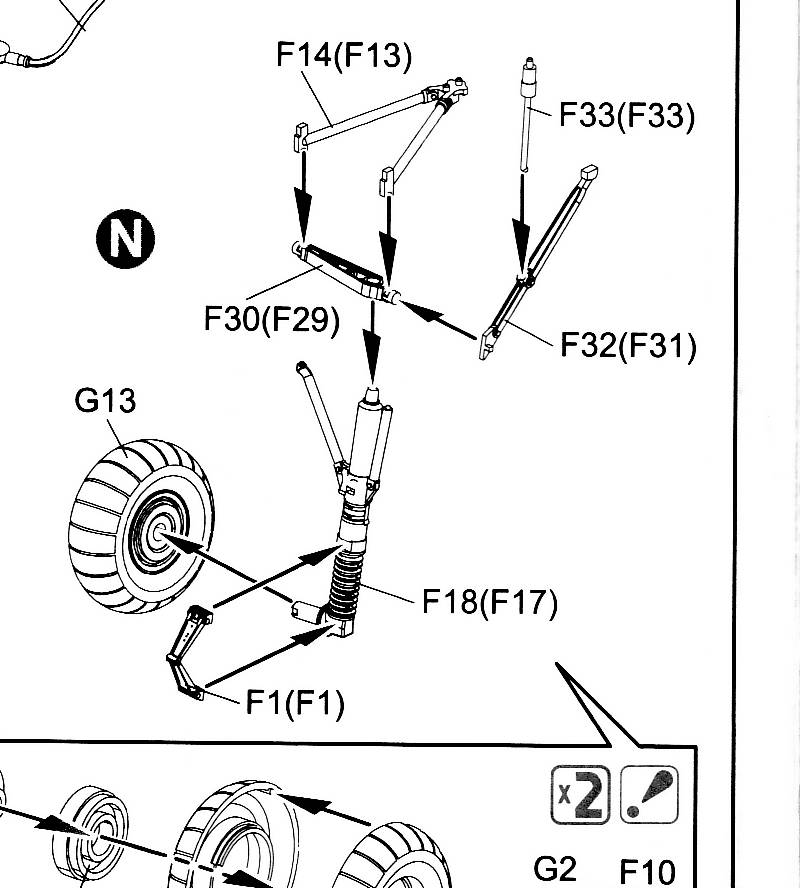
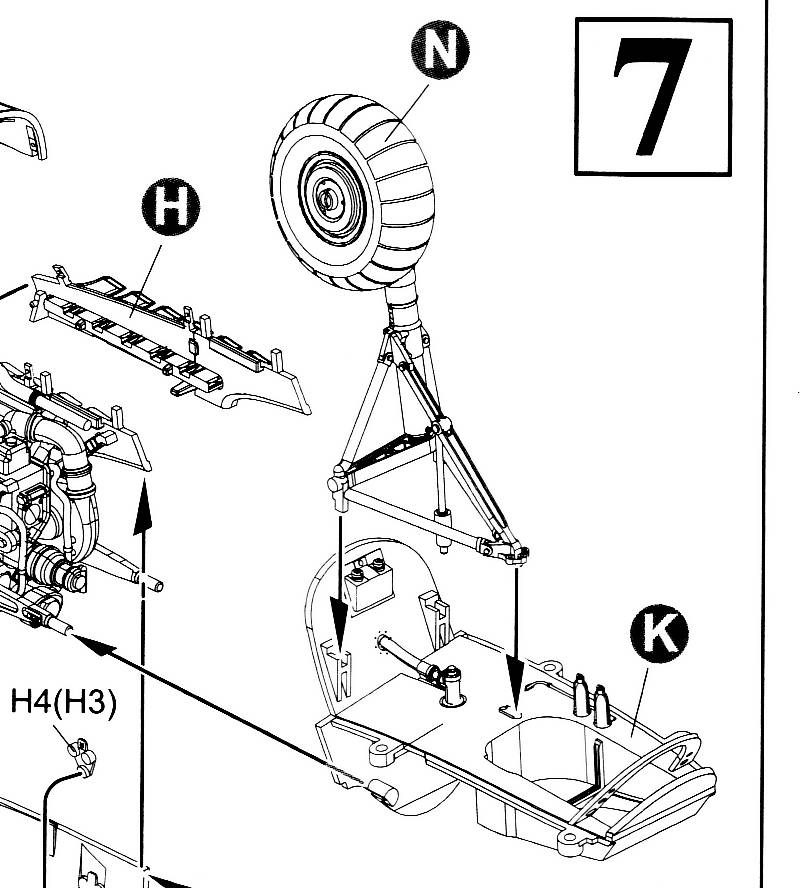
The main gear legs are six piece sub-assemblies that are a nicely detailed representation. There is a discrepancy in the assembly of the gear legs. In step 6, shown on the left below, part F32 appears to attach to the end of part F30. However, in step 7, shown on the right below, the view shows part F32 attached directly to part F18, the main gear leg. Looking at the parts in question, and based on their lengths and where they are located in the wheel well, I would opt for attaching F32 to the main gear leg, F18 - and similarly for the other side.
Markings are supplied for two airframes:
- Bf 110C-7, "S9+LP", 6./ZG 1, southern Russia, 1942
- Bf 110C-7, "LN+IR", Fw. Theodor Weissenberger, 1.(Z)/JG 77, Kirkenes, Norway, September 1941
Each aircraft is camouflaged in a mottled 74/75/76 day fighter scheme with yellow theater markings. Option 1, the ZG 1 aircraft contains the ubiquitous "Wespe" nose art - an option sure to please many a modeler. Unfortunately, I have been unable to find this specific aircraft on strength with 6./ZG 1 during 1942, and whether 6 Staffel flew C-7's during 1942. Most of the references I have checked list Bf 110E, F, and G's on strength during the "second formation" of ZG 1. However, I'm certain that Jerry and Mark would not let this get by without proof that this aircraft existed and was on strength with 6./ZG 1 in 1942.
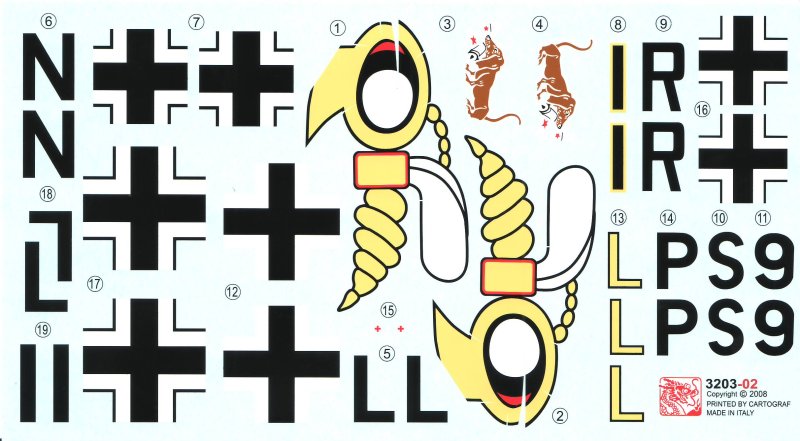
The decals provided in the kit are printed by Cartograph, well known for their quality. These are no exception. Well printed with excellent registration, the decals are very thin and should perform well. The wespe nose art is pre-sliced in six locations on each side to fit the difficult compound curve of the nose. No stencil data or Werknummern are provided on the decal sheet. In addition, Dragon does not provide any swastikas for the vertical tails. The modeler will have to source the correct ones from the spares box.
As a side note, Eagle Editions have mentioned that they are producing some new sheets for this kit. Stay tuned to the Eagle Editions website for more details on these decals.
So, it's all well and good so far...but, how does this thing measure up? Current references list the length of the Bf 110C-7 as 12.07m and it's wingspan as 16.25m. The drawings from the Kagero Monograph on the Bf 110 (volume 1) display the length and wingspan as 16.27m and 12.09m, respectively. The kit measures out to 12.06m (length) and 16.26m (span) - very close to the listed measurements in the documentation and shown on the drawings.
When compared to the drawings, there are no gross anomalies, in fact the major assemblies line up very well. The major proportions of the airframe - wing trailing edge to horizontal stabilizer leading edge, front of windscreen to tip of nose, height of vertical stabilizer to span of horizontal stabilizer, etc. - compare favorably to the corresponding proportions on the drawings.
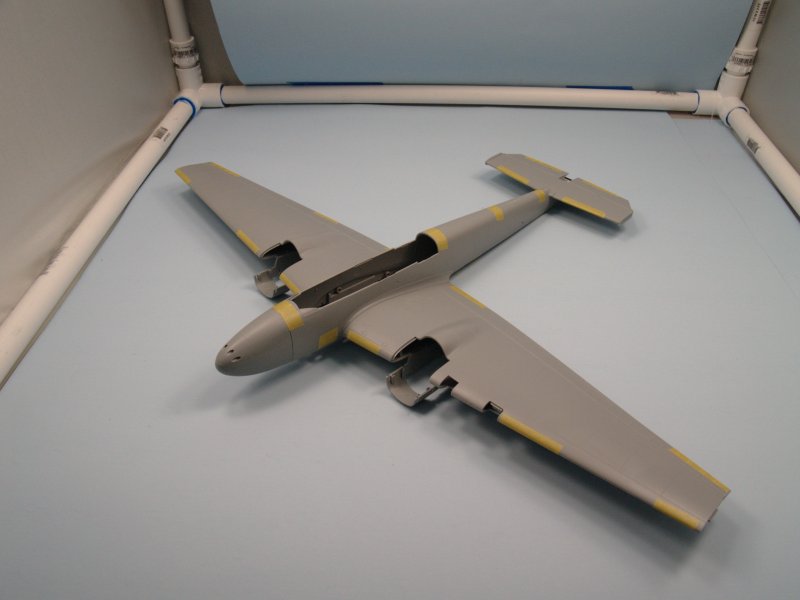
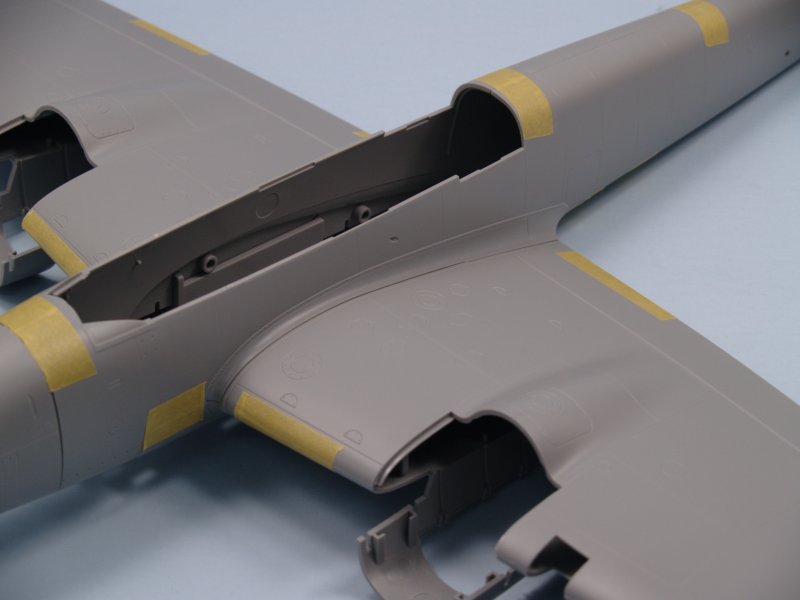
I've detached the major components of the kit and taped them together. The fit is absolutely wonderful. The locating pins line up well, creating no steps or bad joins along the fuselage and wings. The wing to fuselage joint appears to require little or no filler, and, with the spar/wing box for strength and support, lines up with the molded wing root very well. This kit is a big one and even taped together with the bare minimum of parts, this thing is still heavy. One recommendation I would make is to get a fair amount of glue on that spar/wing joint - both the upper and lower wing halves have channels into which the spars slide. Be sure to use two part epoxy or even tube glue for the strongest joint possible.
Overall, this kit is a far cry from Dragon's initial 1/32 offering. The panel lines are restrained and very well done. Rivets are included where they are necessary, and are not overly done and scattered across the surface of the kit. The details included in the kit are outstanding, as is the level of detail throughout the parts of this kit. The dimensions are spot on and fit of the parts - especially the major airframe assemblies - is excellent, this kit can be built by modelers of all experience levels.
Kudos to Jerry Crandall and Mark Proulx for bringing their immense Luftwaffe knowledge to bear in assisting Dragon with getting this aircraft to market.
Review sample courtesy of Dragon Models and Jerry Crandall.
© Randy Bumgardner 2008
This product is available from the following LSP sponsors

This review was published on Saturday, July 02 2011; Last modified on Wednesday, February 01 2017