
Wingnut Wings | #32001: 1/32 Junkers J.1
Reviewed by Randy Bumgardner
If you haven't been on Survivor, on a desert isle after a three hour tour, or just under a rock, then you have probably heard about this Wingnut Wings outfit. "We're nutty for Wingnuts!" is a theme that's catching fire across the 'Net on many modeling websites. And who can blame them... Heck, even I'm nuts for Wingnuts " then again, I was also "Cuckoo for Coco-Puffs" when I was a kid. Well, my parents simply thought I was just plain cuckoo.
Created from the passion of modelers, Wingnut Wings brings together the best 3D modelers and artists with a passion for doing things right. Add a project coordinator who is a great modeler and knows his stuff, and "BAM!" you've got a model company that hits the ground running with a big splash. That is just what Wingnut Wings did about four weeks ago " and a huge splash at that. Rumored to be owned by Peter Jackson, who also owns The Vintage Aviator and Wingnut Interactive, Wingnut Wings currently has four kits in it's catalogue. Another four are posted in the "Coming Soon" area of their website, and yet another six are heading into production right now. Peter Jackson is known to do figure modeling in 54mm " manufacturing these kits in 1/32nd scale is a natural fit. He also has a passion for WWI subjects and, he also owns a very nice collection of WWII warbirds. Perhaps...
Last week, Ray took a look at the LVG C.VI, and this week I'll be looking at the Junkers J.1 and what you'll find in the box. The product page for the Junkers J.1 kit is a treasure trove of information. Sure you can find a history of the aircraft and images of the parts trees, you also find additional reference photos, taken during the war, that aren't included in the instruction booklet. The "Hints & Tips" section outlines some good advice on building the big Junkers. It discusses building the model in subamssemblies for easy painting and applying decals, as well as tips on weathering your Great War aircraft.
So, let's start with the box. Each of these kits arrives in a sturdy well-sized box. In addition, the box art is stunning and the art on the upper box is well laid out all around. When the Junkers arrived, I was surprised that this kit is filled to the brim and then some. The contents of this capacity filling kit are:
- 152 injection molded parts on 9 parts trees, including 1 tree for the clear part
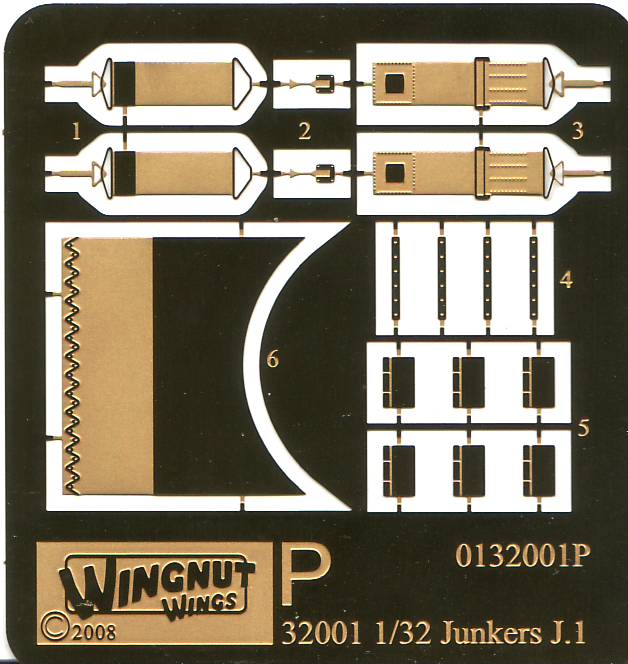
- 7 photoetched parts on a single fret
- 5 markings options using Cartograf decals
- 1 gorgeous full color instruction/reference booklet
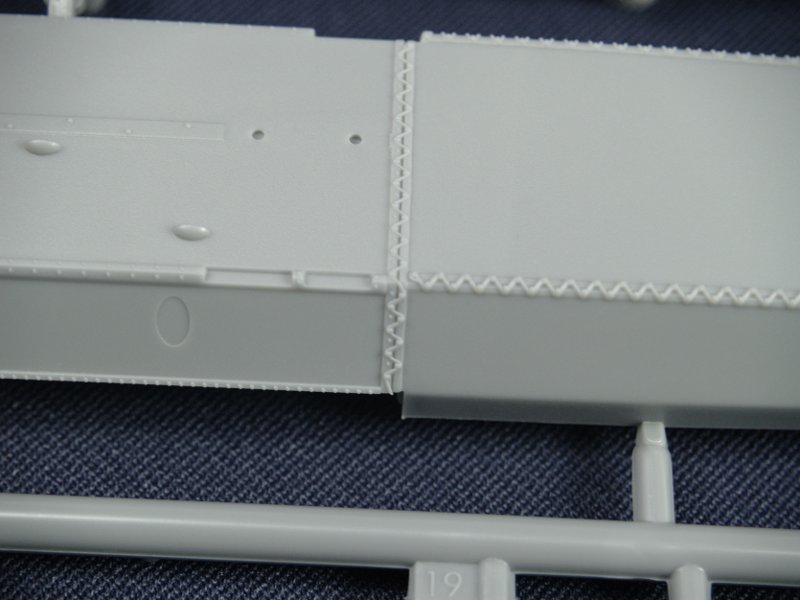
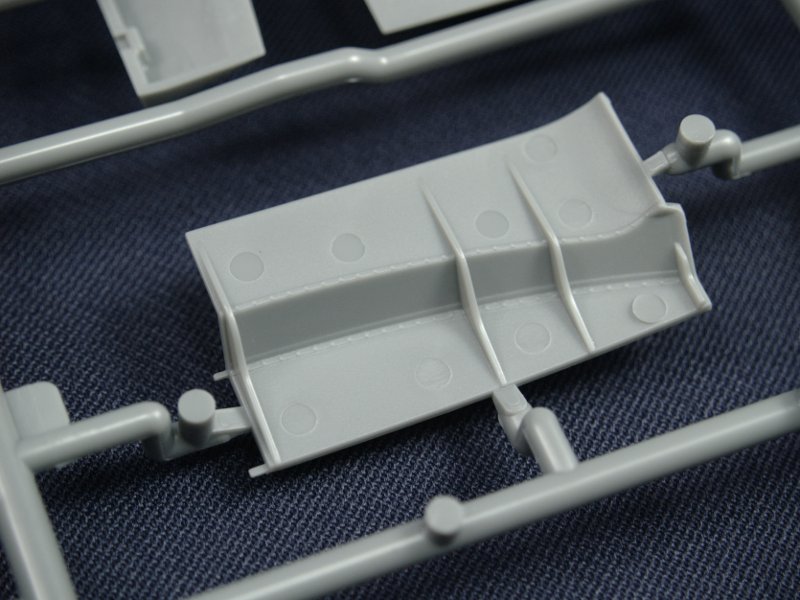
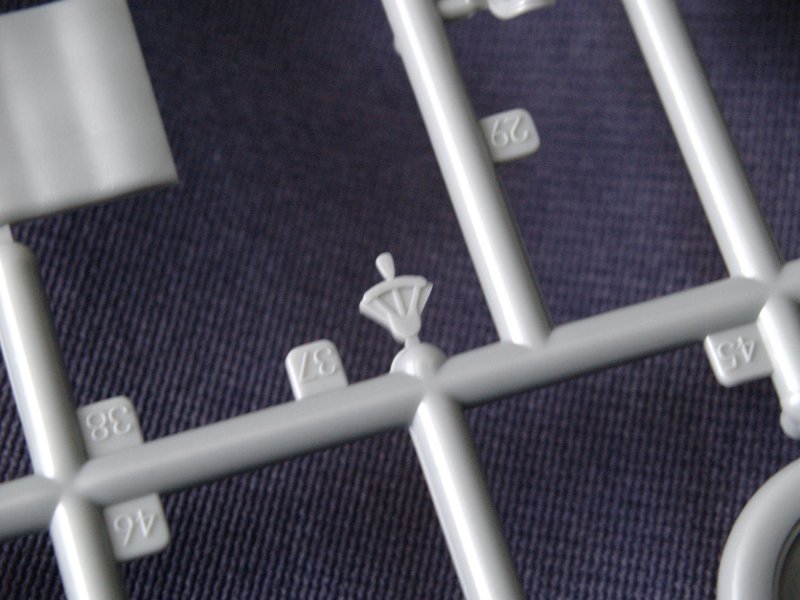
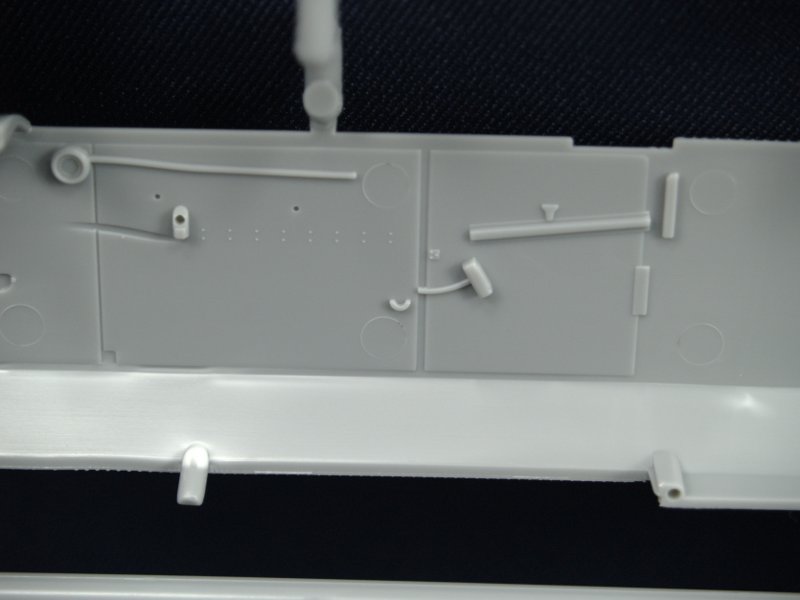
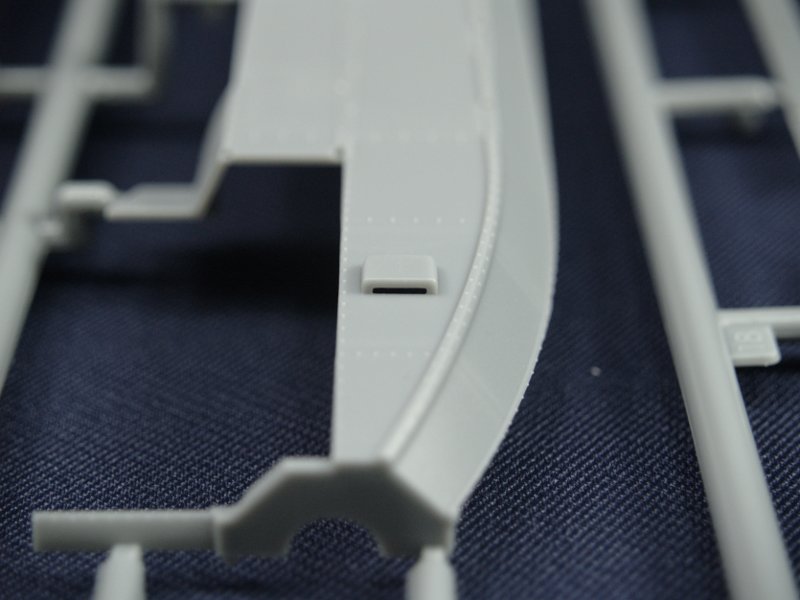
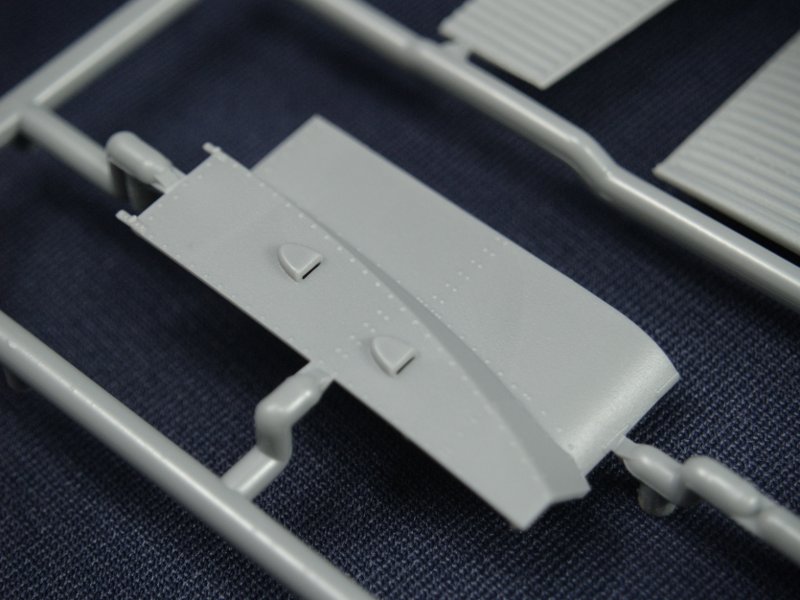
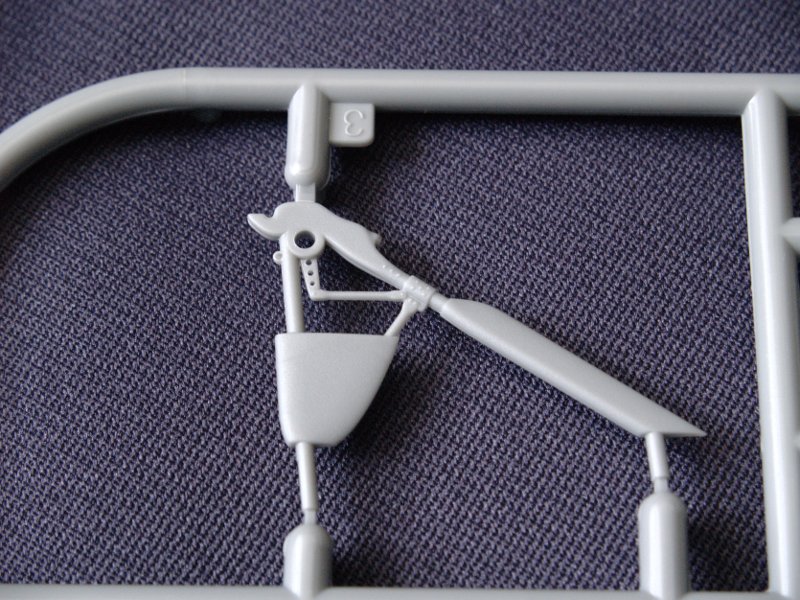
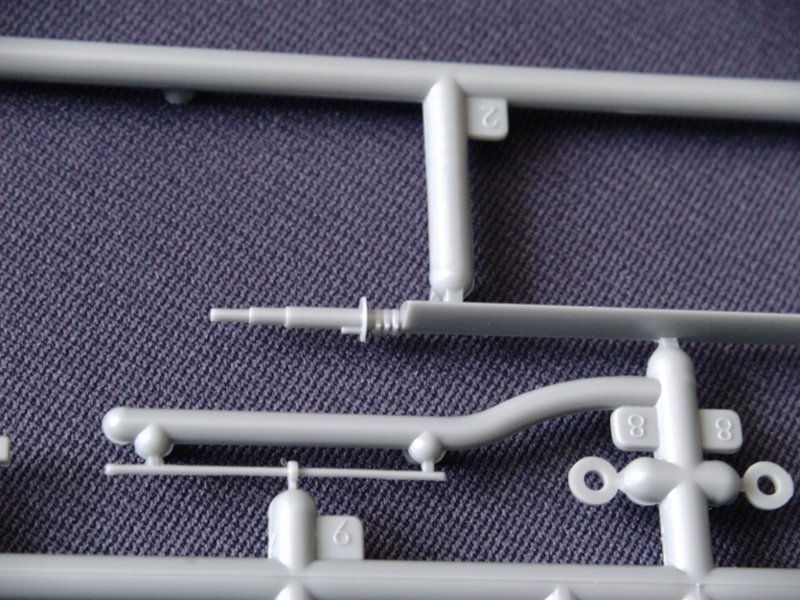
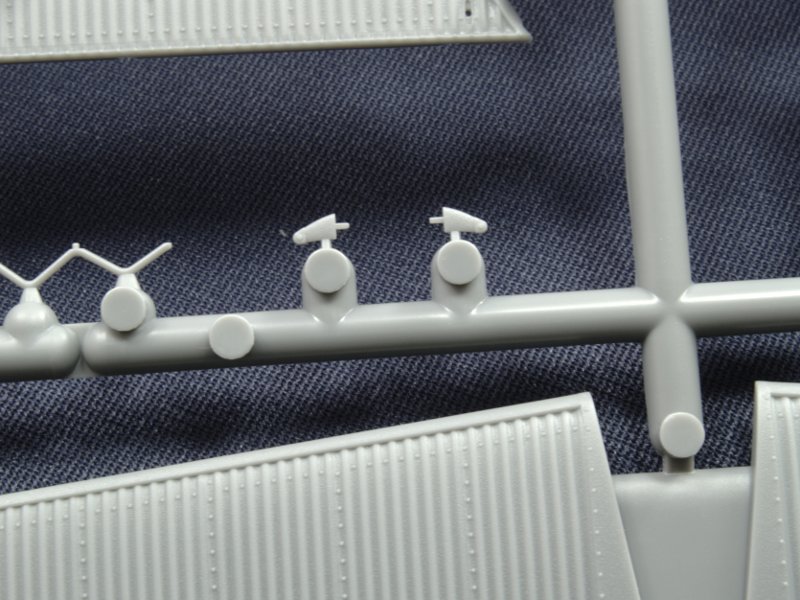
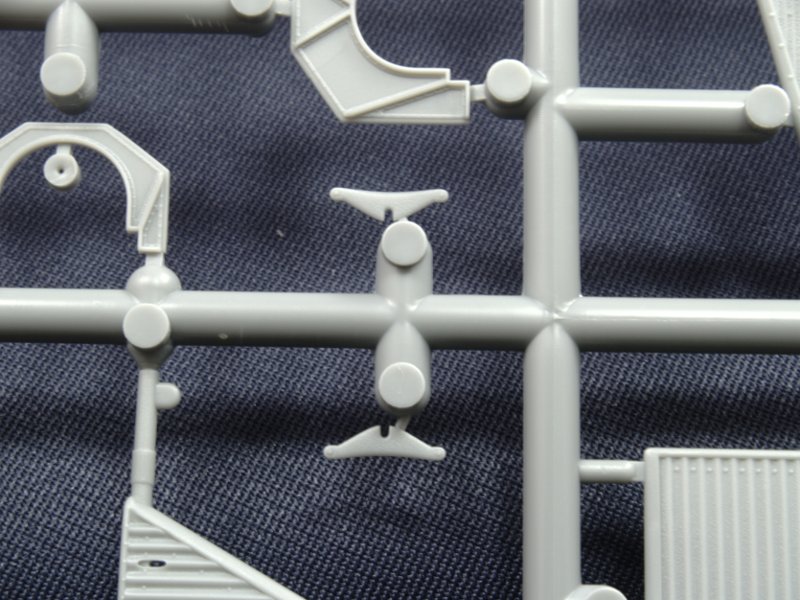
The parts are molded in gray plastic and the detail contained within is very nicely done. I have not found any flash or mis-molded parts. The detail of the corrugated wings and the fuselage stitching is well done. I there aren't many ejection pin markings on the parts. I did find some faint marks on the inner face of the engine cowling and the inside surfaces of the major parts. So, if you want to pose the covers open, there will be a little extra sanding. Other than that, nothing in really visible or obvious places. Everything arrives individual bagged to prevent any unnecessary scraping and scratching. This includes the instruction booklet and decals.


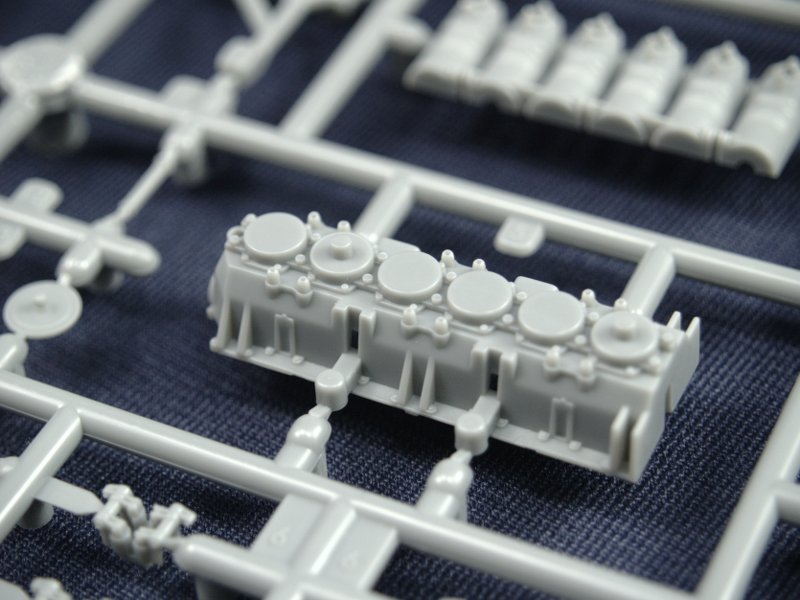
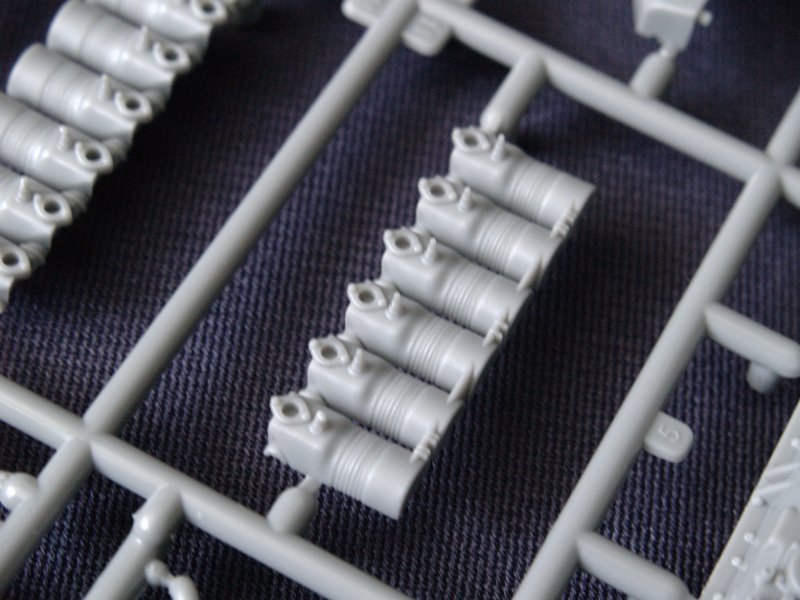
The engine, the Benz Bz.IV, is a little kit all by itself. Included are two sets of cylinders are provided, one with push rods and another without. The halves with the push rod tubes aren't as nice looking as the halves without, as the push rod tubes really aren't rods, they are more like sheets presented to simulate rods if you look at them dead on. Although the instructions have the non-tubed cylinder halves marked as "Not for Use", I would rather use them and make my own push rod tubes. A little detail that caught me by surprise are the spark plugs that are molded in place. Wow, go figure. It is a very nice representation of the Benz engine. The instructions also include a painting guide, and a period photograph for reference, on the same page as the assembly sequence.
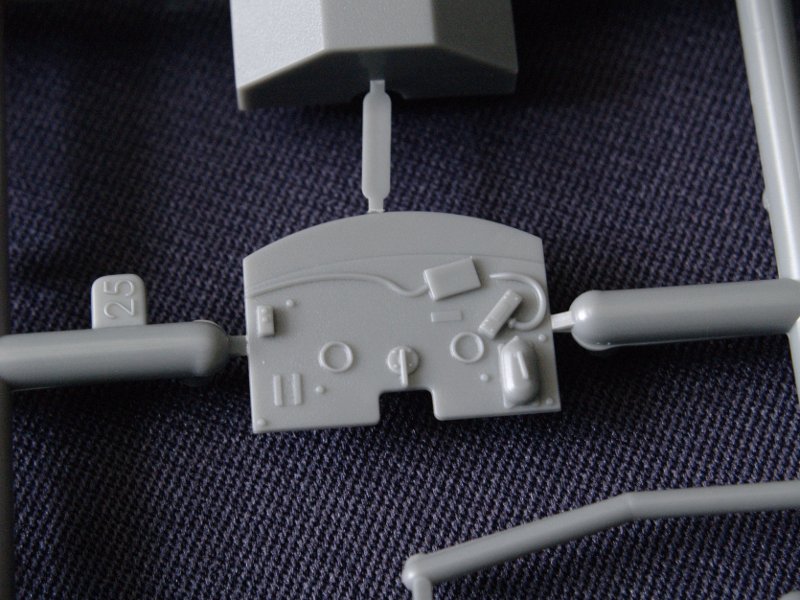
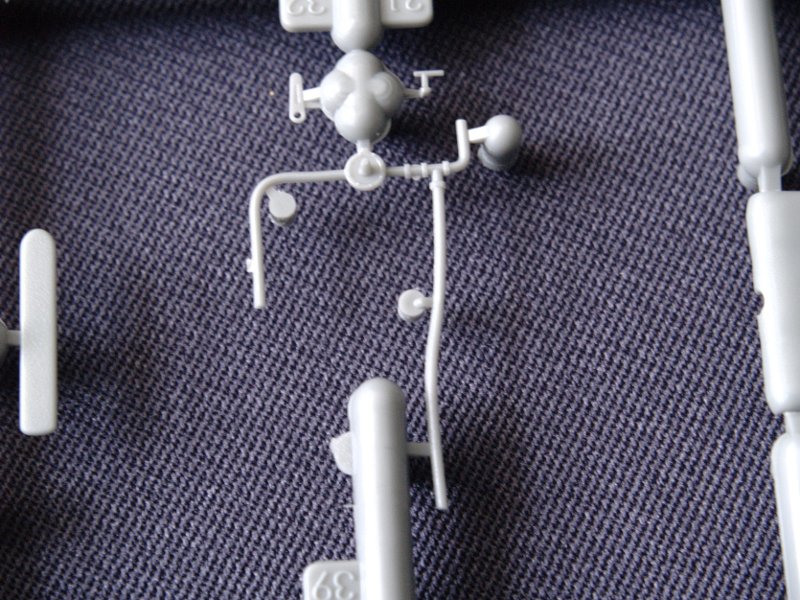
The cockpit is another highly visible area, especially when it's a two place observation plane. The cockpit is nicely appointed with lots of details. The instrument panel is rather sparse, but, judging by the reference photos, it's supposed to be that way. The cockpits in these aircraft were not well appointed " spartan is a work that comes to mind. Photoetch seat harnesses, lap belts actually, are provided for the pilot and the observer/gunner. Once painted and weathered, this cockpit will look very nice. Generally, cockpits are difficult to see into when the fuselage is closed up, especially in the smaller scales. However, in 1/32nd scale, the details in this cockpit are easily seen when on the table. A word of warning, there are many parts that are very fragile and can easily be broken while removing them. So, take your time and be careful.
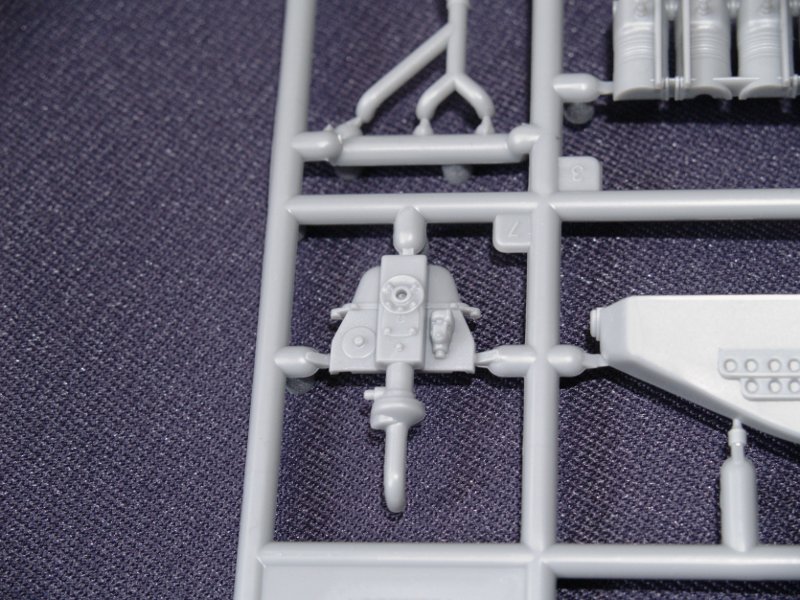
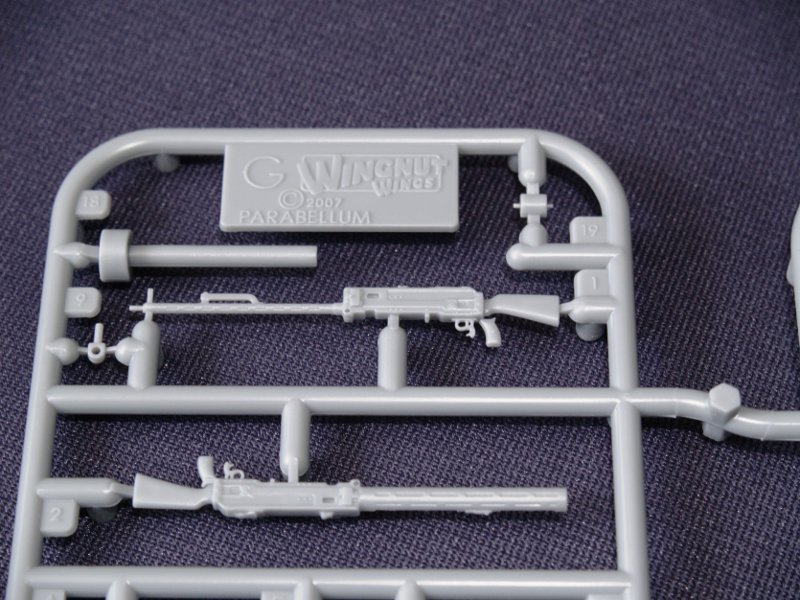
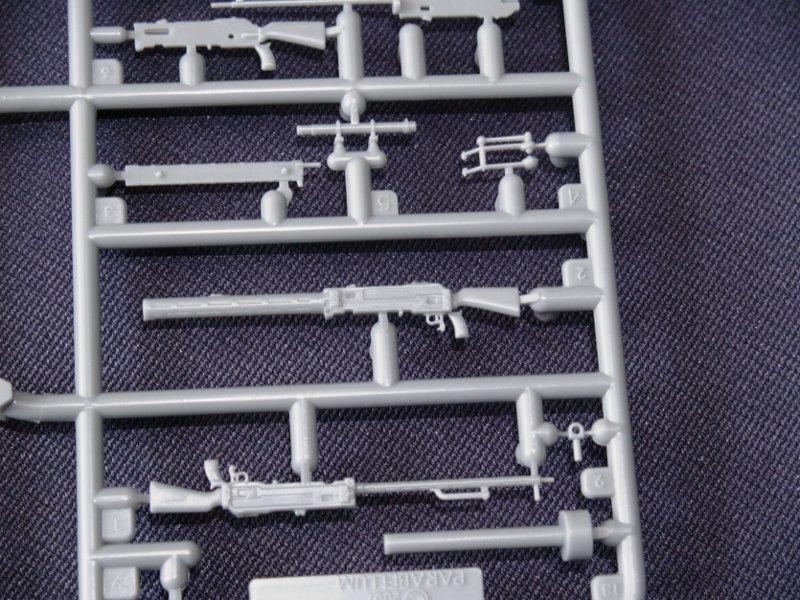
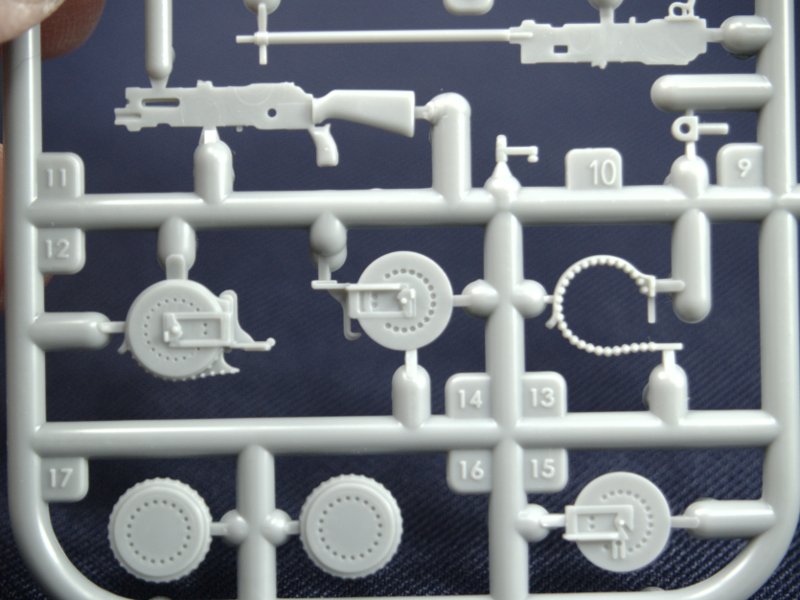
Depending on the markings option, the modeler gets a choice of machine gun for the observer's area. The kit provides a Parabellum LMG14/17 or the Parabellum LMG14. The cooling jacket is injection molded and probably should have been done in photoetch. Other than that minor nit pick, these are highly detailed machine guns. There are two guns that are marked as "Not Used" in the instruction booklet. Well, they should head straight for the spares box. The ammunition drums are well detailed with the ammunition as a separate part " makes for much easier detail painting.
Let's talk about those instructions. Granted, they are only the instructions. However, the little things count... I have never seen an instruction booklet this well thought out nor laid out. I've seen some come close, but this certainly sets the bar higher. It's full color all throughout that pages " with the exception of the period photographs. The assembly sequence is very visible, with each new part shaded in blue. This shows you exactly where the it's going, removing the guesswork from the assembly. Color painting guides are in a lot of the steps displaying how the part(s) should be painted. In addition, period reference photos are supplied throughout the assembly steps giving you an additional reference to work with. There are many photos at the end of the booklet of the two J.1s in museums and period photos taken during the war.
The kit decals are produced by Cartograf for Wingnut Wings. They are beautifully done, in perfect register, and very thin. The carrier film hugs the outline of the decal and these should apply quite easily to the model. There are options for five markings:
- Junkers J.1, 100/17, Flieger-Abteilung 19, 1917
- Junkers J.1, 134/17, Flieger-Abeilung (A) 263
- Junkers J.1, 138/17, Flieger-Abteilung 17, 1918
- Junkers J.1, 802/17, Unidentified Unit, 1918
- Junkers J.1, 857/17, Flieger-Abteilung (A) 263, 1918
The wings will undoubtedly present some challenges as the corrugated surface, although very well done, will be resistant to decal application. You may need to resort to setting solutions such as Micro-Set and -Sol, or my favorite, Solvaset, to get the decals to snuggle down into the surface. Just work slowly and be patient, and everything should be fine.

It may sound like I'm just gushing all over the place about Wingnut Wings and their kits. Well, I guess I am. Arriving into the modeling arena the way they did was a great marketing strategy, intentional or not. There wasn't any hype on their part, no "glitz and glam" followed by a fizzle when customers started to receive the merchandise. Quite the opposite in fact, Wingnut Wings launched their website without any hoopla and it was a very nice well polished site that worked, and contained content that was both interesting and informative. What generated the buzz, a loud buzz " I've heard it referred to as "Modelers on crack...", was word of mouth advertising - the best thing a company could hope for. And, to top it off, they were shipping their first round of kits with no shipping fee - from New Zealand. So, the recursive hype just got larger, generating more interest. Anyone who even had a modicum of interest in WWI gave these guys a look and said "Wow!"
Well, your probably asking, does Wingnut Wings live up to all of the hype and praise heaped upon it by modelers around the globe? In my little corner of the world they do live up to the praise they have earned so far. This kit is well thought out and engineered very well. The fit is superb, and the kit is riddled with detail. Some of that detail I'm sure I haven't spotted yet, but that's alright " I'll get to it.
Review kit kindly supplied by Wingnut Wings.
You can order Wingnut Wings kits directly from thier website.
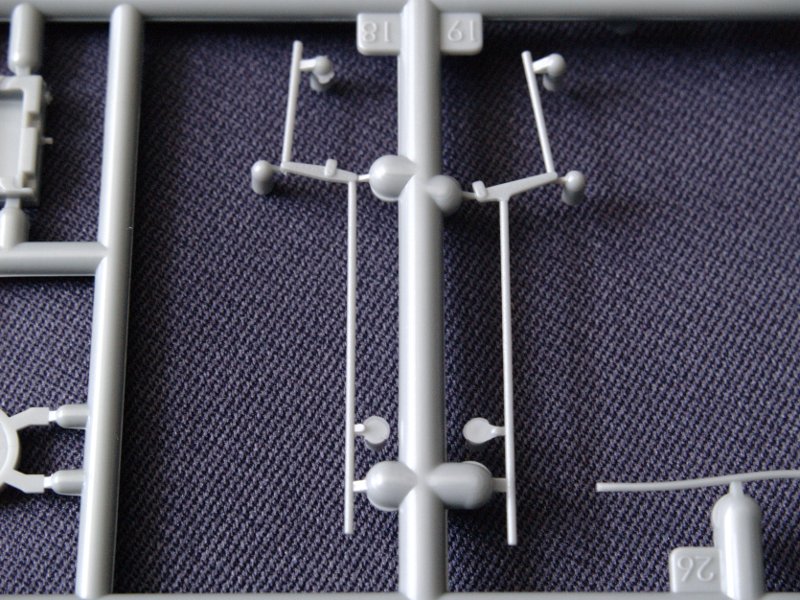
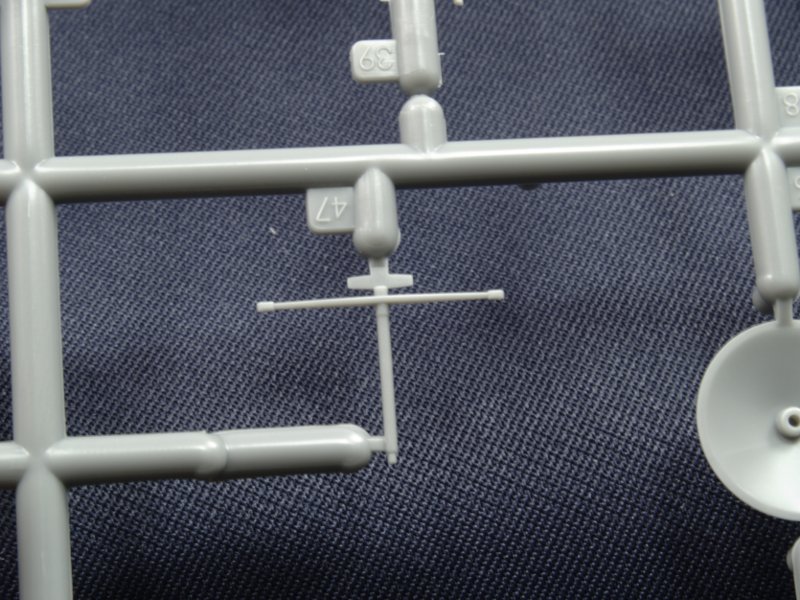
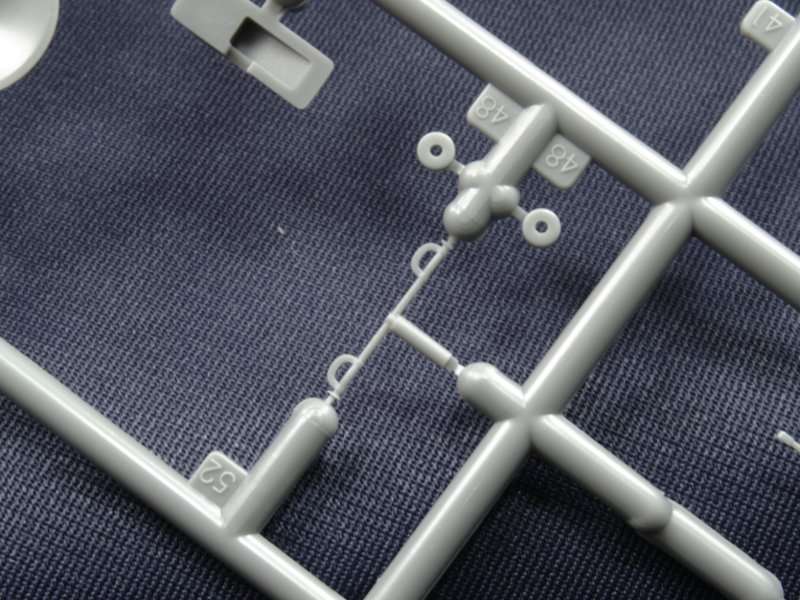
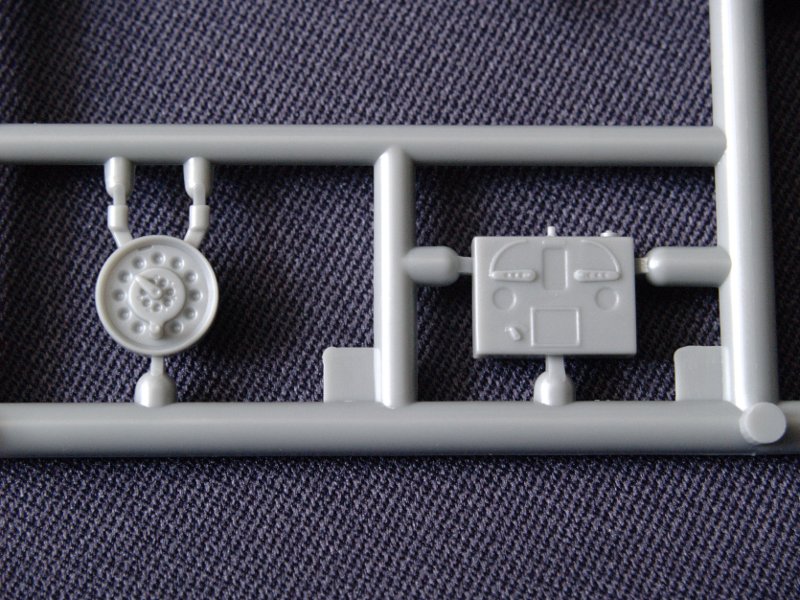
Additional Images
© Randy Bumgardner 2009
This review was published on Saturday, July 02 2011; Last modified on Wednesday, May 18 2016