
Halberd Models | 1/32 Curtiss SC-1 Seahawk
Reviewed by Kevin Futter
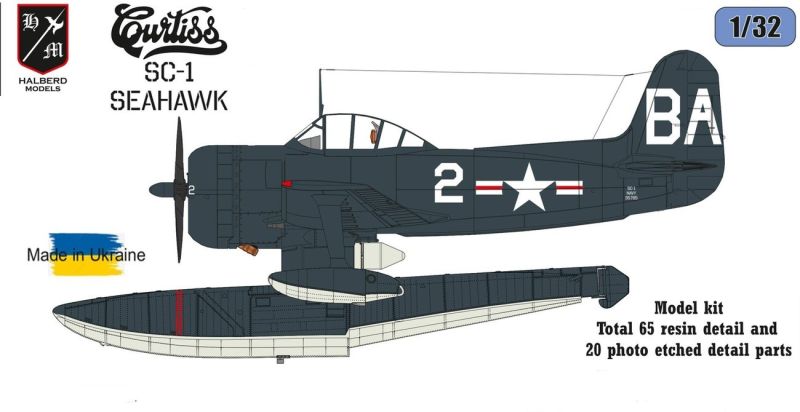
I have to confess that I wasn't really even aware of this aircraft until Ukrainian company Halberd Models announced its 1/32 kit of the subject. And what a kit it turns out to be! The box art text proclaims a total of 65 resin and 20 photo-etched parts, so let's take a look at what you get in the box.
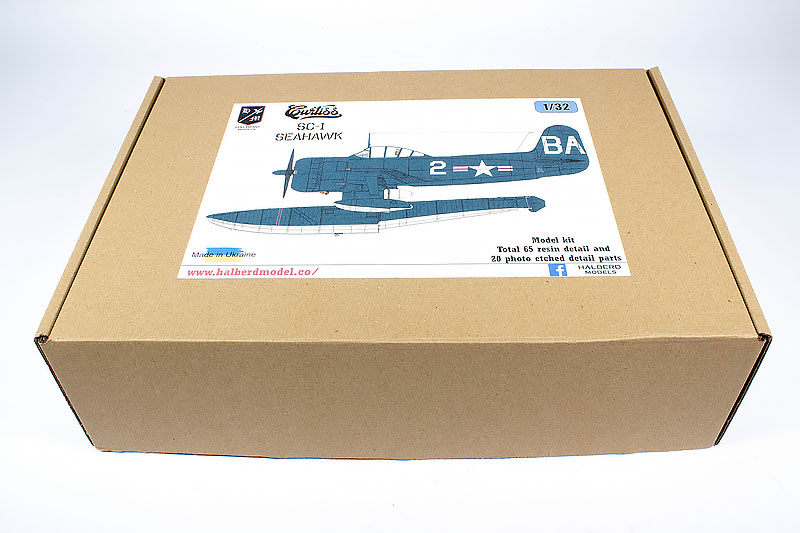
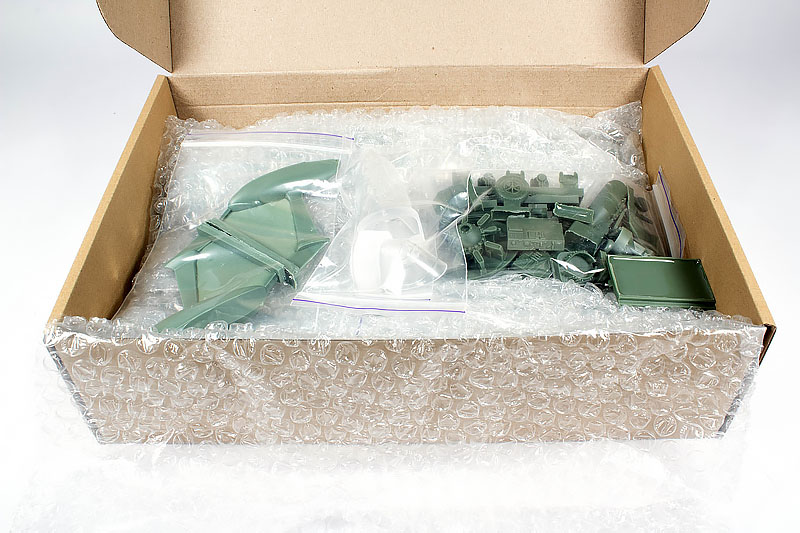
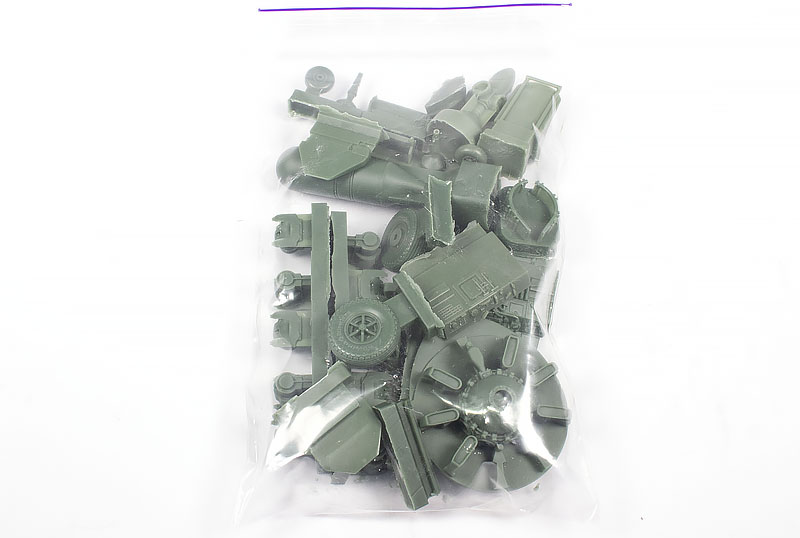
The kit itself is housed in a stout box with a front-opening lid, of the type I'm sure we're all familiar with by now. The parts are very well packaged, with the larger components ensconced in bubble wrap, while the smaller detail parts are contained within several resealable clear plastic bags.


The Fuselage
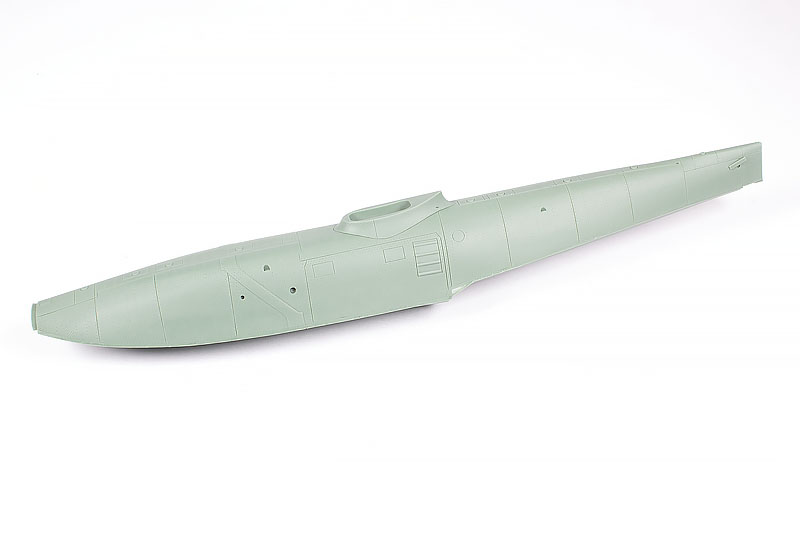
The fuselage is moulded in two separate halves, and comes taped together in the box, showcasing the rather impressive fit of these two large pieces of resin.
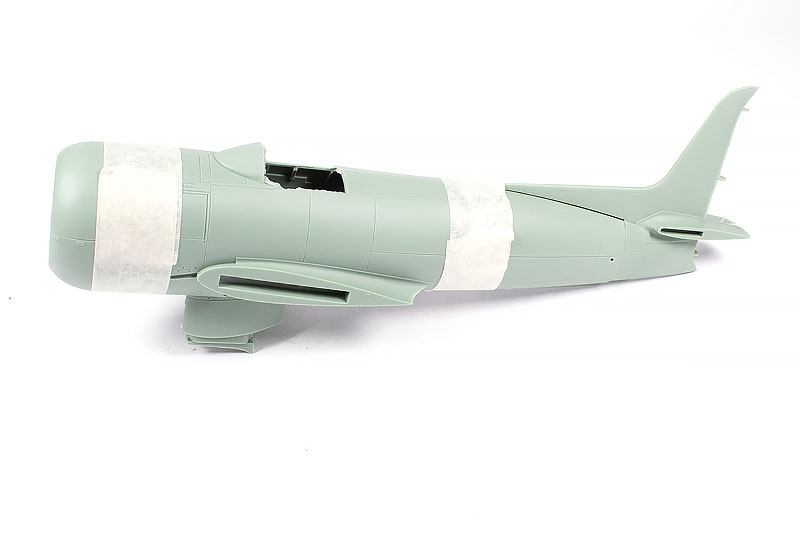
The fuselage halves themselves are mostly hollow, but feature robust bulkheads moulded fore and aft of the cockpit area.
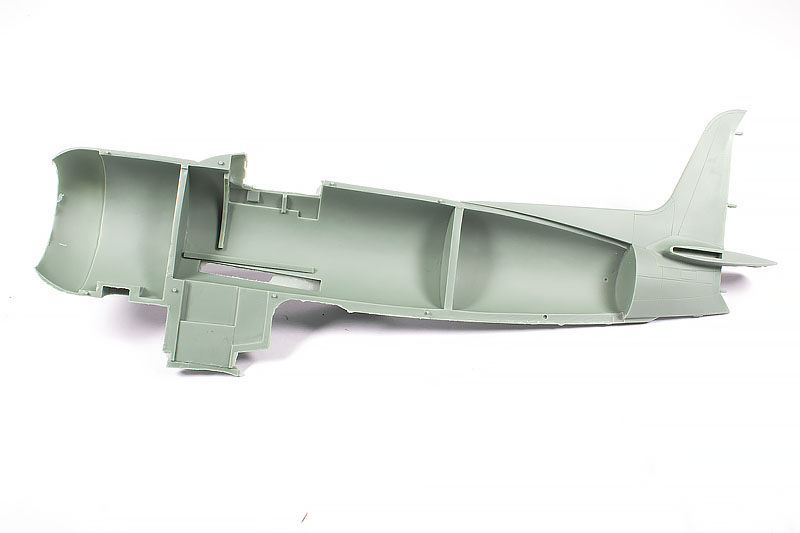
Note that the starboard fuselage half has the complete tail section moulded in situ as a complete unit:
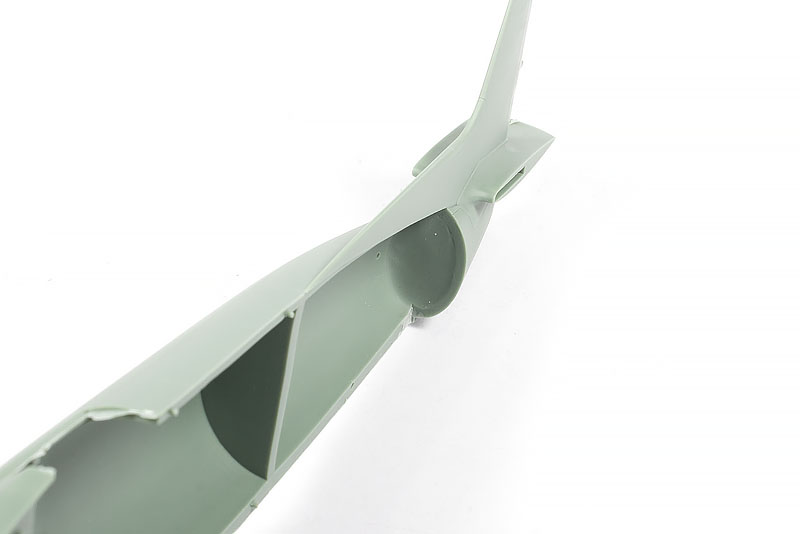
While this makes joining the tail section together a non-issue, a close examination of the vertical fin reveals the real reason for designing the kit this way:
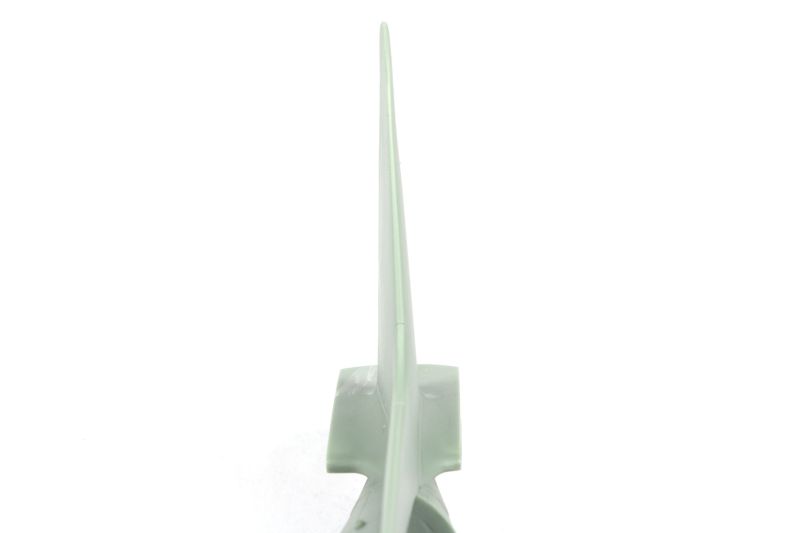
Halberd has expertly captured the offset twist in the tail, designed to counteract torque from the engine—a feature that would be much more difficult to render in two halves, let alone assemble and finish. Bravo, Halberd!
The join at the tail where the two halves meet will require a little extra attention, however:

Bear in mind that this is a dry-fit only, and that my sample appears to have a minor casting flaw at the bottom front of the rear section. When positioned properly and glued into place, the join will be much less dramatic than this.
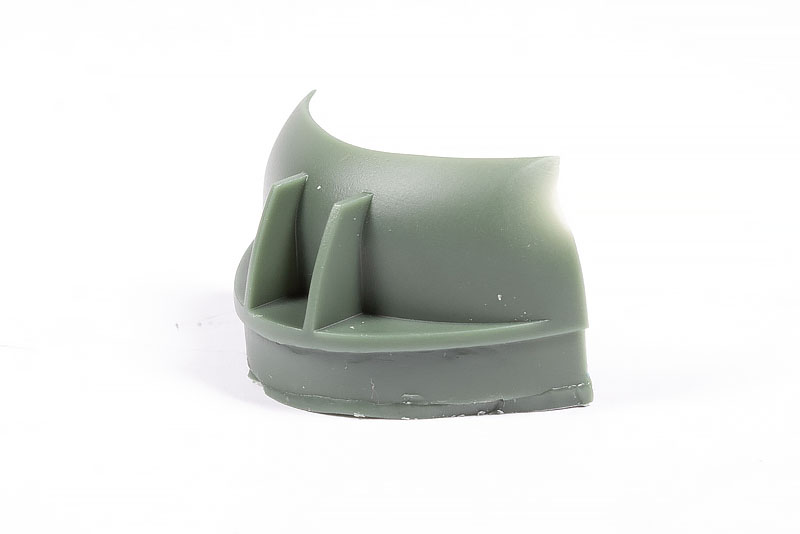
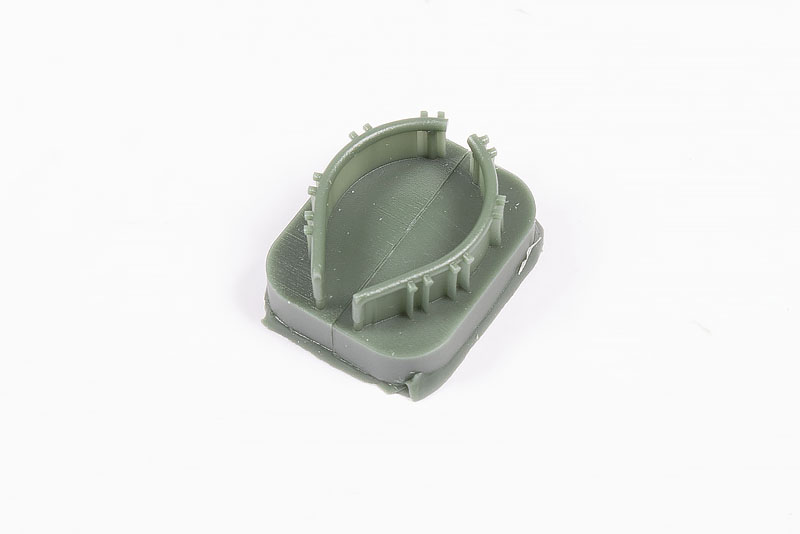
One feature that's a little disappointing is that the engine cowling has been incorporated into the fuselage pieces as separate halves; an unbroken, single-piece engine cowl would have been a superior choice here. To Halberd's credit, however, they've made the lip of the opening impressively thin:
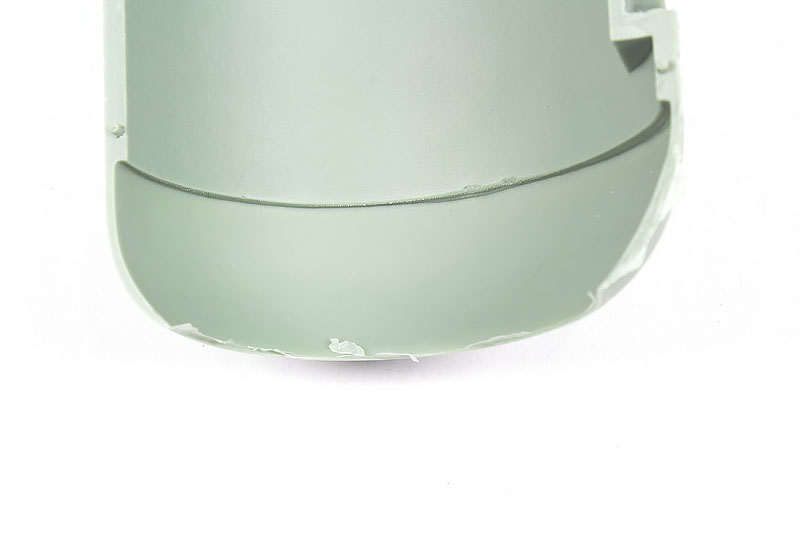
Still, having to deal with seam lines (and potential mismatches) at the top and bottom of the cowling is annoying at best, and potentially a problem area of the build. There is, however, a chin insert for the lower interior of the cowl, which will go some way towards improving the situation:

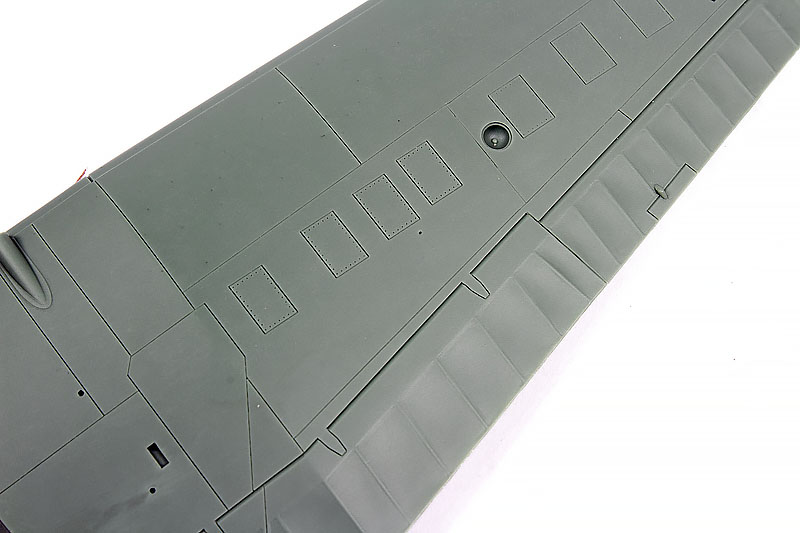
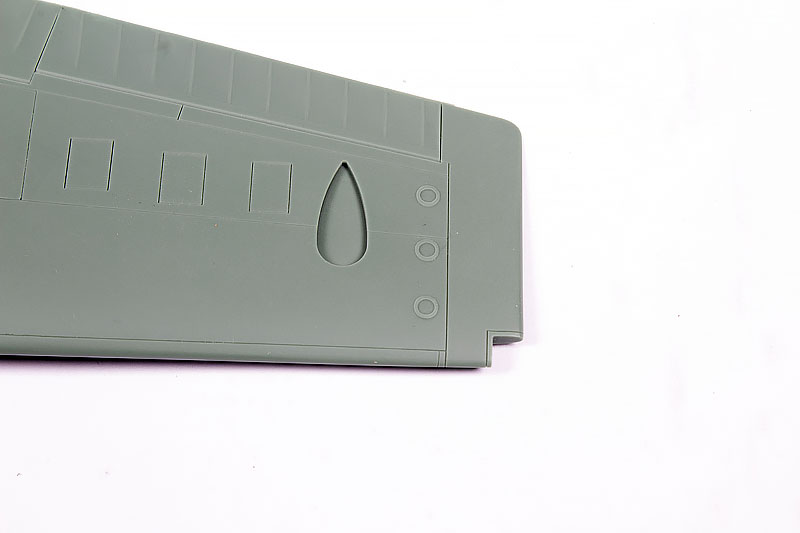
Surface detail is uniformly excellent throughout, with crisply recessed rivet and panel line details, and raised areas where appropriate:
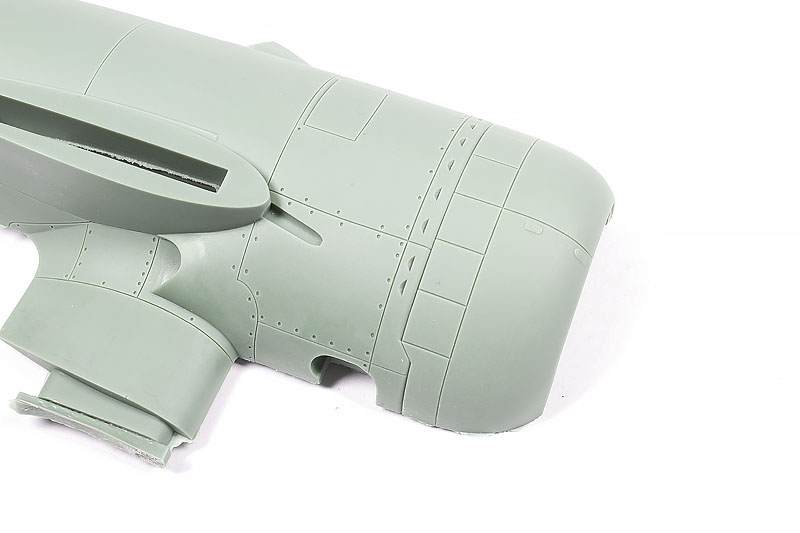
Note the slot in the wing root to accept the corresponding tab in the wing. This is flashed over on the inside, and will need some minor clean-up to prepare for this event.
Note also that the airframe is not rivetted as a whole, and while you could rivet the model yourself if that's your preference, the very hard resin used in this kit may make that a more difficult task than it would be on a styrene plastic kit.
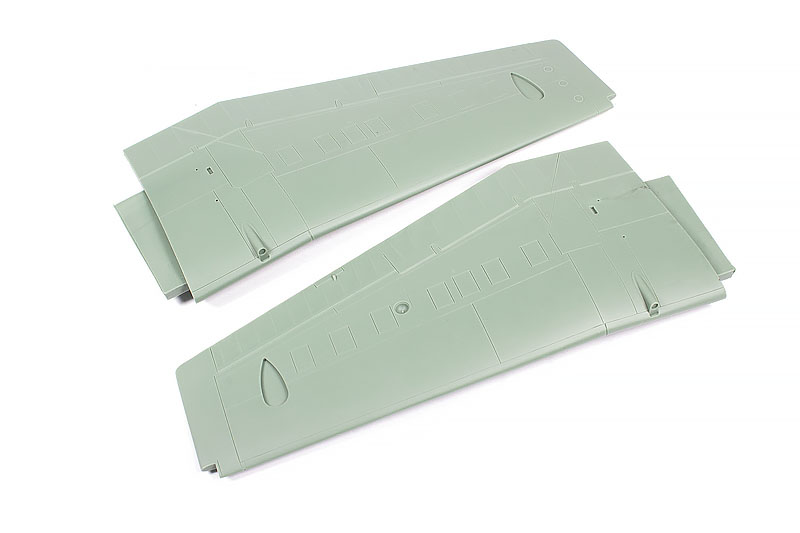
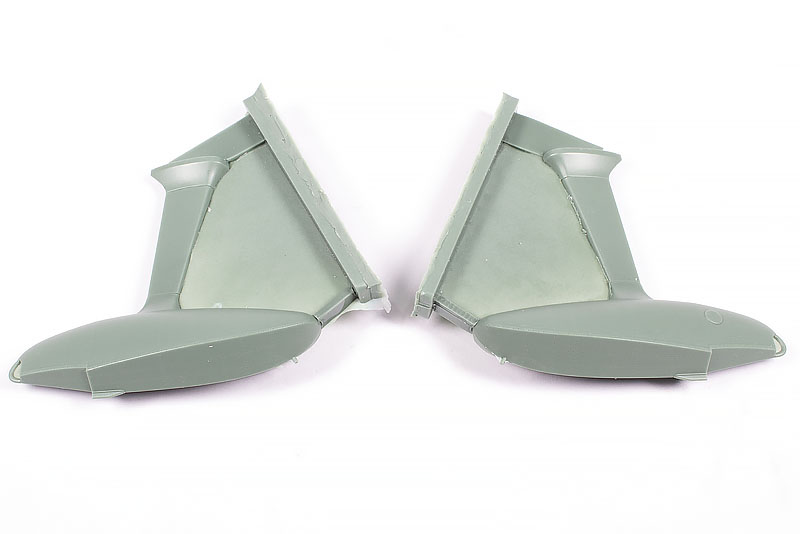
The Wings
The wings are moulded solid in a port/starboard pair, each with a beefy insert tab to assist with joining to the fuselage. Surface detail matches that of the fuselage halves.
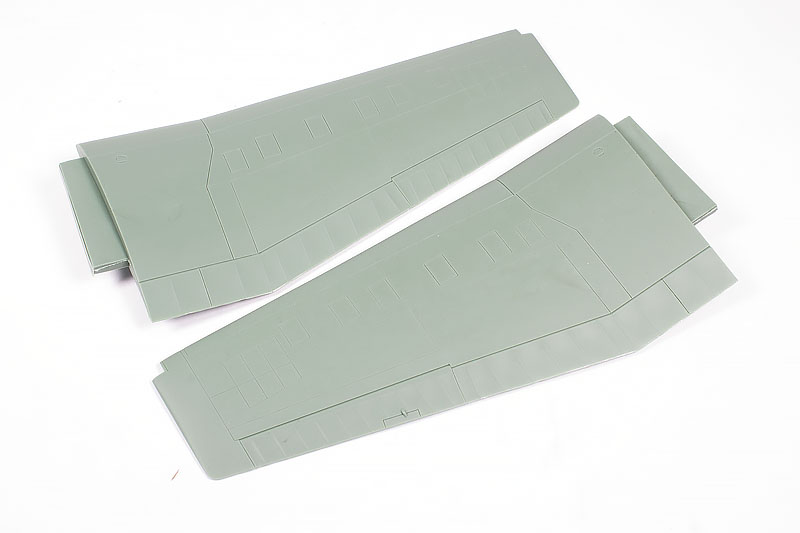

Once the tabs on the wings and their respective slots on the fuselage have been cleaned up, the fit of the wing to the fuselage is excellent—especially for resin parts of this size.
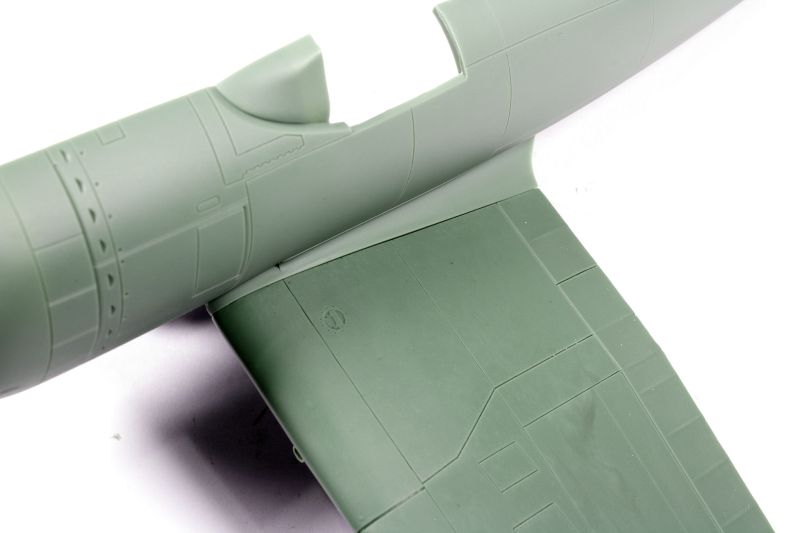
Despite the relatively heavy single-piece solid mouldings, the wing-to-fuselage joint looks like it will be plenty solid.
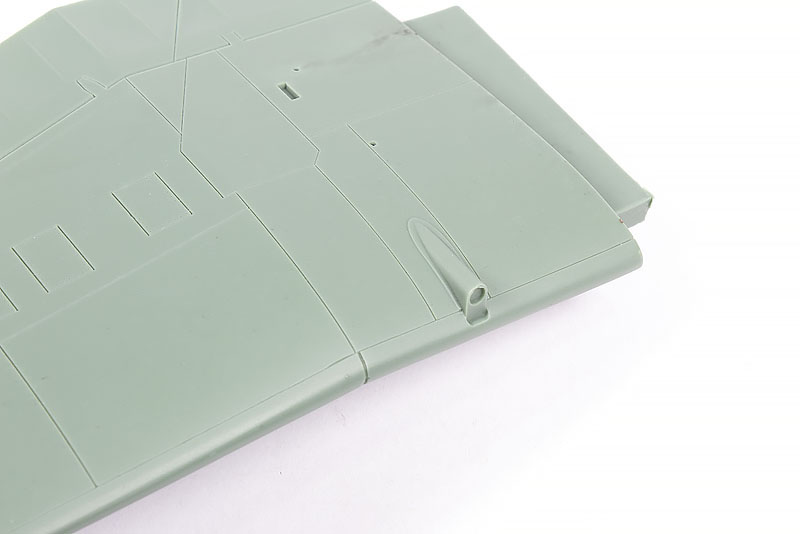
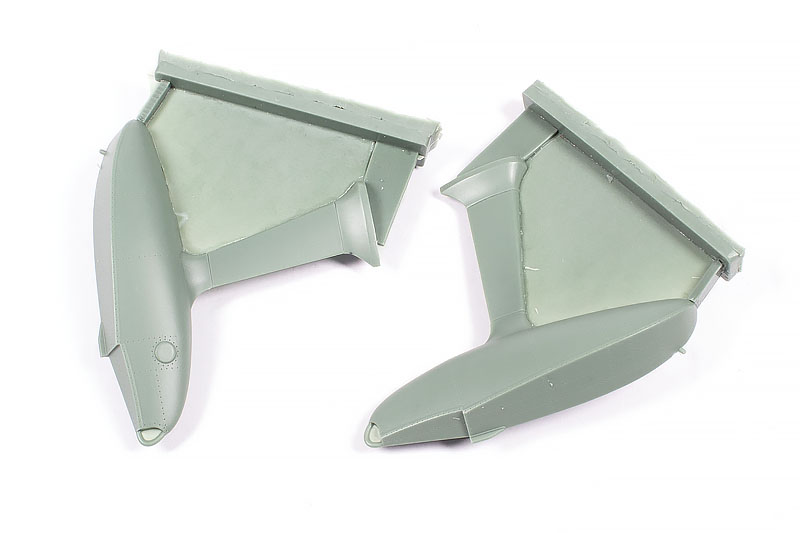
The fit underneath is not as convincing, and also reveals another rare negative issue with this kit: the join runs right through the flaps, and unless the inboard flaps on the real aircraft are also split, this join will have to be completely eliminated to produce a satisfactory result on the finished model.
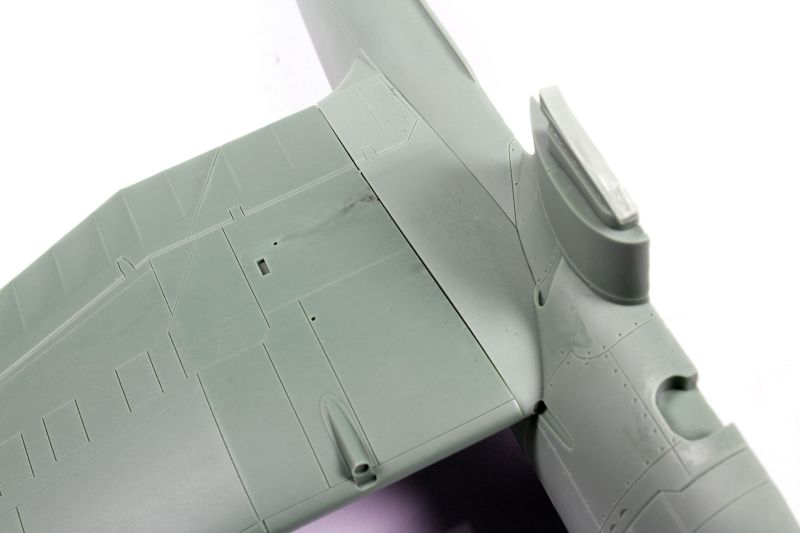
This is certainly within the skill set of any modeller likely to tackle this kit, but does offer the opportunity to screw it up—especially the hinge line separating the flaps from the wings.
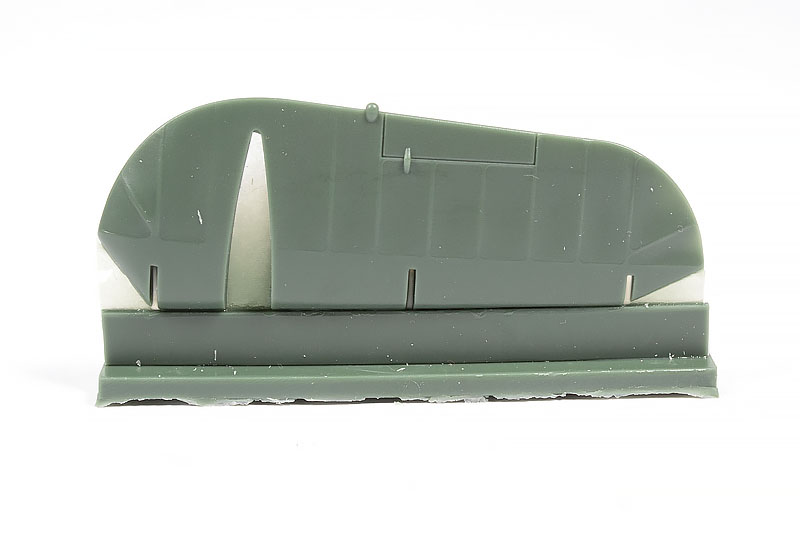
The empennage are so crisply moulded, they could easily be mistaken for injection-moulded parts:


Equally so with the separate rudder:
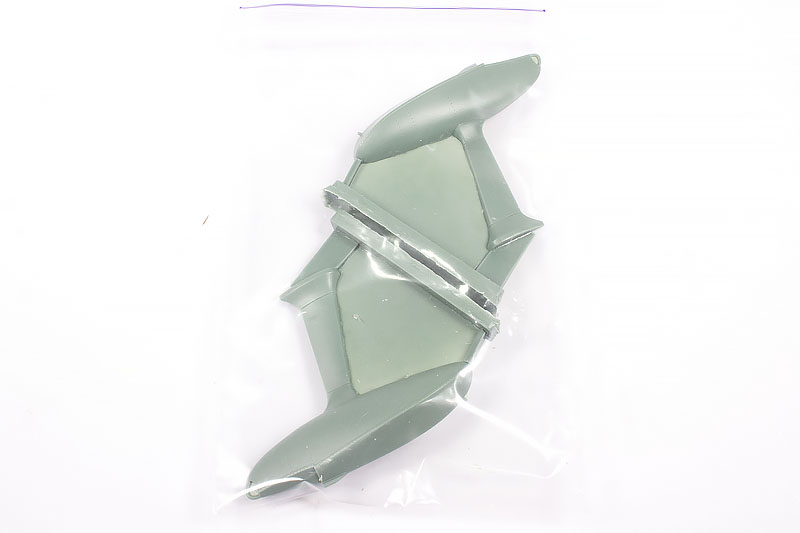
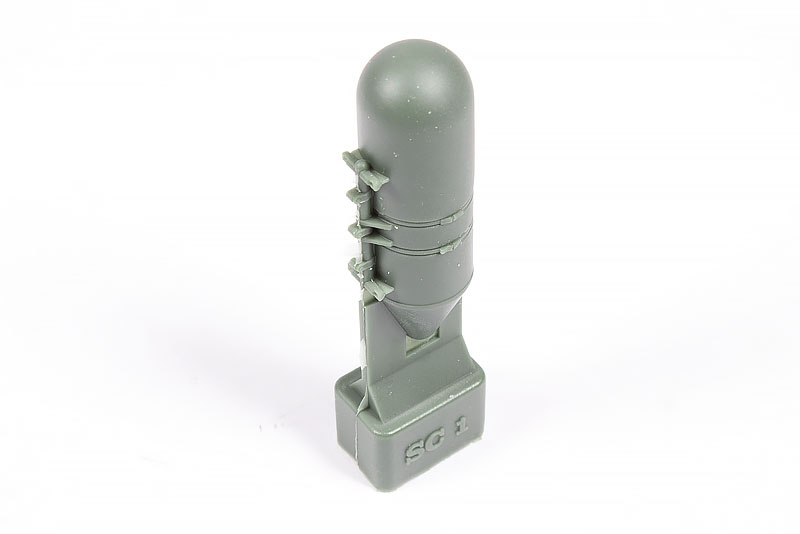
The Float
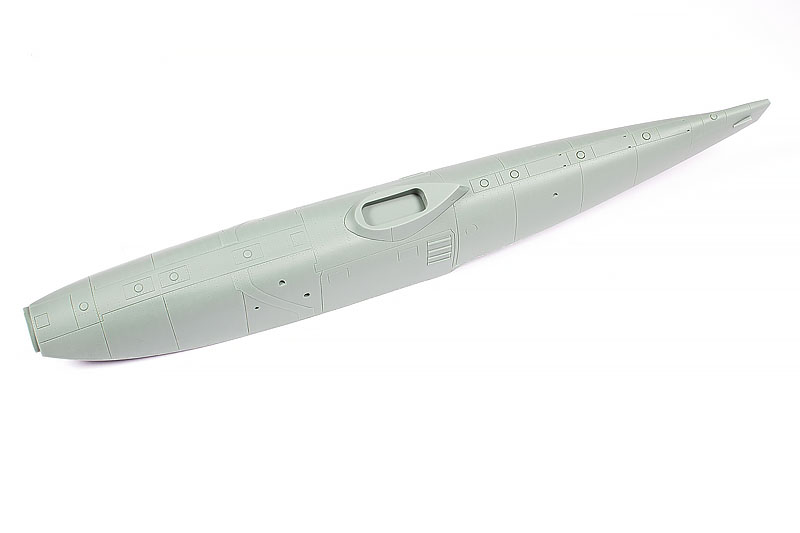
Being a seaplane, the central float/pontoon is obviously a focal point of the aircraft, and consequently of the finished model. Halberd has clearly recognised this, and pulled out all the stops to create a resin masterpiece. Like the wings, it's a single, solid piece of resin, and quite heavy.
Unlike the rest of the airframe, the float is festooned with delicate recessed rivet detail, the consistency of which is impressive, to say the least. In fact, detail across the entire piece is the equal of any resin kit I've seen, with an excellent combination of engraved and raised surface features as appropriate to the original.

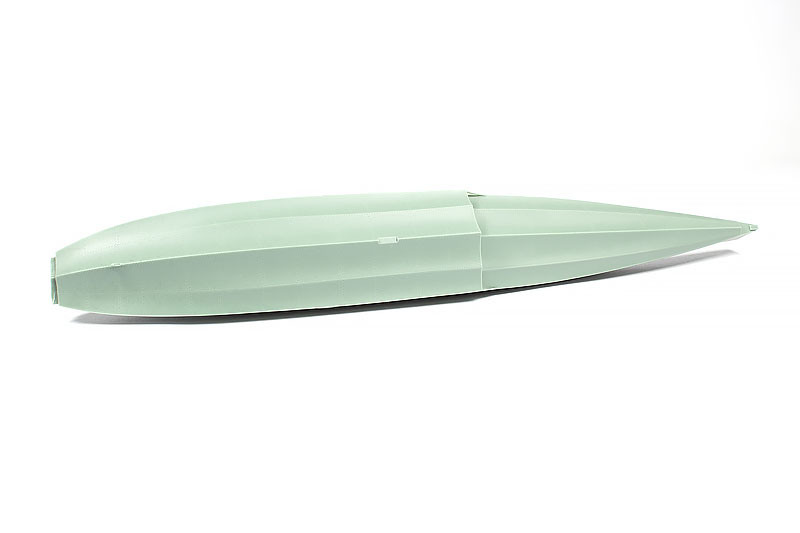
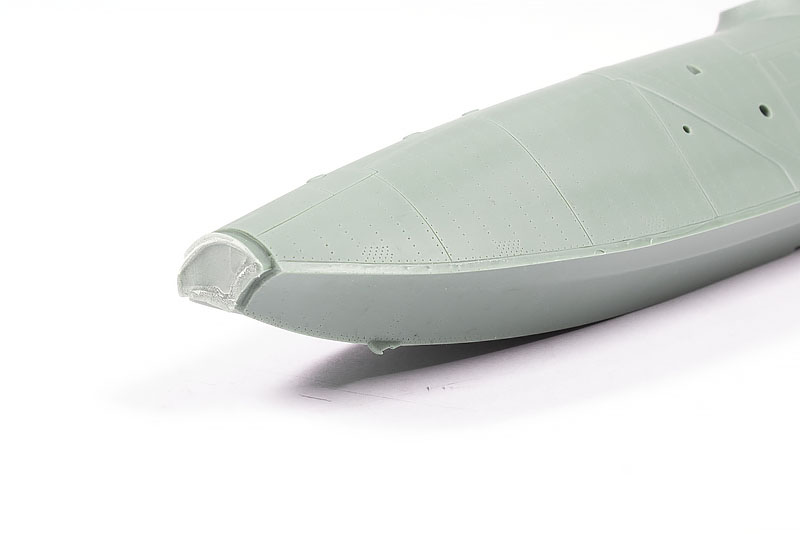
There's a casting stub at the very nose of the float, and a separate nose piece and rudder are supplied to complete the assembly.


Along with the main float, a pair of outrigger floats is provided, which are fitted into accompanying recesses underneath each wing. There's some flash to clean up, but this will pose no problem for any modeller with a modicum of experience.
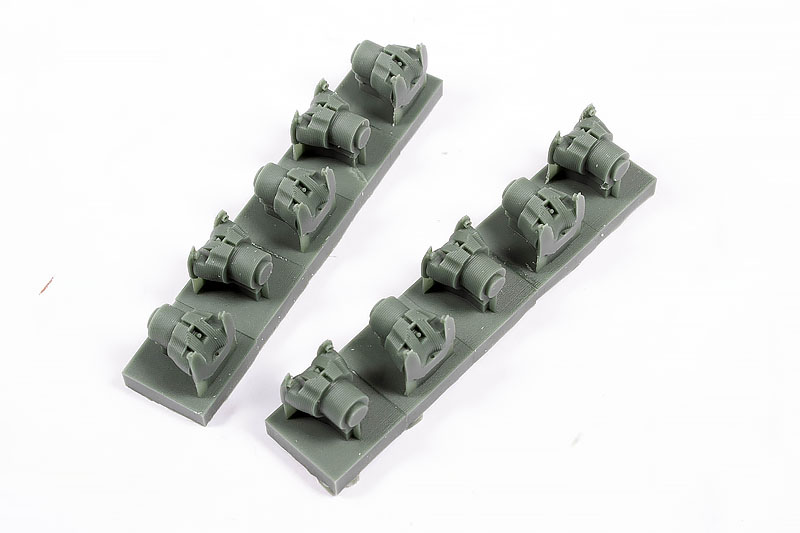
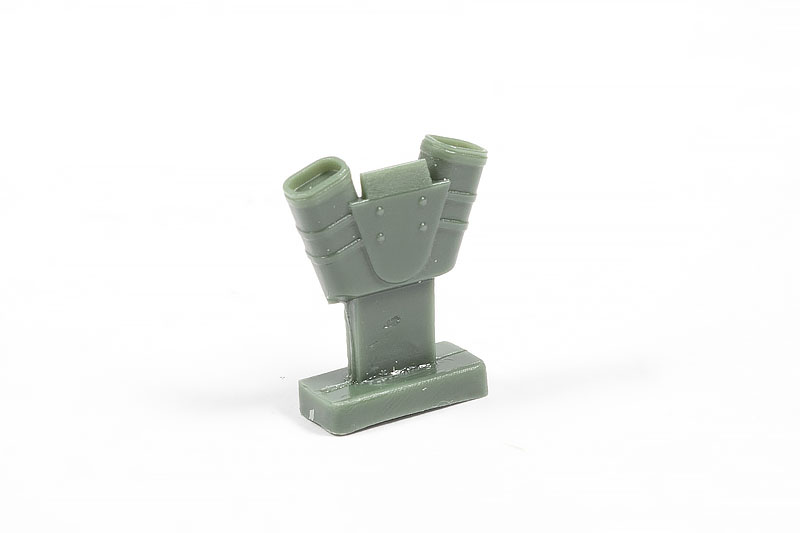
In order to display the model, the kit provides a representation of the towing dolly that attaches to the float. This consists of seven parts in all, comprising two main support arms, a single rear support arm, and wheels for each.
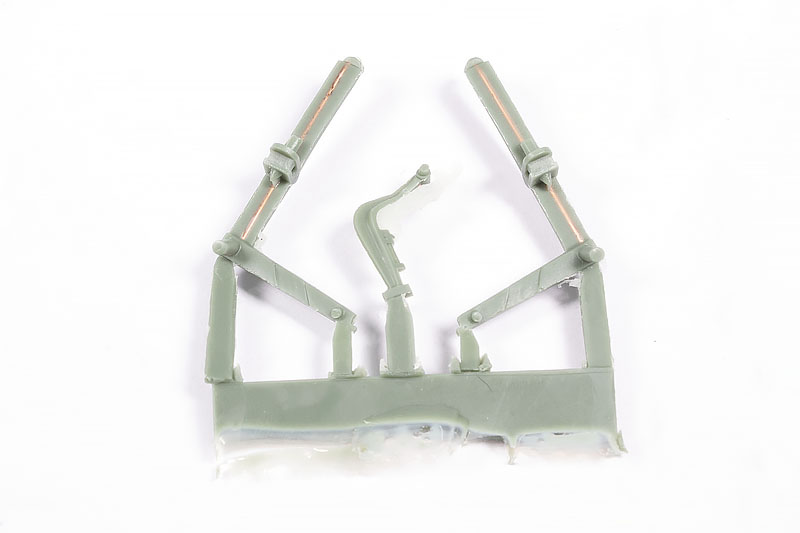
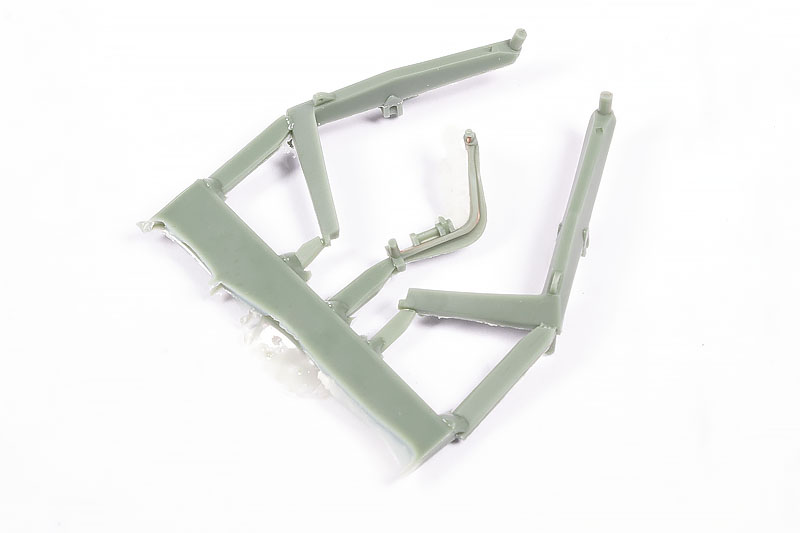
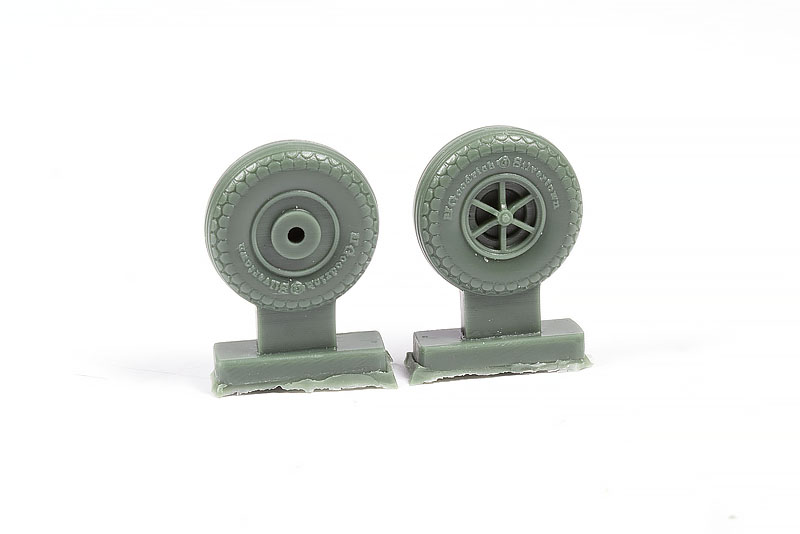

The support arms are cast around what appear to be brass rods, which is essential given the likely weight of the finished model. The rods are visible in certain places, but as far as I could ascertain using a basic "feel test" with my thumbnail, they don't protrude proud of the resin surface.
Note that the wheels for the rear support arm are supplied on the same casting blocks as the wing guns and radar pod racks.
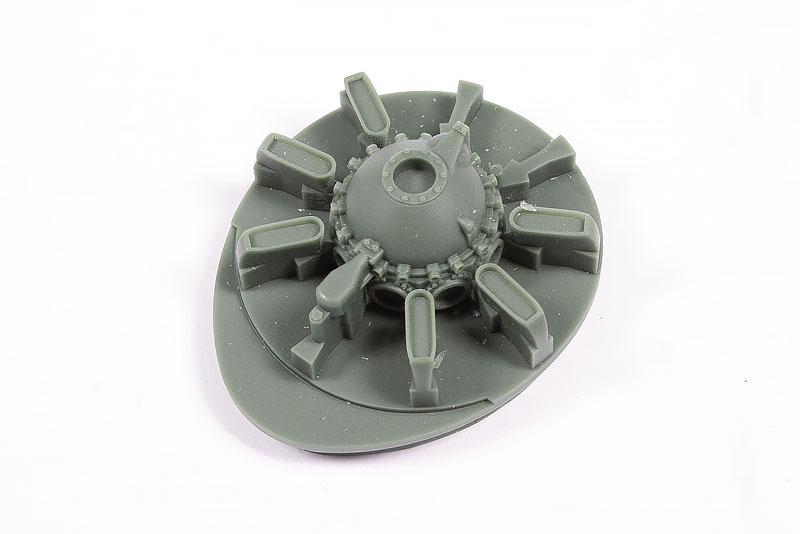
The Engine & Propeller
Being a radial-engined aircraft means that the engine is also potentially on show on the final model, and Halberd has supplied a very nice representation of the Wright R-1820 powerplant, with separate cylinders and ignition harness.
The propeller is supplied in five pieces: four separately-moulded blades, and a separate hub to attach them to.

The propeller blades have a rather severe aerofoil twist that makes them look bent towards their tips, but as far as I can determine, this is an optical illusion. I do wonder, though, whether the twist itself might be a little overdone. I'm not sure, so I'll have to leave it up to you to make up your own mind.
The Cockpit
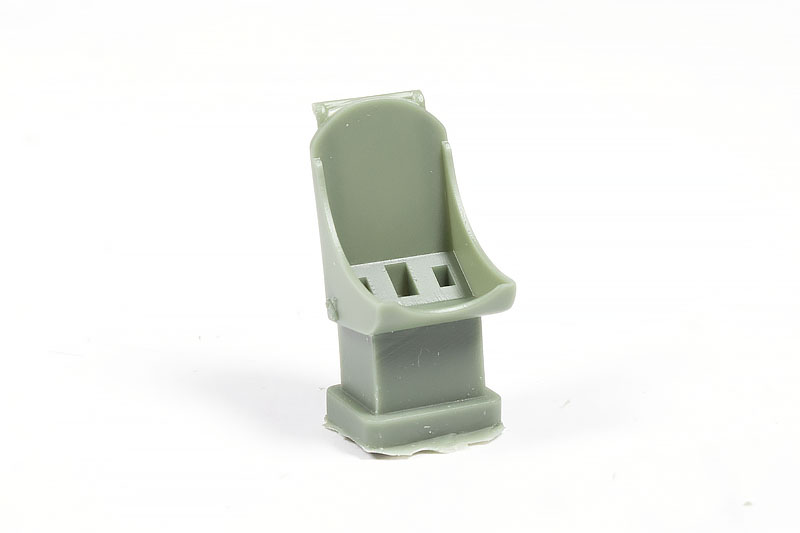
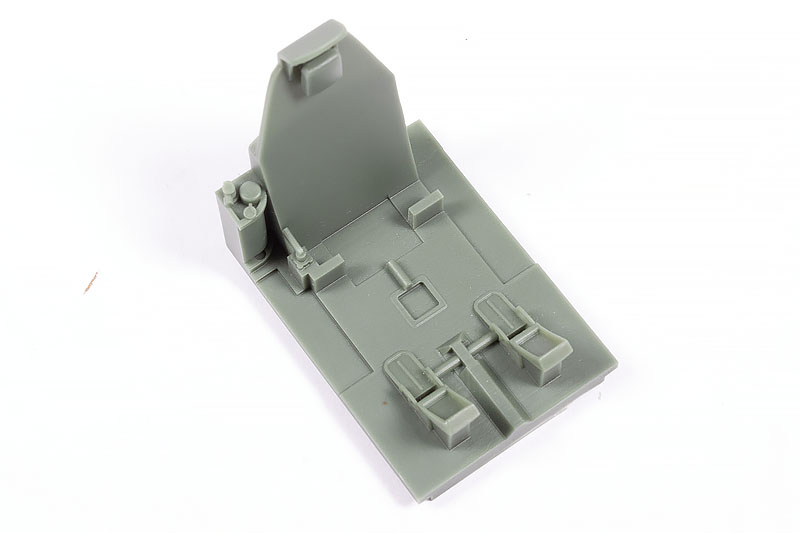
The cockpit is often the centre of attention on an aircraft model, and with the SC-1 having a large glasshouse canopy, this kit will be no exception. Halberd has provided a set of very nicely moulded parts that should build up into a serviceable representation of the Seahawk's cockpit. There's a one-piece floor and rear bulkhead, along with some sidewall and detail parts, and a separate seat (seat belts are provided on the photo-etched fret.


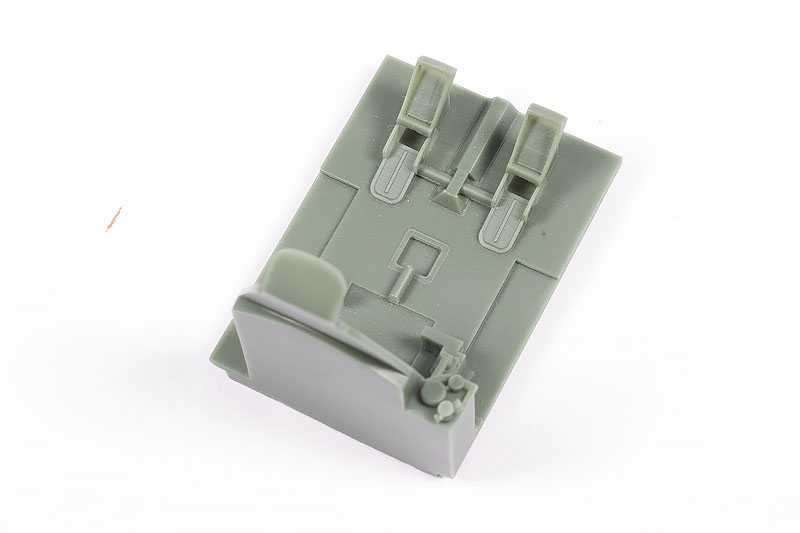


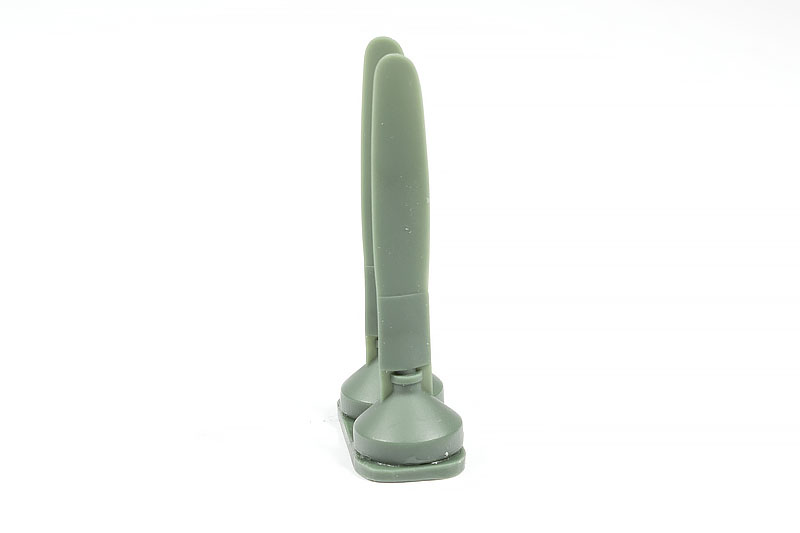
There's also a separate control stick on the casting block that also contains the pitot tube and antenna mast.
The instrument panel is a fairly basic affair, consisting of a resin backing piece, a single decal containing all the dials, and a photo-etched face to provide all the bezel detail.

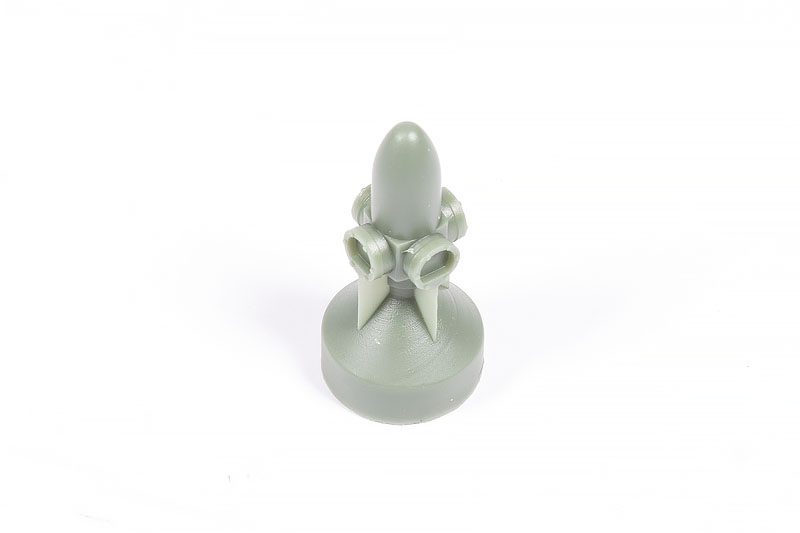
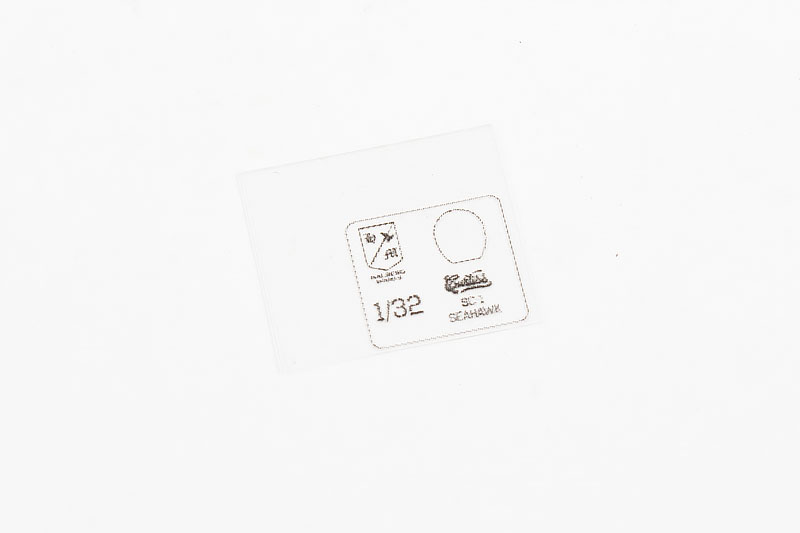
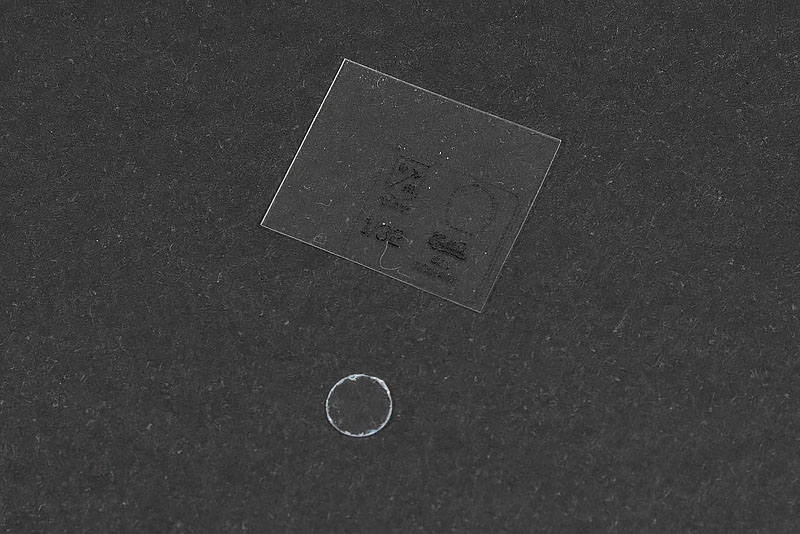
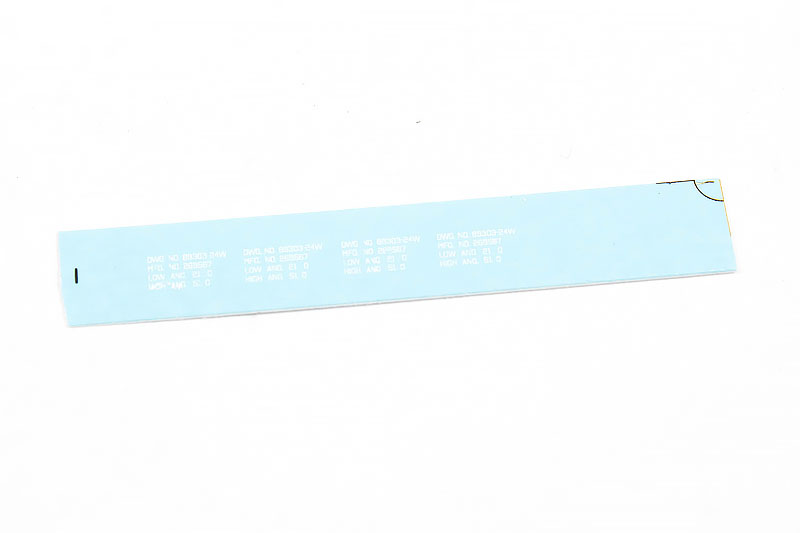
A resin gun sight is also provided, with the reflector glass supplied as a printed outline on a sheet of acetate:
Overall I'd say the cockpit is a little light-on for detail in this scale, but this could simply be down to insufficient reference material to support a more detailed rendition. It's also worth remembering that this kit is essentially a scaled-up version of the company's 1/48 scale kit, and the level of detail probably reflects that. It's certainly not poor, and what is provided is very nicely done.
Miscellaneous Details
Not covered so far are the one-piece under-wing radar pod, and the engine exhausts:

The exhaust outlets have shallow indentations at their openings, but are not hollow.
The Clear Parts
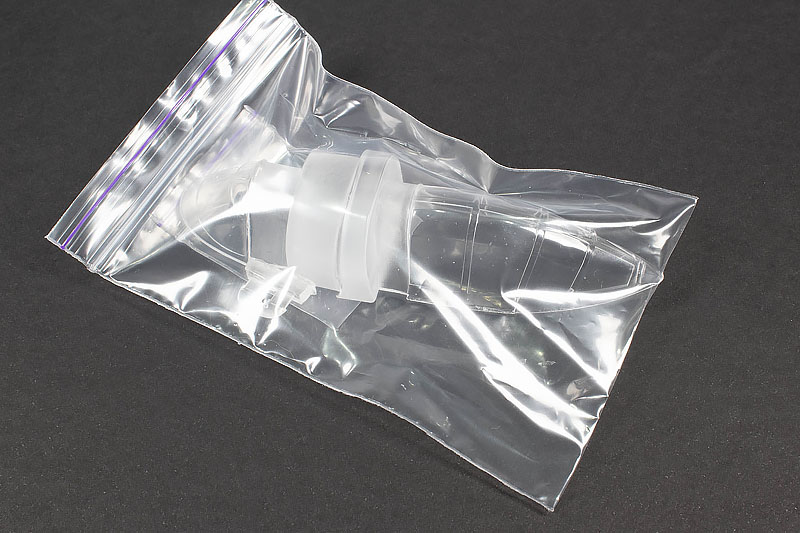
The clear parts are cast in clear resin, and comprise the windscreen, the rear canopy section, and two navigation lights for the wing tips. Also supplied is a punched disc of acetate for the under-wing light cover.
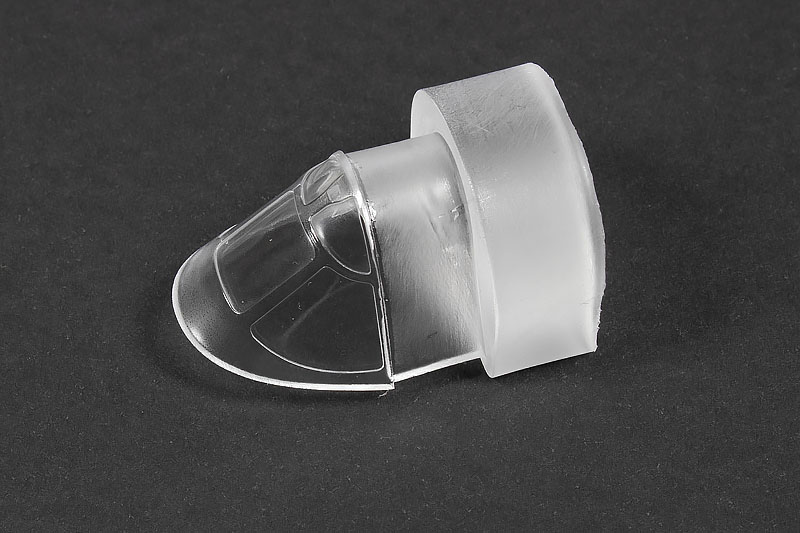
The windscreen part is flawless:
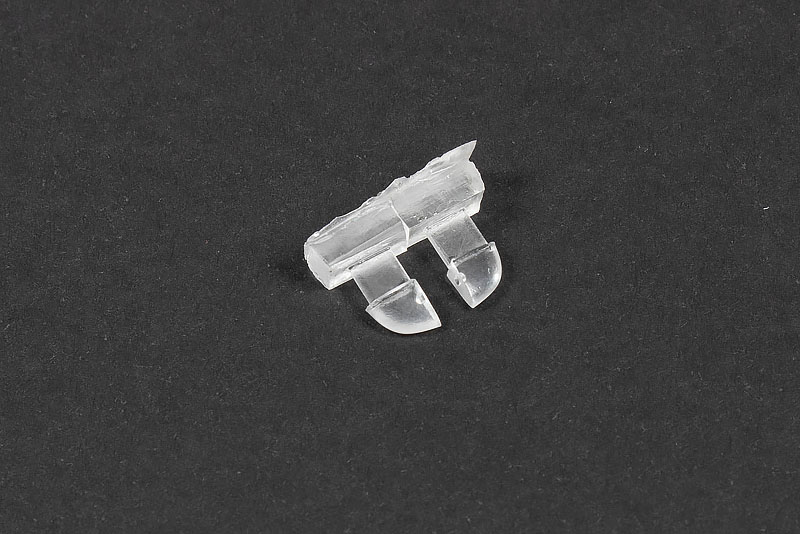
In my example, however, the rear sliding section has some unfortunate air bubbles—including some on the clear panes:
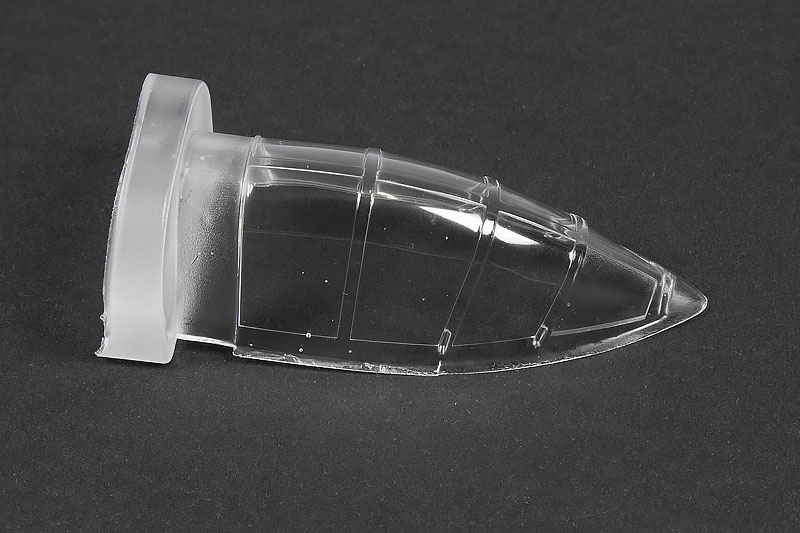
This is a shame, as nothing can be done to rectify or even improve them. That said, other examples may not exhibit this problem, so your mileage will probably vary, as they say.
It does pass the clarity test however, though there is some minor distortion, which is not unexpected:
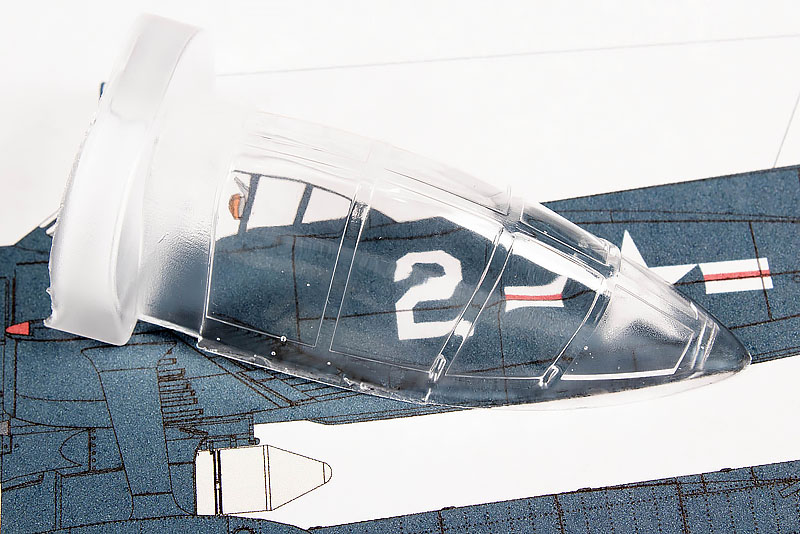
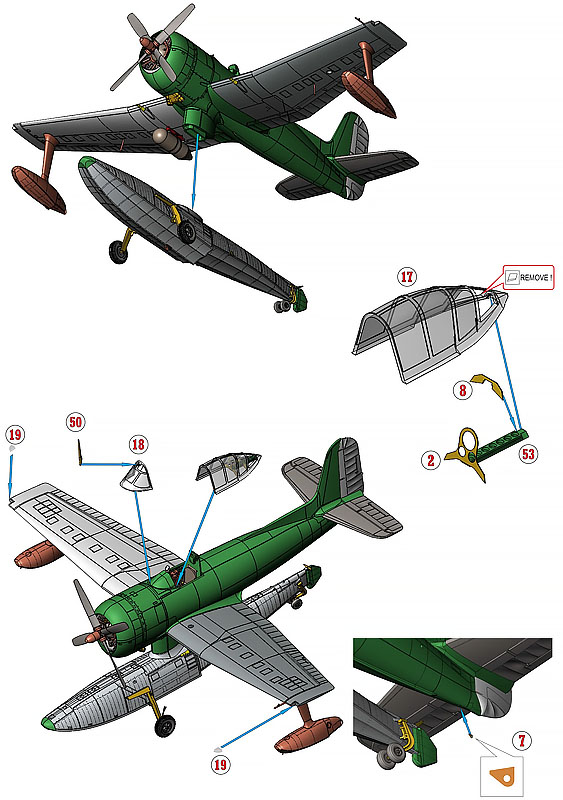
I did note that there appears to be some frosting on the two rearmost panes, and at first I wasn't sure if this was intentional, or a production error. There is, however, a step in the instructions that appears to instruct the modeller to remove those two frames:
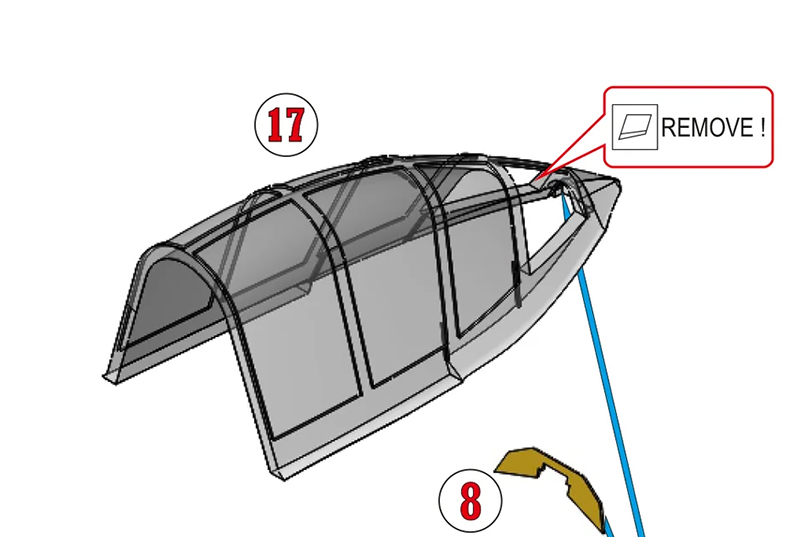
Upon examining some photos of the real SC-1, it would appear that these panels were indeed missing from many aircraft—though not all, it would seem.
Not having any dedicated references on the type, I'd be happy to hear from anyone with superior knowledge who can clarify this odd feature of the aircraft.
The navigation lights have small holes pre-moulded into them to assist in simulating the bulb colours; simply drop in some red or green paint as appropriate. A thoughtful touch from Halberd.
The punched disc for the under wing light cover is a little rough around the edges, but will hopefully clean up satisfactorily.
Note that there are no paint masks for the canopy included with the kit.
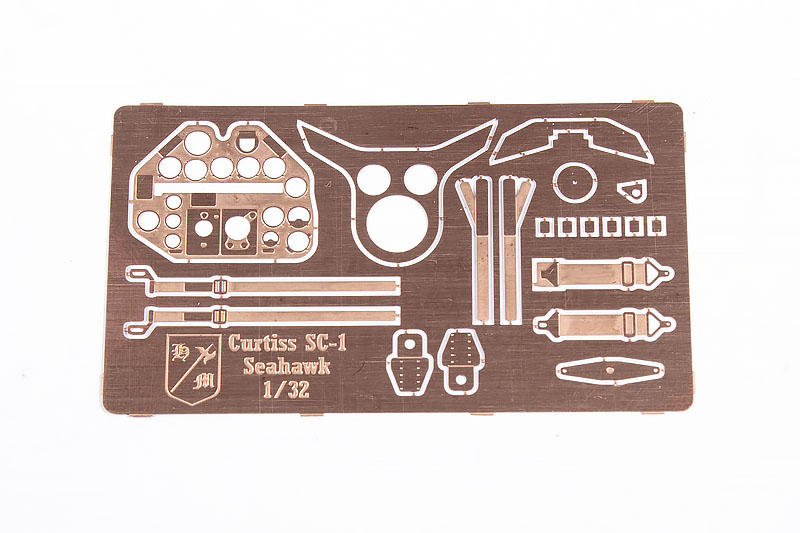
The Photo-Etched Fret
A small fret of photo-etched detail parts is provided, which includes cockpit details for the most part, along with some parts to dress up the main float.
Decals & Markings
Decals for the kit are supplied on a single, A5-sized sheet.

They're very crisply screenprinted, with good colour density and registration, though no printer name is given.
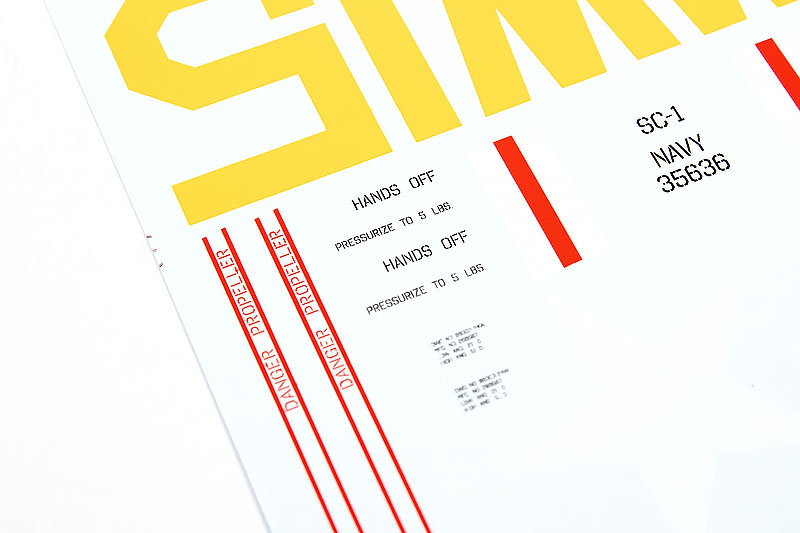
A supplemental sheet is also supplied, that includes the propeller blade stencils in white, rather than in black as they are on the main sheet.
All the stencils are actually readable with sufficient magnification, which is a testament to the quality of the printing involved.
I was surprised to discover that my kit actually had two decal sheets in the bag, and upon closer inspection, I discovered that one of them had a minor printing flaw:
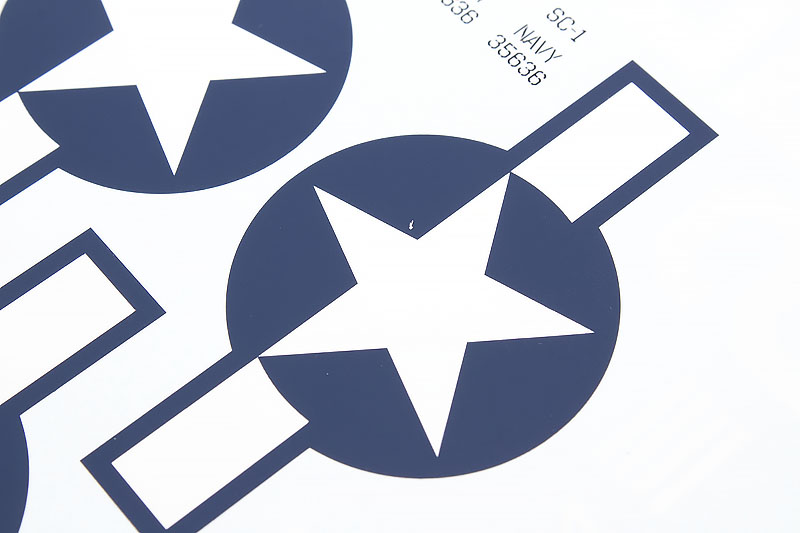
So it seems that Halberd provided an entire replacement sheet to compensate for this flaw, which is amazing quality assurance—though by the same token, it's a shame they let the canopy air bubbles slip through. It's also a little odd that they left the flawed sheet in the package, but I guess it's more useful to me as spares than it is in their reject bin.
The decals cover markings for four aircraft, with colour and paint references given for AK Interactive's Real Colour range.

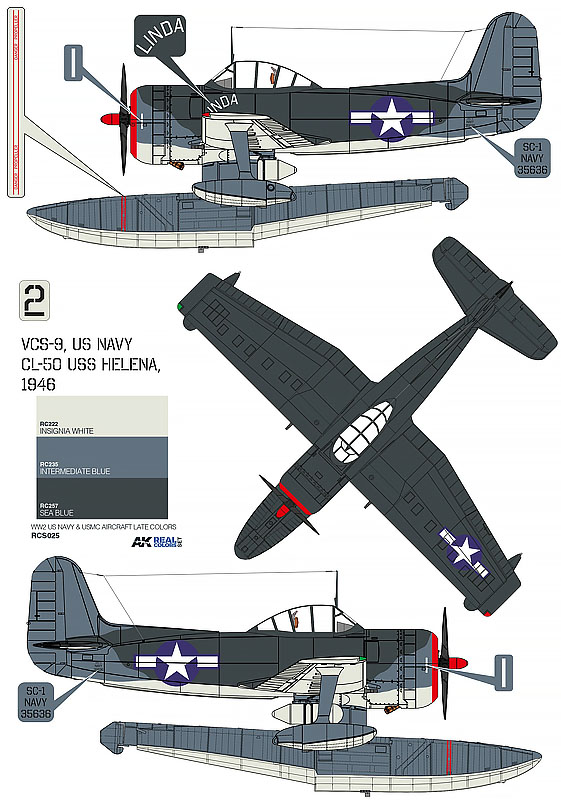

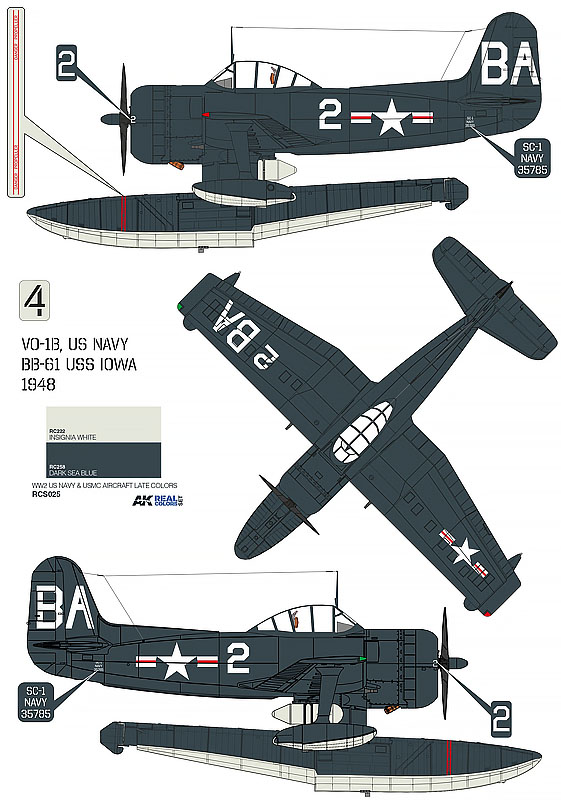
There's not a lot of variation on offer here, but that's as befits the subject, and I was pleasantly surprised that there are as many as four options.
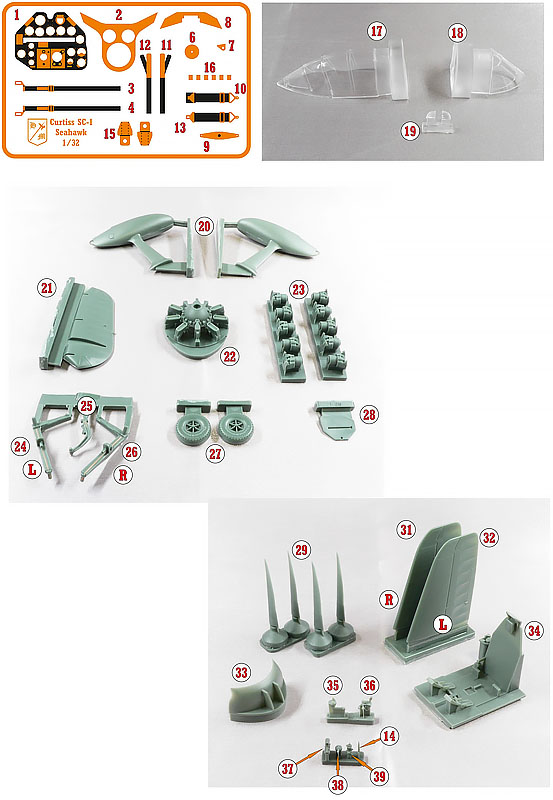
The Instructions
The instructions comprise a set of printed A4 pages, with a parts inventory using labelled photos, and some CAD-derived exploded assembly diagrams. No text descriptions are given, so if any of the diagrams are ambiguous, you'll have to figure it out for yourself (which, to be fair, is standard practise with many kit manufacturers, mainstream or otherwise).
Conclusion
Despite a few minor niggles, I think this is a terrific kit, and on par with the finest resin kits I have seen. It's certainly better than any mainstream LSP kit released prior to 2000, and should build up quite nicely. I would like to have seen a one-piece nose ring for the cowl to help with those potentially nasty seams, and the air bubbles in the canopy are certainly a bit of a let-down.
That said, I expect this to be a reasonably straightforward build, and despite its size, I think it would make an ideal first resin kit for even the less experienced modeller. I've started a build thread for mine in the forums, so we'll see how it goes together there!
The kit can be purchased from the Halberd website.
© Kevin Futter 2023
This review was published on Sunday, May 07 2023; Last modified on Sunday, May 07 2023