
Videoaviation | 229632: 1/32 USAF Coleman MB-4 Towing Tractor
Reviewed by Thierry Laurent
I received two weeks ago another sturdy box in a thick padded envelope from Videoaviation. This time Maurizio Amelotti sent me his last USAF tractor new release: the 1/32 multimedia kit of the Cold War MB-4 heavy tractor.
Various manufacturers released small US air base towing tractors in 1/32. However, larger ones such as the Ford or the Coleman were noticeably missing in large scale. Hopefully, Maurizio finally agreed on enlarging his smaller scale offer of the Coleman MB-4 to fill another major gap in the market.
The Coleman MB-4 Tractor
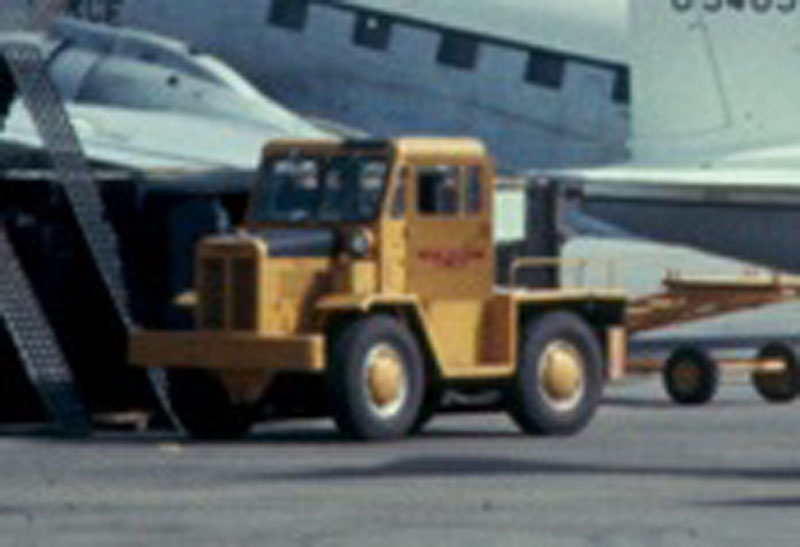
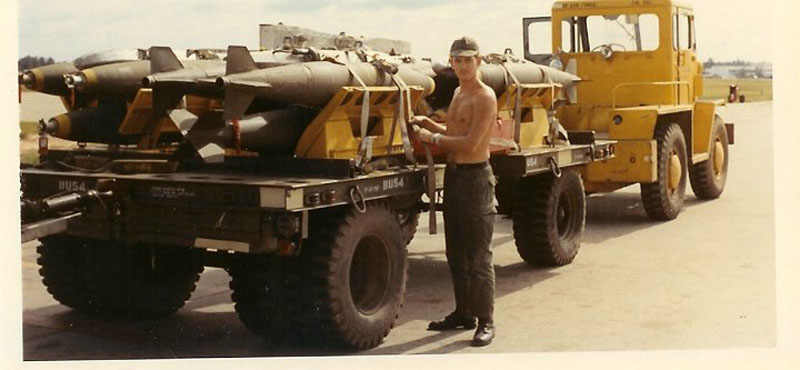
The Coleman MB-4 was a large and powerful tractor built in the sixties by the American Coleman Company of Littleton in Colorado. This 4-wheel drive and steering vehicle was used by the USAF for at least twenty years and relied on different generations of flat head Chrysler industrial engines through the years. The MB-4 was commonly seen in all air bases where the USAF used heavy planes during the '60s and up to the '80s. Logically, it was commonly seen in South-East Asia.
I joined to the review four wartime pictures of the full-size machine taken in Vietnam. Other ones can be found on the Videoaviation product webpage.


The Videoaviation MB-4 Kit Contents
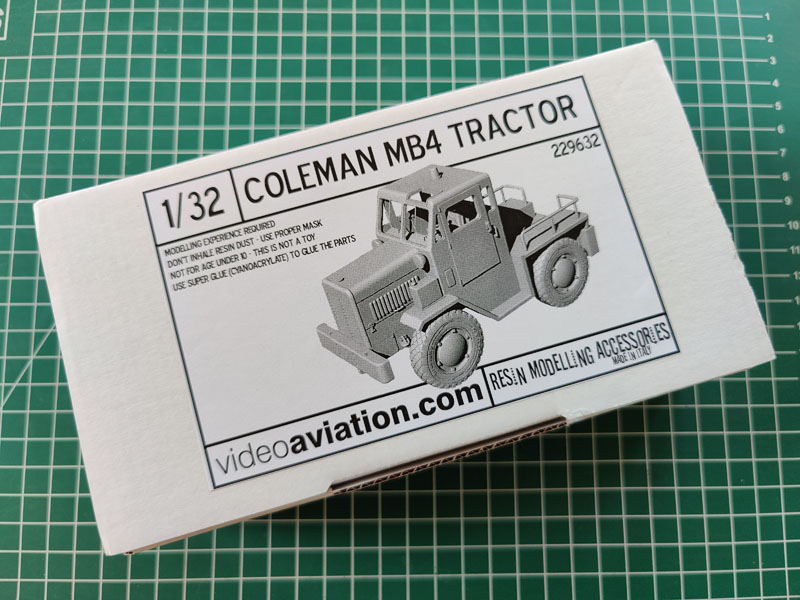
The kit is packaged in a sturdy carboard box. The top has a printed label showing a nice CAD-generated drawing of the tractor.
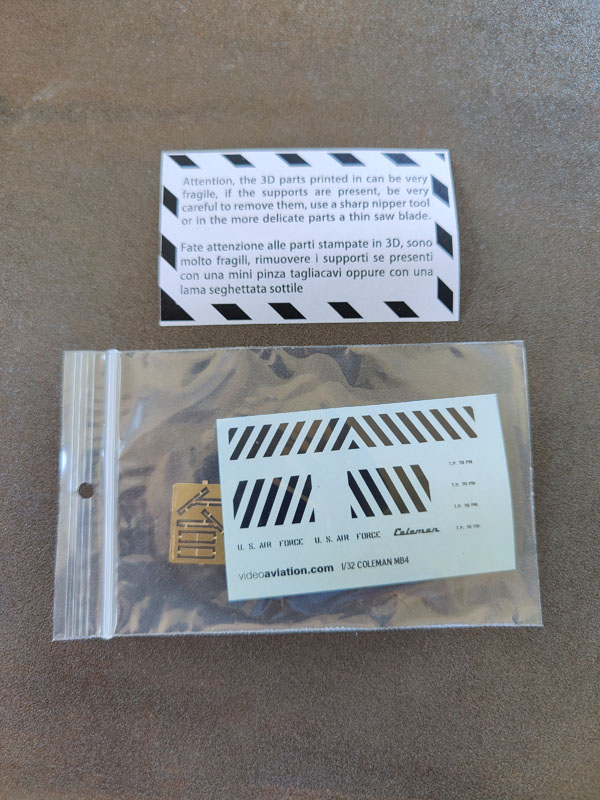
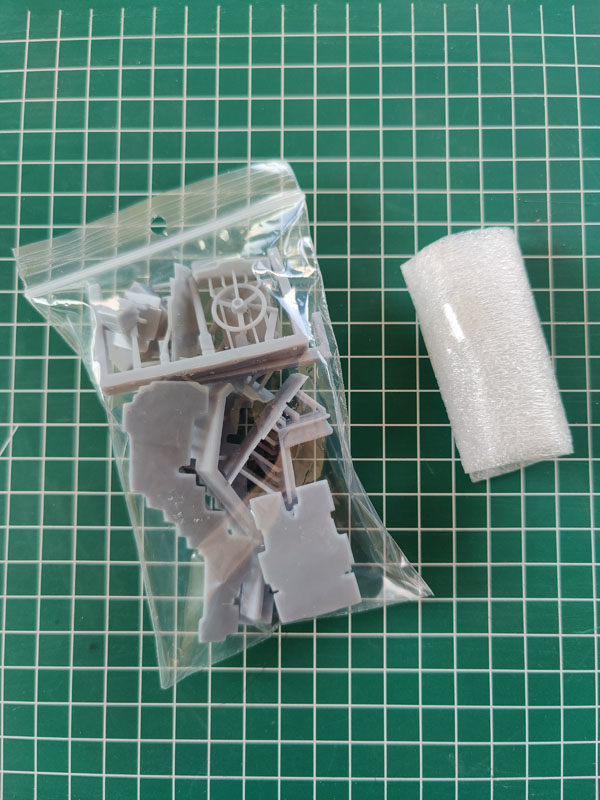
Opening the box shows well packed contents protected by bubble wrap. Under the instruction sheets, we can find a small label with a warning regarding the fragility of the 3D-printed parts.

The box contains:
- Six pages of instructions printed on three A4 sheets and a small warning sheet
- A bag containing a decals sheet and a small photoetched fret
- A clear sheet of plastic with pre-cut windows
- Three bags of yellow resin components
- One bag of clear resin parts (two gates)
- One bag of various 3D printed parts
- Two 3D printed handholds protected in a dedicated plastic foam sheet


The kit is very simple. It is made of a little bit more than sixty parts. It is not a simple enlargement of the 1/48th kit. Some non-visible areas such as the chassis have been noticeably simplified but the kit captures well the look of the actual vehicle and that design eases noticeably the assembly.
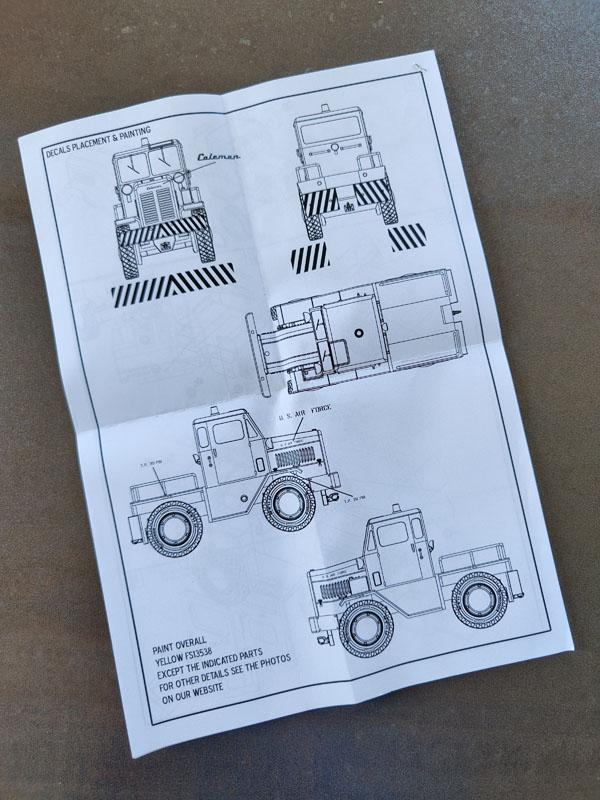
The black and white instructions are top notch ones. They give a description of all the parts, self-explanatory drawings of the assembly steps and scale plans for the painting/decaling scheme. This is in the same league than what you can find in plastic kits.

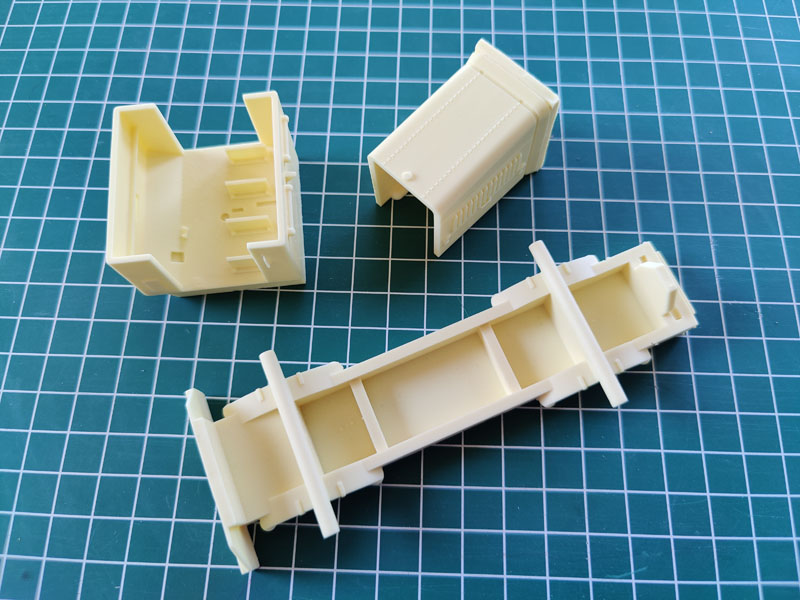
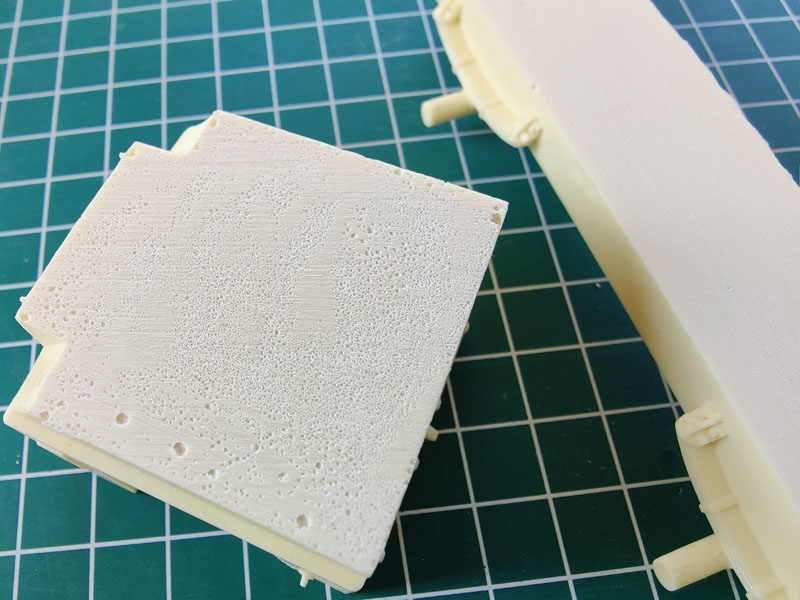
The chassis is nicely cast as a single part and Videoaviation already cleaned most of that big chunk of resin. Drive shafts and leaf springs are cast in situ. There is no need to dedicate a lot of time to remove huge resin gates. I already wrote it in other reviews but I still think some other companies should be inspired by that customer care approach.
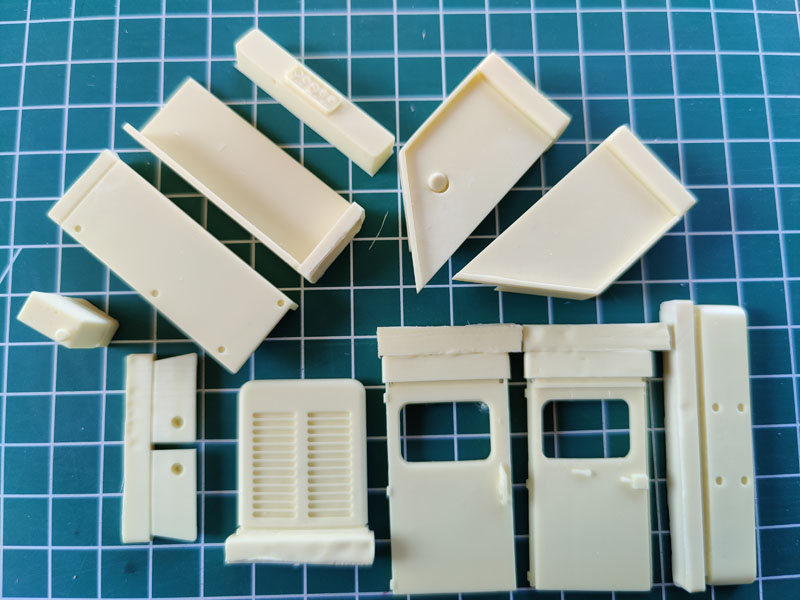
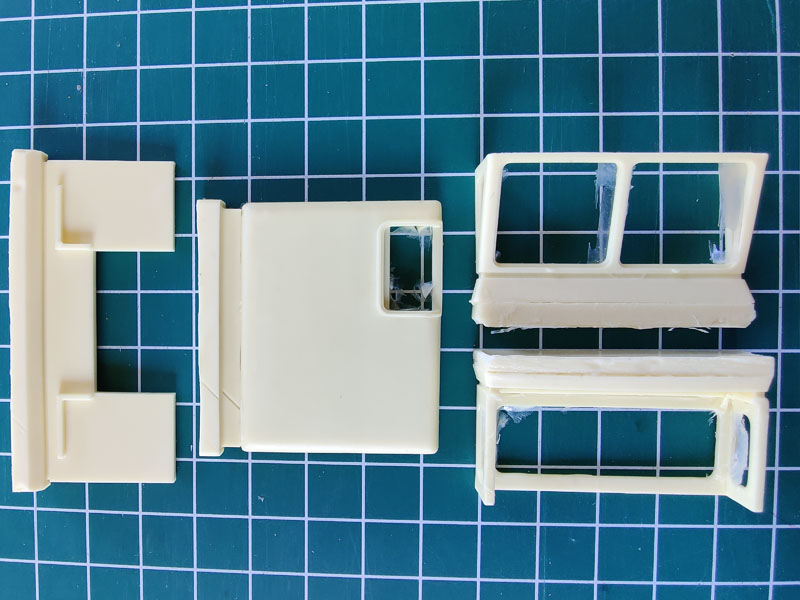
The same philosophy applies to the bottom of the cab: no huge casting block to remove from the undersides (see attached picture). Less than a dozen of large yellow resin parts will be quickly cleaned to assemble the cab and the body. The parts are nicely cast without defect on the visible sides. So, you just need to separate each resin part from its gate.
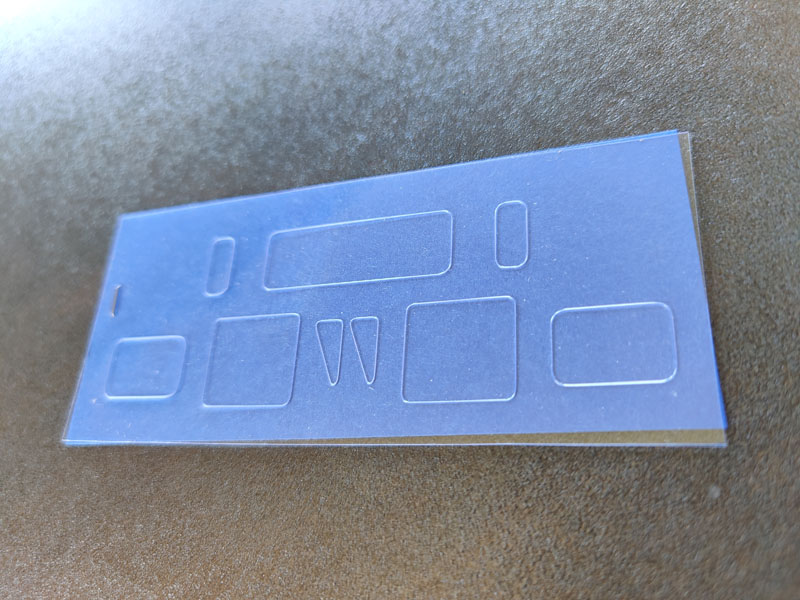
Most of the cab windows are appropriately thin as they are pre-cut on the thin clear plastic sheet. Remove them cautiously from the sheet and glue them with your clear parts favourite glue. Simply avoid most CA glues as they can easily fog such parts.
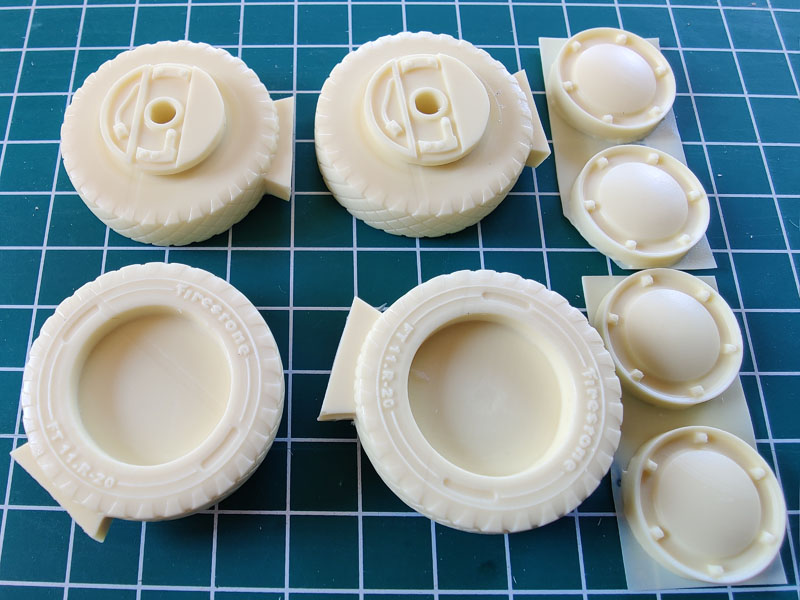
The four resin wheels are simple as they are made of a rim and tire combination. They are very nicely cast with accurate details, the “Firestone” tire brand name as well as the tire size markings. The wheel hubs are probably the parts that will require the longest cleaning time. When assembled, the wheels will just need to be glued on the axles moulded on the chassis. Note that most SEA pictures show a different type of tire with a military pattern. However, this was not a hard rule as I found pictures showing at least five different types of tire patterns (including 2 or 3 in SEA) on such military tractors.
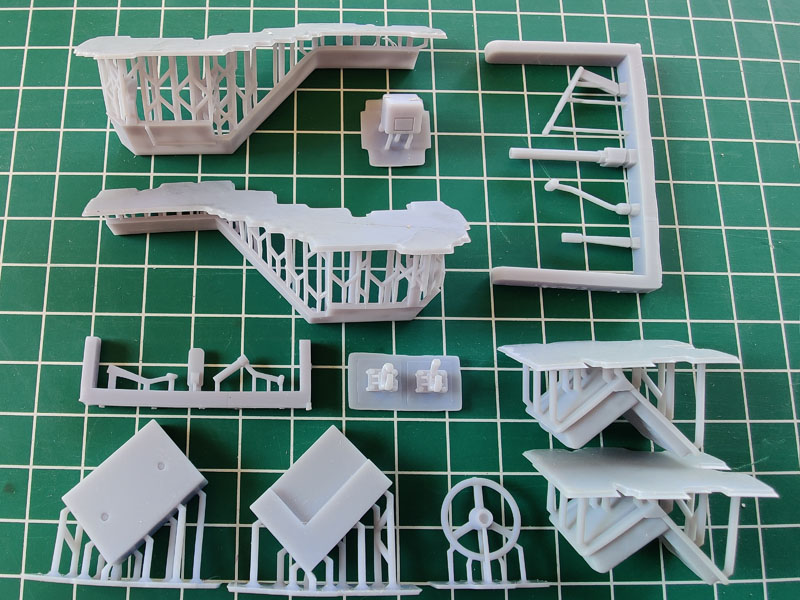
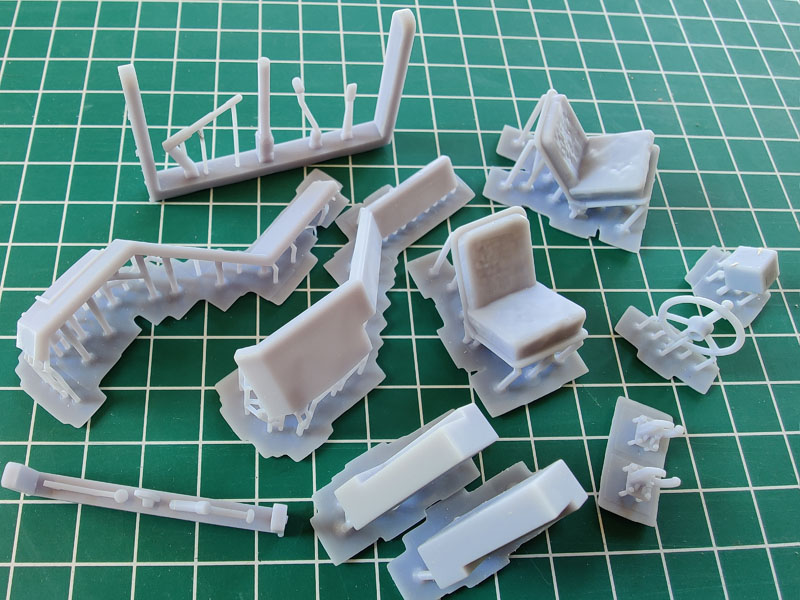
The smaller tractor parts are made of a 3D-printed resin. They include the steering wheel and levers, the seats, the towing shackles, a bunch of other parts and two separately packed hand holds to be added on the rear of the vehicle. Everything is smoothly printed without any visible defect asking for more work than separating each part from its gate. However, the warning given on the small label is not an understatement. By nature, 3D-printed resin is VERY fragile. So, if you are the lucky owner of an ultrasonic cutter, this is the perfect tool to clean that. Otherwise, cautiously use very thin blade saws and a precise cutter nipper (such as DSPIAE one) to avoid surface damages that typically occur when the supports are removed from the parts. Personally, in most cases, I prefer separating the support from the gate and then from the part. This decreases the tensions between the part, the supports and the gate and the consequent risk of damage. If you have surface blemishes in spite of your best efforts, use a little bit of CA glue to fill them and sand them as soon as possible. Black CA glue is perfect for that use. Hopefully, the very fragile hand holds are ready to use. Well done!
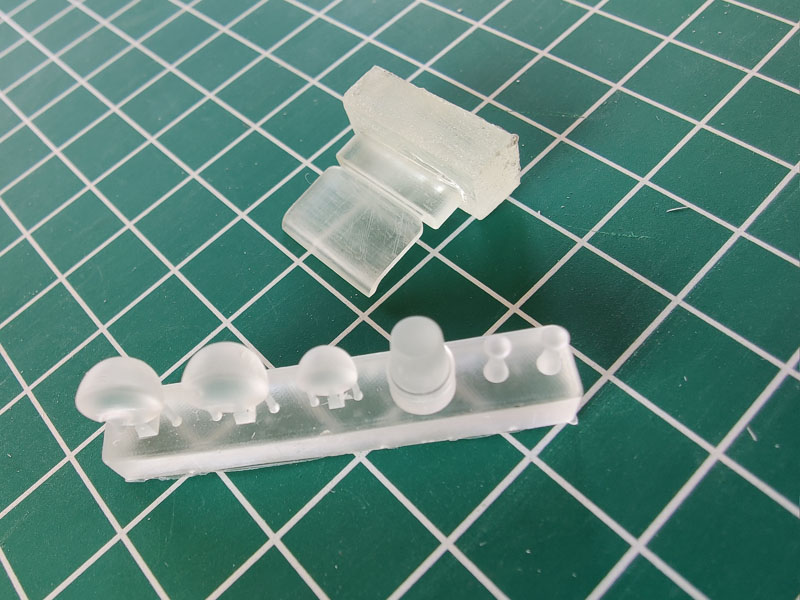
A small photoetched set is giving the wipers and the two headlight supports. Two small gates are including the clear parts for all the types of lights plus the roof window. That one was added as a resin part because it is not flat. It is recommended to cautiously polish it to get a better transparency. A coat of Future will also help after the required thin coat of transparent clear blue-green. The flashing light will require a clear coat of orange paint. Note that such flashlight plastic covers are normally not fully gloss. So, using a satin coat to end the painting process would probably be more realistic.
The MB-4 Painting and Markings
With regard to painting, the common initial scheme was simply FS135538 yellow. A small decal sheet is giving you ten decals to replicate the most common markings. The last page of instructions shows scale views of the vehicle to add them. They are provided for a standard early US Air Force machine, with a Coleman logo on the front of the cowling, two US AIR FORCE markings, the tire pressure markings and black chevron security patterns on the front and rear bumpers.
If you look closely at pictures, you will see that some variants were existing. The engine top cowling was commonly seen with a black anti-glare paint and a serial or vehicle number could be added on the doors. That antiglare panel could show some sun aging effect after some years. So, there are different ways to personalize the kit if you want to go further.
Moreover, vehicles used later were repainted in white and/or green according to the length of their military use. And, later, many of them also got a second life in the civilian sector. Whatever may be the chosen scheme, do not hesitate to add a little bit of wear and tear. The bumpers were quickly showing heavy chipping and some wear could logically be seen on the hand holds and the side steps. However, do not overdo that weathering as the vehicles were well-maintained while in military service.
Conclusion
To conclude, the kit is correctly detailed, looks accurate and simply to assemble. This is a terrific initiative completing the available Cold War US AGE equipment. So, to me, this is another winner.
Last, note that Videoaviation is also offering different towing bar references (198332 early & 198032 late types) that would nicely compliment the tractor.
I hope that Videoaviation will go on releasing such excellent AGE products. Why not a Cold War USAF Ford tractor or an USN carrier NC-1 jeep tug now?
Highly recommended.
Sample courtesy of Videoaviation.
© Thierry Laurent 2022
This review was published on Saturday, April 30 2022; Last modified on Saturday, April 30 2022