
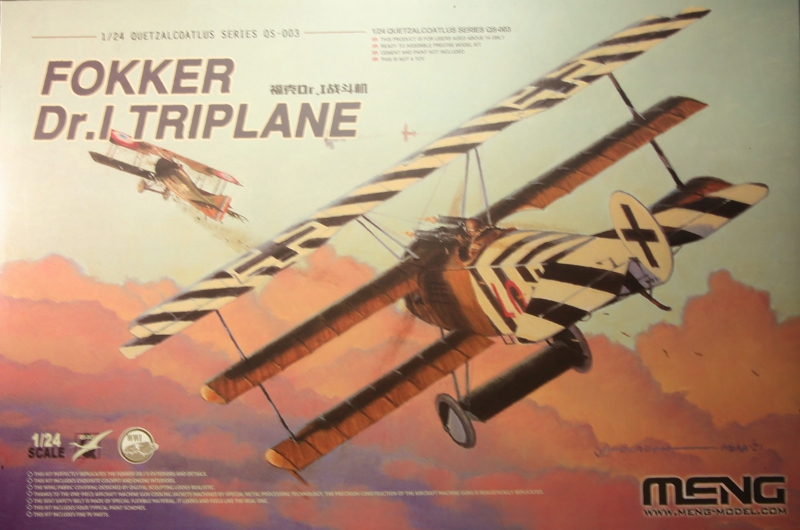
Meng | QS-003 1/24 Fokker Dr.I
Reviewed by Ray Peterson
Introduction
Meng, after releasing the Wingnut Wings nearly completed 1/32nd Dr.1 model, has surprised us with a 1/24th version of the iconic aircraft. Unlike the 1/32nd kit, though, the 1/24th kit does not include all the parts to create the pre-production F.1 version.
The Kit
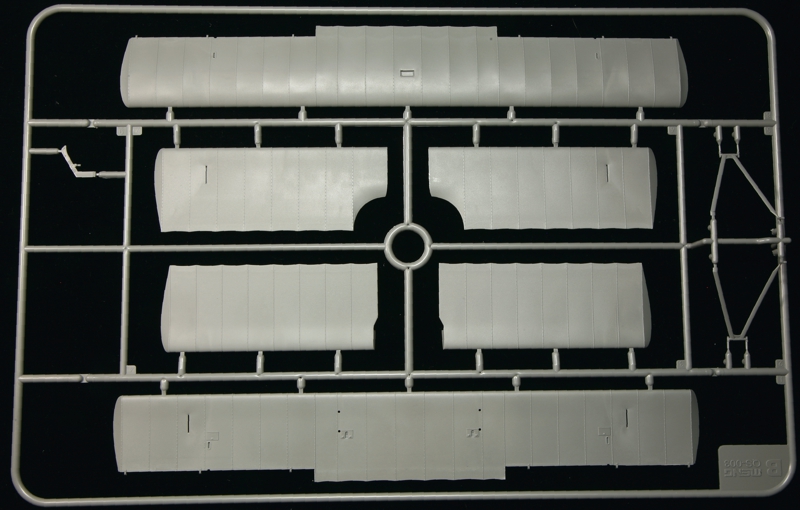
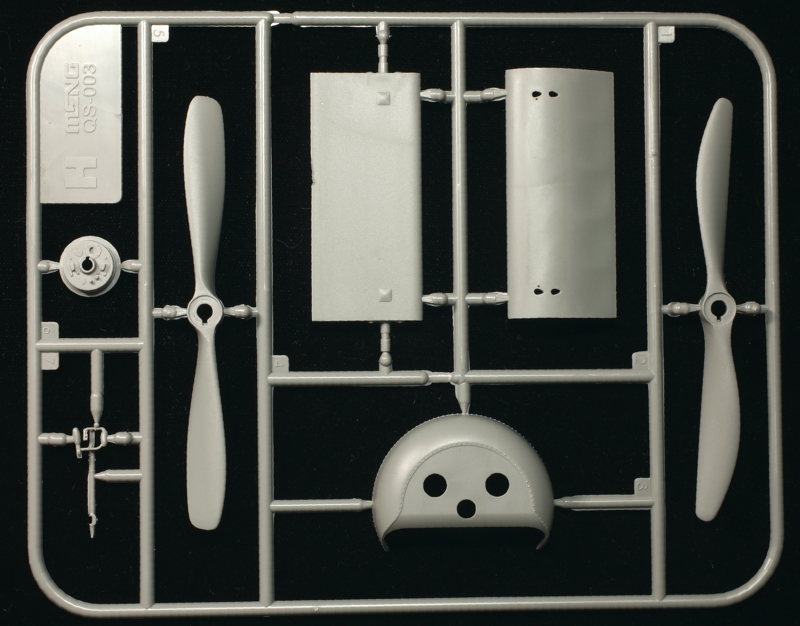
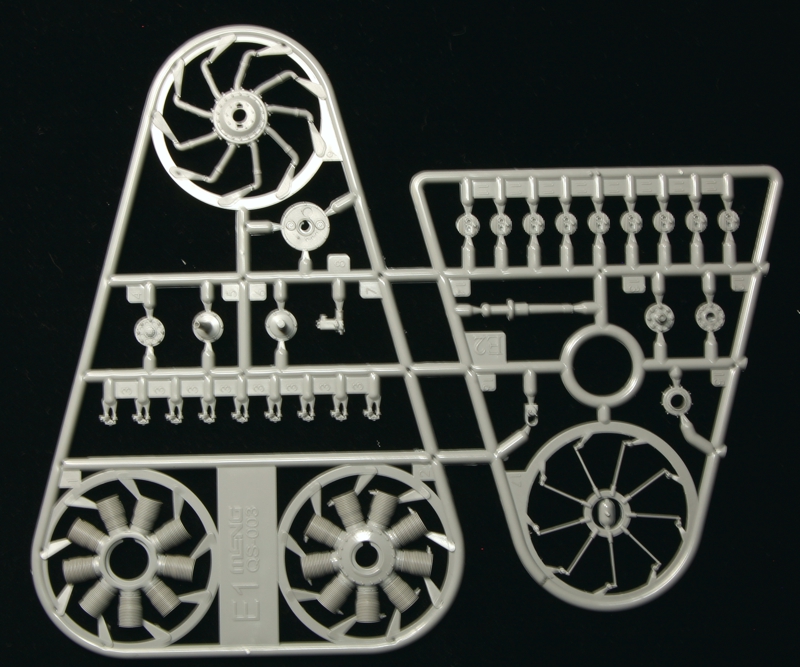
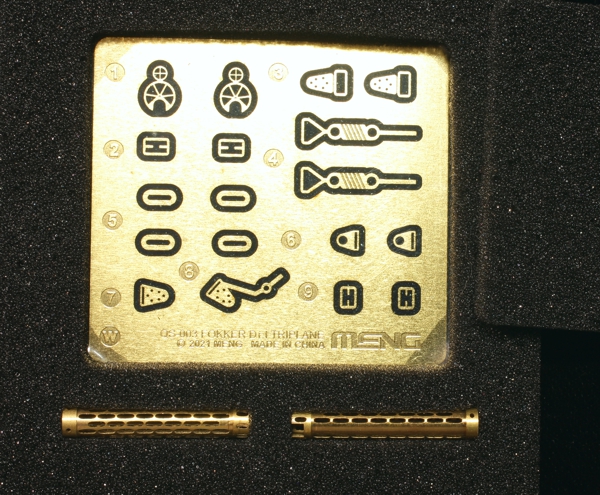
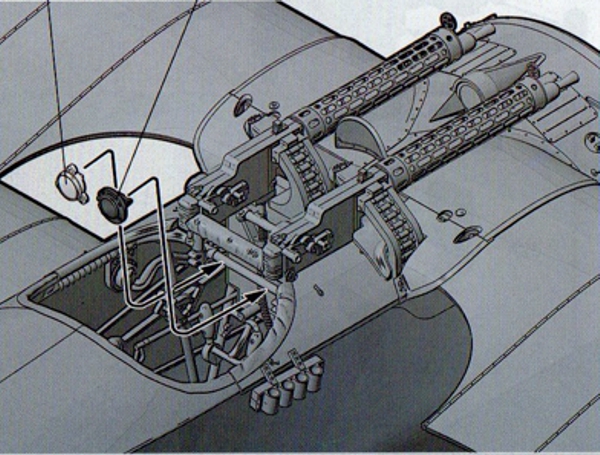
The kit includes approximately 174 plastic parts on eight sprues (one is doubled), molded in grey. It also includes a photo-etch fret with eighteen parts, of which sixteen are for the pilot’s harness. Also for the harnesses are pre-cut belts out of a textured fabric. There is also a clear fret with six parts. A bonus is two machined brass cooling jackets for the LMG guns. (Note: sorry for some of the blurry photos; I am having a problem with one of my lenses. If I can figure it out, I will try to replace them later.)


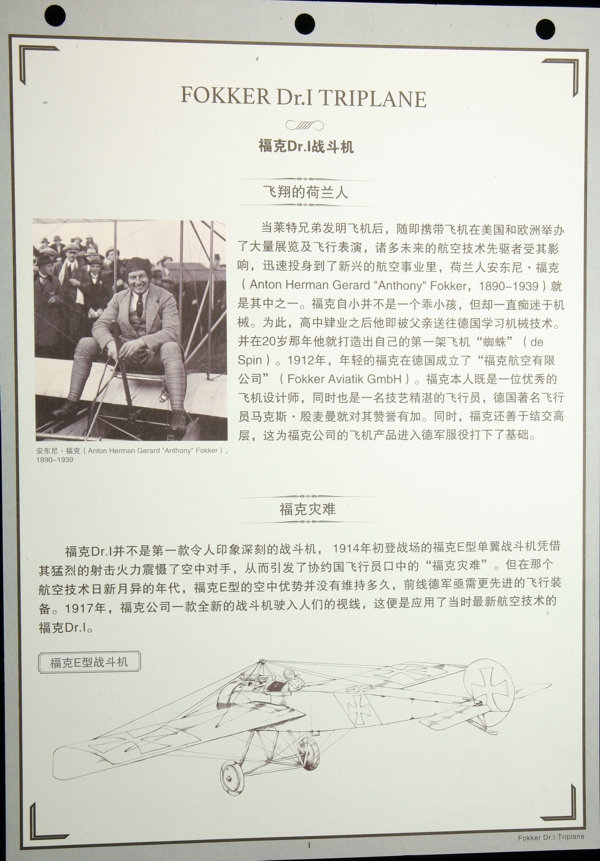
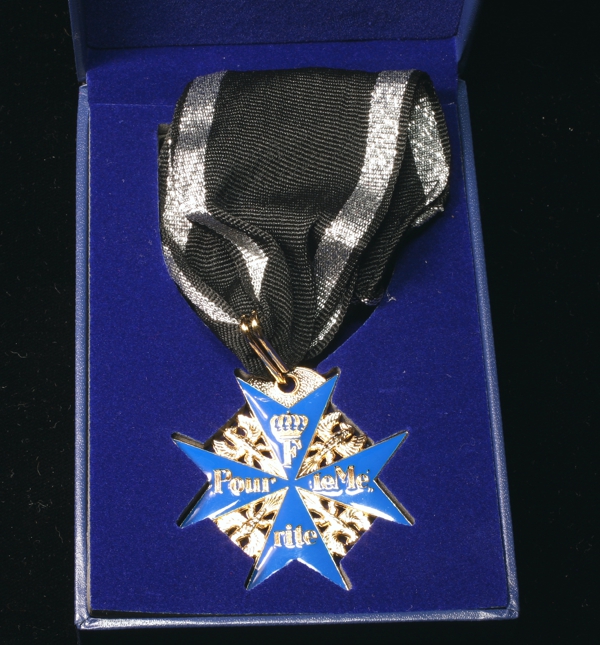
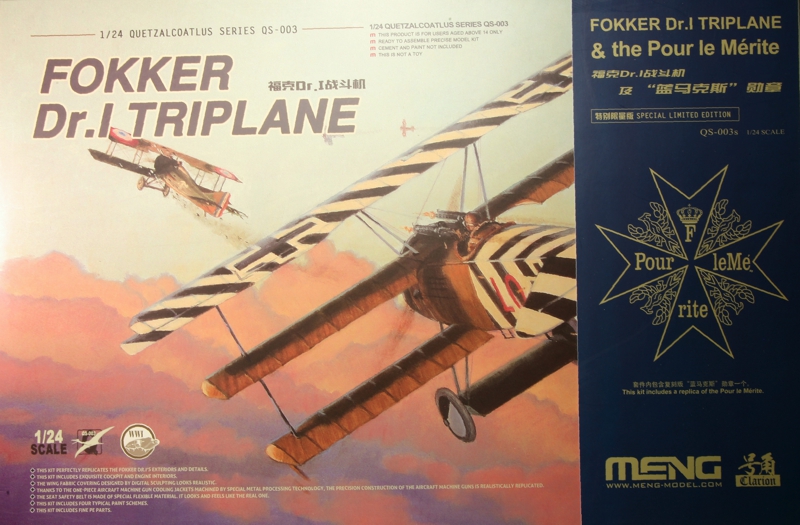
Other inclusions are a 170mm x 260mm (6”x10” nominal), 36 page full-color instruction booklet, a strange eight page 3-hole punched loose sheet single color historical overview of Fokker and the Dr.I in both Chinese and English, and in my case as I opted for the ‘deluxe’ edition, a pretty well done full-size Blue Max in a nice box. The award even has blue enamel on both sides.
Options
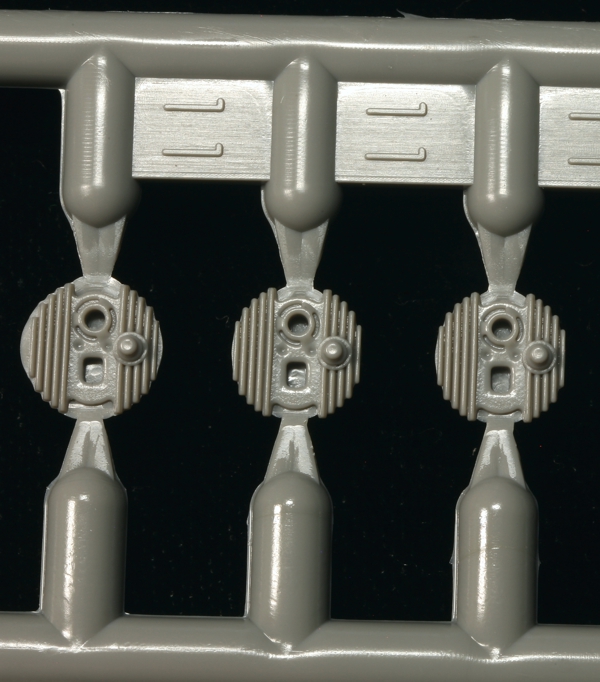
The kit provides a lot of options. Many are not mentioned in the instructions. Options offered in the instructions include two different styles of joystick (it appears the trigger system is different), two different style (circular or square) access panels just behind the firewall, two different styles of stacking pads which have different locations on the wings, two different sets of guns (same model; one uses the machined cooling jackets, the other set has solid jackets molded on), two different styles of MG braces, two styles of landing gear stub wing ( two chord sizes), additional bracing for the stub wing, choice of Heine or Axial props, and a substitute propeller shaft if you want to leave the propeller off for a maintenance scenario.

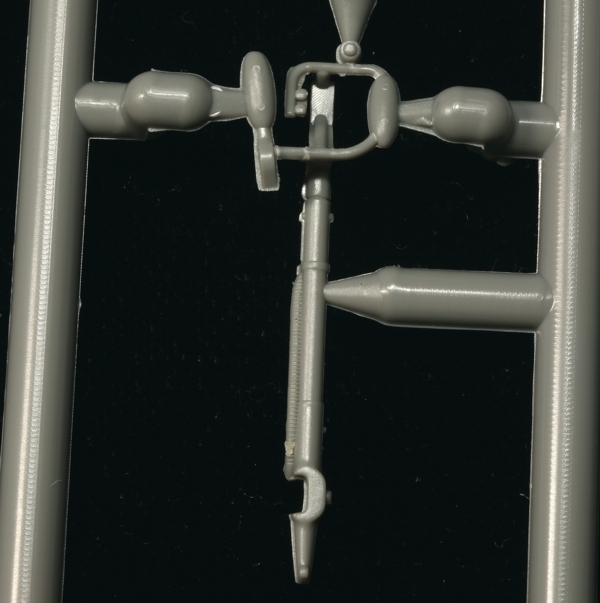
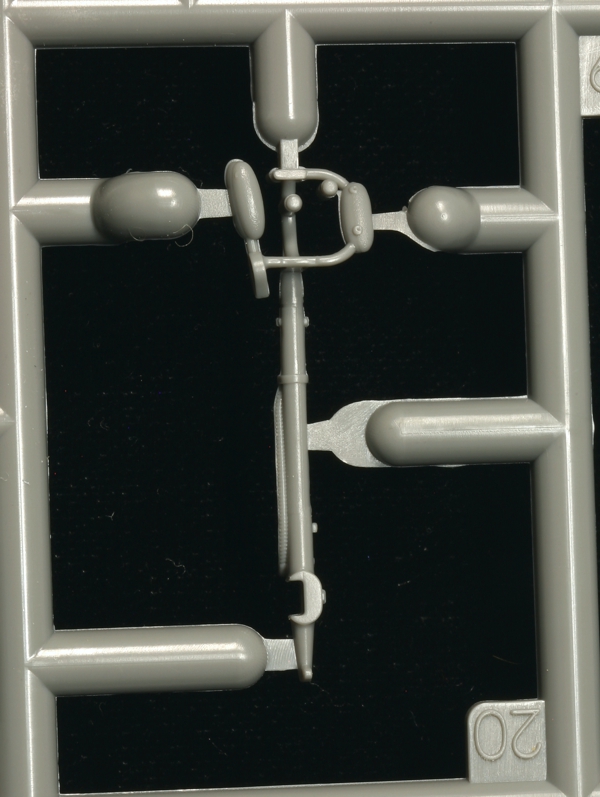


Optional parts not mentioned in the instructions include two additional types of props, flare rack plus two flare guns (one open, one closed), a set of smaller diameter wheels, a set of the slightly smaller earlier ailerons, an extra instrument or maybe a rear-view mirror, plus a couple other parts I have not figured out. These parts will come in handy for replicating some of the other Dr.I’s out there. I have noted several examples using the early ailerons and at least one with both types. These parts will especially help with the Dr.I of Ltn.d.R. Besser who flew with a Morrel airspeed indicator, tubular gunsight, flare rack and I assume therefore a flare gun somewhere.


Notes on Detail and Accuracy
Overall accuracy appears to be good. Dimensions appear within margin of error, correct number of ribs, and shapes are very close to published drawings; all not surprising since the original research was done by Wingnut Wings, same as with the 1/32nd kit.

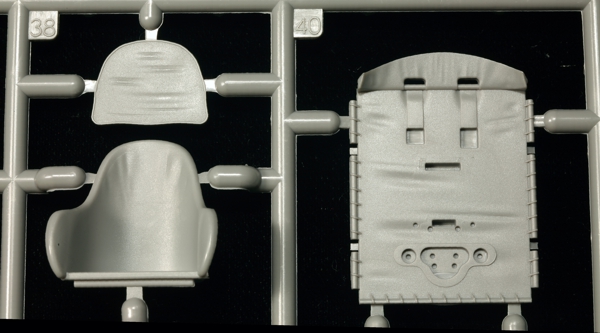


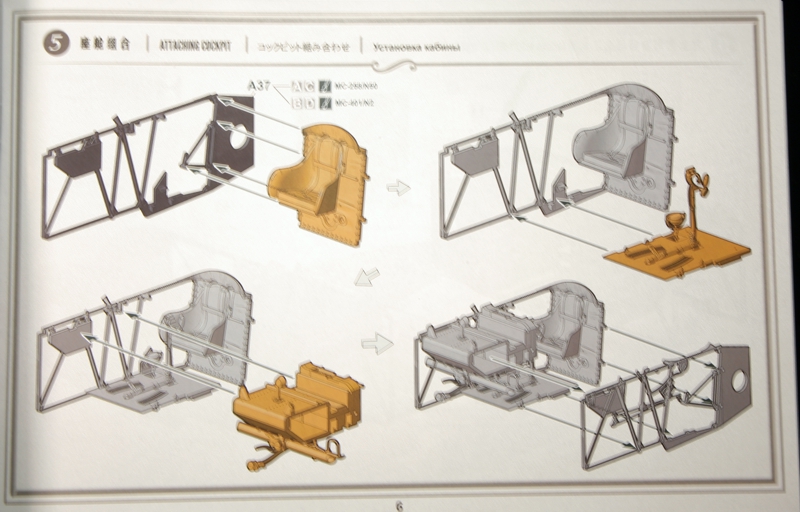
As for the details, this kit is excellent! You get a hint when you assemble in step one the 19 parts which make up the pilot’s harness. The harness attaches to a separate rod which is attached to the back partition with nicely done stitching and wrinkle detail. Continuing on, the fuel tanks unfortunately still have molded on intake spouts, so they are not round, but they do include the separately molded fuel lines. The cockpit is very complete with the side framework including some of the wiring and the separate throttle has the control rods attached. The compass is made up of three parts plus a decal and is canted so that it is level when the aircraft is parked. There are some pin marks on the inside of the fuselage you might want to verify they are not seen, however.

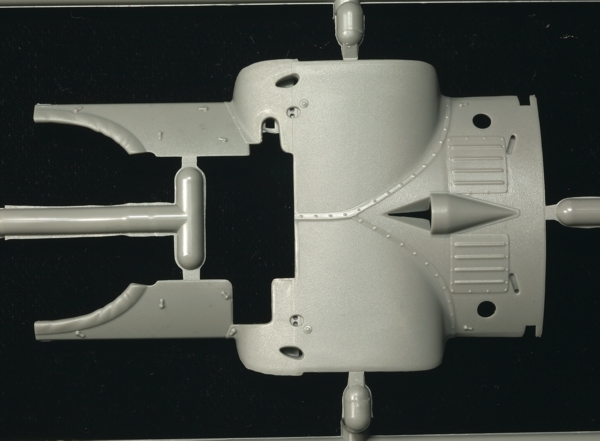
The exterior detailing is also very nice, with stitching along each rib. It seems a little too raised to me, but it just might be the larger scale. At any rate, it would not take much sanding to knock down. As already noted, the stacking pads are separate and offer two different types and the option of two different locations they may be placed. Note some aircraft had them removed so check your reference photos.
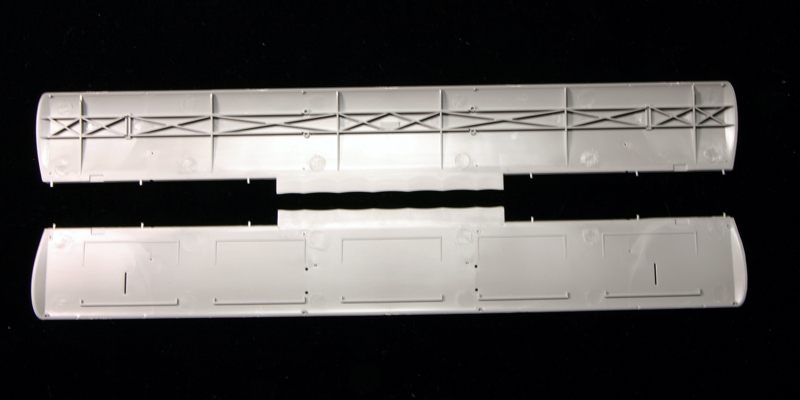

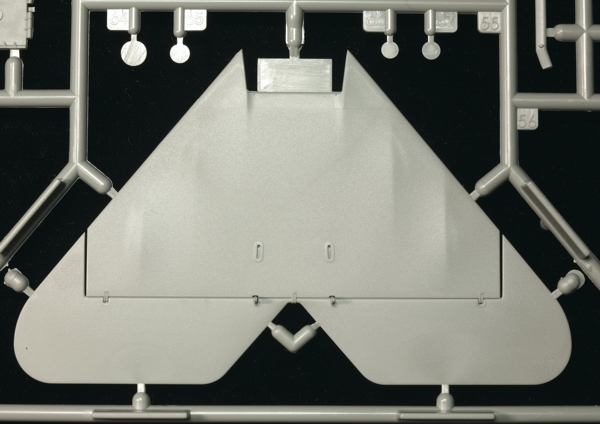
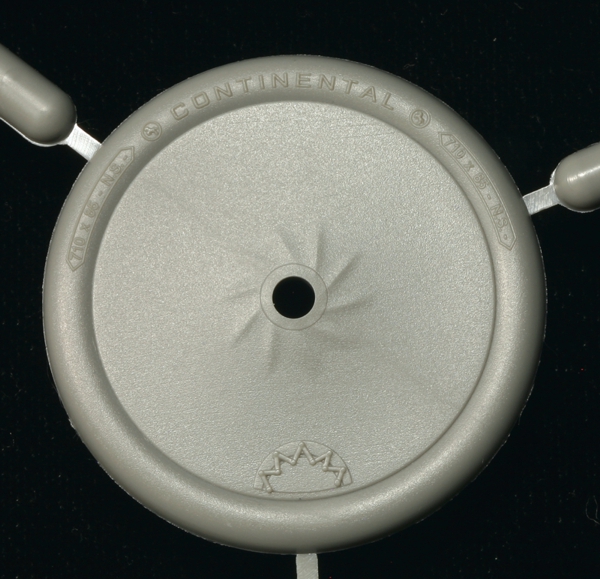
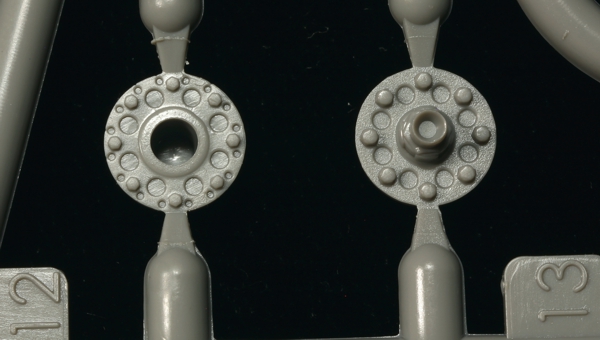
The wings are made of two different parts with the upper part having a braced spar molded on to help keep them straight. My example still manages to have a slight bow to it, but it seems to be flexible enough to repair rather easily. The other wings are done similarly. The ailerons have separate control horns so should be easy to put into any position you would like. I must say, in my example, one of the halves of the gear stub wing has a defect on the edge. Whether this is on my example only or is widespread I do not know. Wheels are in two parts but the tire itself is complete one one half. You just add the inner wheel cover so no seam to clean up. The tires also have molded on manufacturer and tire specs as well as stitching around the wheel covers and access hole. Rigging is shown on the instruction drawings with not much detail and no description so you are kind of on your own.
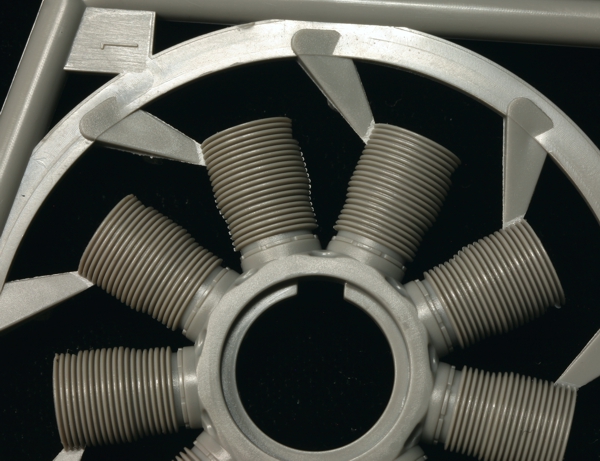
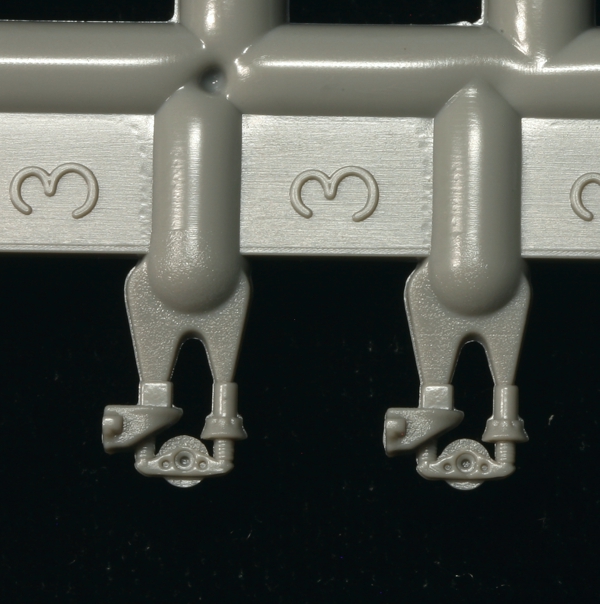
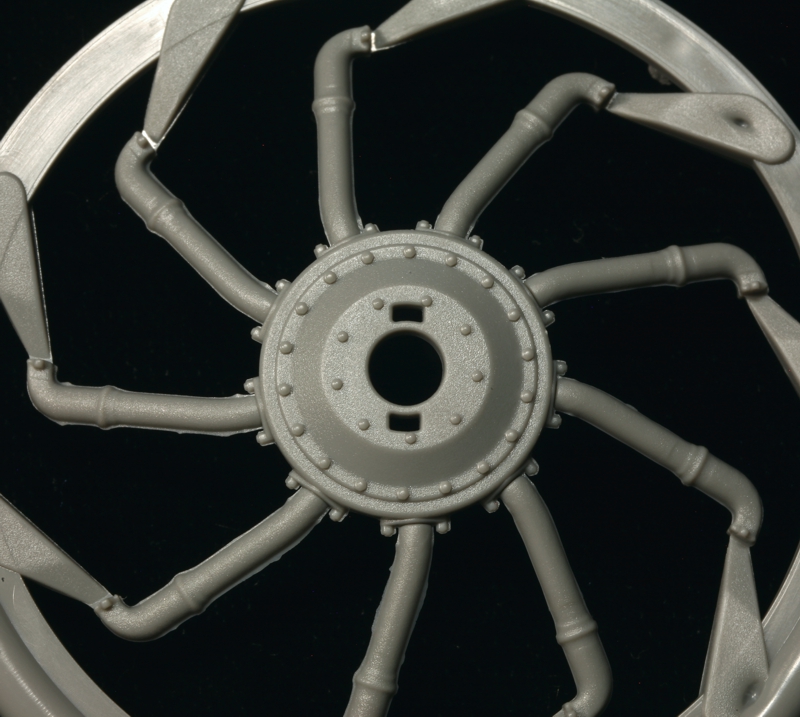
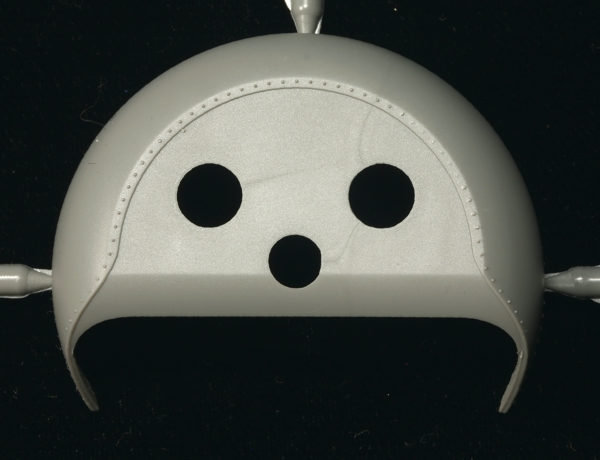
The engine is made from 25 parts. The 9-cylinder portion is made of two parts, so every cylinder is split in half. Not the best, hopefully the fins line up nicely. The tops of the cylinders are separate parts and added to that are separate parts with lifter and sparkplug detail. The prop gets separate bosses front and back. The cowl has nice, raised rivet detail.
Instructions
The instructions are done as diagrams with colors, decals, and instructions almost exclusively done without written instructions. The paints are all called out in Meng/AK Interactive paint numbers, with a table on the back of the instruction booklet giving numbers for Acrysion Acrylics (?) paints and color descriptions.


These are definitely NOT Wingnut Wings or Copper State Models class, with no period pics, and very view insights on optional parts. Pay attention, though, as for instance on page 16 the flare rack shows up though no mention is ever made of it or part number given.
Markings
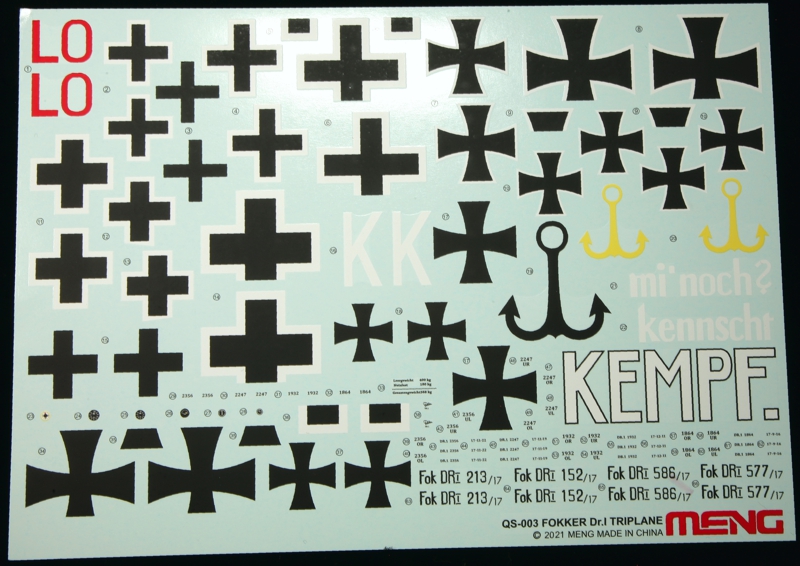
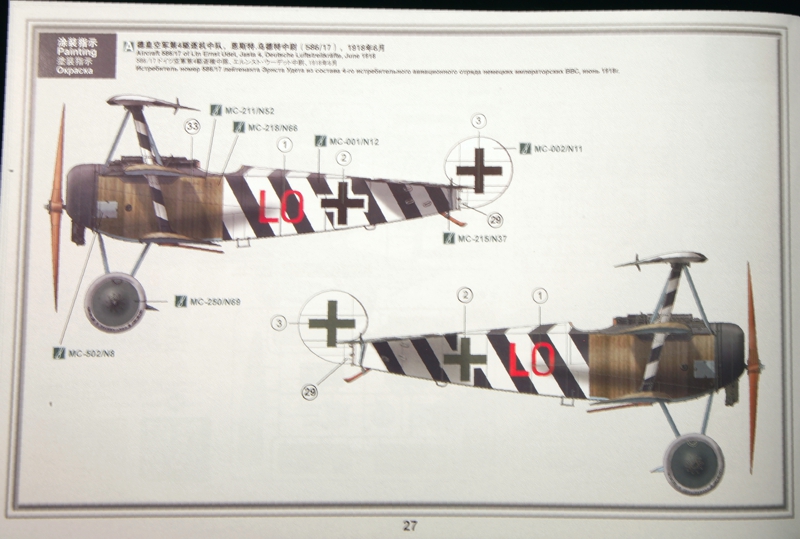
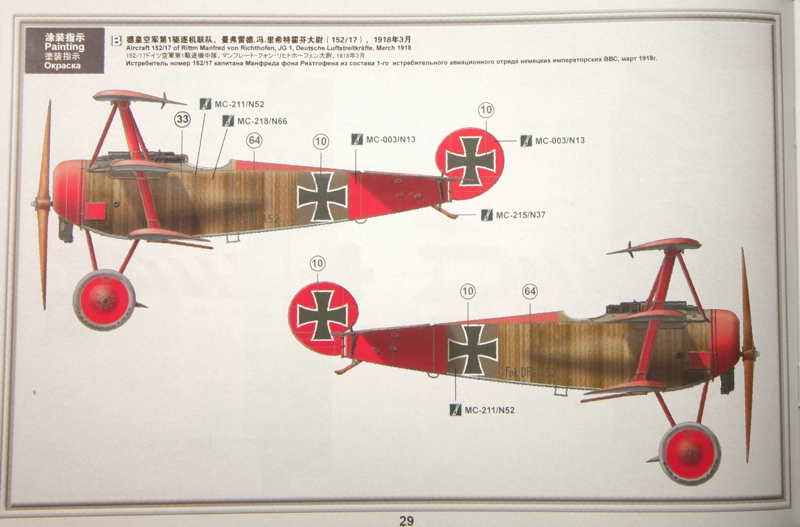


Decals are provided for four aircraft: Ltn Ernest Udet’s aircraft 586/17 marked with the black and white stripes of Jasta 4 and his personal “LO!” markings, June 1918; Ritt Manfred von Richtofen’s 152/17 in JG 1’s red markings, with the Baron’s additional red markings, in sort of his ‘mid’ scheme of red top wing, upper fuselage from the cockpit back, and red tail, Mar 1918; Ltn Rudolf Klimke’s 577/17 in Jasta 27’s yellow plus his personal anchor markings, May 1918; and lastly Ltn ‘Fritz’ Kempf’s 213/17 in Jasta 2 ‘Boelcke’ colors of white and black with Kempf’s personal markings consisting of large ‘K’’s on the side and ‘Kempf’ and his saying on the middle wing. The markings appear correct as possible considering the lack of complete photos for most aircraft. The decals also include markings for the instruments and several stencils, although not enough for a complete factory stencil set; they don’t even show where all the stencils they provide go so you will need references if you want to add them all. Albatros Productions “Fokker Dr.I Jagdstaffeln” includes a good stencil layout, for one.
Summary
This is a very well done kit with a lot of detail and even built out of the box will make a great piece in your collection. With some small added details it could be spectacular. The larger size works great for WWI fighters as they are rather small anyway.
Highly recommended.
References:
- "Fokker Dr.I Jagdstaffeln"; Greg VanWyngarden; Albatros Productions, Ltd
- “Legends of Warfare: Fokker Dr. I”; Mark Wilkins; Schiffer Military History
- “Richthofen – 90th Anniversary Archive,” Greg VanWyngarden; Windsock Worldwide Vol. 24, No.2, Mar-Apr 2008; Albatros Productions, Ltd
© Ray Peterson 2021
This review was published on Sunday, July 11 2021; Last modified on Saturday, October 01 2022