
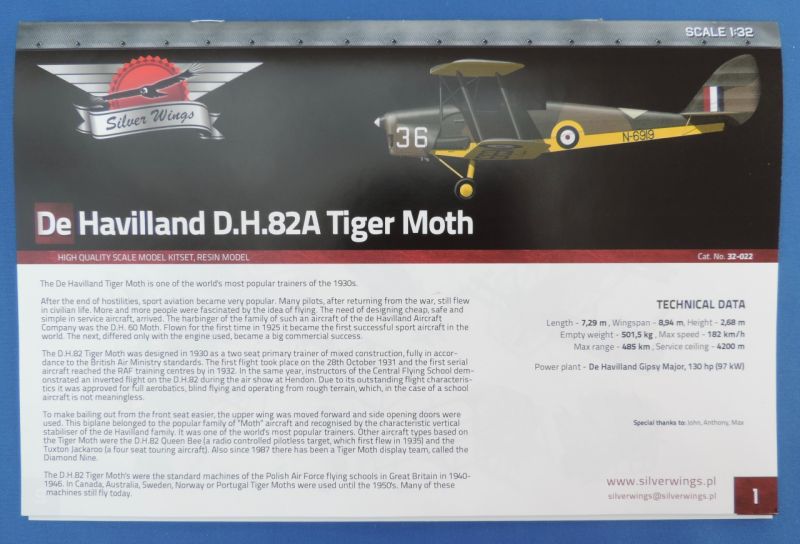
Silver Wings | 32-022: 1/32 D.H.82A Tiger Moth
Reviewed by Max Williams
Introduction
There is a popular myth which says that the Tiger Moth was designed on the back of the proverbial brown envelope (following an Air Ministry requirement for a trainer aircraft) by Wilfred Nixon and Francis St Barbe, Directors of de Havilland's Finances and Sales respectively. They handed the result of their deliberations to Fred Plumb, Superintendent of the Experimental Shop at Stag Lane, Edgware with a pithy message "Build that!".
Plumb did as instructed and, with some important modifications following trials which included changes to the lower wing dihedral and the top wing position and sweep, produced the aeroplane initially known as the DH60T then latterly the DH82. Further fairly minor changes to fuselage design, undercarriage springing, fuel capacity, engine power etc. led to the final designation of the DH82A Tiger Moth.
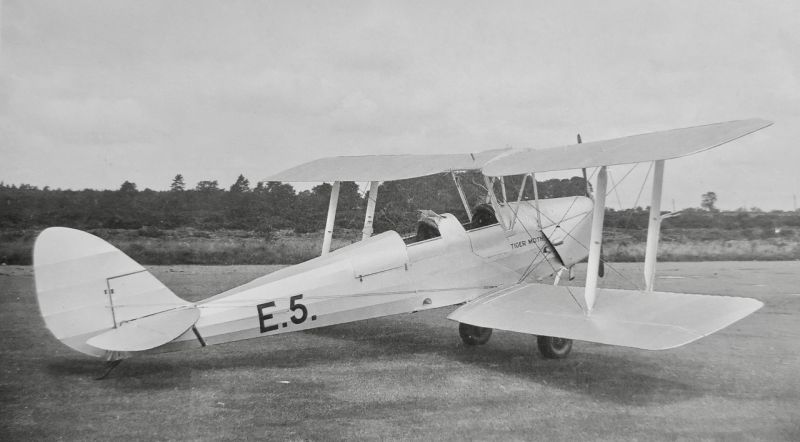
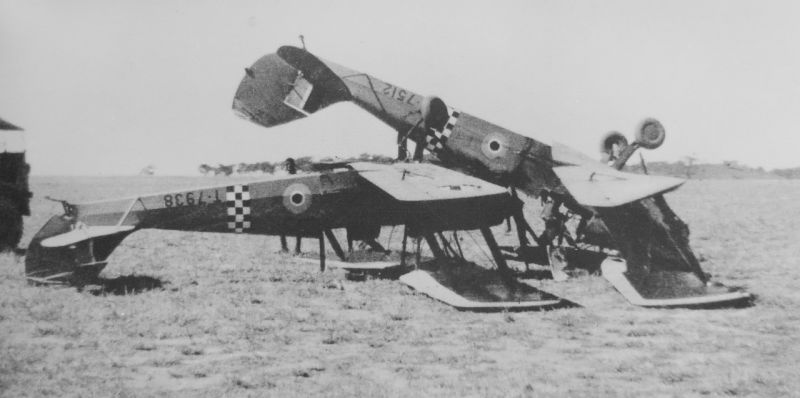
For nearly nine decades the Tiger Moth has survived the nervous but well intentioned ministrations of pupil pilots, of dereliction and neglect, of legislation, and not least, the numerous hazards of the air, especially where it meets the ground!
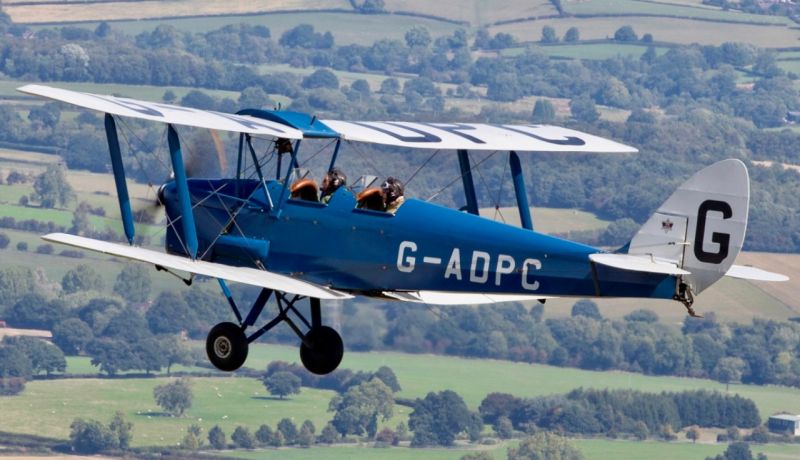
It truly is a remarkable survivor with many examples worldwide still flying today and as such can justifiably be called the most famous biplane ever built.
That being the case, it is astonishing that so few plastic models in any scale have been produced of this iconic aeroplane. Airfix were the first in 1957 with a 1/72 scale Tiger Moth that saw many re-boxings over the years but no significant changes until 2014 when a newly tooled model was brought out. AZ Model and Pavla also made Tiger Moths in this scale but the most accurate was undoubtedly John Adams' Aeroclub one which was a mixture of plastic and white metal parts.
Aeroclub also made an accurate Tiger Moth in 1/48 scale, produced in a similar manner with some revisions and upgrades over the years. SMER offered a truly dreadful Tiger Moth which was not only inaccurate in shape but also featured moulded surface roundels and serial numbers for those who were unsure where to place them! Recently Airfix have made a new tool 1/48 Tiger Moth which has been well received.
Turning to 1/32 scale, there has only been one player in the game, the multi-coloured Matchbox Tiger Moth issued in 1978, which was re-boxed and issued under the Revell banner in 1997 but with no technical changes. Whilst building into a recognisable Tiger Moth, it was basic in that it featured few accurate details in the cockpits for instance, and wrong in many places, most noticeably around the tail-end and with the dihedral of the lower wings in particular.
So the stage is set for Silver Wings to step up and present what many of us have been craving for years; an accurate, detailed and carefully designed 1/32 scale DH82A Tiger Moth.
Silver Wings produced their first 1/32 kit in 2009 with two variants of the Heinkel 51. Since then they have built up an impressive stable of kits largely focussed on the inter-war years with RAF biplanes such as the Hawker Hart and Demon, the Armstrong Whitworth Siskin and the Gloster Gladiator, along with German aircraft such as the Fw44 Stieglitz, the American Boeing PT13 Stearman and Curtiss P6E Hawk, the Polish PZL 11c, the Russian Yak 9 and Italian Reggiane 2000 amongst others. All are produced primarily in resin, latterly with some photo etch.
The kit
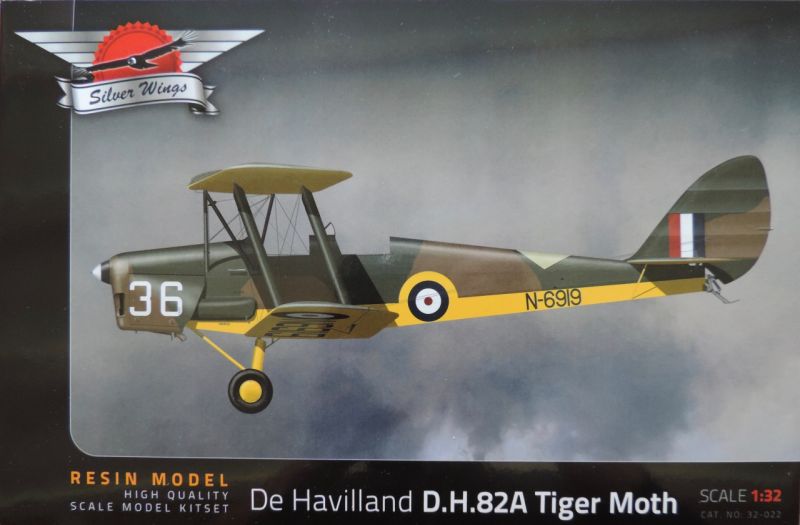
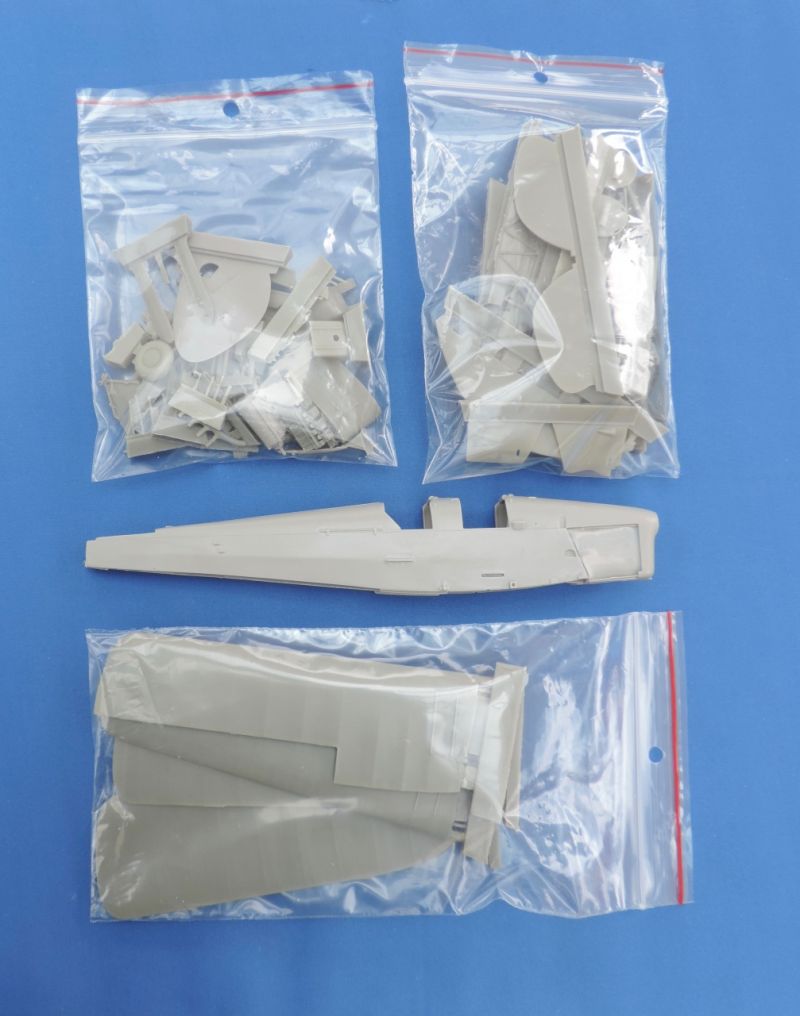
The kit comes in a sturdy A4 sized box with a lift-off lid. The contents are well protected in four bubble-wrap bags, inside each is a re-sealable plastic bag containing a multitude of finely cast resin bits. Inevitably some resin "flash" occurs which needs cleaning up. There are separate re-sealable bags for the photo-etch and clear resin windshield items.

My first task on opening a Silver Wings kit is to spread out all the items to identify them; there are no "part" numbers in the instructions nor anywhere on the resin casting blocks so checking what is what and where it fits against the illustrations in the instructions is an important pre-requisite. I then sort them into new plastic bags according to location; so all the cockpit parts go together, the engine, the undercarriage etc. Such is the detail in Silver Wings kits that it takes quite a while to understand it all.
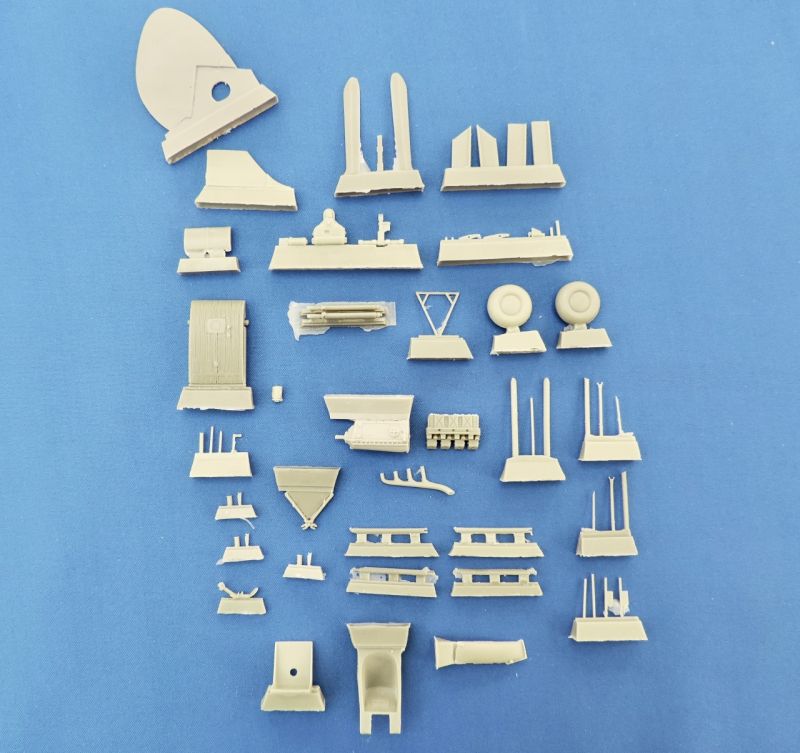
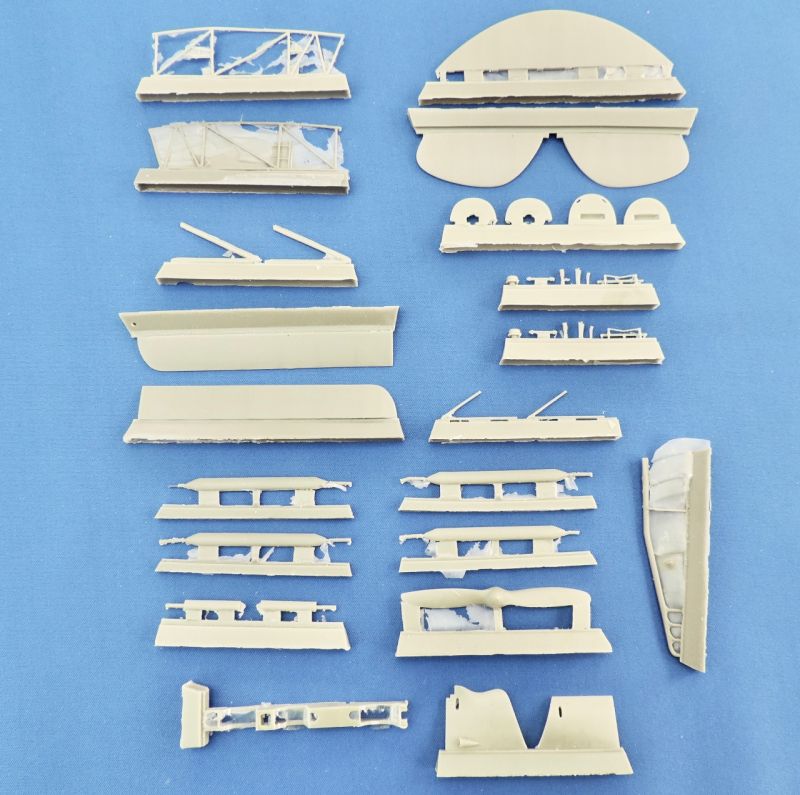
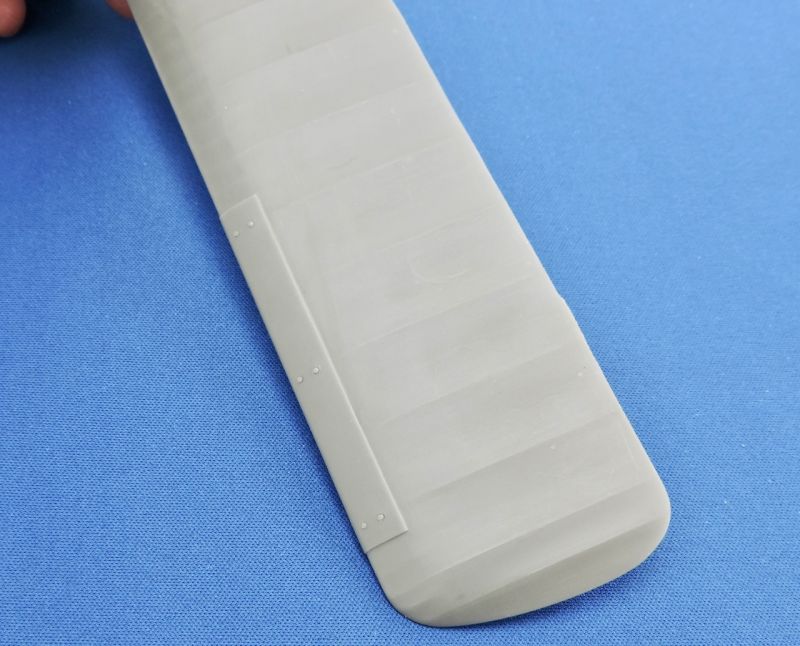
The castings are very well done, the resin is so fine that it feels like injection-moulded plastic. I'm pleased that the Silver Wings team haven't made the mistake of trying to replicate the texture of fabric on the model for the actual Tiger Moth's surface is remarkably smooth.
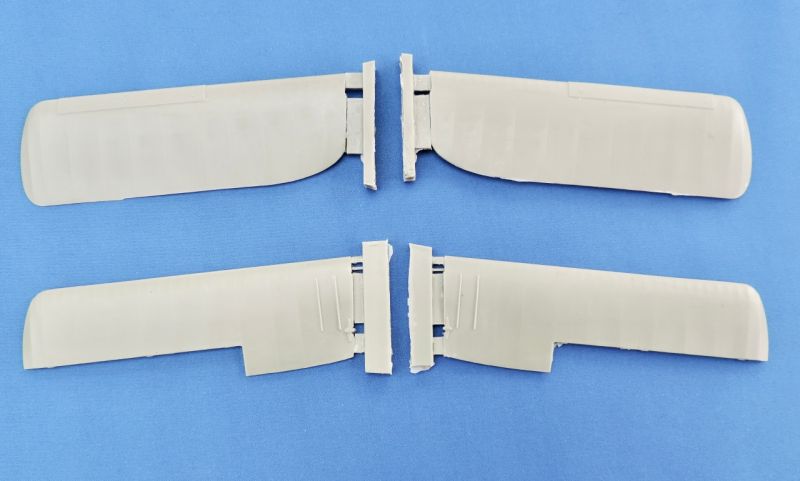
Each of the four wings are single piece items, the subtle ribbing is very well represented and the commendably thin trailing edges need only the slightest clean up with a sanding stick. The port and starboard upper wings are joined to a central fuel tank which, with its corrugated surfaces is beautifully modelled and which provides a "key" for the wing joins.
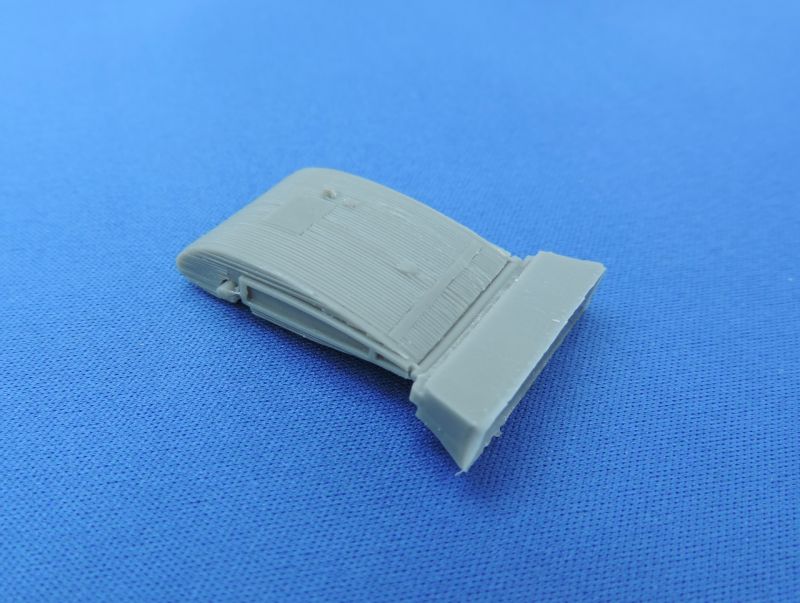
The fuselage is cast in two halves and includes external details such as the anchor points for the wing/fuselage interface and the rubbing strips for the blind flying hood elastic, of which more later. Anti-spin strakes are supplied as separate optional items for the aft upper fuselage. The strakes were fitted to Tiger Moths post-1941 and in many cases retrospectively when the extra weight of several modifications was found to have a fly-wheel effect on rotation in a spin.
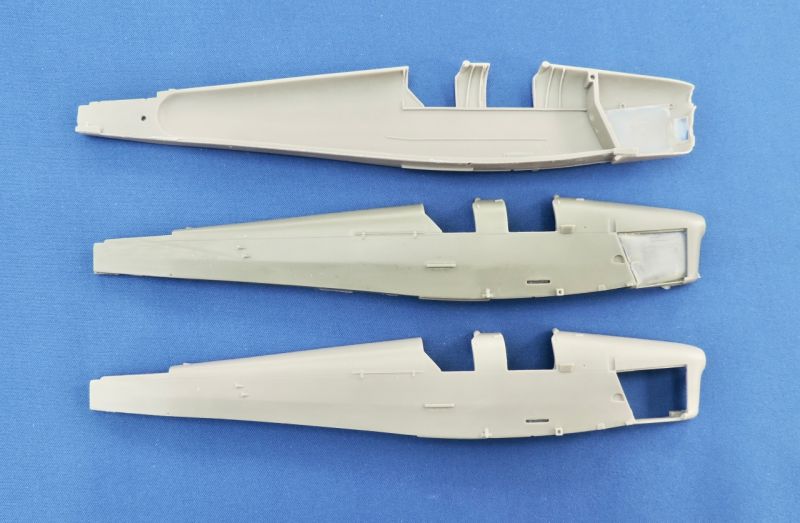
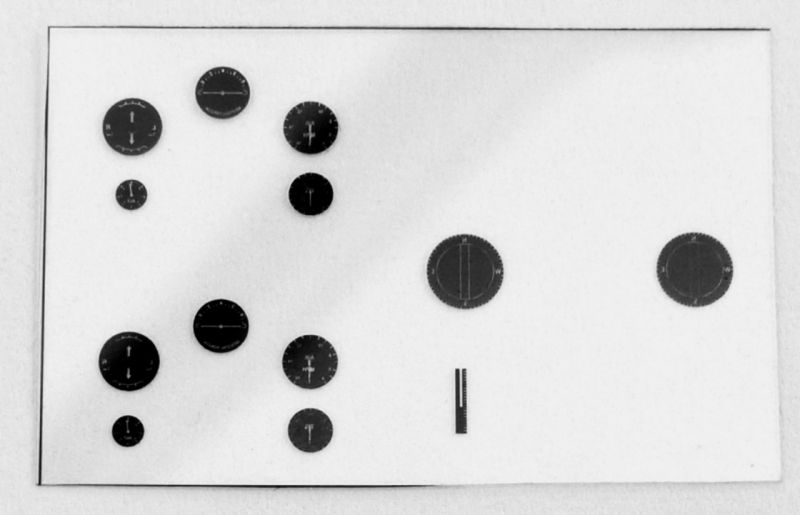
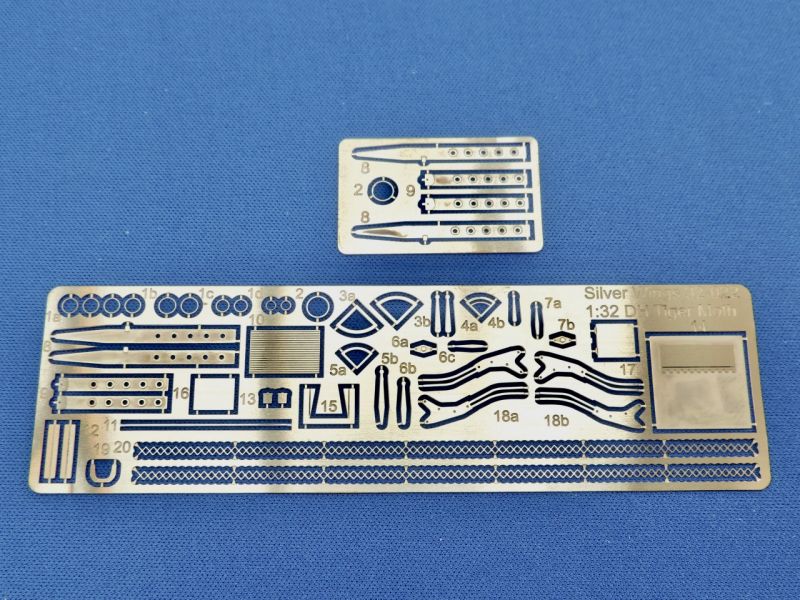
The interior of the fuselage, in typical Silver Wings style, comprises approximately 45 parts including some photo-etch, the latter being used for instrument bezels, Sutton seat belts, throttle and trim controls and the leading edge slat control. The instrument dials including the compass are printed correctly positioned on a piece of clear film. This is perfectly adequate though there is always the option of course of using Airscale's decals. The fuselage steel framing is very delicately produced so great care will be needed building this up.
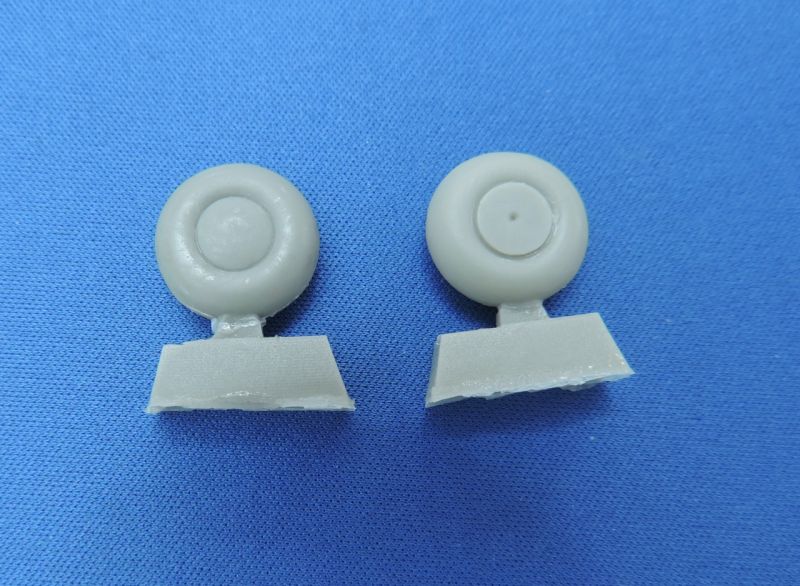
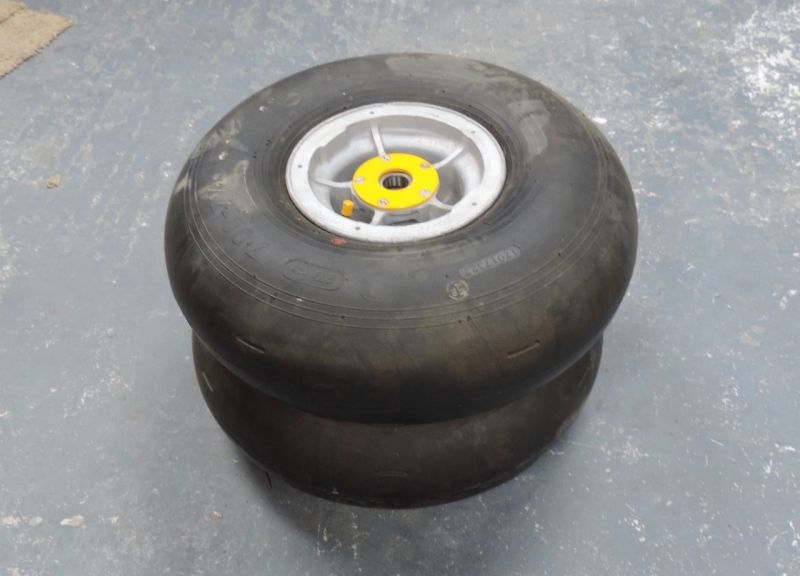
This is equally true of the undercarriage; beautifully engineered and cast but needing careful attention and understanding. The wheels are supplied with hub caps in place, though a large number of service Tiger Moths in particular appear sans caps, perhaps an opportunity for a little after-market production?
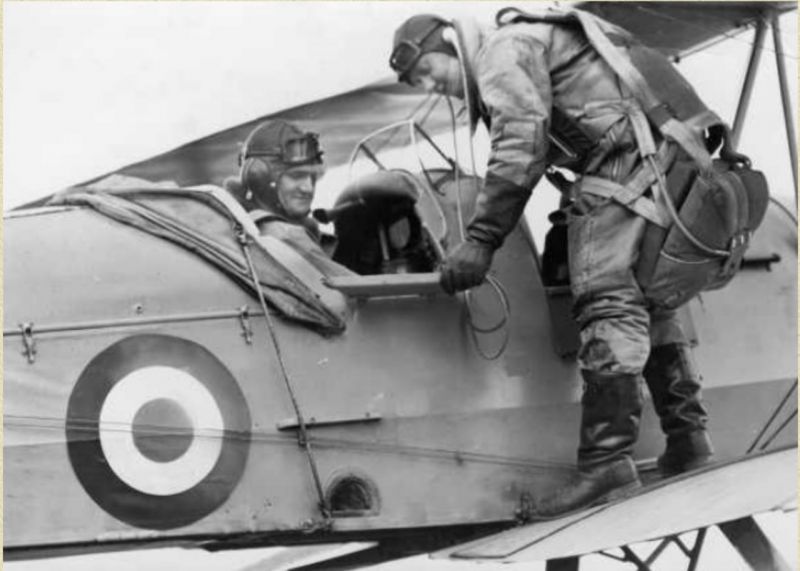
The AM people might also pick up the chance of making a blind flying hood for the rear students' cockpit, especially since two of the Silver Wings markings are for Elementary Flying Training Schools (EFTS). The hood was fixed behind the cockpit by a series of fasteners and in front by a spring-loaded clip. When not in use the hood is folded back and kept in place by strong elastic cords fitted to each side of the hood and attached to clips on each side of the fuselage.
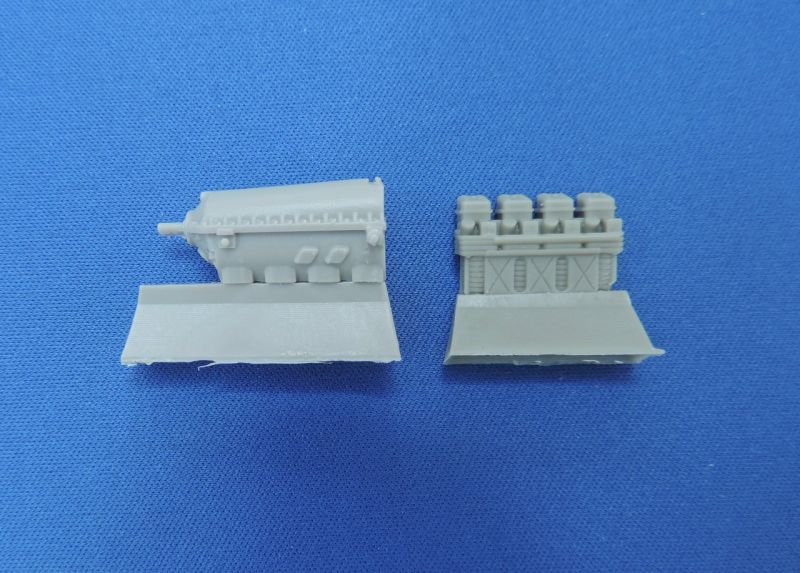
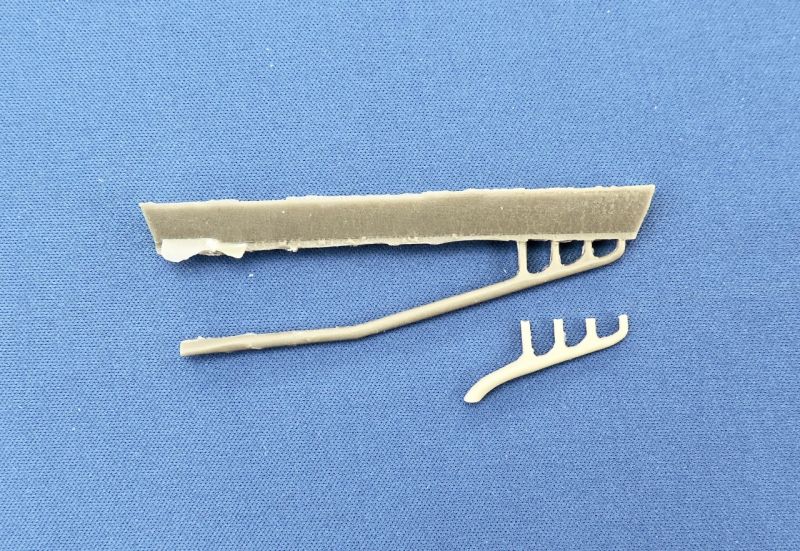
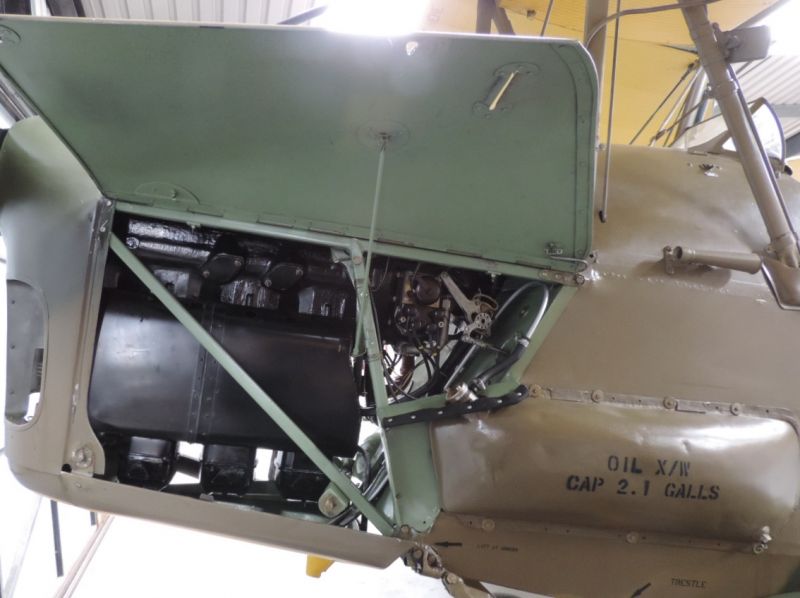
A detailed Gypsy Major engine is well represented, this can be displayed if one or both of the almost translucently thin engine panels is modelled lifted up for inspection. Longer and shorter exhausts are provided for the civilian or service Tiger Moths respectively.
The four interplane struts have fine metal reinforced centres to them hence giving extra strength and aiding location and fixing. Attachment points for the struts are shown on the wings but will need drilling out.
As previously mentioned the PE comprises many interior fuselage features and also some welcome external items especially on the fuselage underside including the stitching along the lower edges and pitot tubes on the starboard wing forward strut.
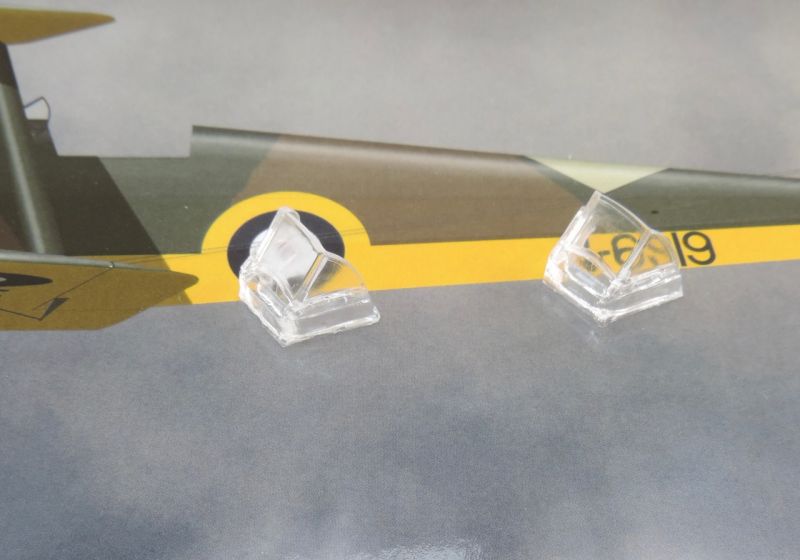
The clear resin windscreens are flaw-free and accurately shaped.
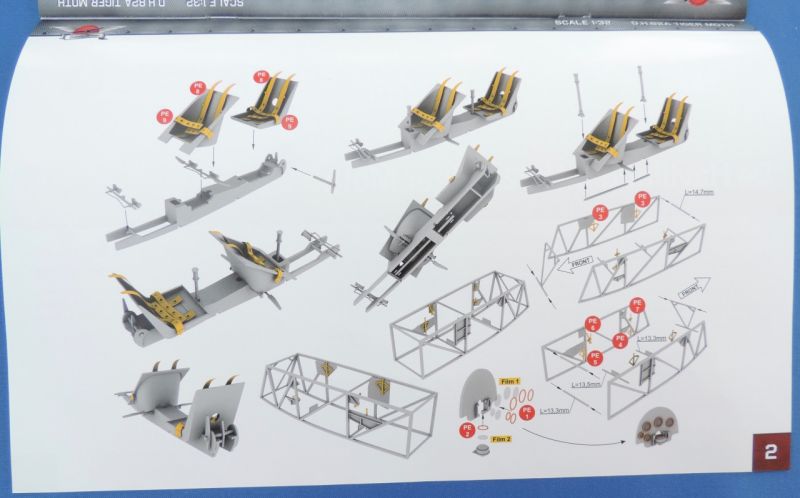
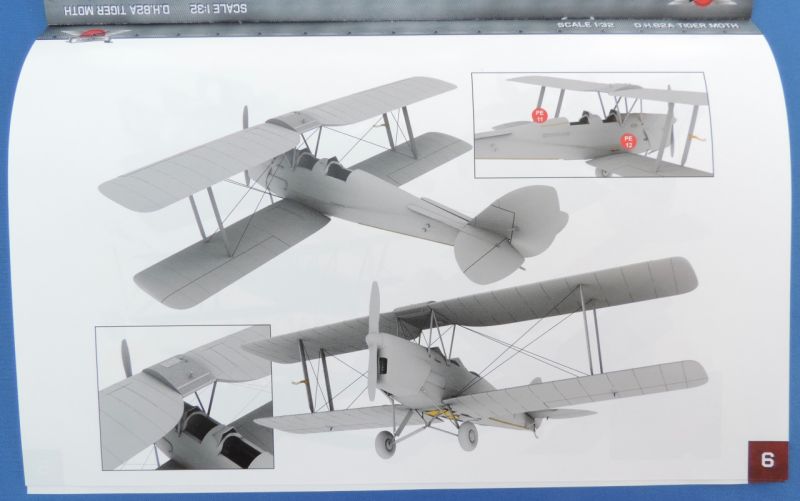
The instructions
These are in a glossy A4 booklet which opens from the bottom edge. There are numerous colour drawings from various angles that look almost like CAD renderings but nothing much in the way of text. This reinforces my earlier point about studying the parts and understanding clearly what each is. I would also strongly recommend further research of the plane itself because it's not clear for instance that anti-spin strakes are an optional fit, that the tail fin doesn't actually sit on the horizontal stabiliser and that the oil tank cover fitment on the forward port fuselage isn't shown clearly in the diagrams.
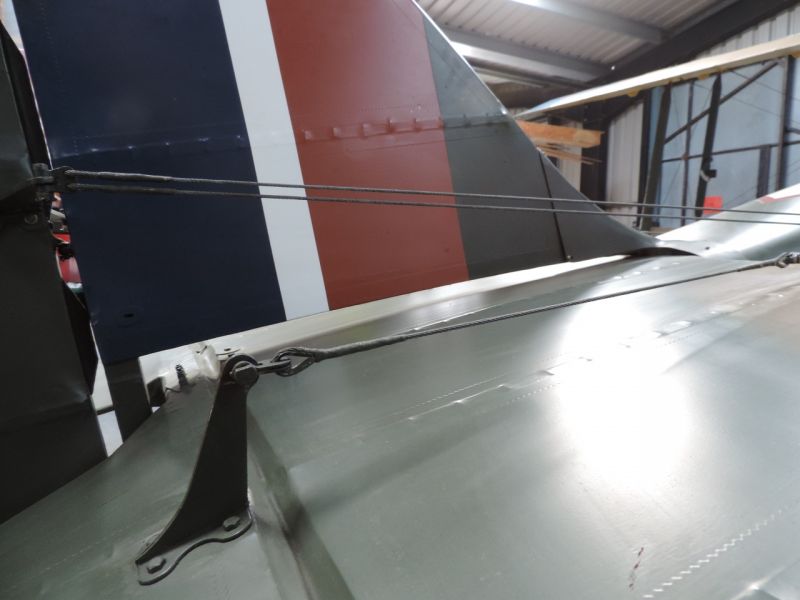
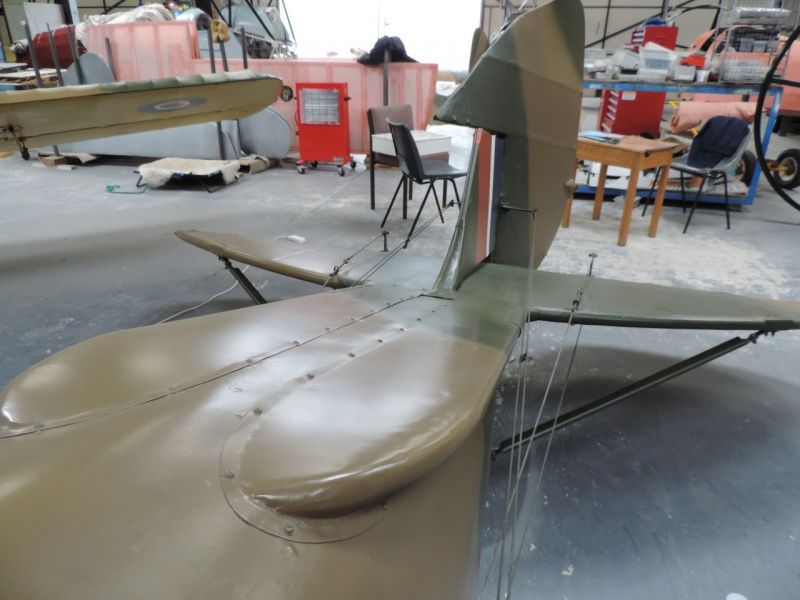
Being a biplane of course, it will require rigging!! Whilst there is a diagram showing the dihedral on the upper and lower wings and the fore/aft sweep of the wings, there isn't a clear rigging diagram as such so a good look at some clear photos is needed. (Shameless plug: I posted some detail pictures in the "walkaround" section of LSP some years ago of the Tiger Moths that I flew at the time.)
The last page of the instructions shows the colours used on the examples chosen. I like the fact that a separate A4 profile sheet is provided which would look good framed.
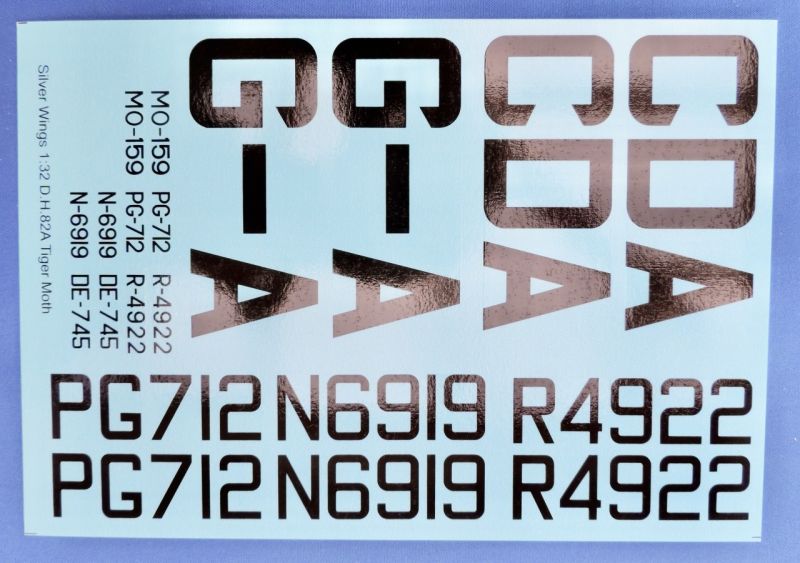
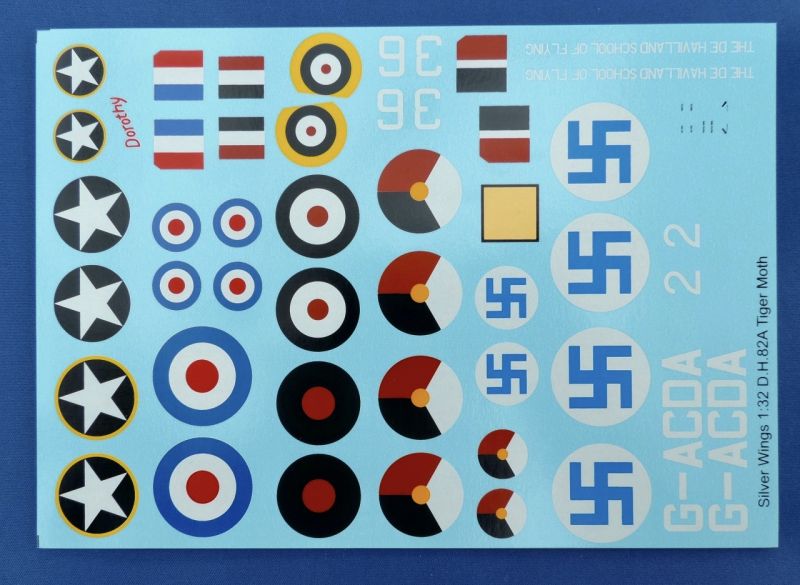
Decals and schemes
There are two sheets of decals, protected by a layer of thin paper, which appear to be fine. All are crisply printed and in register. Schemes are provided for:
- G-ACDA of the de Havilland School of Flying circa 1933
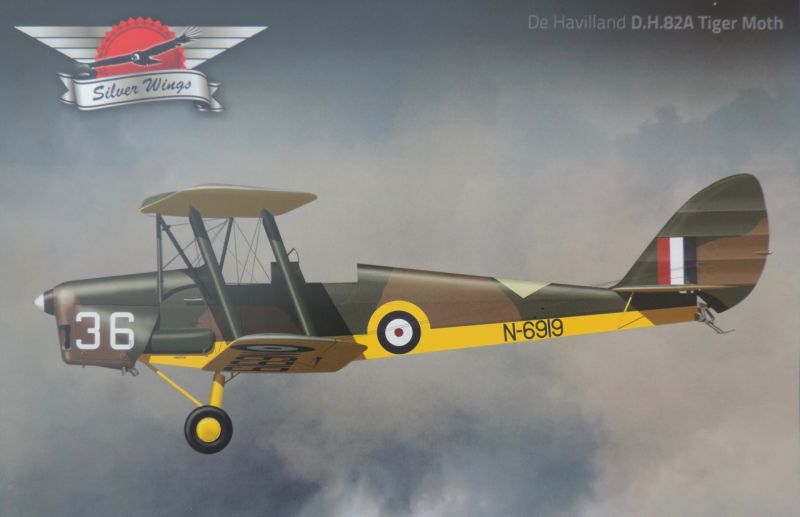
- R4922 of 7 EFTS Desford 1939-45, N6919 of 1 EFTS circa 1940
- DE745 attached to the USAAF 353rd Fighter Group RAF Metfield in 1943
- Finnish Air Force Tiger Moth MO-159
- Post-war Dutch example PG-712 circa 1946
With such a ubiquitous aircraft there are sure to be many other schemes available before too long.
Conclusion
This is an excellent and long awaited resin kit which doesn't disappoint. With consistently sharp details and crisp castings it ranks amongst the best of the Silver Wings models in my opinion. Clearly the kit has its challenges, especially with the numerous small fragile detail parts and in places rather vague instructions, so I would recommend it only for experienced modellers. There are of course further details which could be added such as fuel lines which will further enhance the kit.
I'd like to thank Simon and the team at Silver Wings for their kind gesture in acknowledging the small role played in the development of the kit on the front page of the instructions by two members of the LSP fraternity: Anthony Galbraith (from NZ) and yours truly! John Adams of Aeroclub fame is a well known de Havilland "Moth of all varieties" expert who I understand played a significant role in ensuring the kit's accuracy.
Recommended Reading
- The Tiger Moth Story by Alan Bramson and Neville Birch published by Airlife
- The Tiger Moth by Stuart McKay published by Airlife
- Tiger Moth Super Profile by Michael F Jerram published by Haynes
- de Havilland Tiger Moth 1931 - 1945 Owners' Manual published by Haynes
- de Havilland Tiger Moth Legendary Trainer by Stuart McKay, Midland Publishing
© Max Williams 2020
This review was published on Sunday, May 31 2020; Last modified on Sunday, May 31 2020