
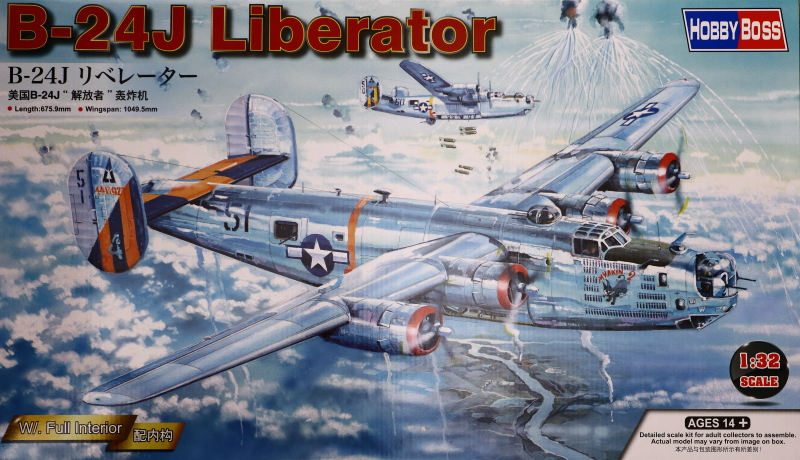
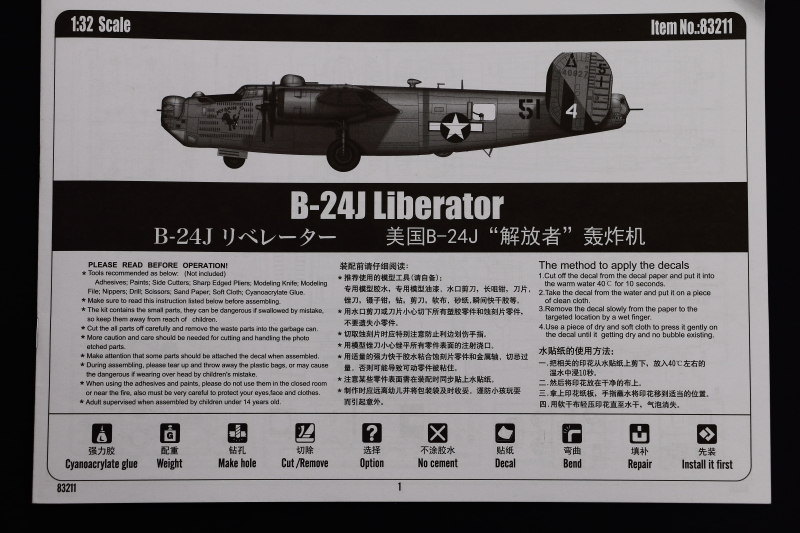
HobbyBoss | 83211: Consolidated B-24J Liberator
Reviewed by Iain Ogilvie
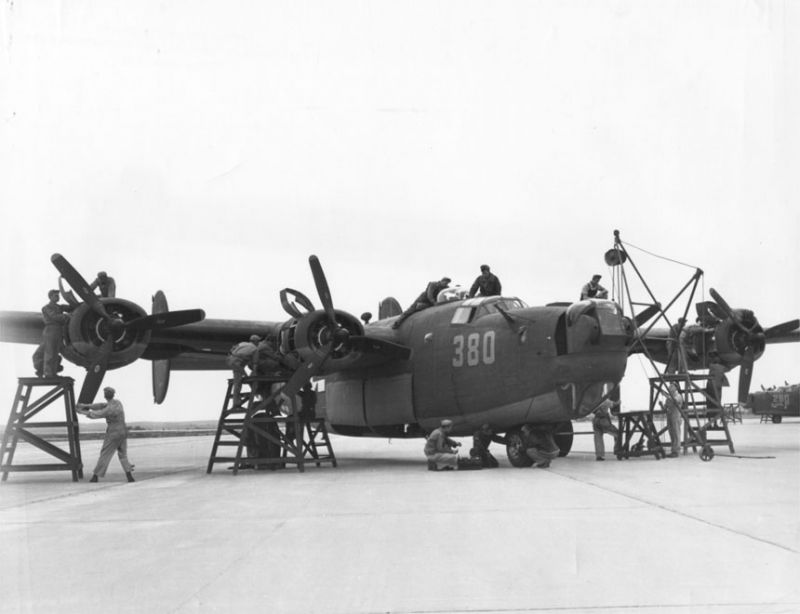
The Consolidated B-24 Liberator was an American heavy bomber designed by Consolidated Aircraft of San Diego, California. It was known within the company as the Model 32, and some initial production aircraft were laid down as export models designated as LB-30s (Land Bomber).
At its inception, the B-24 was a thoroughly modern design, featuring a highly efficient shoulder-mounted, high aspect ratio Davis wing. The wing gave the Liberator a high cruise speed, long range and the ability to carry a heavy bomb load. Early RAF Liberators were the first aircraft to cross the Atlantic Ocean as a matter of routine. In comparison with its contemporaries, the B-24 was relatively difficult to fly and had poor low speed performance; it also had a lower ceiling and was less robust than the Boeing B-17 Flying Fortress. While aircrews tended to prefer the B-17, General Staff favored the B-24, and procured it in huge numbers for a wide variety of roles. At approximately 18,500 units – including over 4,600 manufactured by Ford Motor Company – it holds records as the world's most produced bomber, heavy bomber, multi-engine aircraft, and American military aircraft in history.
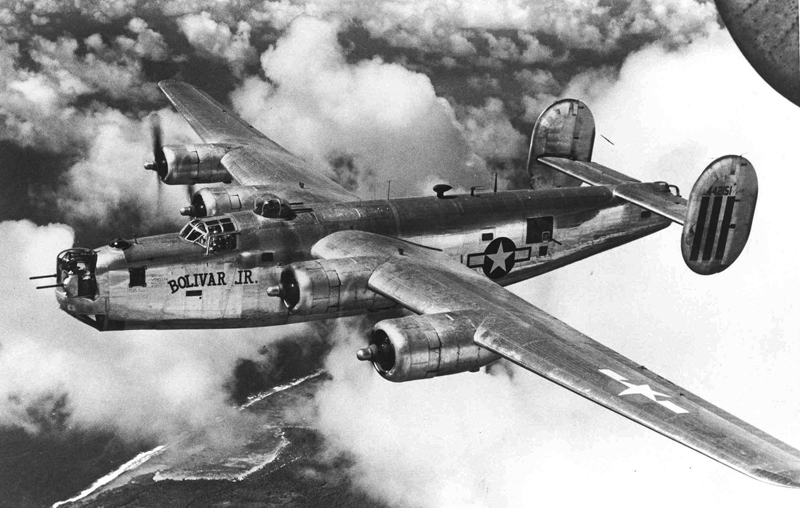
B-24M-20-CO Bolivar Jr. (s/n 44-42151) 431st Bomb Squadron, 11th Bomb Group - National Museum of the USAF
The B-24 was used extensively in World War II. It served in every branch of the American armed forces, as well as a number of Allied air forces and navies, and saw use in every theater of operations. Along with the B-17, the B-24 was the mainstay of the U.S. strategic bombing campaign in the Western European theater. Due to its range, it proved useful in bombing operations in the Pacific, including the bombing of Japan. Long range anti-submarine Liberators played an instrumental role in closing the Mid-Atlantic gap in the Battle of the Atlantic. The C-87 transport derivative served as a longer range, higher capacity counterpart to the Douglas C-47.
By the end of World War II, with the technological breakthroughs of the Boeing B-29 Superfortress and other modern types, the B-24 was rapidly phased out of U.S. service, although the PB4Y-2 Privateer maritime patrol derivative carried on in service with the U.S. Navy in the Korean War and with the French Aeronavale through the 1950's.
The new B-24J kit from Hobbyboss...
I've had two copies of this kit since it was released at the end of 2018 - and it's taken nearly that long to get this review written up. So, I'll start with an apology for that, with the caveat that I'm learning new things about the real aeroplane, as well as the kit, as I go through the process of building one!
Before we start, I reckon the kit most closely represents a B-24J-185-CO - as per the main colour scheme, but B-24 variations are a hornets nest!
As discussed in several forum threads, there are a few things in the kit that have caused some controversy and, whilst I started with the aim of capturing as many as I could here, I think any definitive list of areas for improvement is going to be ongoing. So, here are my initial thoughts on the kit and *not* anything definitive with regard to areas for improvement.
I will mention a few things that I've spotted so far, but for an ongoing list I have a build thread here.
I'd also like to point out that the B-24 is an airframe with a very complex history of variations. I don't claim to be an expert on this airframe in any way, just a very interested amateur. However, having started to build the kit I am learning rapidly, which is all part of the fun, isn't it?
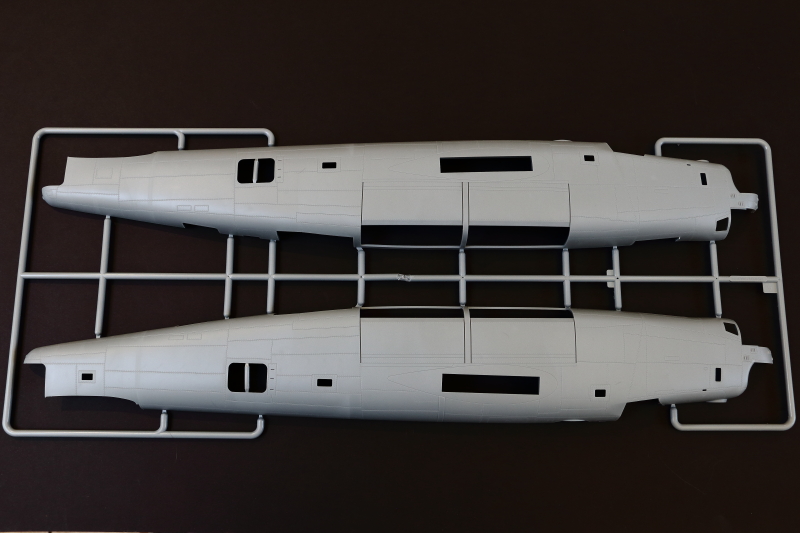
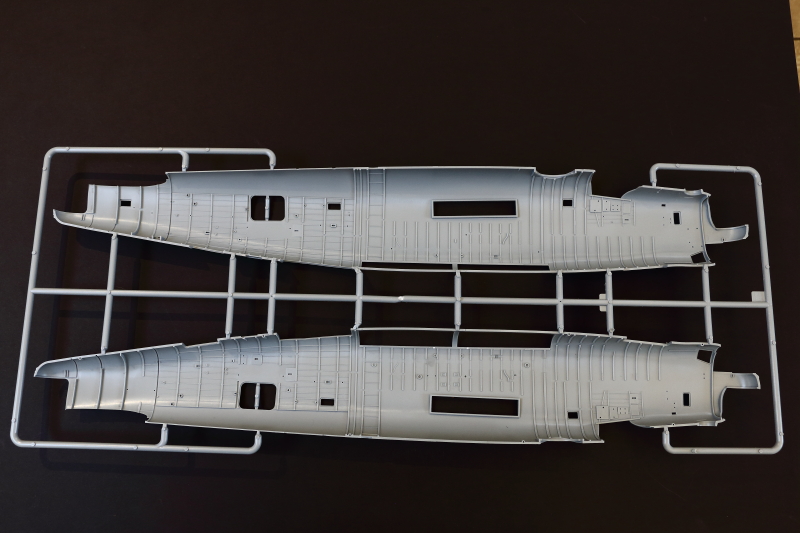
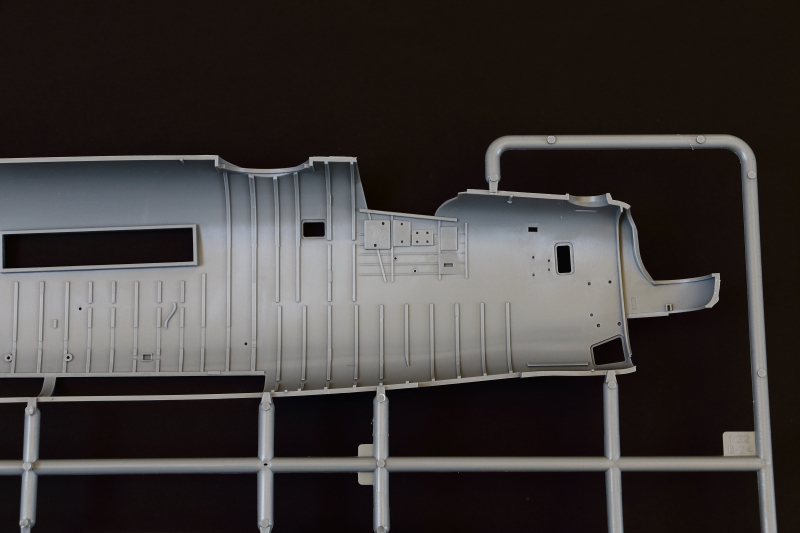
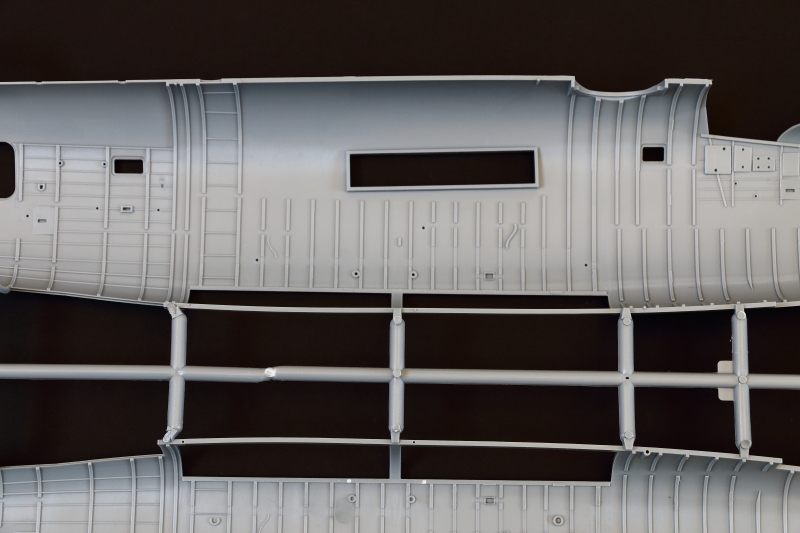
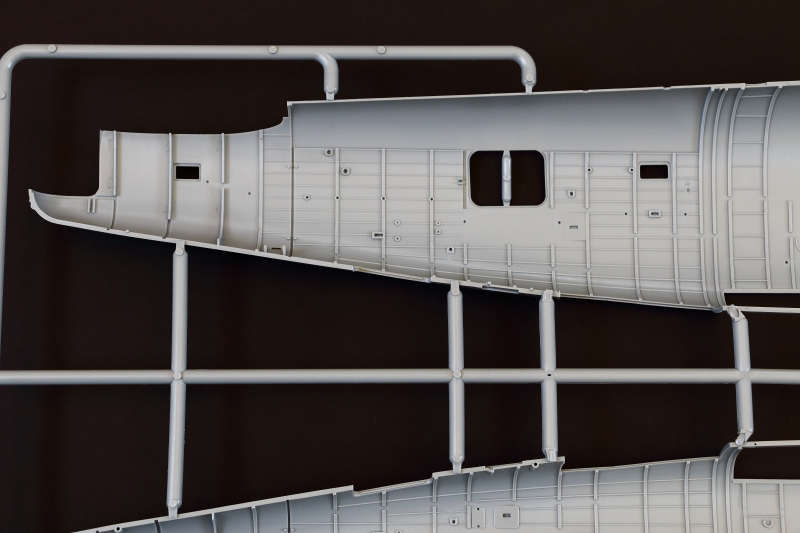
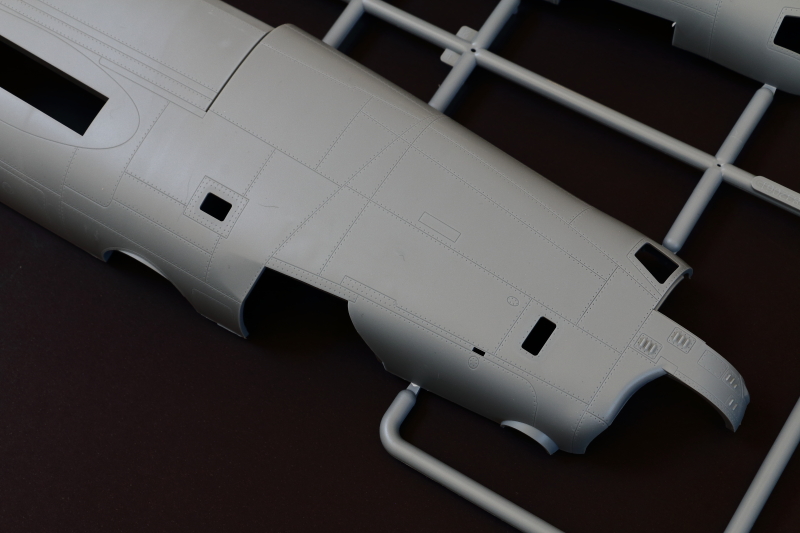
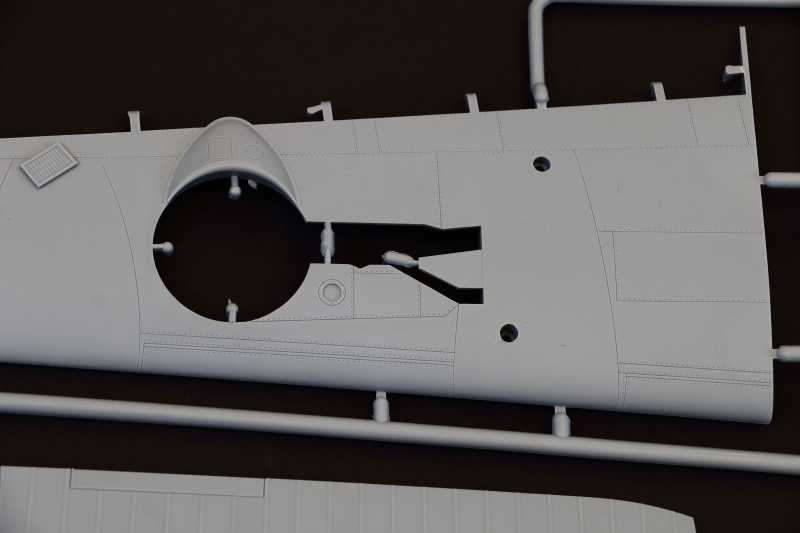
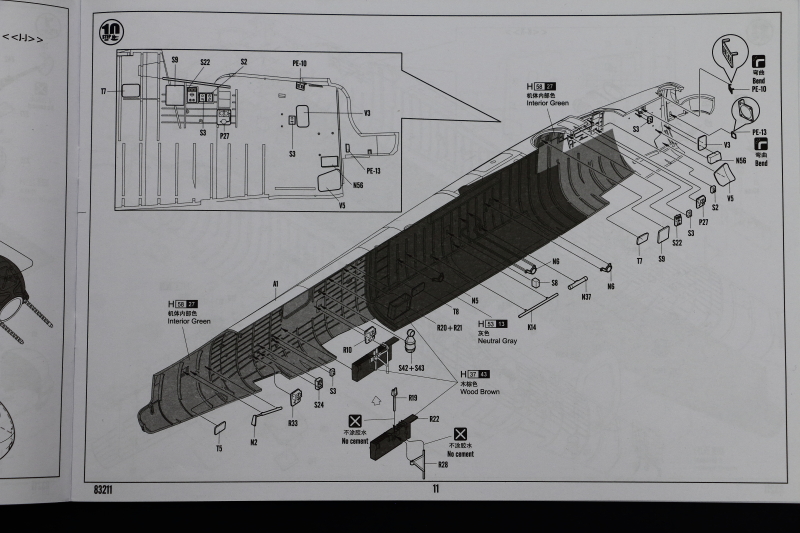
Fuselage (Sprue 'A')
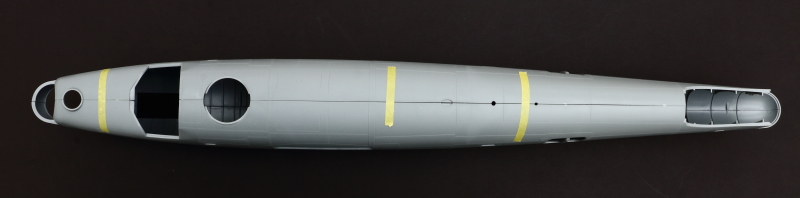
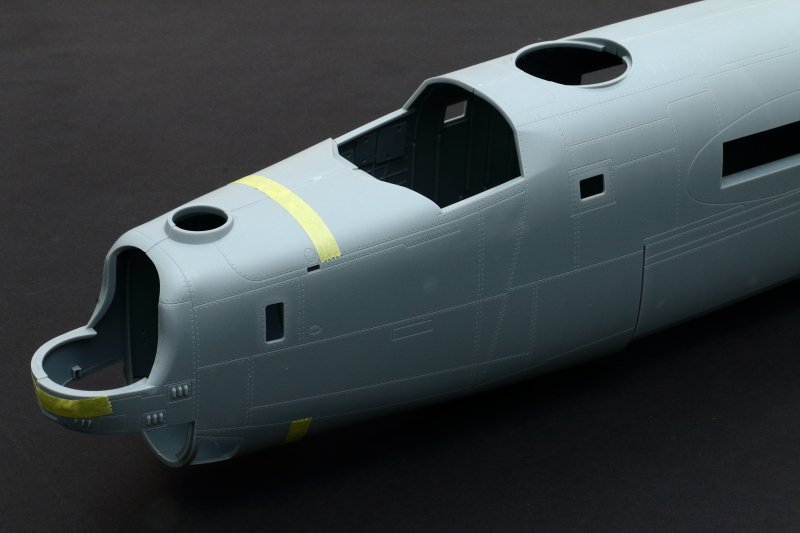
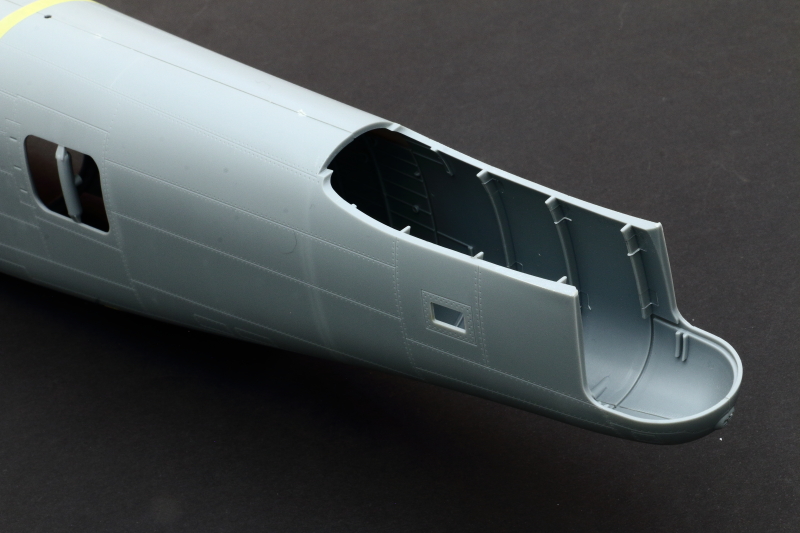
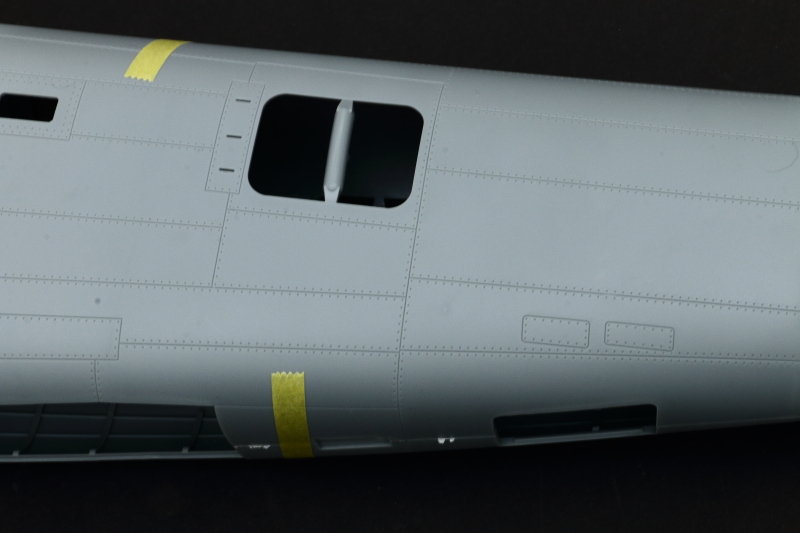
As you'd expect, the fuselage mouldings dominate the box; big and chunky; first impressions are good, with a few caveats.
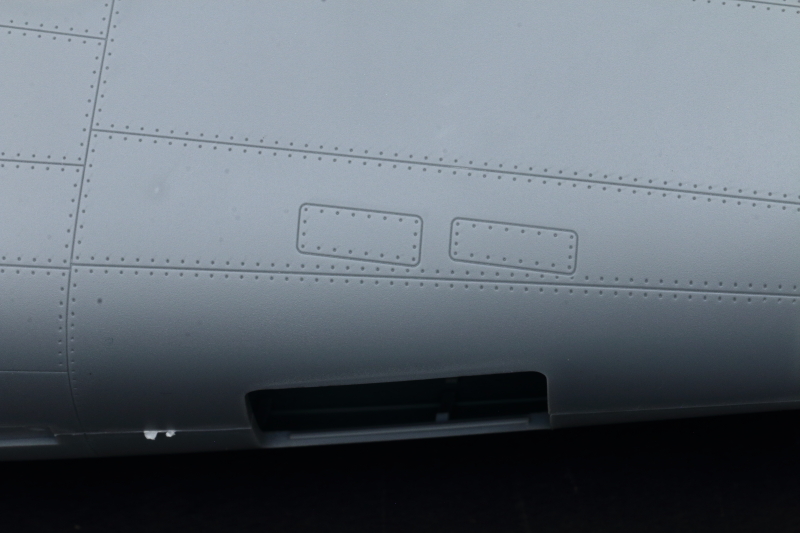
The surface has a matt texture to it, with neatly incised panel detail - and indented 'rivets' around the perimeter of panels. Some modellers will want to add some additional 'rivet' detail to the inner sections of such areas.
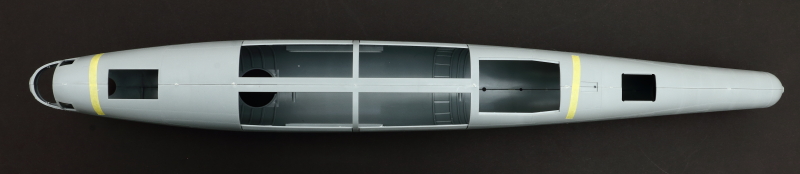
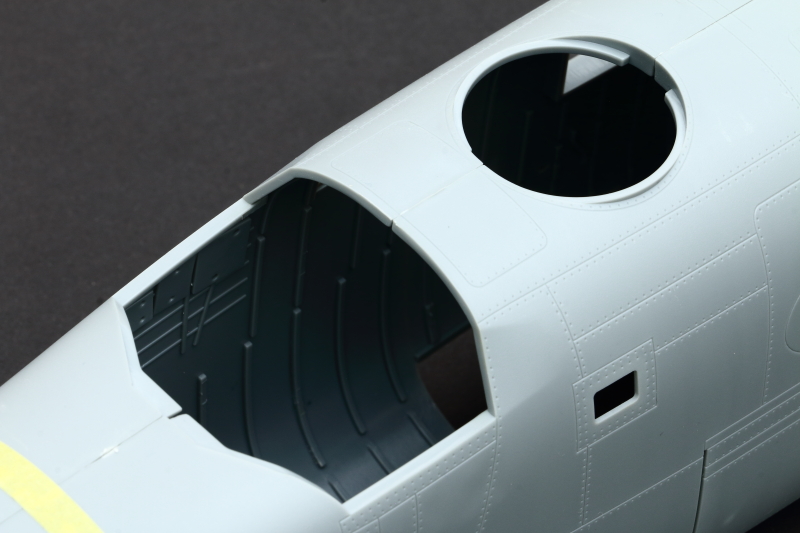
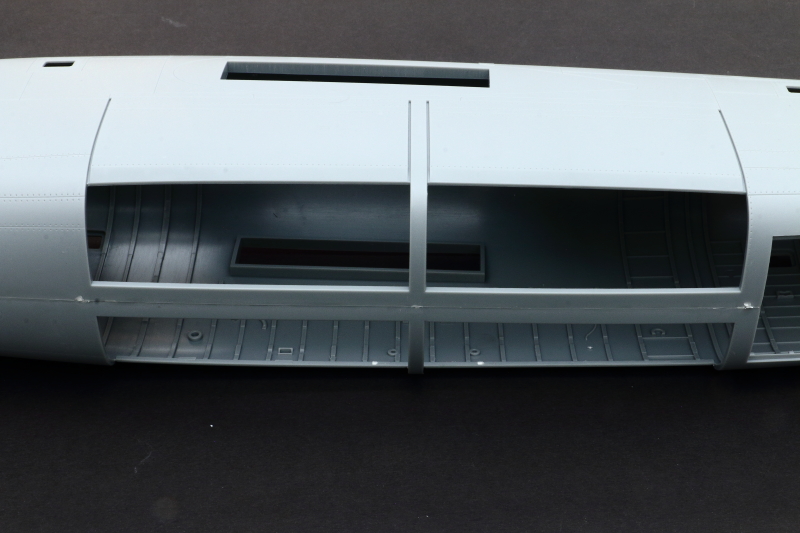
Interior features ribs and formers, with inserts for each upper rear inside of the fuselage to include the structural details that would be undercut. I can't comment on accuracy, but should look busy once painted.
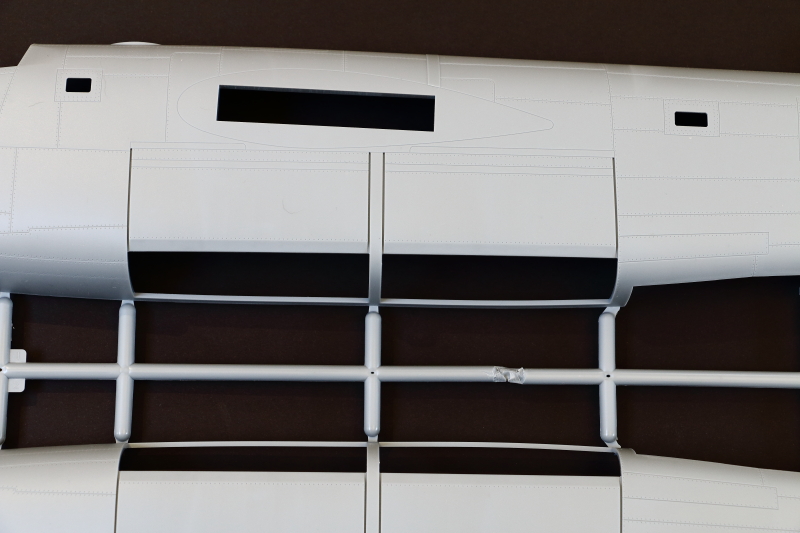
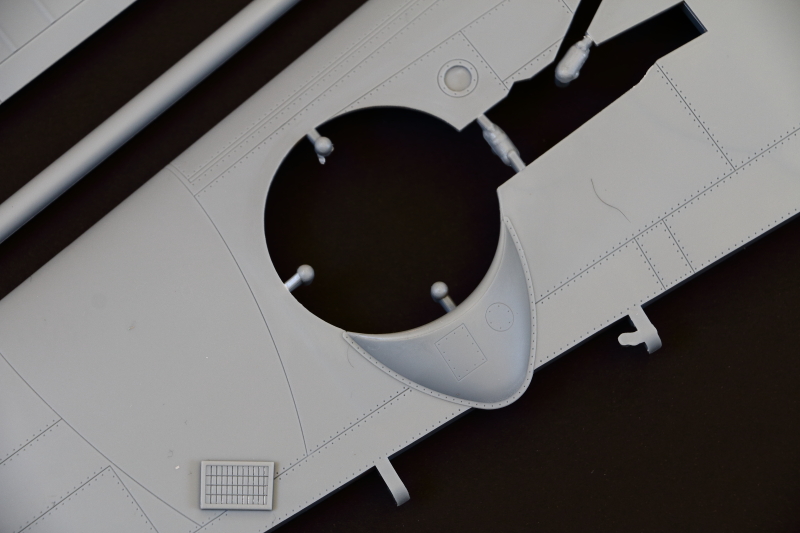
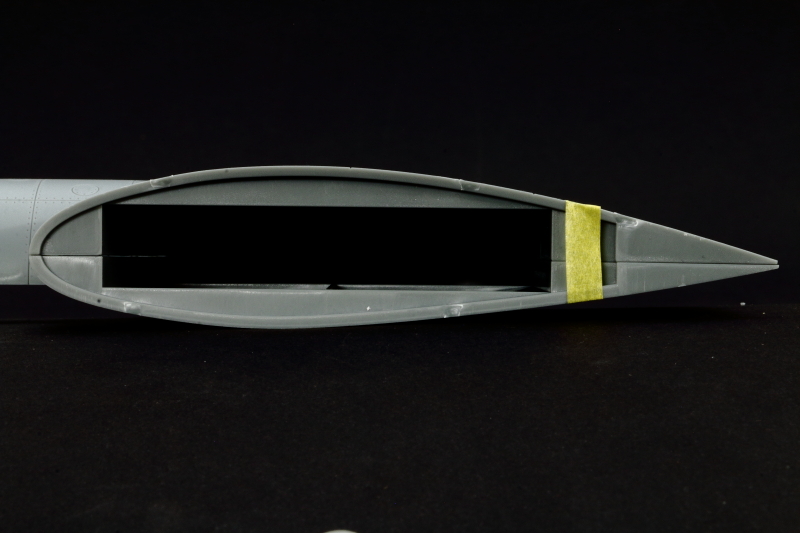
The distinctive bomb doors on the B-24 family are just like roller blinds in operation; long, thin, hinged strips that are actuated by clunky 'pegged' wheels at the outer corners of each bay opening. By nature these are straight, front to rear, not curved - the kit exhibits areas of fuselage around the bomb bay area that have subtle curves that should be flat.
The rest of the fuselage doesn't look too bad shape-wise at present, it certainly looks like a B-24, but I suspect I'll discover more as I progress through my build.

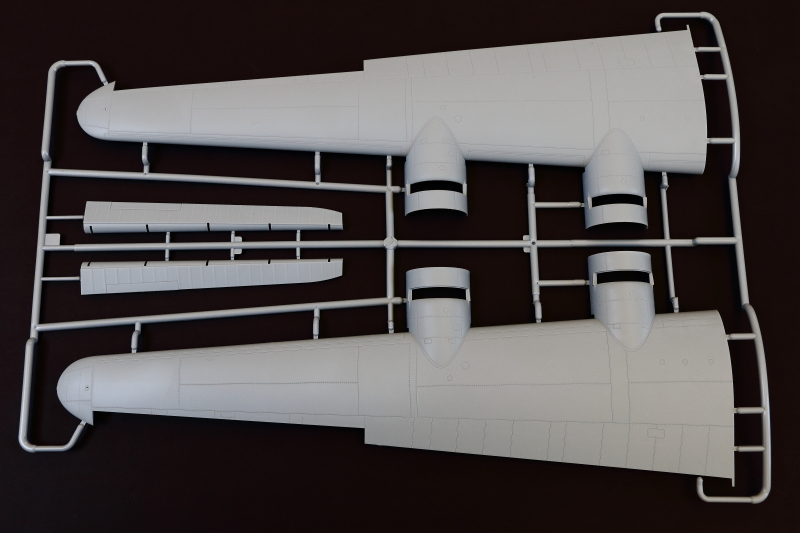
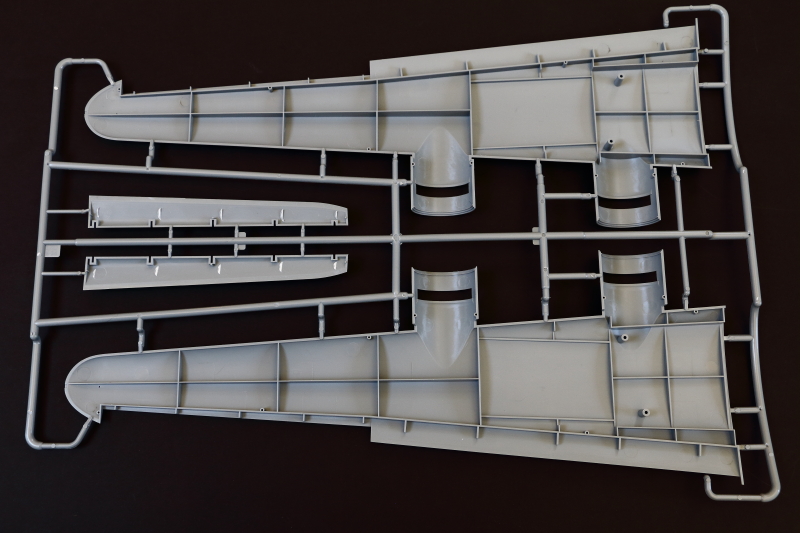
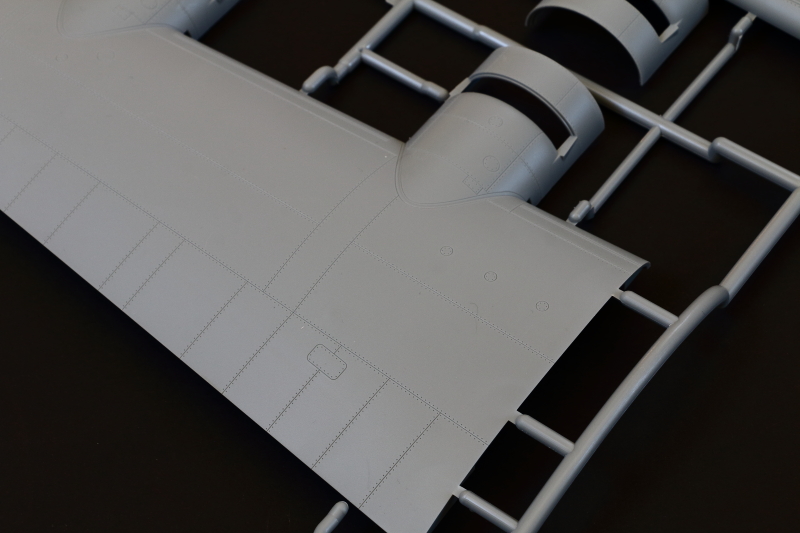
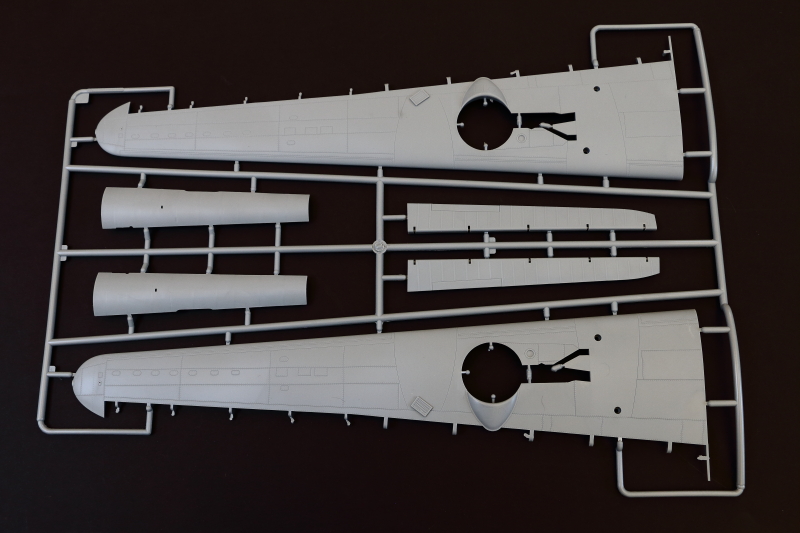
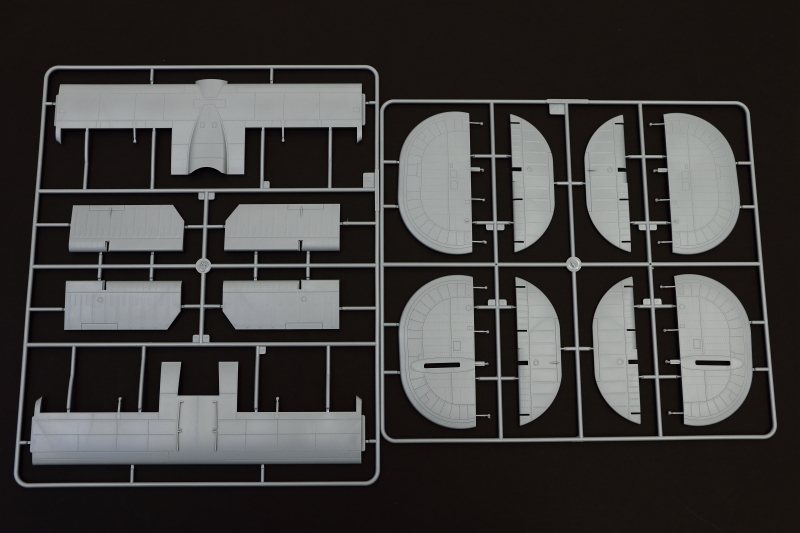
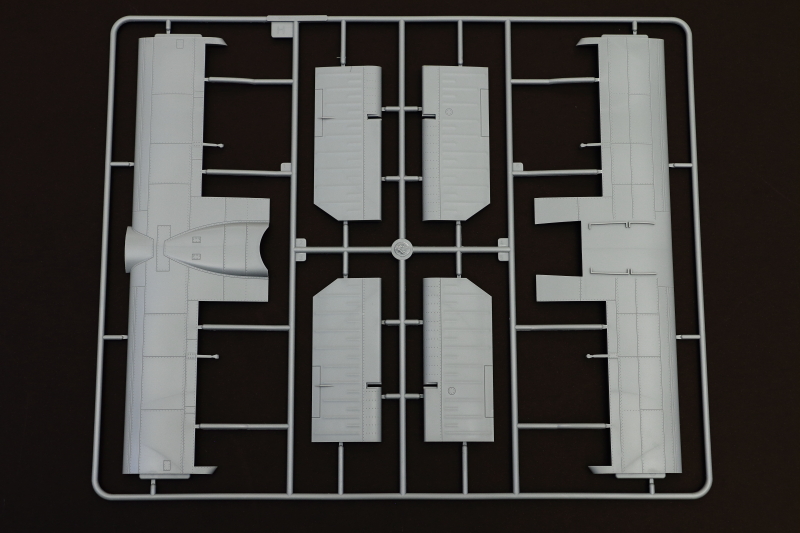
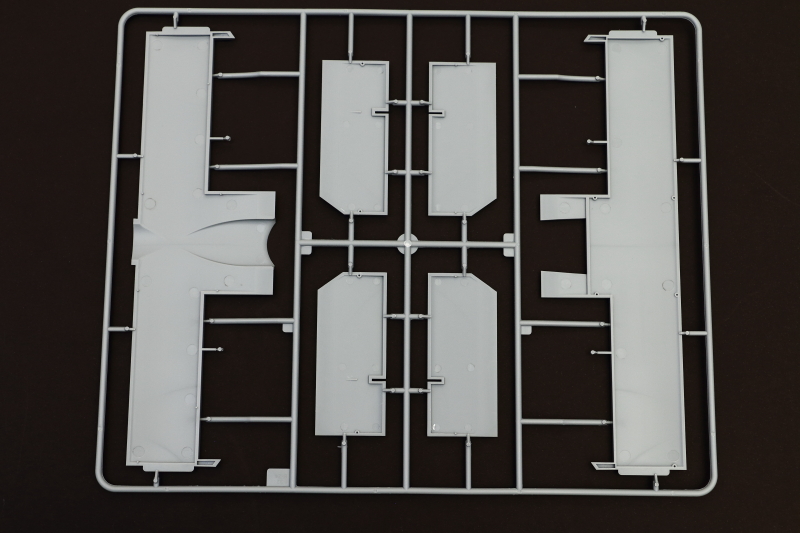
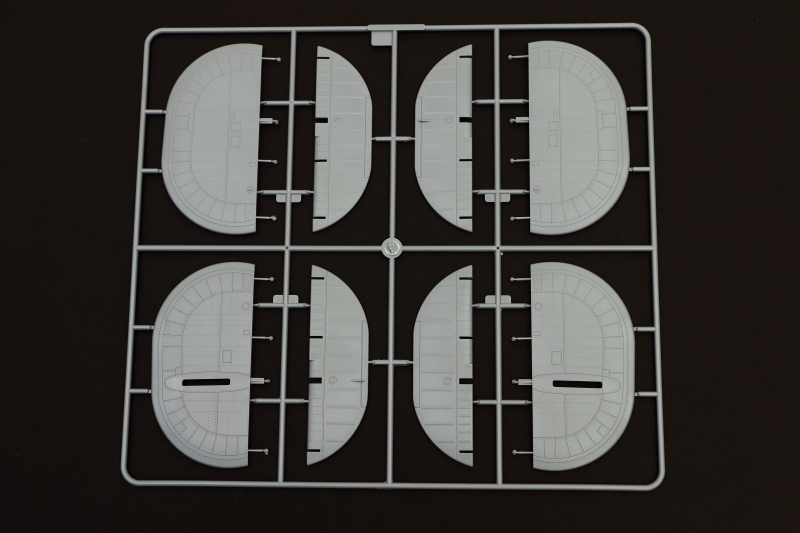
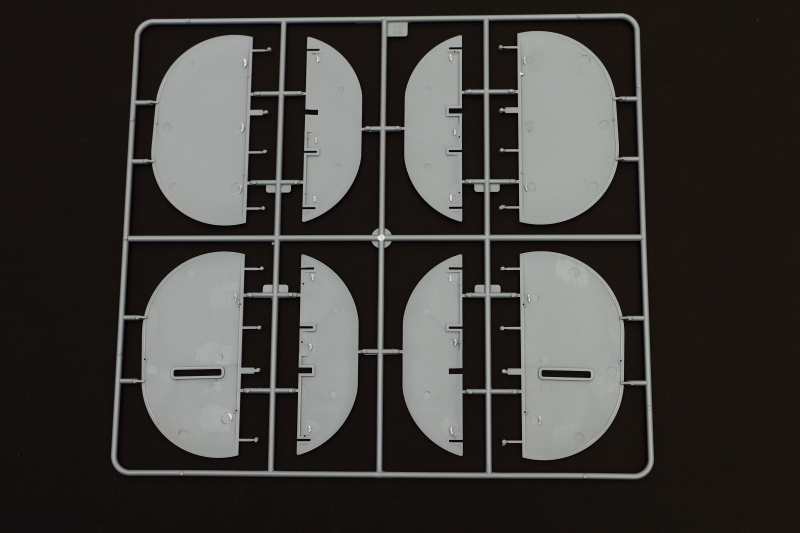
Wings (Sprues C and D)
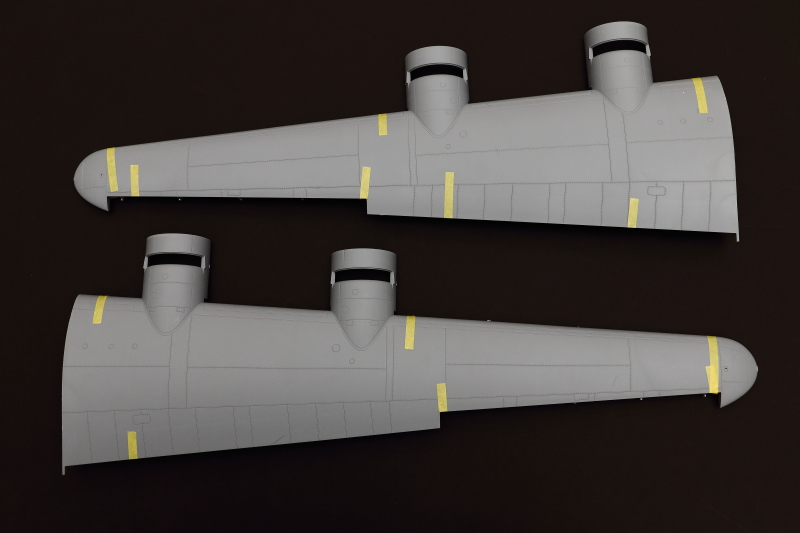
The wings were the first topic of debate when the model was first seen in built-up form and I was keen to ascertain just what was 'up' with them, along with possible fixes. I'll come back to shapes at the end of this review.
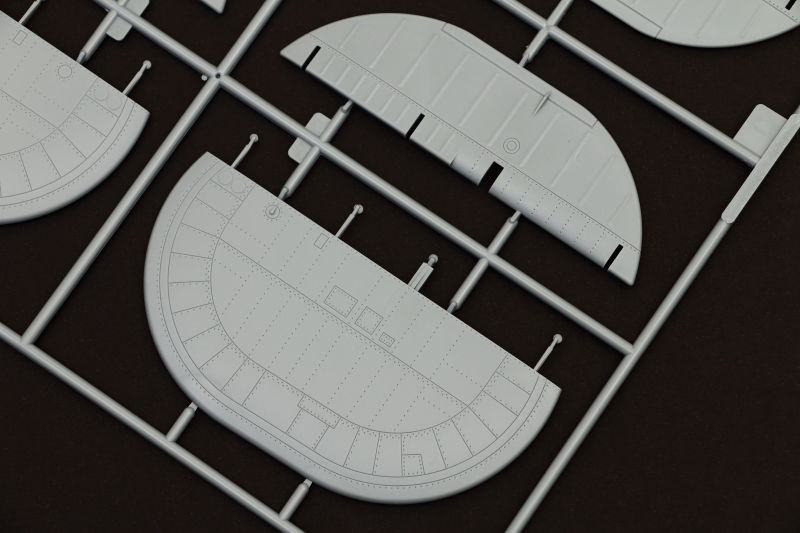
The mouldings themselves are pretty chunky, with lots of internal reinforcement webs. External detail is recessed and, as with the fuselage, indented rivets around their periphery of the panel lines. Whilst reasonably neat I can see many modellers wanting to add more surface detail and the mouldings are certainly not in the same league as the HK Models 'heavies' with regard to surface detail.


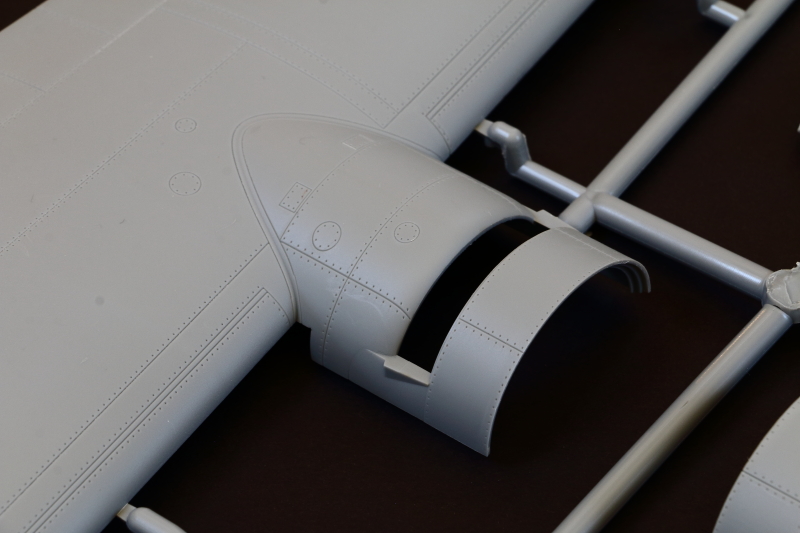
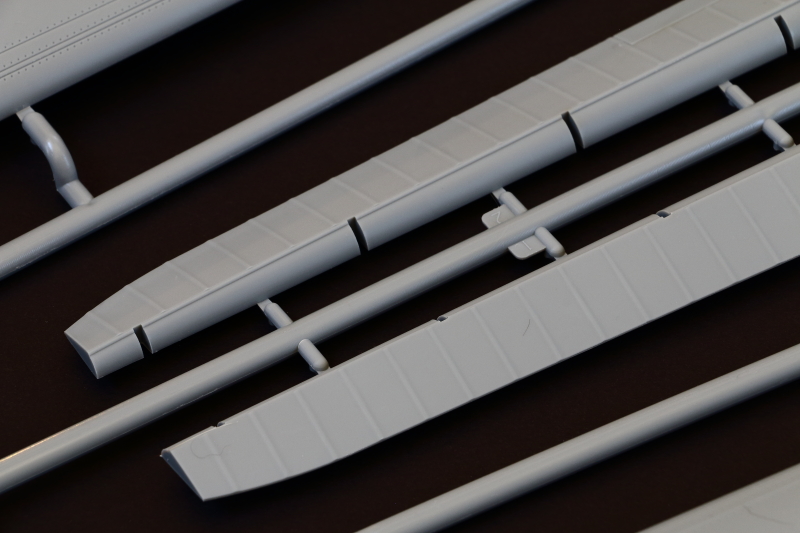
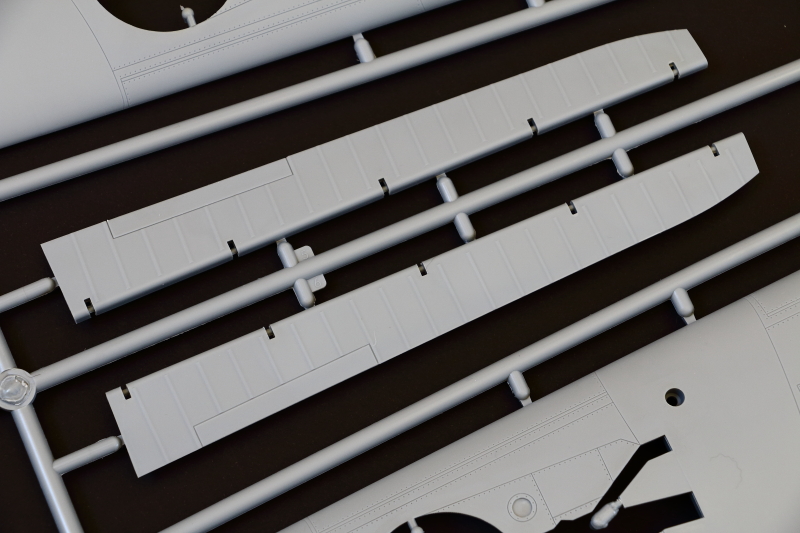

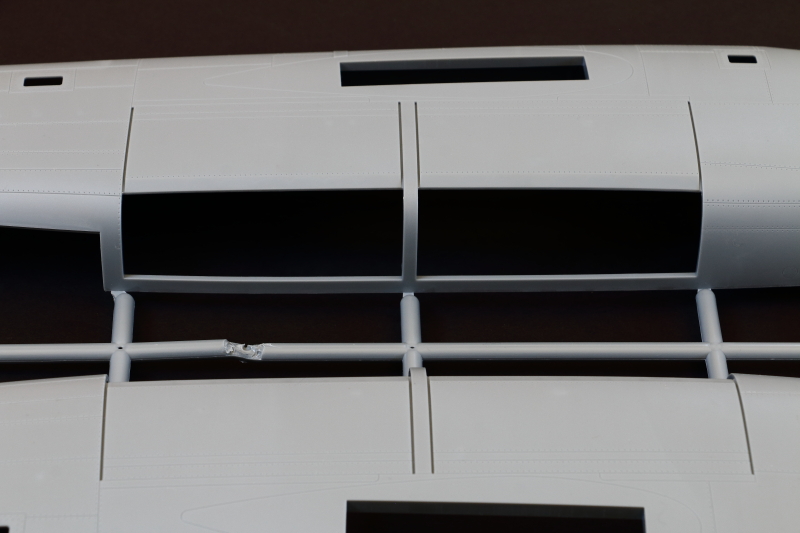
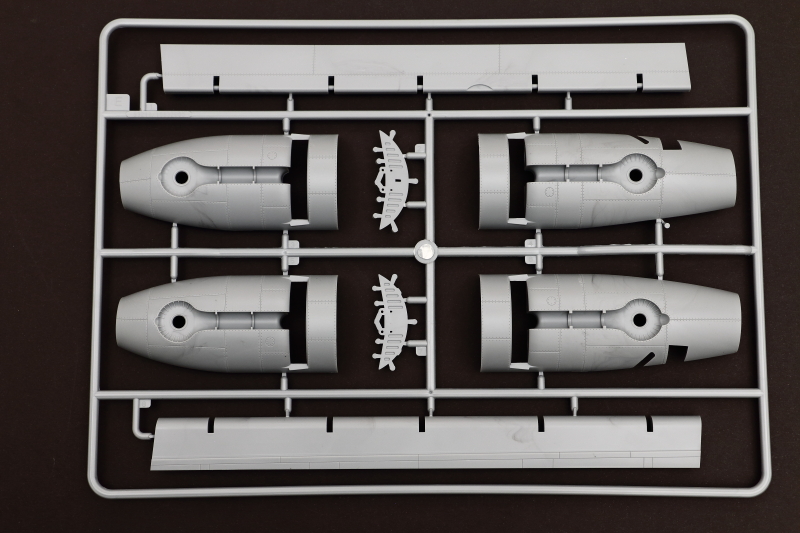
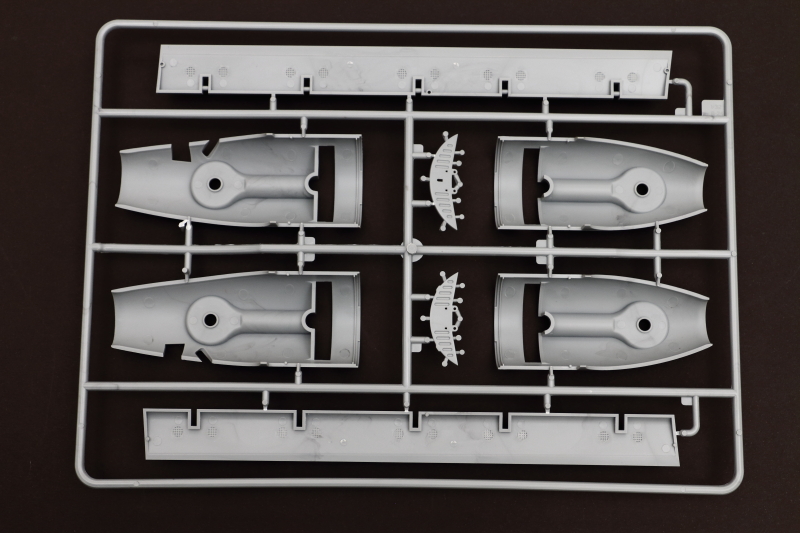
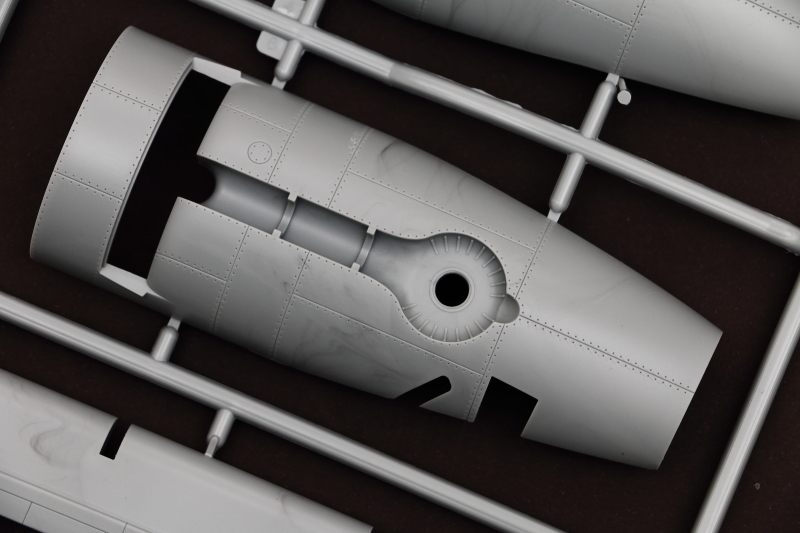
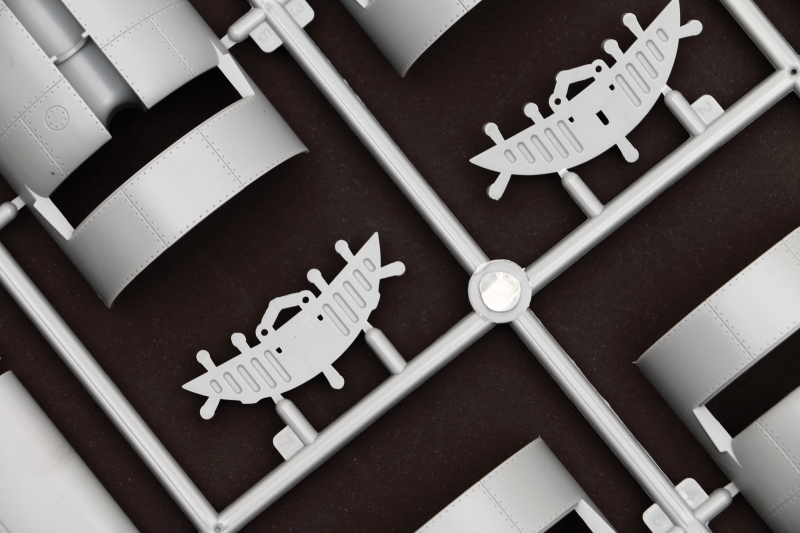
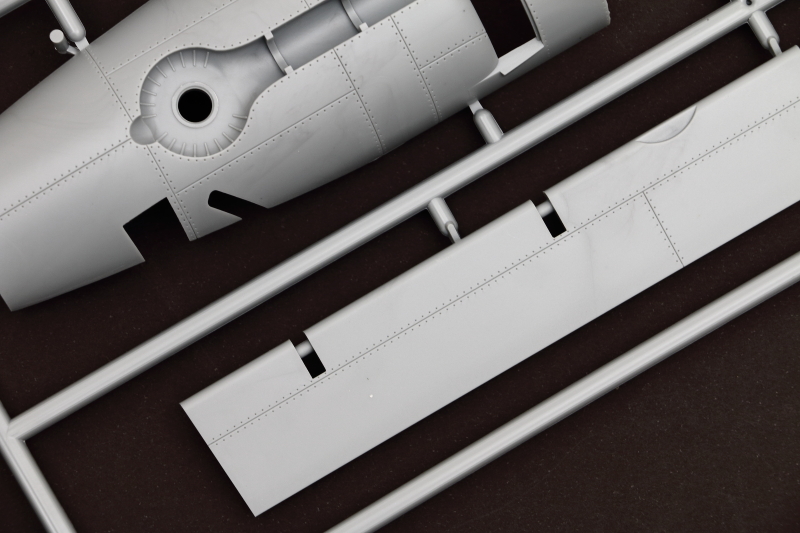
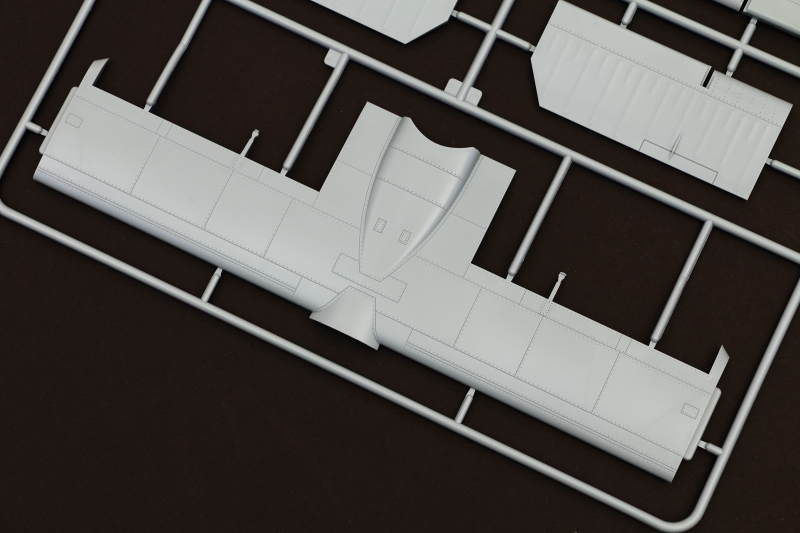
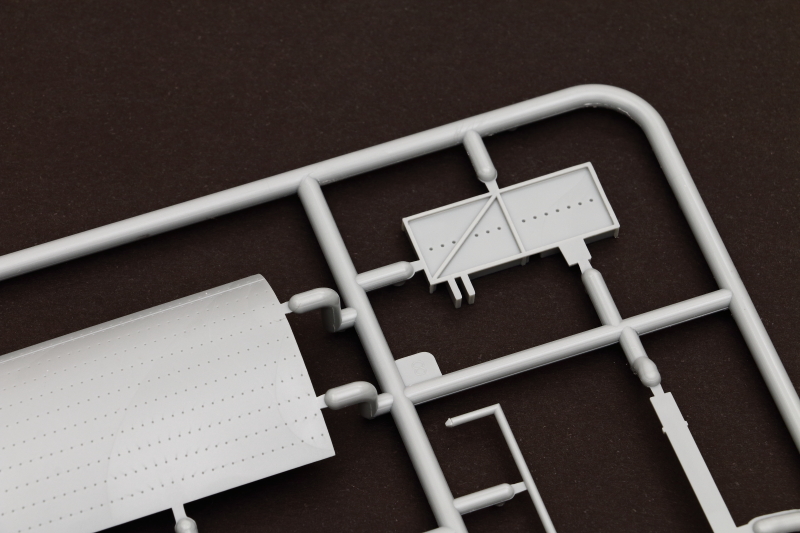
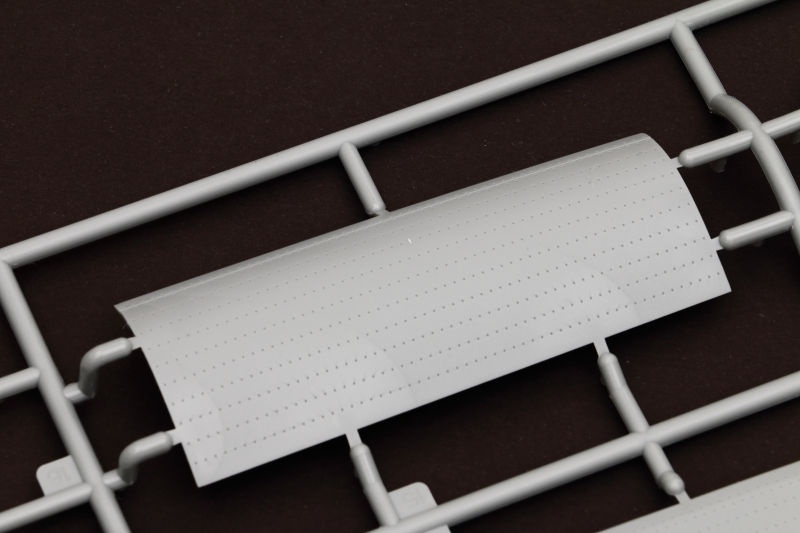
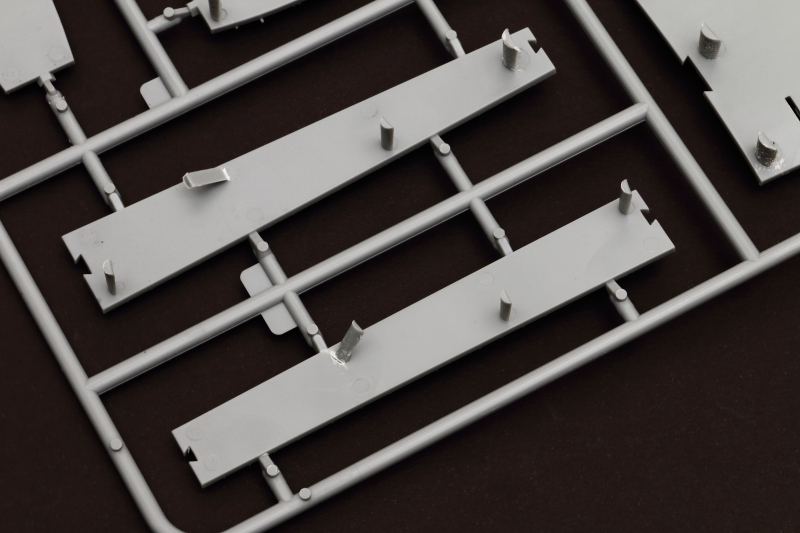
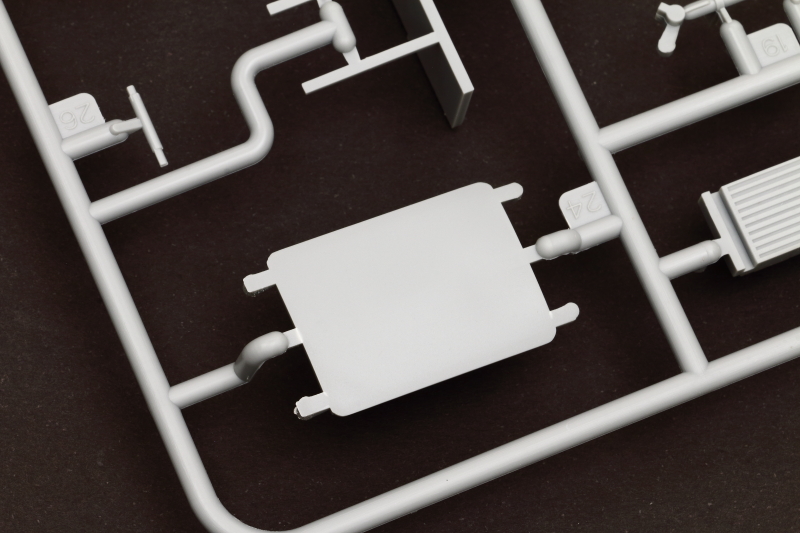
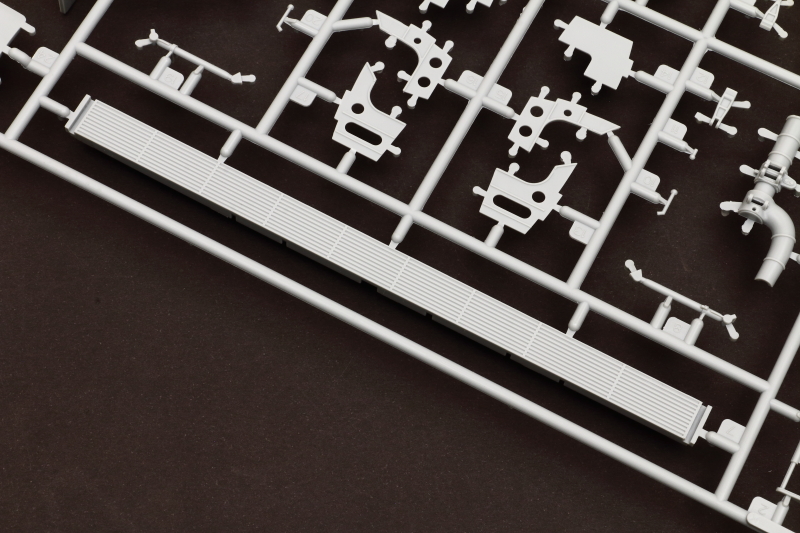
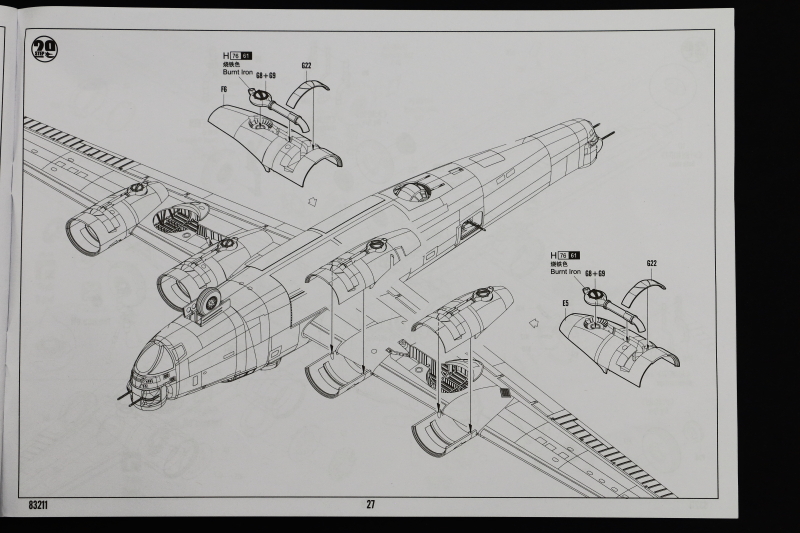
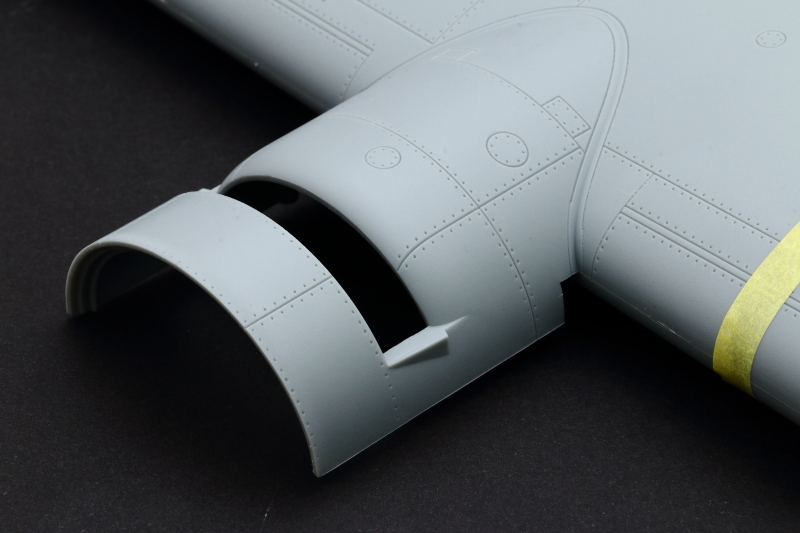
Engine Nacelles and Starboard Flap (Sprue E)
General shapes look reasonably OK at this stage - but there will be room for improvement and some needed mods that I'll cover in my build thread.
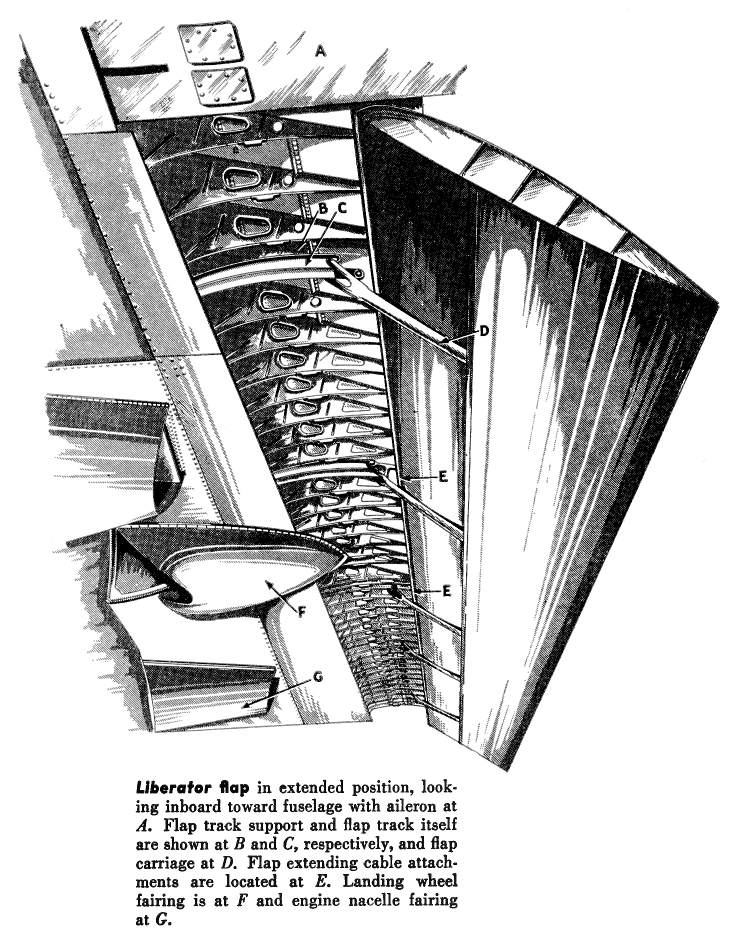
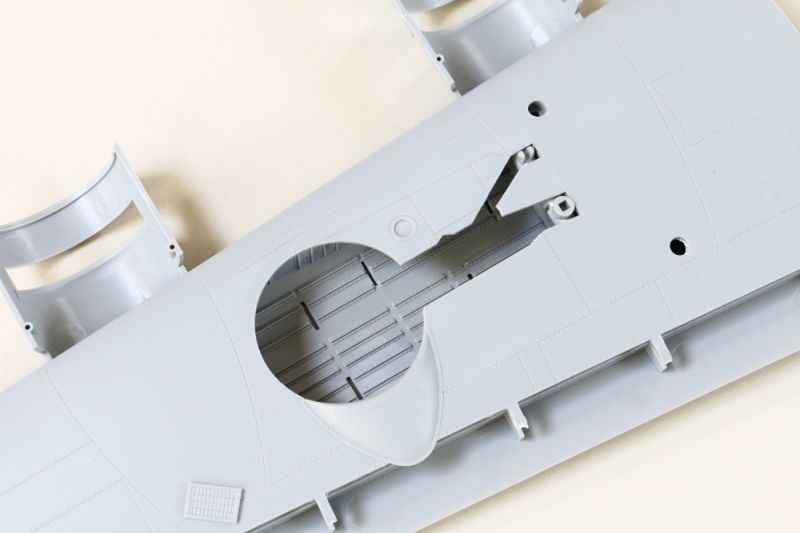
Flaps look reasonably neat - but the way Hobbyboss would have them hinge down on the model is completely wrong (see above) as they are Fowler flaps that would slide back, and down, rather than just down. With what I'll cover later regarding improving the wings, they will also need to go an a considerable thinning 'diet' at some point. There is a cut-out for the rear undercarriage fairing that shouldn't be there - and there is no allowance for the actuating pulleys on the top of the flaps/trailing edges of the upper wings.
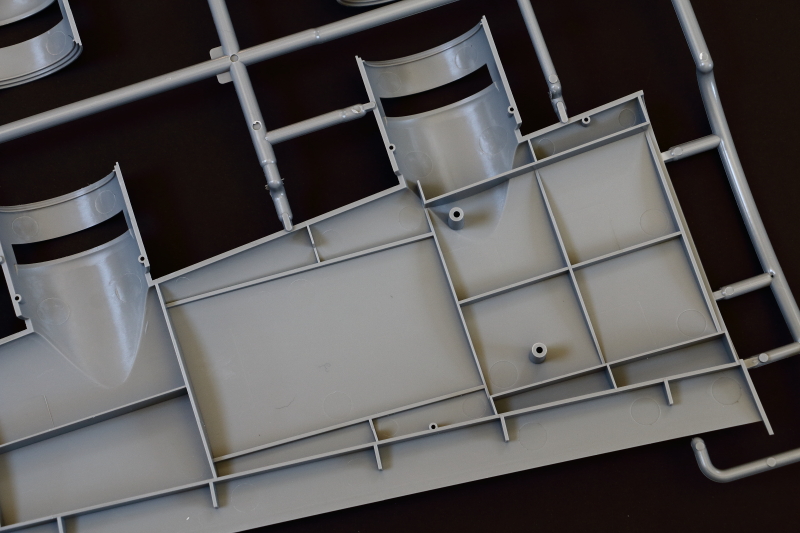
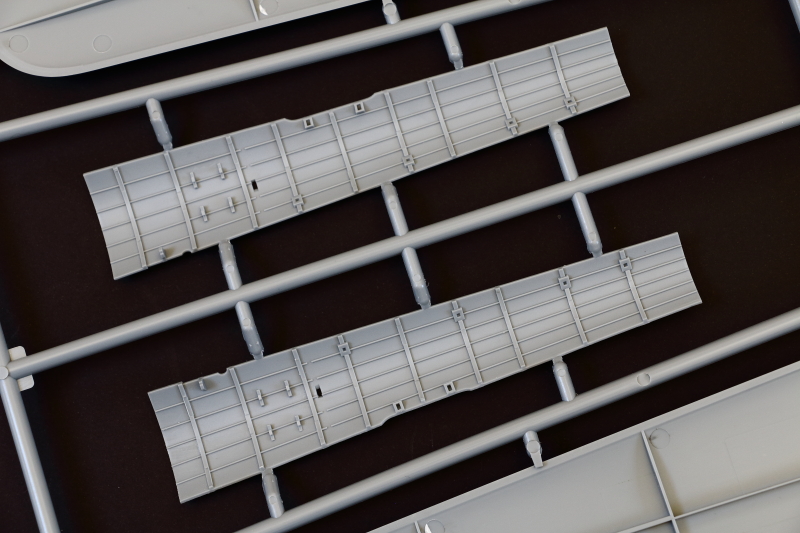
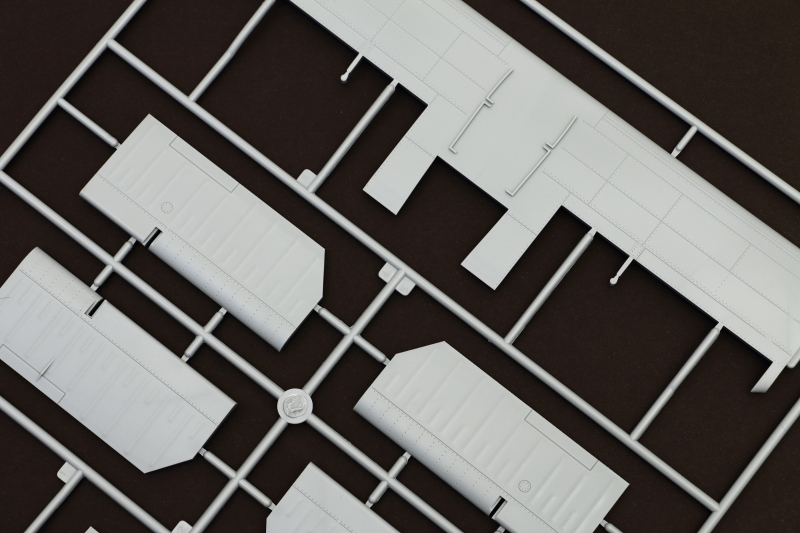
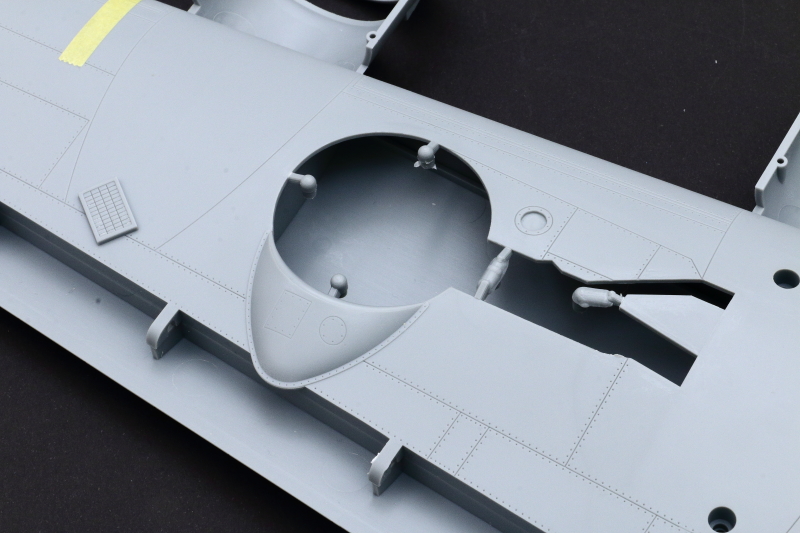
Internals and Port Flap (Sprue F)
Neatly moulded and with OK detail. Looks like the Pilot's and Navigator's seat mounting positions on the cockpit floor are too far back as moulded and modellers may wish to mount a little further forward.
Same thoughts apply to the Port flaps as above.
Part F7 provides an upper section/roof to the front gear bay that is in addition to the cockpit floor (part F2). On the real aeroplane this was a single panel - rather than two. This results in the roof of the nose gear bay sitting lower than is strictly accurate - but it does, therefore, provide a better anchorage for the nose-gear assembly, as well as providing a void between the cockpit floor and gear-bay upper panel where the builder can add much needed nose weight. In my view you won't notice the lower gear bay roof on the final model.

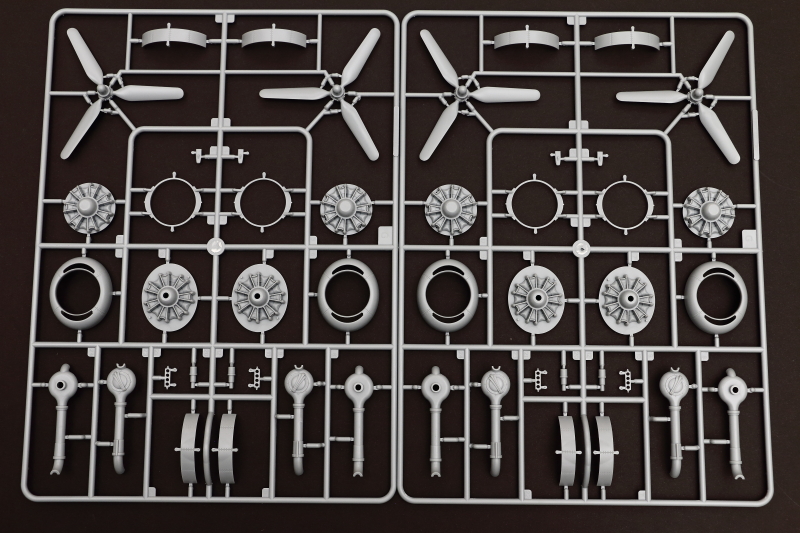
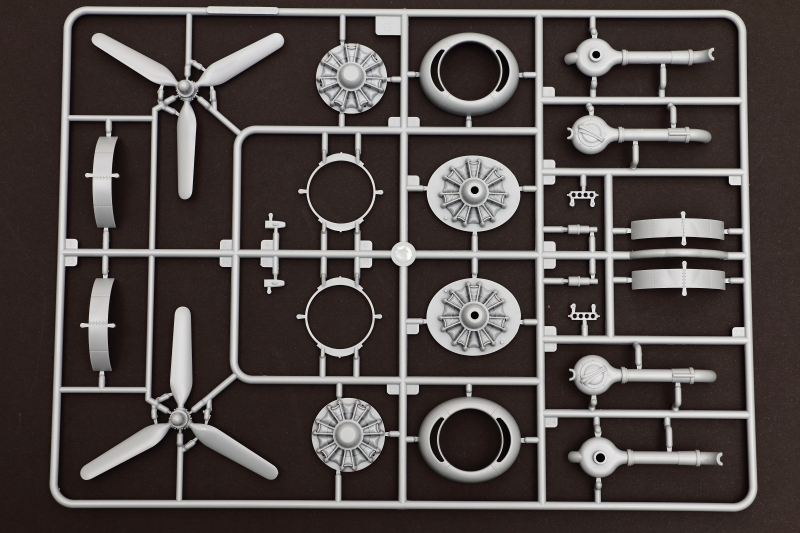
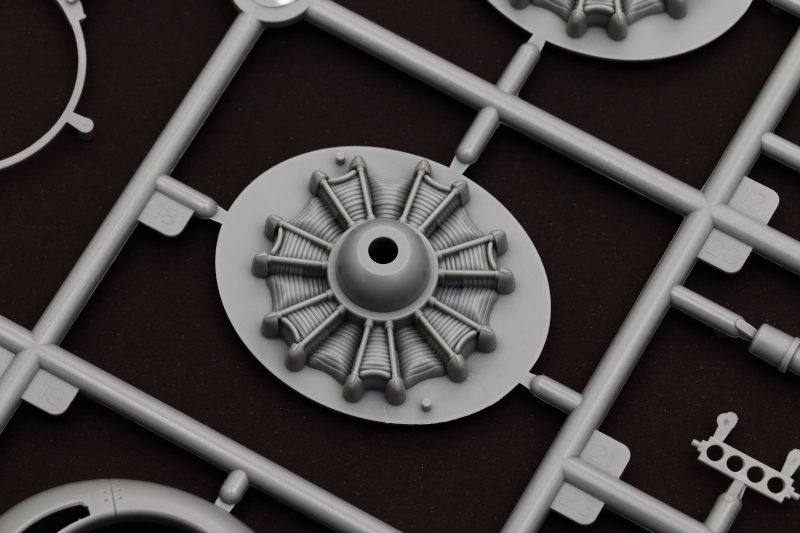
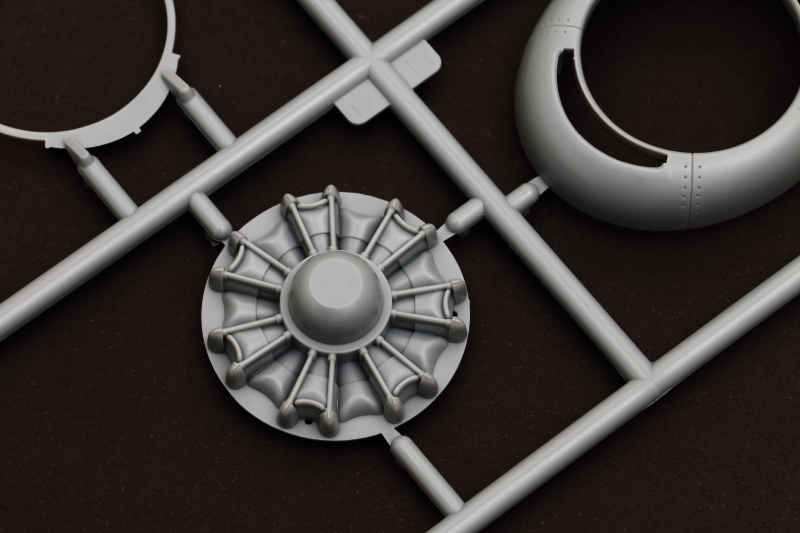
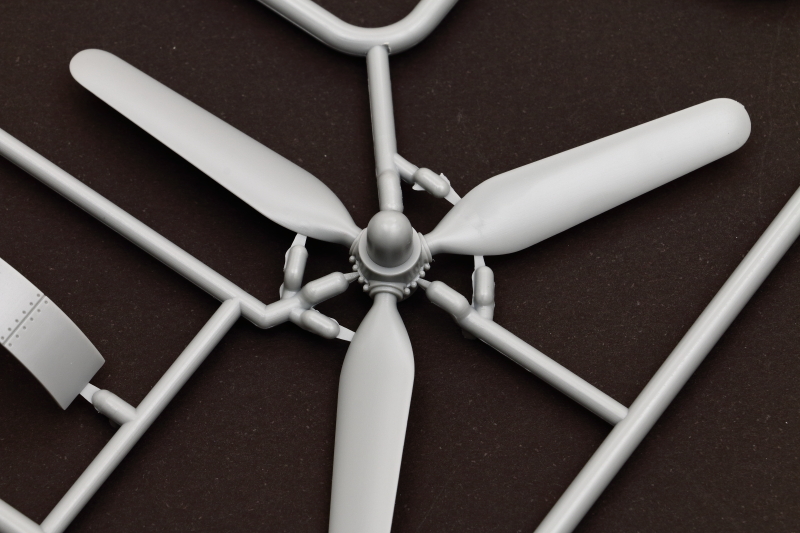
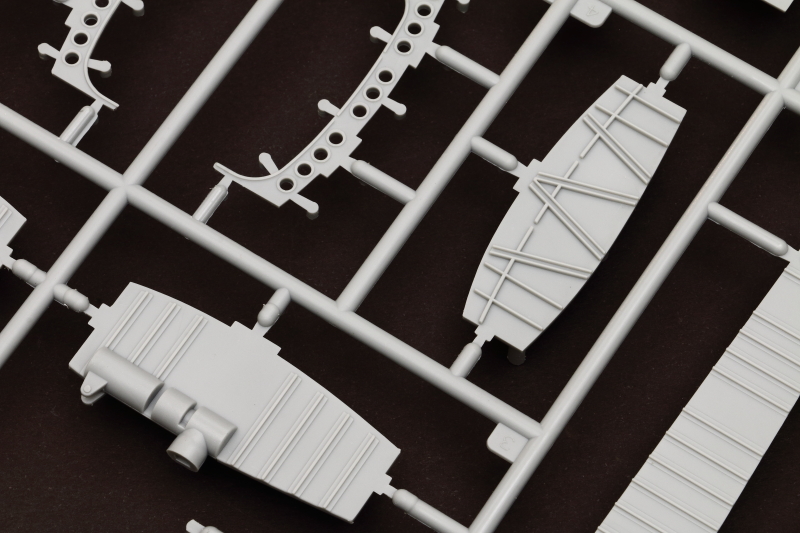
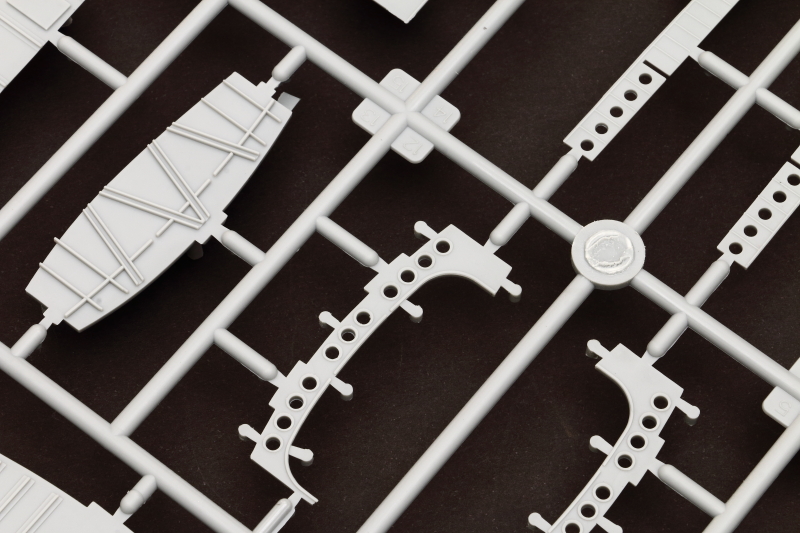
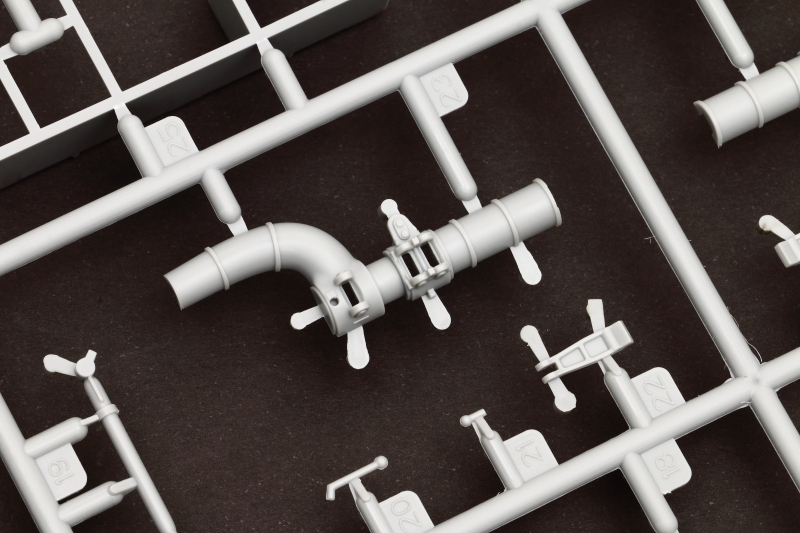
Engines and Props (Sprue G x2)
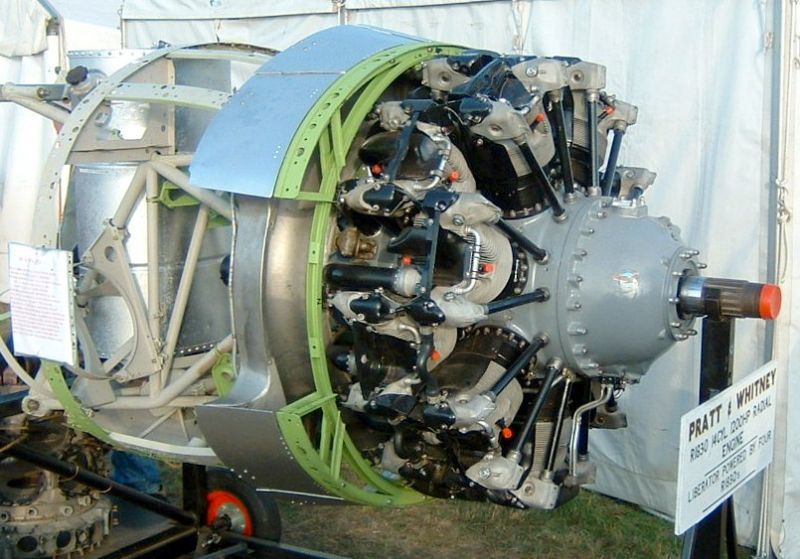
Engines are very basic and disappointing, with front and rear sections as single mouldings. That said, the aftermarket boys will probably be along shortly with sets of hyper-detailed resin and etch 14-cylinder Pratt & Whitney R-1830 "Twin Wasp" radials. I replaced those on my HK Models B-17 with Eduard ones, so, I guess, it's no real biggie to have such basic engines and many will just use as supplied.
The prop hubs lack detail and the blades aren't particularly good shape-wise. The blades could probably be improved with some judicious us of the scalpel and abrasives.

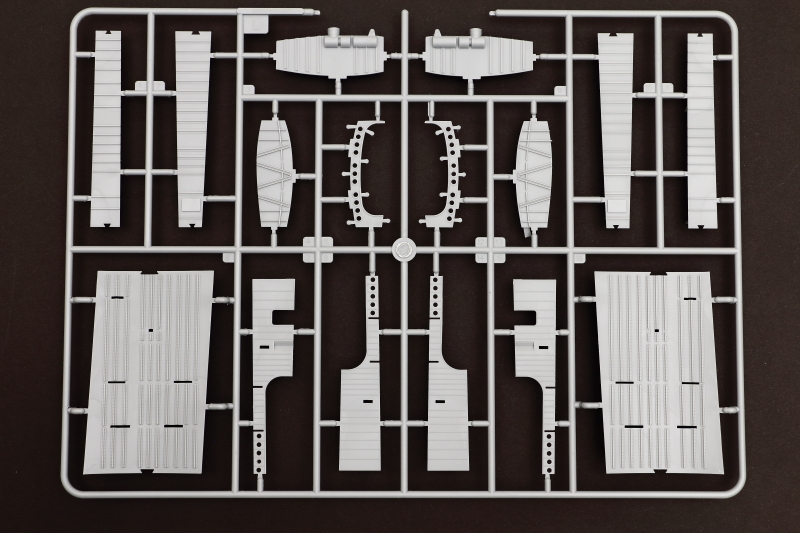
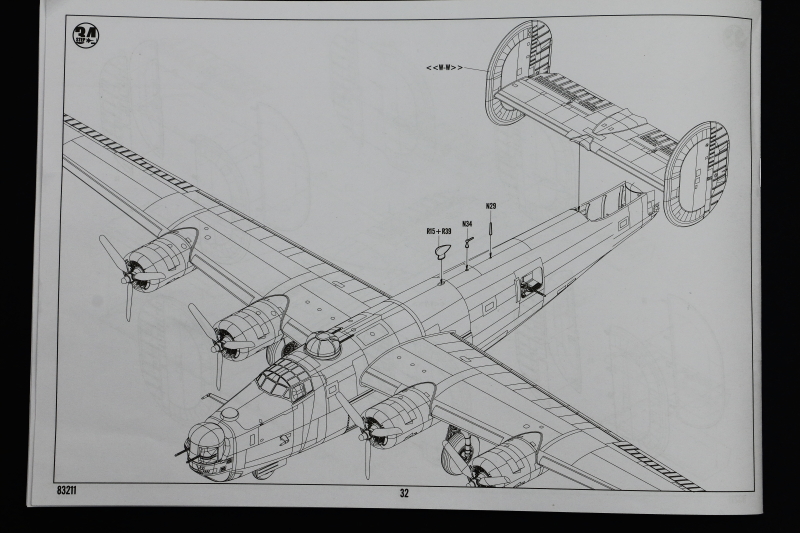
Tailplane (Sprue H)
This doesn't look too bad; the separate control surfaces could do with some thinning along their trailing edges and the area that forms the top of the rear fuselage looks a little flat to my eyes.

Tail Fins (Sprue J)
The fin shapes look good and will, by the look if it, have the correct slightly tilted back look when added to the airframe. Surface detail is more comprehensive here than on the rest of the model.
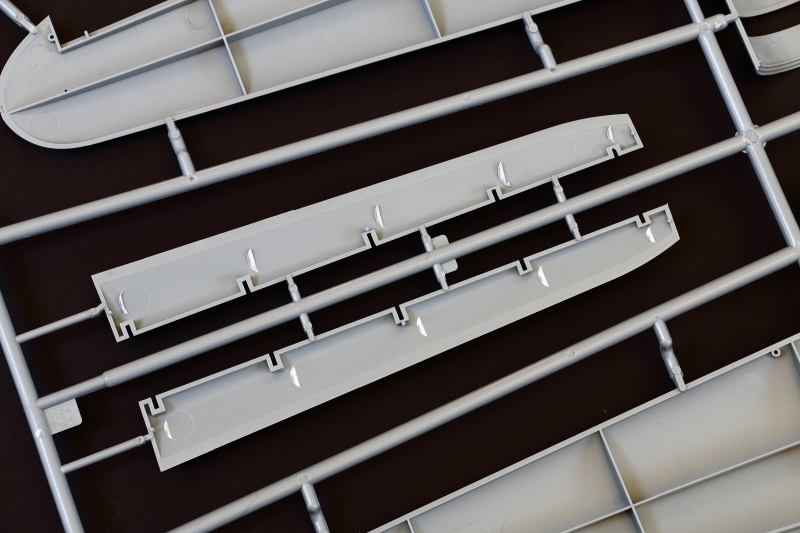
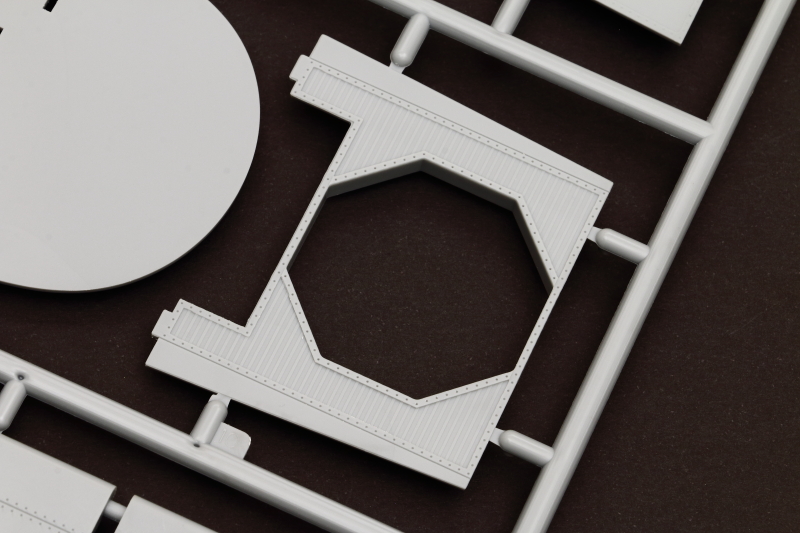
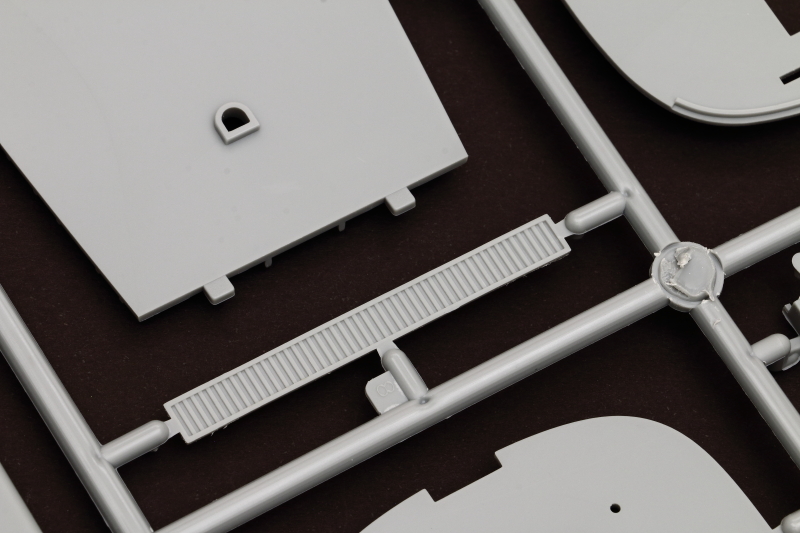
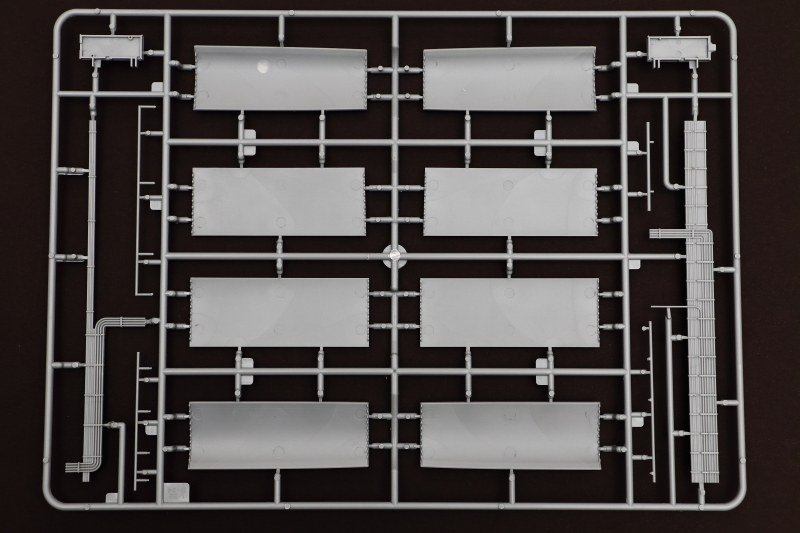
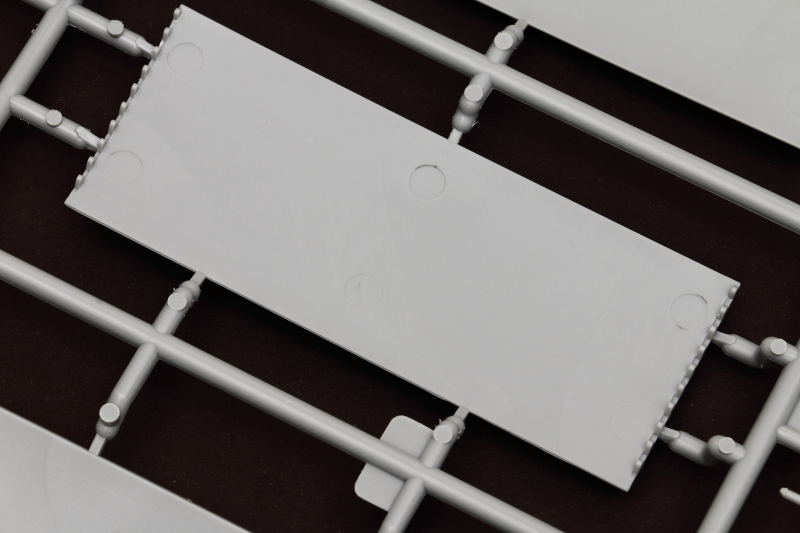
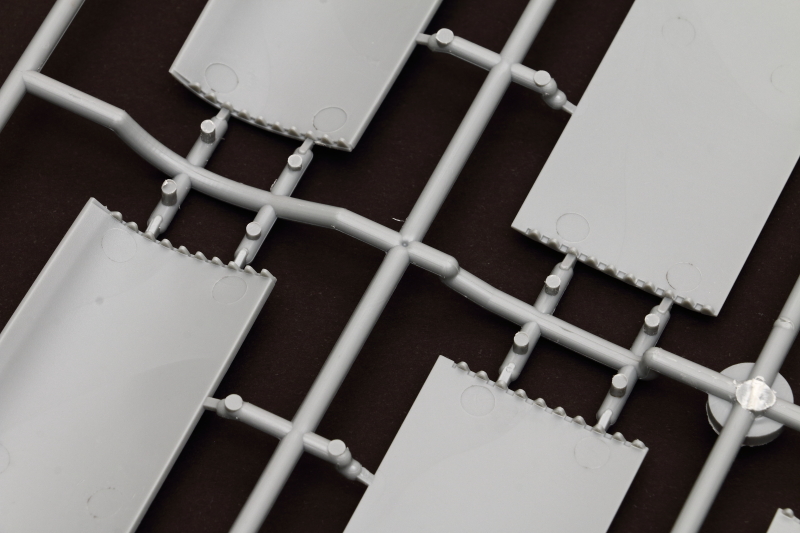
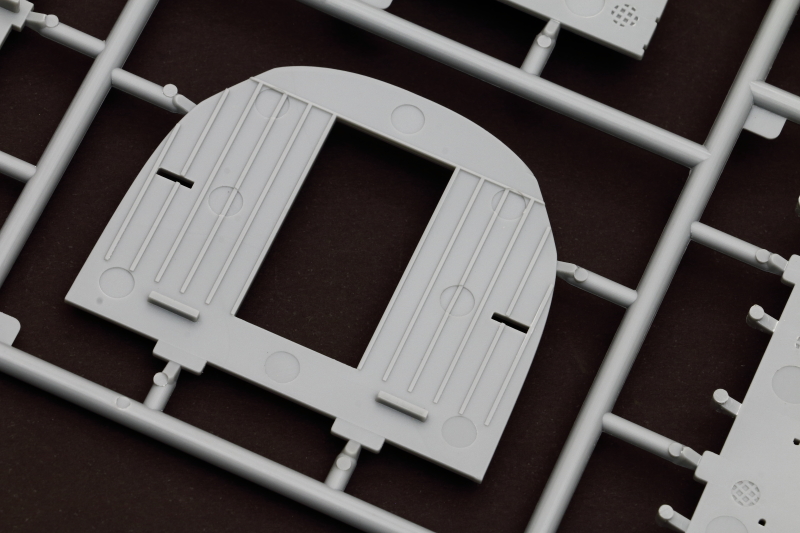
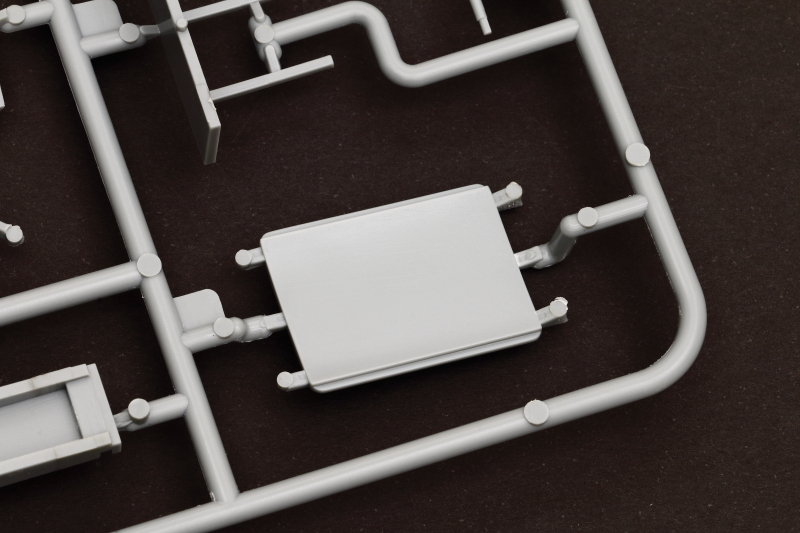
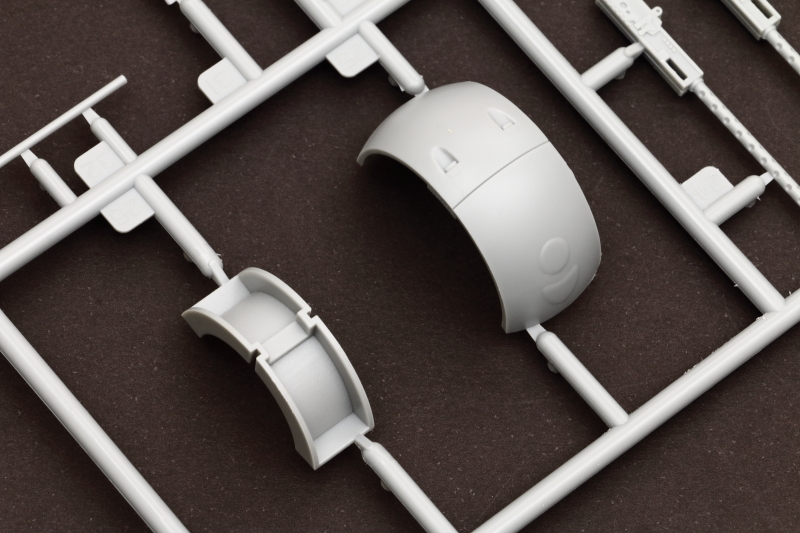
Bomb Doors + Details (Sprue K)
As I mentioned with regard to the fuselage mouldings, the bomb bay doors are, in effect, roller blinds and should exhibit simple curves, rather than the complex curves as moulded. The mouldings exhibit the edge detail that engages with the actuating cogs/wheels on the real aeroplane, but are simplified. These are crying out for photo-etched replacements.

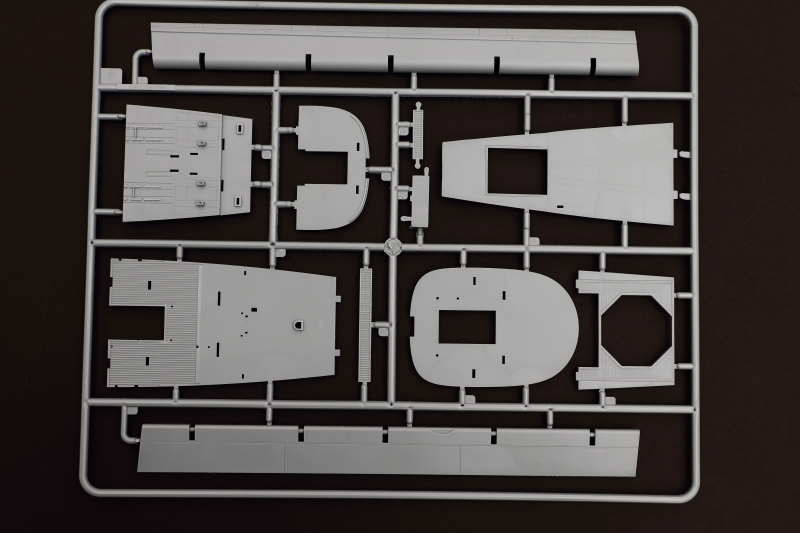
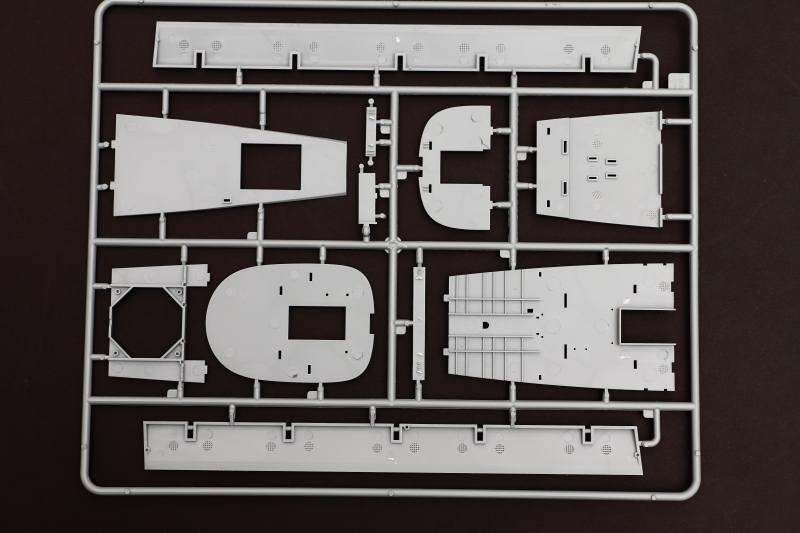
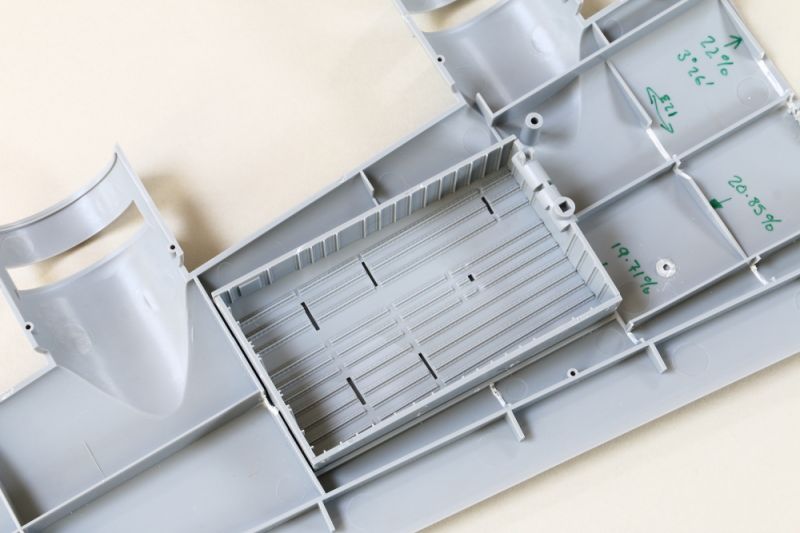
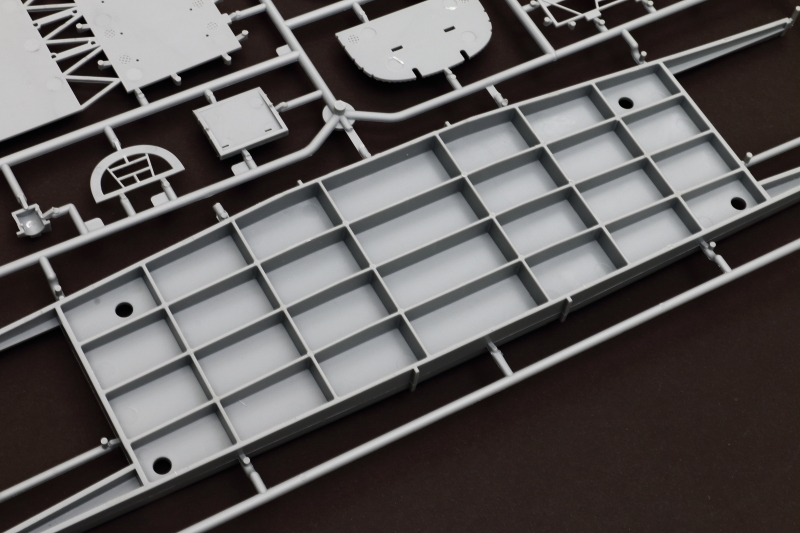
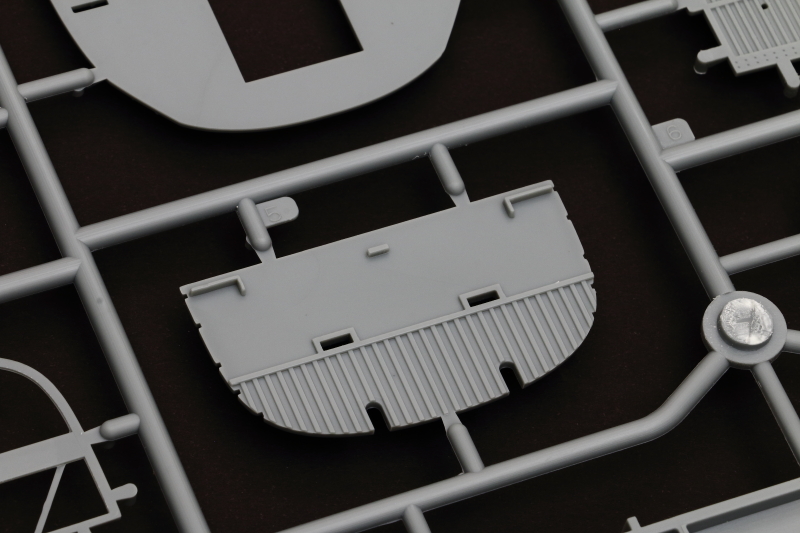
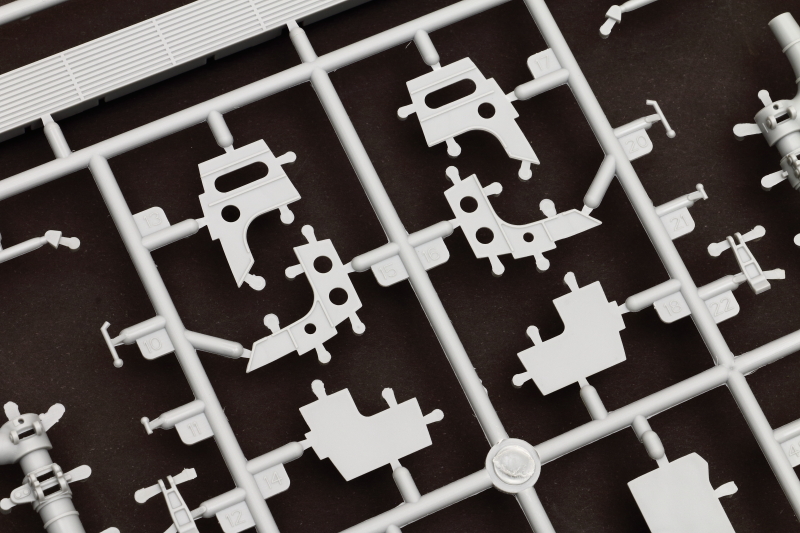
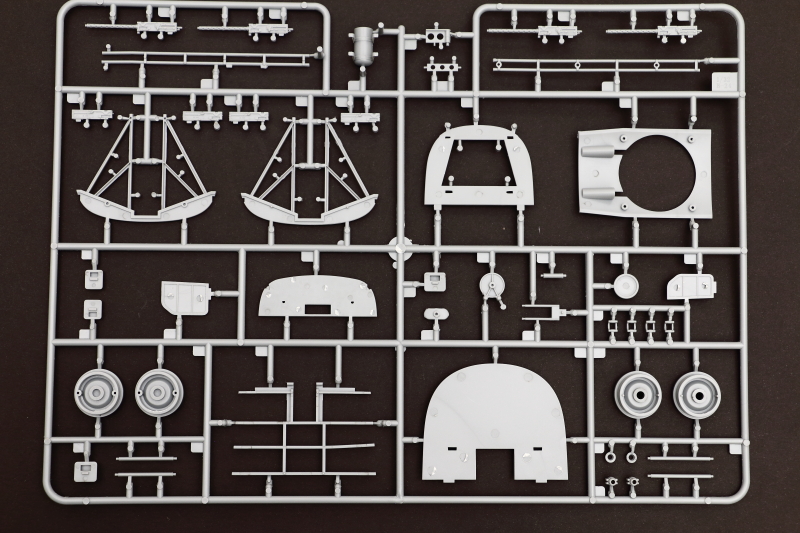
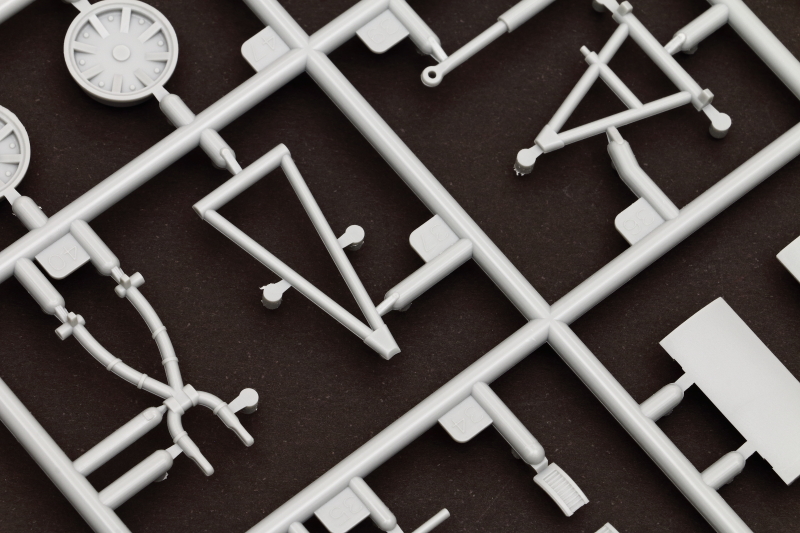
Undercarriage Bays (Sprue L)
Out of the box there is some good detail here, with full bays being provided to sandwich between the wing halves. Some parts have large 'ejector pin' protrusions that will need to be removed - quick work with a sharp pair of side cutters should see them off.
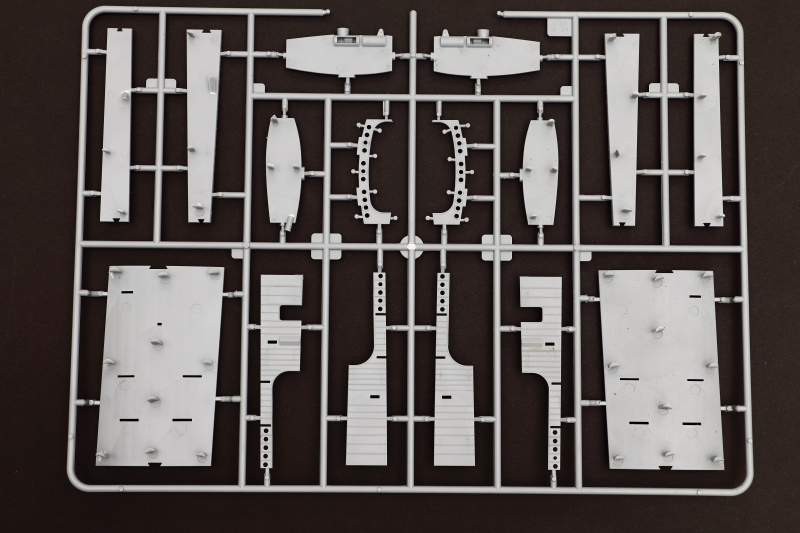


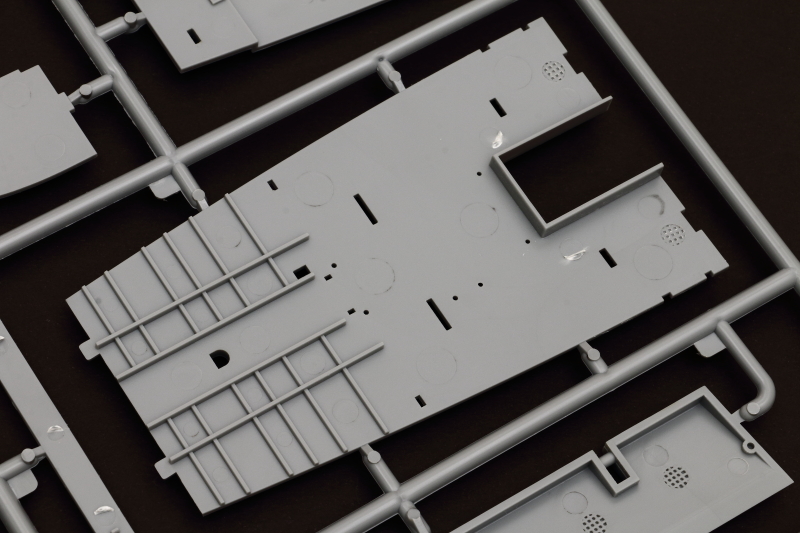
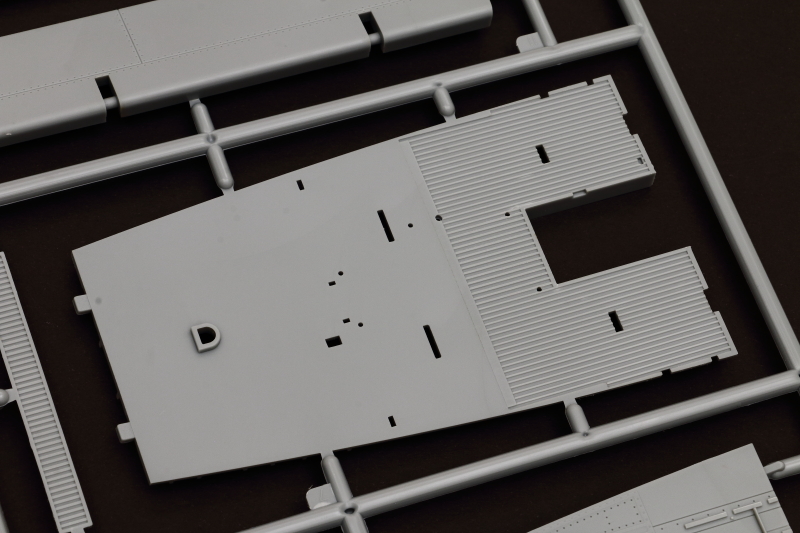
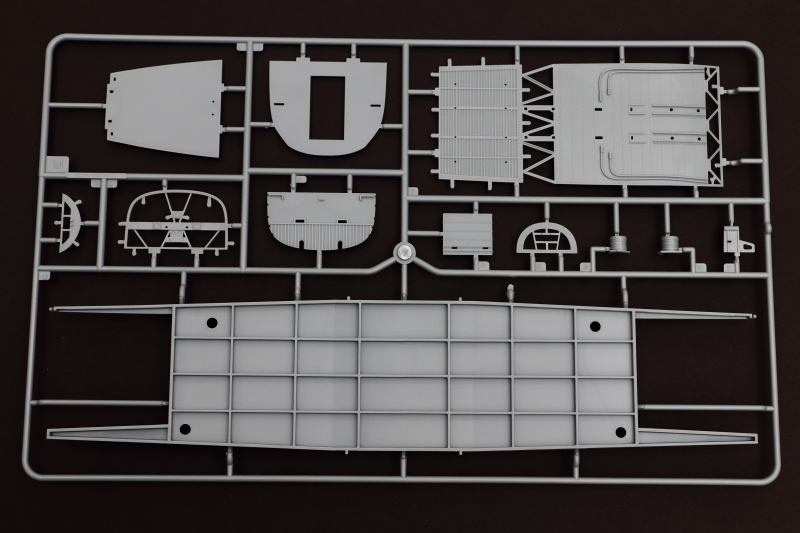
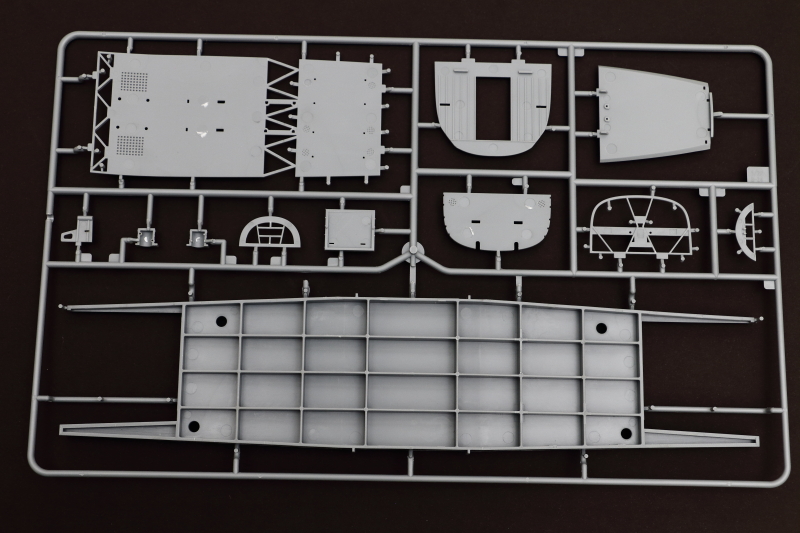
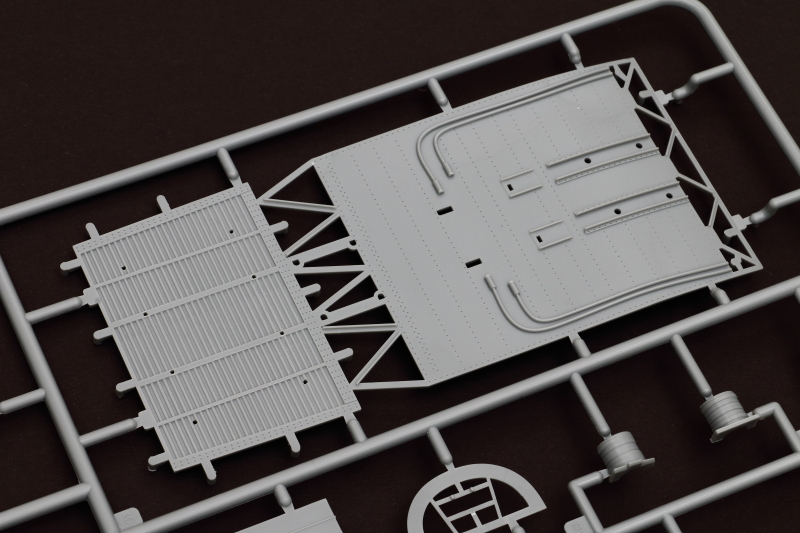
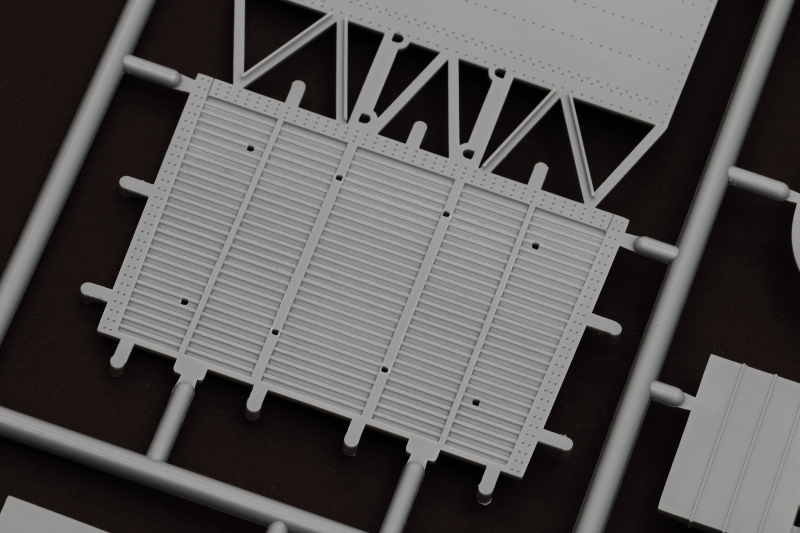
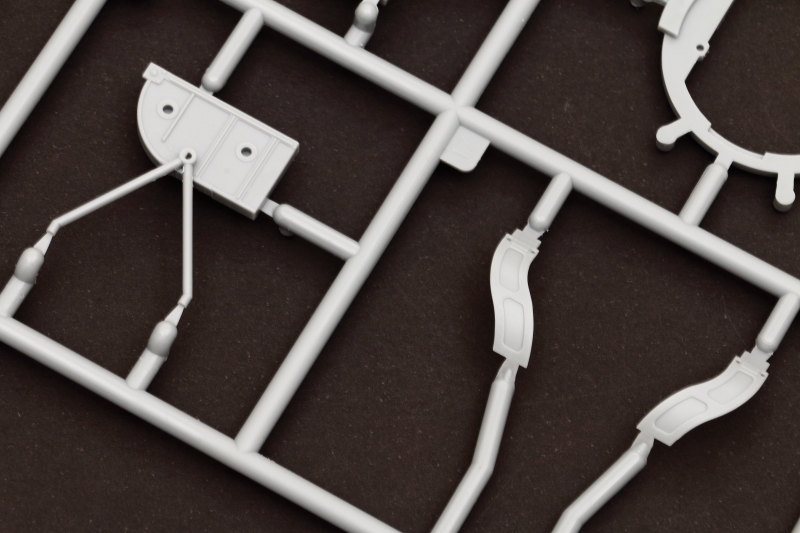
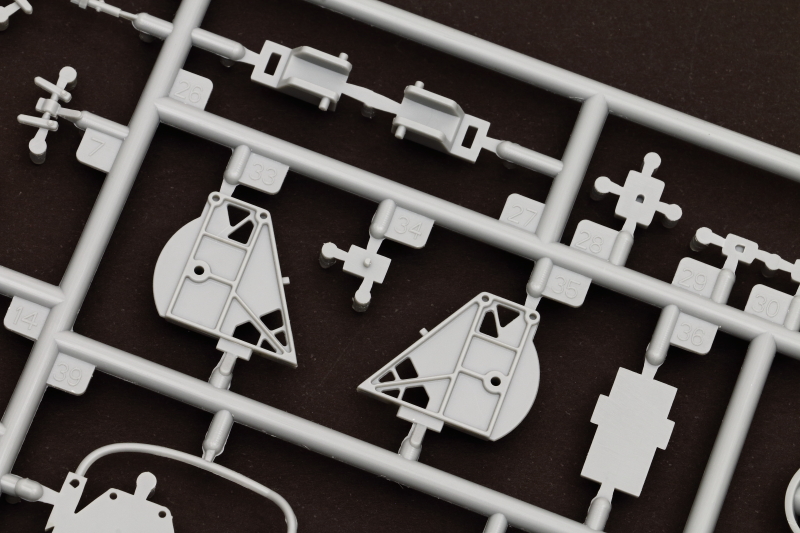
Internal Structure + Spar (Sprue M)
Again, cleanly moulded and looking good in the box. Some of the bulkheads are moulded as open frames - I suspect on the real airframe some of these may have been paneled in with plywood, but will take a deeper look when I get to that part of my build.
A substantial wing spar is provided which, when building straight from the kit, looks like it will be more than up to the job of supporting the wings. Unlike other 1:32 Heavy Bomber kits, the wings aren't designed to be removable, but I suspect that simply removing the large locating pins in the wings will provide a slide on/off solution.
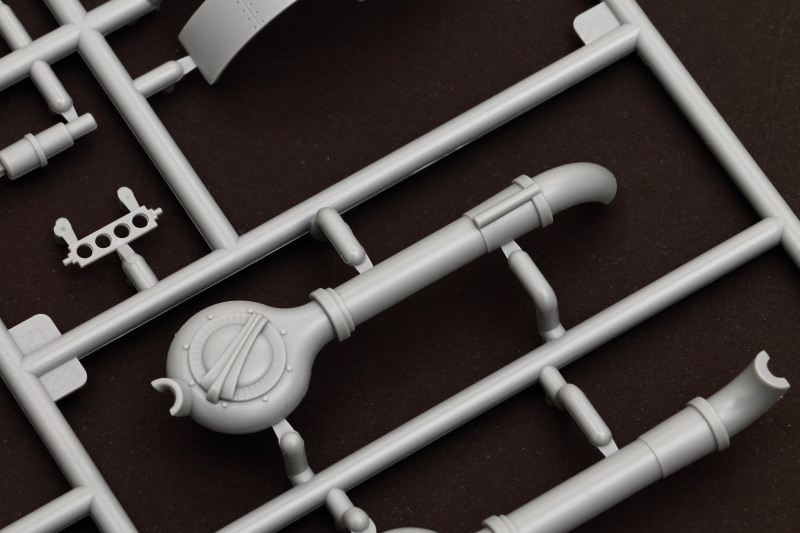
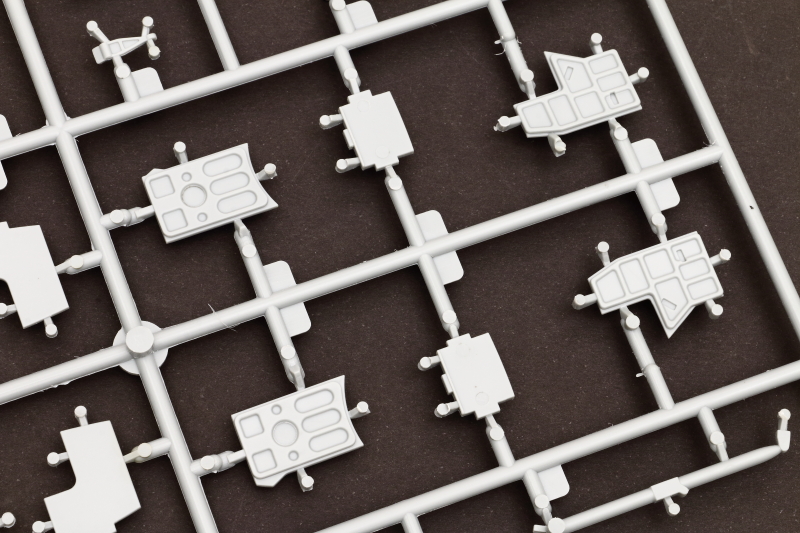
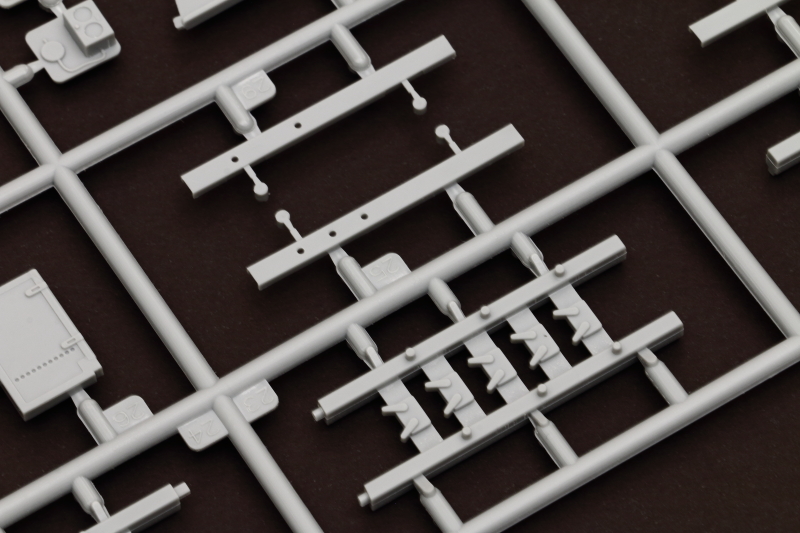
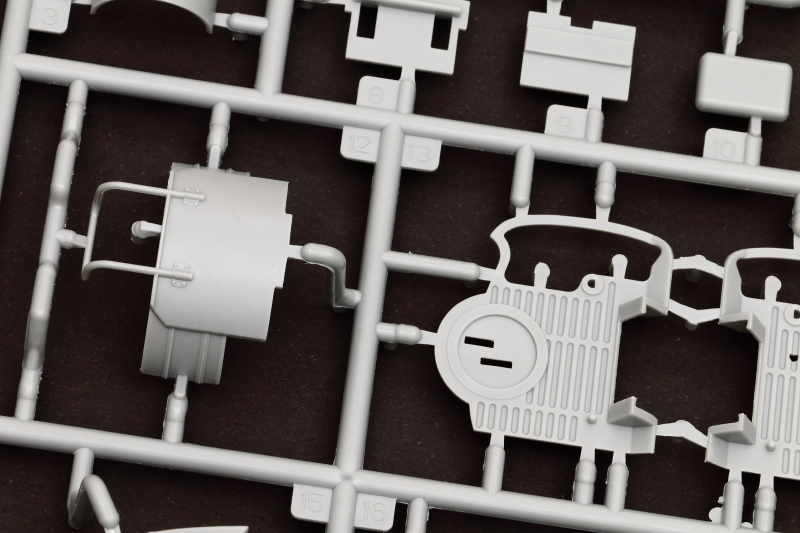
Internal Details (Sprue N)
More internal details, including turret interior components and main undercarriage legs.


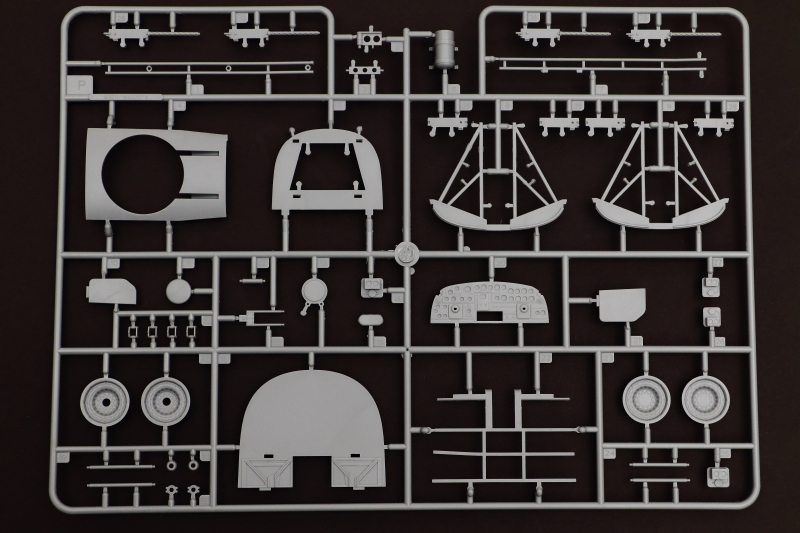
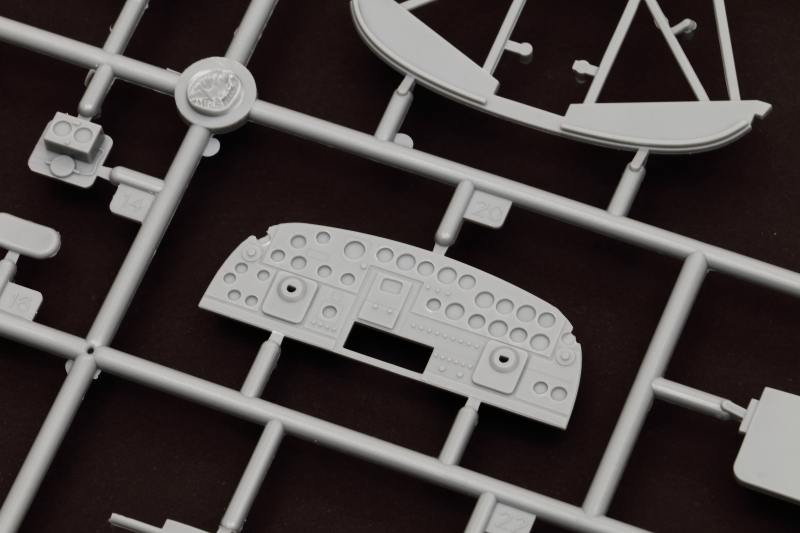
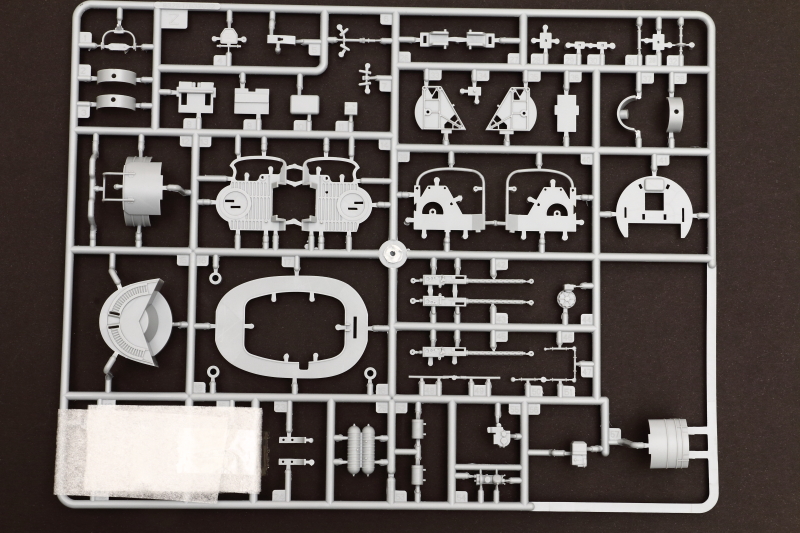
Internal Details + Instrument Panel (Sprue P)
Yet more internals, all cleanly moulded and with an OK, albeit a little basic, instrument panel. The elves over at Airscale have come up with a replacement panel set and we hope to cover that as a review shortly.
The wheel hubs are poor in my opinion and I'll be replacing the ones in my kits with the Eduard Brassin main wheels for the B-17s as they are the correct type and size (see section on 'Tyres' below).


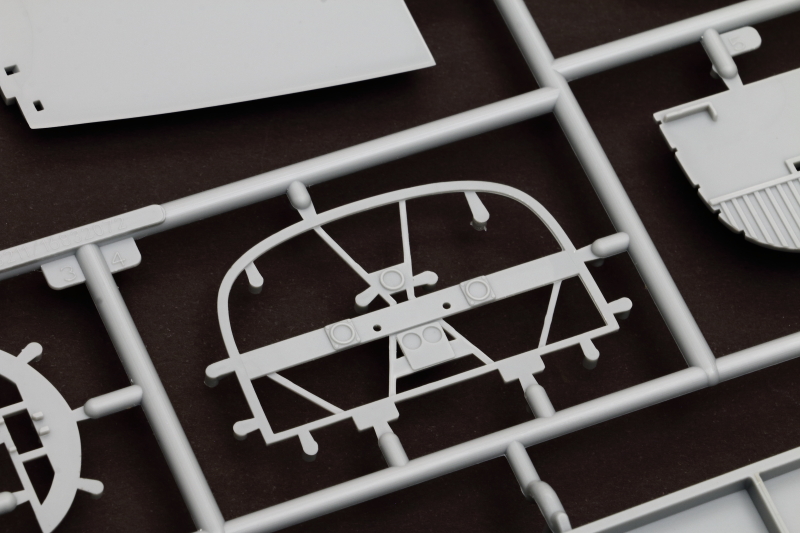
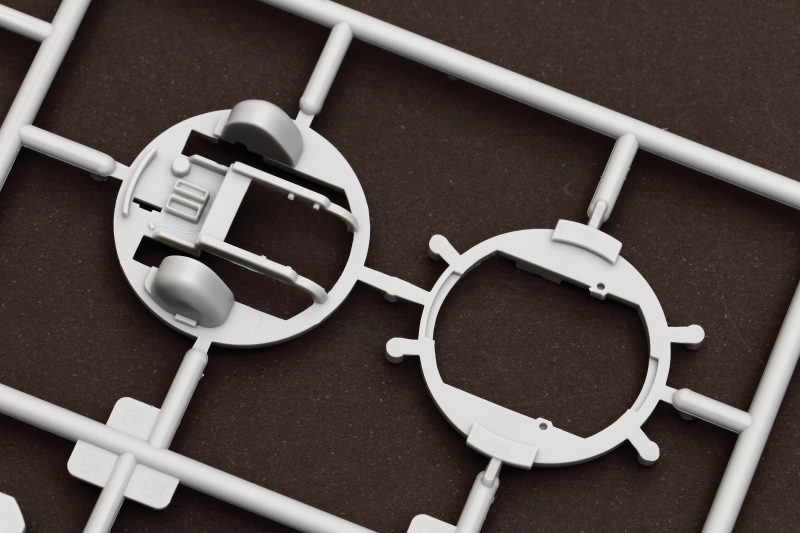
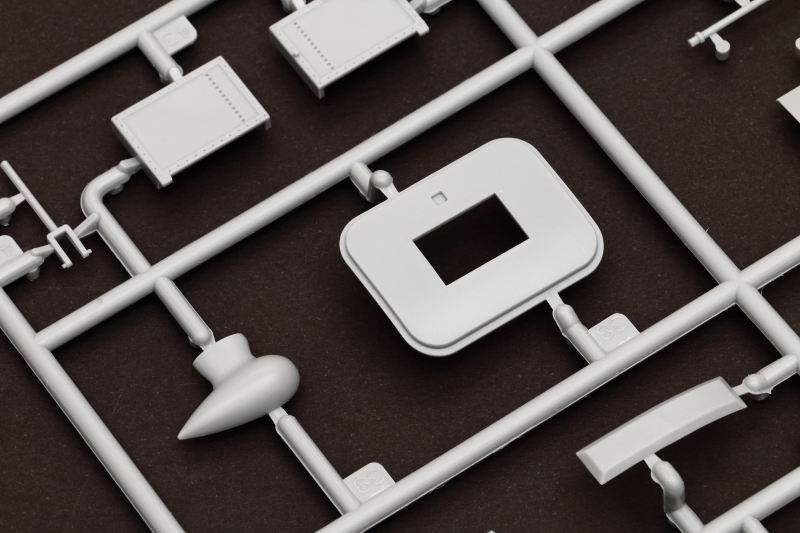
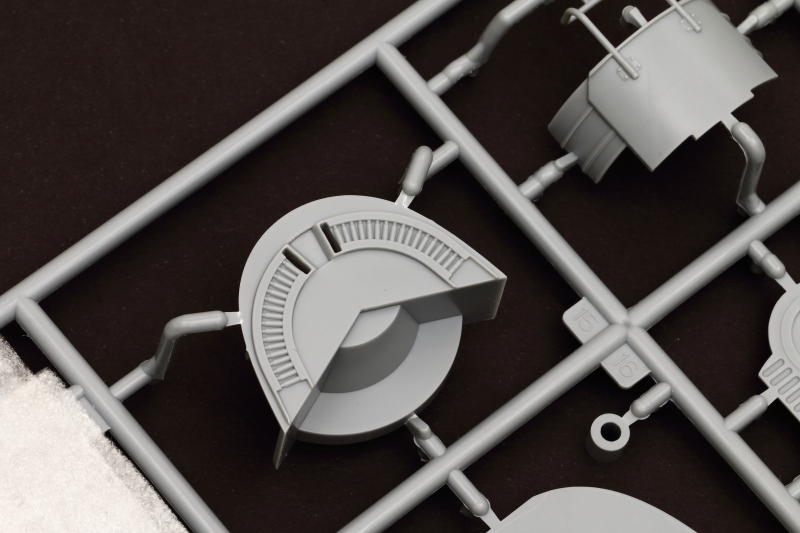
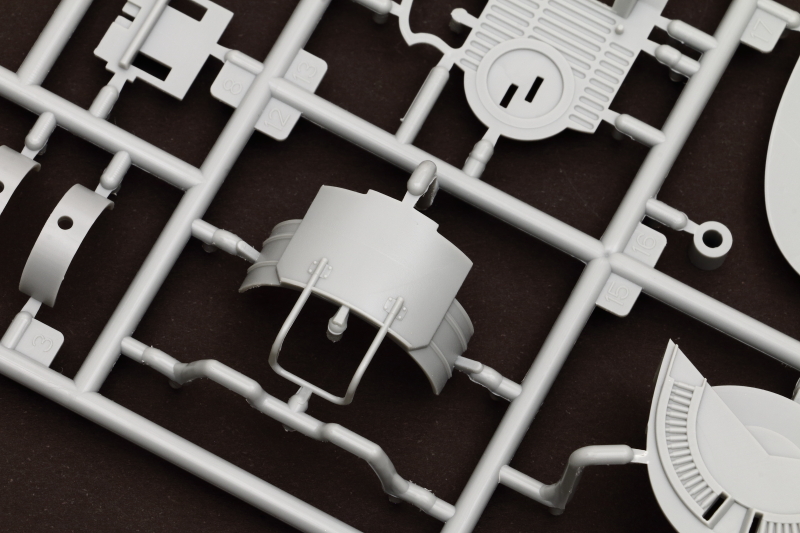
Turret Details (Sprue Q)
More turret internals. Looks good on the sprues, but from photos of assembled parts it looks like things have been 'cramped-up' a little to allow for the clear glazings, which are quite thick.


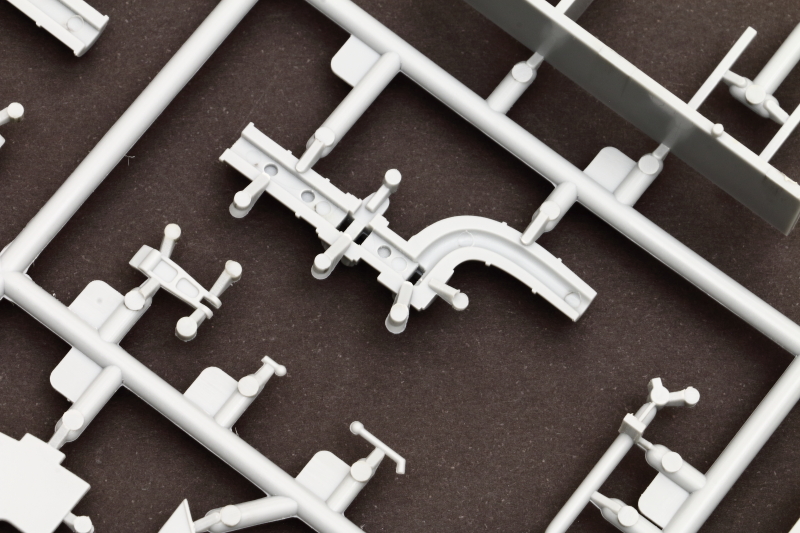
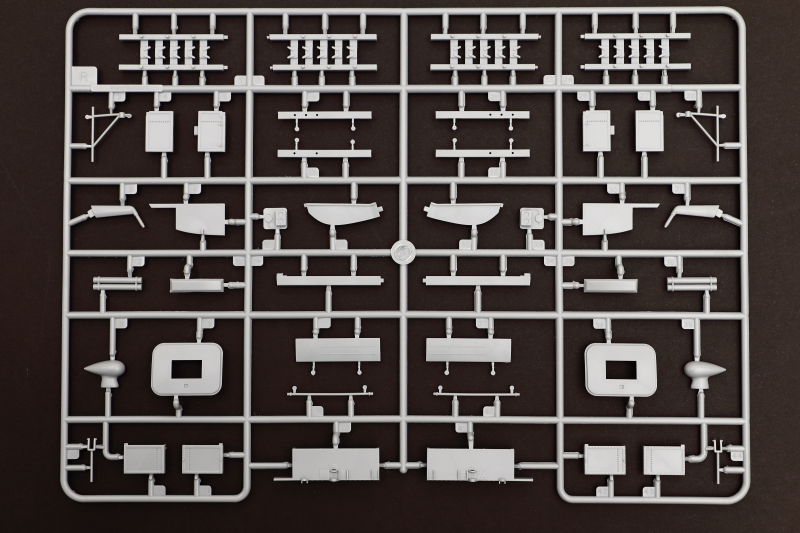
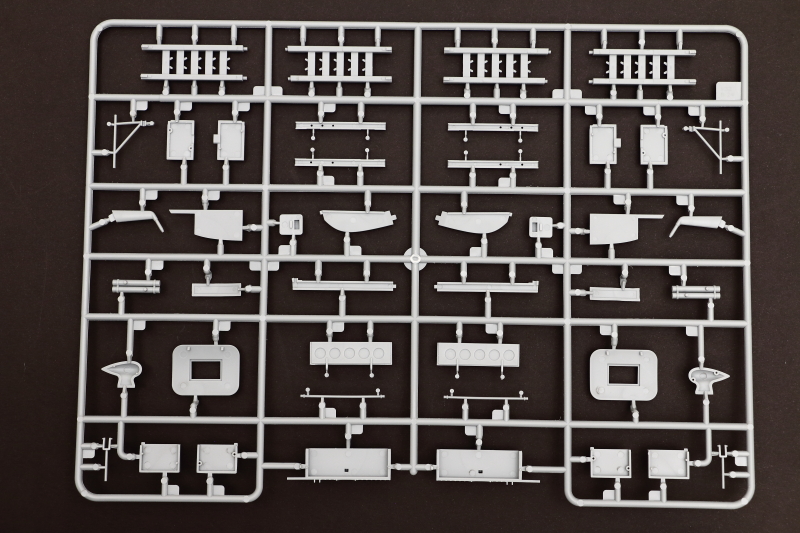
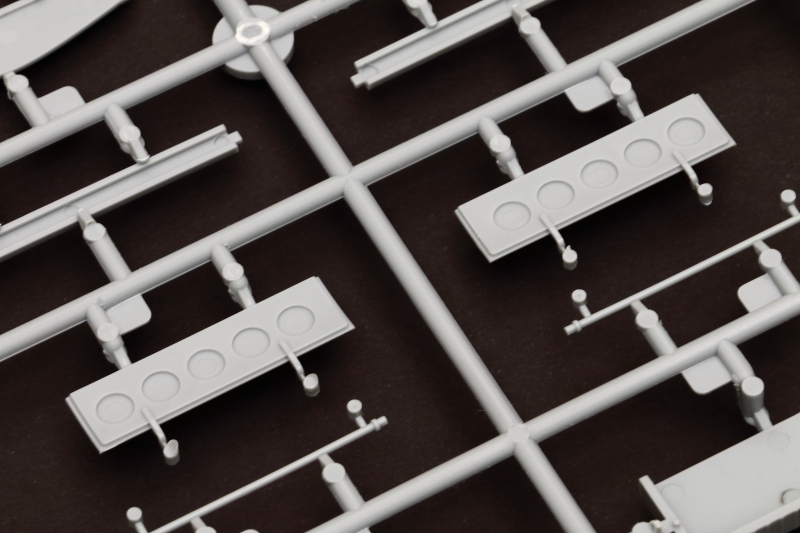
Bomb Racks + Details (Sprue R)
Yes - more internals! I'll just leave at at photos of the parts...
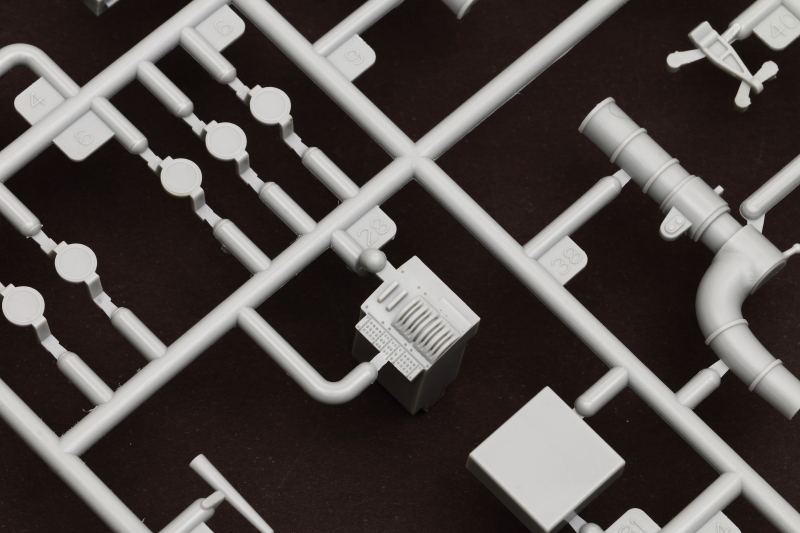
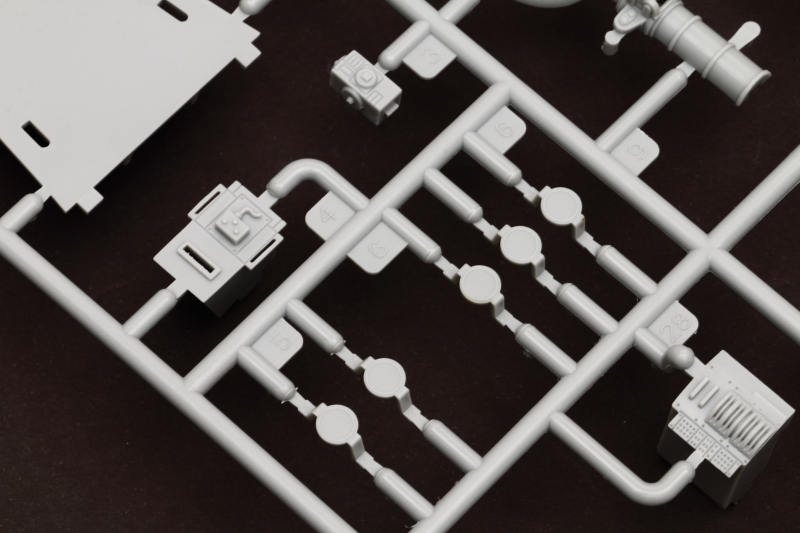
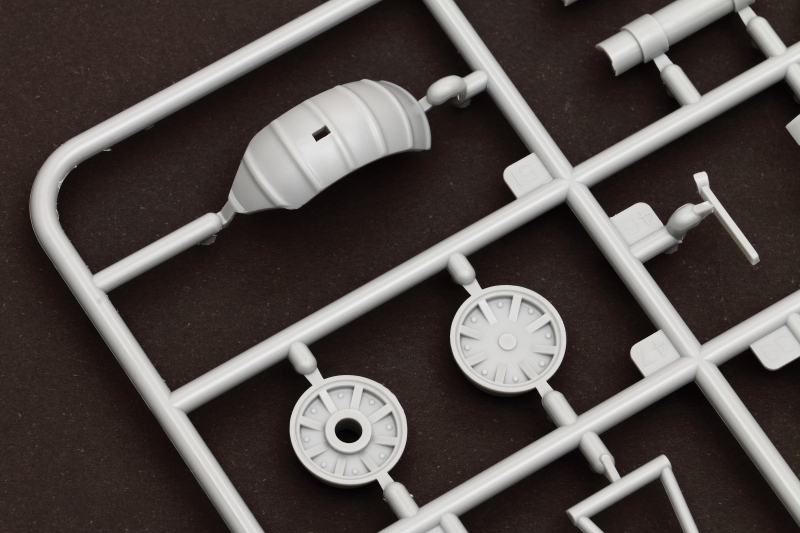
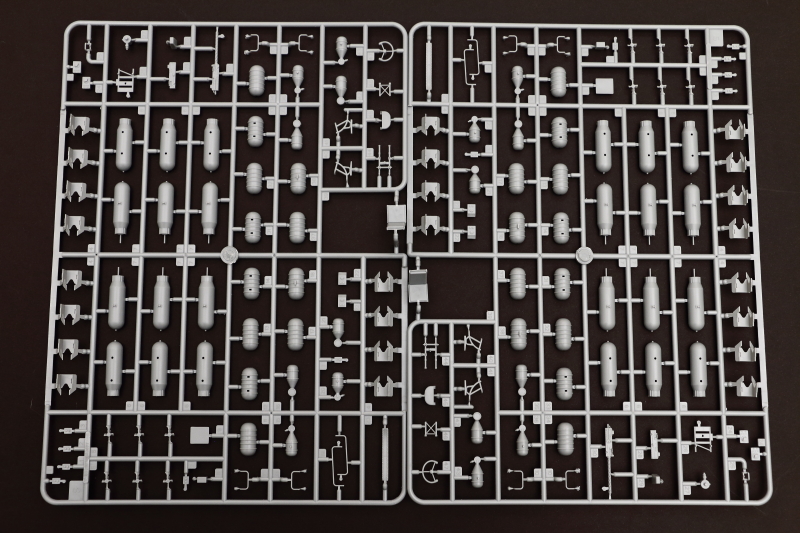
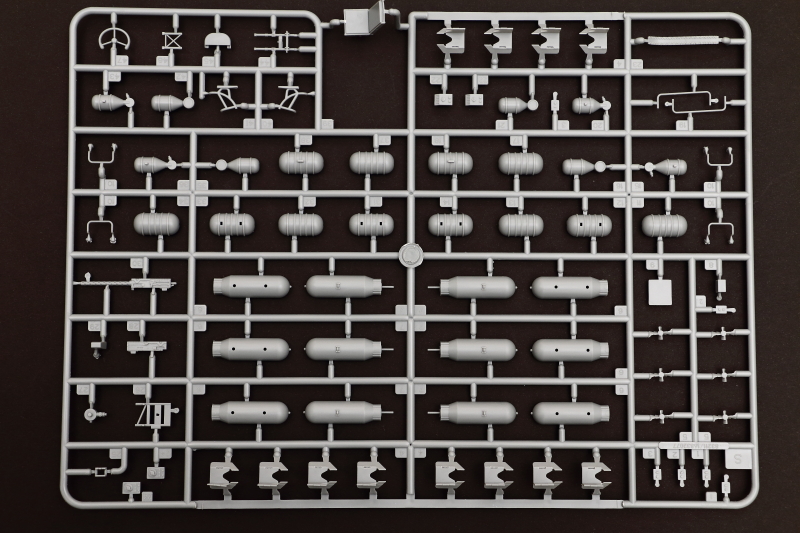
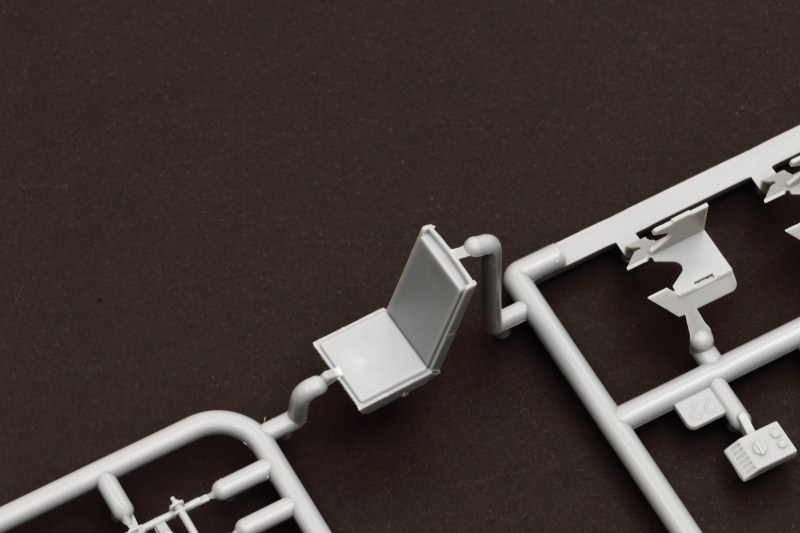
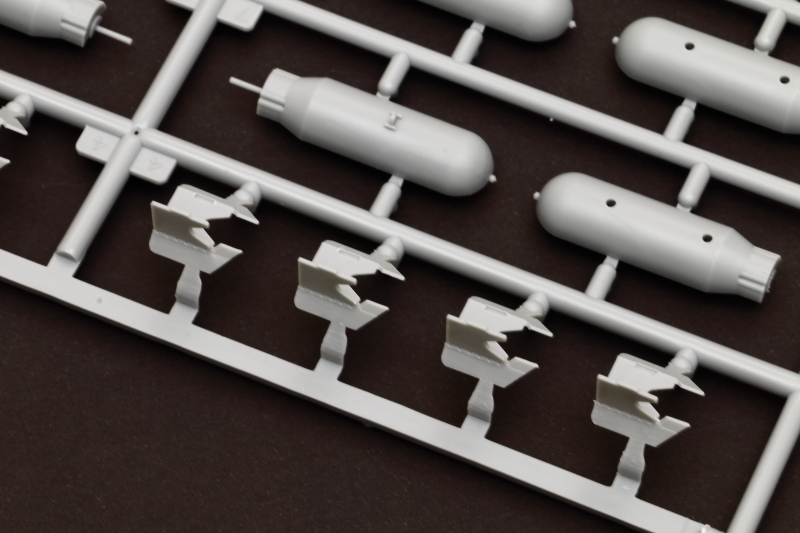
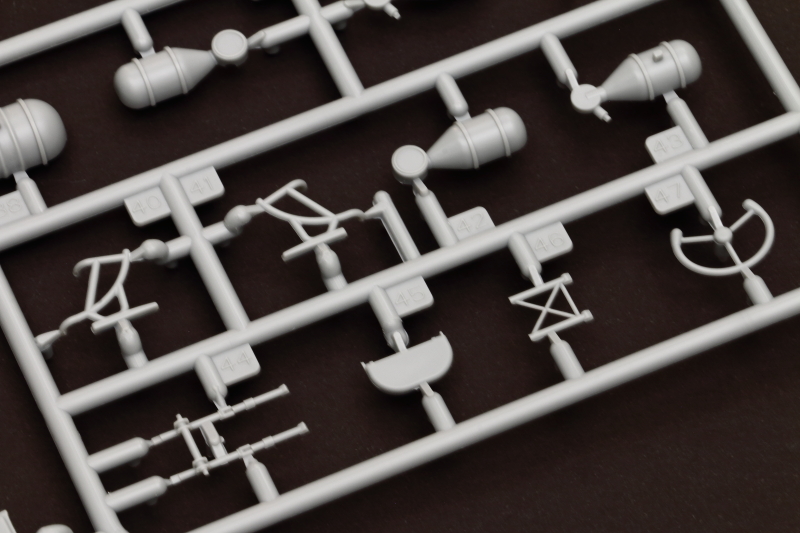
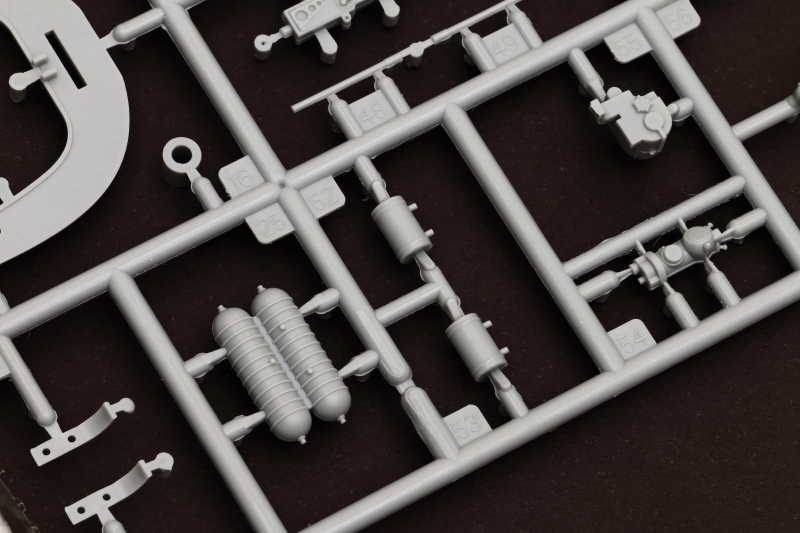
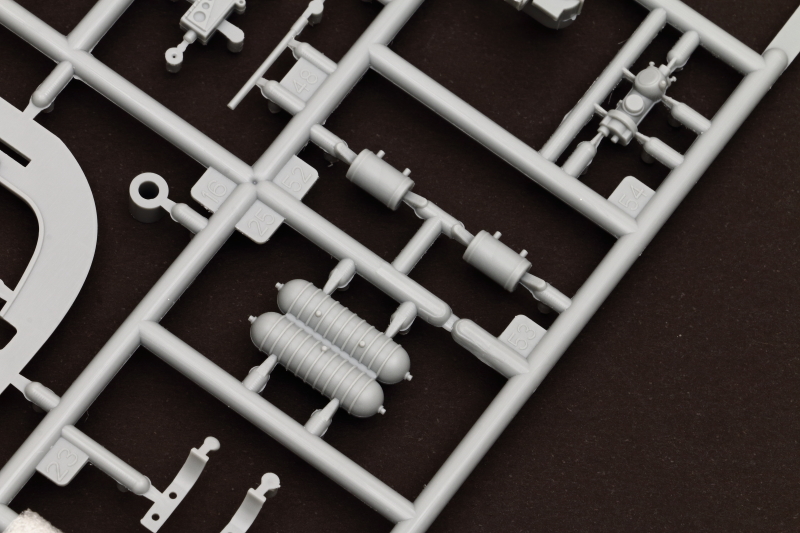
Bombs + Oxygen Tanks (Sprue S)
These look useable, if not quite as nice as their equivalents in the HK B-17 kits.

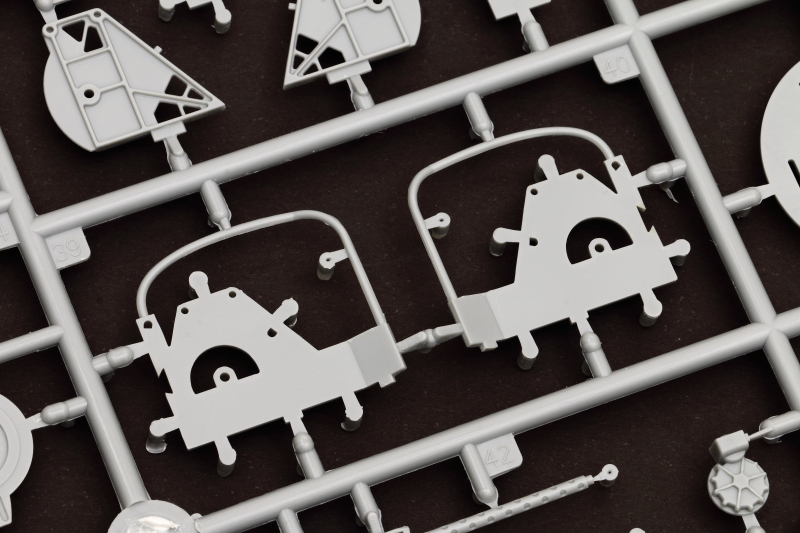
Turret Details (Sprue Z)
As with Sprue Q, more turret internals. Again, all looks reasonably good on the sprues, but from photos of assembled parts it looks like things have been 'cramped-up' a little to allow for the clear glazings, which are quite thick.

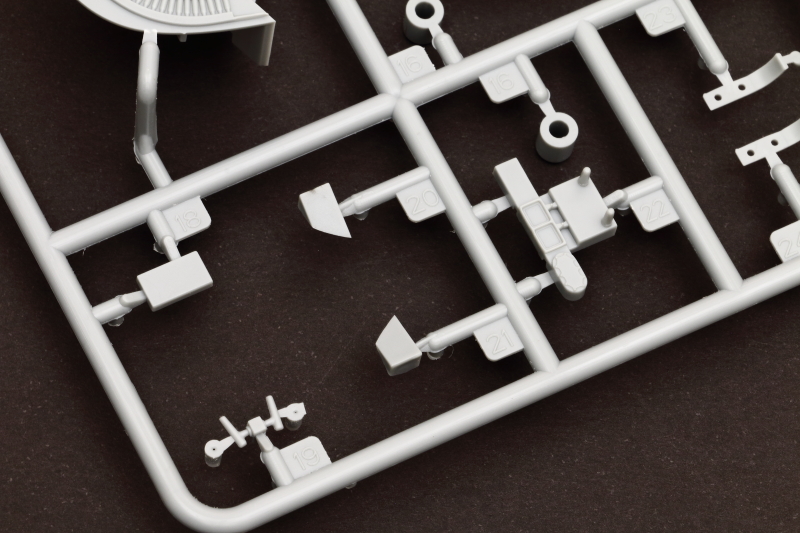
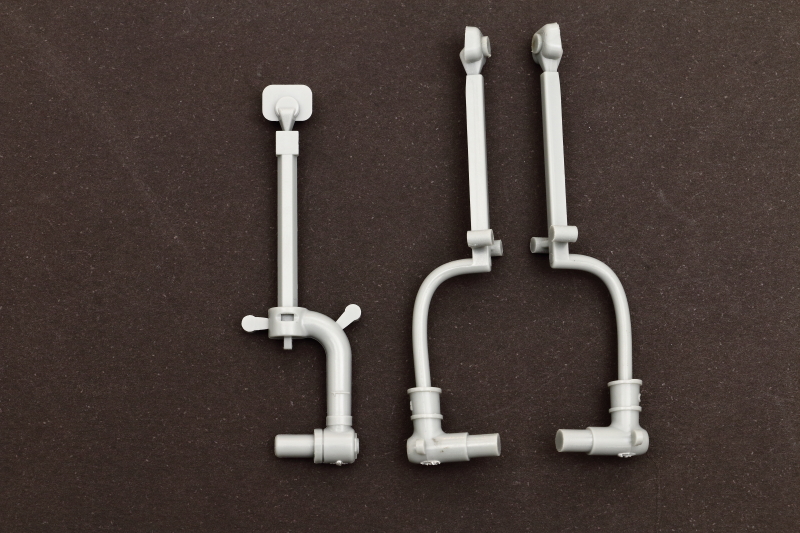
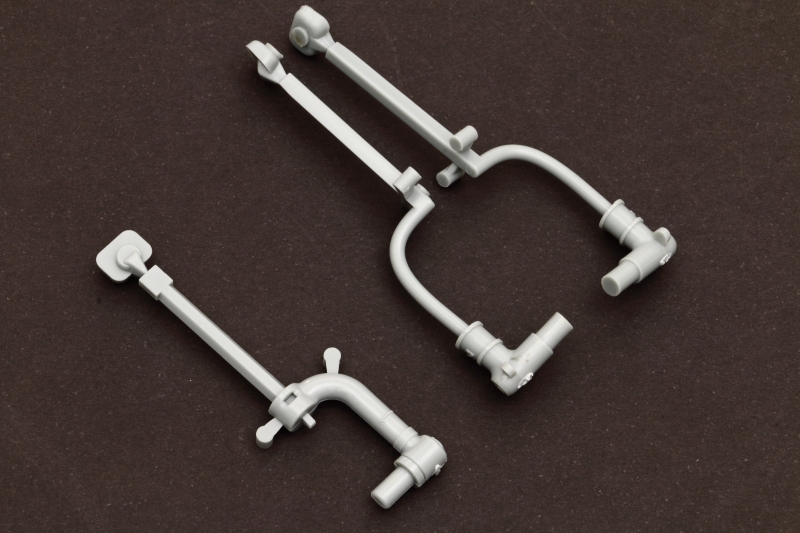
Undercarriage Inserts
These are odd. When we first saw sprue images it looked like these were going to be supplied as metal inserts given their design, but, no, they appear to be normal styrene. Ali at Aerocraft Models has produced a full set of replacement undercarriage leg inserts in brass and we will be publishing a review shortly.
Viewed from the front I think the curve on the main legs is slightly awry, but I think it can be fixed relatively easily.
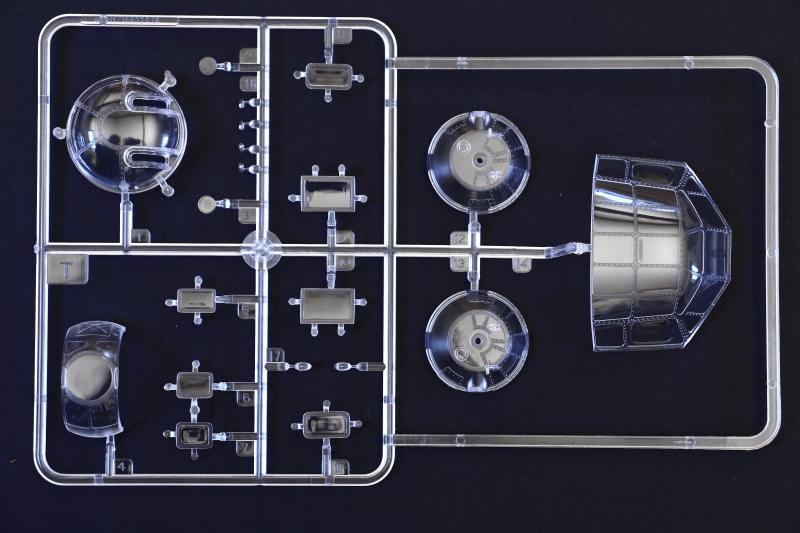
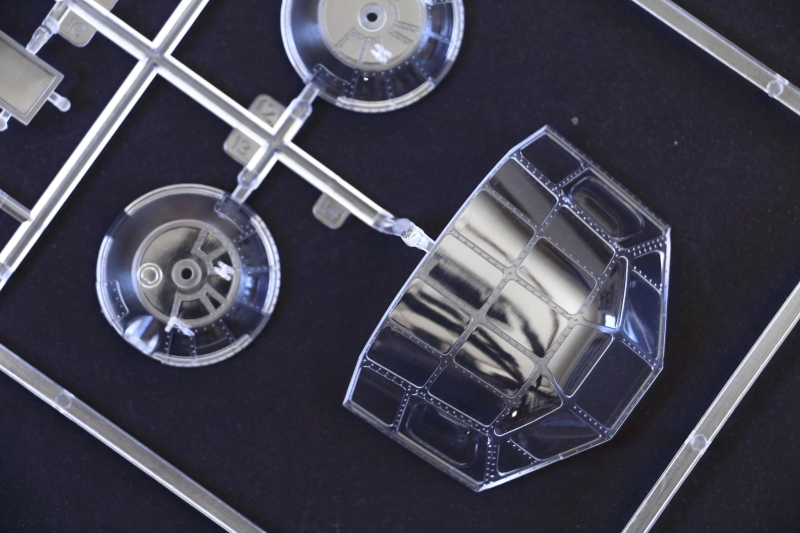
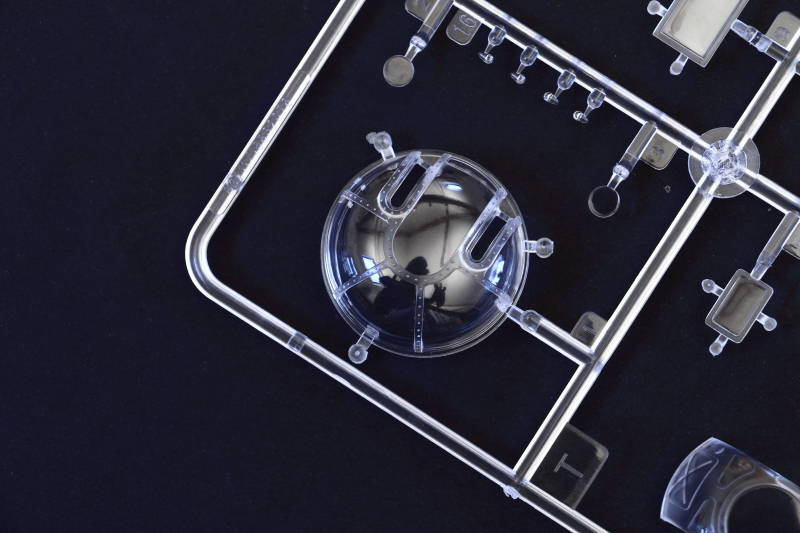
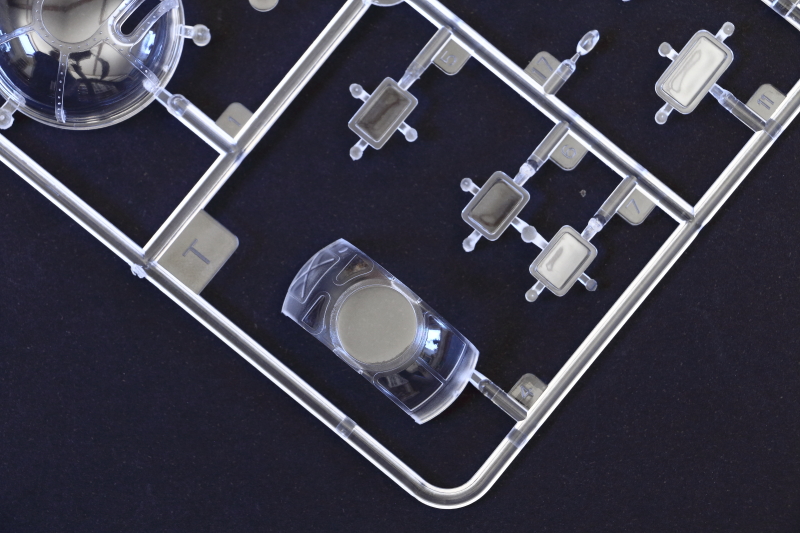
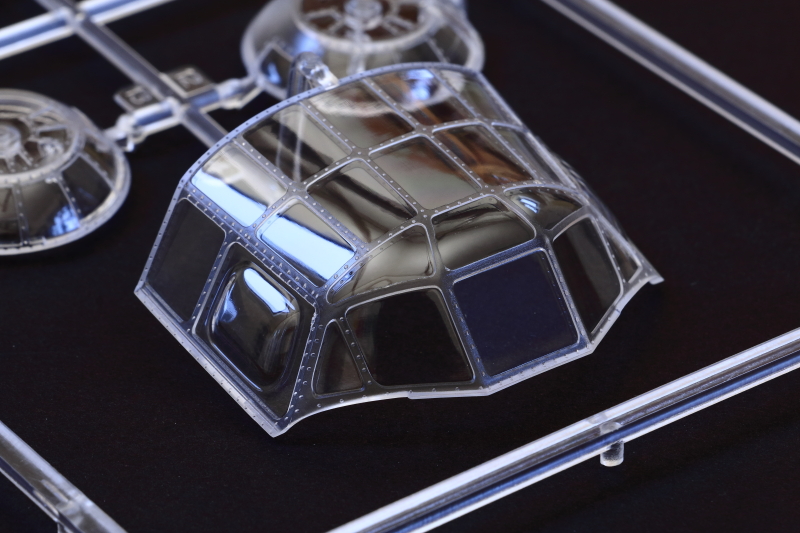
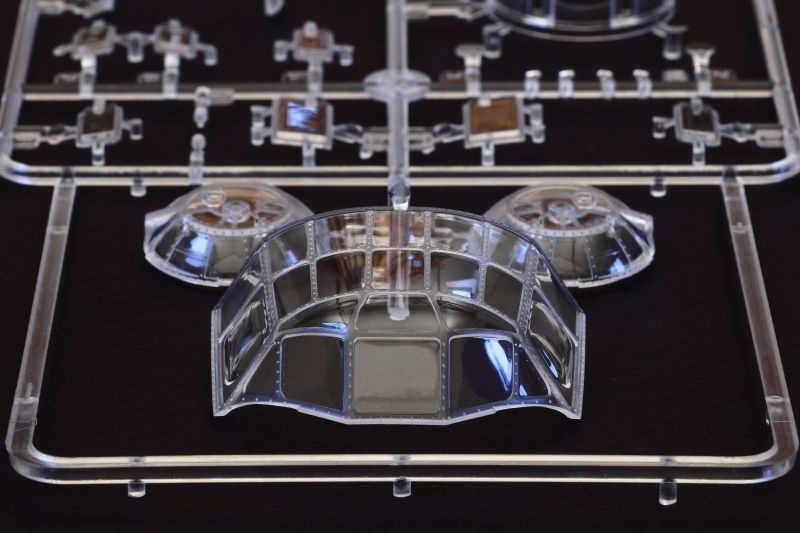
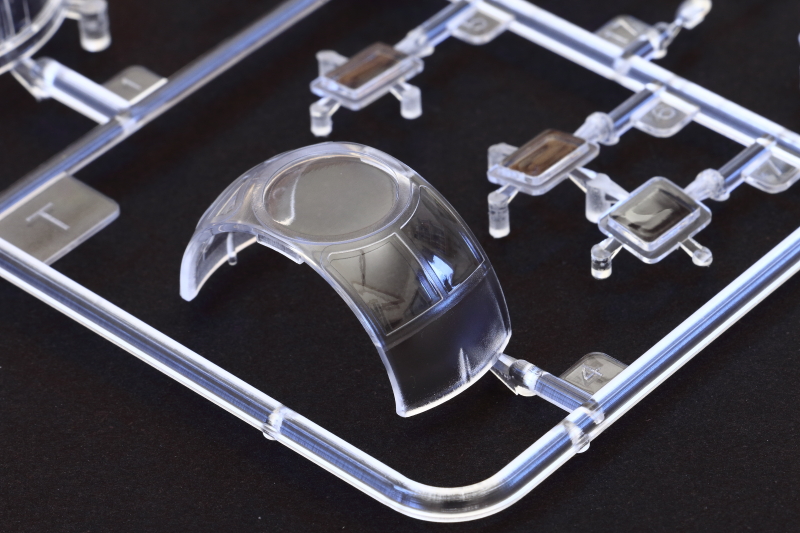
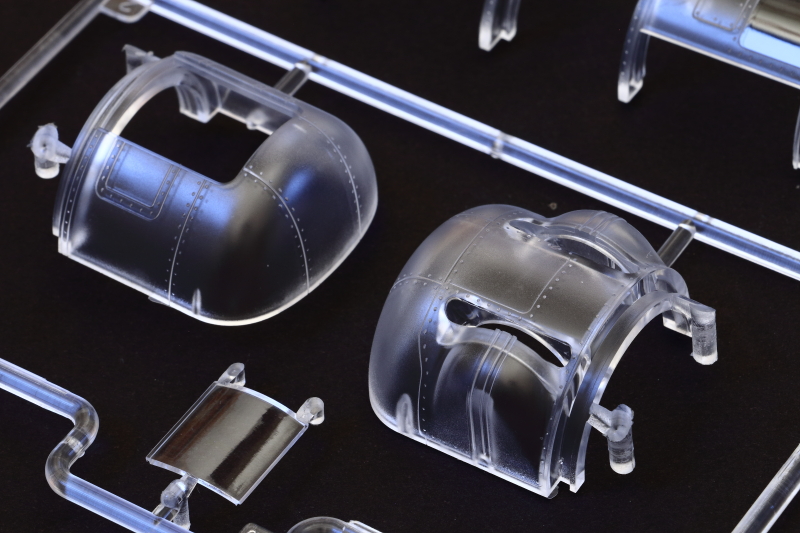
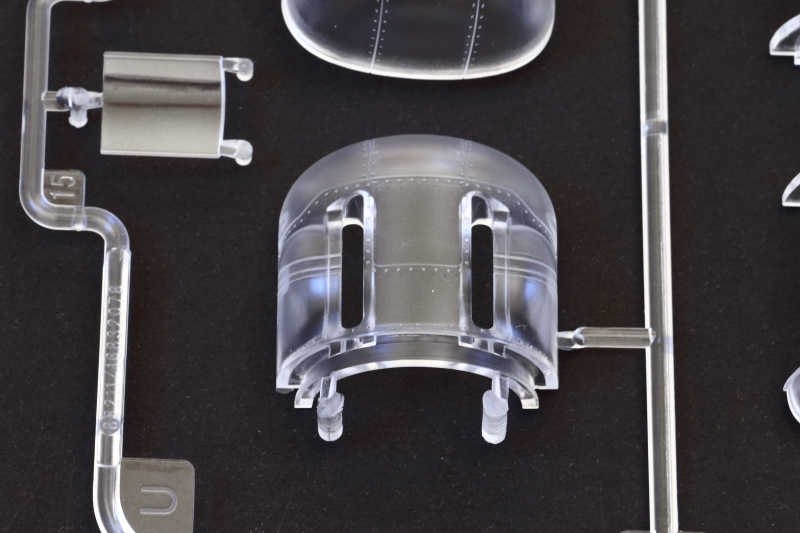
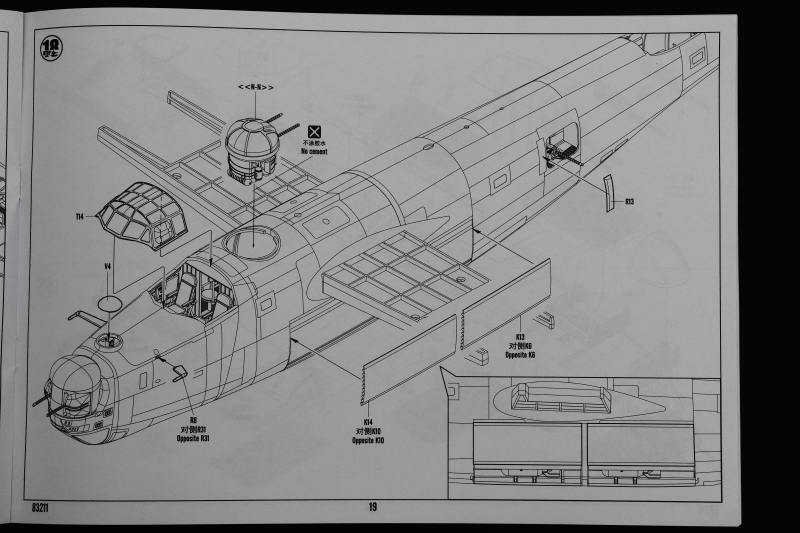
Transparencies (Sprue T)
Sprue 'T' provides some nice, clear mouldings for the main canopy, dorsal turret and ball turret. Moulding is very clean and the shapes look OK in the main - but the dorsal turret seems to be a mix of A3C and A3D types - see notes from author Alan Griffith in the 'Conclusion' section at the end of this article.
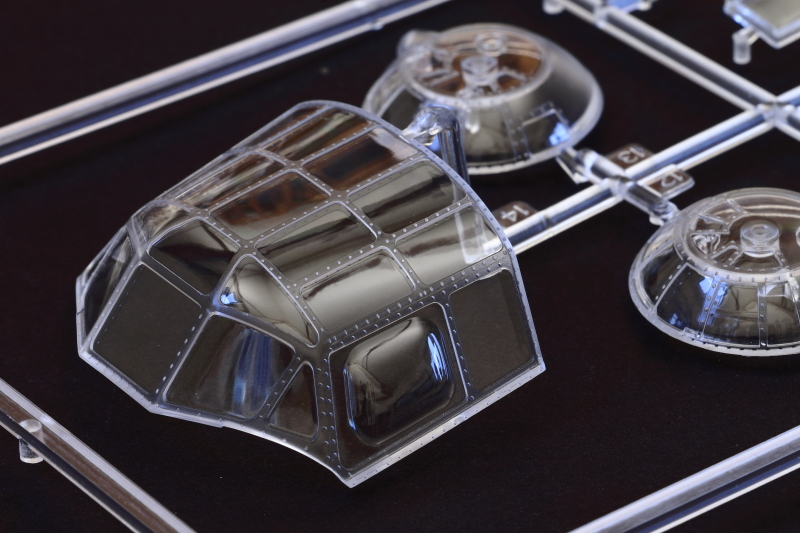
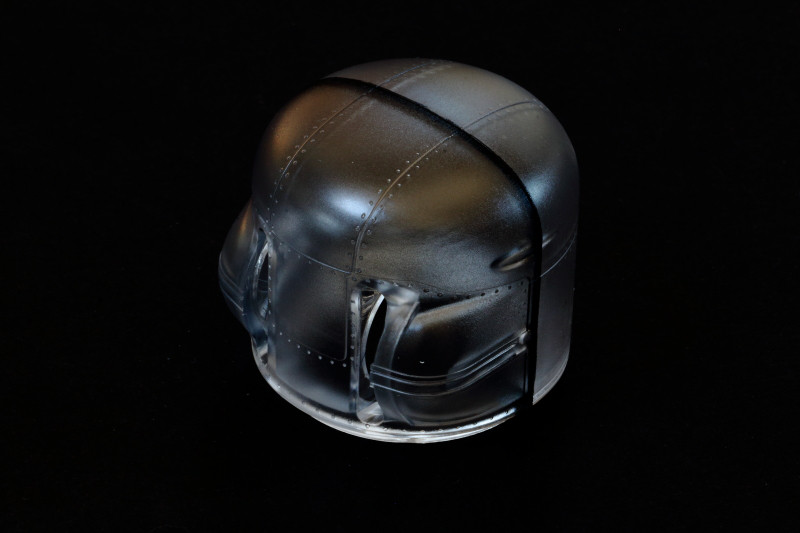
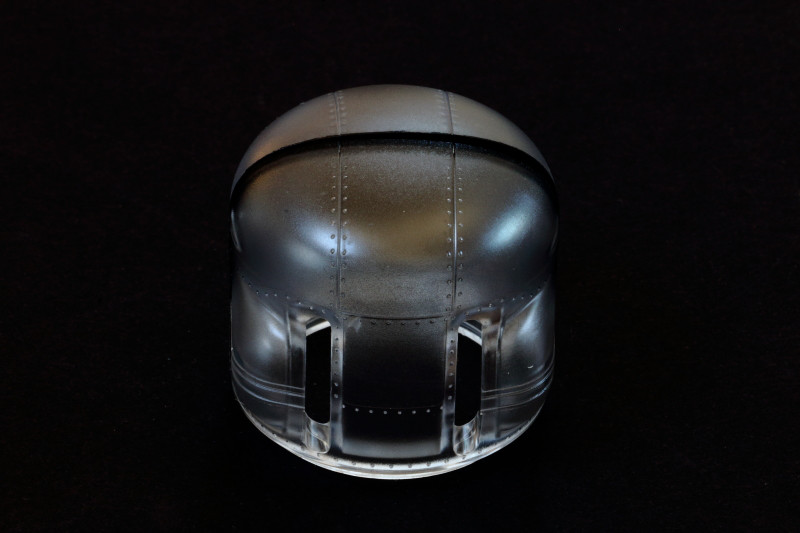
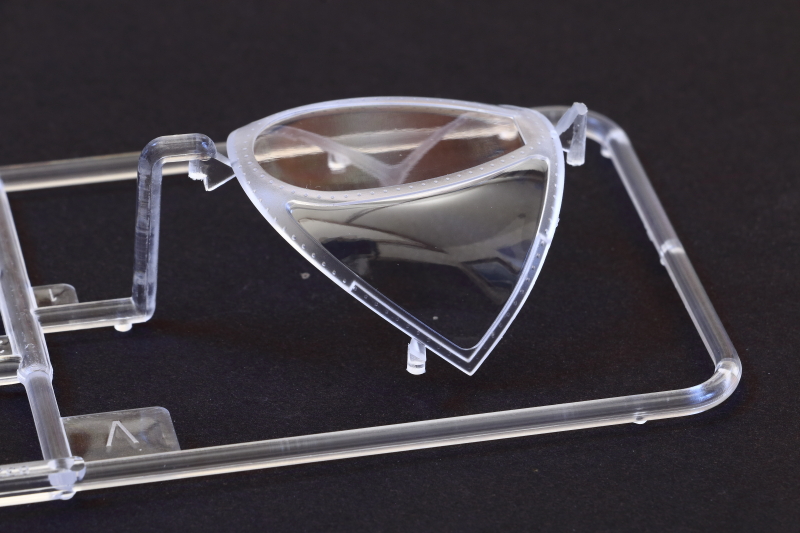
Transparencies - Turrets (Sprue U)
Sprue 'U' provides clear mouldings for the the nose Emerson and tail A6C turrets. As widely discussed - both turret types have joints which run straight across areas that should be single, clear sections on the originals. The shapes look a little out and sections of the Emerson turret that should be 'sparkly' clear appear frosted. The Emerson turret also has some shape issues which I'll be addressing as part of my long-term build. Again, see notes from author Alan Griffith in the 'Conclusion' section at the end of this article.
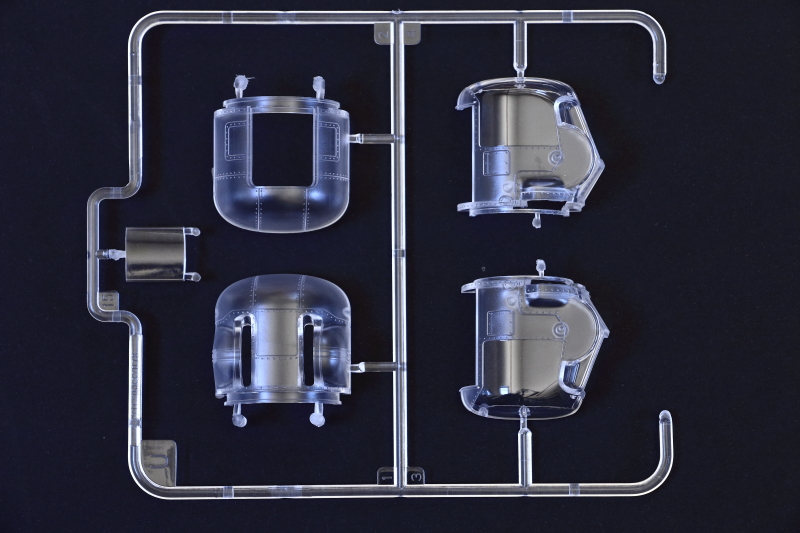
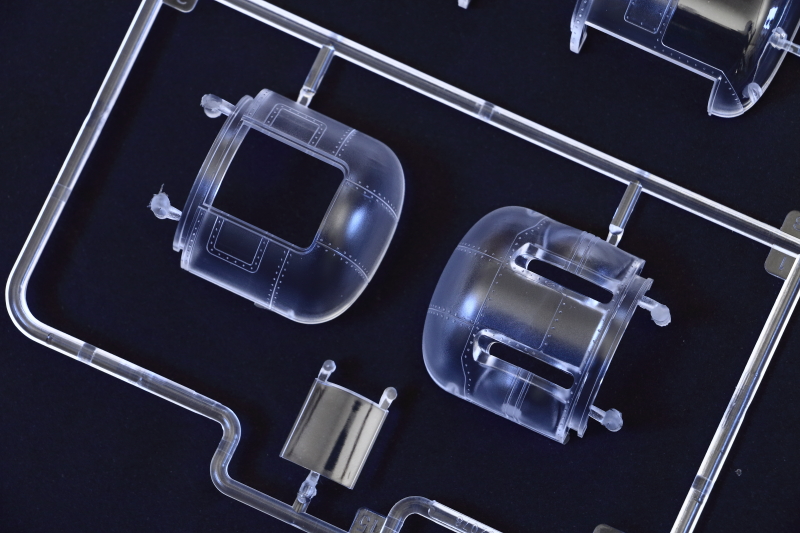
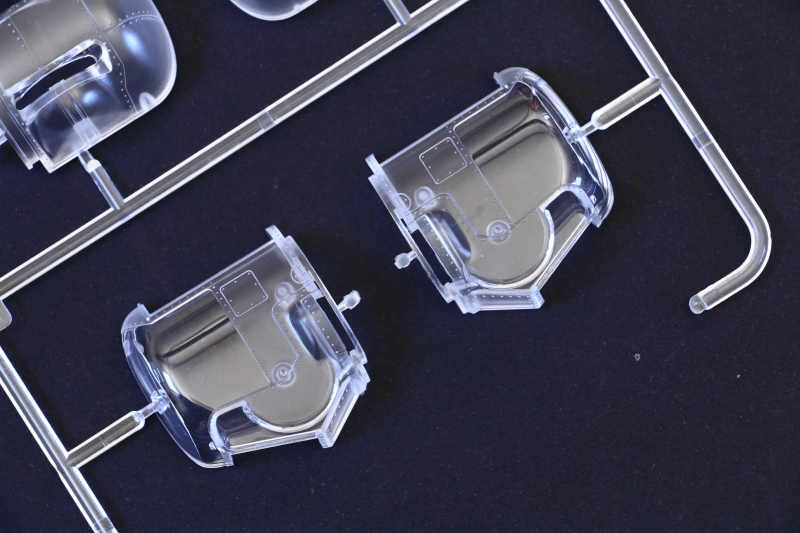
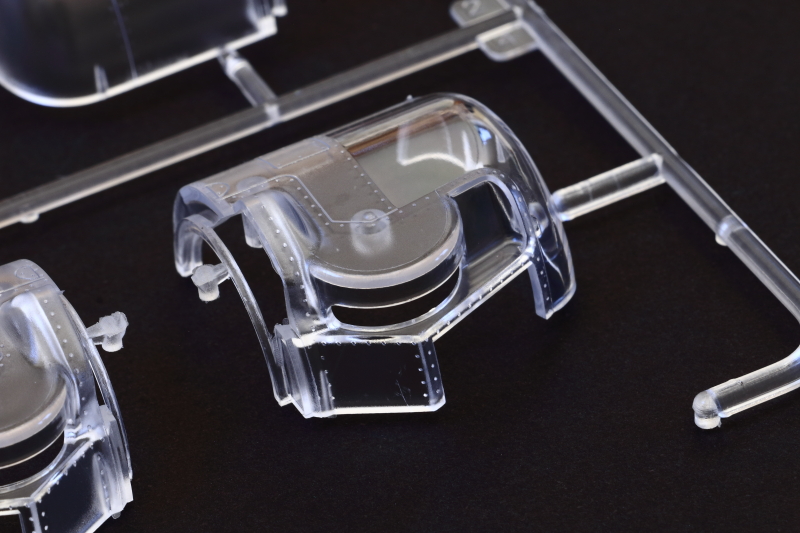
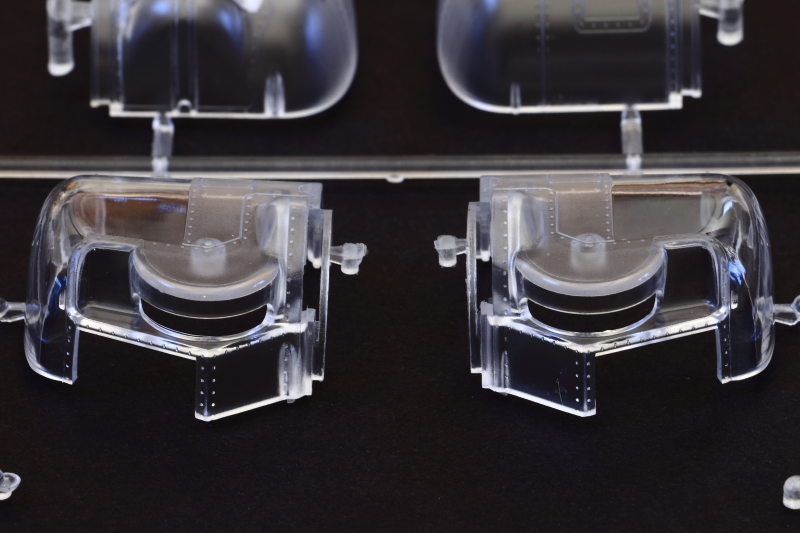
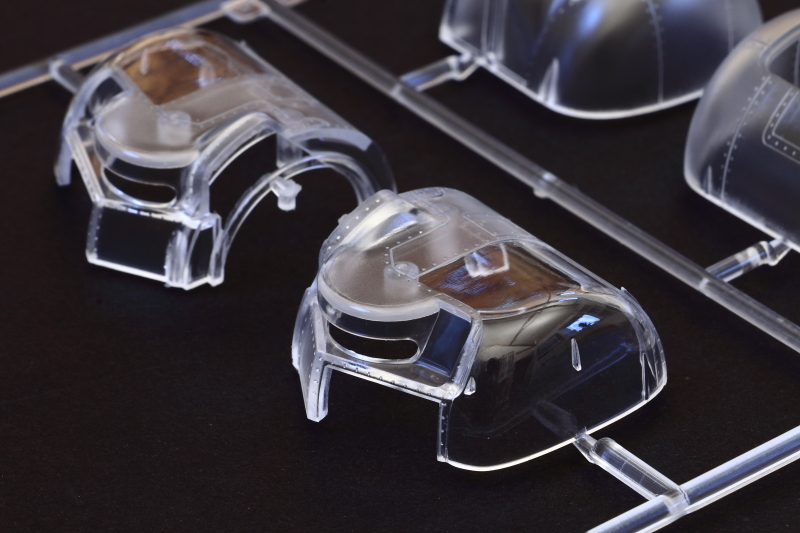

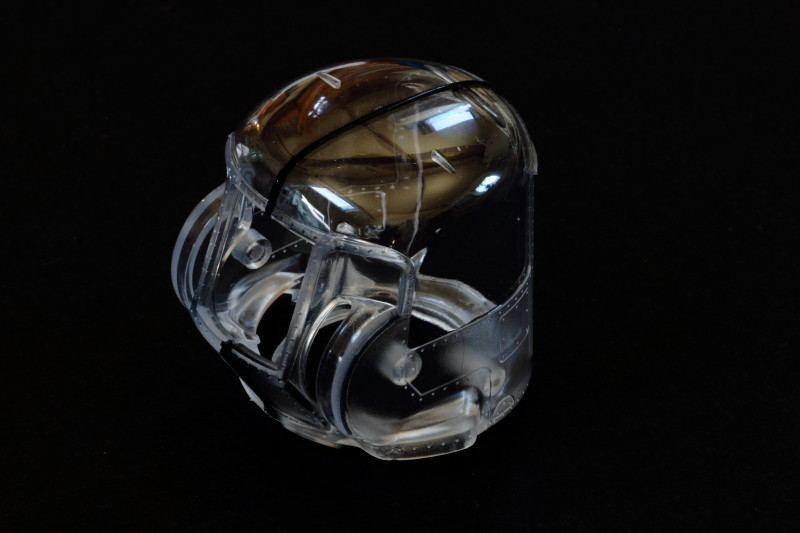
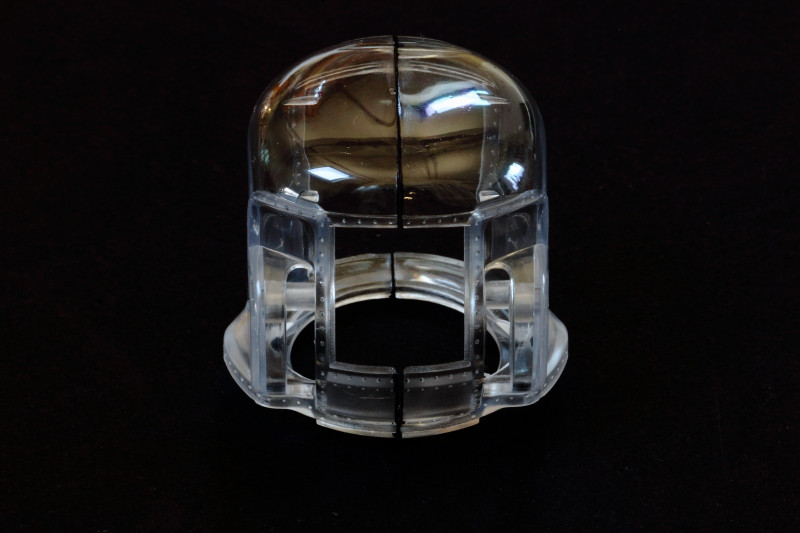
Some quick images of the 'assembled' turrets:

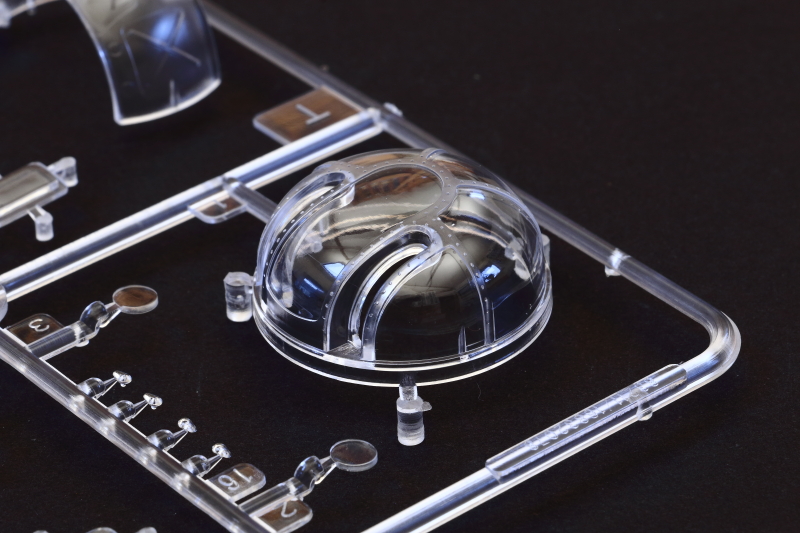
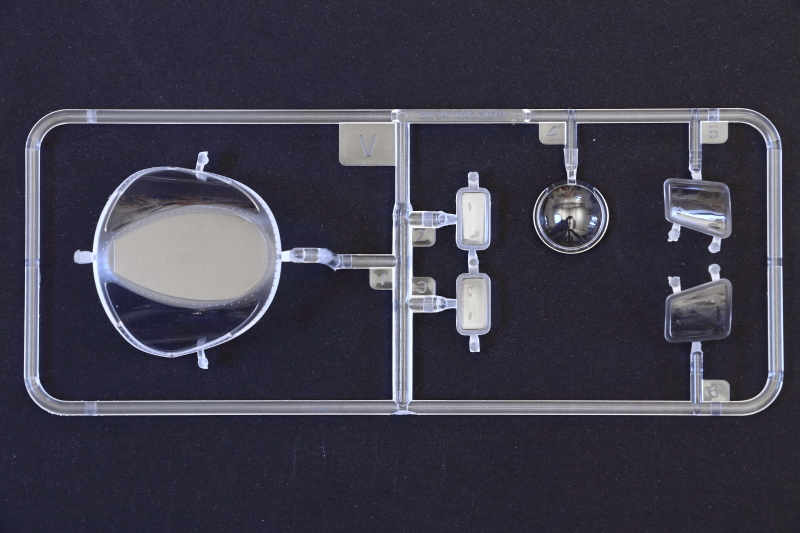
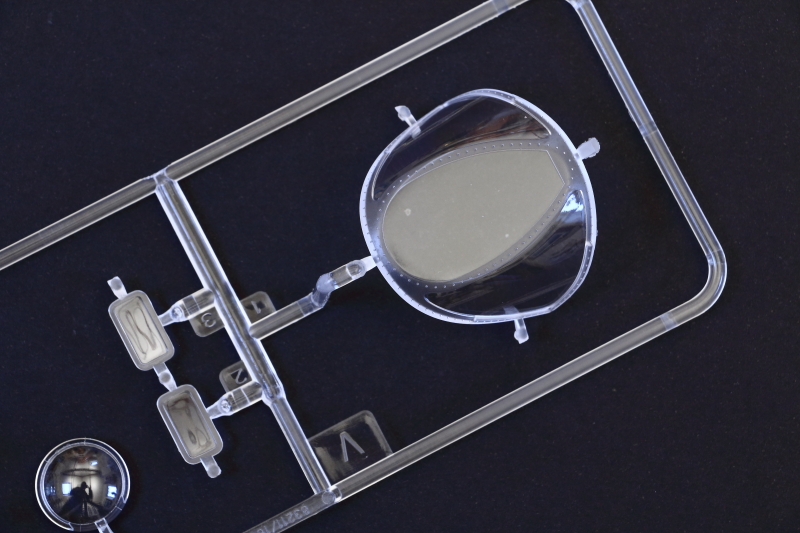
Transparencies (Sprue V)
Sprue 'V' provides clear mouldings for the lower-nose bomb-aimers' section, astrodome and 4 fuselage side windows. With regard to the bomb-aimers' section there were multiple different types, so you'll need to refer to period photos to decide which airframes this type applies to.
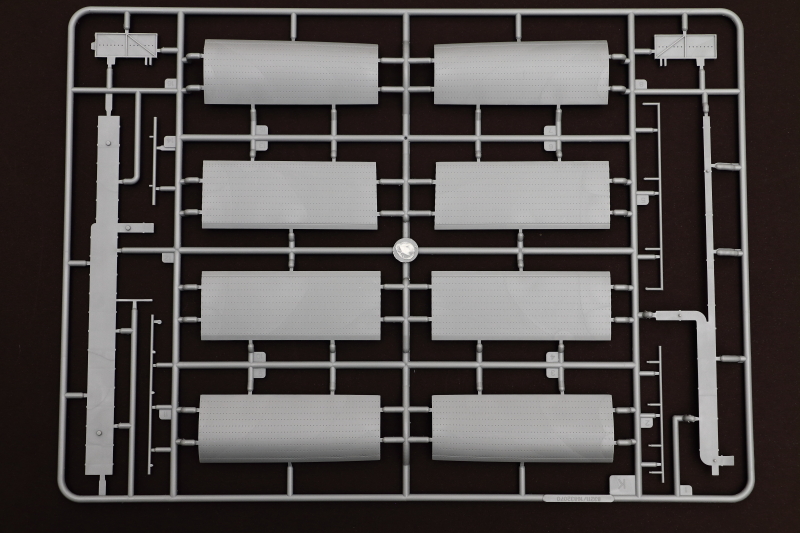
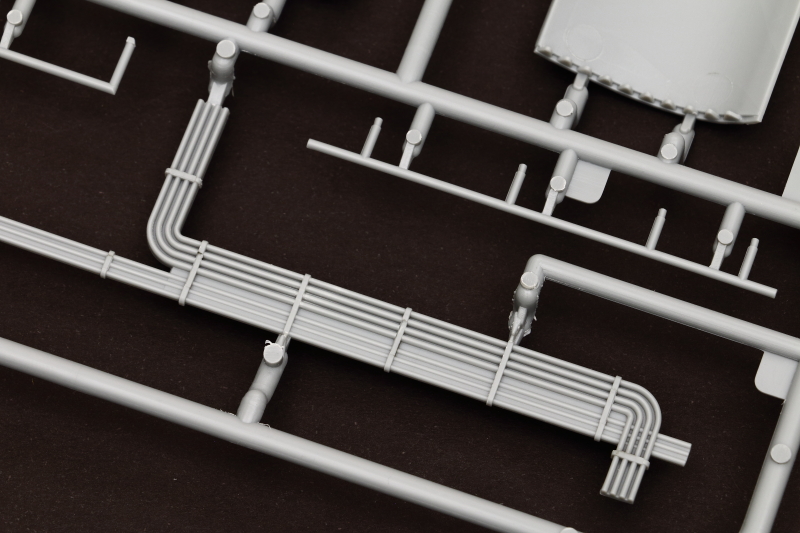
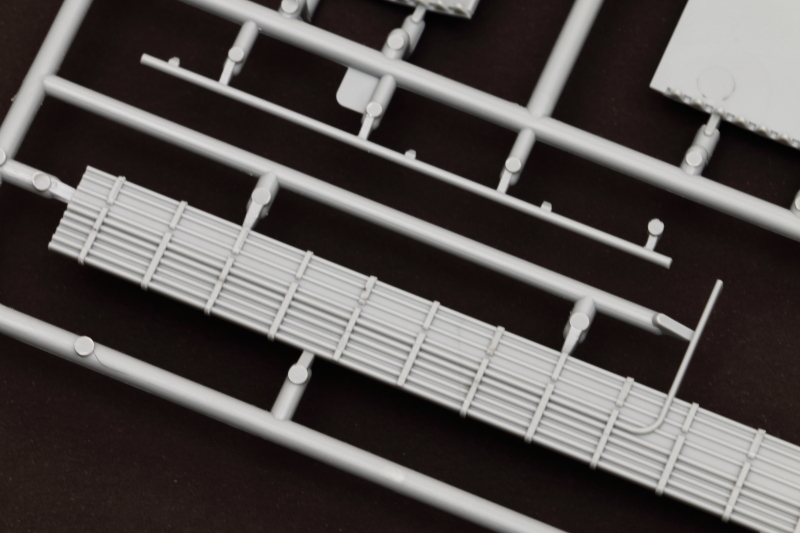
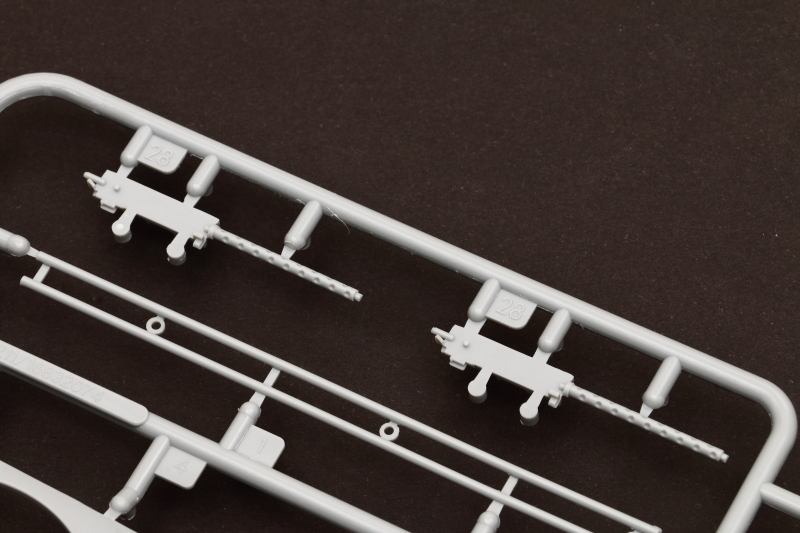
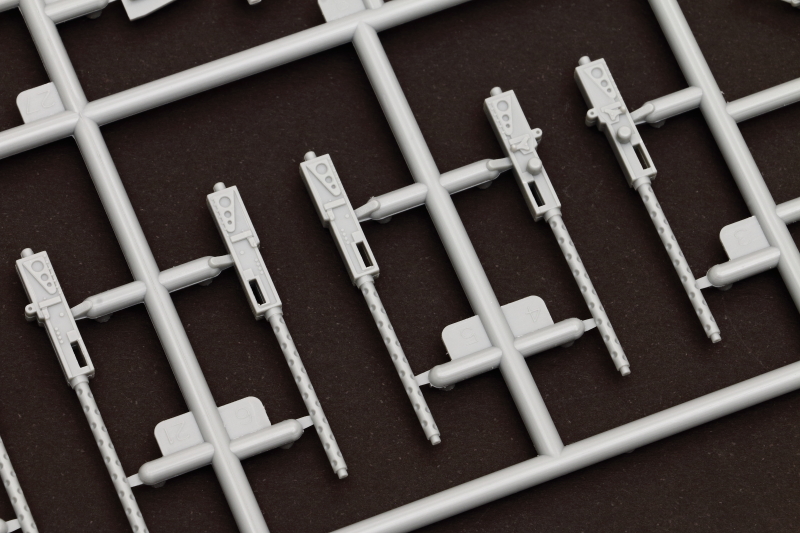
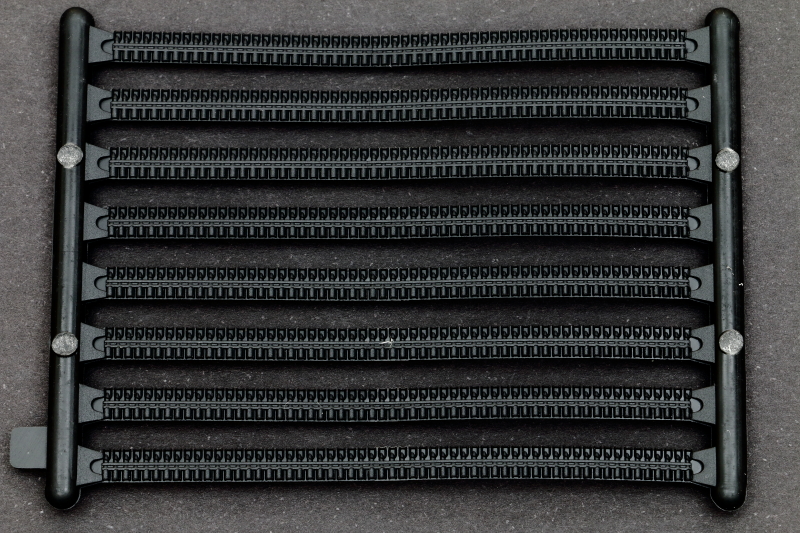
Ammunition Runs (Sprue X1)
Theses are moulded in a 'soft' type plastic and are flexible. They look useable - but won't be seen on the final model anyway.
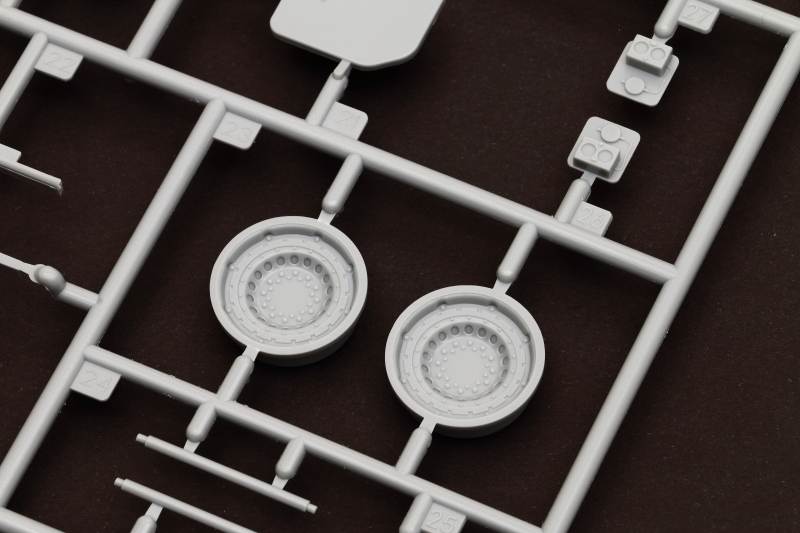
Tyres
Again, moulded in a soft plastic 'rubber' these are poor - and appear to be oversize in diameter; they won't fit in the undercarriage openings in the kit wing! I'm replacing those in my builds with Eduard Brassin mainwheels designed for the HK Models B-17s as they are of the correct size and type. I haven't measured the nose-wheel tyre yet - but the styrene hubs are poor, so I'll be replacing those too.
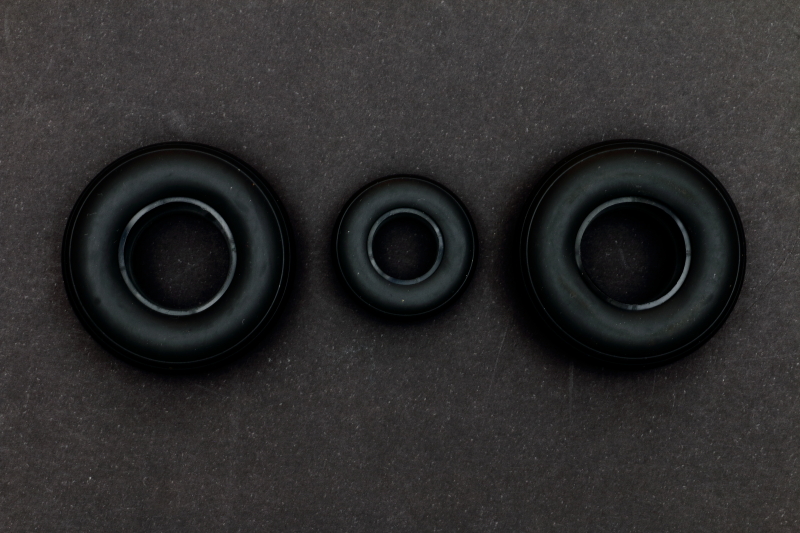
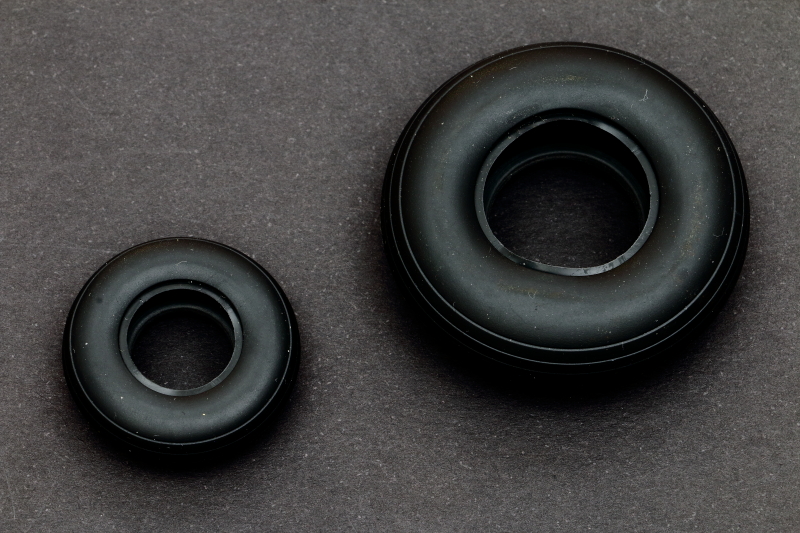
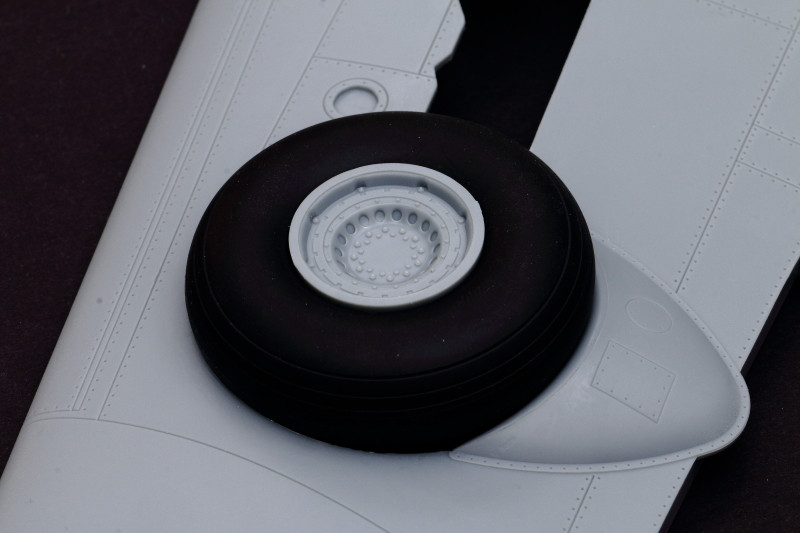
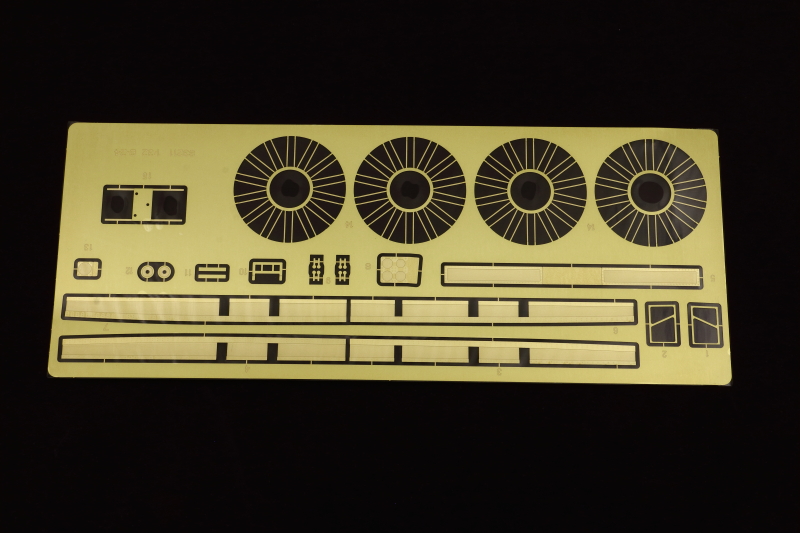
Photo-Etch
The kit includes a single sheet of photo-etch brass that provides parts for the bomb bay, engine ignition harnesses and a few other details.

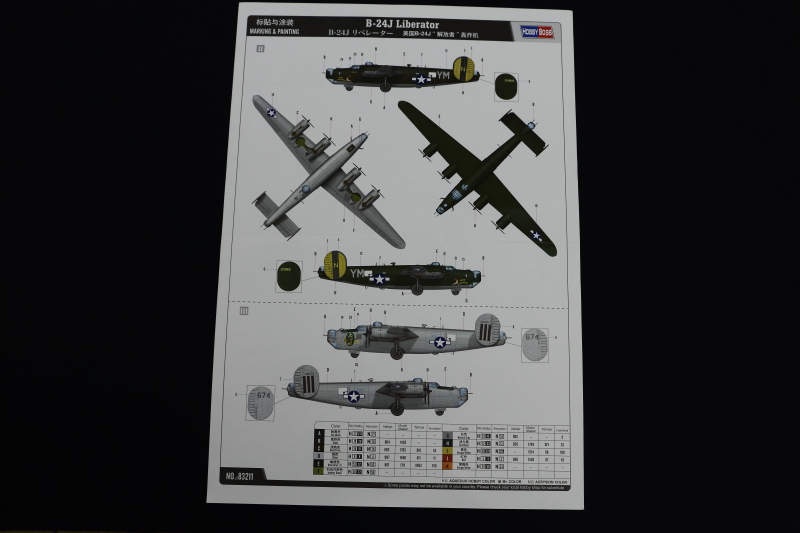
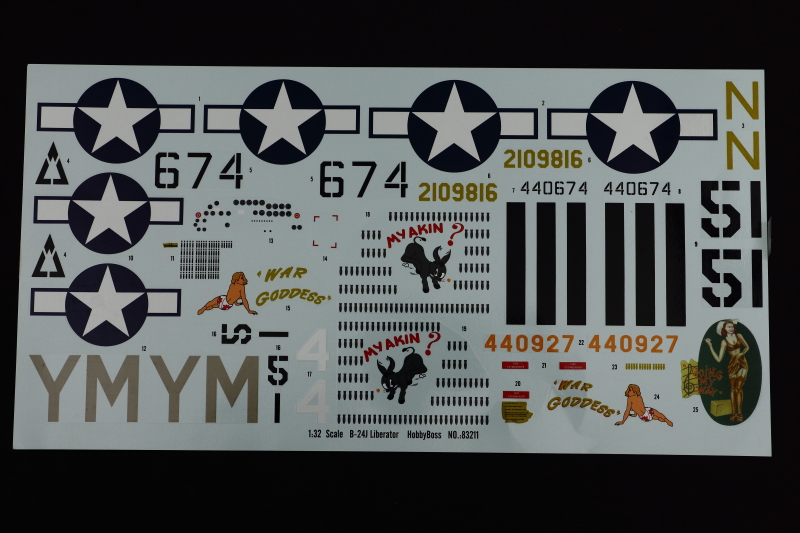
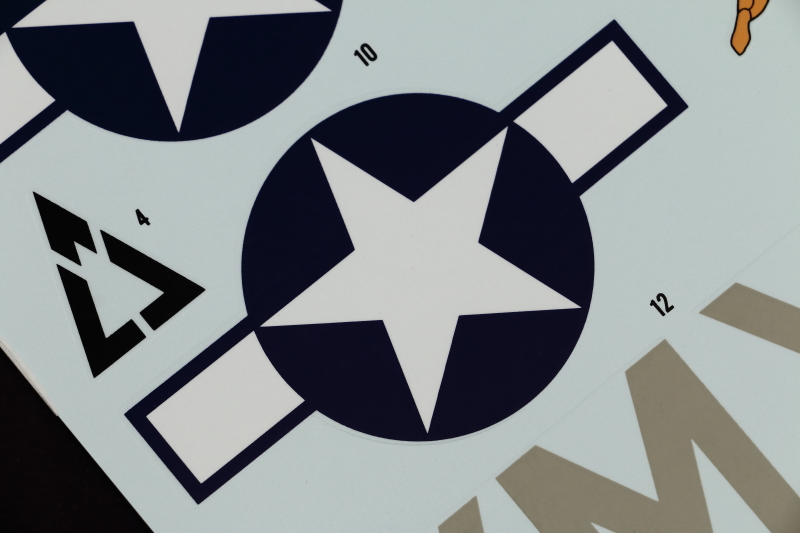
Markings and Decals
Markings are provided for 3 options:
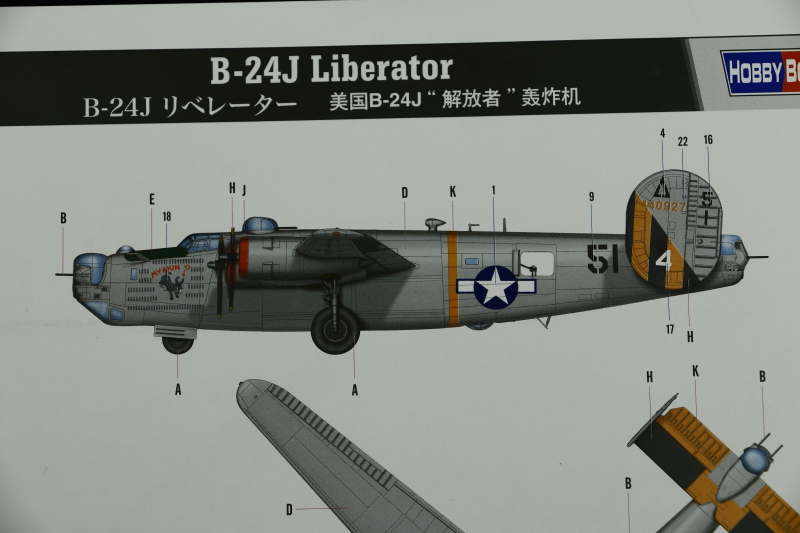
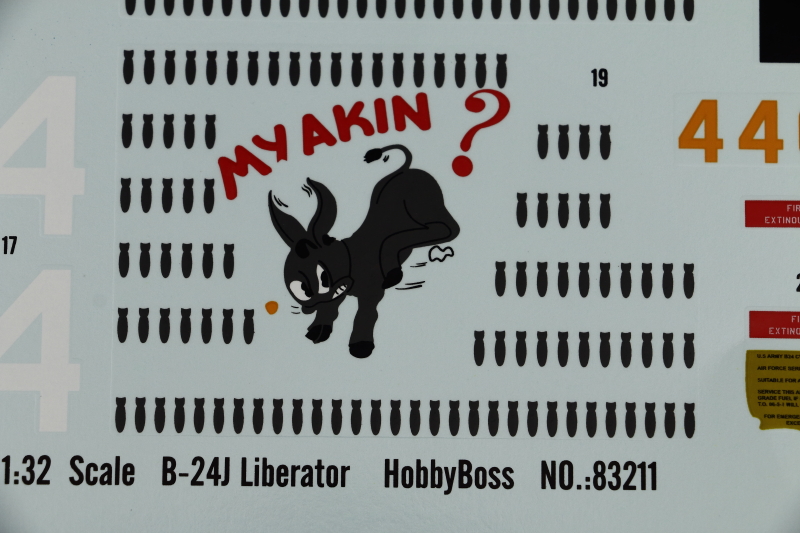
- I Natural Metal B-24J-185-CO 44-40927 51 'MY AKIN ?' flown by Cap. James L. McLain of the 722nd BS, 450th BG - https://www.markstyling.com/b24s.03.htm and http://www.450thbg.com/real/aircraft/myakin.shtml
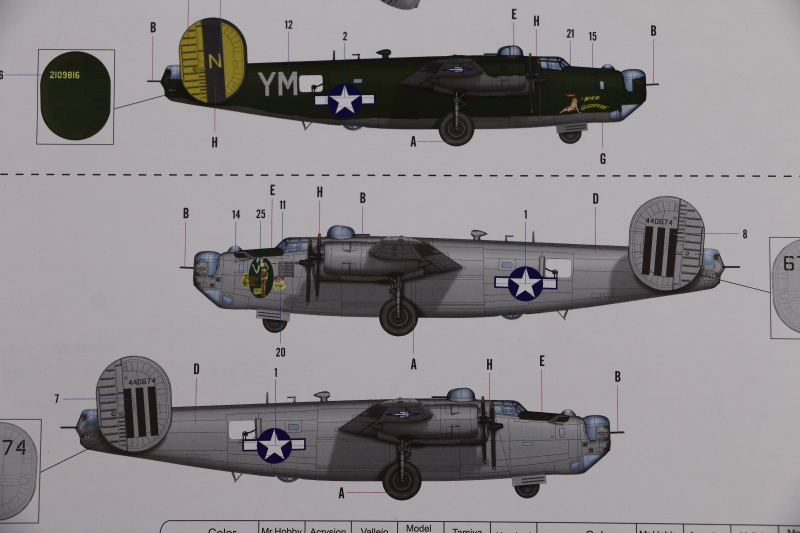
- II Olive Drab over Grey B-24J-105-CO 42-109816 "War Goddess" - 93BG, 409BS, Hardwick, Stn 104 - http://www.b24bestweb.com/wargoddess1.htm, http://www.b24bestweb.com/wargoddess2.htm, http://www.b24bestweb.com/wargoddess3.htm, http://www.b24bestweb.com/wargoddess4.htm, http://www.b24bestweb.com/wargoddess5.htm and http://www.b24bestweb.com/wargoddess6.htm
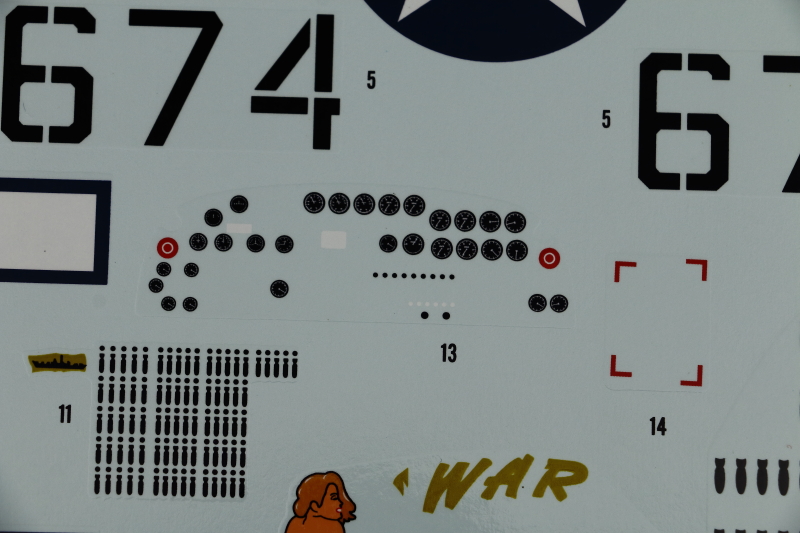
- III Natural Metal B-24J-175-CO 44-40674 “Going My Way” of the 11th Bomb Group, 431st Bomb Squadron - https://www.worldwarphotos.info/gallery/usa/aircrafts-2-3/b-24-bomber/b-24j-674-44-40674-going-my-way-11th-bg-431st-bs/
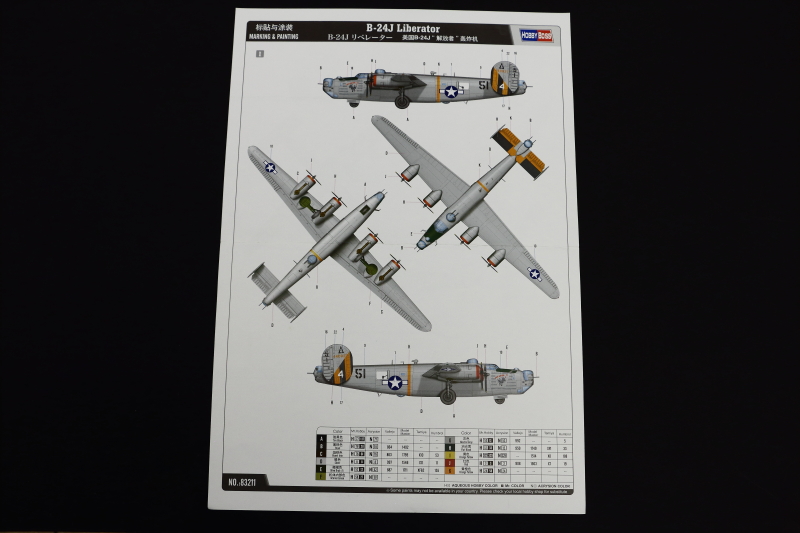


Instructions
The instruction booklet is clear and concise, but could have done with more detailed info on colours.
Thoughts on Shapes
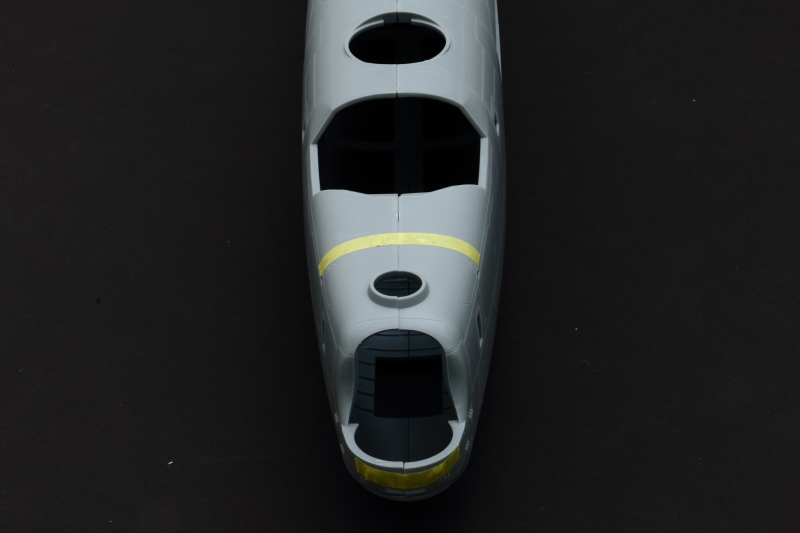
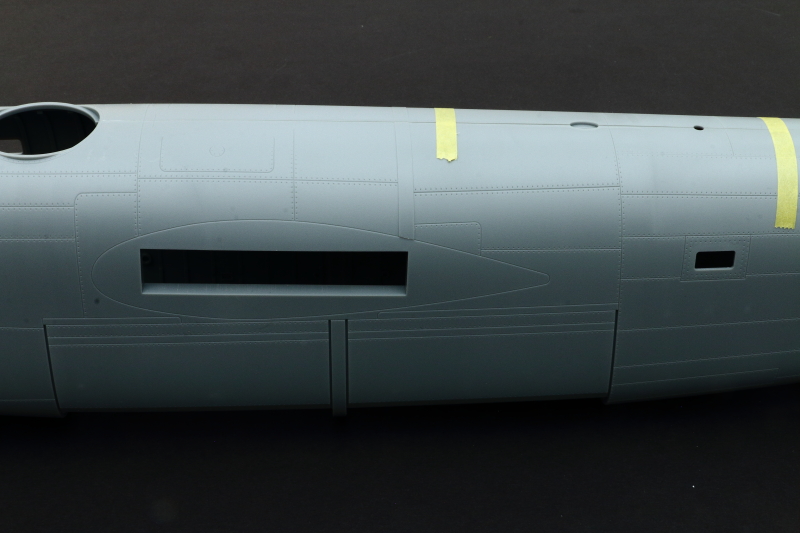
Fuselage: Still early days in my build of this beast, but the fuselage mouldings look pretty good in shape - and certainly imposing!
My initial observations are the areas around the bomb doors should be flatter (as mentioned earlier, the 'roller blind' bomb doors have to be simple curves to operate! I think a few simple mods will improve things.
Before we get to those wings, an image showing the substantial kit wing spar in place:

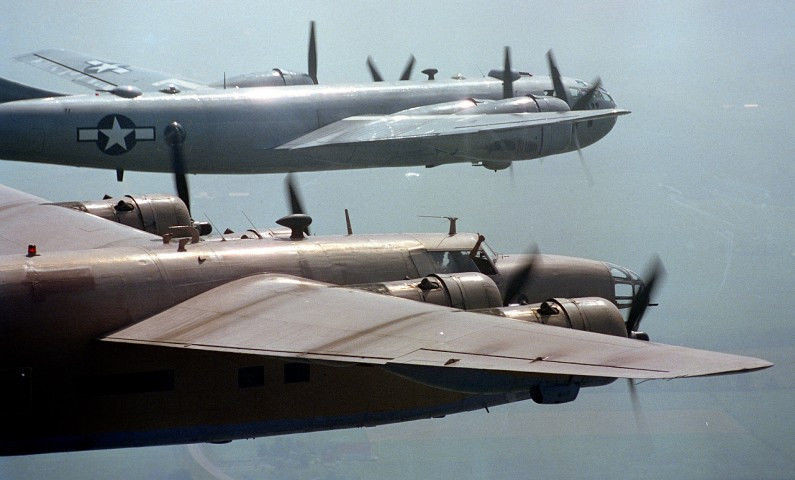
Wings - Davis Wing Cross Section: This, along with the turrets, has probably sparked most controversy - and is certainly an important feature of the original aeroplane. It was, after all, the Davis wing that made the B-24 such a long-range performer!
One look at a real airframe illustrates what we're discussing:
Oblique view of the kit wing root:
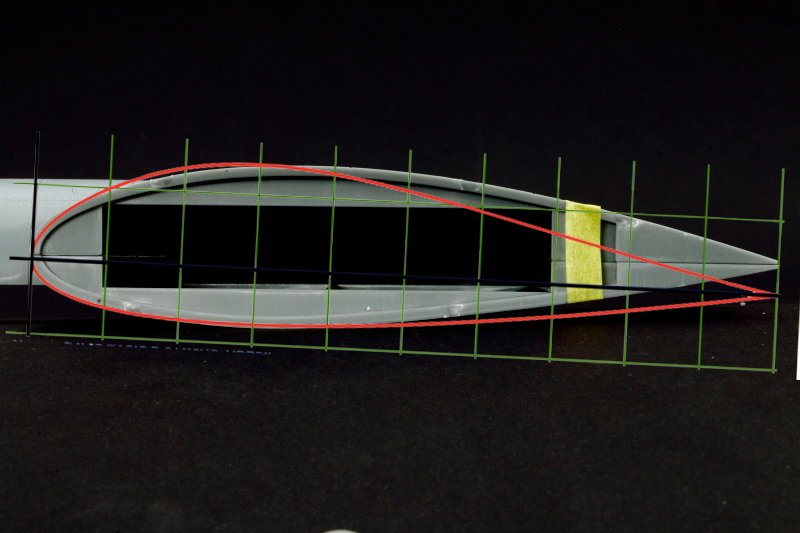
Using the online Airfoil Plotter tool I generated a profile correctly shaped for the wing root - at 1:32 - and overlaid on an oblique image of the kit root.
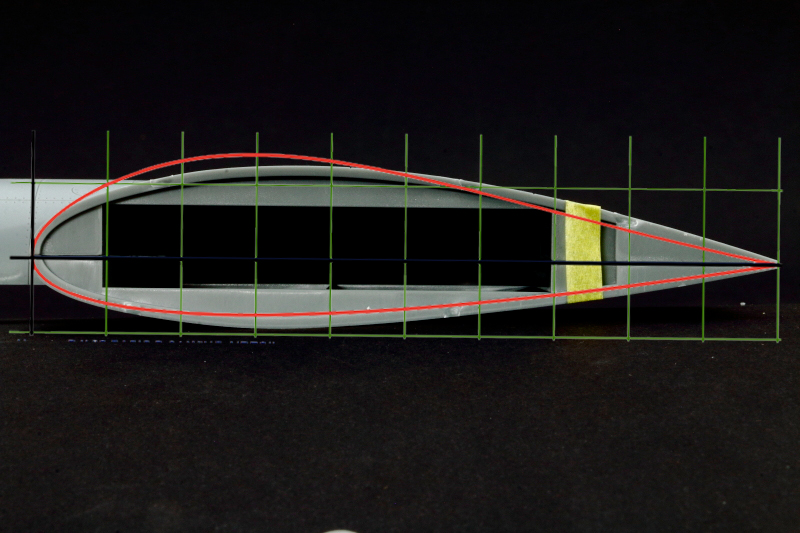
And corrected to give the correct angle of incidence:
From this a template was drawn up in CorelDRAW to make a former in 2mm sheet styrene - here overlaid on the wing root:
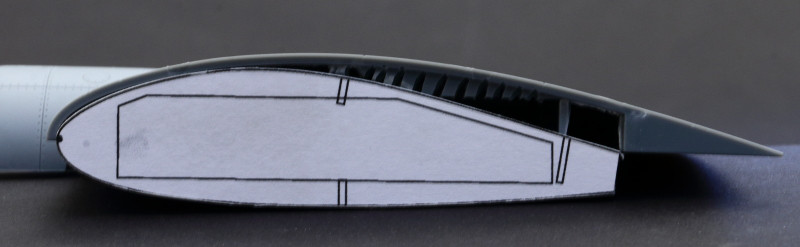
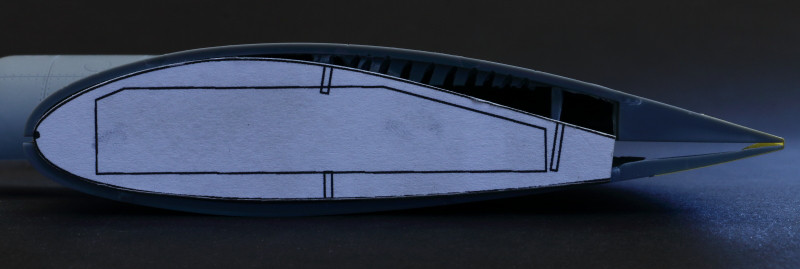
After suitably cutting the moulded in wing re-inforcements, and bending the 'skin' over the former, we now have a far better shape!
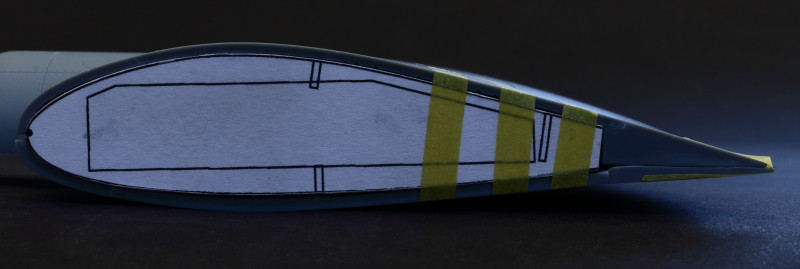
Obviously - the thicknes/chord ratio changes along the wing - so I've been busy drawing up the rest of the formers to make the wing look better - to my eyes anyway!
As part of this work it turned out the kit wing tips are more than twice as thick as they should be - something else I'll be correcting on my build.
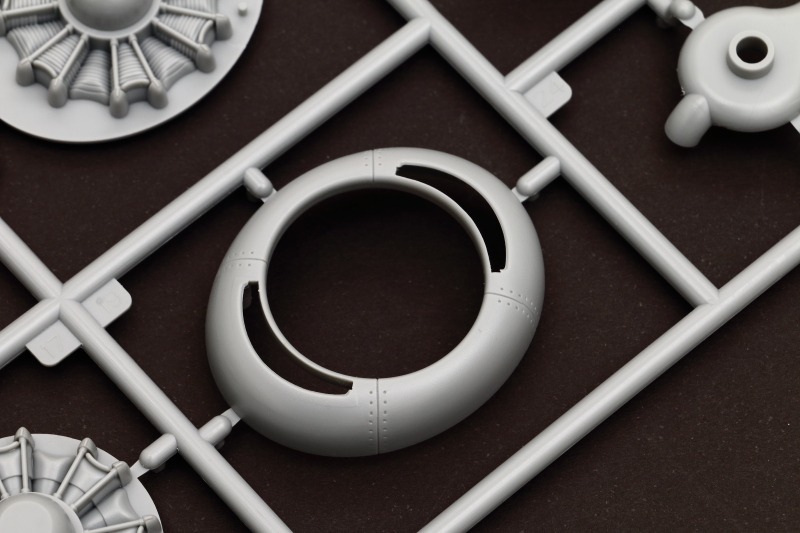
Engine Cowl Fronts: I thought these looked way out on the sprues - but dry assembled they look better than expected - certainly a basis for improvement - noteably on the intakes on either side of the engine and the slight 'flats' on either side of the cowlings when viewed from the front.

Conclusion
OK - so this kit is a bit of a mixed bag. It's not as good as the other 'heavies' we have from HK Models - but then, certainly here in the UK, it's a fraction of the price. Built straight from the box it looks imposing and, for those that enjoy the challenges of improving things, this kit provides a perfect canvas for some stunning results.
I've invested in two of these kits - one to build as an RAF Coastal Command airframe, and one to eventually convert to one of my favourite aeroplanes, the Privateer - the kit is cheap enough to not be afraid of cutting up what could have been a phenominally expensive kit.
I don't see anyone else releasing a 1:32 B-24 (unless HK Models have something up their sleeve?) - so I suspect this will stay the only game in town. And it's certainly a far easier start than the vacuum formed kits available previously!
As a final few thoughts, I'm going to hand you over to author of the book "Consolidated Mess, Vol. I", Alan Griffith, who had some observations on the kit when released:
I've spent a bit of time going over Jeff Verswyvel's in-box video review of the this kit over on Hyperscale as well as some additional closeup photos Jeff was kind enough to send my way, and have the following observations. Please note that these comments are based upon what I could determine from photos - not handling the plastic - and thus may be open to further discussion.
While the nose Emerson and tail A6C are correct for "My Akin?" - a Block 185-CO - the nose turret is NOT correct for either "War Goddess", a Block J-105-CO, or for "Going My Way", a Block J-175-CO. Both of these aircraft had the A6C nose turret such as fitted to the tail. The Consolidated J's started mounting the Emerson nose turret beginning with Block J-185-CO. The tail turret may or may not be correct as many B-24's had the shields over the guns on the tail removed since it didn't have the draft problem of the nose.
The top turret just looks "wrong". It appears to have to be somewhere between the round dome top of the A3C with the glass sighting panel of the A3D. The A3D had a very distinctive rise of the top going from front to back to accommodate both better headroom and to maintain a very strict +/- 3 degree angle relationship with the later lead-computing gun sight (although this is actually more complicated than I've just stated). The A3D also did not have external metal straps the kit seems to show. Hey! It's the B-24! What did you expect?? "War Goddess" should have the older, rounded dome of the A3C, but both "My Akin ?" and "Going My Way" both mounted the A3D "High Hat". Jeff Verswyvel was kind enough to send me a photo of the turret from the side, but it still looks wrong to me, not appearing to rise high enough in the back for the A3D nor low enough for the A3B/C. Thus, the top turret in the kit may not be correct for anything.
Nose glass: The box art correctly shows "My Akin ?" having the slightly bulged bombardier observation window addition unique to the 15AF located between the main bombardier sighting glass on the lower front nose and the navigator's observation window. The kit's front fuselage does not have a flashed-over cutout on the inside of the fuselage for this bombardier observation window mounting and I didn't see anything on the clear parts tree that resembled these bulged windows. This would be an excellent opportunity for a vacformed window.
Alan Griffith, author "Consolidated Mess, Vol. I"
My last words: stunning value. Yes, flawed - but not 'terminally' in my opinion. Build as is and have fun - the result being a *very* impressive centrepiece of your collection, or go to town using it as a canvass for something very special.
We're seeing more an more accessories coming out for this kit - look out for reviews of items as and when we have them.
And further updates on my slow build RAF Coastal Command Liberator GR Mk.VI - with a few tweaks along the way!
Useful Walk Around
Some useful photos over on the ARC website.
Review kit courtesy of my wallet.
Iain
© Iain Ogilvie 2019
This review was published on Sunday, August 25 2019; Last modified on Monday, August 26 2019