
LEM/Ruporator | 32018: Bell P-59 "Airacomet"
Reviewed by Ray Peterson
Introduction
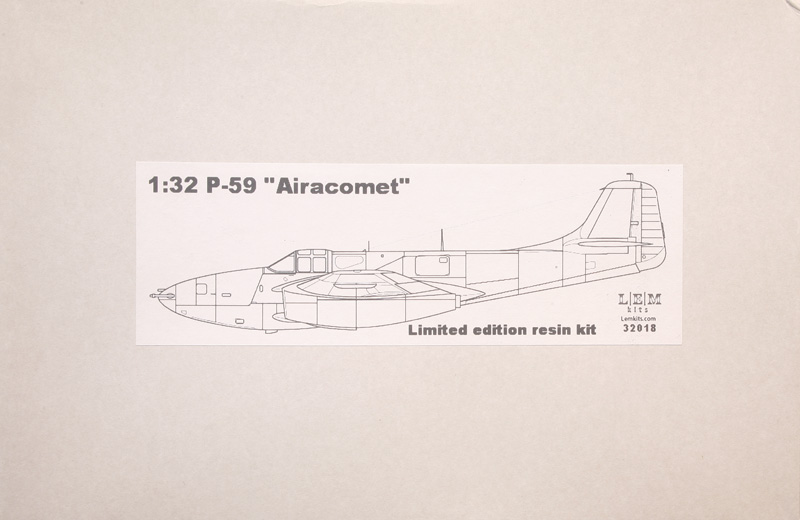
A recent release from LEM Kits is the Bell P-59 Airacomet, America’s first try for a single-seat jet fighter. From Wikipedia:
It was a twin jet-engined fighter aircraft, the first produced in the United States, designed and built by Bell Aircraft during World War II. The United States Army Air Forces were not impressed by its performance and cancelled the contract when fewer than half of the aircraft ordered had been produced. Although no P-59s entered combat, the fighter paved the way for another design generation of U.S. turbojet-powered aircraft, and was the first turbojet fighter to have its turbojet engine and air inlet nacelles integrated within the main fuselage.
The Kit
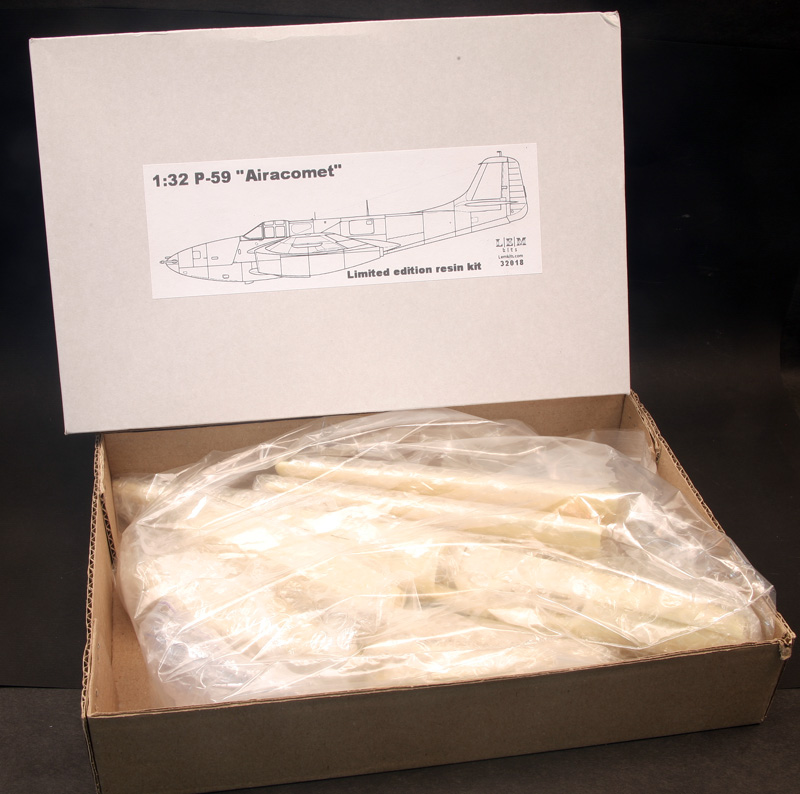
Primarily a resin kit, arriving in a well-packed box with bubble-wrap and contained in several resealabe bags, it is composed of 88 (by my count) resin parts, a pair of vacu-form canopies plus a vac nose cap, a piece of film with the instrument dials, and a sheet of decals. No nose weight is included but the instructions call for 60 grams to be placed into the area above the nose gear well.
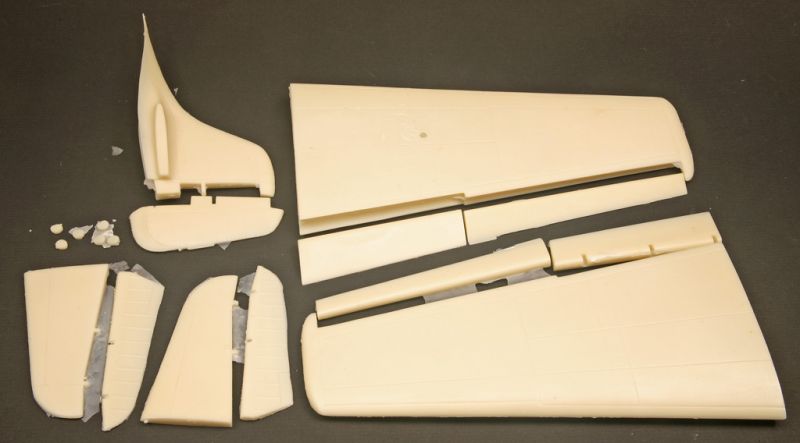
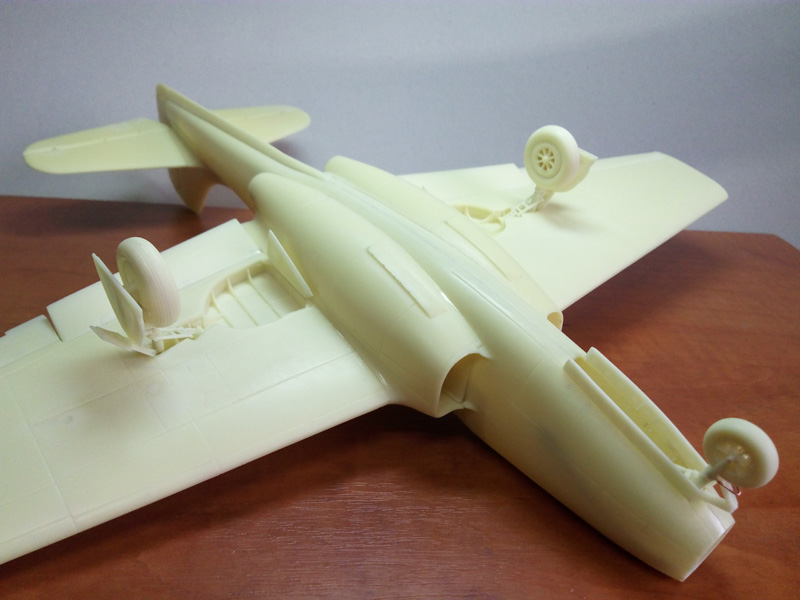
The resin is well cast, just requiring the usual clean-up of flash and seams, plus the removal of a few casting blocks. The wings are cast as single pieces with about the first third hollow. Details look good for the most part though some repair of the odd bubble (not many in my example), small details, and panel lines may be required. Separate flaps, elevators, and ailerons are provided.
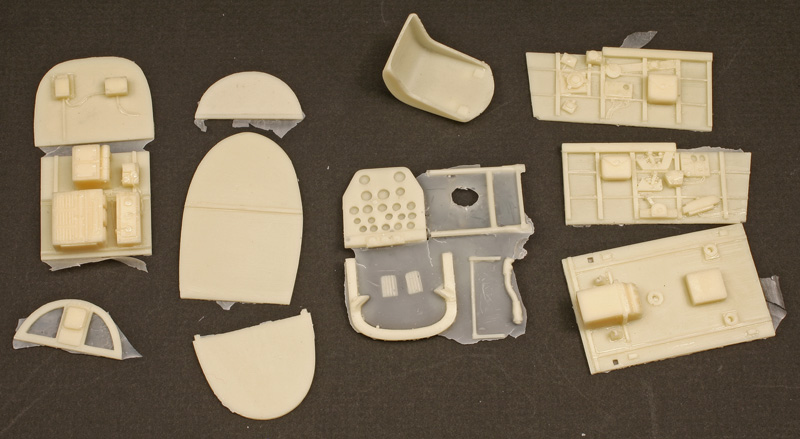
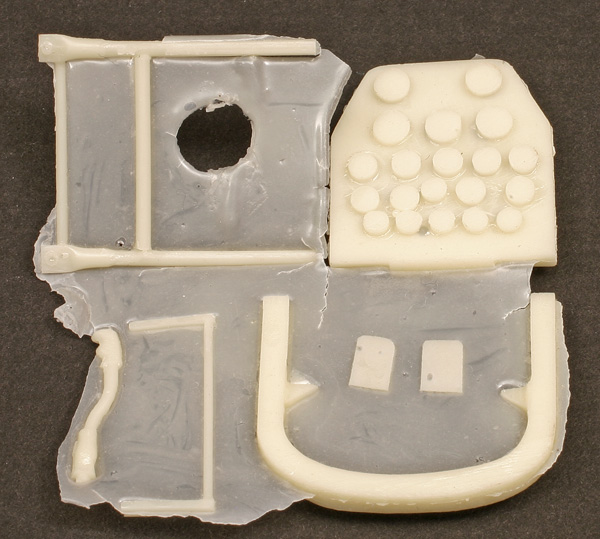
The cockpit is well detailed, consisting of fifteen parts counting the radio deck. The instrument panel is in resin and is a bit of a puzzle. At first, I thought it was expected for the modeler to sand the back down so the film lines up with the instrument’s holes. Then the film can be glued behind it. After painting the back of the film white, or gluing to a white backing material, the instruments will show. However, they have molded the back of the instruments behind the panel. The instructions show placing the film over the panel, not using the holes. Hmmm. Doesn’t look very good. I would go ahead and sand it all off so you can put the film behind, and replace the instrument backs. A better alternative might be to use Airscale’s early Allied jet decals.

The two vac canopies as well as the nose cap look quite clear and should really sparkle with a dunk in Future. You will need to add your own seatbelts as the seat does not come with them. LEM does a nice job of casting in wiring on the cockpit sidewalls.
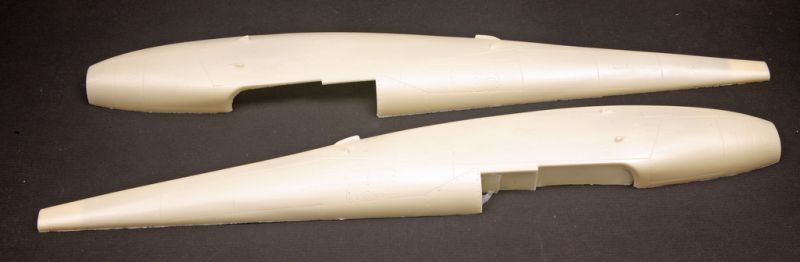
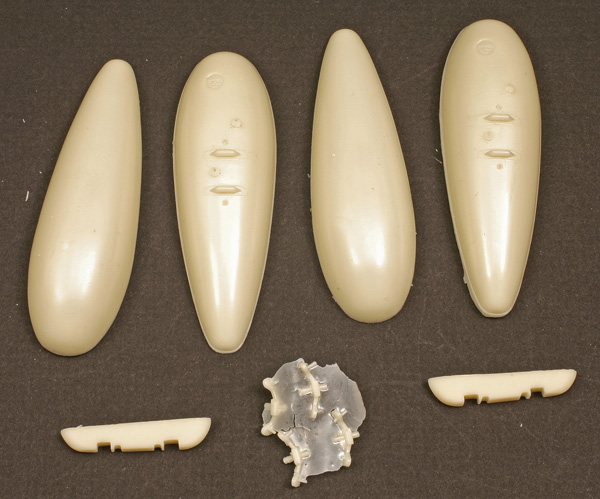
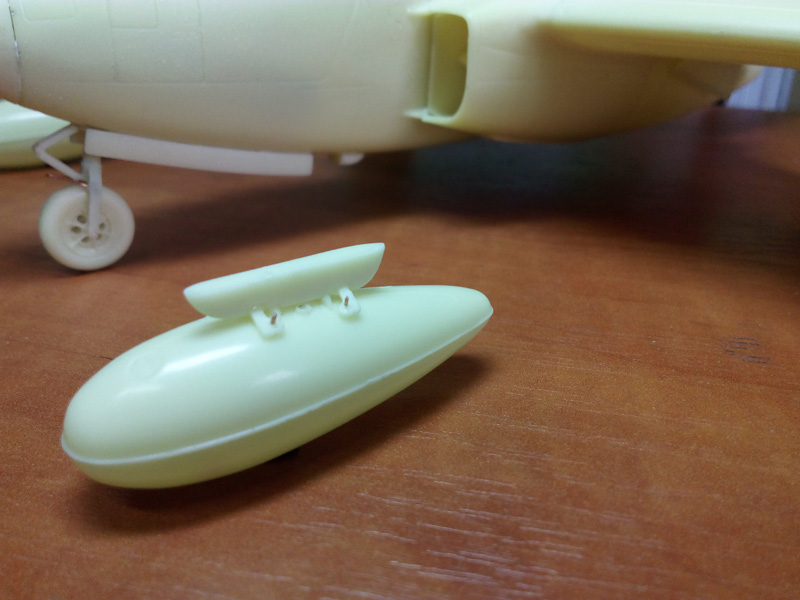
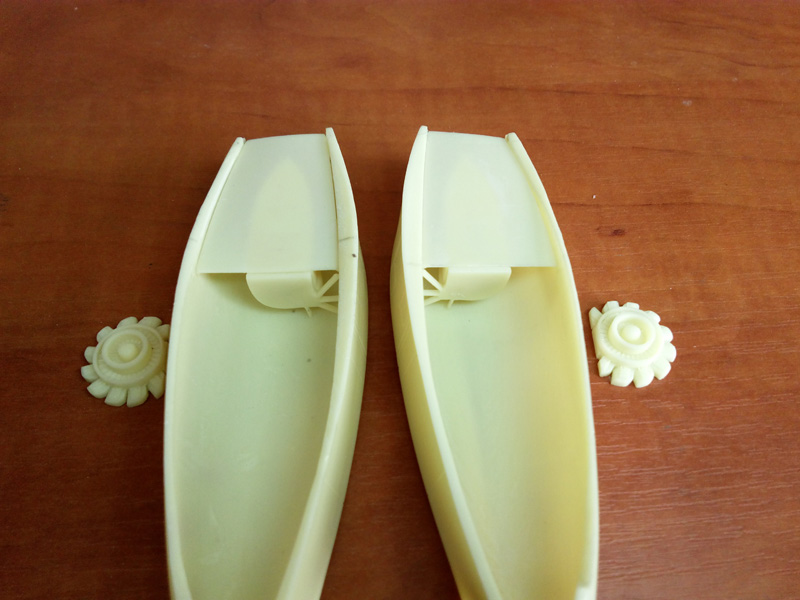
The large fuselage – 33.5 centimeters not counting the nose cone - comes as two halves as well as a separate lower strake. The wings are a little unusual as they consist of two sections: the engine section and the rest of the wing. Two different nose cones are provided, one for the armed version, and a second for an unarmed bird. Wings and tail plane are solid cast parts and are simply butt-joined to the fuselage. Note the wheel well doors are cast closed on the wings and front fuselage and must be cut out if you want the model on its gear. The doors are also supplied as separate parts, so you don’t have to be super careful in cutting out the cast-in doors. Main gear wells are also provided separately, as is the nose gear well. Elevators, ailerons, and rudder are all separate. I recommend adding pins as reinforcement when assembling these parts.
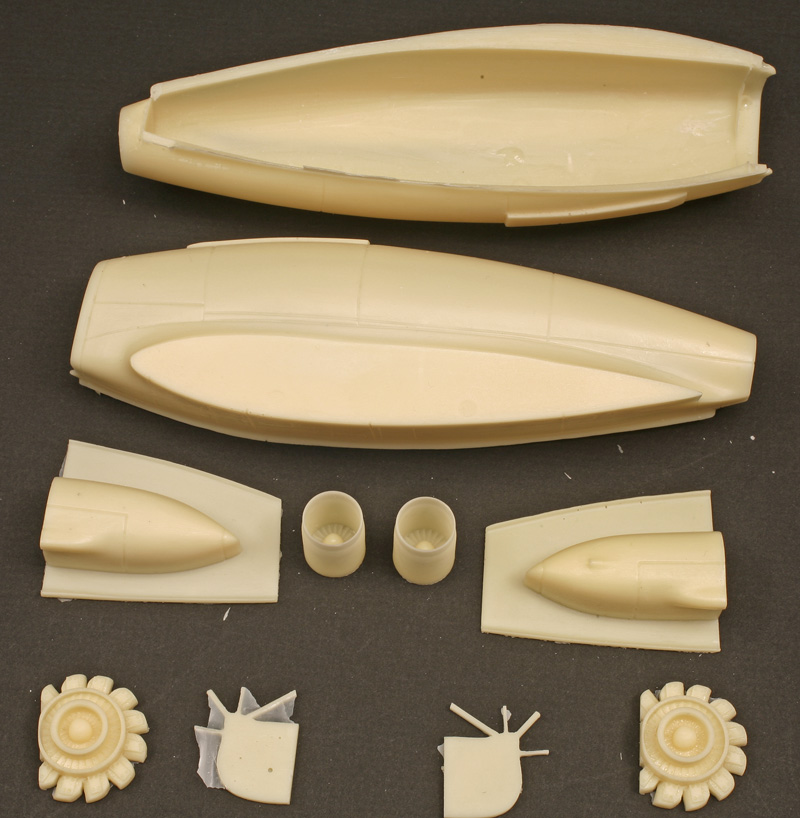
The engines are made up of five parts for each side. Intake trunking, intake fans, splitters and exhaust pipes.
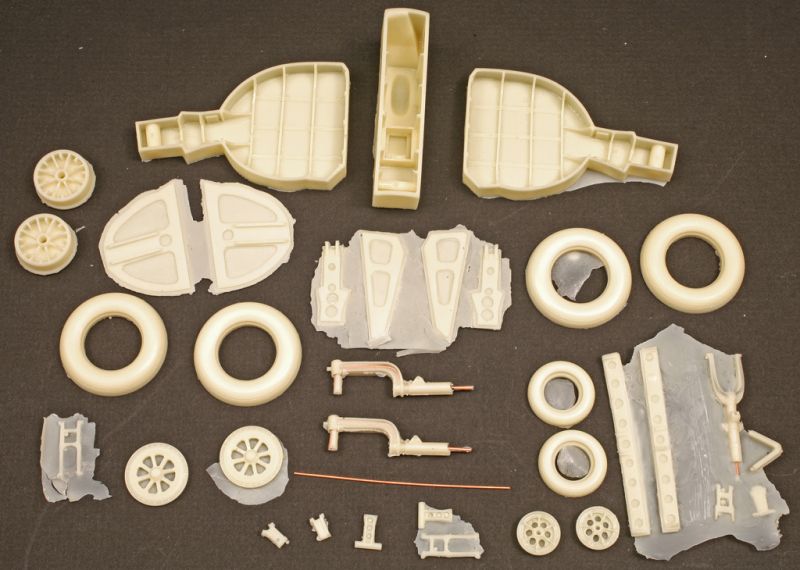
The landing gear consists of several parts. The gear itself is resin with metal wires cast inside for strength. You can see them in the photos, but it doesn’t appear they poke outside the resin anywhere they aren’t supposed to. The wheels look pretty good, but the separate tires are cast in halves which I hate but hopefully won’t too hard to deal with the seams.
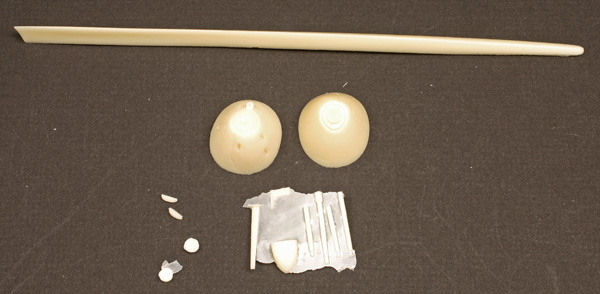
Smaller parts include the cannon and three machine guns for the nose, as well as individual scoops for the fuselage, and antenna as well as a pitot tube.
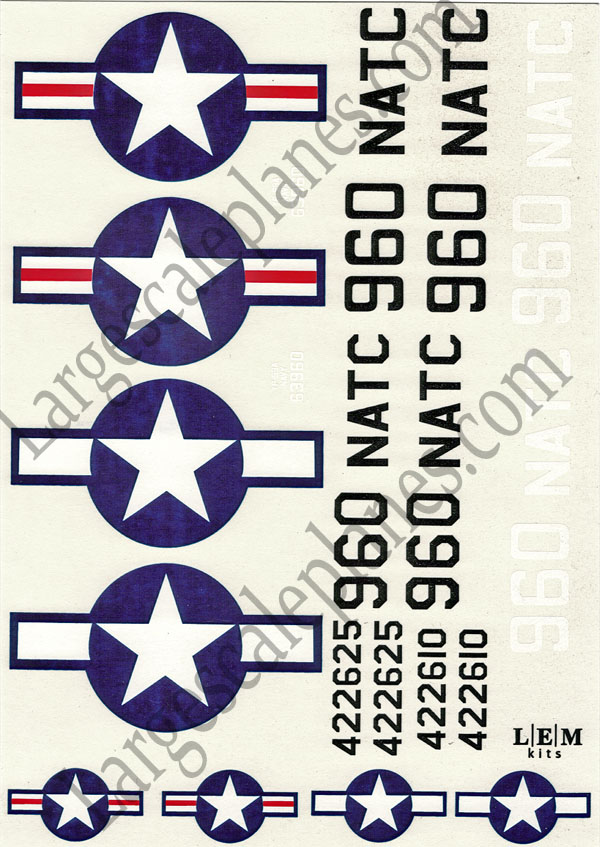
Instructions are provided as a series of color photos on a CD. No written instructions are included, but the photos are pretty self-explanatory so any experienced modeler should be able to negotiate assembly. Decals are provided for two natural metal birds and a colorful Navy NATC aircraft. Also, research shows the first birds were olive drab over neutral grey. The Navy early test birds were in the three-tone blue camo, and you can also find a drone aircraft in overall orange, so there are options, if you source your own decals.
References
There are not too many references out there I am aware of, but the CD includes several photos. This reference material will help with construction and detailing and give an idea of colors needed. I will not show any samples for copyright reasons.
Summary
It is nice to see some love given to these early jets. The odds of seeing these large-scale offerings in injection plastic must be close to nil. A line up of the P-39, P-63 and P-59 would be an interesting study. So kudos to LEM Kits for taking the P-59 on.
Highly Recommended for early jet fans!
You can find LEM kits on eBay by searching for seller ruporator, or from their website at http://lemkits.com.
© Ray Peterson 2018
This review was published on Sunday, December 09 2018; Last modified on Sunday, December 09 2018