
LEM/Ruporator | 1/32 MiG-9
Reviewed by Ray Peterson
Introduction
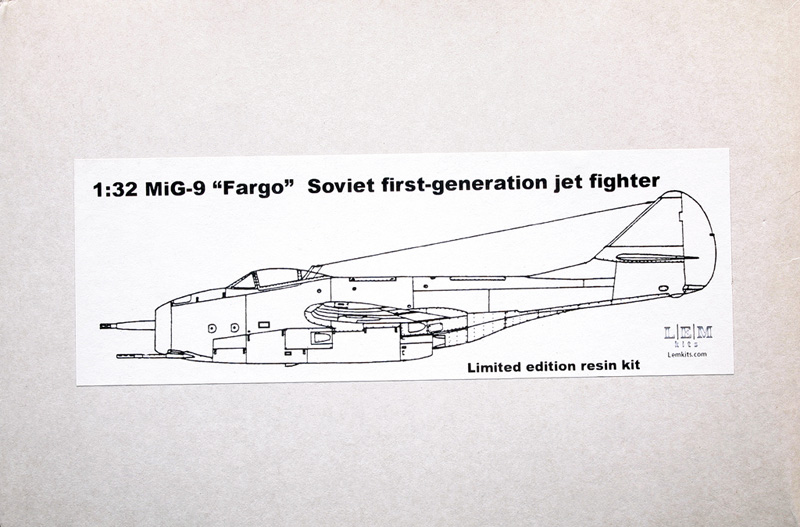
A recent release from LEM Kits is the MiG-9, an early Soviet post-war single-seat jet fighter which originally was developed using two German BMW 003 engines. Later machines were driven by Soviet RD-20 turbojets, which were their version of the BMW 003. From Wikipedia: Intended to destroy bombers, the aircraft was to be equipped with a single 57-millimeter (2.2 in) or 37-millimeter (1.5 in) gun, plus two 23-millimeter (0.9 in) guns. Requirements were for the aircraft to have a maximum speed of 900 kilometers per hour (559 mph) at sea level and a speed of 910 km/h (565 mph) at an altitude of 5,000 meters (16,400 ft). It was to be able to climb to that altitude in four minutes or less and have a maximum range of 820 kilometers (510 mi). Defects noted during testing included the engines often flamed out when firing the cannon at high altitudes due to gun gas ingestion, no ejection seat was fitted, nor were there air brakes or a fire suppression system. The fuel tanks were not self-sealing, and no armor was provided for the pilot. Despite these drawbacks, the MiG-9 was ordered into production at Factory No. 1 before the acceptance tests were completed as the Soviet leadership believed that its shortcomings could be rectified during production. The pilots reported the plane was easy and simple to fly. First flight was in 1946 but by 1948, production was disrupted by preparations to begin manufacture of the vastly superior MiG-15 later that year.
The Kit
Primarily a resin kit, it is composed of about 70 (by my count) resin parts, a length of brass rod, a length of brass tubing, a pair of vacu-form canopies, a piece of film with the instrument dials (not shown), and a small sheet of generic decals. No nose weight is included but the design of the aircraft having most of the weight in front of the main wheels should mean it will not need much to keep it from being a tail-sitter, if any. Always a good idea to check, though!
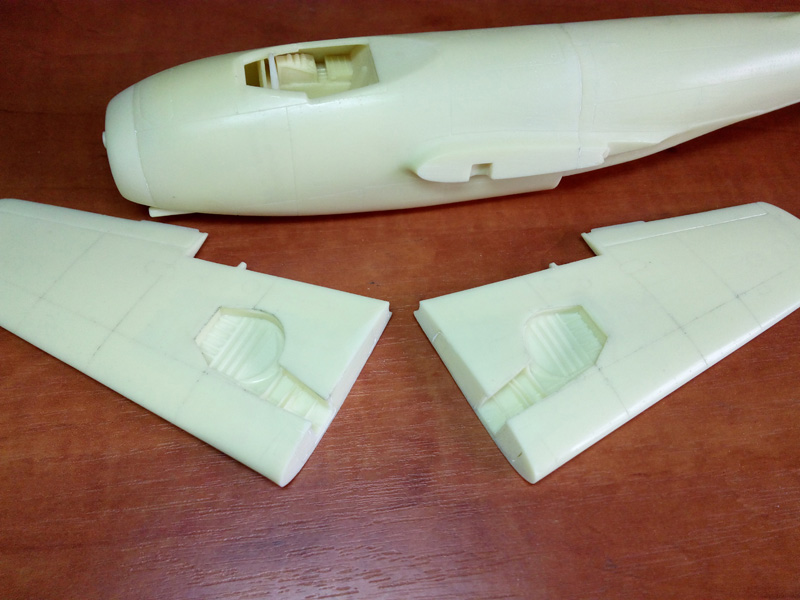
The resin is well cast, just requiring the usual cleanup of flash and seams, plus the removal of a few casting blocks. The wings are cast as single pieces with about the first third hollow. Details look good for the most part though some repair of the odd bubble (not many in my example), small details, and panel lines may be required. Separate flaps and elevators are provided. Ailerons are fixed in a neutral position.
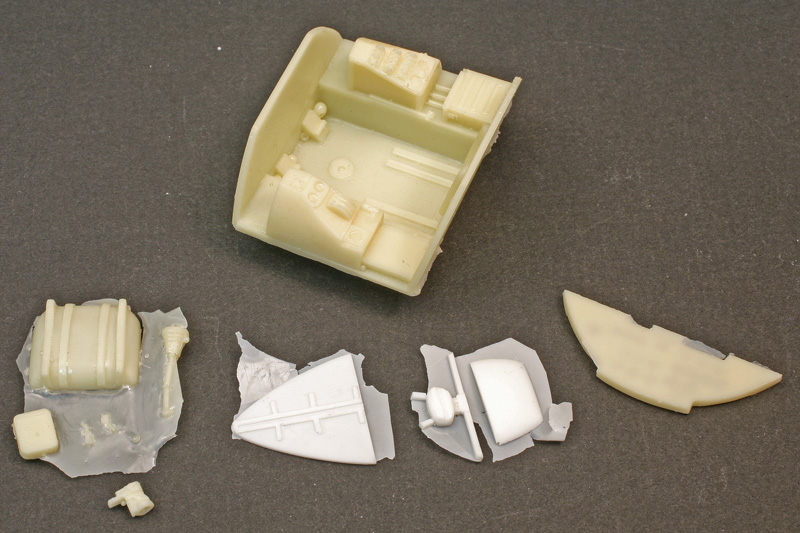
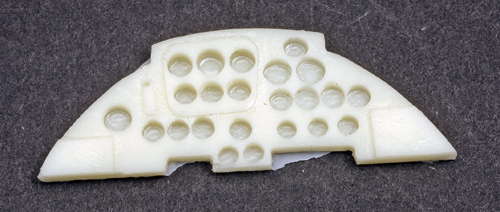
The cockpit is pretty basic, but then that is pretty much the early Soviet style. The instrument panel is in resin and is puddle cast so you will have to sand down the back of the panel till the instrument holes open up. Then the film can be glued behind it. After painting the back of the film white, or gluing to a white backing material, the instruments will show. An alternative would be to use Airscale’s early Soviet jet decals. The two vac canopies look quite clear and should really sparkle with a dunk in Future. From photos in the references, you may want to add some wiring and other odds and ends, depending on your taste for detailing. You will also need to add your own seatbelts.
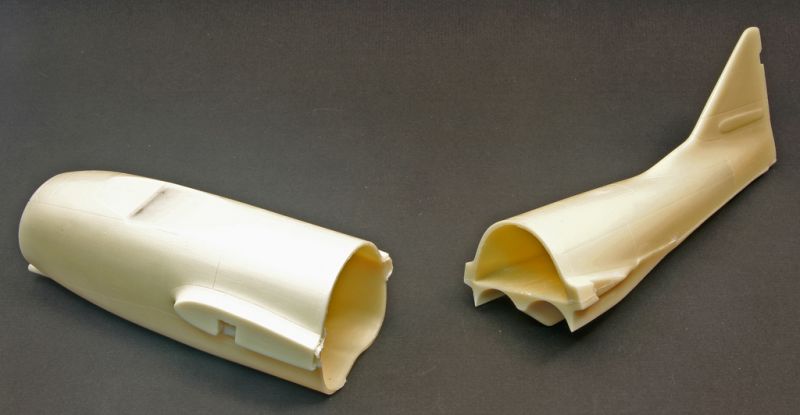
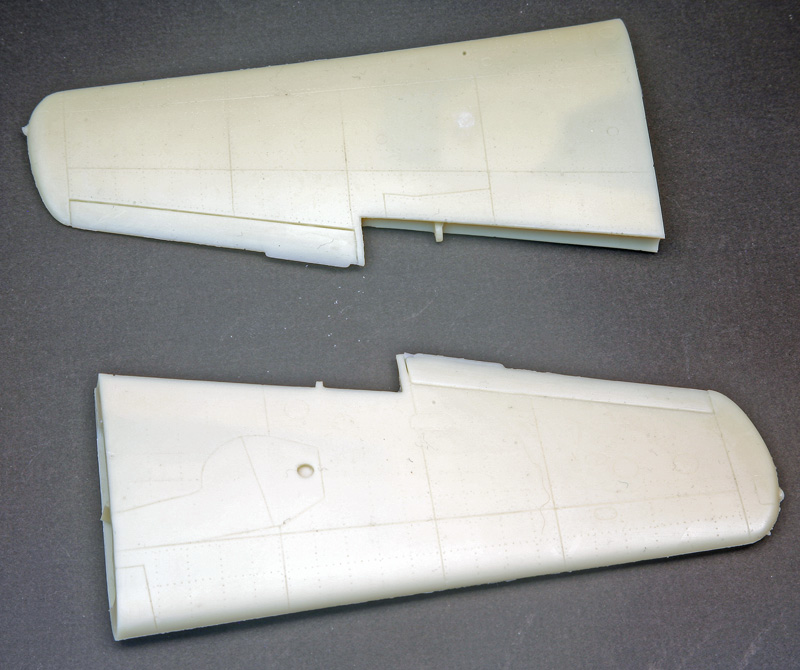
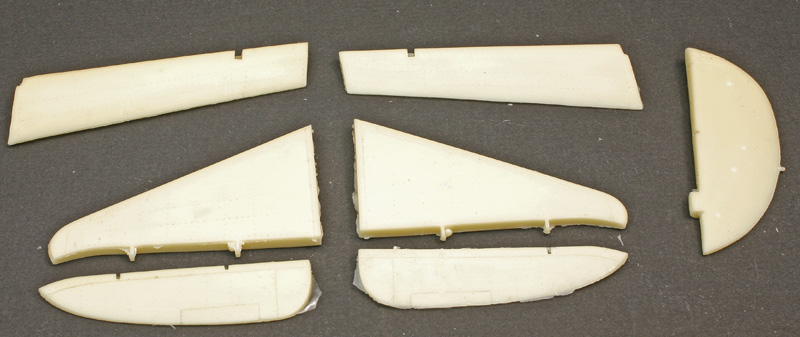
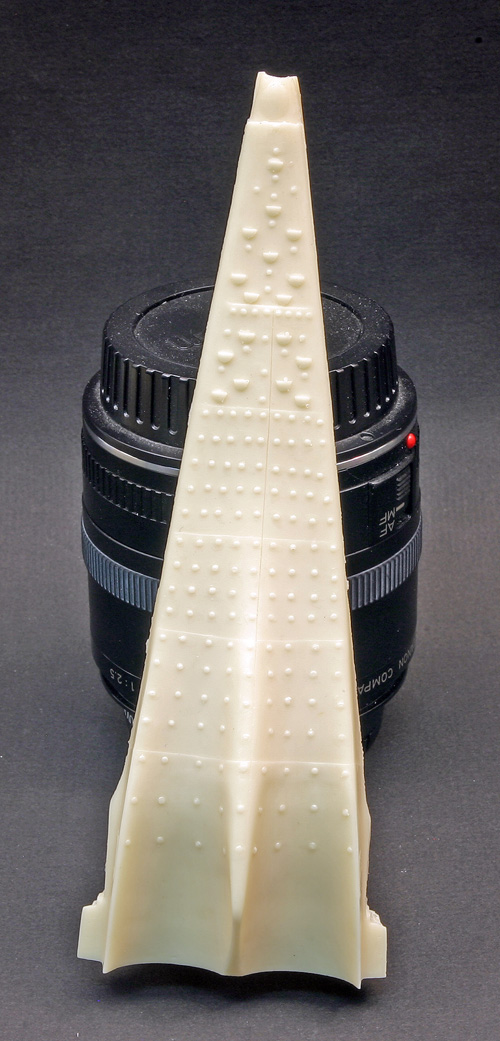

The fuselage is a little unusual in it consists of two parts, split vertically about midway along its length. And check out the rivets under the tail! from the reference photos, the rivets might need to be flattened a bit, but further study is required. To this is added the nose cone, after the cockpit is inserted into the front half. Wings and tail plane are solid cast parts and are simply butt-joined to the fuselage. Note the wheel well doors are cast closed on the wings and front fuselage and must be cut out if you want the model on its gear. The doors are also supplied as separate parts, so you don’t have to be super careful in cutting out the cast-in doors. Main gear wells are also provided separately, and the nose gear well is cast into the intake trunking. Elevators, ailerons, and rudder are all separate. I recommend adding pins as reinforcement when assembling these parts.
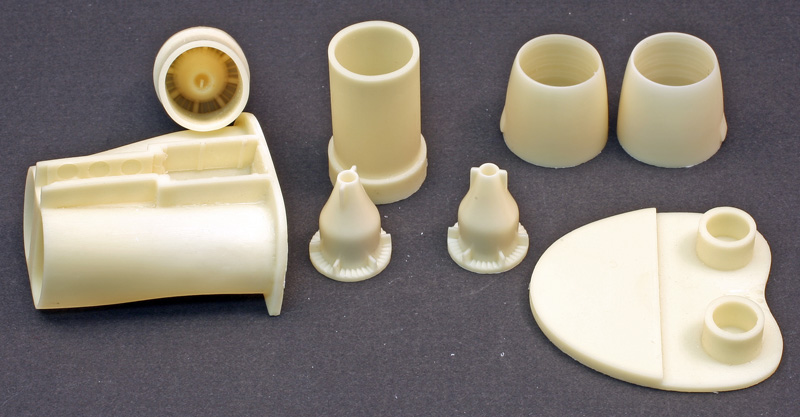
The engines are made up of eight parts. Intake trunking, intake fans, exhaust cones and piping. Alignment is helped by a bulkhead which the other parts are attached to.
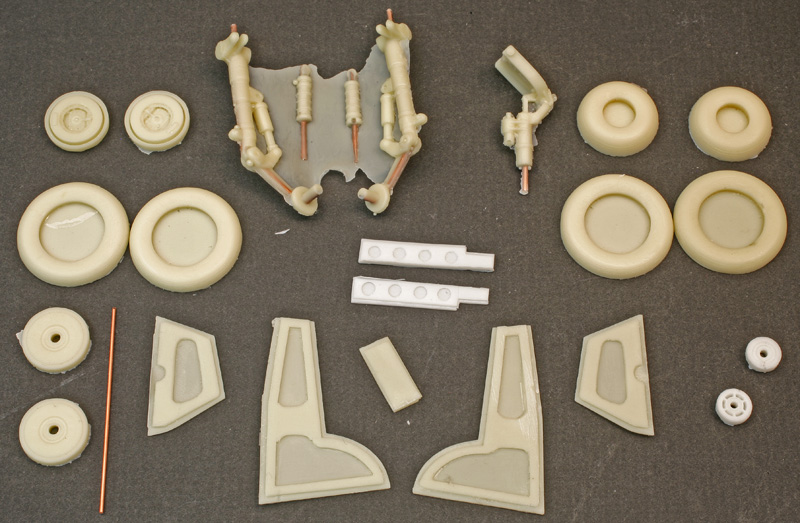
The landing gear consists of several parts. The gear itself is resin with metal wires cast inside for strength. You can see them in the photos, but it doesn’t appear they poke outside the resin anywhere they aren’t supposed to. There are several actuators to add, and lengths of rod are supplied for axles and piping. The wheels look pretty good but are cast in halves which I hate but hopefully won’t too hard to fill the seams.
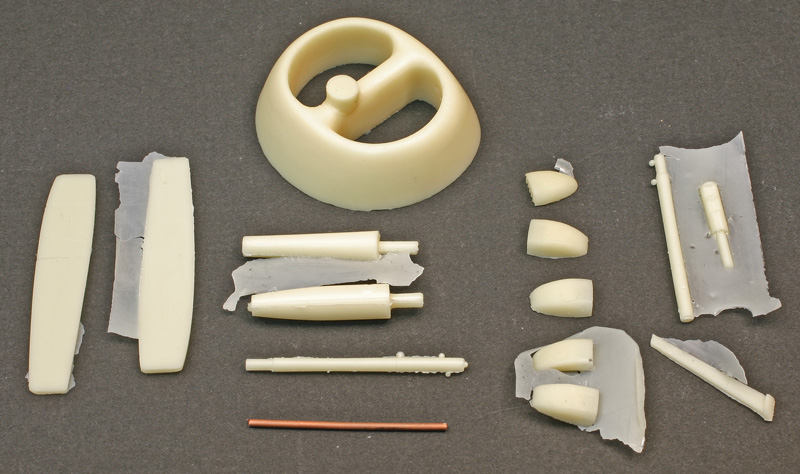
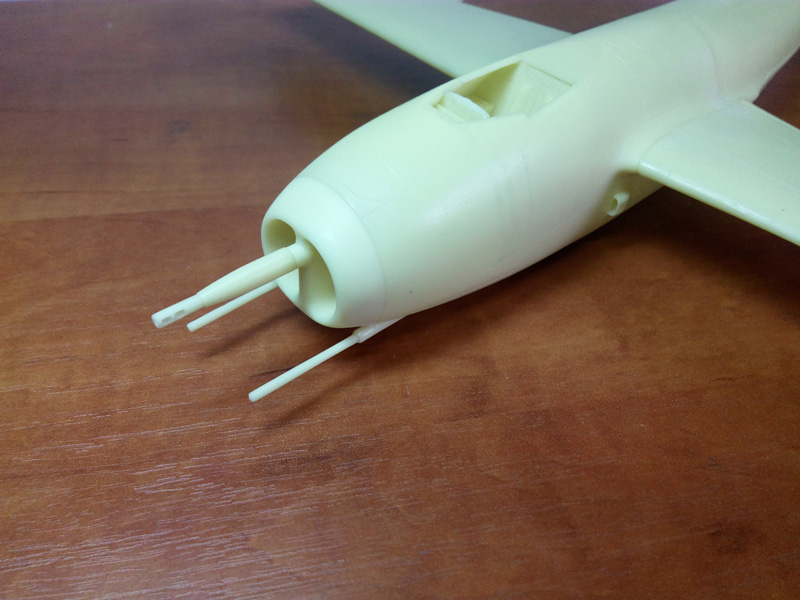
Smaller parts include the three cannon for the nose, as well as individual scoops for the fuselage, and antenna as well as a pitot tube.
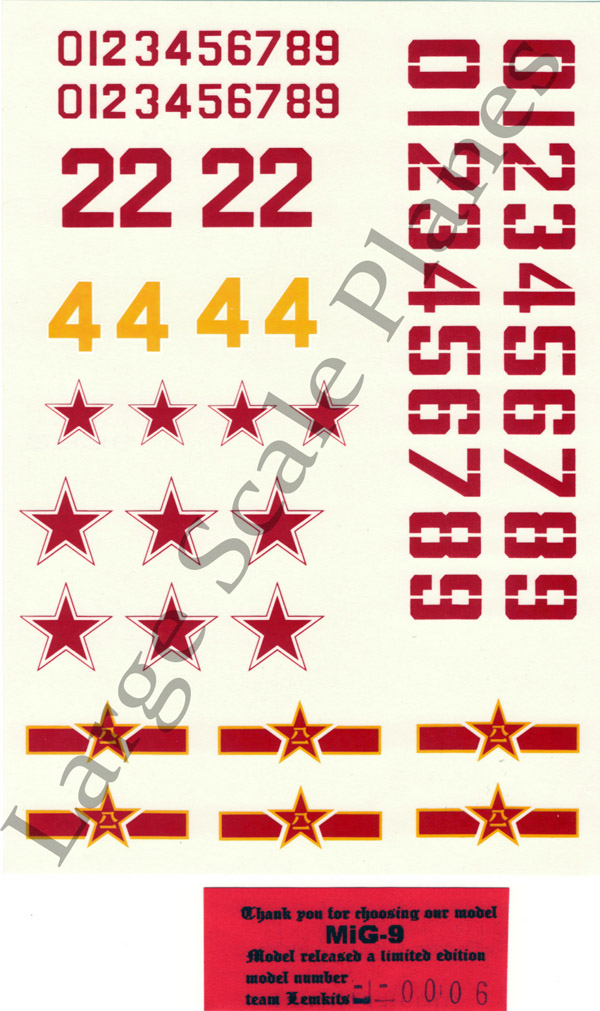
Instructions are provided as a series of color photos on a CD. No written instructions are included, but the photos are pretty self-explanatory and with the relatively low parts count any experienced modeler should be able to negotiate assembly. Again, a generic decal set is provided with stars and Soviet-style numbers.
References
There are not too many references out there I am aware of, but the CD also includes a nice copy of what looks like flight manual diagrams in what might be a reference book that gives quite a bit of airframe and assembly details. There are also several photos of Chinese and Soviet aircraft, the Soviet section including nice walkaround photos as well. This reference material on its own will help immensely with construction and detailing, and give an idea of colors needed. I will not show any samples for copyright reasons.
Summary
It is nice to see some love given to these early Soviet jets. The odds of seeing these large-scale offerings in injection plastic must be close to nil. So kudos to LEM Kits for taking them on.
Highly Recommended for Soviet aircraft fans!
You can find LEM kits on eBay by searching for seller ruporator, or from their website at http://lemkits.com.
© Ray Peterson 2018
This review was published on Saturday, November 24 2018; Last modified on Tuesday, November 27 2018