
Aero Bonus | 1/32 Airfield Accessory Tool Box
Reviewed by Guy Wilson
I noticed this item advertised in my Hannants newsletter recently so thought I'd take a punt and treat myself to one.
The resin arrived safe and sound in a slim, shaped plastic container packed with sponge to keep everything in good condition.
There is one small tree with the castors and handle attached plus a big rectangular chunk of resin and a small decal sheet.
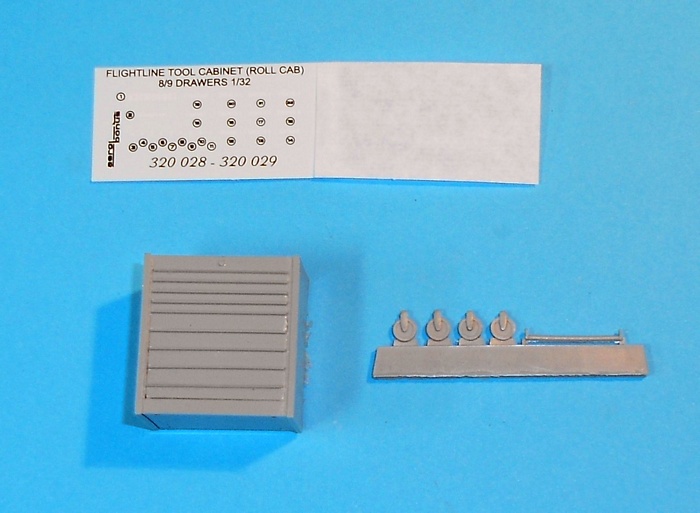
The casting block is positioned on the rear face of the tool chest which is just as well as it is large and takes some removal.
The single instruction sheet shows a parts list on one leaf...
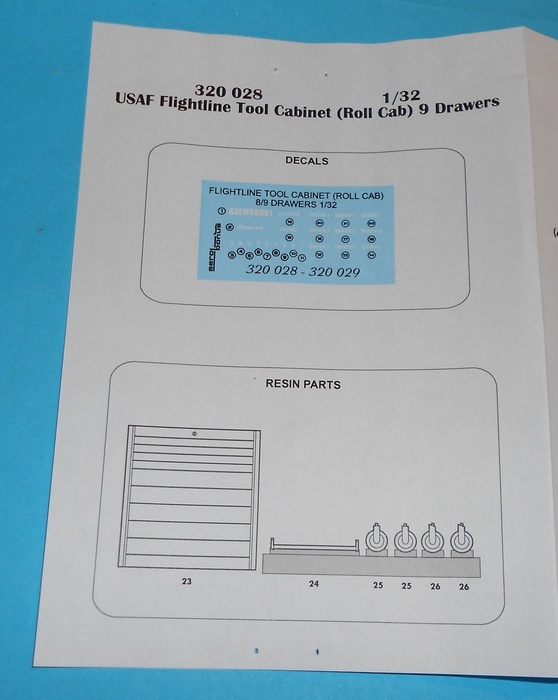
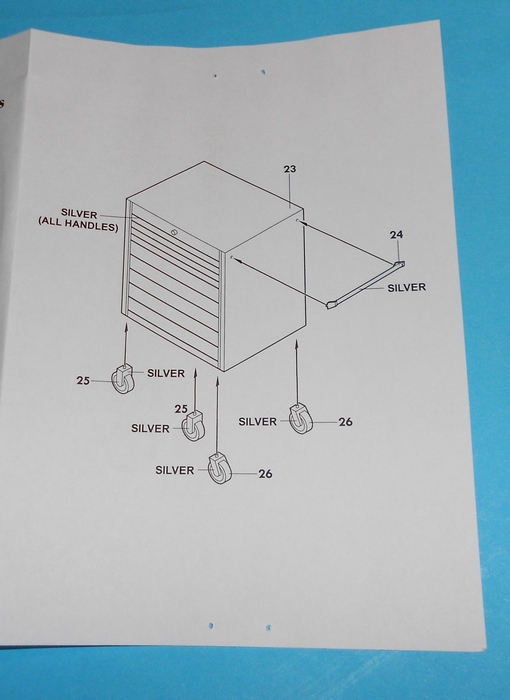
...and the rudimentary assembly instructions on the opposite leaf...
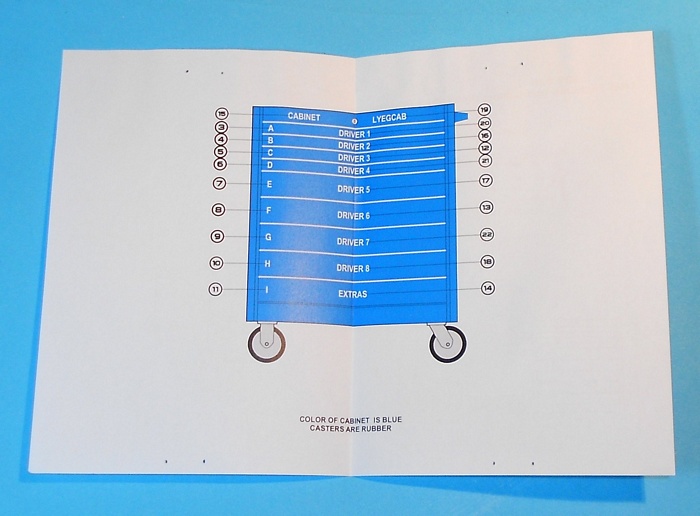
...with the colour call out and decal placement overleaf...
The smaller parts were easy to remove from the casting block and cleaned up quickly. Assembly takes no time at all and everything fits reasonably well.
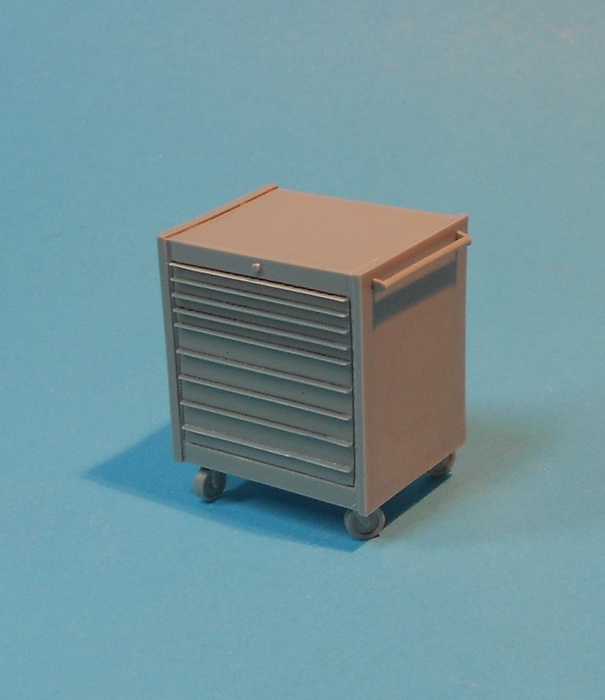
(Note: I have set the castor wheels wrongly and will need to fix that before I'm finished.I thought that they would all be rotating castors but images on the net suggest the two opposite the grab handle might be fixed to the left/right axis.)
This is an inexpensive diorama accessory that should add interest to a modern scene.
I found it necessary to run a scriber down the sides of the drawers to more clearly define the lines. There are one or two very tiny air bubbles on the face of the drawers which is something I haven't experienced with an Aires product before (Aero Bonus are owned by Aires) along with some surface irregularities on one of the larger drawer fronts. Additionally, several of the drawer handles are slightly misshapen.
For my example I shall go with red and use the "Snap-On" decal (#2) that is not mentioned in these instructions.
Hannants have several more Aero Bonus tool boxes slated for future release and I'll be checking them out when they become available.
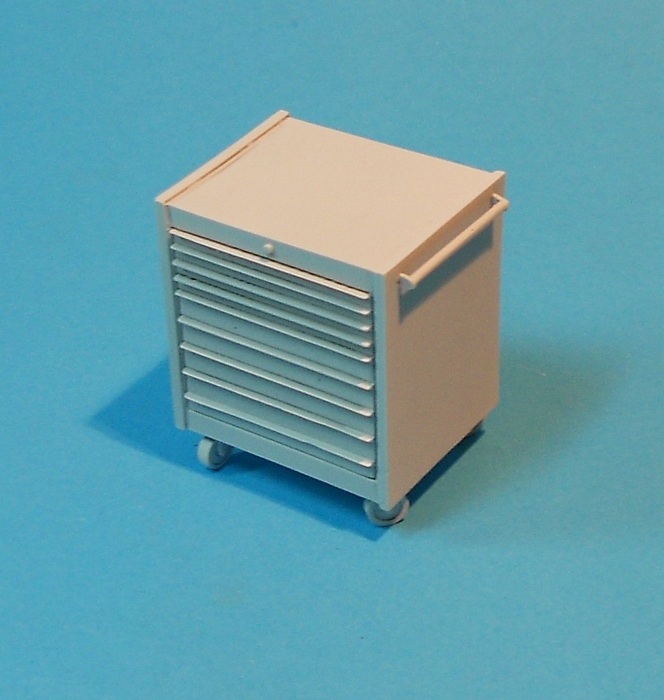
So I used some Citadel Miniatures (Games Workshop) spray can white primer as a base.
Then some Valejo flat red...

...followed by a layer of future and then finally some detail painting and that "Snap-on" decal.
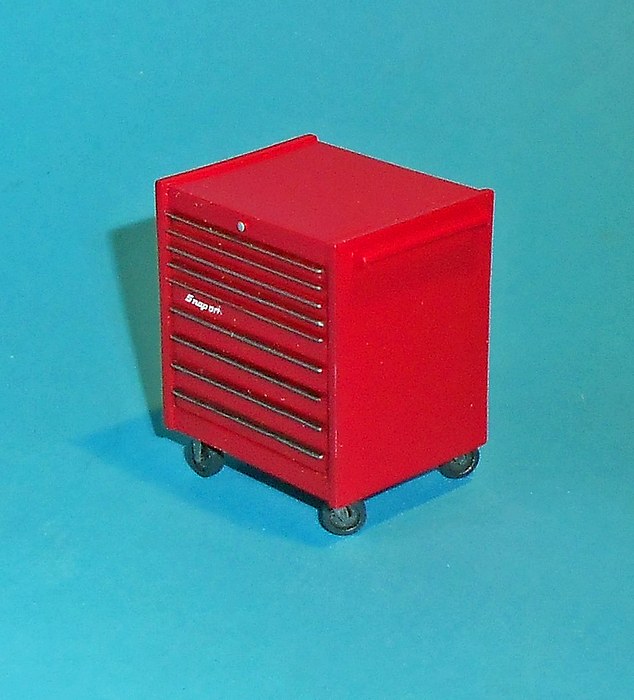
The decal was commendably thin and settled down very quickly with a drop of Micro-Set. Too quickly actually as the "-on" portion folded under itself and had to be removed. I painted the lettering on instead on this occasion. The sharp eyed amongst you will also have noticed that I've re-aligned one set of castors. I'm happier with them now.
© Guy Wilson 2013
This review was published on Friday, April 19 2013; Last modified on Wednesday, May 18 2016