
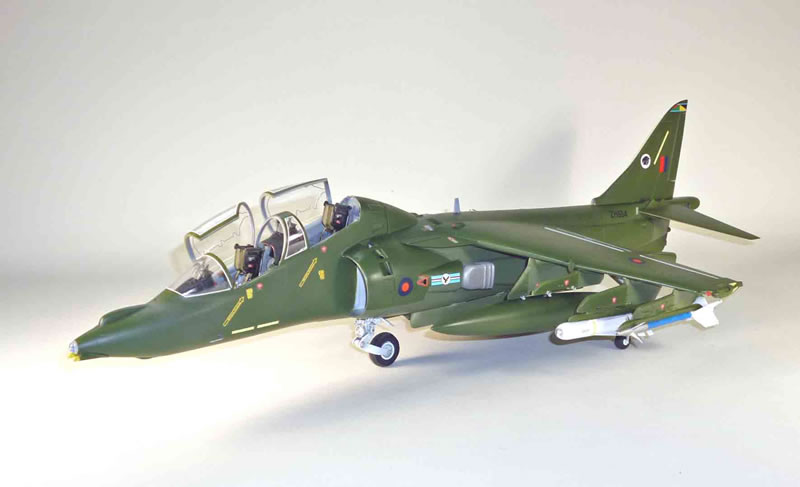
A Harrier T.10 in 32nd Scale
By Frank Mitchell
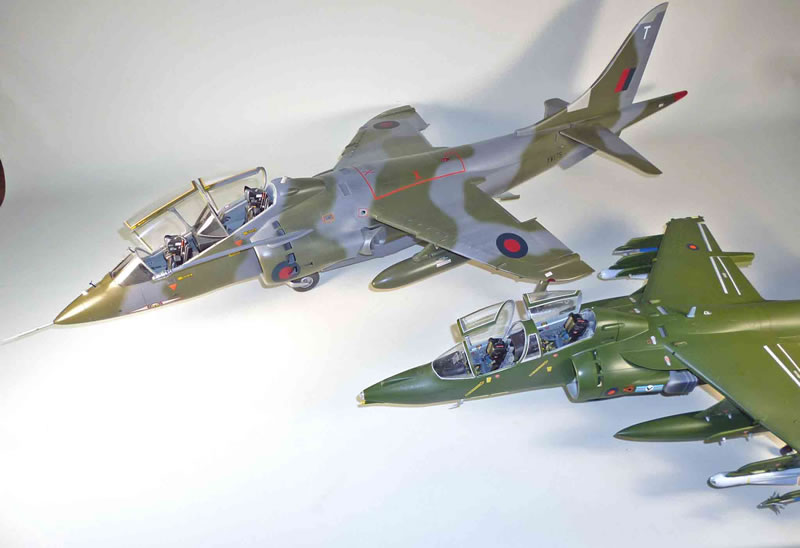
Since I had, several eons ago, converted a 1/24th scale Airfix Harrier to a two-seater, it seemed logical to do the same thing with a 1/32 Trumpeter GR-7. Unfortunately, I quickly discovered there wasn't much in the way of drawings out there to do a Harrier T.10. However, there were a few, and since there are a ton of photos of the T.10/12, I decided to give it a shot. I primarily used the January, 2002 issue of Scale Aircraft Modelling (I think) and made minor changes where it looked to be appropriate.
I should note that the basic kit does have its problems, many of which have been discussed at length on the Internet, and those comments helped a lot in trying to correct what I could while doing the conversion.
Construction
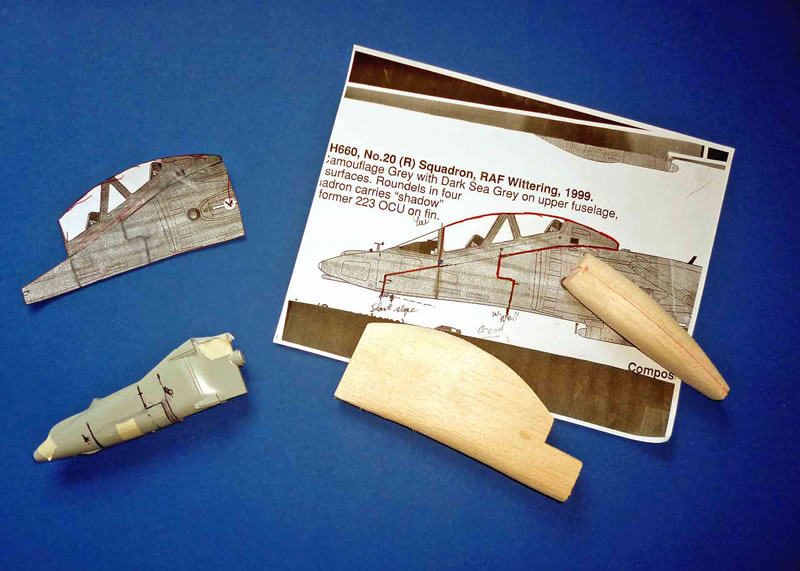
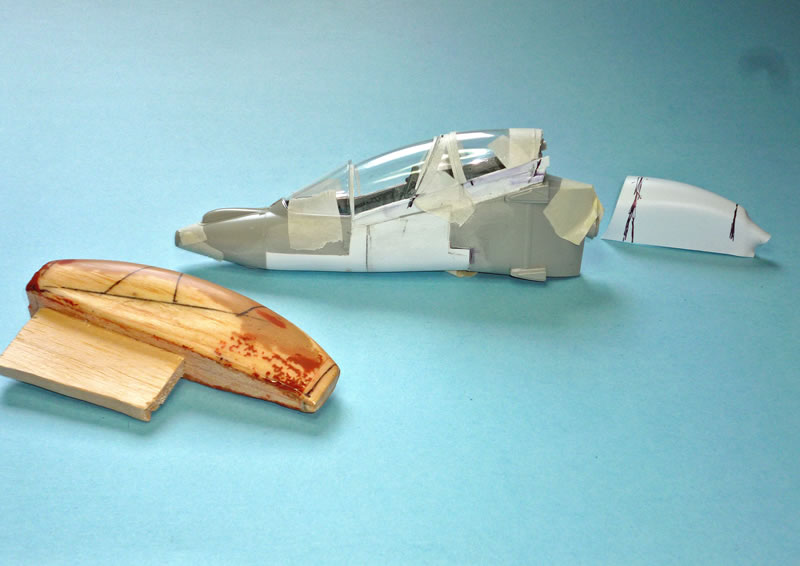
The first step was to cut apart the kit fuselage at the point where the base of the forward cockpit’s windshield meets the fuselage. By moving the parts around on the drawings, I was able to refine what I needed to do to produce the fuselage insert. The extension mold was carved from balsa (my usual), and incorporated the large fairing behind the second seat. A separate mold was made for the new canopie(s). Both molds were then vacuum-formed using .030 styrene for the fuselage, and both clear acetate and white styrene for the canopy. The photos should help the reader to understand my English (get it?, British?, English?, oh, never mind).
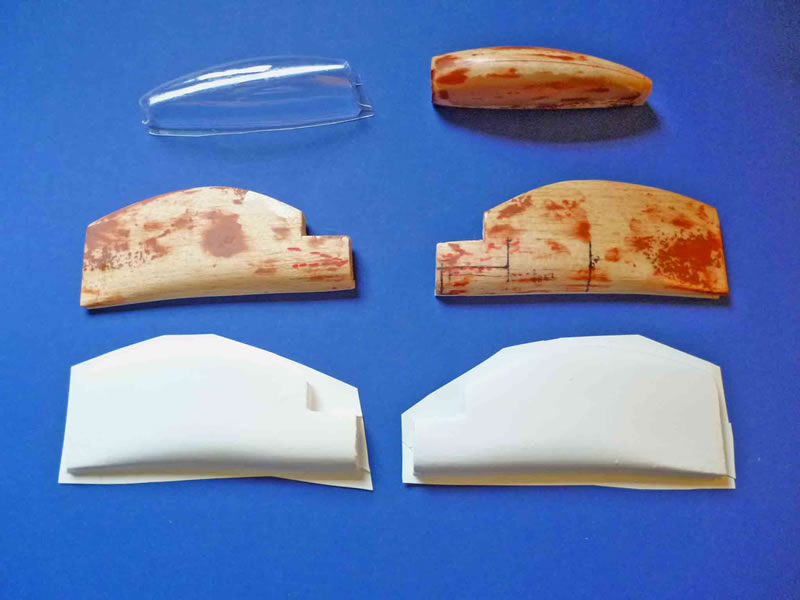
After getting the forward fuselage fitted and glued together, the canopies were cut out and massaged to make sure they looked right and fit properly. The finished shapes were then traced onto the white styrene molds, and the internal framework marked, cut out, and painted. This extra work allows the framework to be of much more accurate thickness and also helps in mounting them to the fuselage.
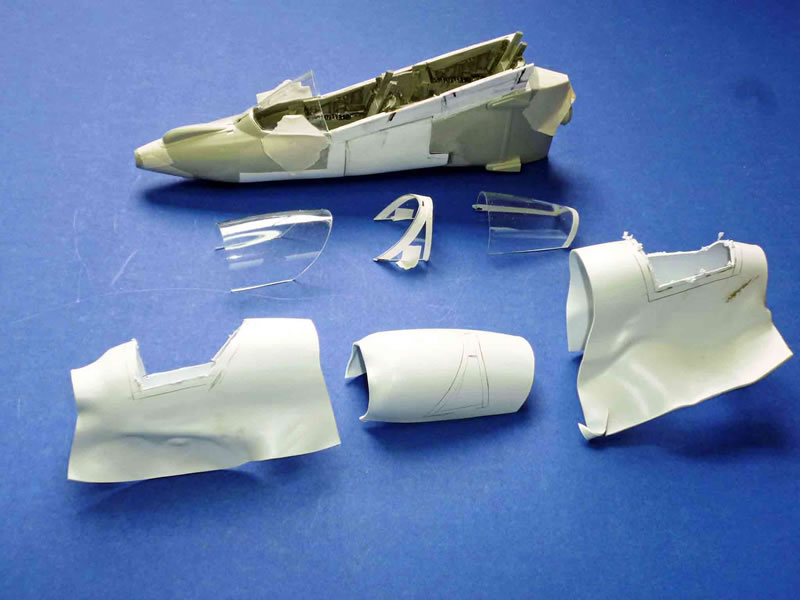
Two resin sets were used for the interior, which worked fine, after a bit of fiddling to make sure everything fit. The seats were more or less cobbled together since there weren’t any correct resin ones available (still aren’t, I don’t think). However, they are mounted in the cockpit only with a dot of white glue, so can be replaced if a good seat appears on the scene.
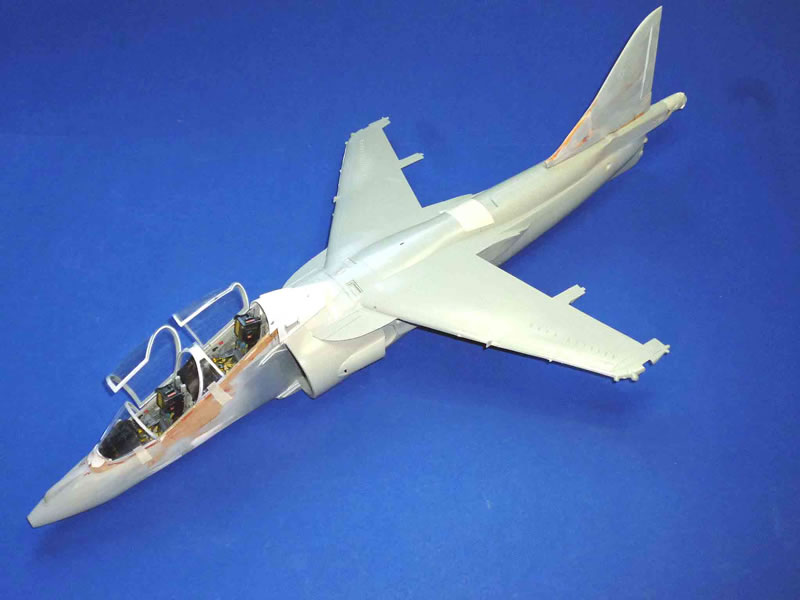
After the engine face was painted, the fuselage halves were glued together, which, in turn, allowed the wing to be fitted. Finally, the rear canopy fairing was fitted to the wing and fuselage.
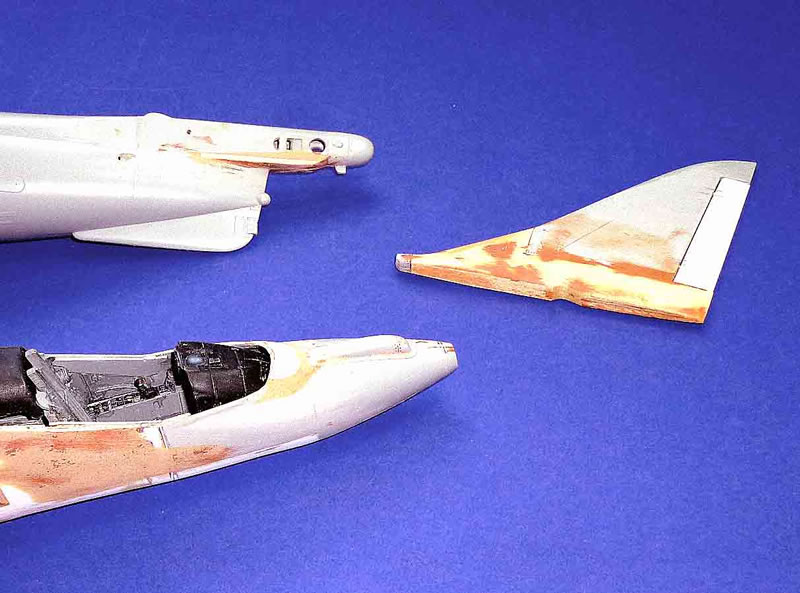
The vertical tail was done using inserts of basswood and sanding everything to the correct shapes. That pretty much completed the conversion.
From here on, everything was pretty much normal practice. After checking out the comments on the Internet, I made the required corrections to the pylons, tanks, rear fuselage, etc., which were straightforward. However, one last problem remained; that of correcting the infamous “kink” in the wing.
If you don’t have this kit, you can skip this paragraph. The problem arises because this airplane has a kink in the leading edge of the wing that is not repeated on the trailing edge. As molded by Trumpeter, the wing also has two rather silly looking “humps” in the upper surface of each wing separated by an imaginary line between the inboard and outboard wing. I was able to get rid of the outboard bulge by severe sanding on the bottom edge of the upper wing mating surface followed by applying pressure while the glue set. The inboard was tackled by supergluing a strip of ¼” balsa to the middle inside of the bottom wing and then holding while supergluing the two halves together until they set. Again, this sentence only makes since if you have fooled with this kit.
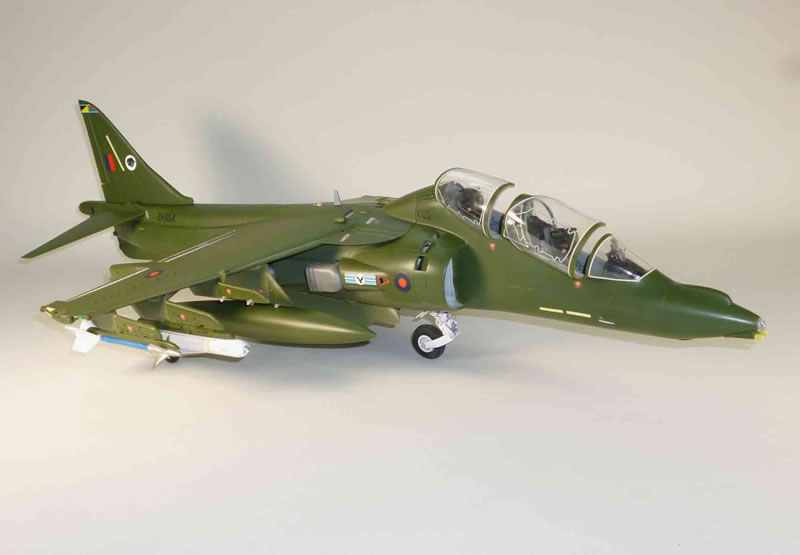
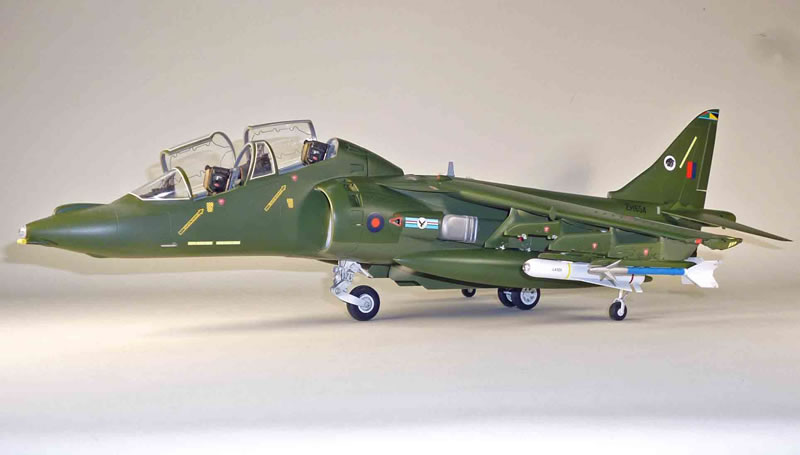
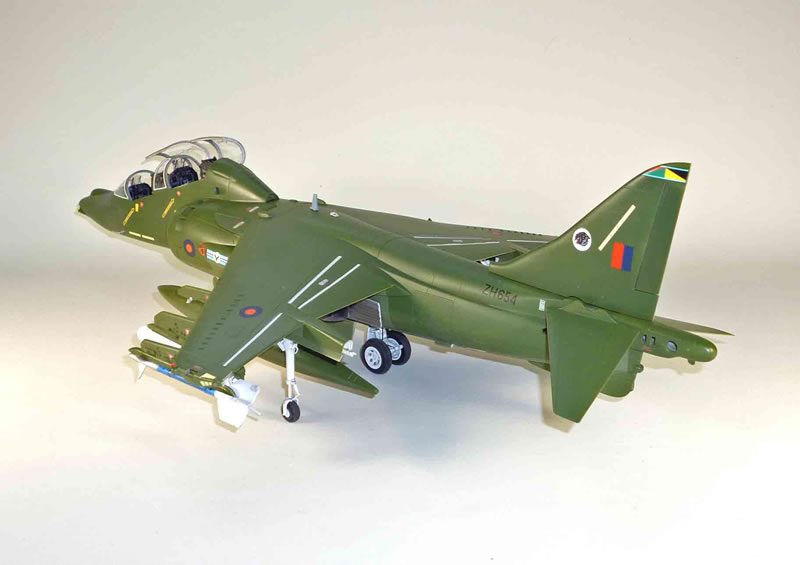
For finish, I chose the NATO Green overall paint and was able to use the Zotz sheet for all the markings since they were the same for both their single-and two-seaters. Some extra Danger triangles and other small markings were scrounged from the stash and an appropriate serial number was made on the computer.
A final note: I have no idea if the load-out is in any way correct. As those who know me will testify, I find painting armament boring in the extreme and will usually avoid it at any cost. However, in this case, all those pylons looked so empty---. If the stuff I hung on them doesn’t make sense, let’s just pretend this one was loaded for a display.
© 2012 Frank Mitchell
This article was published on Saturday, October 13 2012; Last modified on Tuesday, May 14 2013