
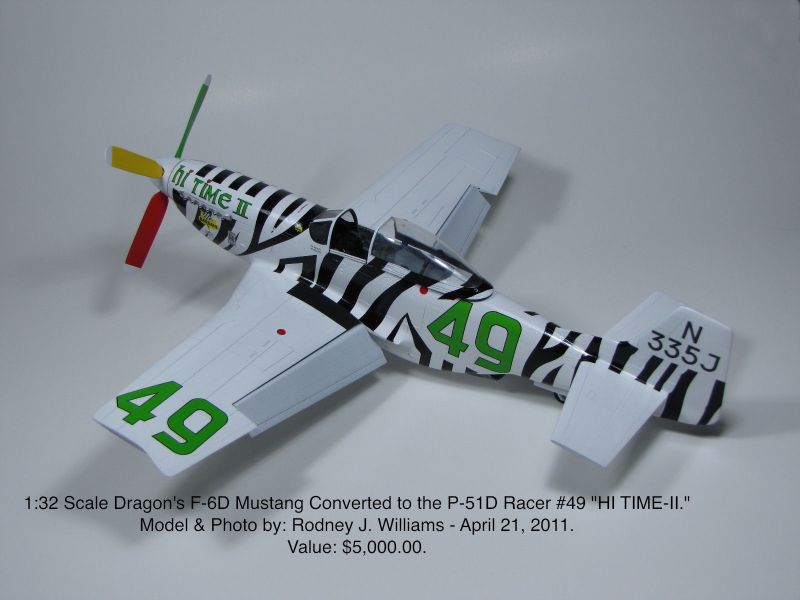
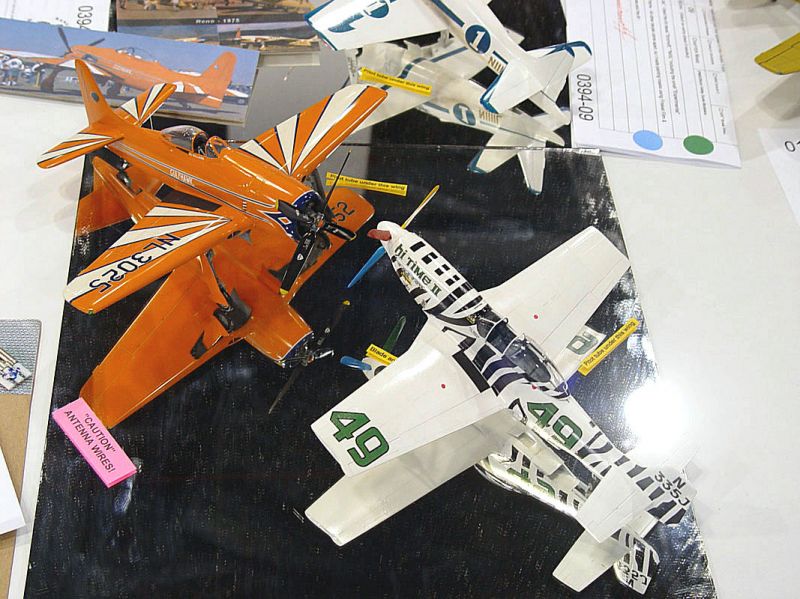
Dragon 1/32 F6D Mustang converted to “HI TIME-II” Racer
By Rodney Williams
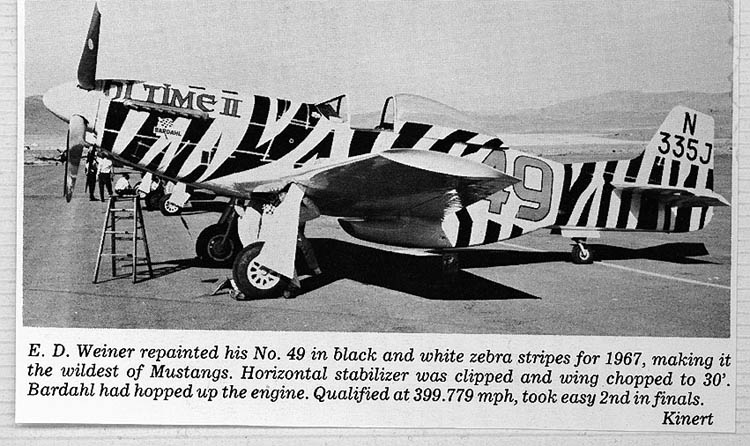
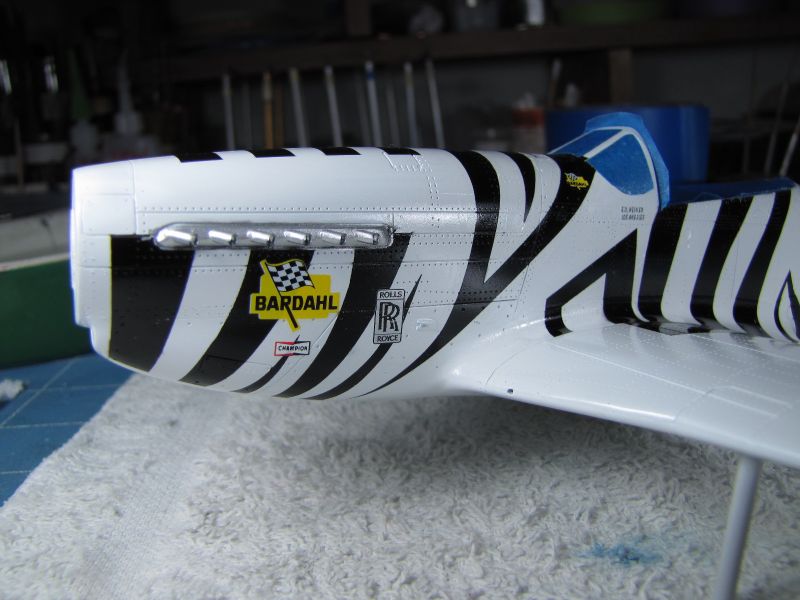
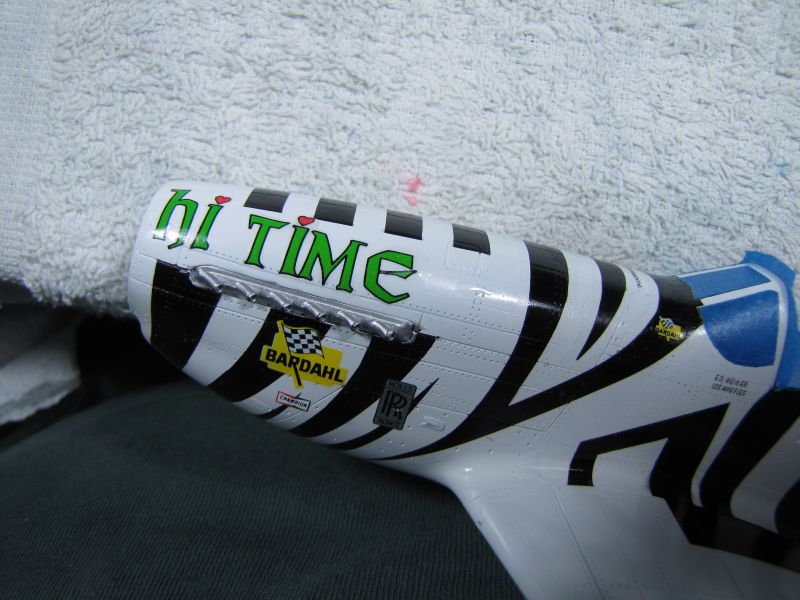
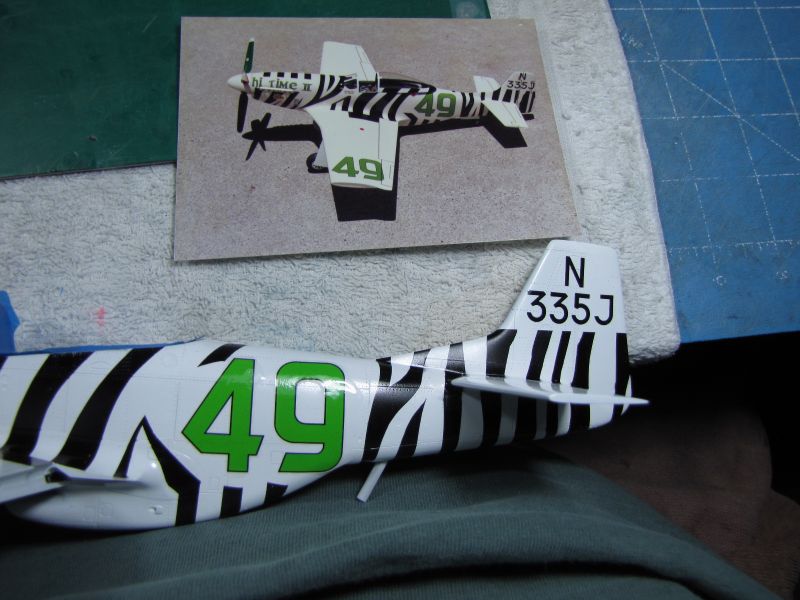
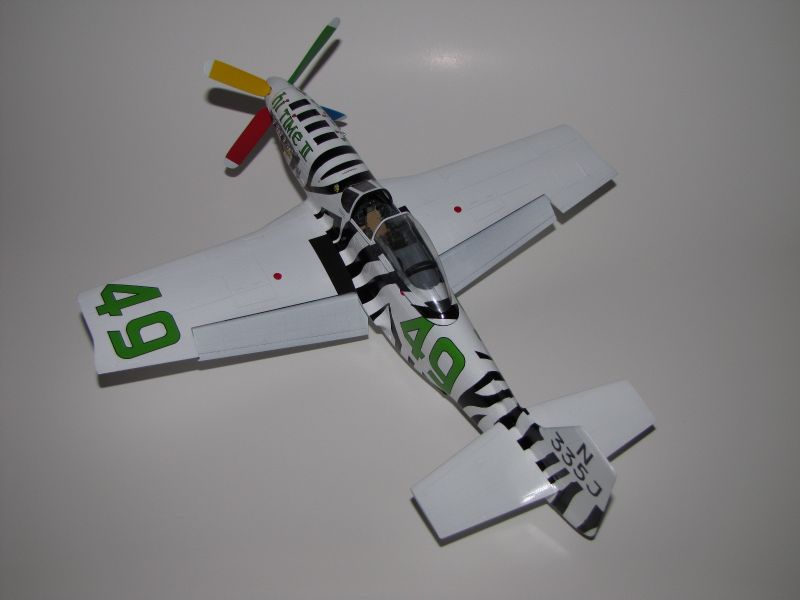
In late 1988 I found a few black and white photos of Ed Weiner’s P-51D racing Mustang named “HI TIME- II”. It struck my fancy as it was painted all white and had what Ed called black “Zebra-Stripes” painted on it.
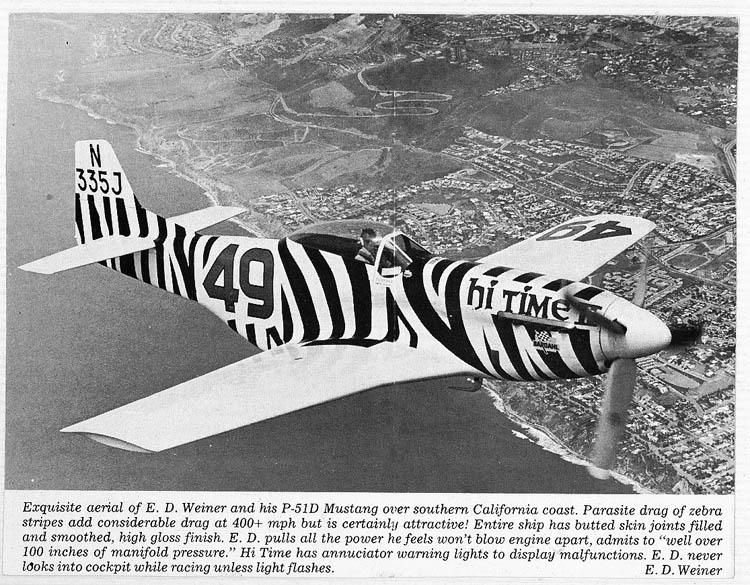

I have been a member of the “Society of Air Race Historians” since 1984 so I contacted our editor Mr Don Berliner sometime in 1988 about the aircraft. For a small fee Don sent me a 4”x6” color photo of the racer at Reno, Nevada in 1967. Since then I have acquired a few more color photos of it from the web. I was off and running on this exciting project and the rest is history.
You can read all about my first 1:32 scale P-51D “HI TIME-II” model by accessing ARC’s web site.
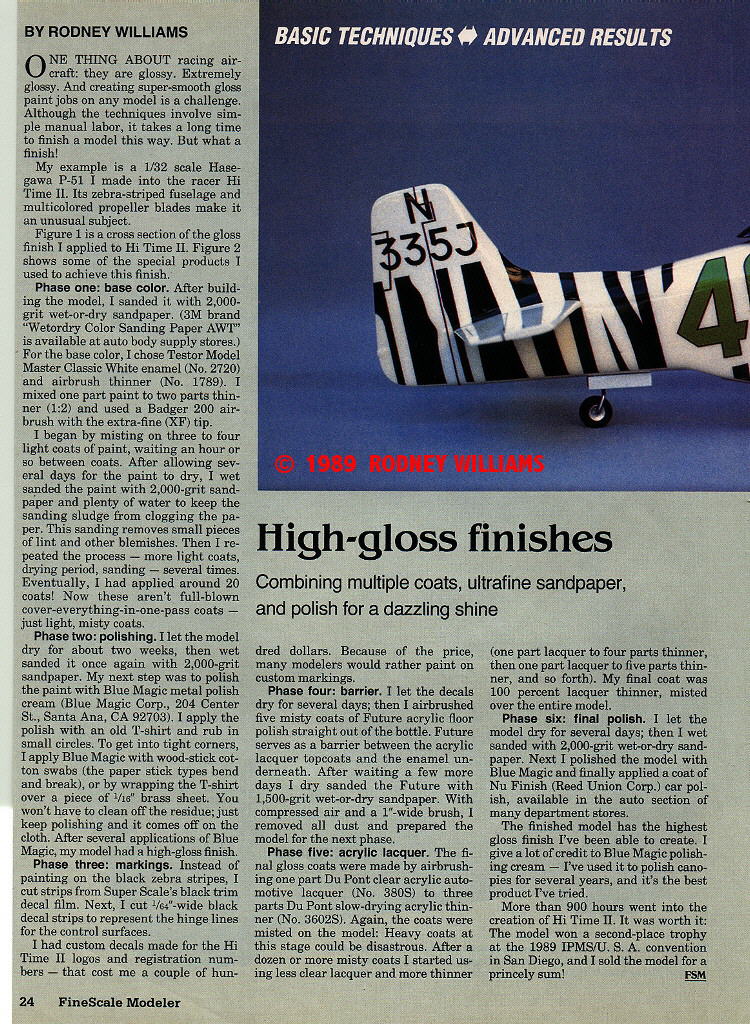
If you are a models magazine collector, please review the model in the July, 1991 issue of “FineScale Modelers” magazine.
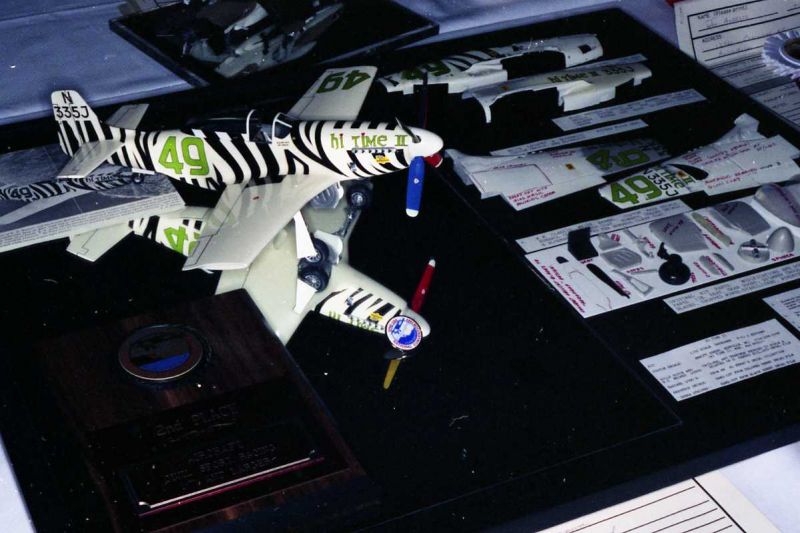
Enclosed is a photo of the racer at the 1989 IPMS/USA San Diego, California National Convention. It took a Second Place Award. I sold the model the following year.
Since I had extra decals I was going to build my second one real “SOON”. That never happened until 2011. WOW!
CONSTRUCTION
I purchased the 1:32 scale Dragon F6D Mustang for my racer solely due to a kit review stating that the model had a very nice wheel well. I did not want to build in all of the necessary items like I did on previous P-51s. Three of them are on this web site under Articles and then under WWII Aviation. They are “Dallas Doll”, “Sleepy Time Gal” and “Nooky Booky-II”.
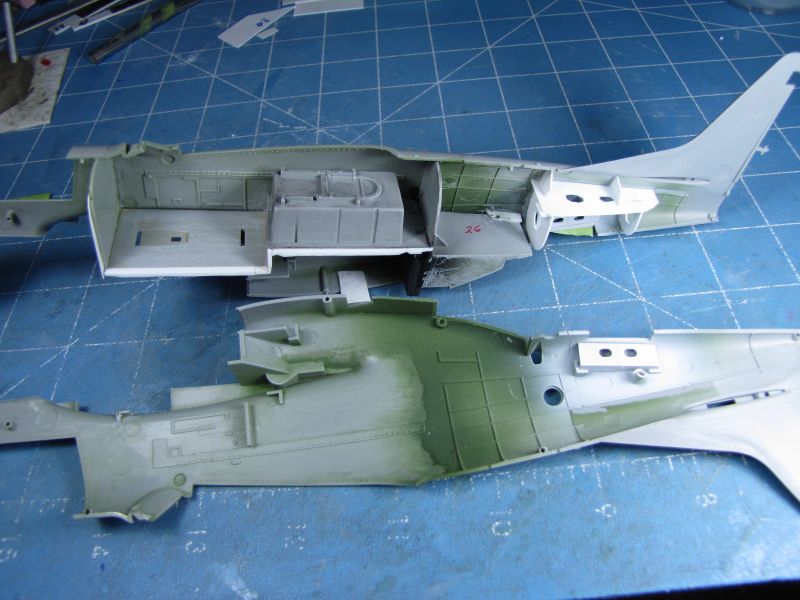
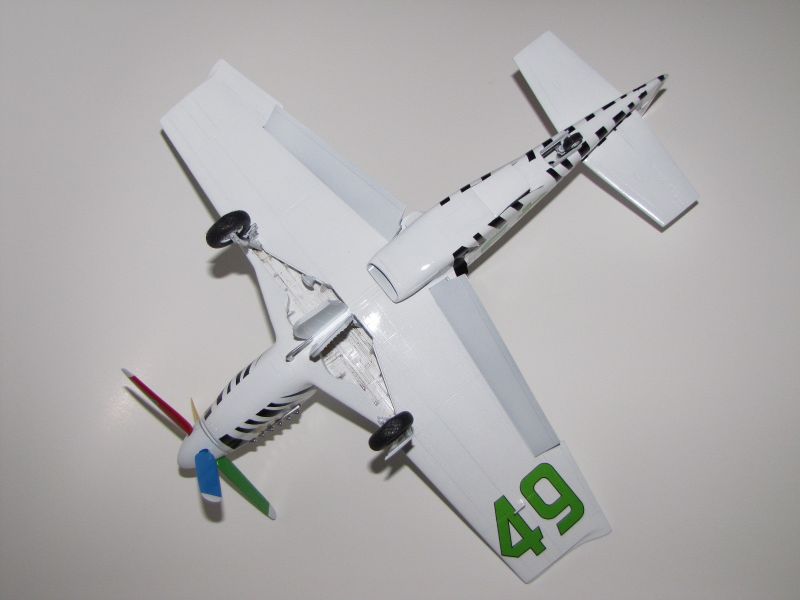
The one-piece wheel well was glued to the lower bottom wing section, (sorry no photo available). The fit was excellent so the two top wing sections were attached.
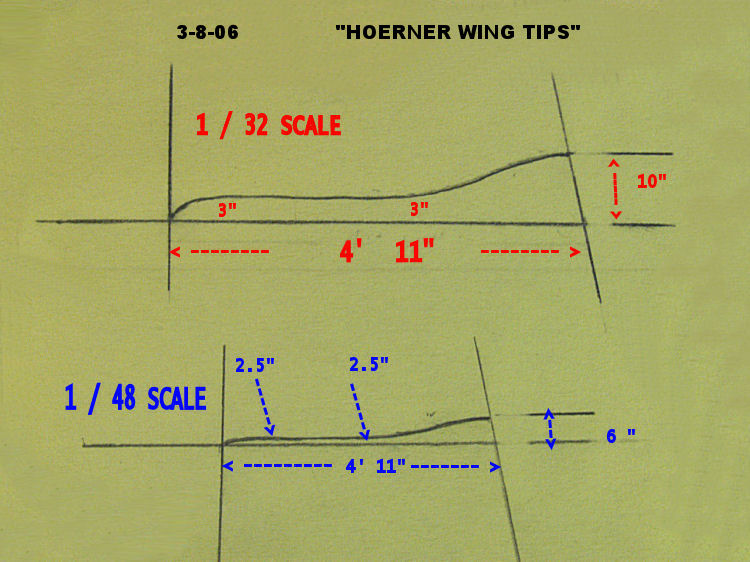
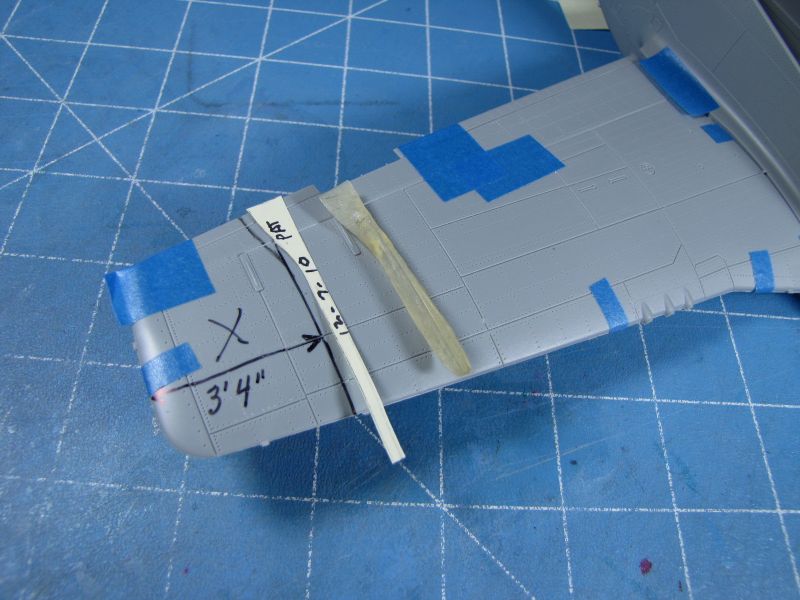
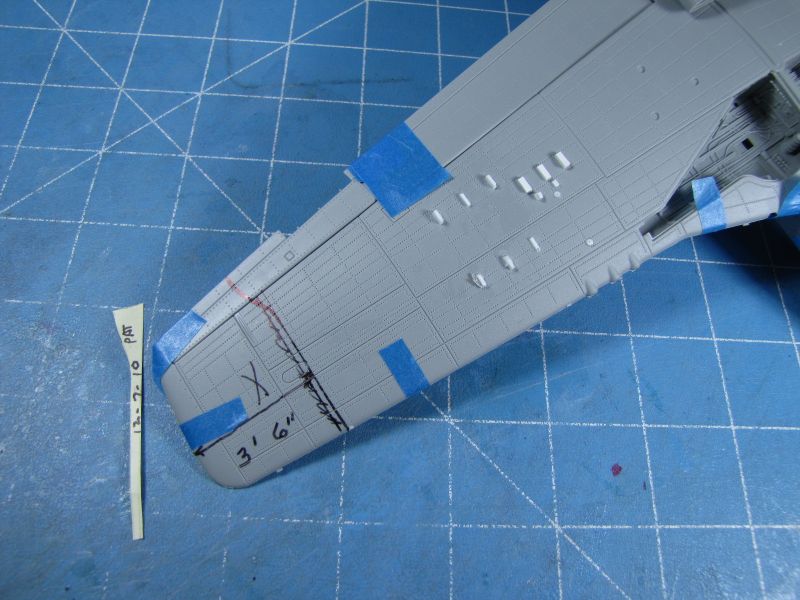
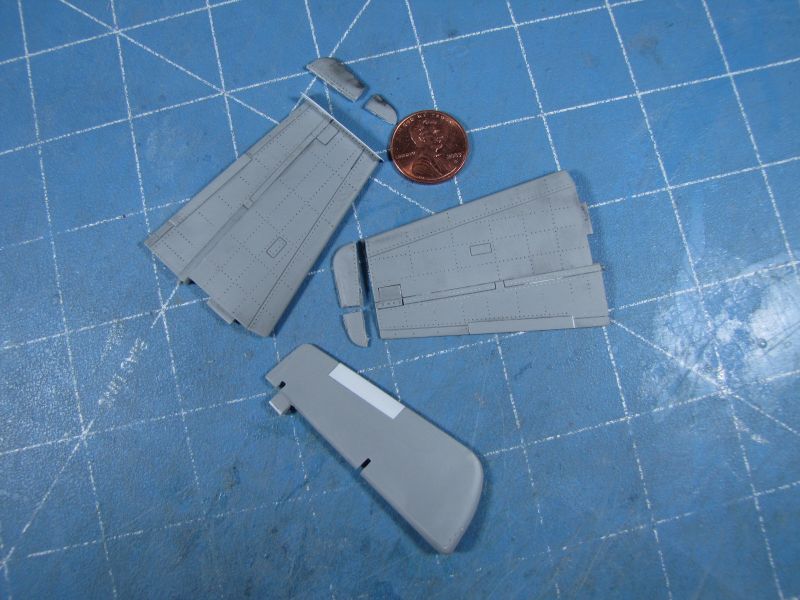
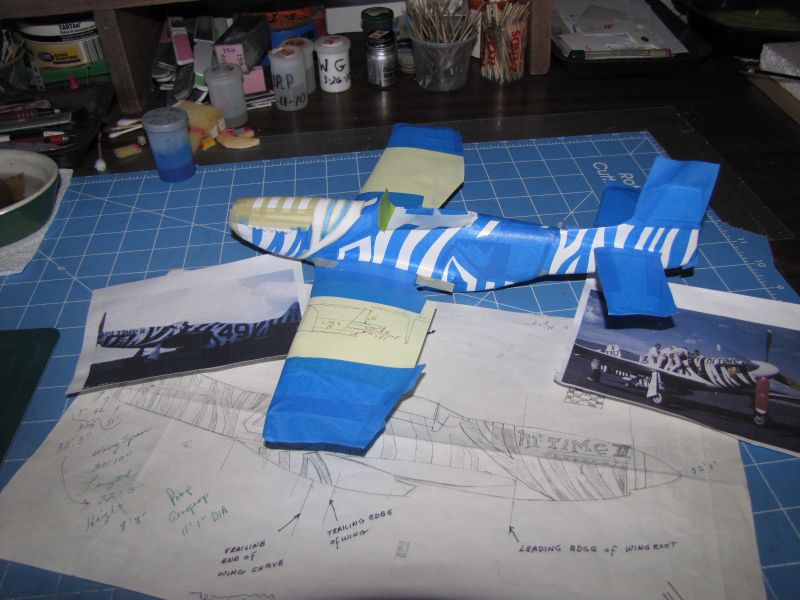
Ed had the wing tips chopped off the aircraft and then installed what they called “Hoerner” wing tip plates. The stab/elevator combo was also reduced in size. This operation was easy to accomplish as I had saved my drawings and measurements from 1989. My P-51D photo album had a dozen or so “in-progress” color photos so this was a great help in building the model.
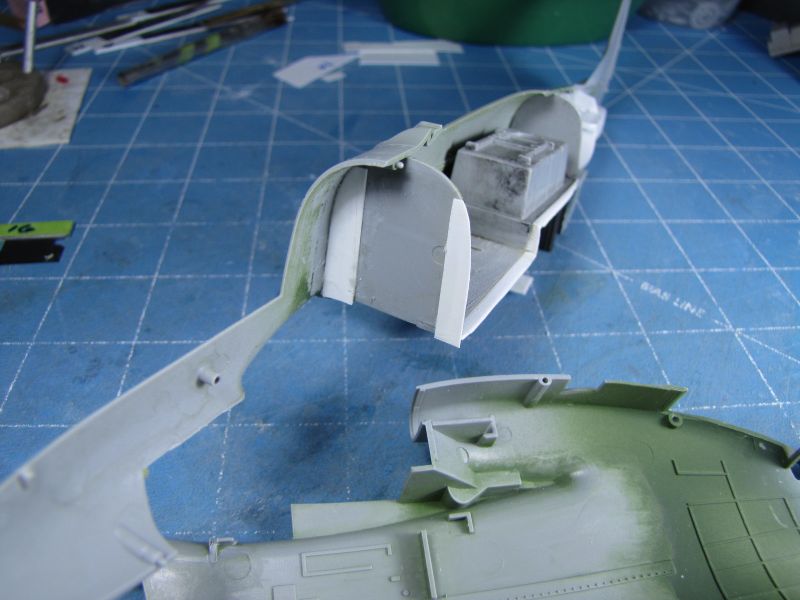
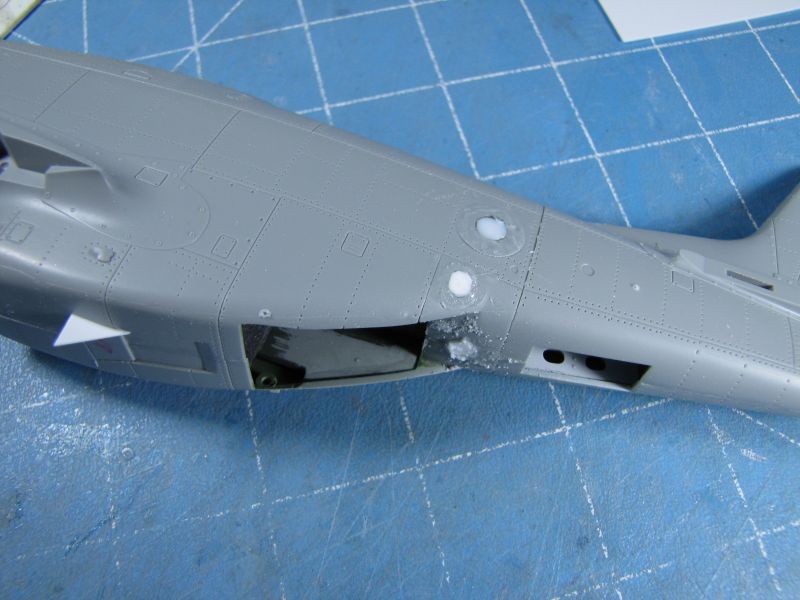
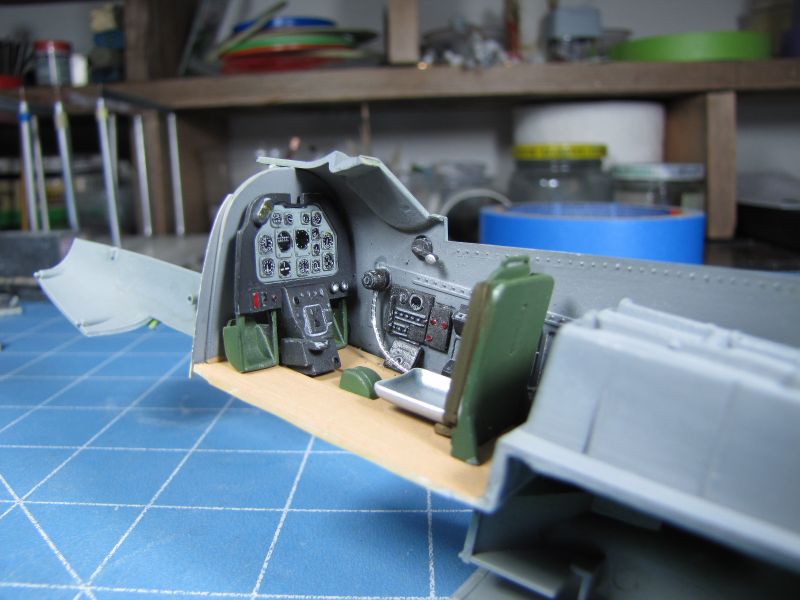
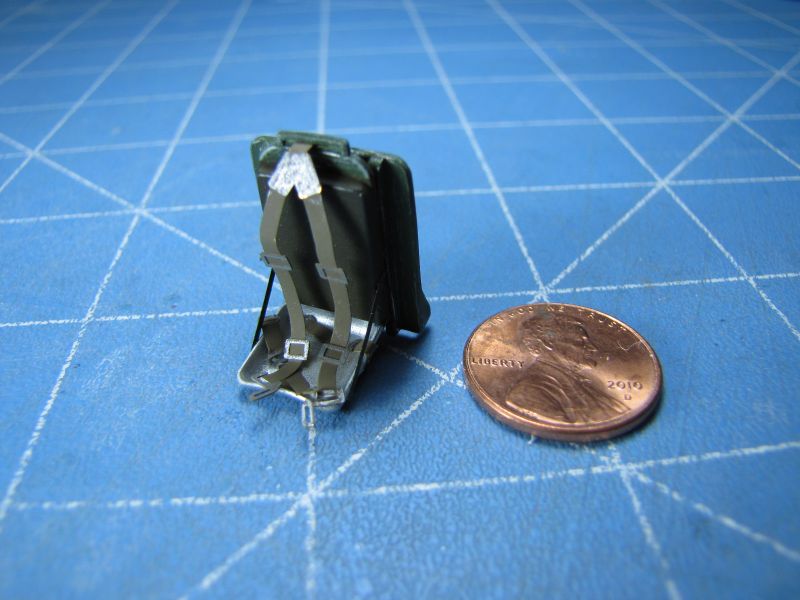
My next job was to fill in the 2 camera openings on the left side of the fuselage and sand them flush. Once finished, I started working on the cockpit, which was not the greatest. Some items seemed to be way out of alignment and there were several open placed that were in dire need of styrene card stock. I added some bulk-heads to the inside of the tail wheel opening and I built in the air intake duct.
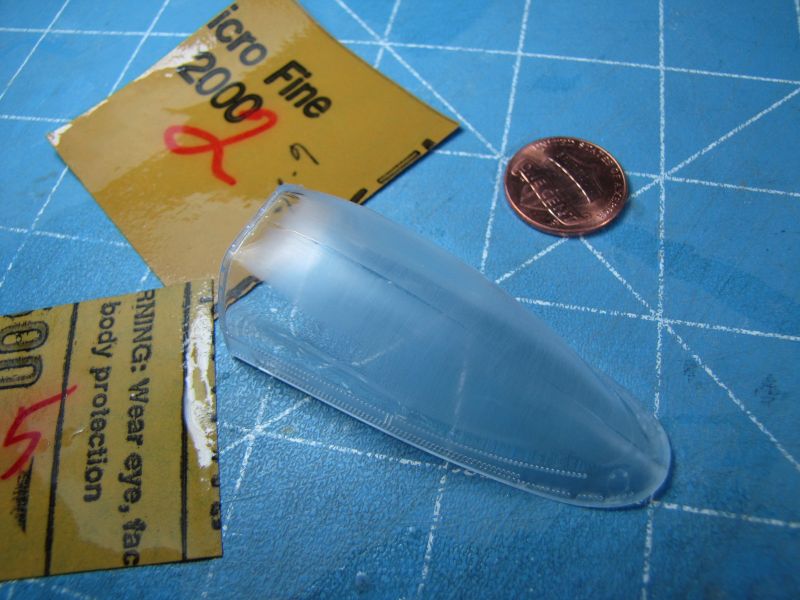
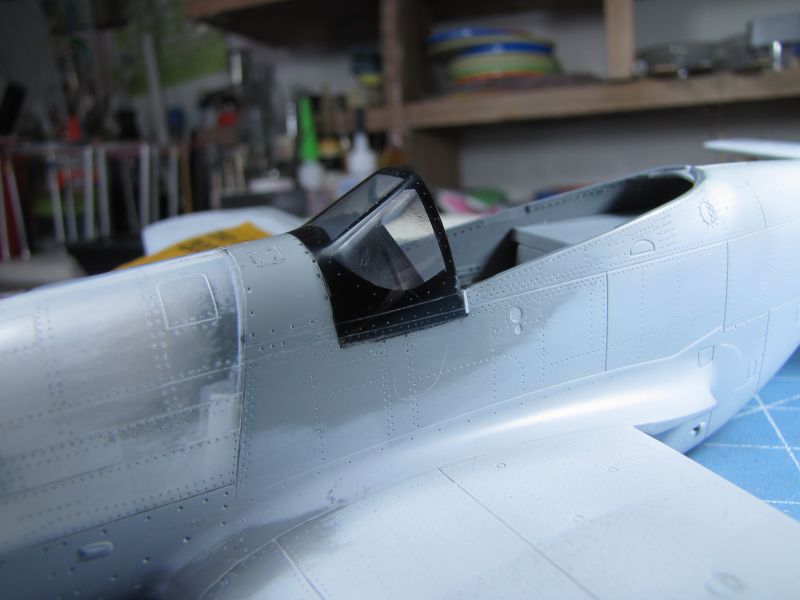
The kit review stated that the windscreen did not fit properly and the review was right on. I cut out the area and then re-built it using some card stock and installed one of my spare windscreens from my 1989 Hasegawa P-51D kit. My spare-box parts sure saved the day for me on this Mustang.
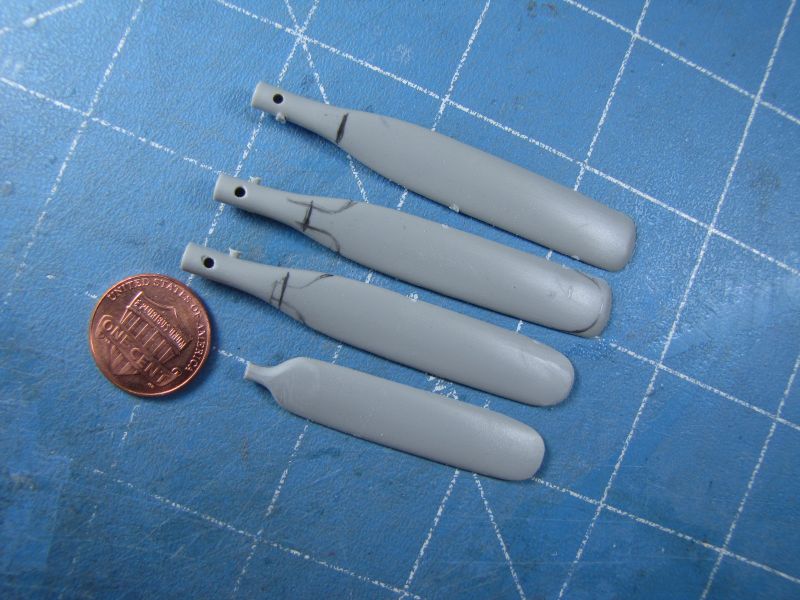
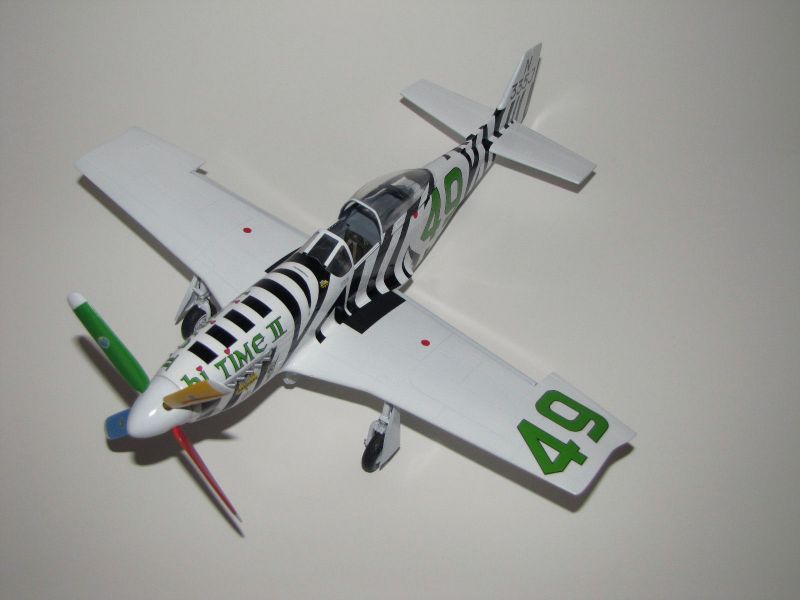
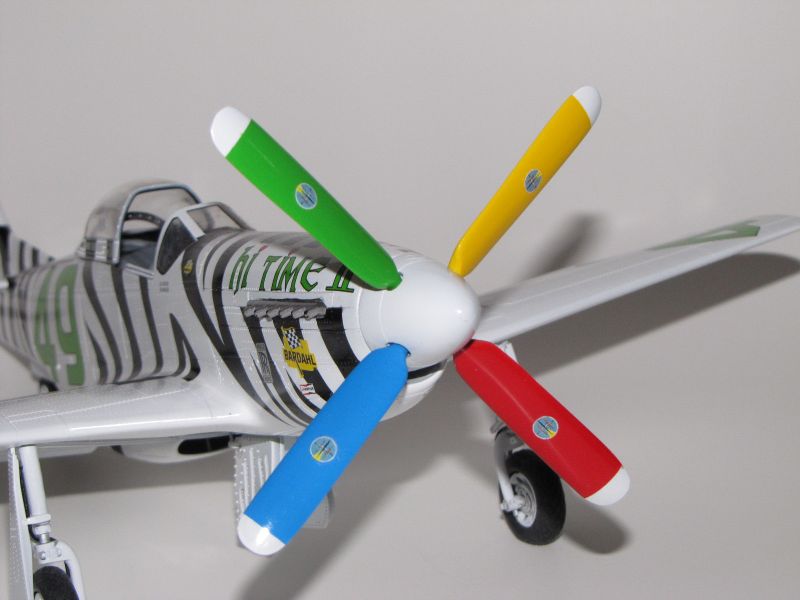
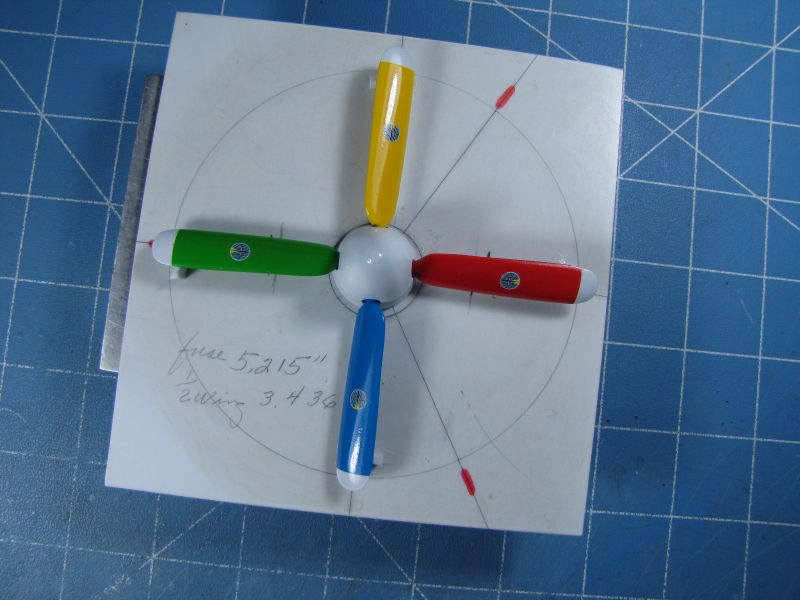
It was back to the spare-box to find a paddle-blade prop for this model. I use a 1:24 scale P-51D prop and cut it down to size and shaped it just like I did in 1989 as I saved the prop drawing.
The kit’s canopy had a nice seam on its outside for some screwball reason. As you know it had to be removed.
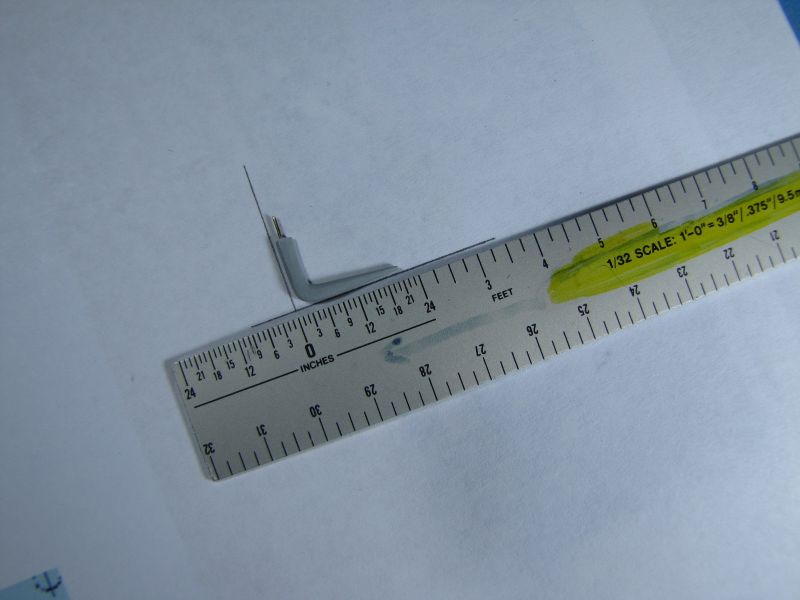
The kit included some “PE” items so I used them here and there. I hand crafted an antenna post that was attached to the lower fuselage center line just forward of the wheel wells. I used the kits instrument panel decals. After revising everything the model was now ready for the painting application.
PAINTING & DECALING
I found my story that was published in “FineScale” Modelers magazine dated July, 1991 on one of my back up CDs so I have enclosed it for your reading pleasure.
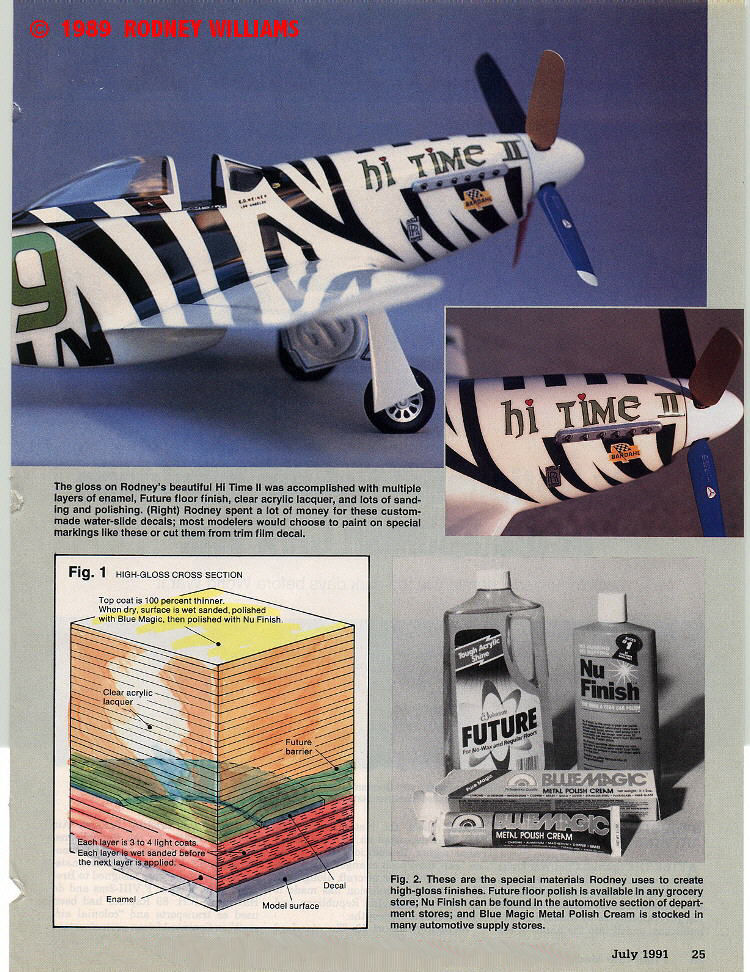
Painting this present model was simplified somewhat. I choose to use Tamiya X-1 Gloss Black and X-2 Gloss White Acrylics. I followed my standard mix ration of 4 parts Denatured Alcohol (DA), to one part paint. The paint is rather thin so I have to add several coats to cover the light grey plastic. Air pressure is around 15-20 psi.
Once the white paint was good and dry I wet sanded the model with 1500 grit wet/dry 3M sandpaper then applied a few thinned-down coats of “Future” floor wax.
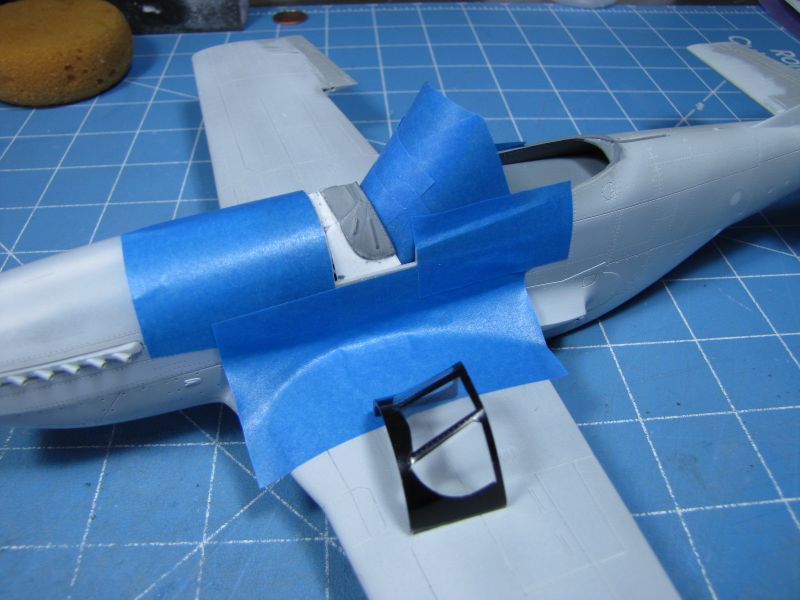
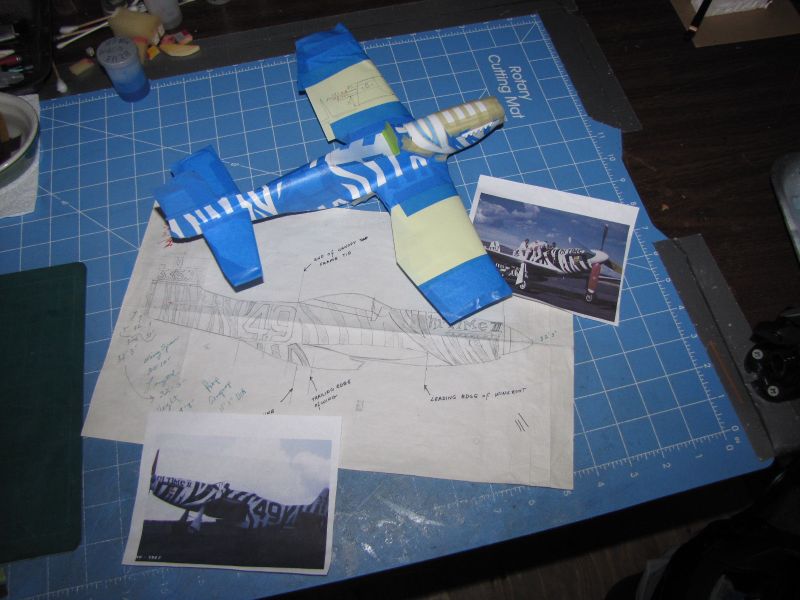
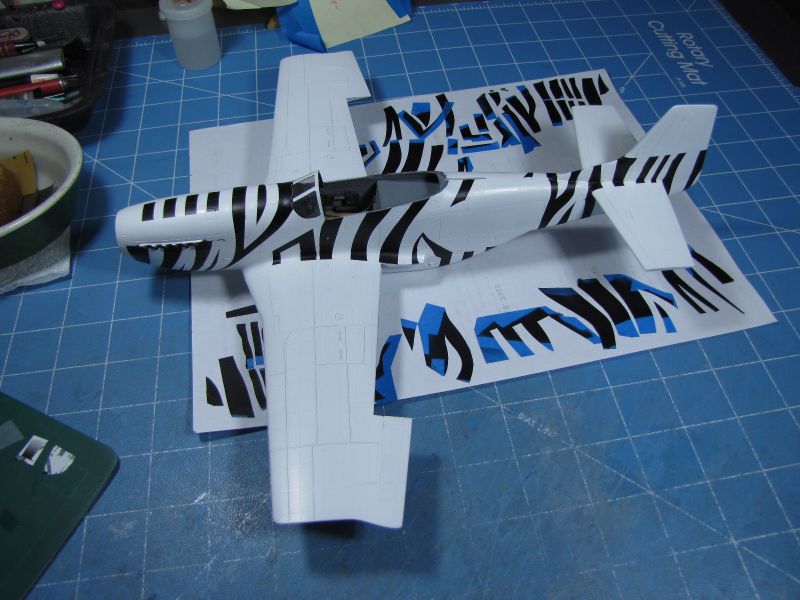
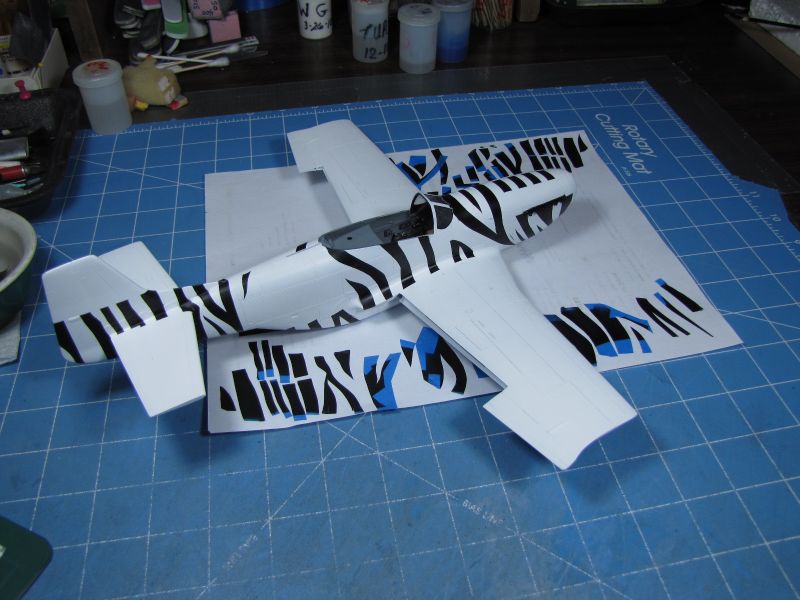
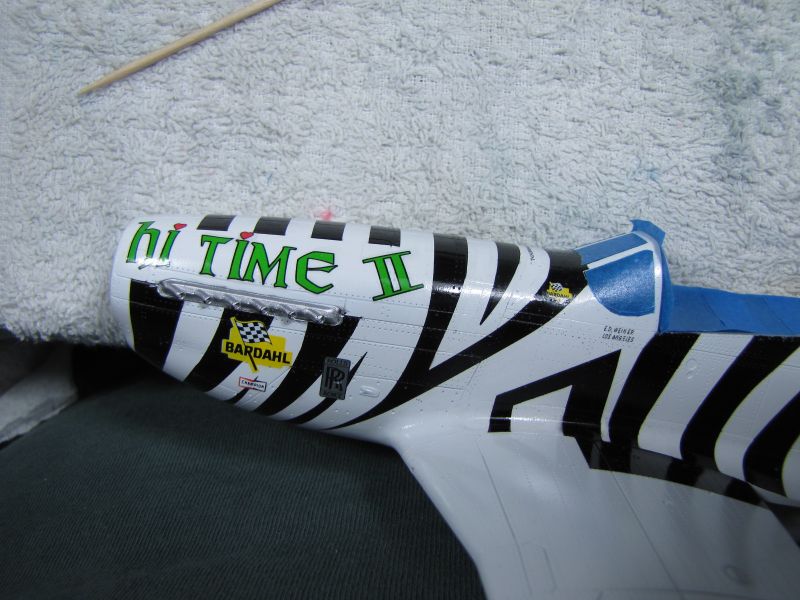
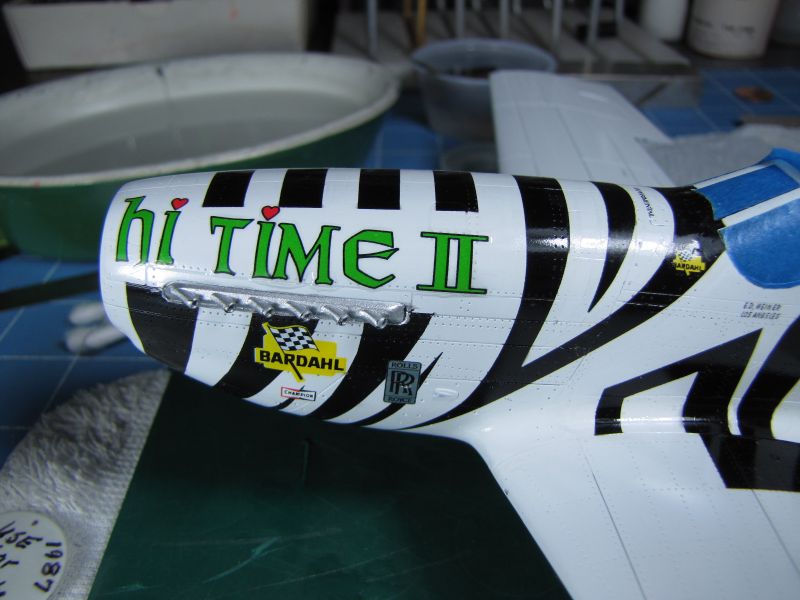
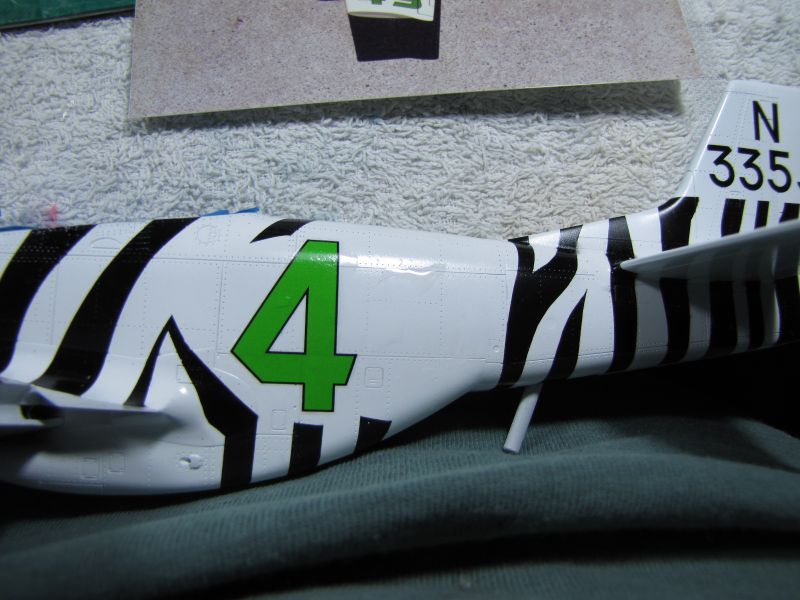
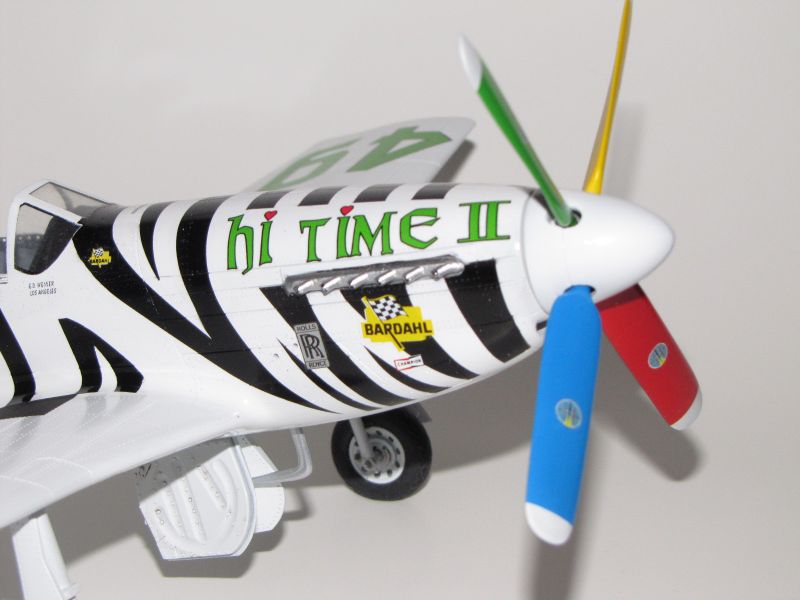
I purchased a set of “Hi Time-II” decals from “Red Pegasus Decal Company”, however all of the zebra stripes had fine white lines running through them. I had to choose between using “Microscales” black decal film and/or try air-brushing them on to the model. I have been using 3M Scotch #2080 blue masking tape for several years and just cut out my zebra stripe patterns from my 1989 drawing. The tape is carefully applied to the model and then I sprayed on the pre-mixed gloss black paint. The tape is removed within an hour.
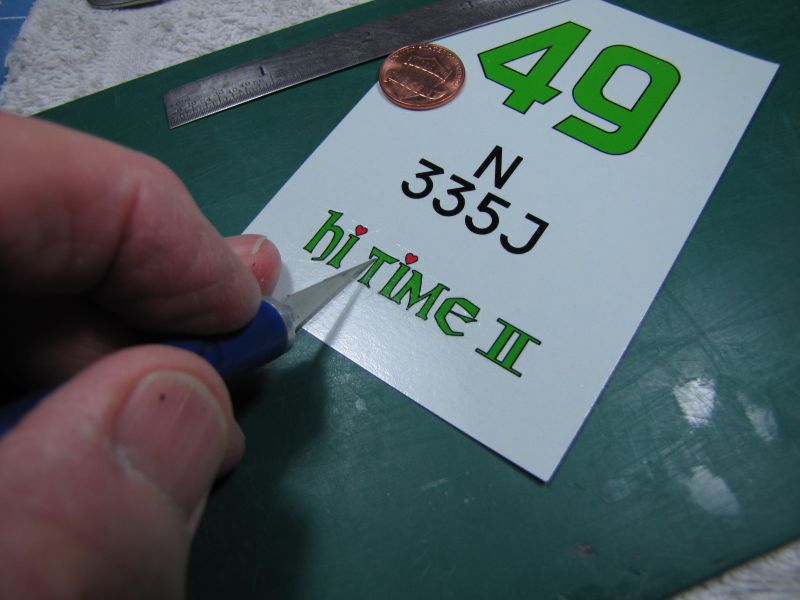
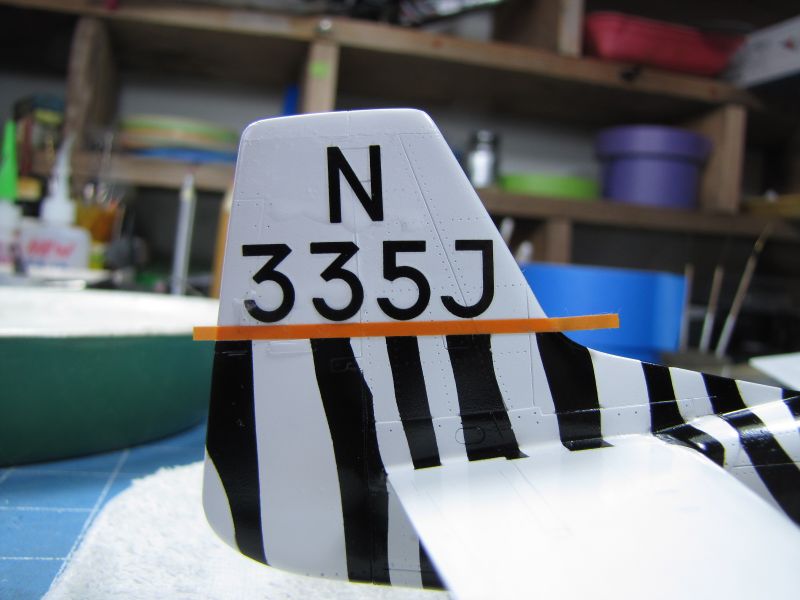
Furthermore I did not like the colors that “Red Pegasus” used on the number “49” including the name of “HI TIME-II” so I went to my box of spare decals and got out my 1989 set of decals.
THE BIG QUESTION WAS
Will these old 1989 decals work on my 2011 model.
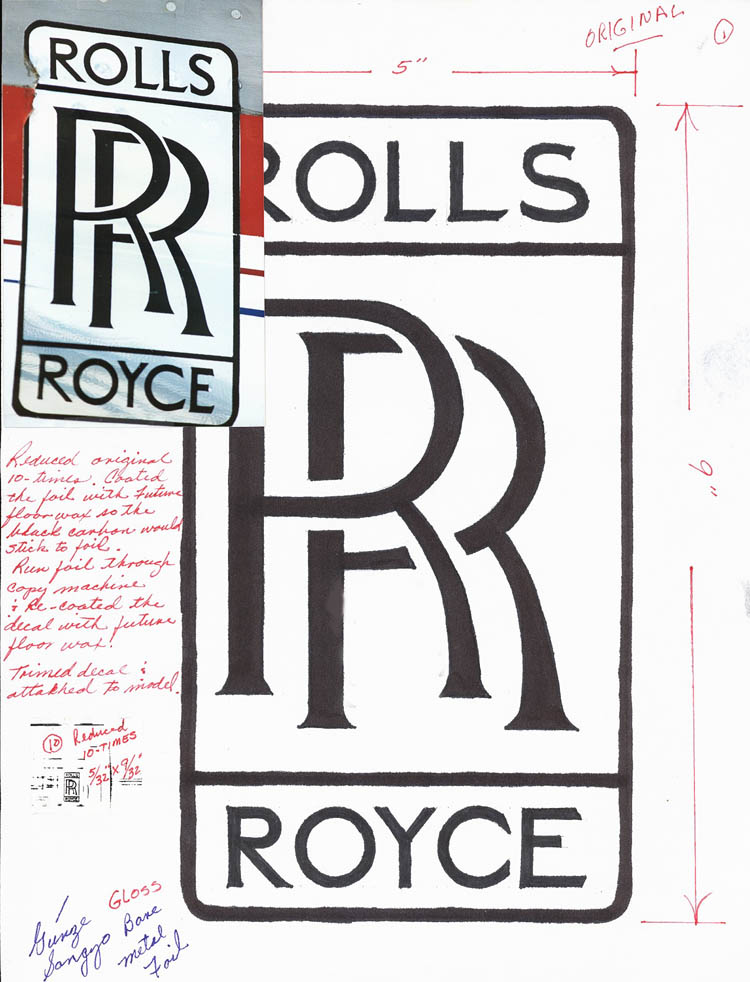
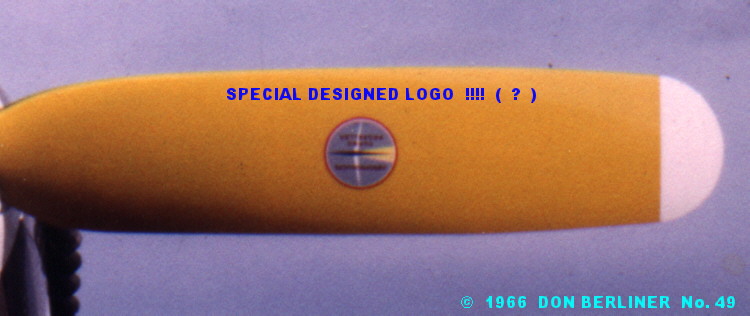
I made my own Rolls Royce decals on my printer in 1989 and had some spares however I used Red Pegasus “RR” logo on this model. I had spare “Bardahl & Champion” logo decals from my car decal collection and used them. In 2006 I designed the special prop logo that was on Ed’s racer and made a deal with “Red Pegasus” to produce them for me “free” then he could use them in all of his 1:48 and 1:32 scale decal sheets.
Twenty five years ago I was told to take a new bottle on “Micro-Set” and a new bottle of “Micro-Sol” and pour the contents into a larger bottle then shake it up real good then refill the original bottles with the mix. I just followed the directions that I mention below...that’s it...never a problem with any brand of decals.
Like always I use a new sharp pointed #11 blade and carefully cut around each number and letter on my sets of 1989 “Hi Time-II” decals. I dip my first decal into my semi-warm water. In no time at all, I remove the excess clear decal film. I apply my pre-mixed “SET-SOL” directly onto the decal and onto the area of the model then gently slide each decal onto the model. I add a bit more Set-Sol and clean water to the decal then position the decal and let it dry for a minute or so. I blot off the excess solution and then clean the area with clean warm water.
TO MY SURPRISE all of these old decals come off the backing paper with out any problem and not one of them came apart even though they are super-thin and over 20 years old. A few days later I clear coat the model with my pre mixed DA-Future Floor Wax . IT IS FINISHED and all I have to do is attach the 2 flaps, 6 gear doors, the 3 tires, seat, canopy and prop.
I still have a “full” set of the “49, N335J and HI TIME-II” decals left. If someone would like to buy them please email me at (fox7077@gmail.com). My asking price is US$30. This will include 1st class postage and insurance to anywhere in U.S.A. Overseas postage would be an additional charge. I am not set up on PayPal. Additional photos of the decal set are available.
Cheers,
Rodney
P.S. I forgot to tell you about my 2nd HI TIME-II model. It is in 1:48 scale and looks A-OK in my collection of racing aircraft. I never posted a story about it so here is its photo at the 2006 IPMS Kansas City National Convention next to some of my other 1:48 scale racers.
© Rodney Williams 2011
This article was published on Saturday, November 05 2011; Last modified on Saturday, May 14 2016