
Trumpeter's 1/32 Scale Me 262
By Rick Cotton
When it was first introduced a while back, Trumpeter's 1/32 scale Me 262 was hailed as the definitive kit of the German jet, and subsequent releases of other versions of this aircraft have met with similar accolades. Trumpeter releases ever since are often compared to this kit, and the lack of aftermarket goodies for it would seem to prove that this model just doesn't need a lot to be built into an excellent replica.
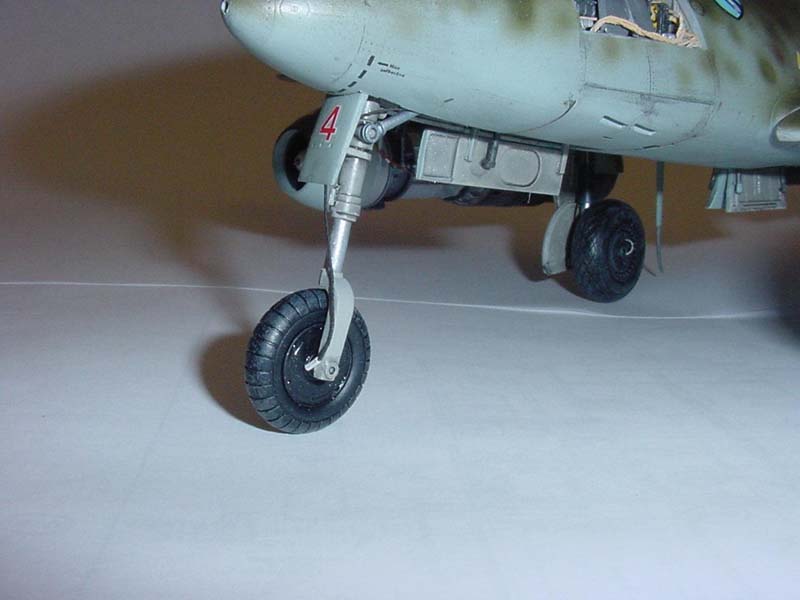
The kit comes with the options of white metal or plastic landing gear and solid or clear engine nacelles . The only thing that irks me about the kit is the one option it DIDN'T come with: plastic tires instead of the nasty rubber ones that are included. This is one of the few areas the aftermarket boys did jump on.
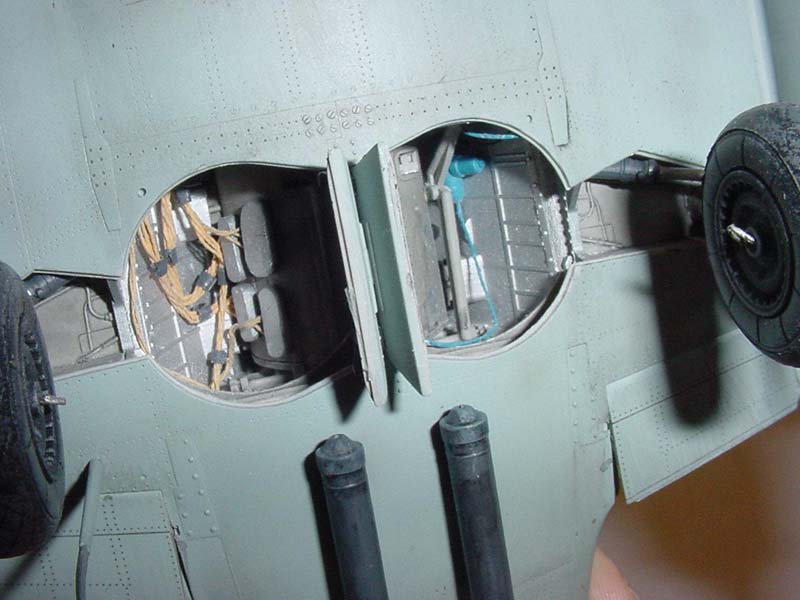
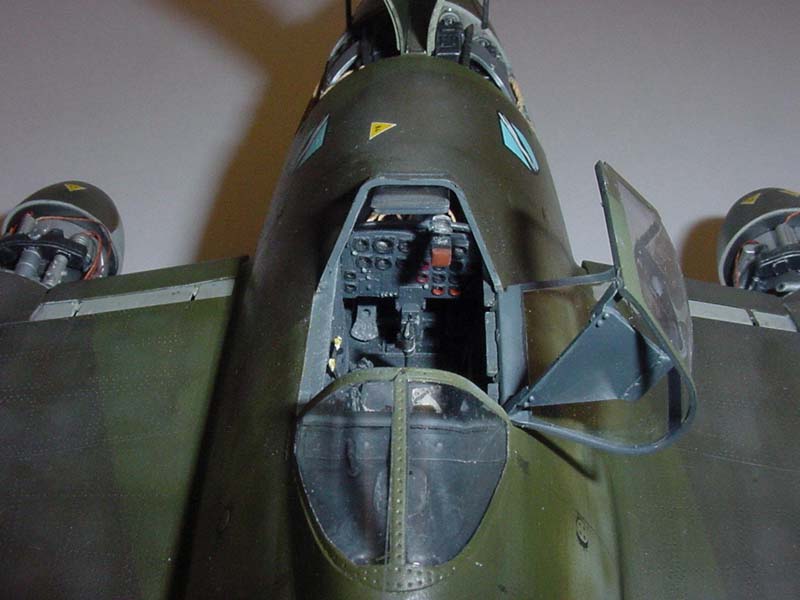
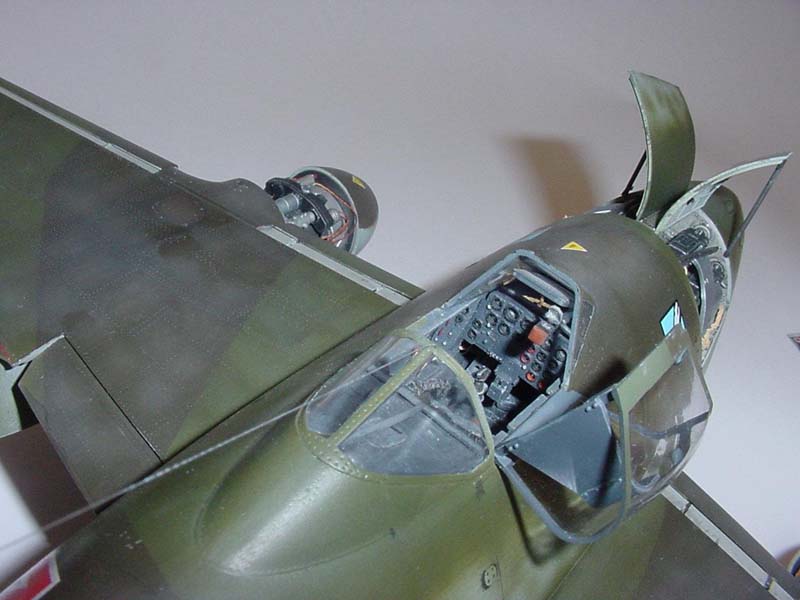
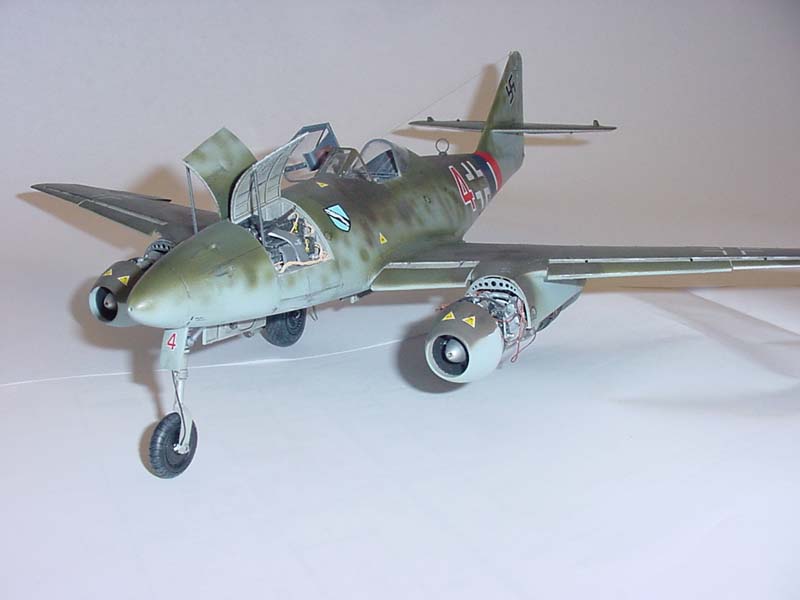
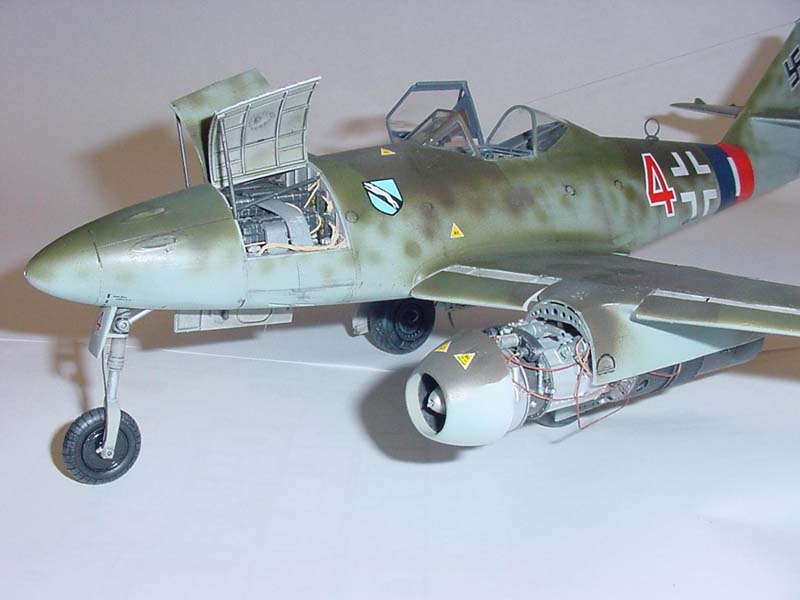
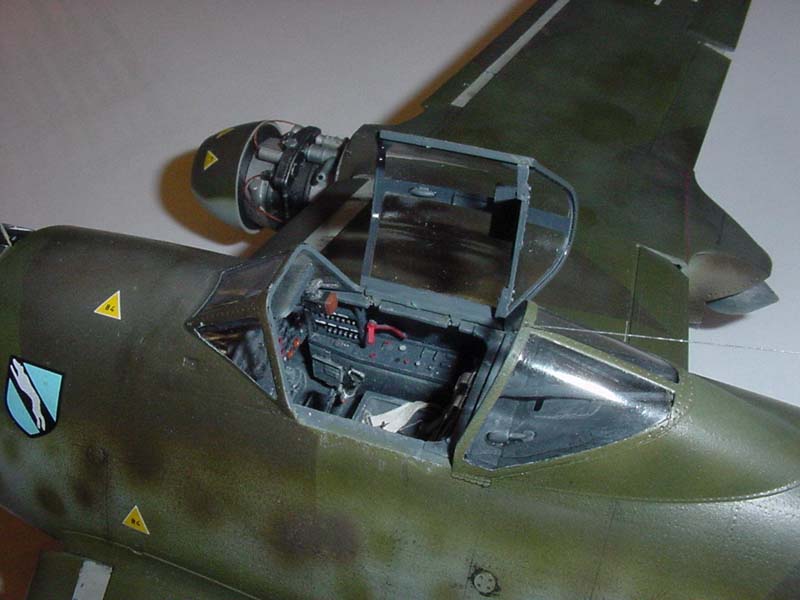
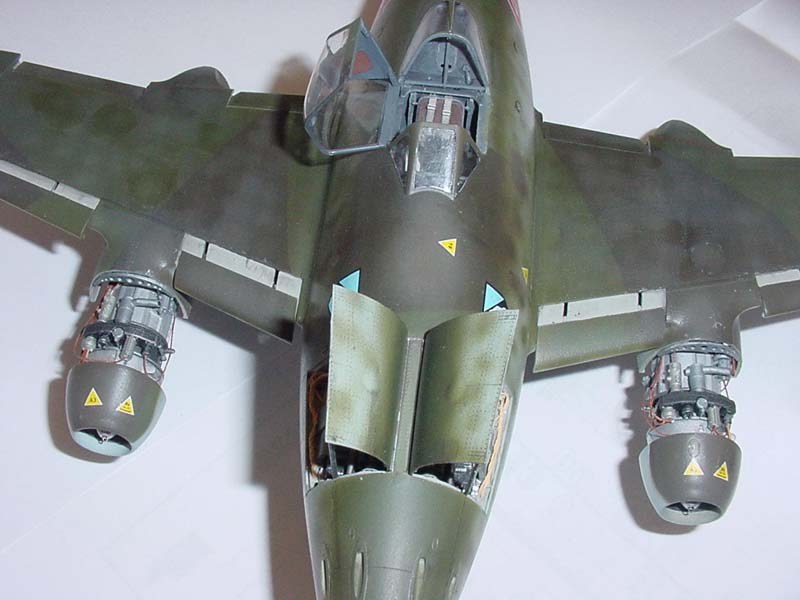
I just couldn't let all that lovely engine detail go to waste, and I dislike the clear parts, so I cut most of the nacelles away, leaving the bird posed for maintenance, with the radio hatch also popped off for good measure. I plumbed the back of the instrument panel, the brake system, and the engines with a variety of wire and thread, thus "busying up" these areas. Squadron's excellent Me 262 Walkaround book was an invaluable and extensive resource, a real bargain for the price. It includes a wealth of color photos, profiles, and technical information on the single seat variants of this bird, plus some interesting historical shots as well.
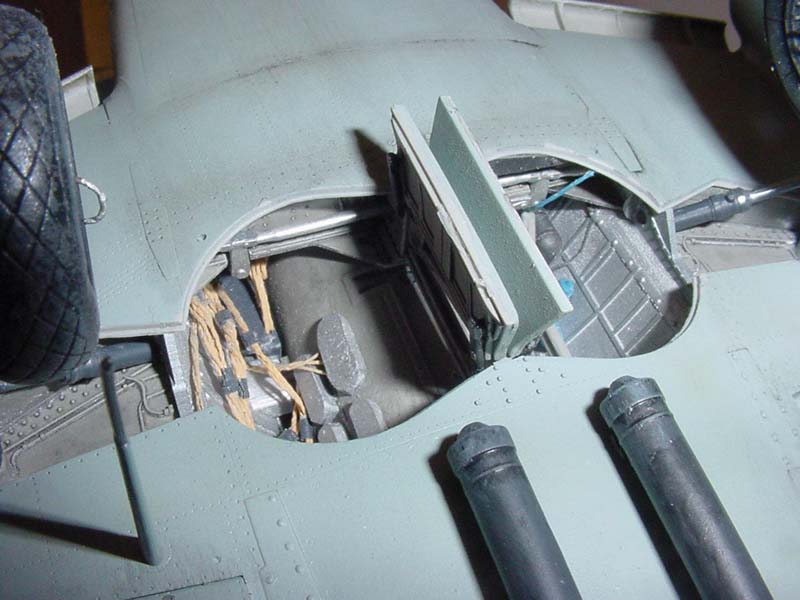

The kit provides a small photoetch fret, with belts, buckles, and even the tiny pull rings mounted in the front end of the engines. Film instruments back up the plastic instrument panel in Trumpeter's characteristic "sandwich" method, this creating a very realistic panel for the office. I added an oxygen mask and hose to the cockpit, and straps to the rudder pedals.
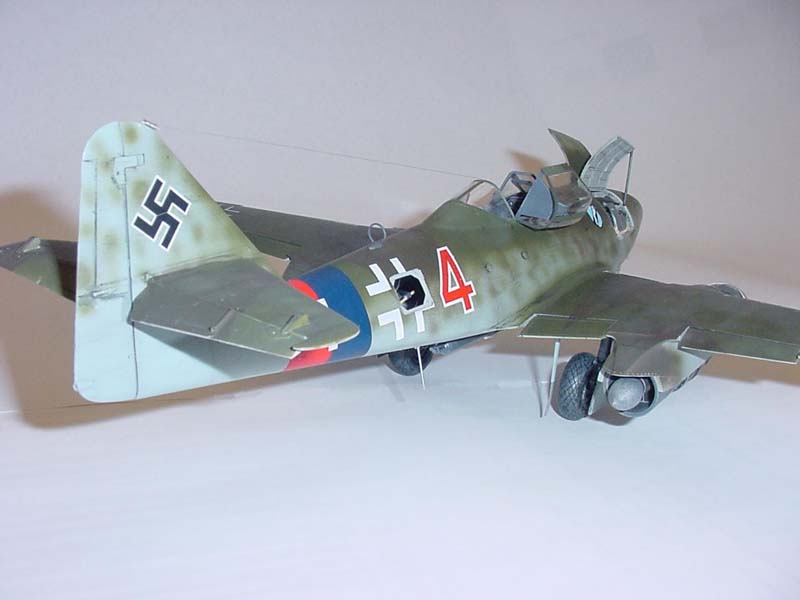
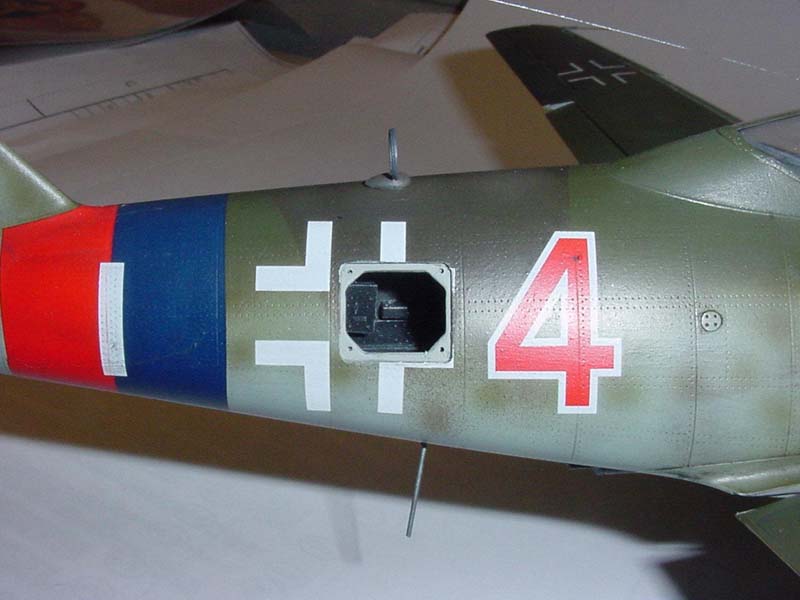
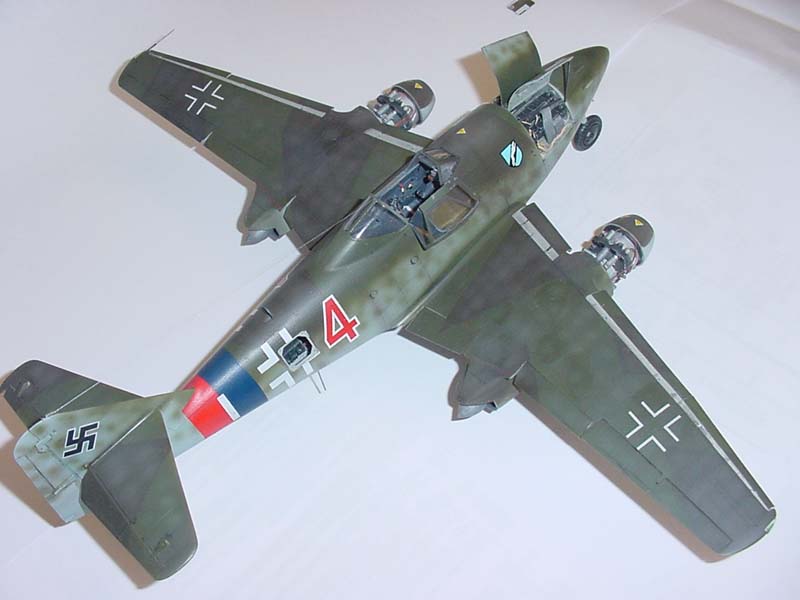
A full color painting guide gives color callouts in RLM numbers, which I followed using a mix of Tamiya, Vallejo, and Gunze colors. Lightened versions of the same colors were then used for post-shading. The instructions do, however, make some odd color references to "interior green" in some places…this should usually be RLM 02 gray, or RLM66 gray in the case of "German Gray" called for in the cockpit. The exquisite panel line details were brought out with a watercolor/tempera paint wash. The tiny screw heads have to be seen to be believed!
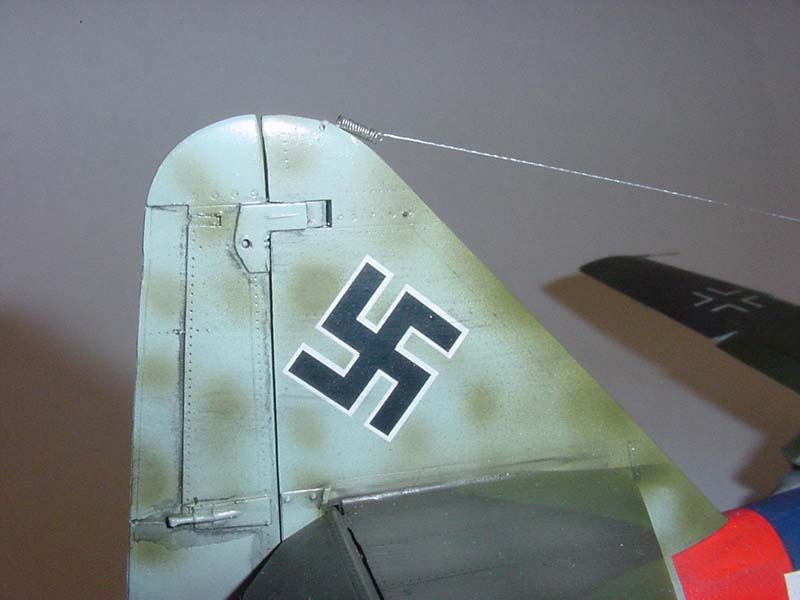
The kit decals behaved well under a tiny bit of setting solution here and there, and everything was sealed under a coat of Future. I used Testors Acrylic Semi-gloss over the entire airframe, and a 50/50 mix of Testors Acrylic Flat and rubbing alcohol over the areas exposed to most sun fading. This mix helps to eliminate the "frosting" that can occur when mixing the Testors Acrylic Flat with water. I wanted a subtle flat on exposed areas. European birds obviously bleached a lot less than their Mediterranean counterparts. A tiny bit of chipping was done with a silver Prismacolor art pencil.
This kit effectively sends the Hasegawa and Revell offerings of this plane the way of Betamax tape, Analog TV, and the floppy disk...history. When you consider the completeness of the kit, its quality, and the ready availability of second-hand examples from show vendors at a bargain price, it's a steal. Grab yourself a Schwalbe and dig in. Modeling "Gemutlichkeit" will be your reward!
© Rick Cotton 2008
This article was published on Wednesday, July 20 2011; Last modified on Saturday, May 14 2016