
Matchbox 1/32 SBD Dauntless
By Keith Allott
This little gem is the Matchbox 1/32-scale Douglas Dauntless.
I acquired this kit from my Boss who had bought it from a collector who was thinning out his collection. My boss then decided that he would never have time to build it. I was thinking the same thing until I realized it came with a set of RNZAF decals and would be ideal to start my New Zealand Airforce collection.
After a brief glance inside the box and a look at the Large Scale Planes web site it was evident that I was going to have to do some major work on the interior.
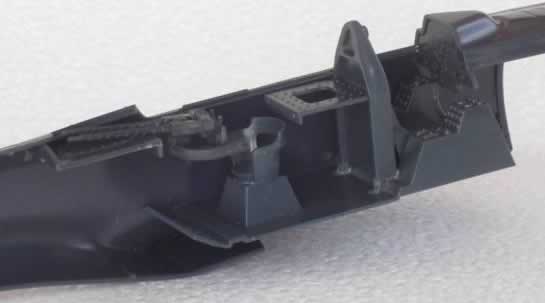
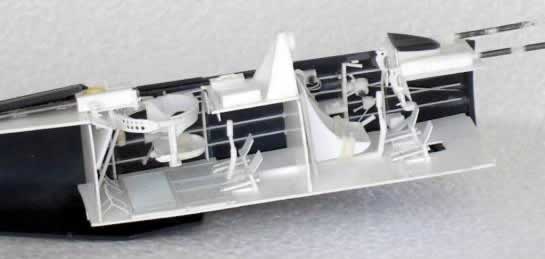
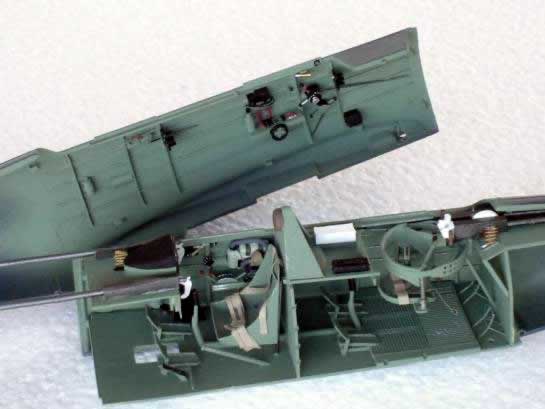
Instead of buying an after market cockpit or attempting to modify the ?pedal car? like Matchbox one, I set about scratch building my own? just because I can!
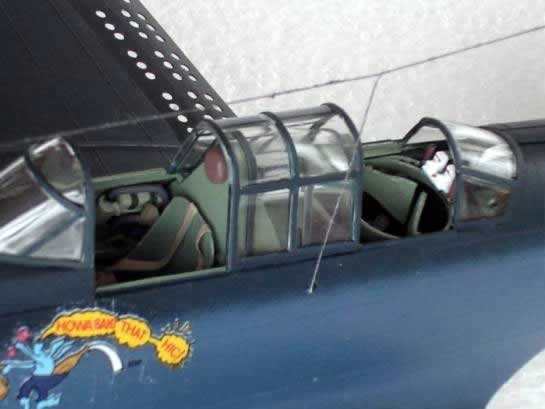
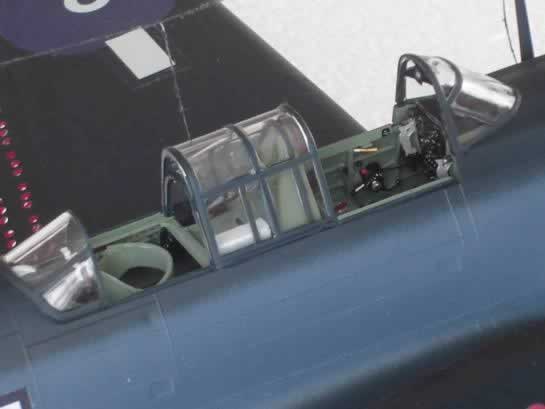
A lack of reference material for the rear cockpit prompted me to inquire at the local Airforce Museum (http://www.airforcemuseum.co.nz/) who just happen to have one. Unfortunately, the Museums plane is in storage and I was unable to get to it (NZ5037 is actually a crashed plane and was displayed in the museum in the condition it was found). The Museums Collections Manager came to my rescue and mailed me some excerpts from a 1942 Douglas manual, which included descriptions and photos of exactly what I wanted. Excellent!
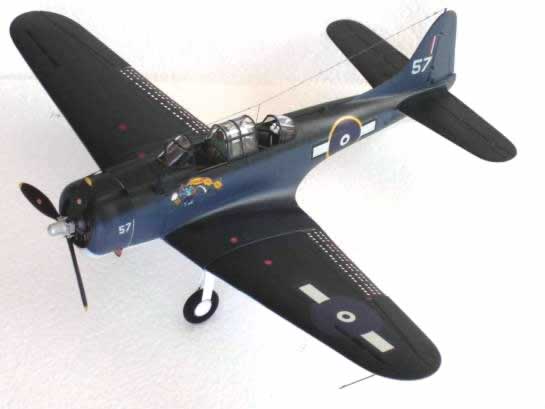
These before and after shots show the extent of the work that followed. There are over 320 individual pieces of plastic in the new cockpit including seats, machine guns, instrument panels and a complete set of flight controls for the rear gunner.
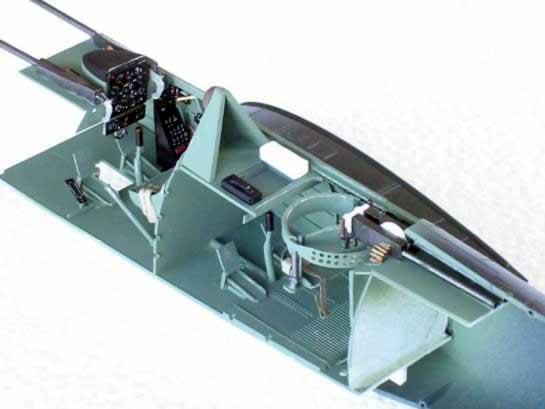
After the new cockpit was painted and installed, I started on the rest.
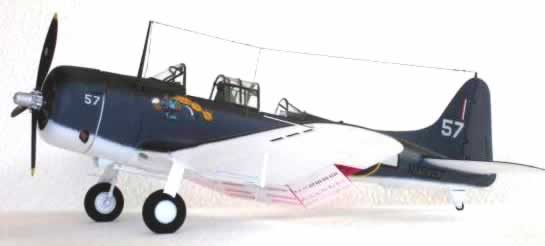
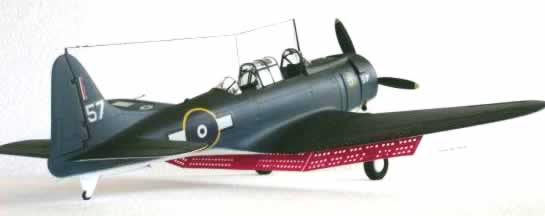
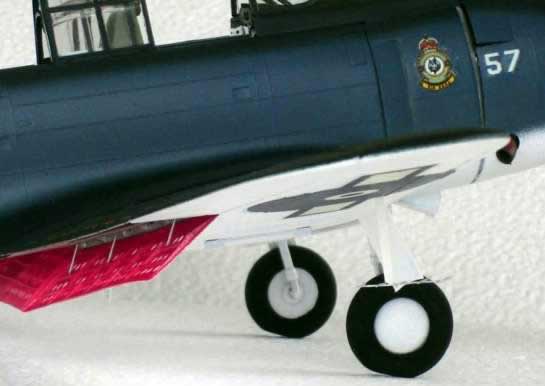
Brand new dive flaps were fabricated out of .25mm plastic (.010?) as the kit ones proved too chunky to use. This was a tricky exercise as drilling a straight row of small holes in very thin plastic is harder than it sounds. Once this was done I did all the usual bits and pieces like opening vents, thinning down panels and adding aerials (My favorite).
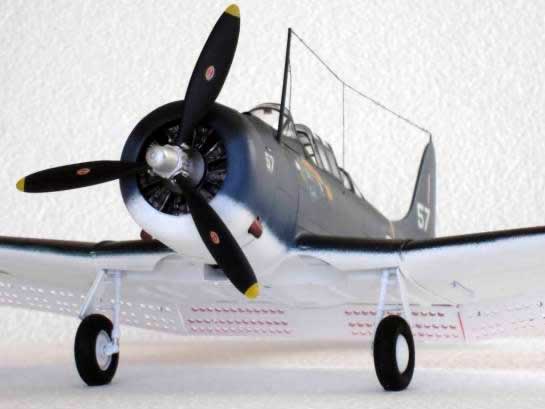
Tamiya make an excellent, ever expanding range of acrylic paints that are versatile, easy to use and wash out in water. In this instance, I didn?t even have to mix any to get the right colours. Astoundingly, the kit decals were fine and went on better than new ones I bought recently. Although I did use a lot of Microset and Microsol. The best clear coat I have been able to find is also Microscale and this leaves a slightly satin finish which is probably more accurate than a totally flat finish. Now I?m too scared to weather it.
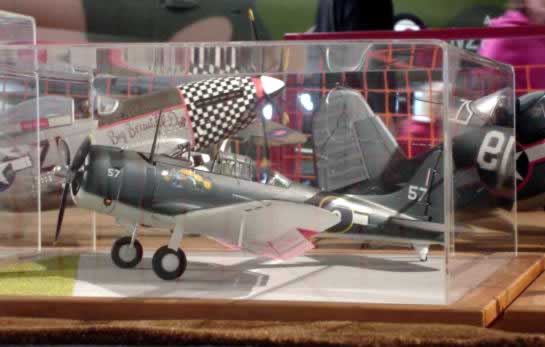
All in all I am very pleased with the way it turned out and hope everyone enjoys the photos.
© Keith Allott 2006
This article was published on Wednesday, July 20 2011; Last modified on Saturday, May 14 2016