
Revell-Hasegawa 1/32 Hybrid Fw 190D-9
By Erik Mark
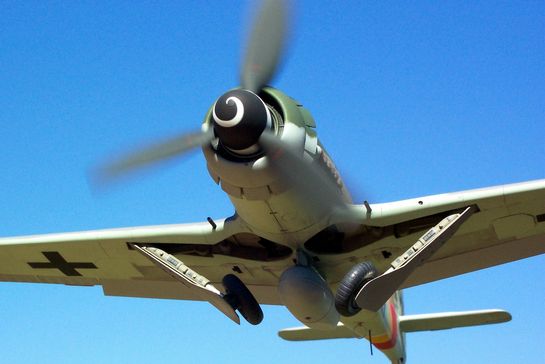
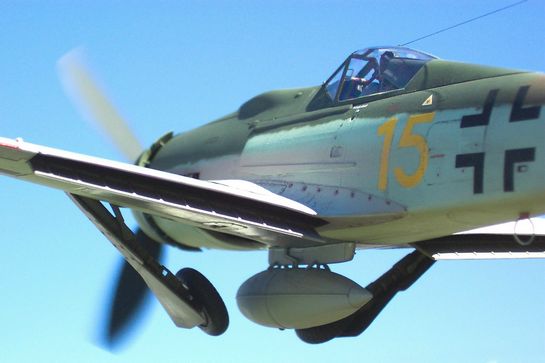
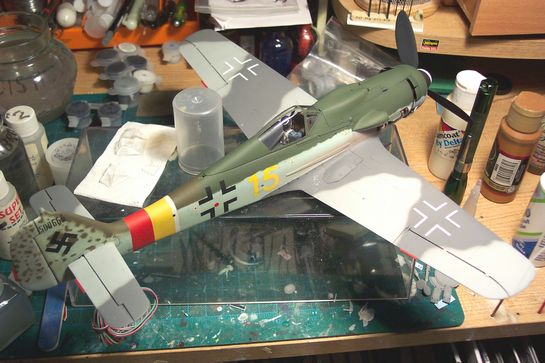
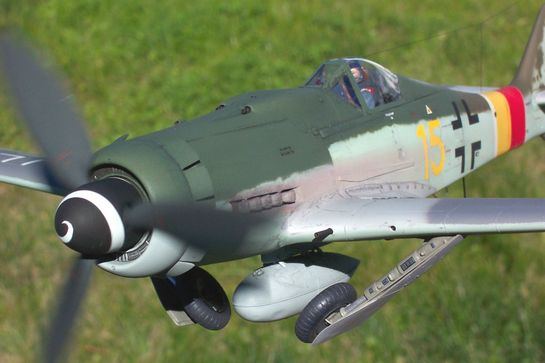
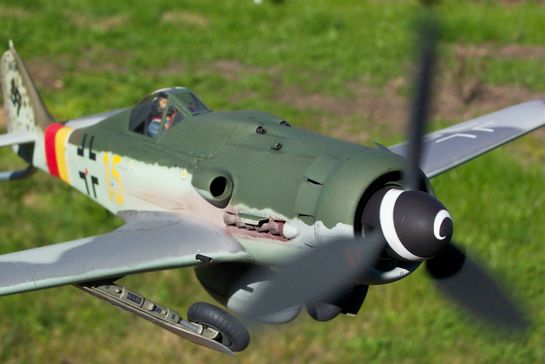
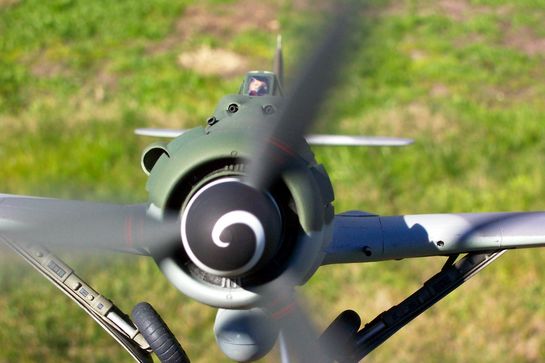
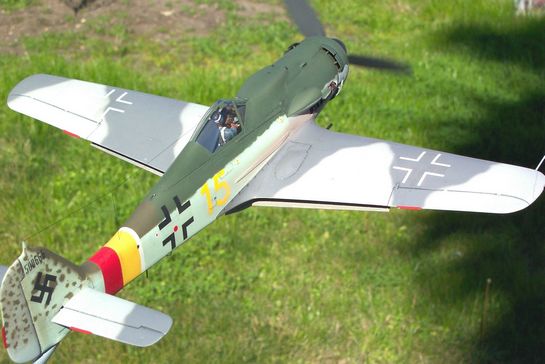
Sorry, no history lessons here on the Fw 190D-9. I can tell you what you can do with those older obsolete kits in 1/32 though. See, this is my pre-Hasegawa retool attempt at a decent D-9. Also, if I didn't go ahead and finish it up, it would be doomed to the "to do" pile forever. As a matter of fact, I was so far along, that I couldn't really use any of the new stuff for the D-9 either. The only thing that helped me finish it was I used the blown canopy from the new kit, (since it comes with both types), and the drop tank. So, with those things in mind, I'll highlight on the long road this thing took. Since the release of the new Hasegawa kit, I decided to do something different with this one. I took the cowling I made, and modified a "Prop Action" motor from Tamiya's 1/48 Oscar kit to it. I used the motor from the Oscar because it is bigger, and figured it could handle the mass of the D-9 assembly. Then I thought, "Well it has to have the spiral on the spinner now." I sorted through my great sheets of Eagle Editions decals, and came up with Yellow 15. Not only did it have the spiral, but it was from JG-301, with the yellow-red defense bands which match my 1/32 TA-152. I don't know if they were ever around each other, but they match now.
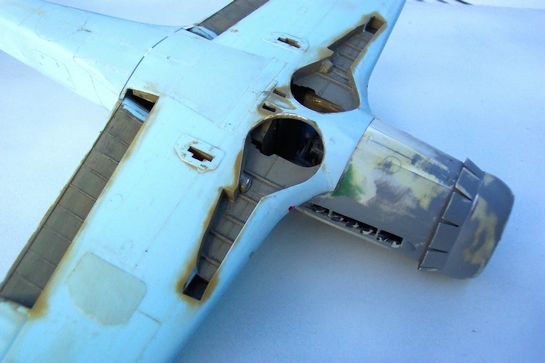
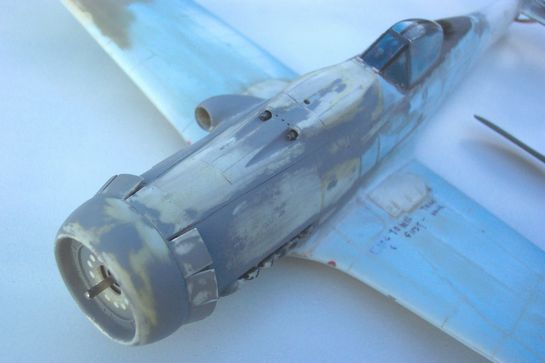
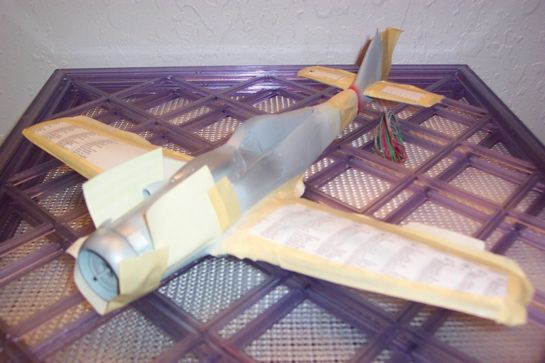
On the model itself, I had done basically what Kurt Tank the designer of the real thing did. I took the original Hasegawa Fw 190A fuselage and wings, and grafted the Revell nose, wing cannon covers, landing gear, and a tail extension to it. You can tell by the build pictures that I had to add material here and there to get it all to fit. I made the supercharger intake from scratch, and reshaped the cowling ring. I measured and made the cowl flaps, and the four beef up strips for the fuselage. After studying photos, I also reshaped the fuselage gun bulge area, and relocated the exhaust. When I decided to do the prop action set up, I had already opened up the Hasegawa wheel wells, and made a rear engine set up. So, in order to still show it, and have it in flight I made it with the gear in transition. The wheels I had previously scratchbuilt were made bulged and flat as on the ground, so I had to make them round again. I was glad I was using the Hasegawa wing, because it had the dropped flaps. All I did there was close off the open areas inside the wing with plastic sheet.
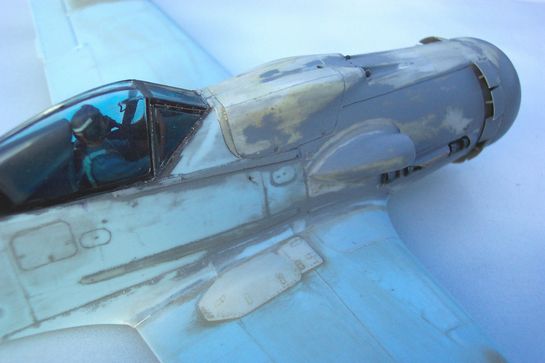
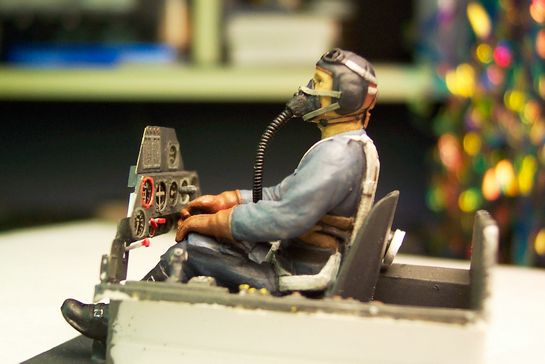
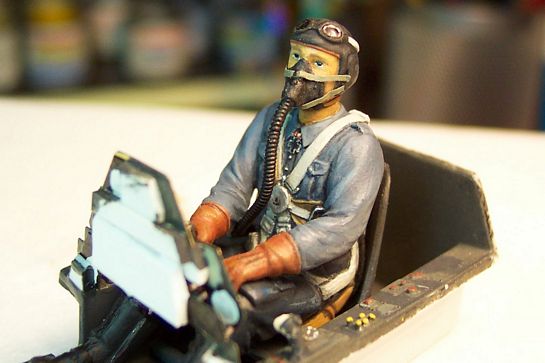
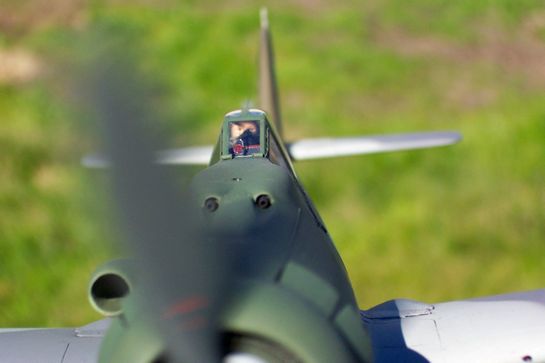
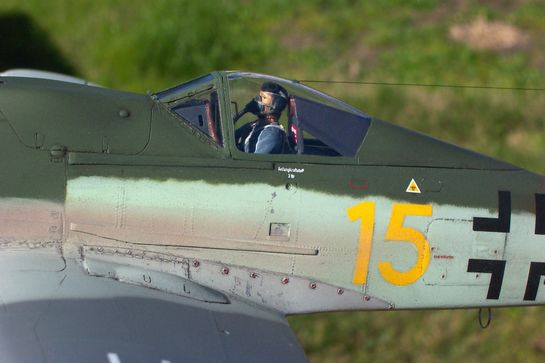
Since I now had a solid idea of what to do with this kit, the thing needed a pilot. I liked the one from the new Hasegawa Bf 109G, but he had no mask. I found some reference, and sculpted one, adding paper strips for straps. The hose is from guitar string. The only thing I had to modify on the figure itself was the hand holding the stick. I painted the pilot with ideas I got from my brother who paints figures. I think figure painting takes a different approach, so that is what I tried. I did use the older Eduard PE set for the cockpit, and scratchbuilt the gunsight. I sanded the overstated cloth look on the flight control surfaces, added tabs, and rescribed the panel lines.
When it was ready for paint, I studied the guide from Eagle editions, and mixed the RLM 84 from it. I know it is a can of worms, so I matched it to what looked right to me. From the bottle, you could say it fell between Duck egg blue, and Sky type "S." With this paint scheme there are around 10 (TEN) colors to be masked. I used acrylics to ease the burden. I used mostly Polyscale, and some Aeromaster. The decals from the Eagle Editions sheet worked well, and gave me no problems. I weathered it with a wash of black-brown acrylic thinned with distilled water, and dish soap, after a good Future gloss coat. The exhaust staining though usually dark color, appeared to be unusually light colored to me, so I used a light tan brown mix.

With the prop action set up, I soldered extension wires to the ones on the motor. I ran the wires to the back, and fed them through an automotive brake line. The brake line is rigid enough to hold the model up, yet flexible enough to adjust it to any shape needed for display. The brake line also has threaded end fittings, so I used one of them to screw it to the base. The base is an old wooden picture frame turned upside down, and Plaster of Paris poured over the glass. I added sifted dirt, and Sage (Yes, it gives it a nice scent) as a grass. The picture frame has room underneath for the AA battery, and there is no switch on the Prop Action set up. To start the motor, you just spin the prop. I took it to a show, and the response was positive-especially from the younger hobbyists. I will definitely be building the new stuff, but at least I gave the old stuff a shot!
© Erik Mark 2004
This article was published on Wednesday, July 20 2011; Last modified on Saturday, May 14 2016