
Hasegawa 1/32 scale Messerschmitt Bf 109G-4
By Chris Sherland
Here is a brief write up on my build of Hasegawa's 1/32 scale Bf 109G-4. It's a very high quality kit being a new release and so there's not much effort involved to get it to look good. Beyond a very few additions it's a real shake and bake. I made it a goal to use all kit parts, including decals, with the only exceptions being a fashioned antenna and some photo-etched seatbelts from Eduard.
I needed to take the simple approach to get a kit done as I had lost some energy on a long detailed build of Revell's 1/32 Thunderbolt. On my second rebuild of that ships landing gear I just gave up. I looked to the 109 for a relatively quick success to get the juices flowing again.
The kit goes together very well...in fact only a few spots needed filling where Hasegawa supplies cowls and parts for a few variants of the "Gustav" and some of them have small fit issues. Again, nothing even close to "major" here.
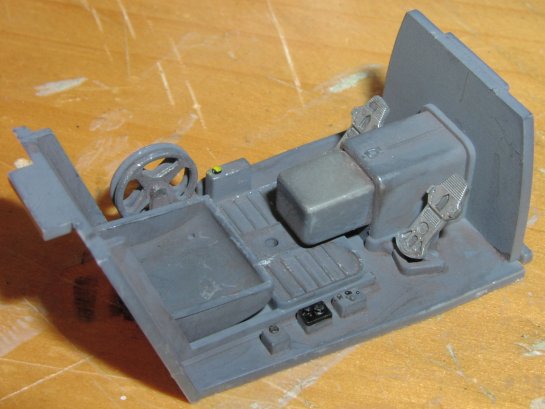
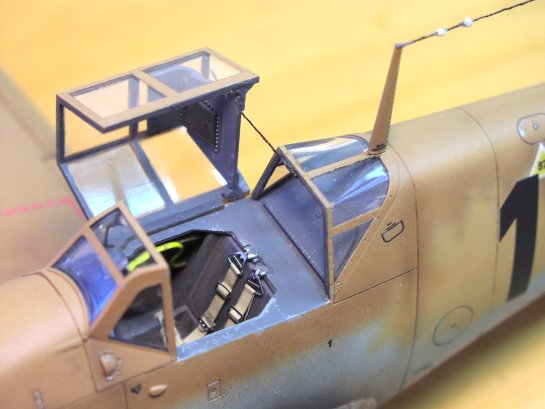
The cockpit parts are well detailed and without any additions represent a decent pit. I spent very little time on this entire kit, and it shows in the close ups!
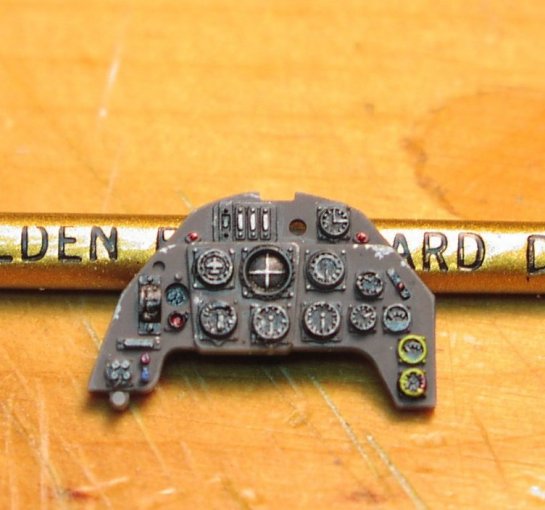
Panel is from the kit, and brush painted.
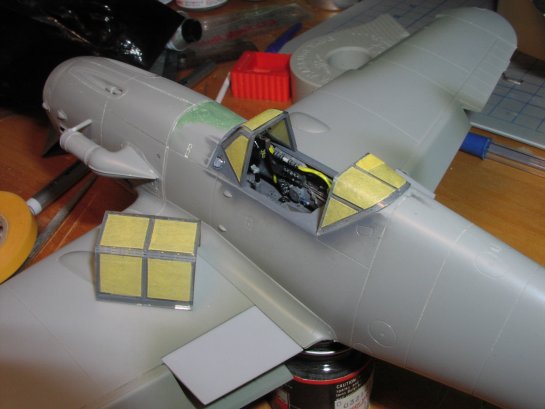
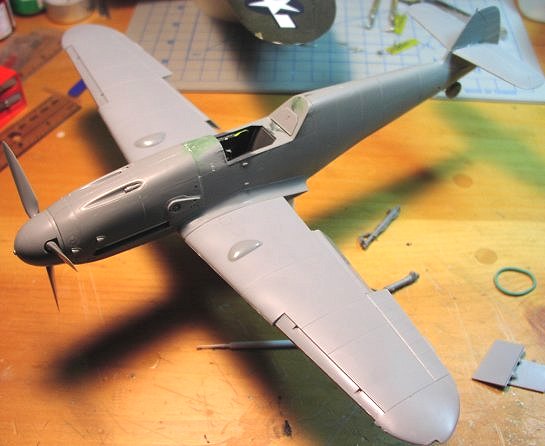
Once the tub was complete I mounted and masked the canopy parts for painting.
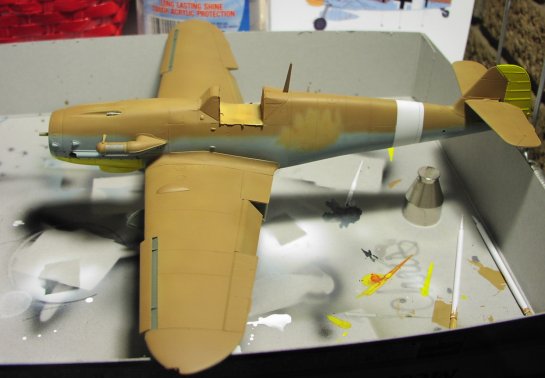
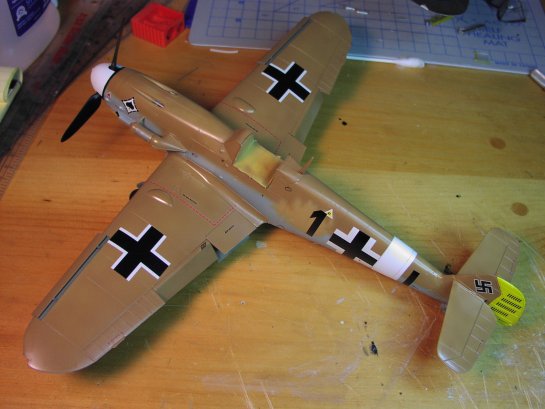
All Polyscale acrylics here with no primer. The Yellow is Tamiya acrylic. All color shot with a Badger 150 using the medium needle...very quick job as the paint scheme does not need too much detail. The overspray on the fuselage represents some marking changes apparent in the references I had....

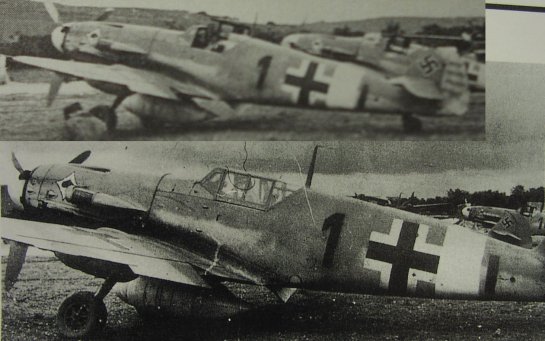
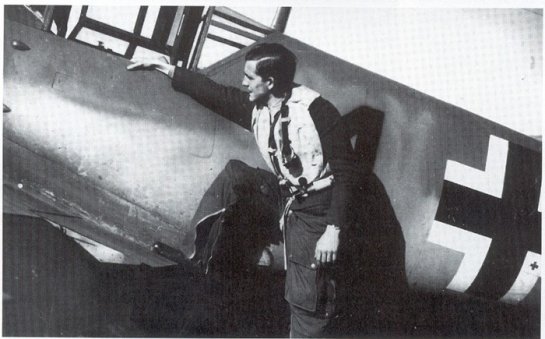
With every reference photo or source you add I firmly believe you lengthen your build. Clearly you trade off for accuracy (or at least perceived accuracy) and depending on what you are going for you need to manage your reference load. Luftwaffe stuff in particular always generates a little debate on the modeling and reference boards no matter how accurate you think you got it. With that in mind I again tempered my efforts here...I simply wanted a good looking 'oh nine on my desk :)
After the color was on I coated the ship with a fairly grizzly pass of Future acrylic floor wax. This stuff has great leveling properties and you can basically do no wrong short of dipping the subject into a vat of it. Once dried (48 hours) I applied the kit-supplied "second scheme" decals using "PolySol" decal solvent.
After the decals ("deckles" for the Brits) were on, I gave her another torturous coat of Future to serve as a gloss base for weathering. All weathering was done with oil-based pastel chalks in earth tones and black. Most of this was dry-brushed on with a short stiff brush that helped texture the Future and give the pastels something to grab onto.
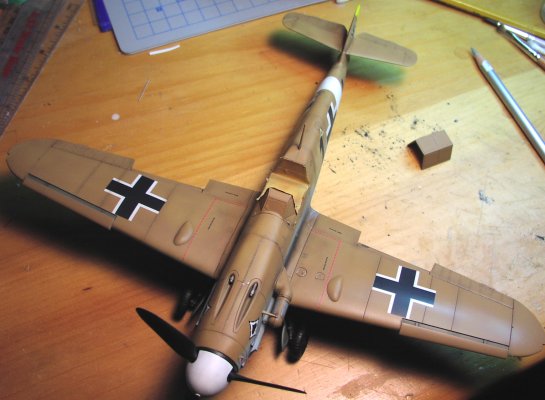
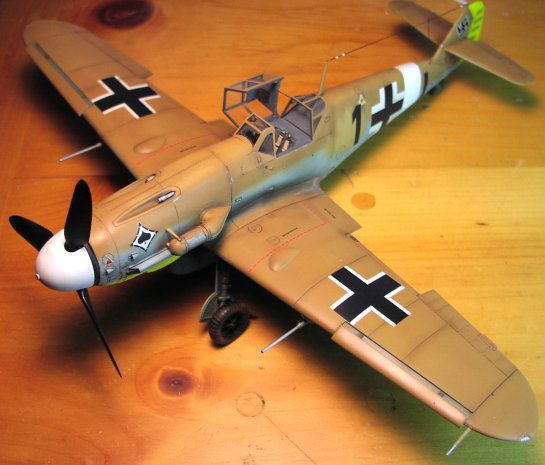
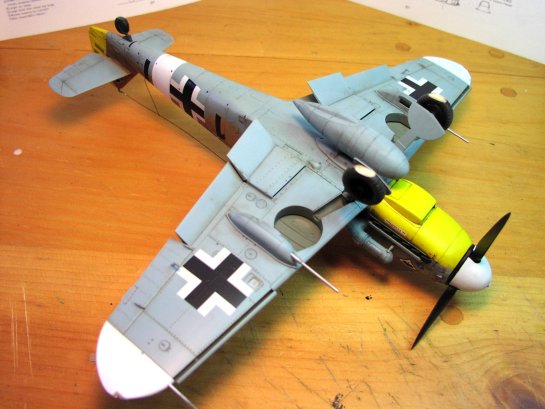
From the top you can see the panel line shading and overall "dusting" the ship got with the dry pastels. Note the Prismacolor Silver pencil which I used for all paint chipping effects.
Some wet pastel washes were applied to the engine area, hard to see here.

Paint chipping was done with that Silver Prismacolor oil-based colored pencil (get 'em at any art supply store) that can be seen in the top-view pic above. After weathering was satisfactory I shot it with Polyscale clear flat.
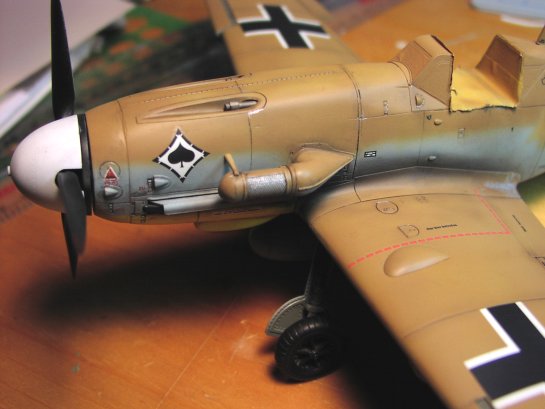
Canopy installed, antenna wires on, seatbelts installed (never again will I wait until the end for this step) and a final touch up of clear flat here and there. The cowl guns are placed incorrectly, but I did not want to go back and break them off so I have left them as is.
The resin wheels supplied with the kit were used and flattened a bit for a good sit.
The Gustav is now sitting on my desk at the office getting lots of stares and comments...just what I was looking for to spice up the work place :)
I would highly recommend this kit, it was easy to build and finish and the build gave me a big boost in confidence. And that's what I needed.
© Chris Sherland
This article was published on Wednesday, July 20 2011; Last modified on Saturday, May 14 2016