
Revell 1/32 P-47D "Bubbletop" Part 1
By Chris Novak
Part I: Motor, Cockpit and Landing gear
After starting the third kit as part of a "more-bird-silver-bubbletop-jug" project I decided to share some tricks I found out to make the current REVELL /Germany issue a bit more accurate. This article is not a "this is the only way it can be done" instruction, it will only show some technics and tricks I found out to get finally a P-47 D I can be satisfied with and I would say: Yes, that looks like a Jug! I´m not a rivet-counter and some people who may have been so lucky to see a real Jug or some who are Jug-specialists (can you hear me Chris?) may find some mistakes here and there, but I feel free to quote Brett Green from HyperScale here by saying: Build what you want, the way that you want! OK, let´s get the party started:
The REVELL Jug, re-released in 2003, is the only available 1/32 Jug on the market just now and because it´s a re-release of the molds of 1982 (wow...over 20 years) is not up to date in accuracy and injection-molding standard. Anyway, with a few major actions - like re-scribing the raised panel-lines - and some more different detail work here and there it will turn out to a nice kit.
Cockpit
Building starts as usual with the cockpit, because aftermarket stuff like a full resin-cockpit from Jerry Rutman or for example Waldron instruments are very hard to get here in Germany (OK, mail-order, takes about 6 weeks to arrive....) I normally use no aftermarket accessories and scratchbuild anything I need. Therefore the cockpit is built OOB except some small wiring here and there.
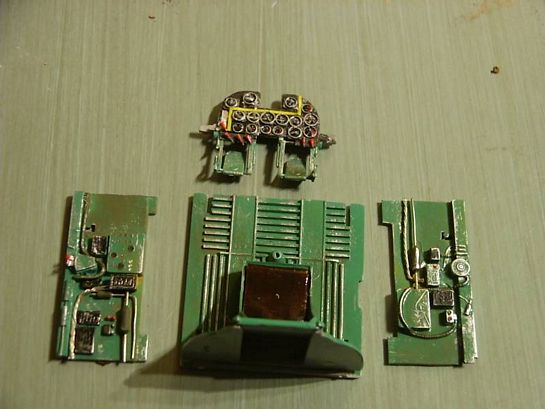
Pic 1: Cockpit parts prepared, instruments are made from small brass-wire rings, glued onto the instrument panel (after sanding it down) filled with black, then instruments painted by hand with a 5/O brush, finally filled with a drop of clear high-gloss.
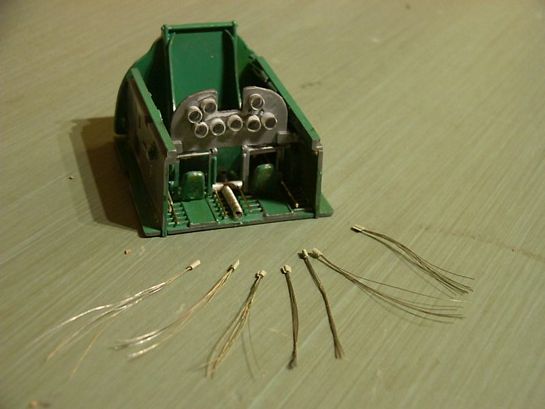
Because of the technical construction some of the instrument-cylinders on the backside of the instrument-panel can be seen, so we have to simulate them by cutting off some small rings of a aluminium-tube, inner-diameter about 2,5 mm, gluing them on to their place, fill them with a 2-component glue and add the wiring made from small pieces of a electric cable where the outer plastic is removed. After the glue has dried the small wirings can be bent to their place to the right and left sidewall and finally painted.
Also the first wall from the cockpit forwards should be installed, here it´s made from a piece of modelling plywood ( 3-layers, 0,4 mm), cut to the right shape and detailed with some small stripes of plastic sheet. At least not to forget the small carrier which looks through the gap in the panel, also made from plywood with wholes milled into it.
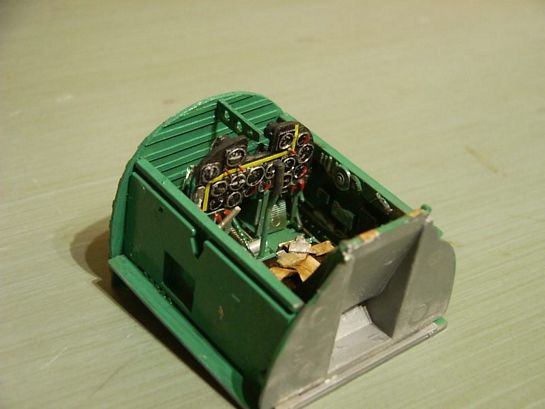
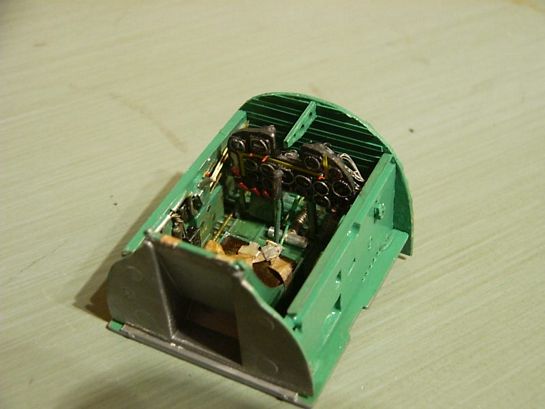
Finally the seatbelts are added, made from stripes of paper and self-made aluminium buckles. Pit finished, next is...
Motor
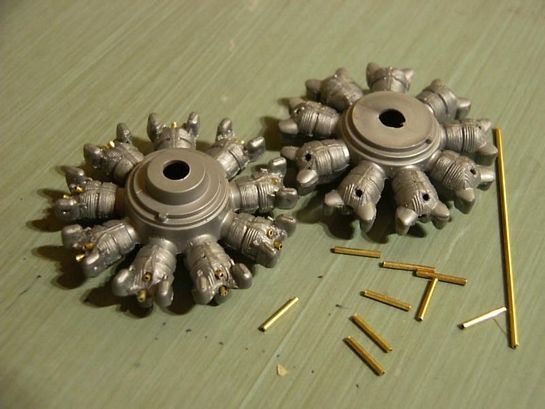
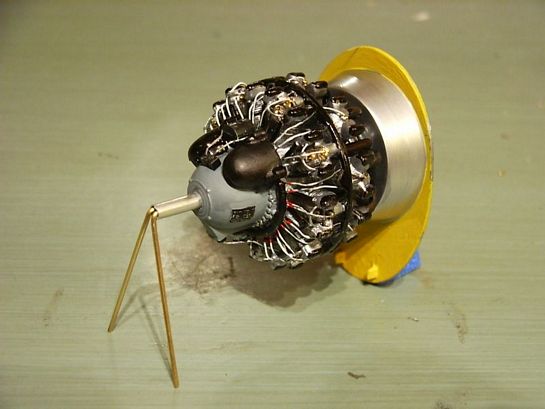
The Revell motor is, compared to some photos of restored Double-Wasps, OK as far as I can see, except of some parts and wiring on the top between the magnet boxes ( although this hardware is as far as I know not right for earlier versions of the Double Wasp). Ok, anyway, I use the kits motor with following modifications:
Sanding down the in-molded spark-plug wiring from the cylinders very carefully, trying not to destroy the details of the cylinders itself. Cylinder halves are glued together, cleaned by sanding, then little wholes are drilled in where the spark-plugs sit and short pieces of a brass-tube (ca. 0,4 mm in diameter) are inserted.
These little brass tubes make it very easy to insert thin brass or aluminium wire for the final wiring. Tried this for the first time and I´m very satisfied with the result, although it´s a little bit of time-expensive work, but in the end it looks very good.
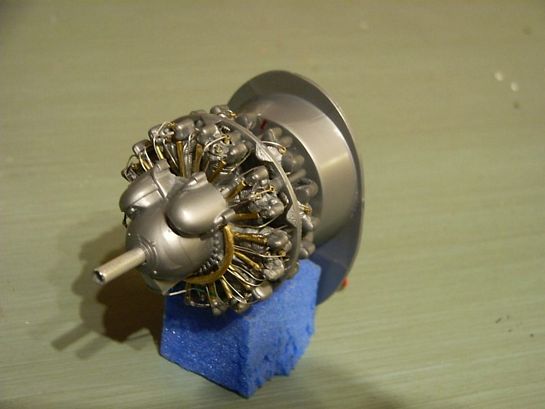
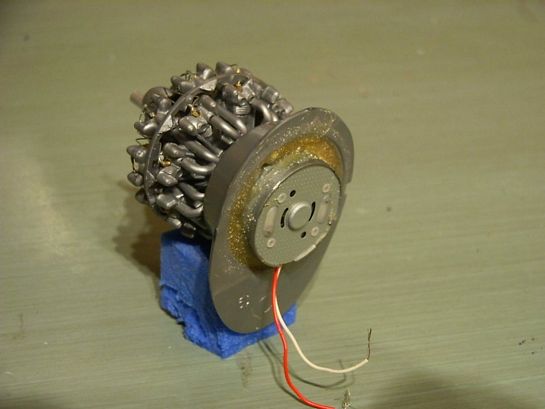
Push rods and the ring for the spark plug wiring are Brass wire, wiring itself is aluminium. Also a little elektro motor is installed ( like at all my models motor and lights will work), if some want to do so here a tip: normally I use motors from scrapped Disc-players or computer hard disks. They are small enough to be built into a model, they have a good rpm-rate ( 5000/7000), don't need much voltage ( 1,5 Volt is enough to make them work and this voltage turns down the rpm a bit) and nevertheless they have enough power to turn even a big or heavy prop.
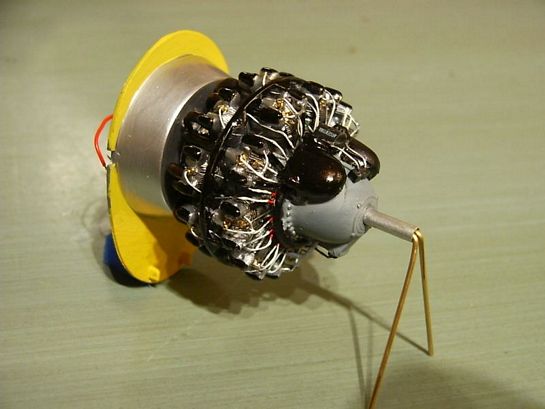
Finally motor is painted, and a data-plate is added on the left side of the gear box by applying a small piece of bare metal foil, painting it black and scribing in a few data with the tip of a pin.
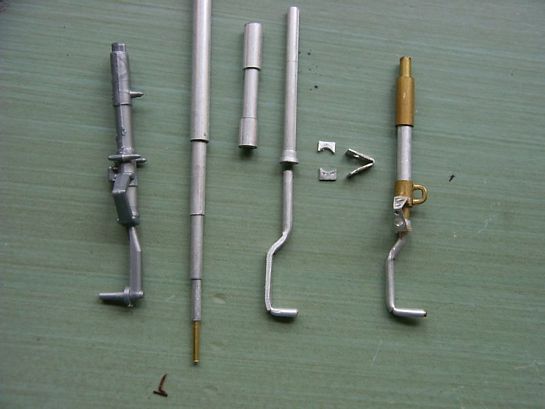
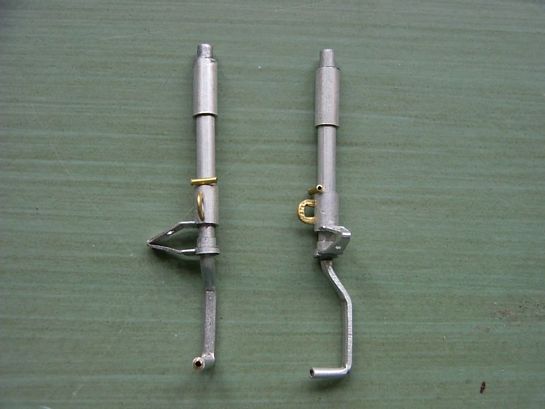
The next step of this built is the worst part of the current REVELL issue: the landing gear. The major mistake is that the oleos are definitely much too long and this makes the Jug, if you use the kits landing gear out of the box, standing on her feet like a "Fieseler Storch". To look like the real one the oleos should be nearly complete in "in" position because of the weight of the plane. So we have two opportunities: modify the kits gear or scratchbuilding a new one. I prefer the second choice because it´s not a "mission impossible"-thing to do that and it definitely takes not much longer than modify the kits plastic parts. Here we go:
All we need is a selection of four or five aluminium tubings in different diameters that fit perfectly together. These alu-tubings can easily be found in a RC-modellers store. You can also use brass-tubings but I prefer the alu ones because: Alu is very easy to work with, it can be cut with a sharp ( new) blade of your X-acto knife, can be sanded and bend and finally fixed with only a drop of super glue. Some very tiny brass-tubings are only used for single parts as you can see in the pics. First pic is a selection of materials, second one is the final landing gear waiting to get a set of Jerry Rutman resin wheels.
© Chris Novak 2004
This article was published on Wednesday, July 20 2011; Last modified on Saturday, May 14 2016