
Hasegawa 1/32 Spitfire Mk Vb
By Brad Main
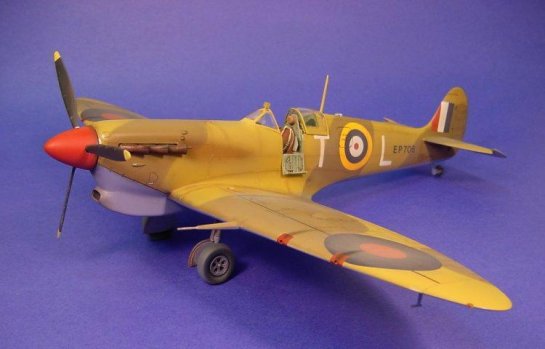
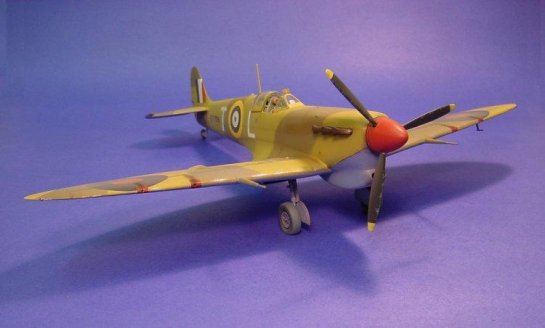
This is my 1/32 scale Spitfire Mk Vb by Hasegawa. I wanted to build an airplane flown by Pilot Officer George "Buzz" Beurling while flying with 249 RAF Squadron in Malta during Sept-Oct of 1942. Because Malta was so short of Spitfires, even with several being ferried off of the Carrier's Wasp and Eagle, pilots shared their mounts with fellow pilots. S/L Maurice Stephens also flew this particular bird. Beurling, a master at deflection shooting, amassed 32 confirmed kills during WWII flying Spitfires.
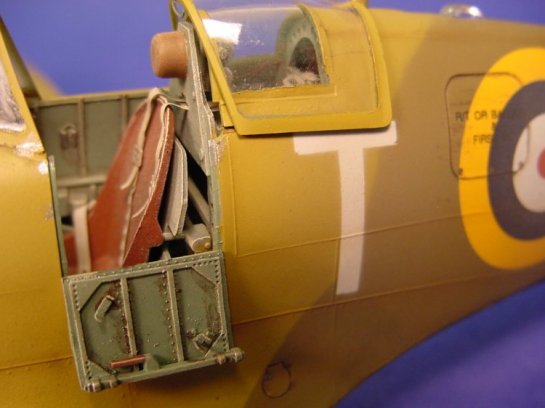
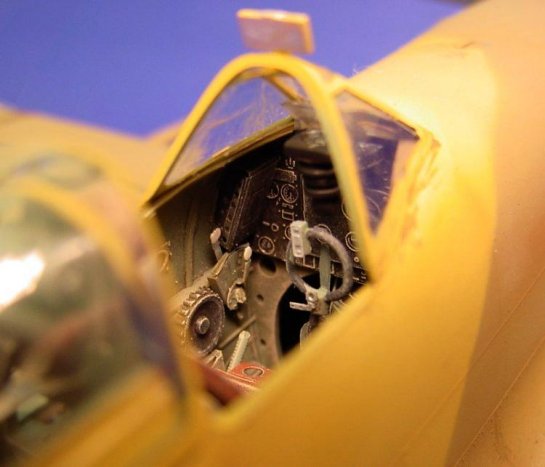
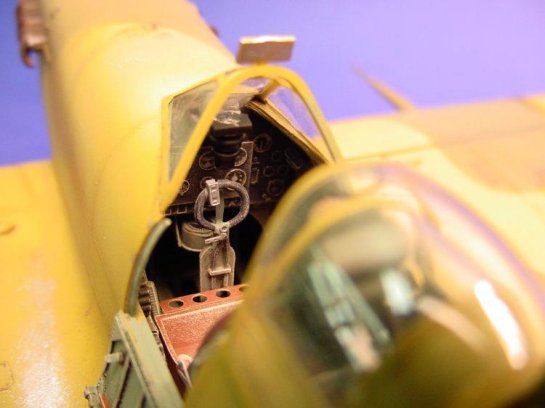
The kit was fairly easy to build, and I added the Eduard Photo Etch set to the interior, drilled out the cannon barrels and replaced the kit wheels with a set from Paragon.
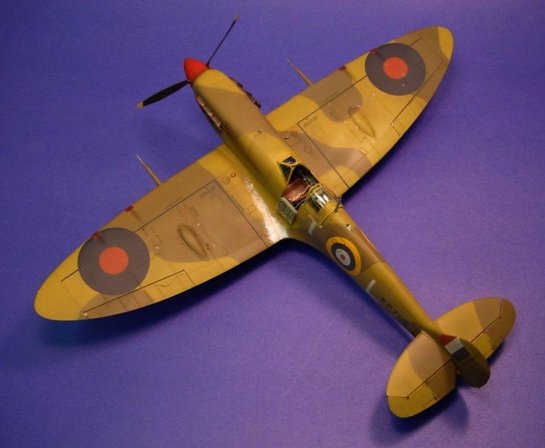
After pre-shading the plane, I began airbrushing using Poly Scale paints of Dark Earth and Middle Stone on the upper surfaces and Azure Blue on the underside thinned with distilled water to a ratio of 80:20. I tried mixing the paints with white to add a bit of different shading on areas such as the leading edge of the wings, various panels and the control surfaces. Because I could not find the T-L codes in this scale I made a template out of bond paper and sprayed them on. The serial numbers were made from Letraset.
I ran into trouble when I began decaling the plane. After a good 2 coats of Poly Scale Gloss clear coat, I commenced with placing the kit decals. That was a mistake, because the kit decals were so old, they did not react well to even the lightest of applications of Microscale Set. I stopped the process, and got out my sheet of Eagle Strike spares. They went on beautifully. I attempted to spray the underside roundels, because even the Eagle Strike decals would not settle down around the two large scoops. It's not perfect, but I tried this procedure and with great help from Brian Cauchi, I was able to get it done. I then waited until a sheet of stencils arrived from a great guy named Glen Cannon, who helped me out with a set of Arrow Graphic stencils.
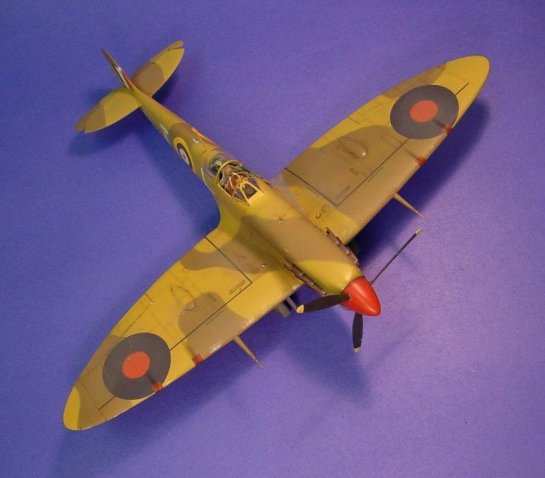
After a final coat of Gloss was applied, I began the weathering process. As you know the kit's majority of surface detail is raised. I did not rescribe, but left well enough alone. The recessed access doors and the control surfaces were given a nice wash of burnt umber chalk pastel mixed with water and liquid soap. The raised detail was dealt with by applying pastel chalk along the lines. I think it worked out nicely. I also gave the wing surfaces, and elevator's a good dose of light grey pastels to simulate sun fading and dust effects from the region of Malta. I picked out a few areas at the wing root, around panels and the spinner/propeller with MM Aluminum. The MGs got a small amount of black chalk pastel, and the exhaust stacks received dark brown and a bit of grey. All in all, I was happy with the results from this old kit. I wish to thank all the guys who helped me out with this project, and Steve Bamford for taking the pics.
References
- "Malta, The Spitfire Year"
- Osprey "Spitfire Mk V Aces 1941-45"
- Spitfire, The History
- Extremely valuable emails from HS'ers and ARC'ers
© Brad Main
This article was published on Wednesday, July 20 2011; Last modified on Saturday, May 14 2016