
Italeri 1/32nd MC.202 Folgore
By Suresh Nathan
Introduction
The Macchi C.202 Folgore served as the primary Italian fighter in North Africa, arriving in mid-1941 to counter RAF Hurricanes and P-40s. Operating out of harsh desert airfields in Libya and Egypt, the Folgore proved exceptionally agile, though limited by its light armament.
Following the September 1943 Armistice of Cassibile, Italy exited the Axis alliance, and the Luftwaffe confiscated large numbers of Regia Aeronautica aircraft. Because the Folgore was powered by the Alfa Romeo RA.1000 Monsone—a license-built Daimler-Benz DB 601—it was familiar to German pilots accustomed to the Bf 109. High-ranking German aviators evaluated captured airframes for flight performance or repurposed them for liaison duties. During one evaluation flight, Luftwaffe ace Erich Hartmann misjudged the Macchi’s wider landing gear track dynamics and ground-looped the fighter, flipping it onto its back during rollout - the subject of this build.
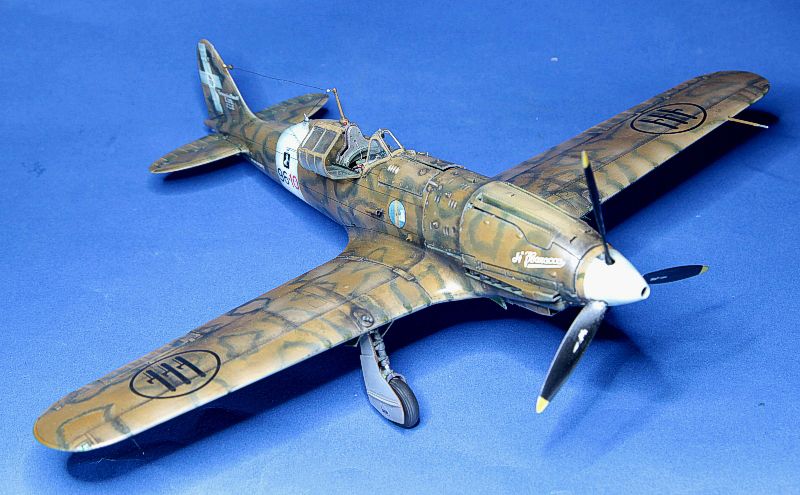
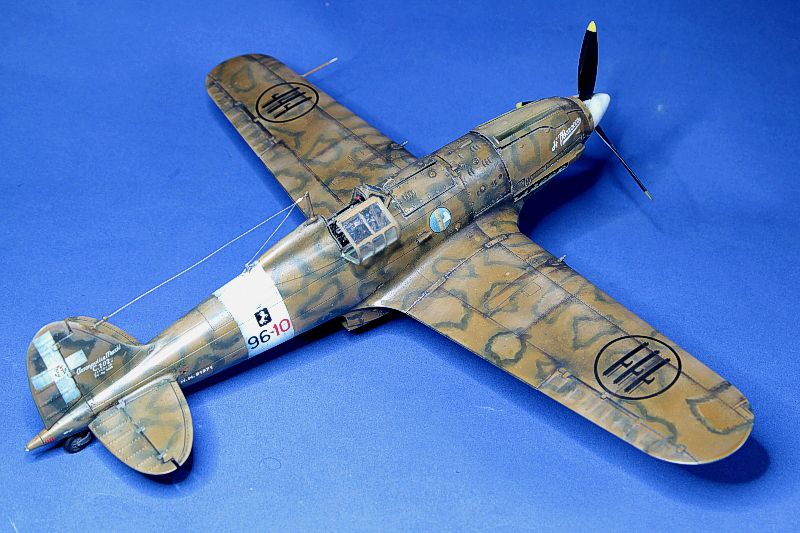
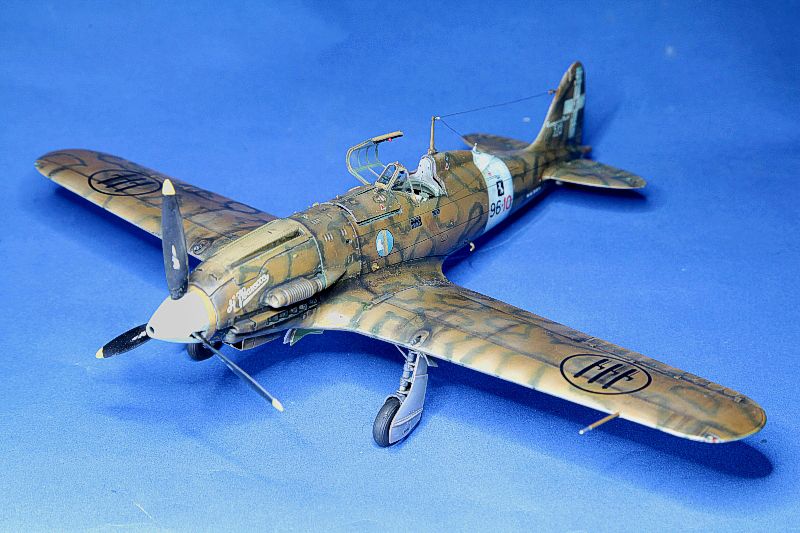
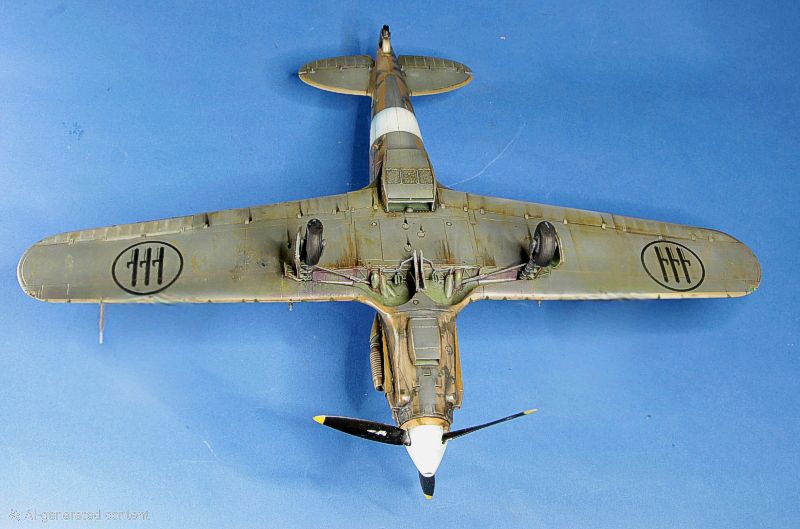
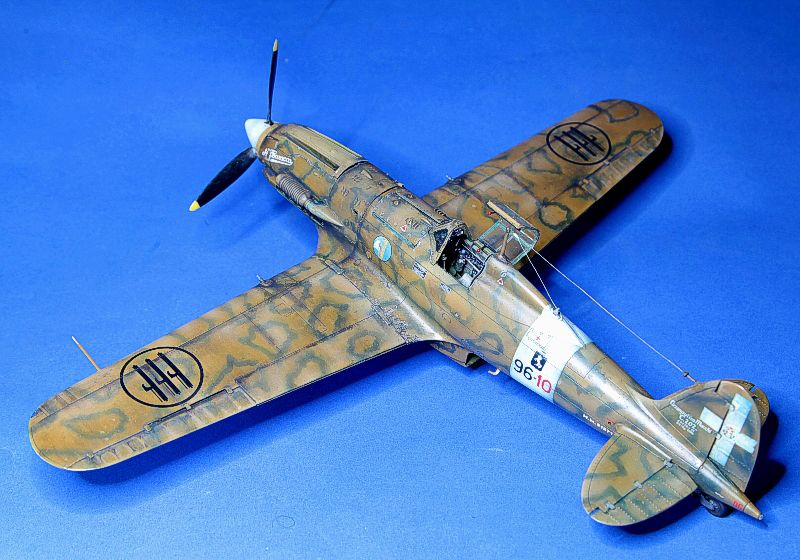
This build was primarily a painting exercise, focusing on replicating authentic desert camouflage and structural detailing using classic enamel colors. References included historical cockpit photos, walkaround documentation, and factory schematics.
The Kit
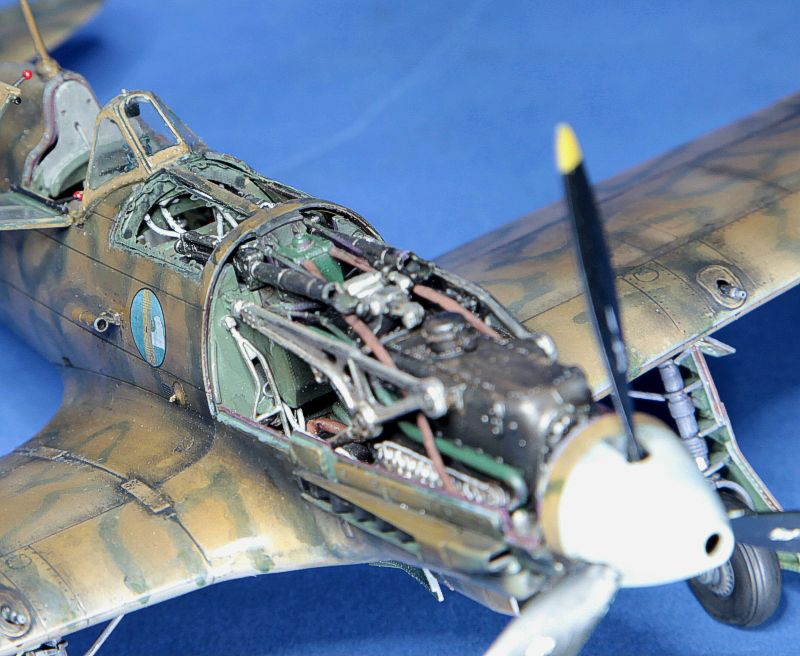
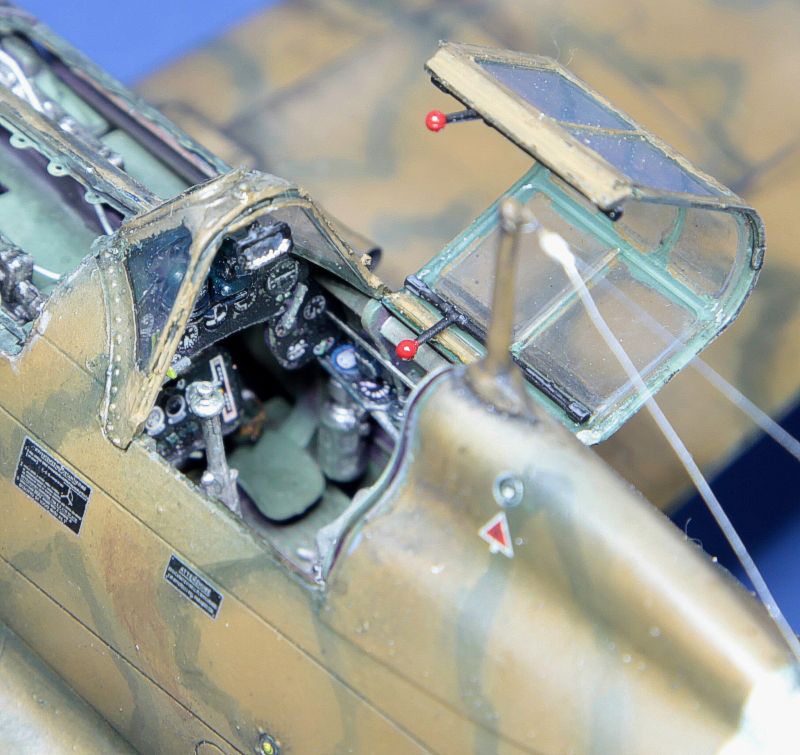
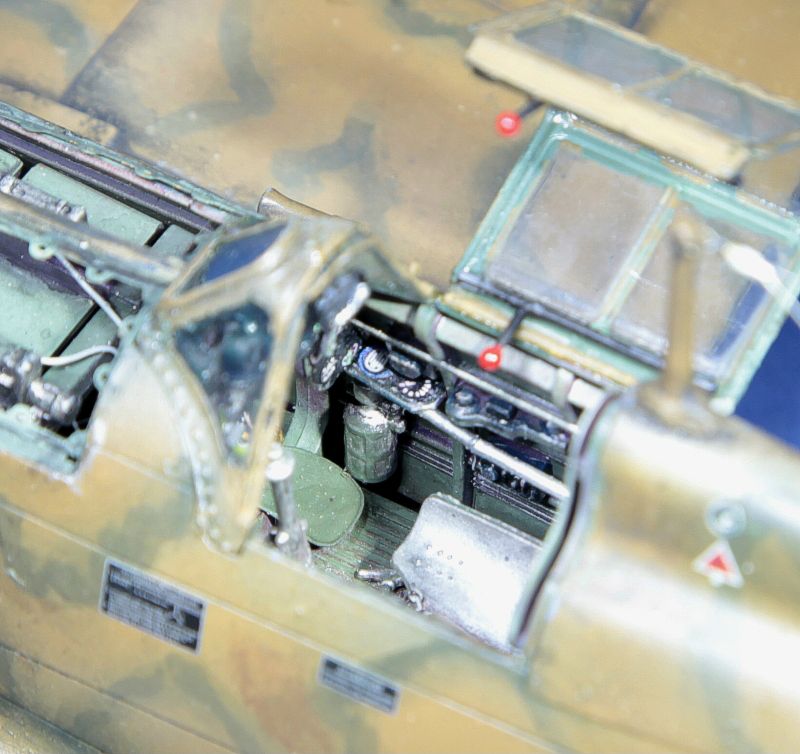
Italeri's 1/32 scale kit is a modern release (2023) with nicely detailed surface panels and solid plastic molding overall. Including photoetch, it retails for about AUD160 which is very reasonable for the scale and genre. It offers options for desert camouflage schemes, including decals for the iconic smoke-ring (anelli) pattern over Khaki/Nocciola. However, the kit structural framing in the cockpit and wheel wells needs work if you want it to look totally accurate (I wasn't too bothered, opting instead to hide this behind hoses and wires). The engine bay also demands substantial wiring and plumbing to match operational photos.
Construction
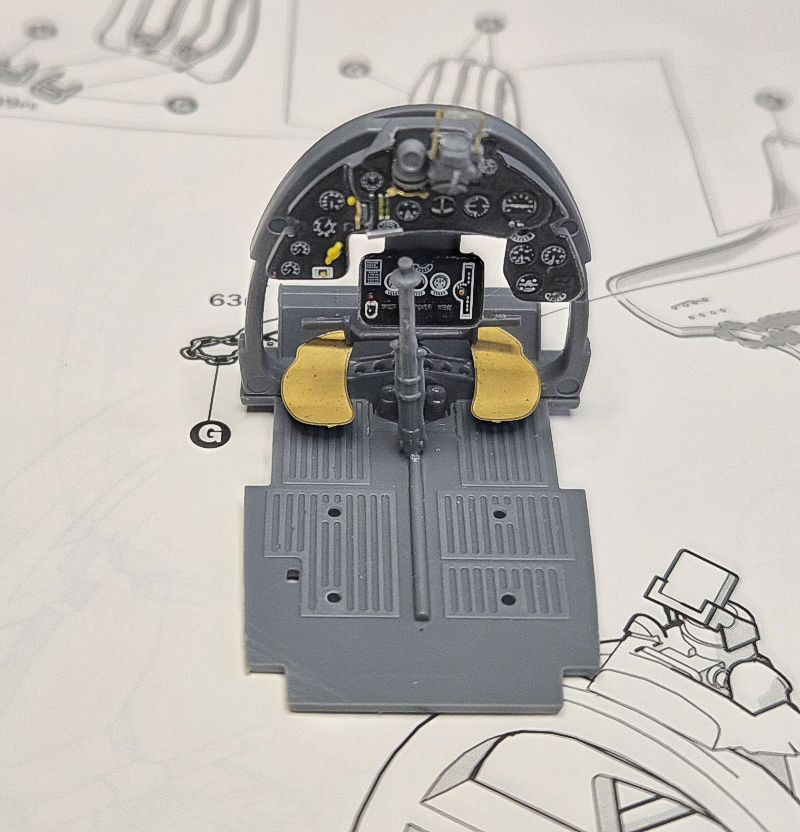
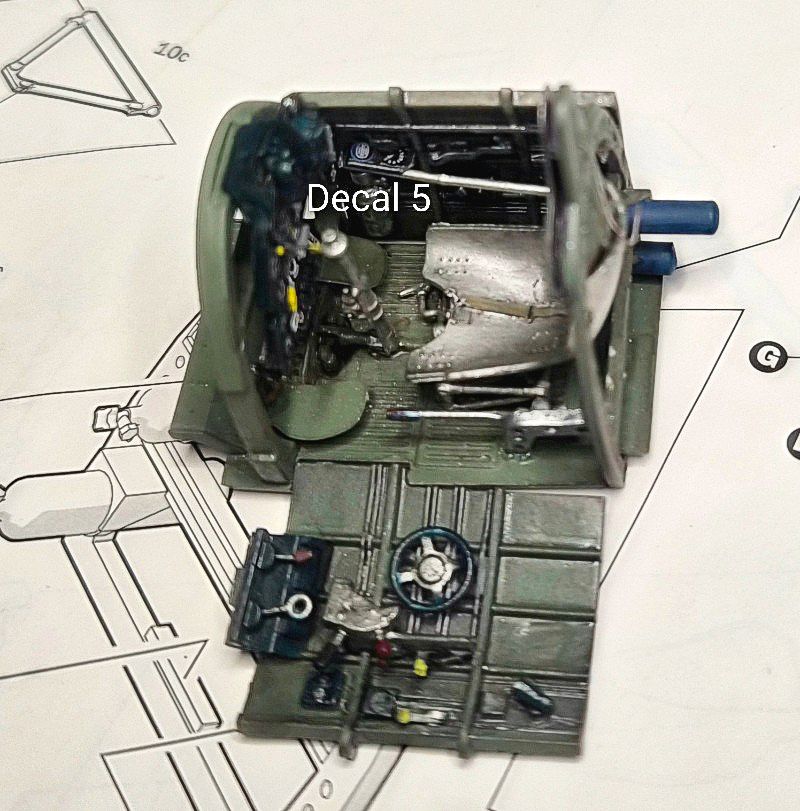
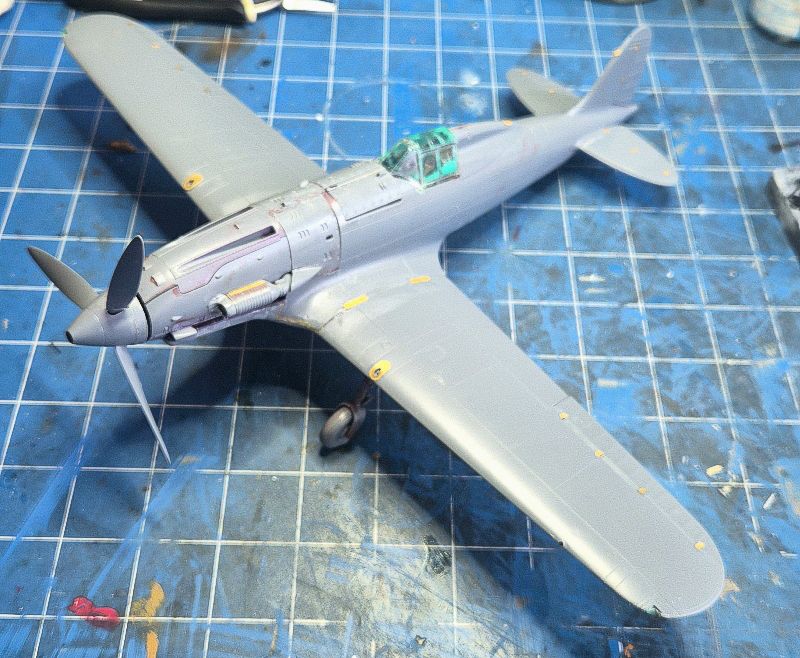
Construction began in the cockpit. The interior was painted Humbrol Matt 78 Cockpit Green. The kit parts for the tubular airframe and side consoles were simplified, so we rebuilt portions of the internal framework using brass, plastic stock, and fine wire. The instrument panel and floorboards were detailed and weathered to reflect a heavily used frontline fighter. One particular console panel (Decal 5) is not called out but belongs on the starboard side at an angle. This is my first experience with raised resin decals and I could do without them. I easily prefer detailed unpainted dashboards that you paint or decal over.
The wheel wells on the Macchi are wide open, exposing a complex web of internal tubing and radiator piping. The main details are there but could do with a bit more. I left mine sealed (shame).
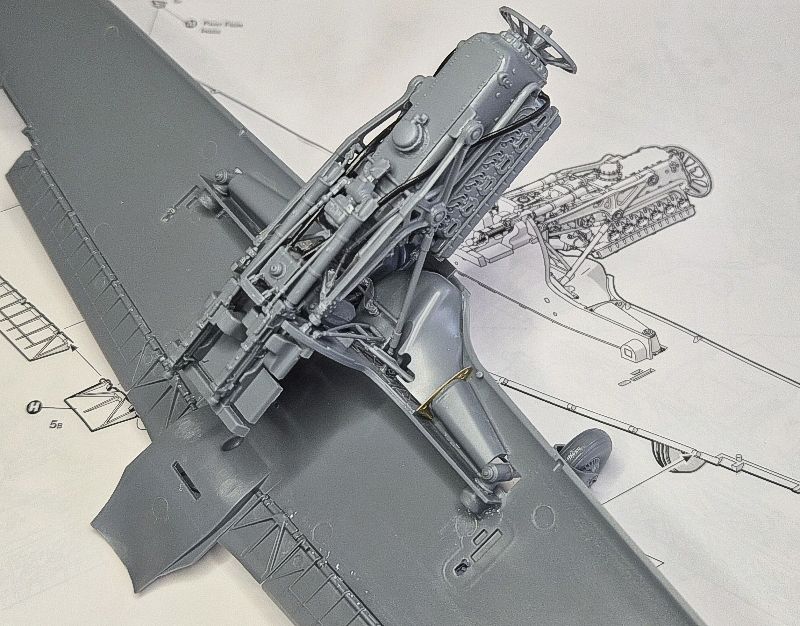
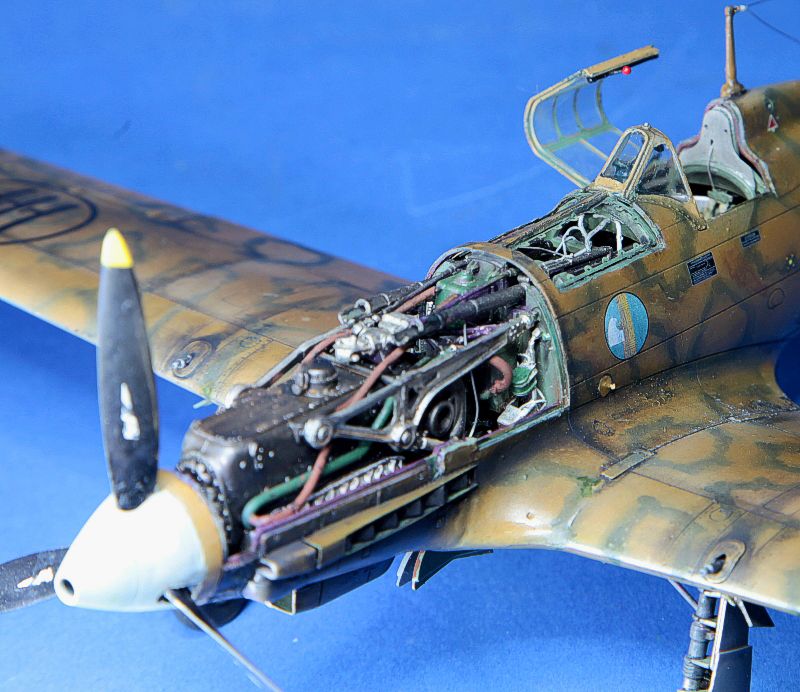
For the DB 601 engine, we detailed the block with ignition leads, fuel conduits, and custom plumbing over and above what was provided. The upper port cowling panels were left removable, so the engine compartment details remain visible on display.
The radio aerial was rebuilt out of brass. The choice of wiring provided in the kit is probably accurate but looks grossly mis-shapened and I rebuilt it into something more scale like.
Painting
I painted in enamels, varnished with a Future-Tamiya Flat acrylic mix, and weathered with turpenoids and drybrushed sparingly. I used oil washes for weathering and drop filters for color variation. Humbrol Enamels were used throughout the kit. The underside was airbrushed with Humbrol Satin 164 Sea Grey to represent Grigio Mimetico, and the upper surfaces were coated in Humbrol Matt 26 Khaki as the base tan layer. The white bands were airbrushed on with Humbrol Matt 34. This was protected with a layer of future.
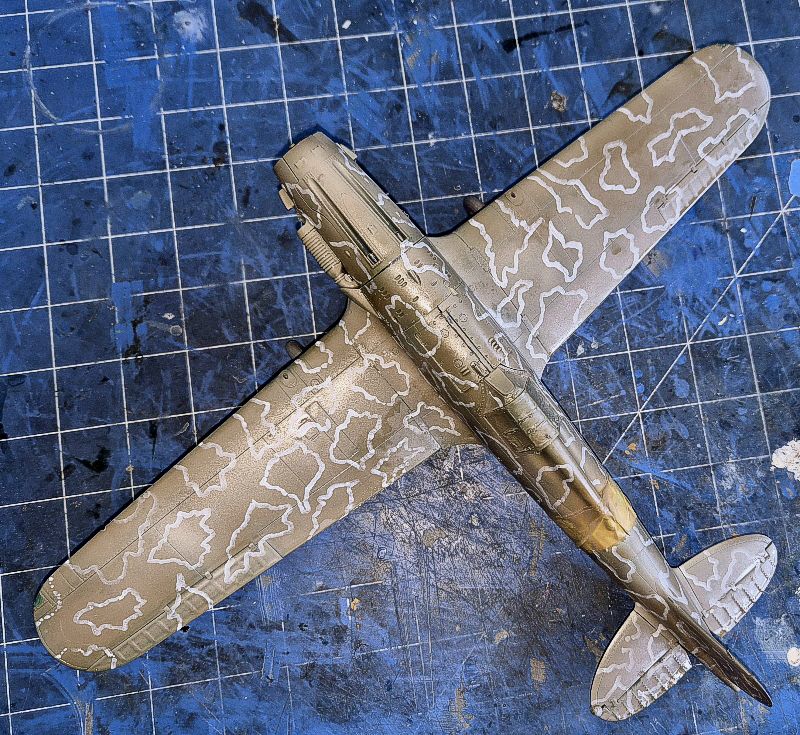
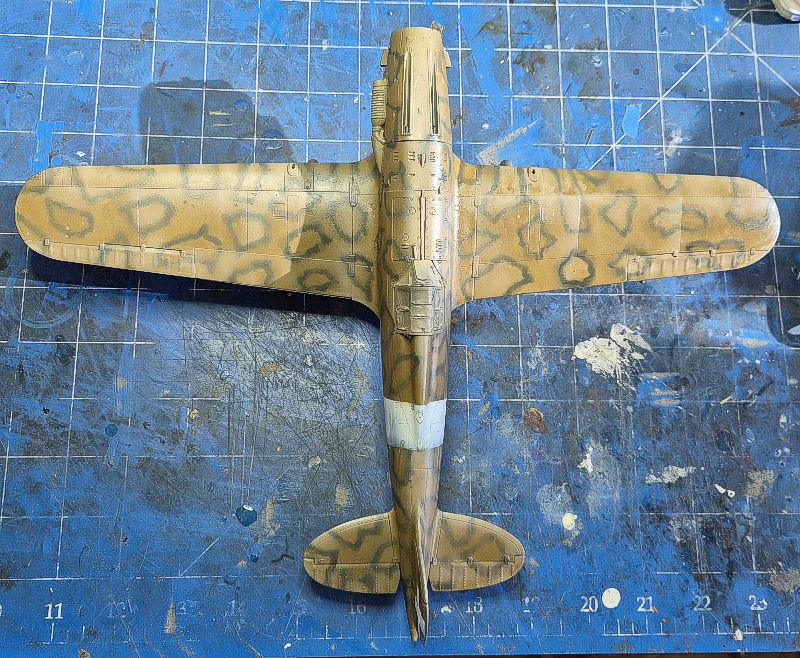
The most challenging phase was the smoke-ring (anelli di fumo) camouflage pattern. The kit provides decal smoke rings but these are a duck egg blue and very uniform and unlikely to be realistic. I traced the rings from the provided schema using an acrylic marker and airbrushed over this cleaning the excess with turpenoids on a Q-tip. I airbrushed the green rings freehand using Humbrol Satin 195 Dark Green across the upper surfaces to mirror historical examples.
The kit decals snuggled down well over a coat of gloss. This was sealed with matt varnish. Panel lines were picked out with a pin wash, followed by subtle exhaust soot and light surface chipping around high-wear areas using a Silver prismacolour pencil. Dot filters were used using oils. Black pastels were used for soot and panel dirt build up. Oil streaks were created with oil paint.
The Figure
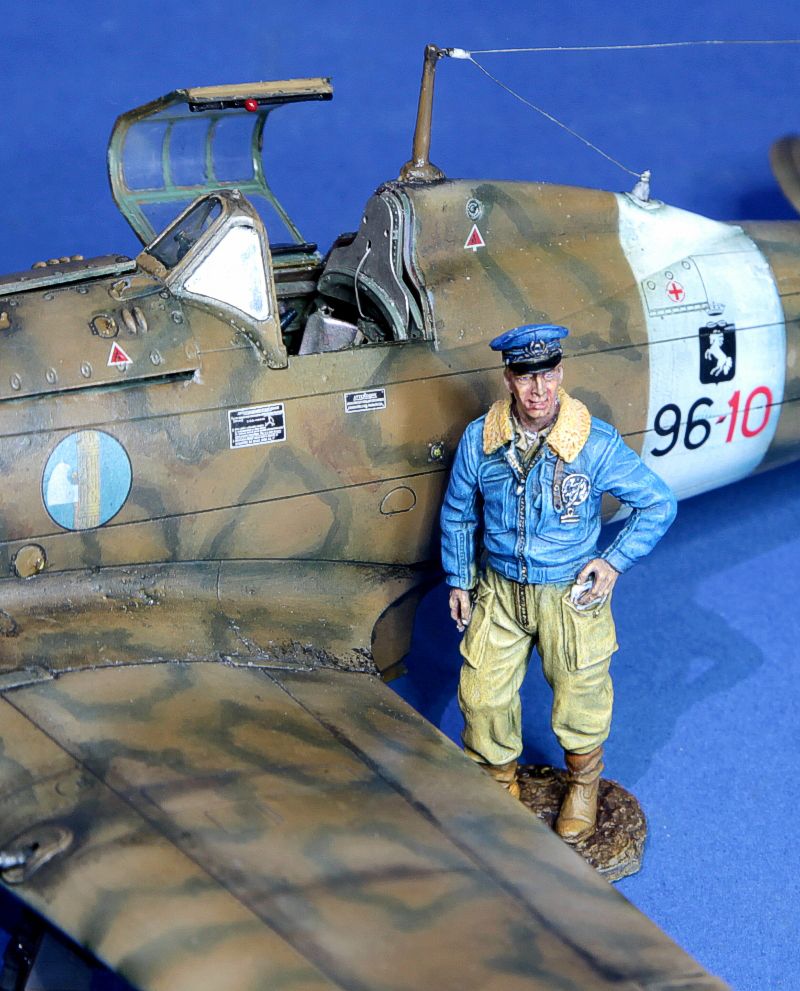
To give the model scale, I used a 1/32 EK Castings pilot figure to represent a Regia Aeronautica aviator. Details were refined, and the uniform was primed grey, painted with acrylics, and finished with targeted oil washes for depth. He is huge at about 7 feet tall.
Conclusion
This was a satisfying build. The Italeri kit provides a solid base, but taking the time to detail the cockpit frame and engine bay makes all the difference. The finished model makes a striking addition to the display shelf. I think it's pretty cool that in recent years many Japanese, German and now an Italian company are sharing their legacy aircraft at reasonable prices.
© Suresh Nathan 2026
This article was published on Friday, November 06 2026; Last modified on Friday, November 06 2026