
Aerocraft Models 1/32nd Martin Baker MB.3
By Denzil Charles
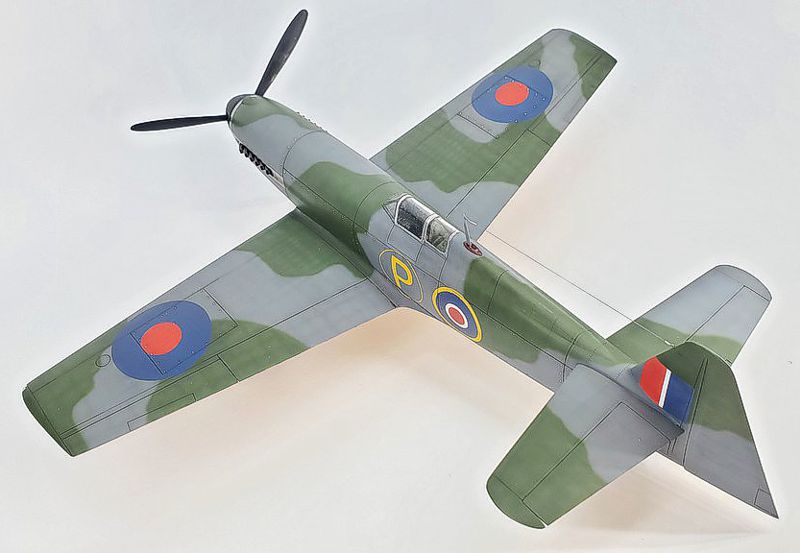
Things are ramping up around here with kits heading to the cabinet at an unprecedented rate!
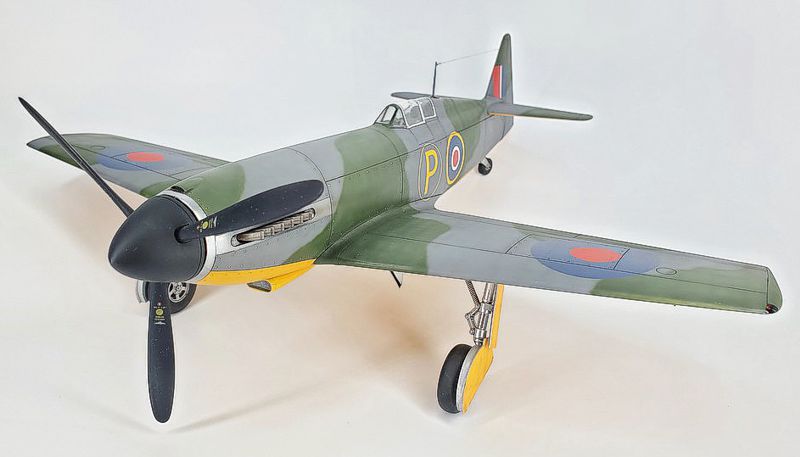
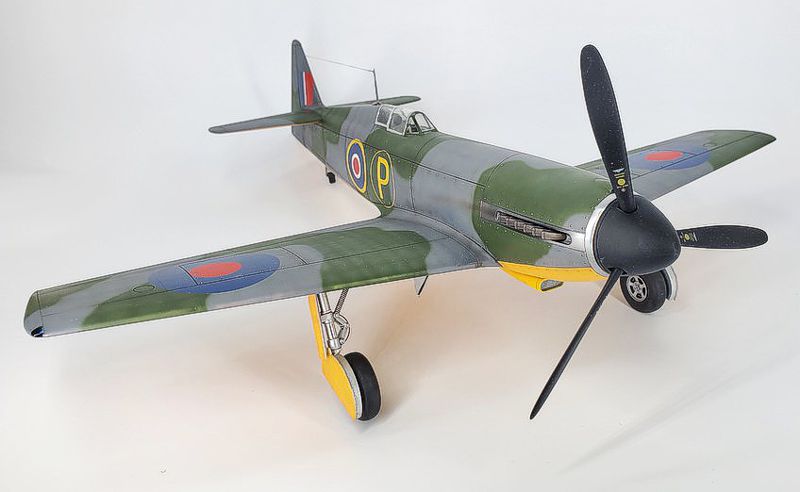
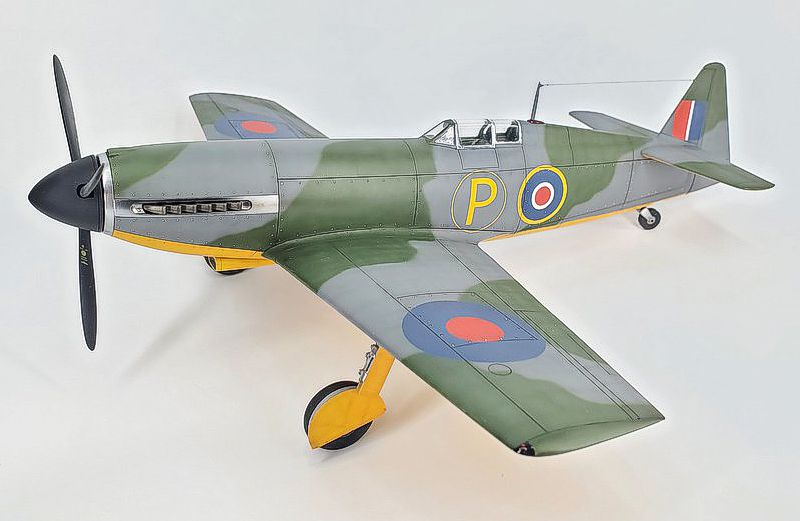
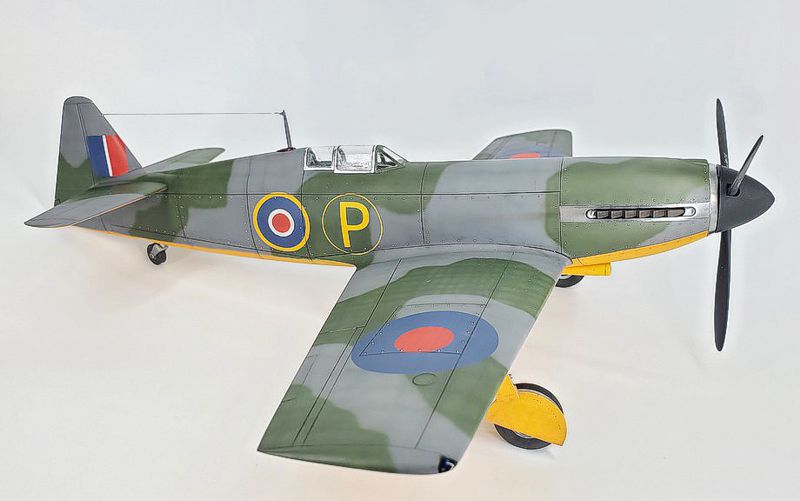
Today's completion is Ali at Aerocraft’s Martin Baker MB3.
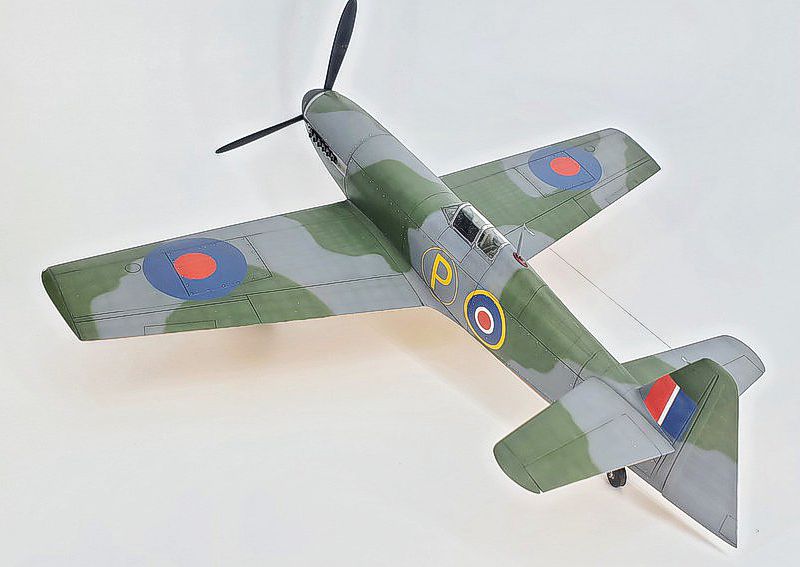
An entirely 3D printed kit, the 1/32 version is tweaked slightly from smaller scale versions, with a fuselage split and brass inserts for the landing gear. The addition of a poster of the box art was welcome.
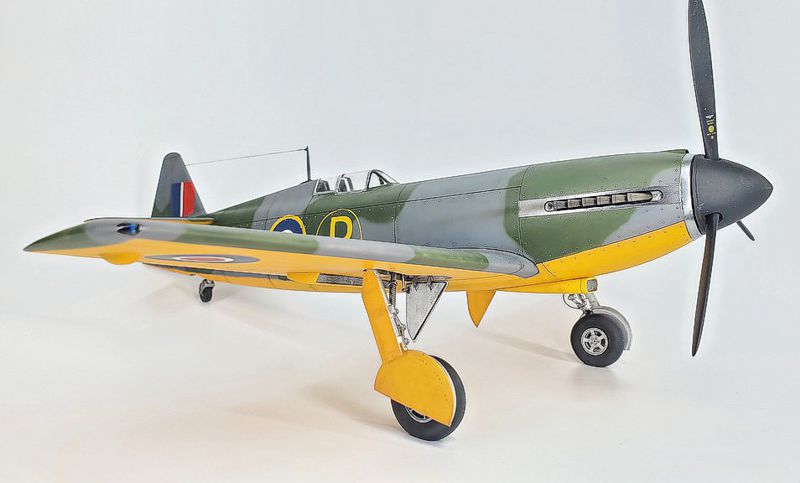
First up, the parts were beautifully smooth. YES, there are striations, but they were the finest I've seen on a 3D kit, and the worst layers were usually hidden on unseen surfaces. Very thoughtfully laid out!
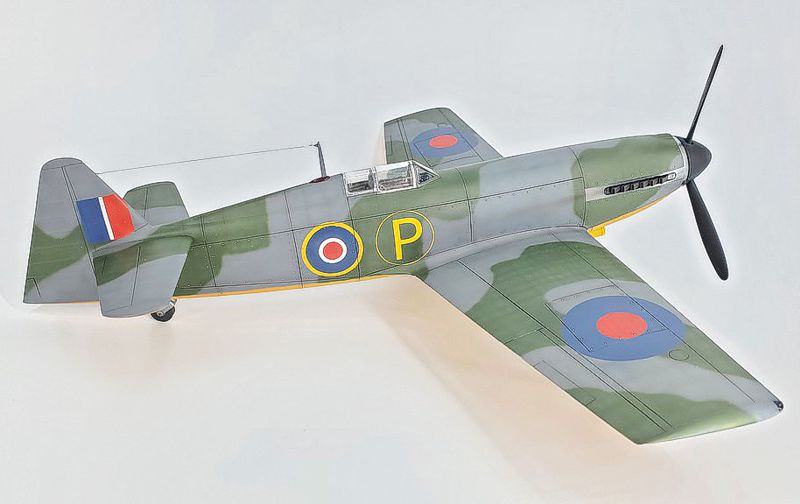
For such a physically large model, there weren't many parts at all, one of the benefits of 3D printing. The breakdown of parts allows the completed cockpit module to be dropped into place after the main structure had been assembled.
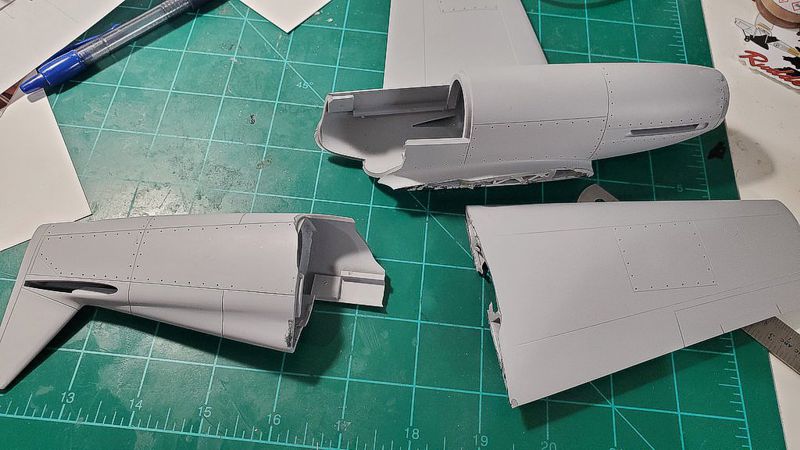
My first hurdle was self-inflicted: after assembling the fuselage and wings, I dropped the unit, resulting in 3 pieces. interestingly, the fuselage did NOT snap at the joint, rather on a new and winding path. Whoopsies!
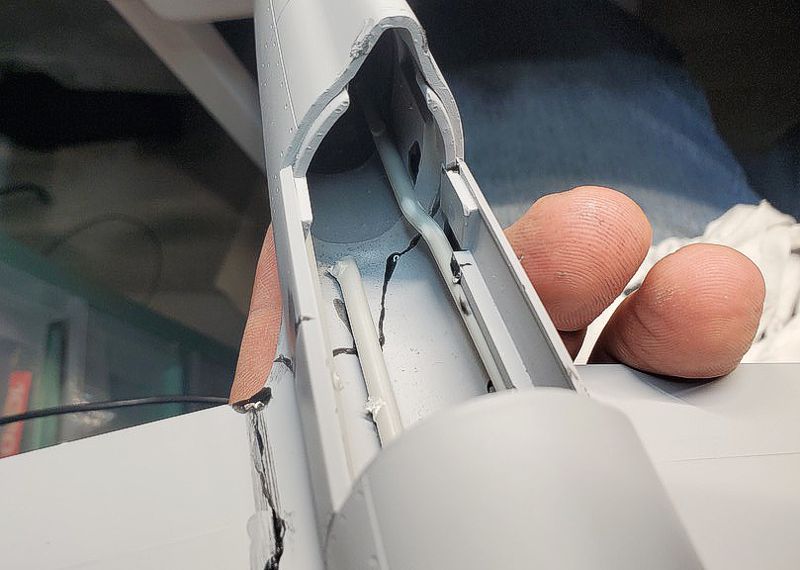
A bit of Bush-Mechanics and a bunch of epoxy glue (used throughout the build) had it back together unnervingly easily.
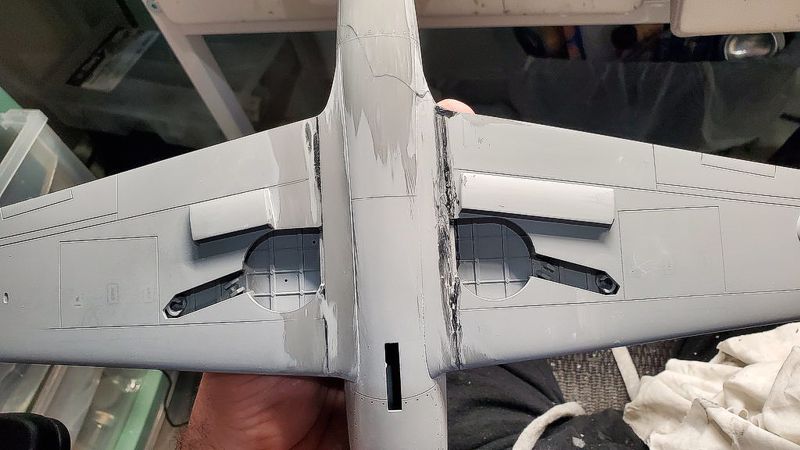
There was a bit of filling and sanding to be done, especially around the wing roots. The underwing radiators made smoothing the joints a bit tricky, especially since the 3D printed resin sands VERY easily.
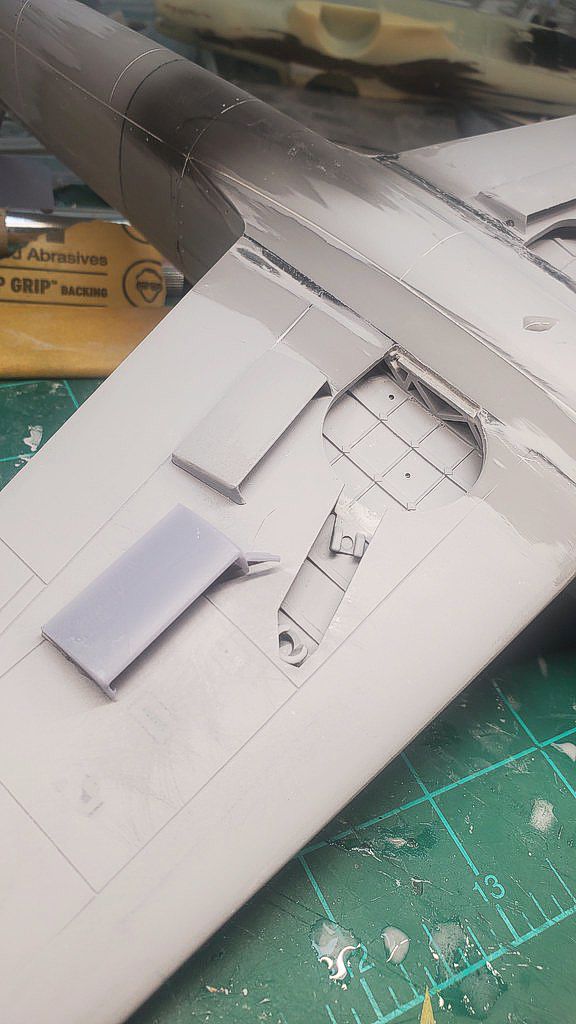
Printing new radiators allowed for more satisfactory cleanup of the wing roots.
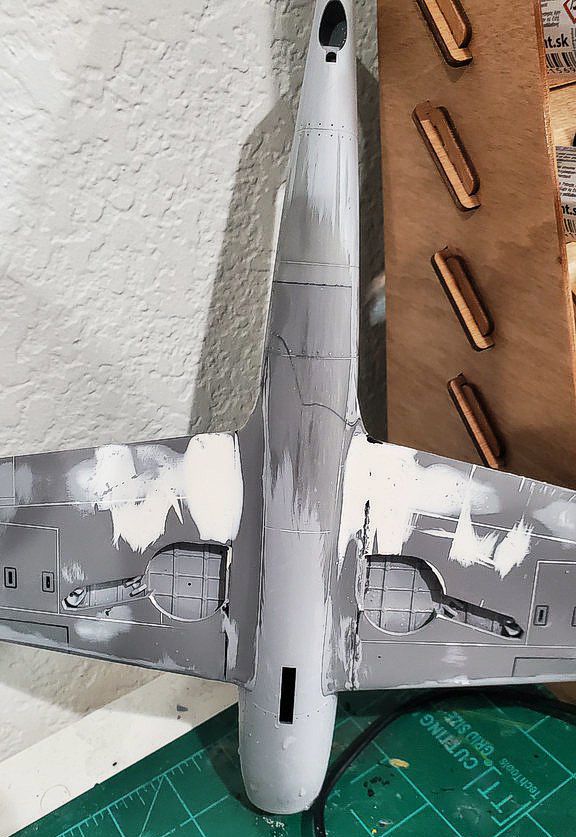
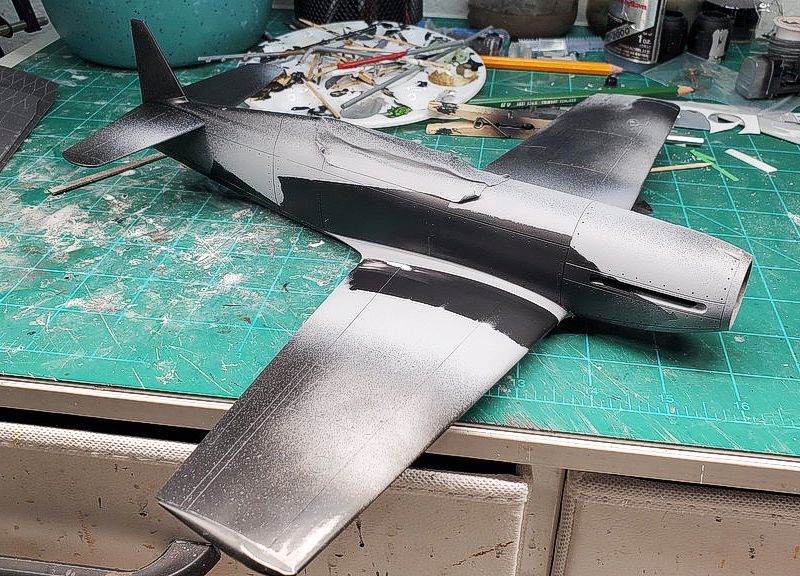
After the clean-up, the usual heavy spray of primer filler to make new, slightly proud standing, wing root fillets aided in hiding any remaining untidiness.
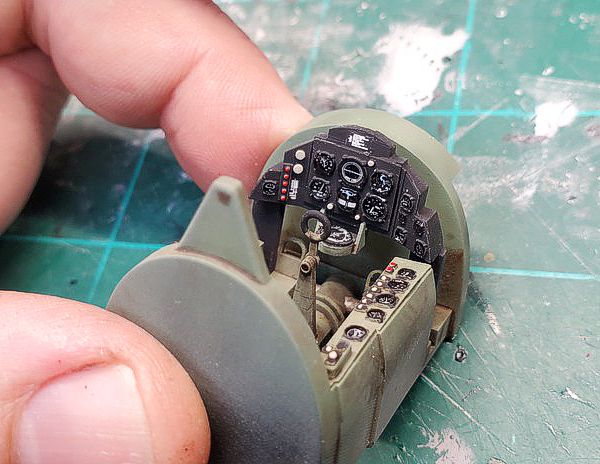
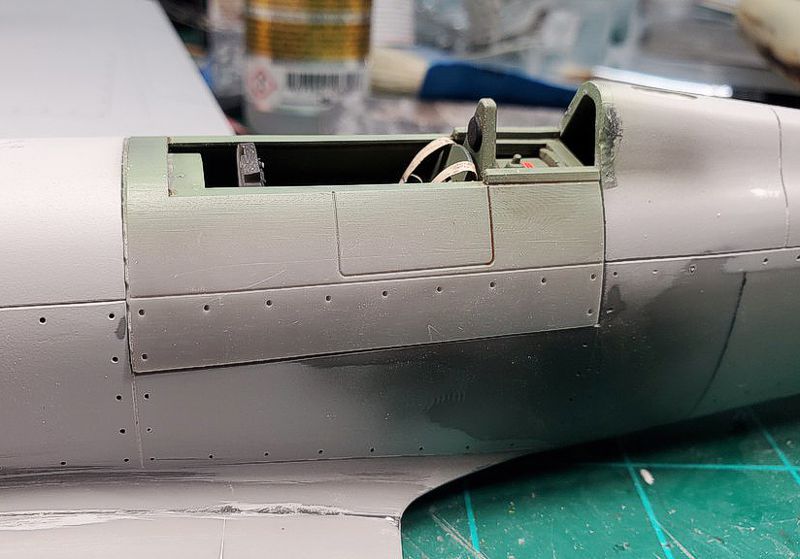
Once the fuselage was looking clean enough, the cockpit was dropped into place and entombed within the fuselage section. A bit more priming/sanding/filling and the big bits were completed and ready for paint.
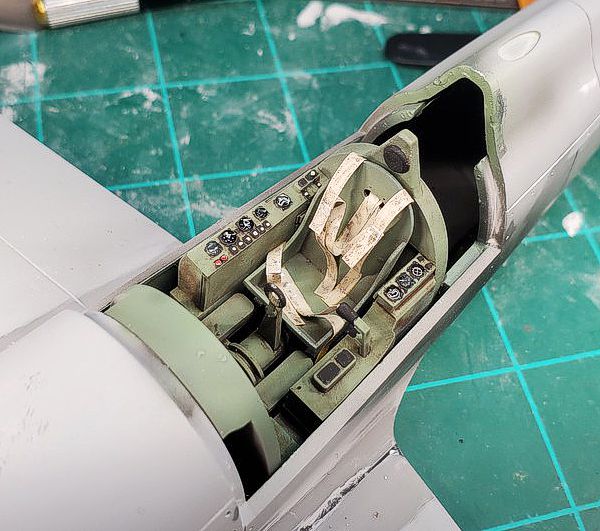
The kit comes with a lovely Airscale Sutton harness, but knowing it would hardly be seen under the narrow cockpit, I made my own from masking tape, saving the harness for a more visible project in the future.
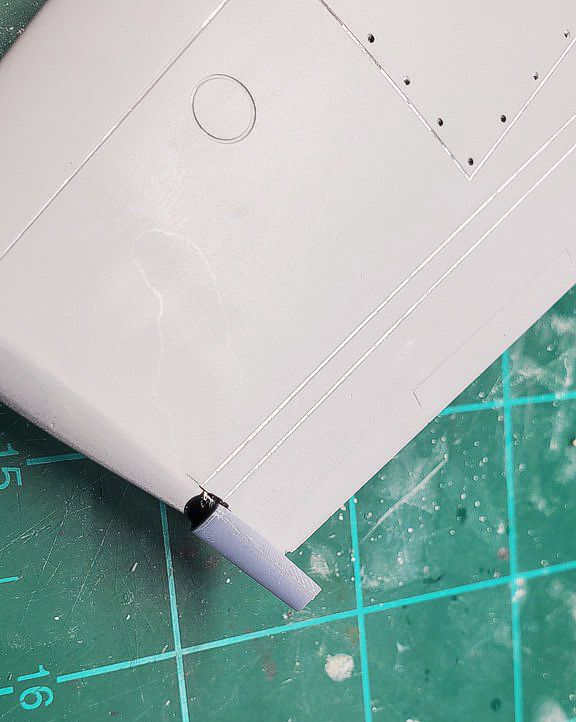
Lately, a breakout of heavy-handedness has resulted in a frustratingly large number of wing tip trailing edge breakages. I am sure this is fix #57.
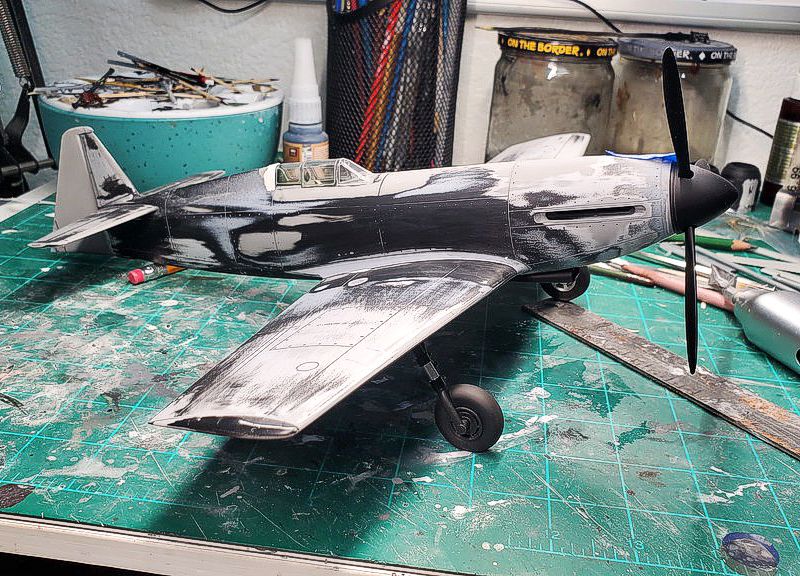
A dry fit to see some visual progress.
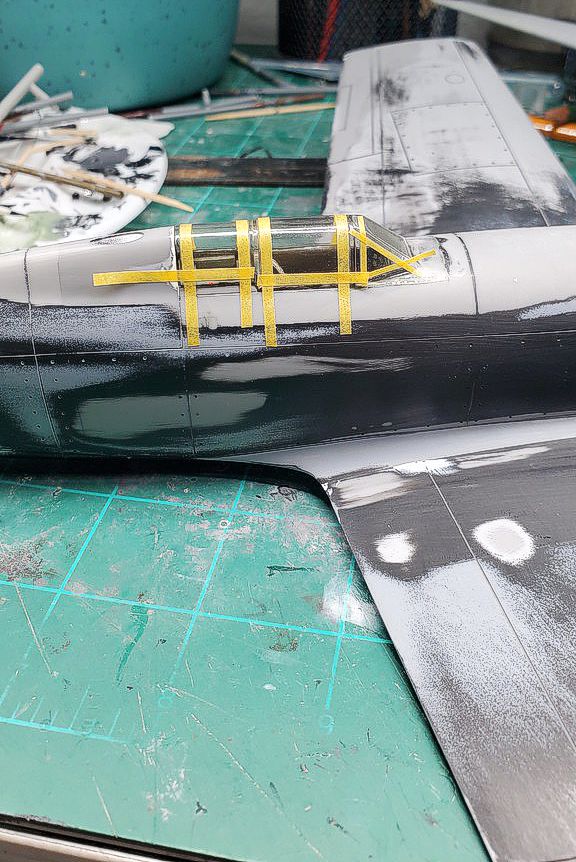
The kit comes with pre-cut vinyl masks for the canopy. Mine did not quite fit. I will blame shrinkage in the Texas heat. No matter, I like doing my own masking anyway.
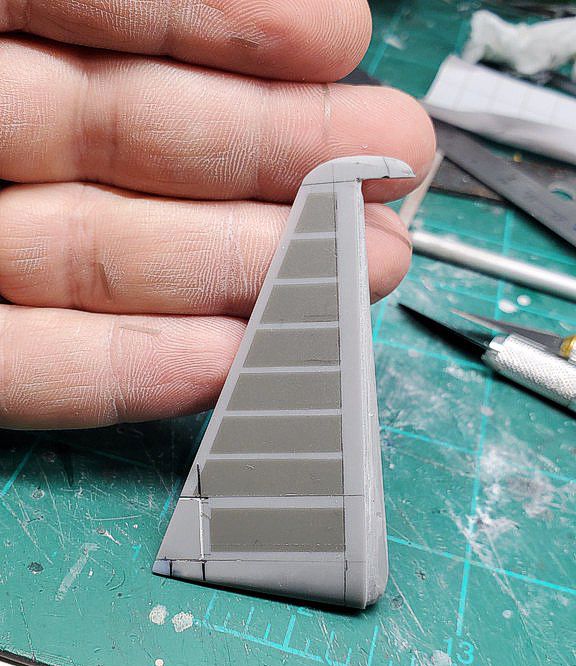
I seem to remember the rudder having rudimentary fabric ribbing molded onto it, but I sanded it off, cut a stencil with the silhouette, and sprayed a few thick coats of primer filler to replicate the fabric covered control surface.
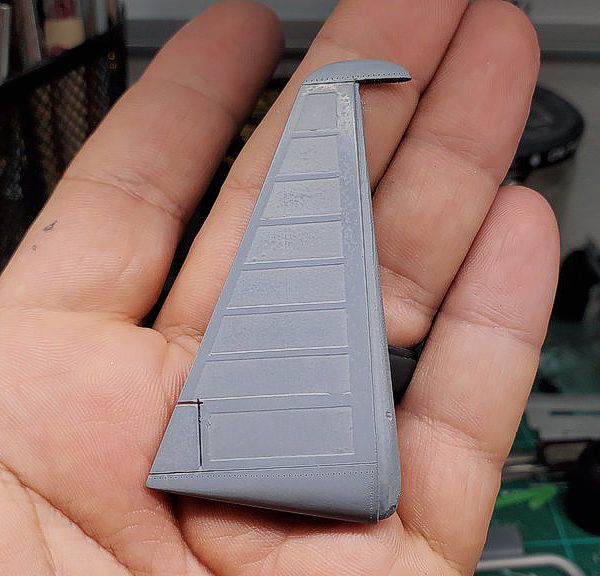
A coat of primer filler over the top made the rudder look the part.
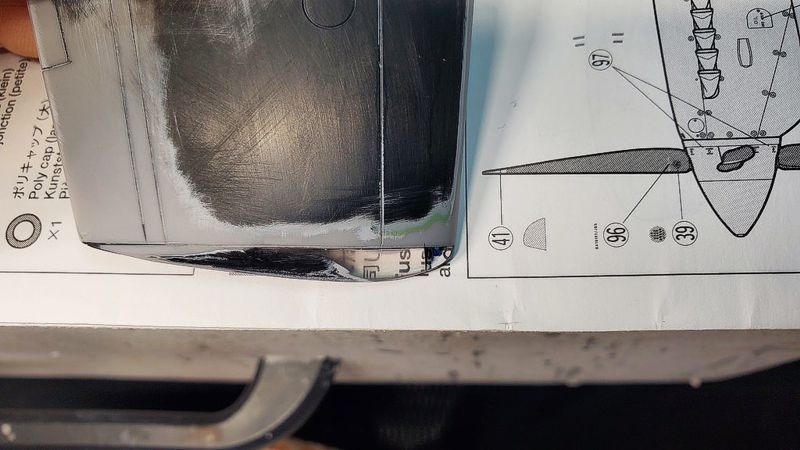
Wingtip nav lights are supplied as clear resin. I wasn't convinced of being able to get crystal clear results with the resin, and substituted clear Perspex for the light covers. Here you can see both the resin and Perspex polished, and it turns out, you CAN get the resin printed part looking nice and transparent. There IS one caveat to that, which we will discover in a little while...
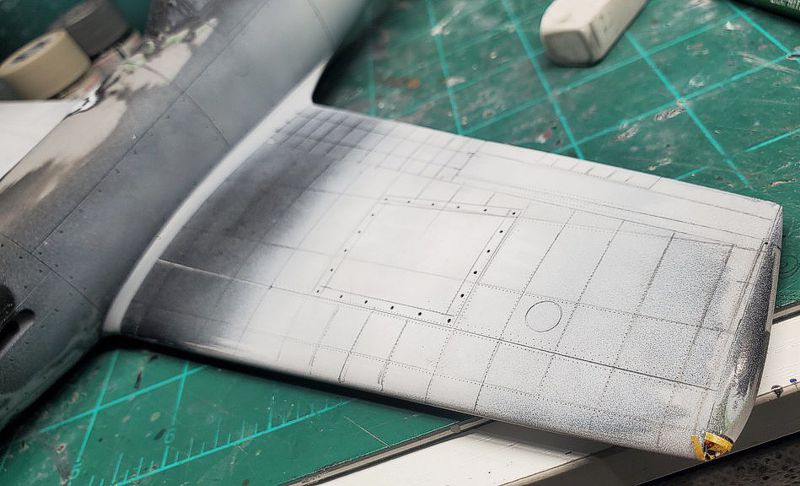
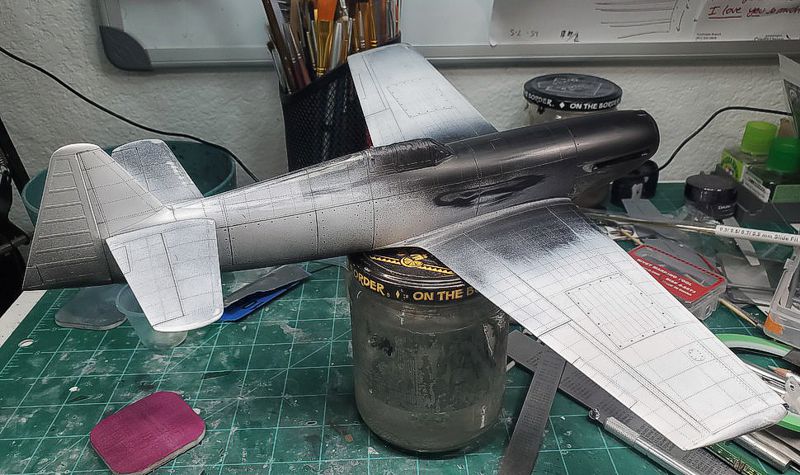
Built up examples of this kit looked a little too 'clean' to my eyes, so I decided to rivet the airframe. Accurate? Probably not, but it certainly breaks up the surface.
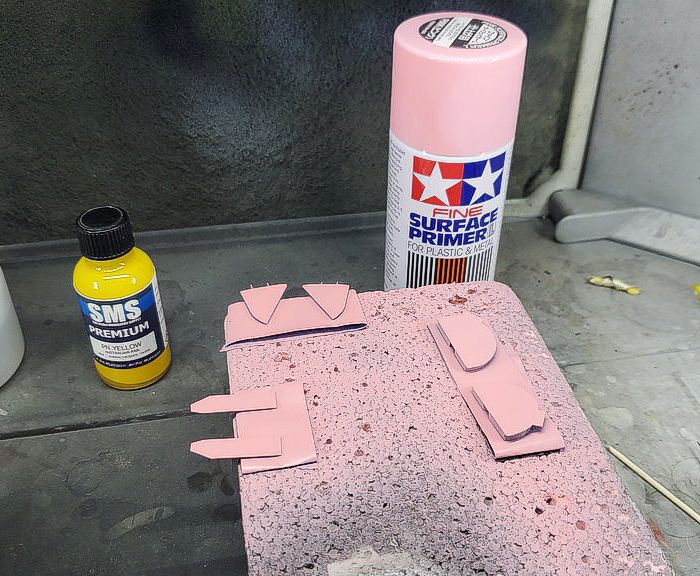
Now for to hide all those sins! RAF prototypes of the time all had glorious yellow undersides. I wanted to try pink-priming, and here was the perfect candidate. Tests started small, all the gear doors were primed straight from the Tamiya rattle can.
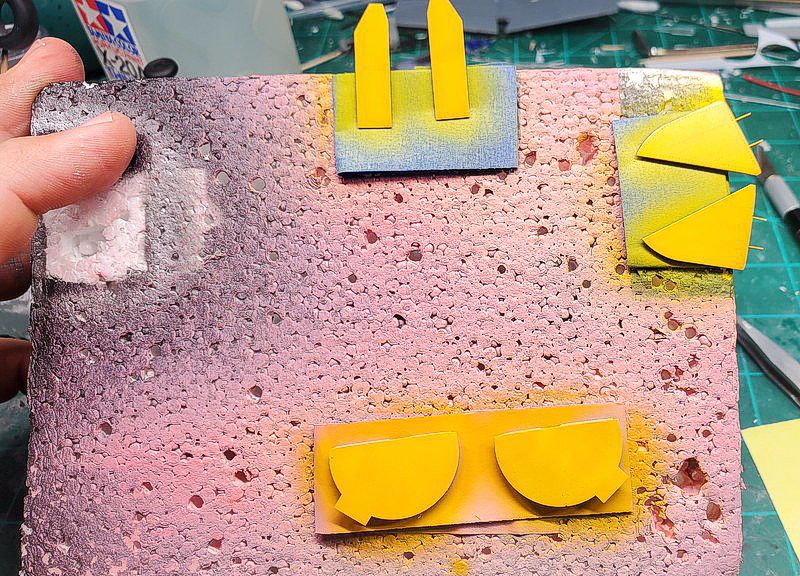
Then hit with varying layers of SMS yellow. Looks Yellow to me!
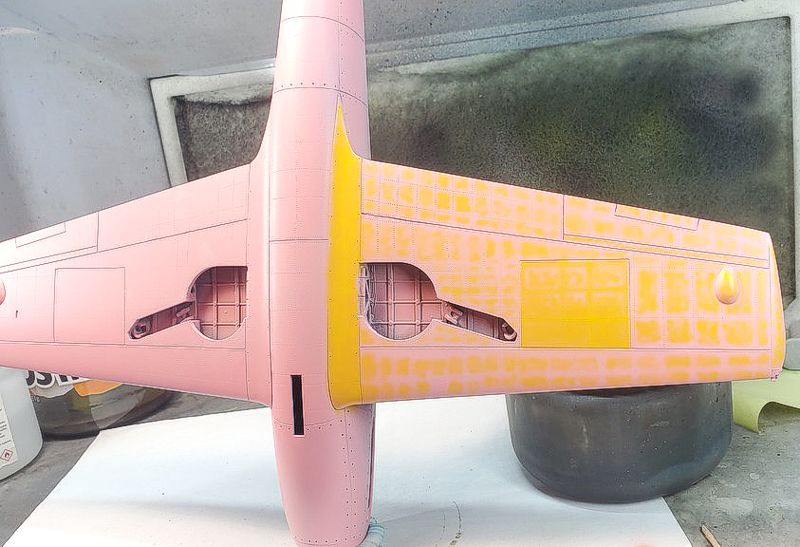
Let’s try the whole thing...
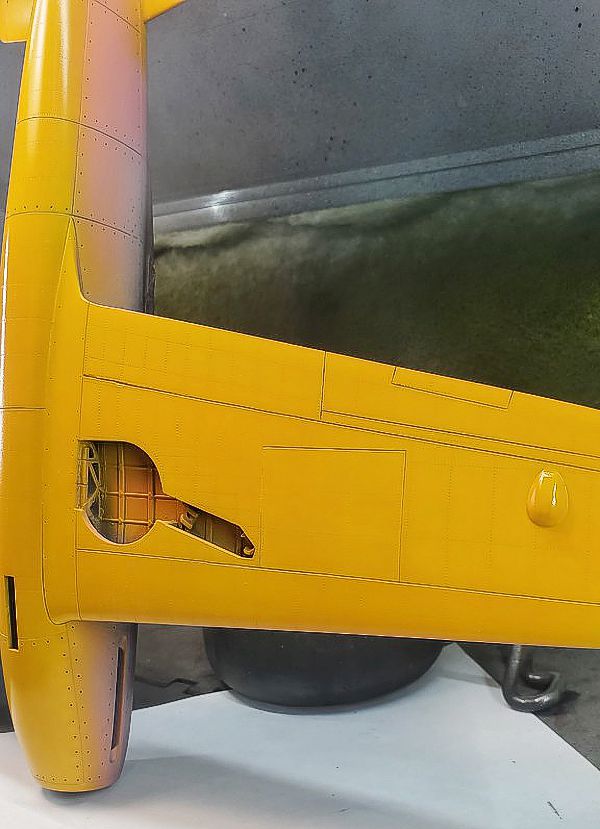
Pictures don't show the colour variance from pre-shading, but it IS there!
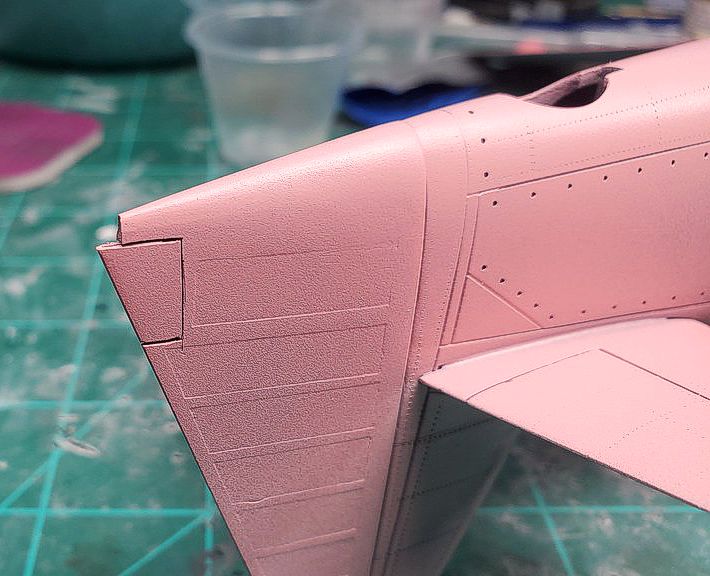
Also, I managed to snap off the rudder tip for the million-and-oneth time.
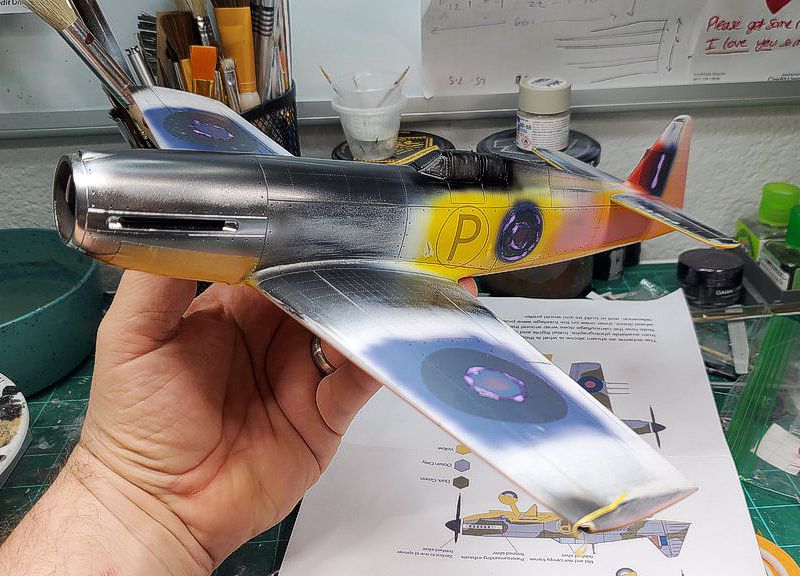
The kit comes with water-slide decals, which look perfectly useable, but I prefer painting on my markings, so I drew them up and painted them all on, leaving a very colourful looking machine!
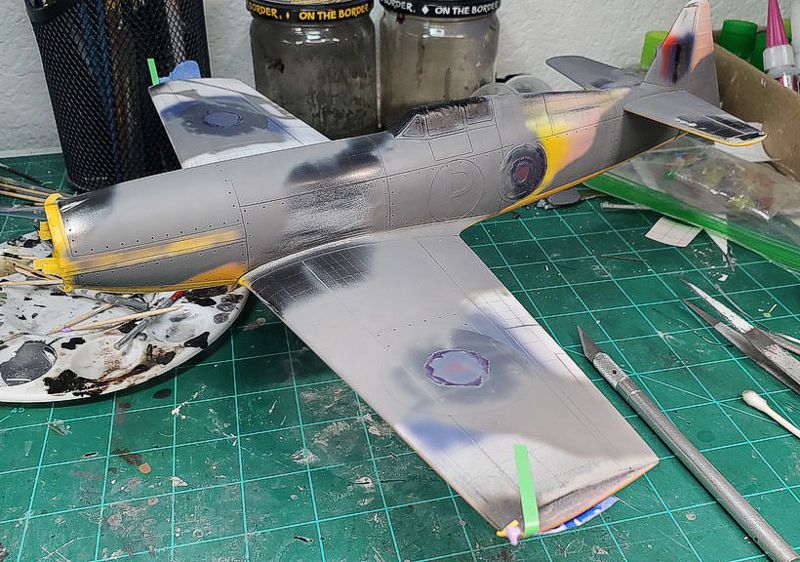
SMS paints were used for the main colours. Ocean grey went on first.
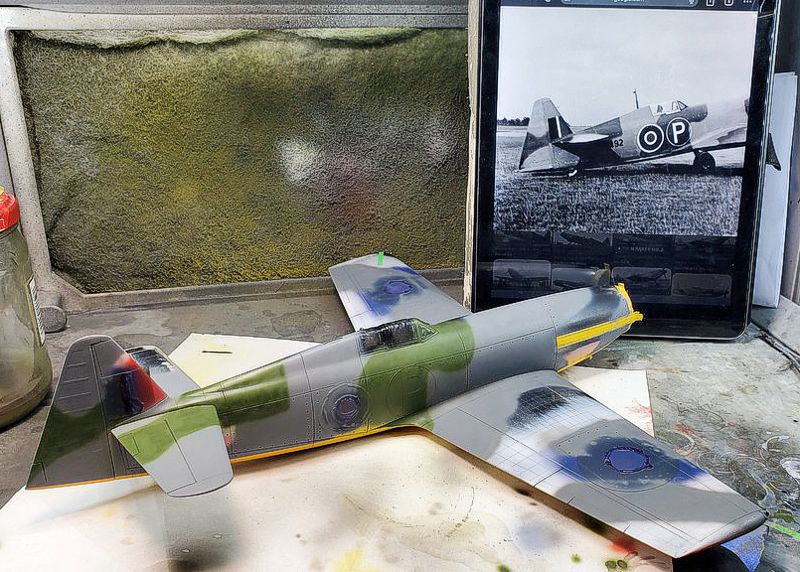
Then we both studied supplied painting diagram, noting that it didn't quite reflect photos of the real machine.
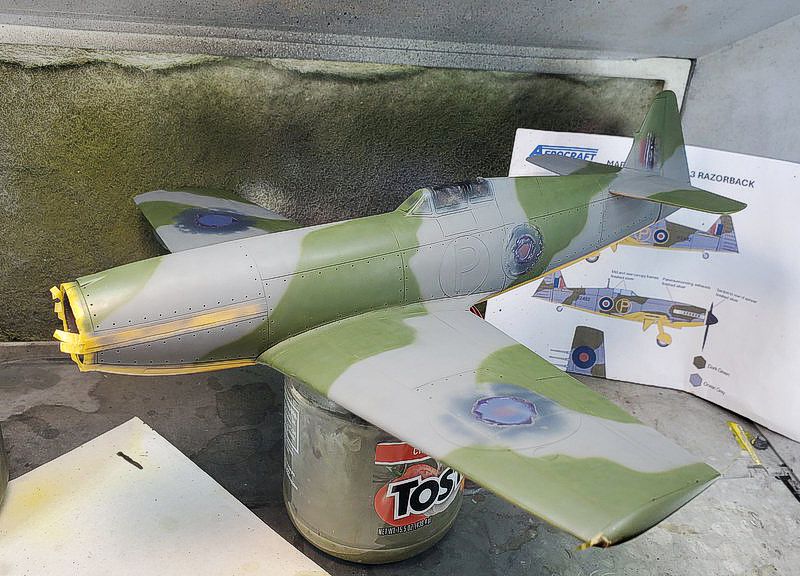
I used photos of the real plane, and Hurricane standard camouflage application charts to choose my demarcations.
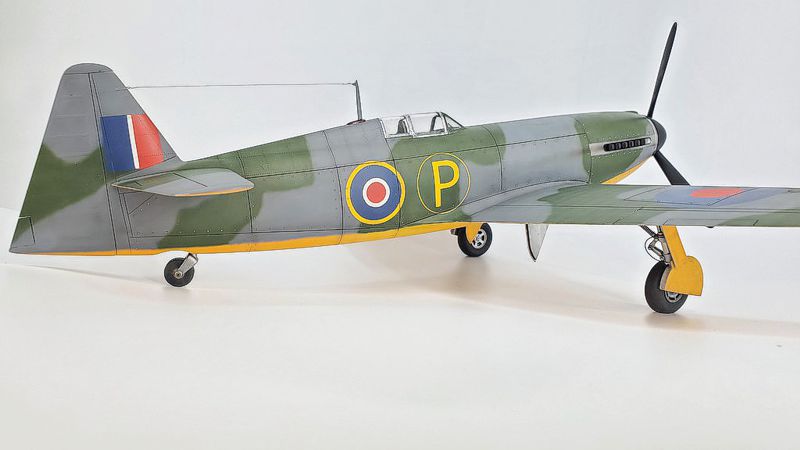
Keeping in mind that the prototype didn't see much use before coming to grief, weathering was kept to a minimum.
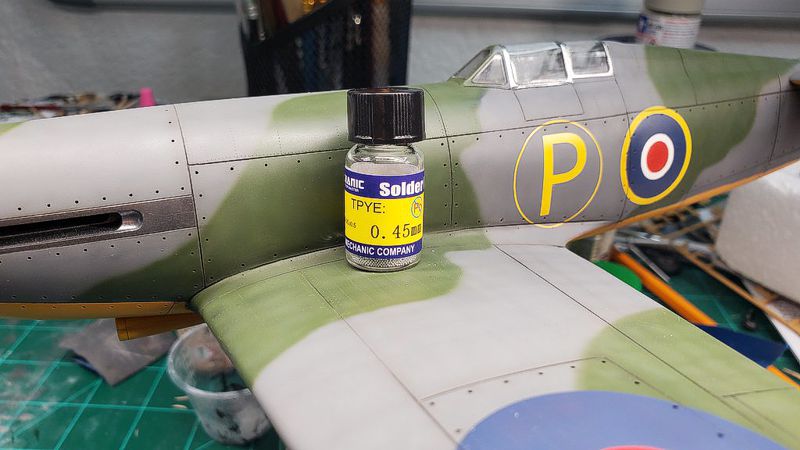
For me, the make-or-break factor was going to be the myriad of unpainted quarter-turn fasteners holding fuselage panels in place. I had initially drawn and printed hundreds of little Dzus fastener heads, to be installed in the molded-in holes around the airframe. I eventually came to my senses and tried a different, SLIGHTLY more sane approach: Micro Solder Balls.
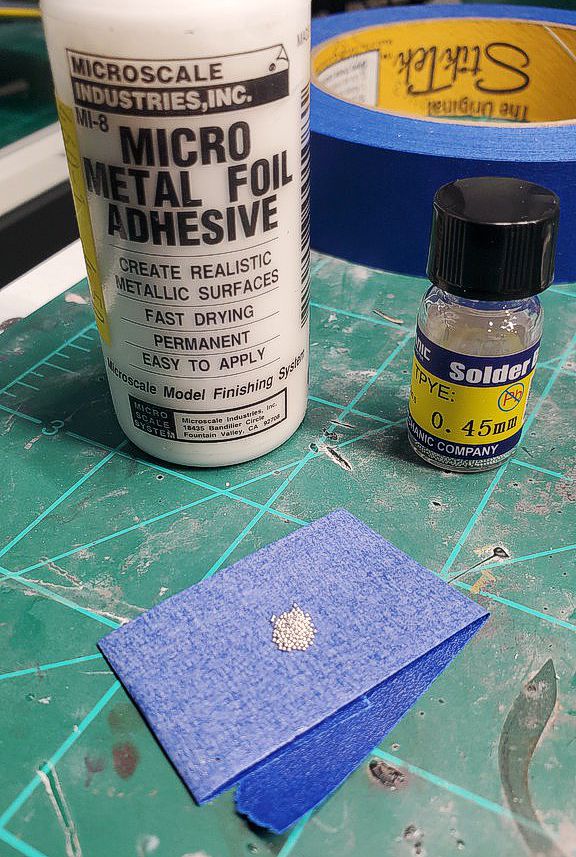
I poured piles onto masking tape and glued them in place with Bare Metal Foil adhesive. Starting with the wings, the balls were installed one at a time.
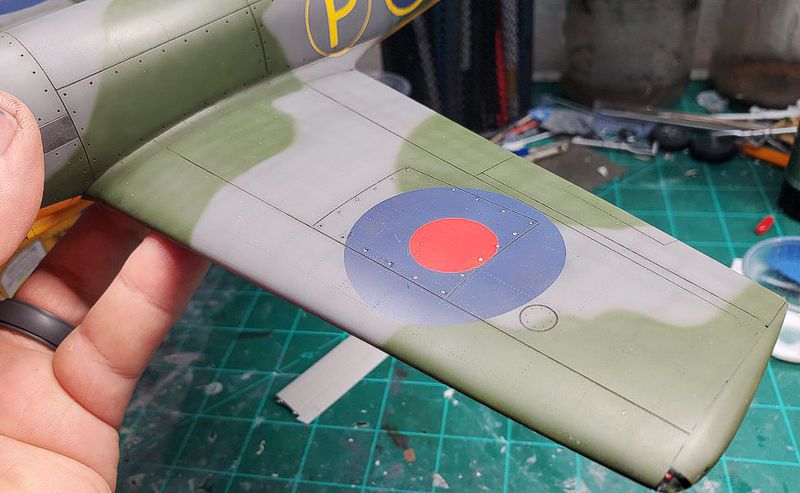
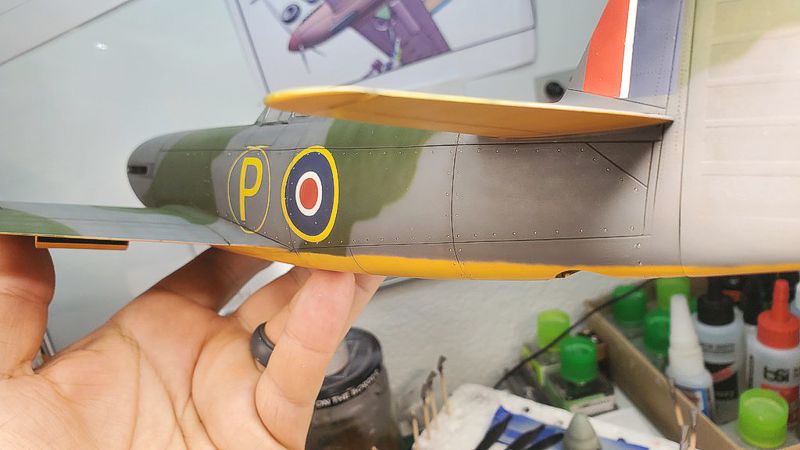
Don't you just LOVE the EUREKA moment! Nothing left to do but fill the remaining holes!
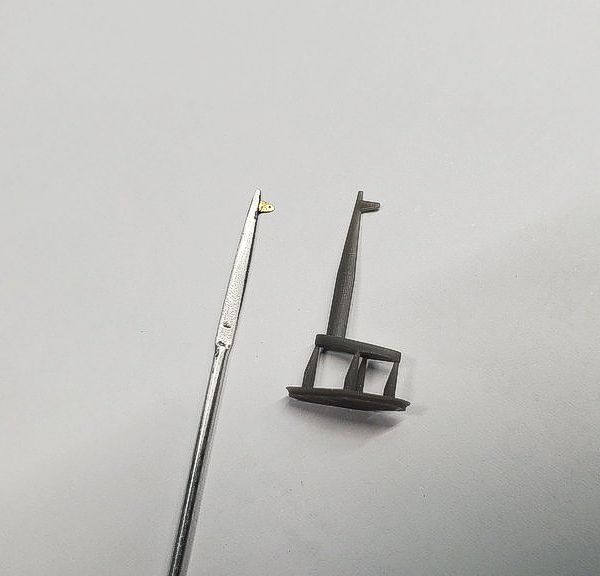
Home straight now! I did not think the kit supplied antenna mast would hold up to the tension of an antenna wire. Also, refer back to my bout of ham-fistedness: I wanted a SECURE AND STRONG antenna mast. So I made one from brass sheet and squashed aluminum tubing.
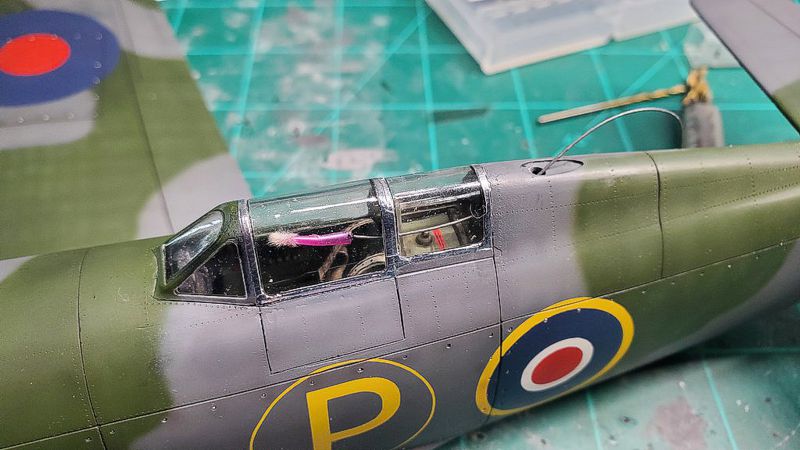
After masking was removed, there was a bit of accumulated debris INSIDE the canopy. I found my first ever used for a 'micro brush.'
De-masking the canopy also revealed that the clear resin parts had reacted negatively with the Humbrol Maskol I used to fill in between masking tape borders. Almost as if the Maskol had begun eating into the resin. Weird. Luckily, a polish with micromesh and a polish with ScratchX got things shiny again. Note to self: no Maskol on clear resin!!
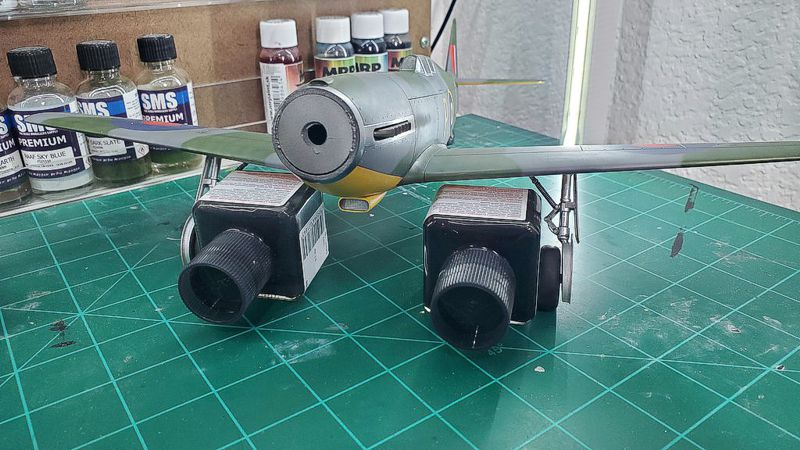
Gaining momentum, I started busting out the precision tooling. Here are the wheel straightening jigs.
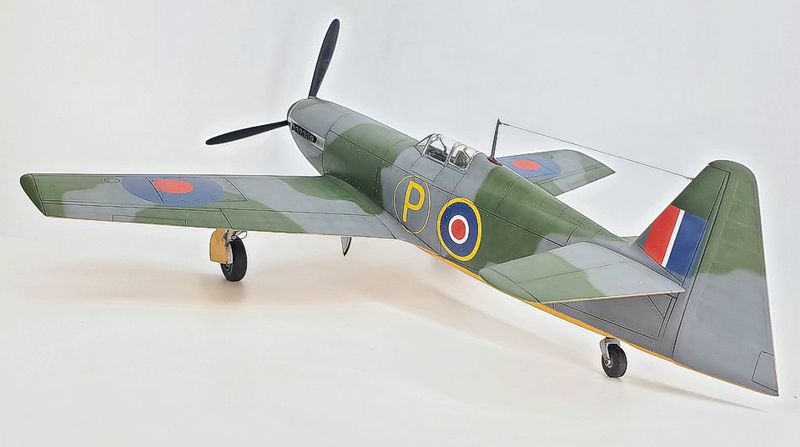
And with that, we are finished!
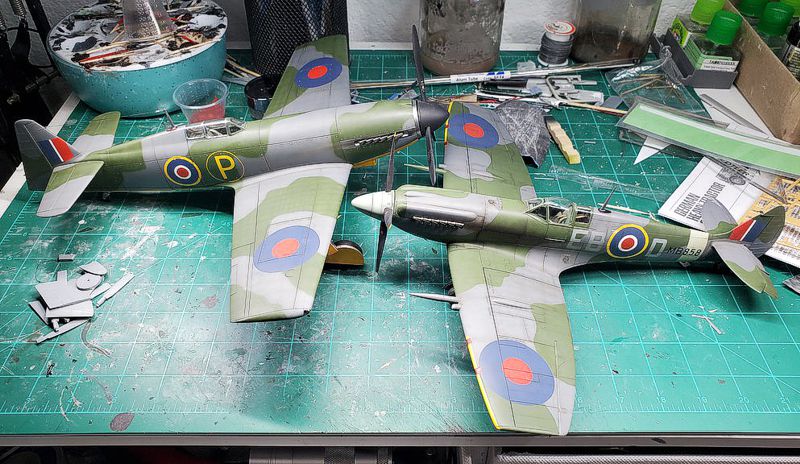
What a beast she is!
Thanks again to Ali of Aerocraft for putting out this Big Scale version of his MB.3 kit. It's been a fun build and if any of you are on the fence about having a go of a 3D printed kit, don't hesitate. There are so many excellent subjects now being covered by the new age cottage industry, dive in and support your local little guy!
I've got my next 3D printed kit heading towards the bench, I can’t wait to get started on it!
Thanks for checking in!
© Denzil Charles 2026
This article was published on Saturday, September 12 2026; Last modified on Saturday, September 12 2026