
Revell 1/32 Hawker Typhoon, Part I
By Suresh Nathan
Introduction
The Hawker Typhoon was a British single-seat fighter-bomber, produced by Hawker Aircraft and nicknamed "Bomphoon" by the press. It was intended to be a medium-high altitude interceptor, as a replacement for the Hawker Hurricane, but several design problems were encountered, and it never completely satisfied this requirement. When the Luftwaffe brought the new Focke-Wulf Fw 190 into service in 1941, the Typhoon was the only RAF fighter capable of catching it at low altitudes; as a result it secured a new role as a low-altitude interceptor. The Typhoon became established in roles such as night-time intruder and long-range fighter. From late 1942 the Typhoon was equipped with bombs and from late 1943 RP-3 rockets were added to its armoury. With those weapons and its four 20 mm Hispano autocannons, the Typhoon became one of the Second World War's most successful ground-attack aircraft. Dwight D. Eisenhower, the Supreme Allied Commander, said of the Typhoons, "The chief credit in smashing the enemy's spearhead, however, must go to the rocket-firing Typhoon aircraft of the Second Tactical Air Force ... The result of the strafing was that the enemy attack was effectively brought to a halt, and a threat was turned into a great victory.”
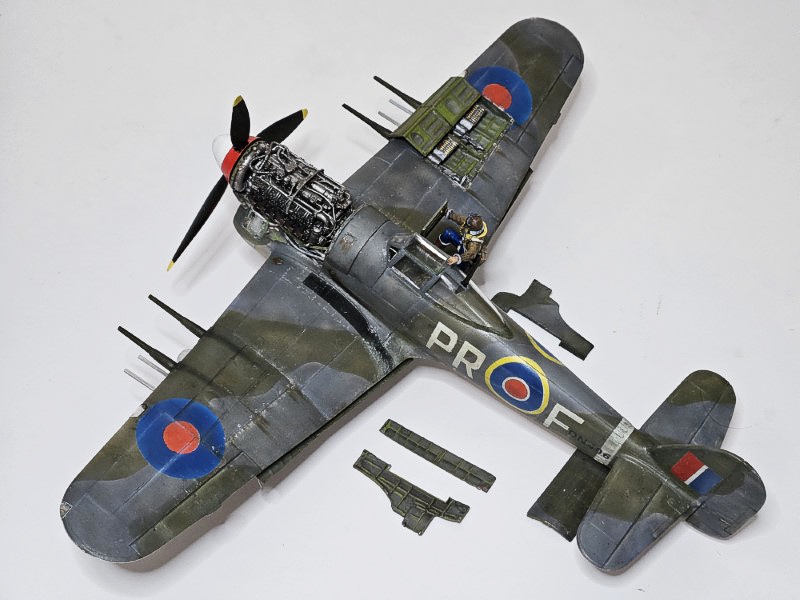
The Typhoon I chose to depict was the No. 609 Squadron Hawker Typhoon DN406 PR-F 'Mavis' while at Dispersal, showing the alternating black and white stripes, at Manston,14th May 1943. This was issued with Revell in a limited release but was unavailable and so all the markings would have to be hand-painted. It must have been a veteran because there was evidence of touch-up paint and replacement parts from other aircraft.
Model
Revell produced this kit in 1973. There were also a few re-boxings by Lodela. The kit is as one would expect, outdated by present standards. The cockpit is simplistic and the undercarriage bay inaccurate. The included bombs are moulded with the pylons in 2 halves. The pilot canopy is the early type (which is appropriate for the version I want to build). Raised panel lines are reasonably laid out but various details do not line up. These all had to be re-scribed and recessed according to the plans from Squadron Typhoon/ Tempest in action (102) and details on the internet. The rivet detail is quite accurate and appropriately raised and I chose to keep them. Especially nice are the fish plate re-enforcements on the rear fuselage which are moulded on. The engine is reasonable, but I chose to replace it with resin detail from Special Hobby. Undercarriage is inadequate. The main parts used were the fuselage, wings and stabilizers. Everything else was scratchbuilt or aftermarket. There are hardly any aftermarket parts for this kit, so I adapted a lot of the stuff available for the Special Hobby Tempest.
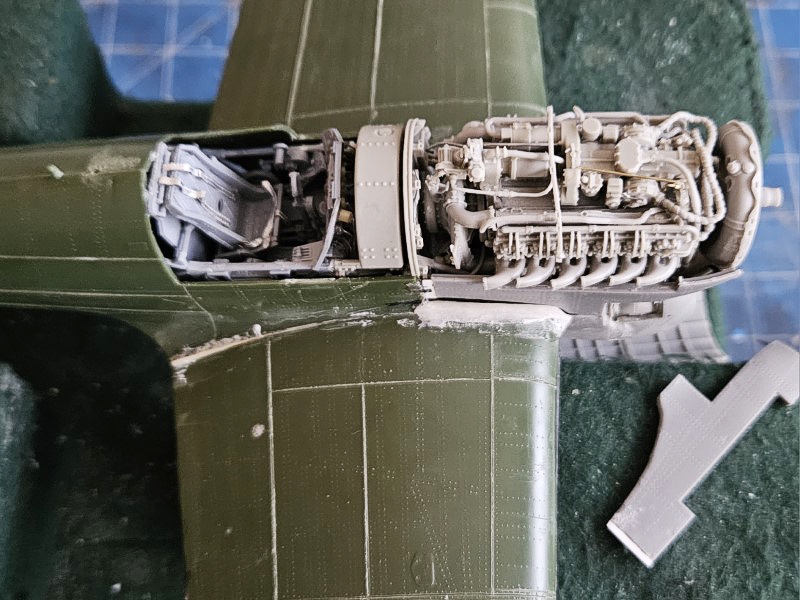
Engine Compartment
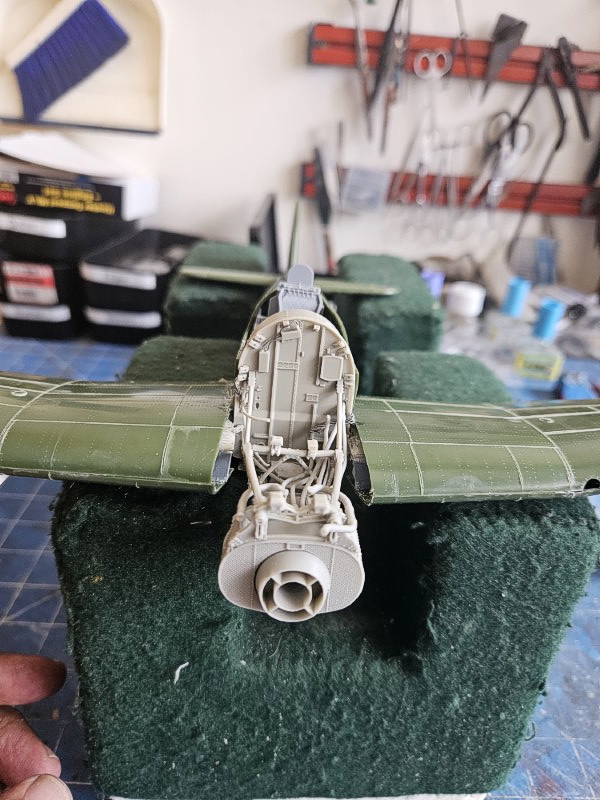
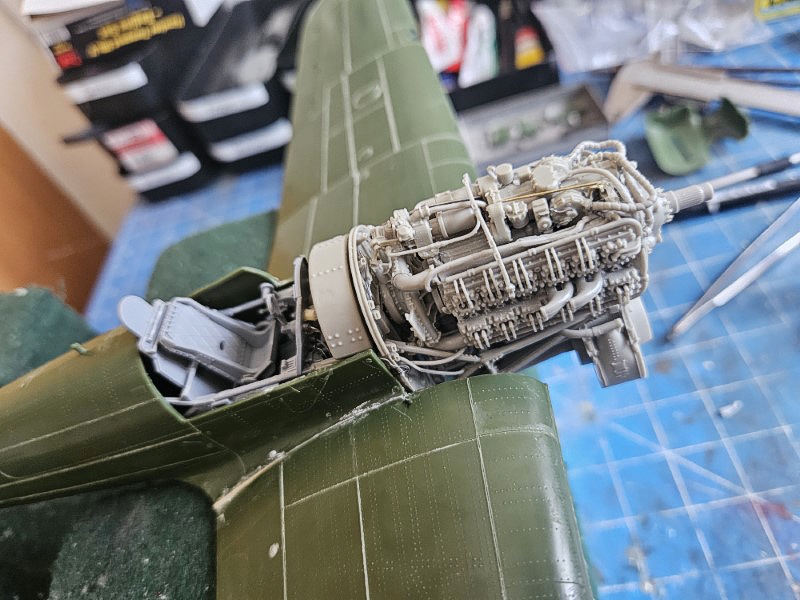
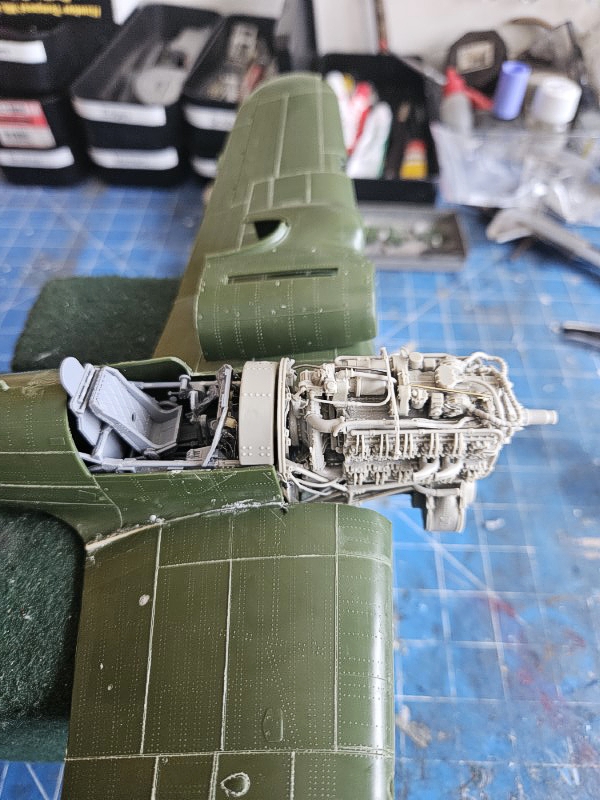
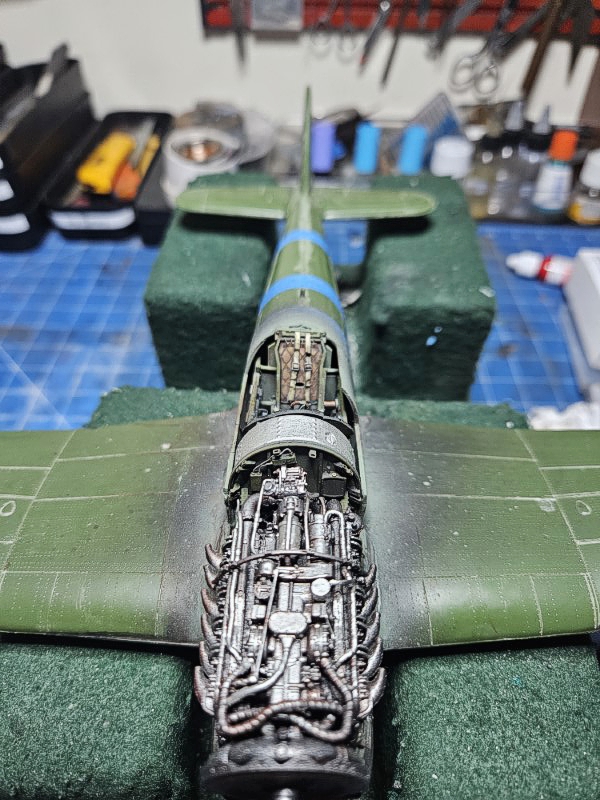
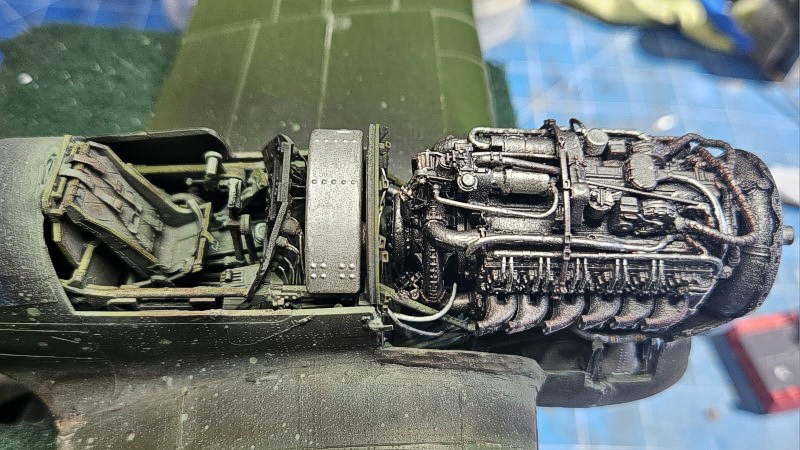

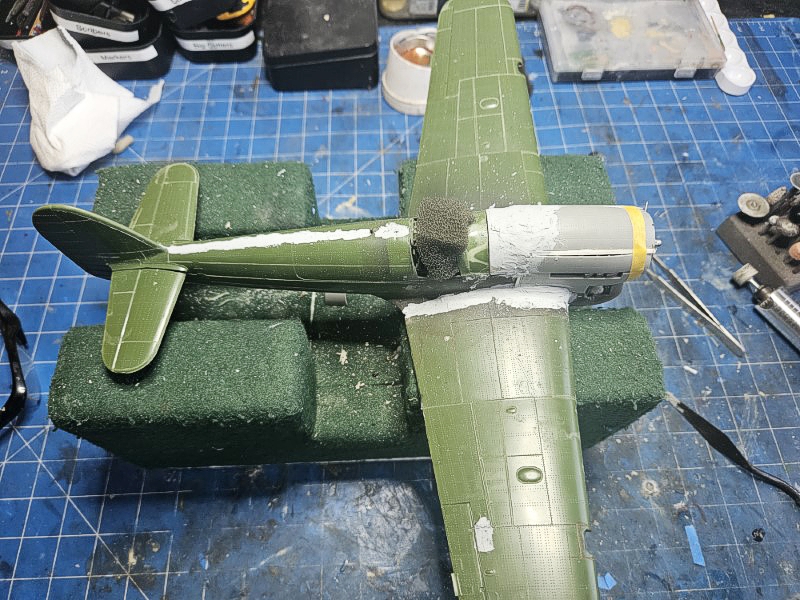
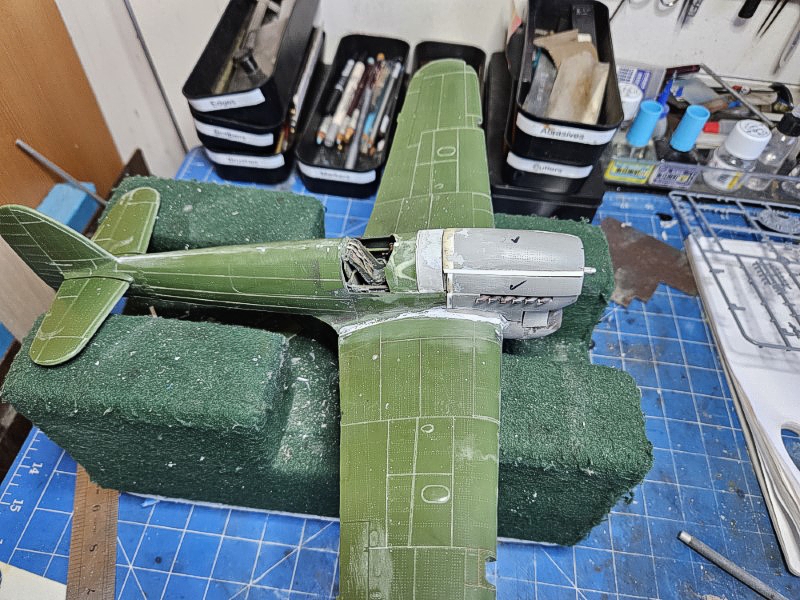
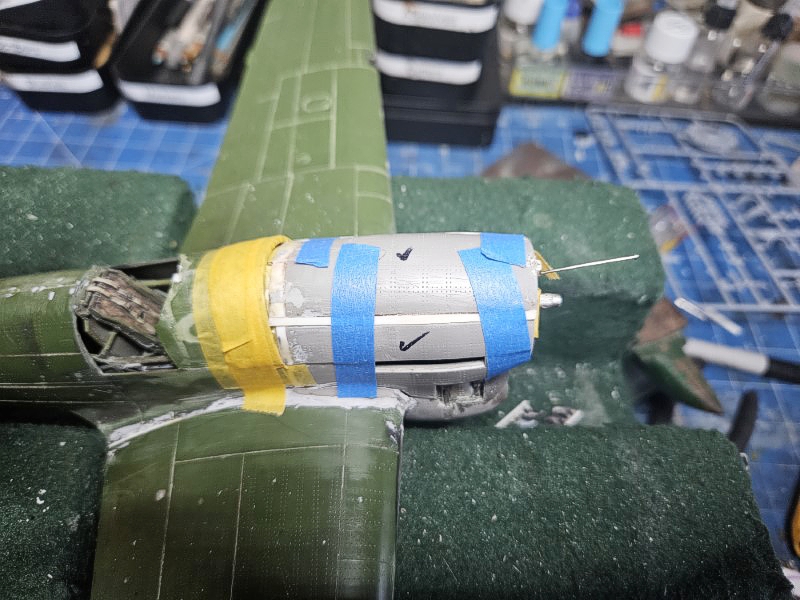
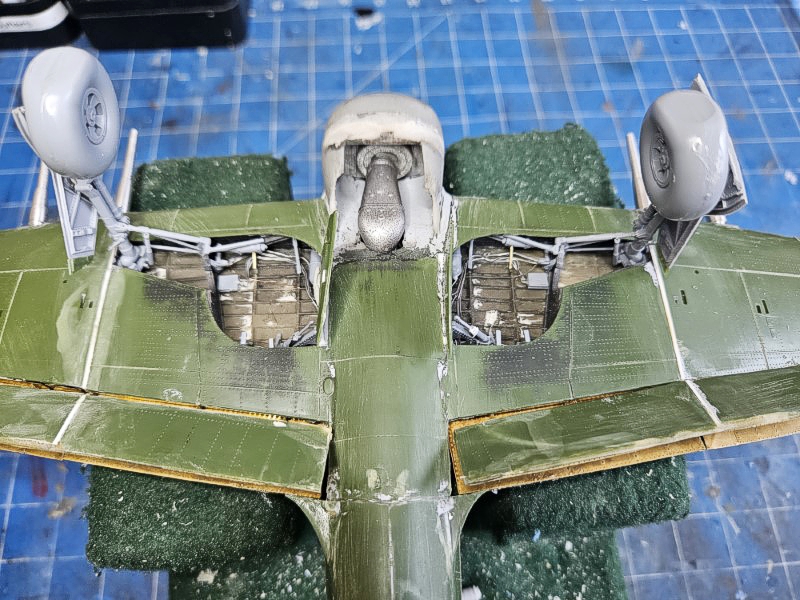
I wanted to show the model with one detailed engine. Special Hobby provides a beautiful Sabre Napier Engine. It is all resin but designed as a generic detail for any Napier-engine aircraft. I adapted the engine mounts from drawings and photographs out of the kit as it needed to be sturdy to hold up the engine and be accurate in this scale. The exhaust manifold was from the kit and ignition harness was solder wire and the final exhaust shroud was from the kit. All other details around the engine and fasteners were scratchbuilt.

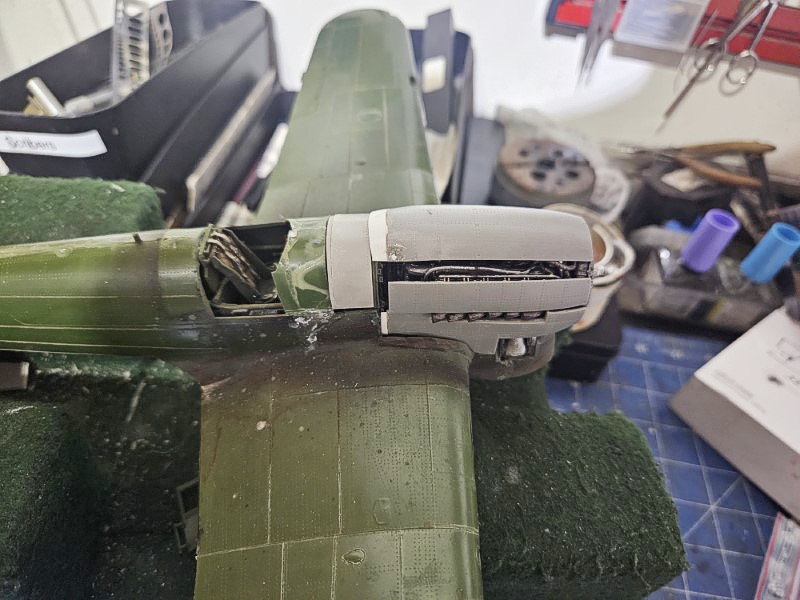
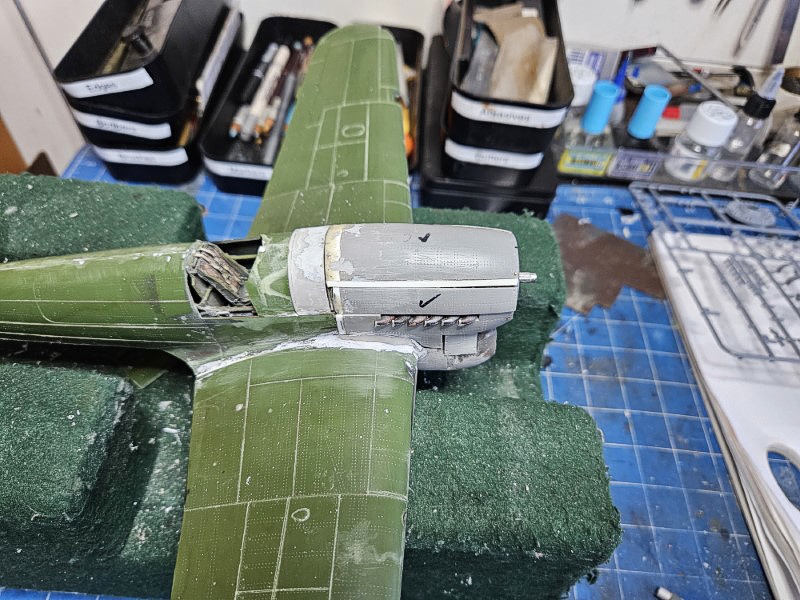
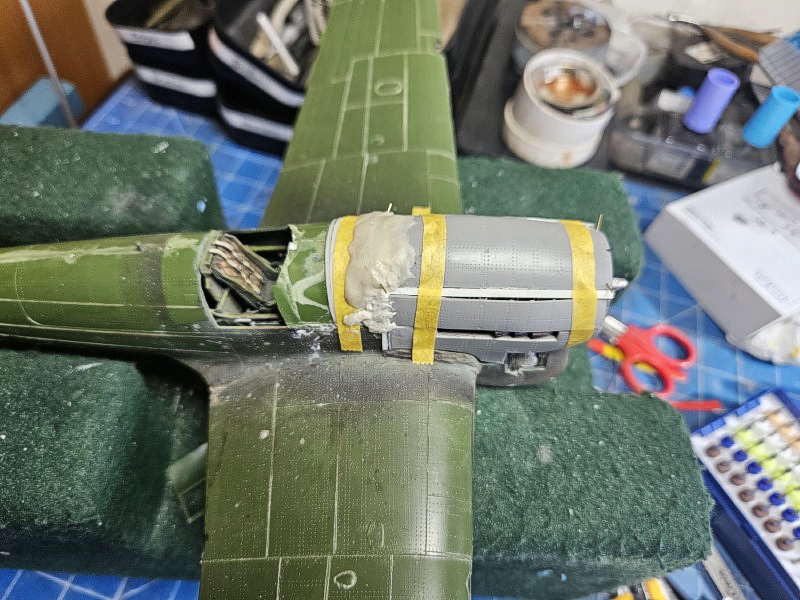
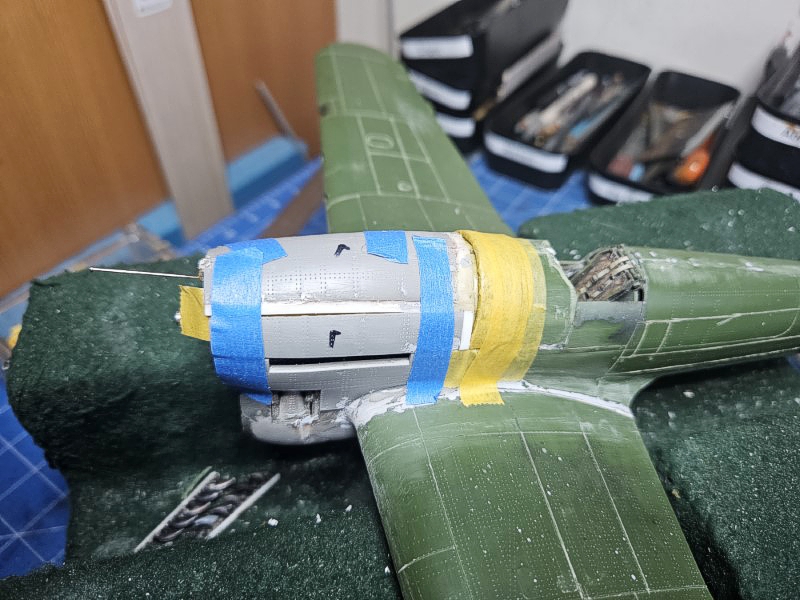
I started by removing the kit cowling but this proved to be a mistake. In retrospect it would have been better to keep the kit cowling and separate the panels and model the ribbings with styrene. The resin replacements had Tempest accurate panel lines, and all had to be removed and rescribed. In addition, because they were thick, they would not fit over the engine and indeed were designed to be left off in display. It took many weeks of fitting sanding and filling to get it to fit and still the top panel does not fit with the engine in. As a compromise I am able to remove the engine for a full streamline display. Note that the Typhoon has one fuel tank in front of the dashboard while the Tempest has 2.
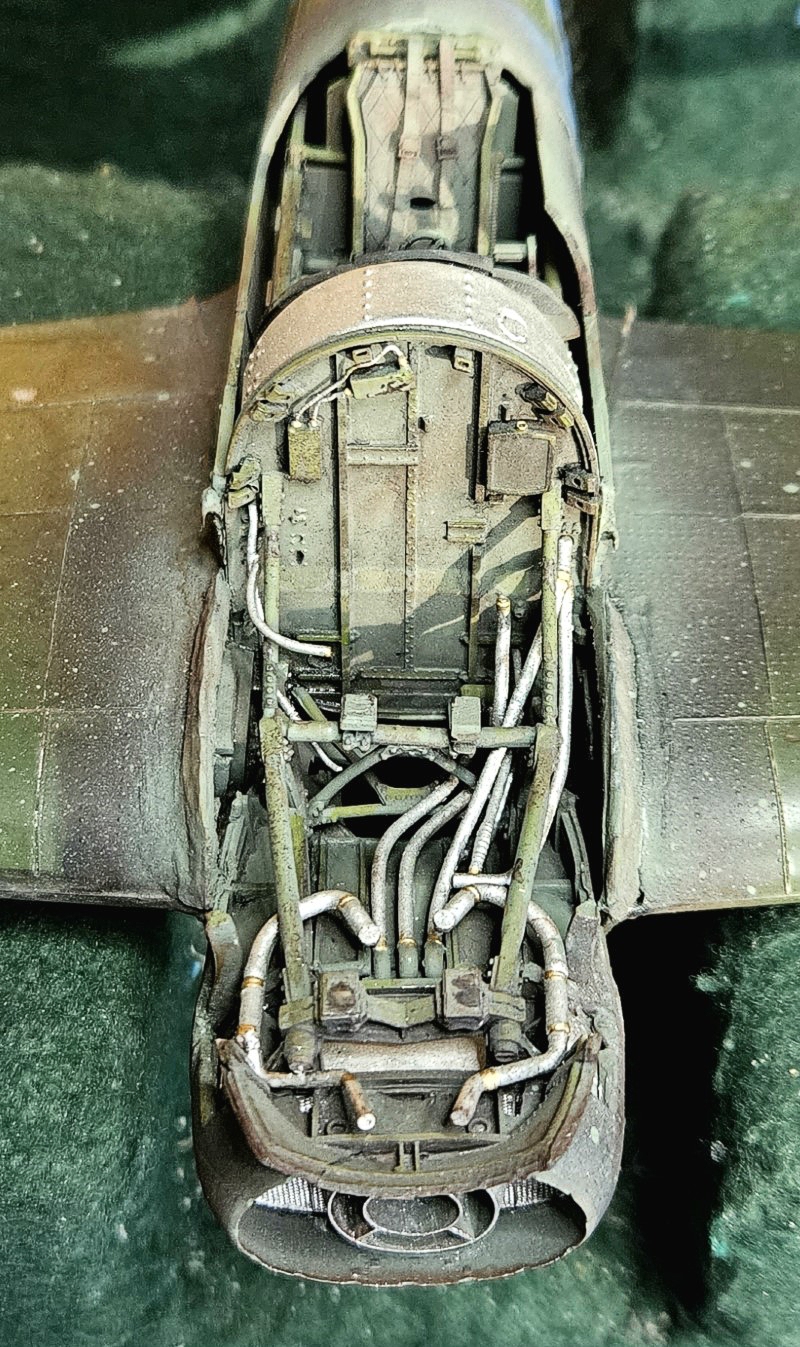
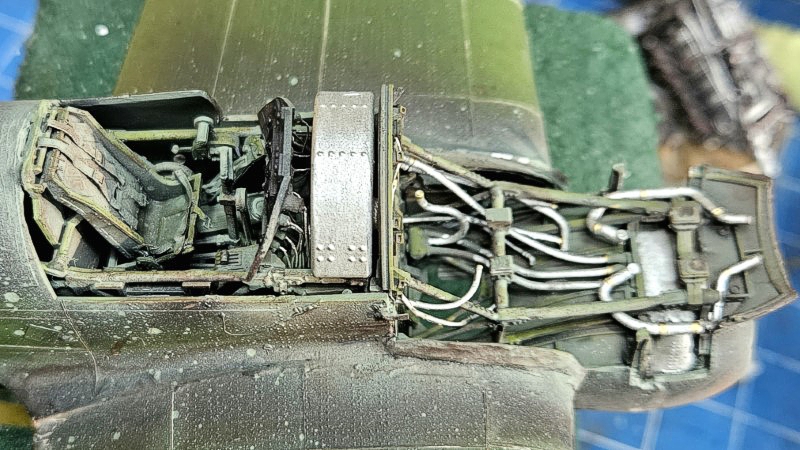
Cockpit
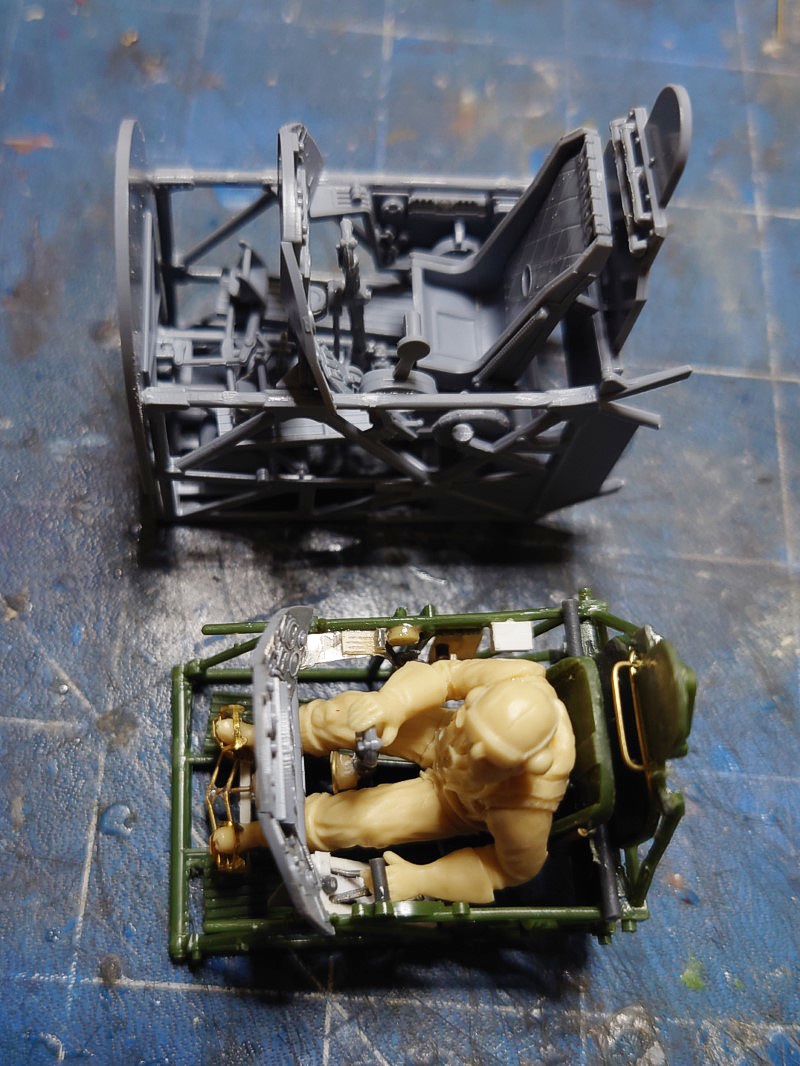

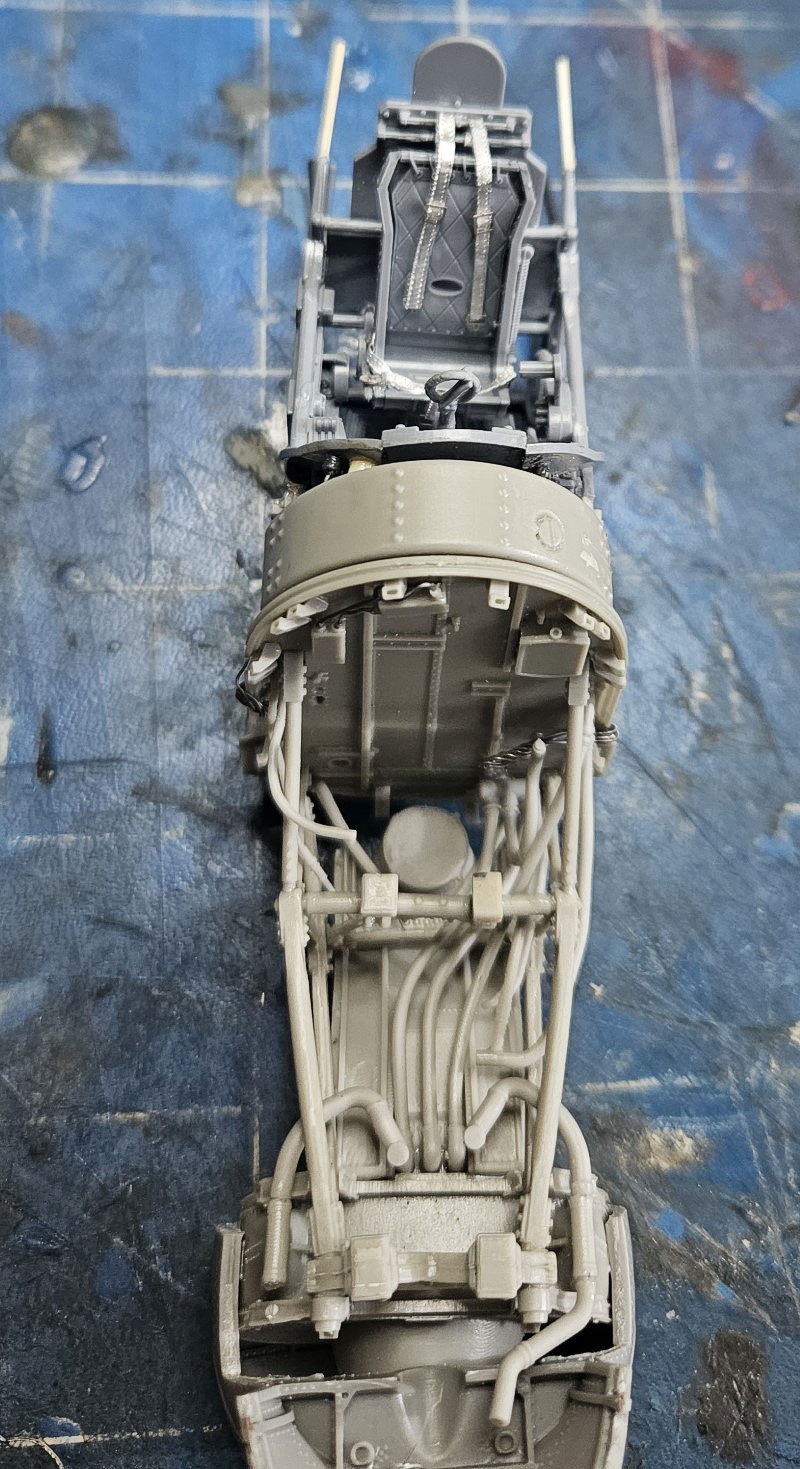
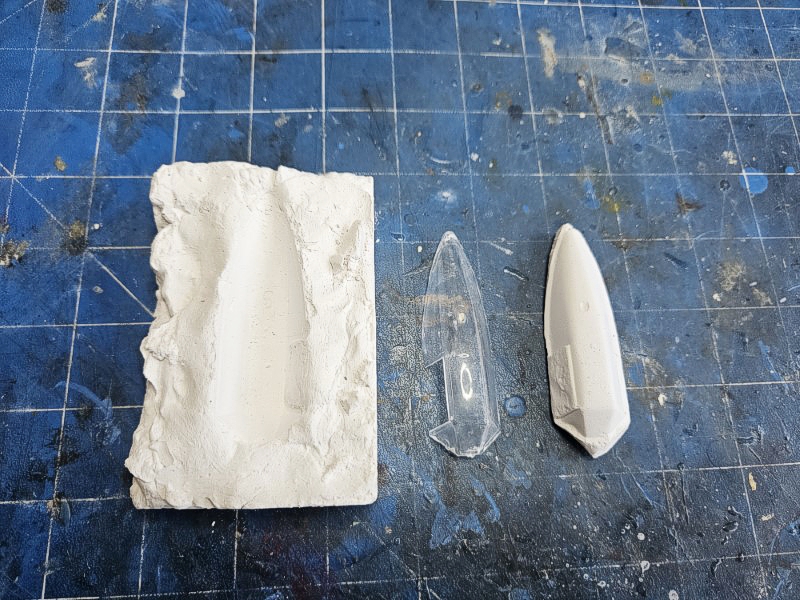
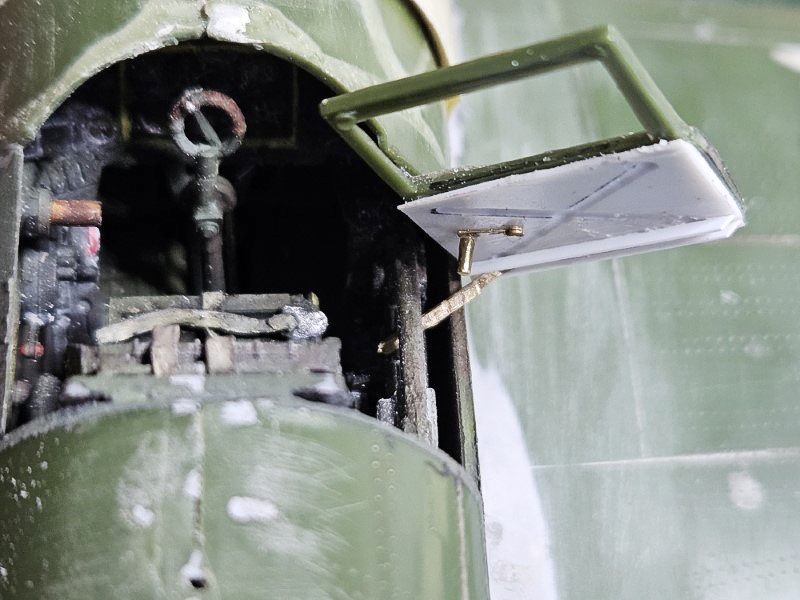
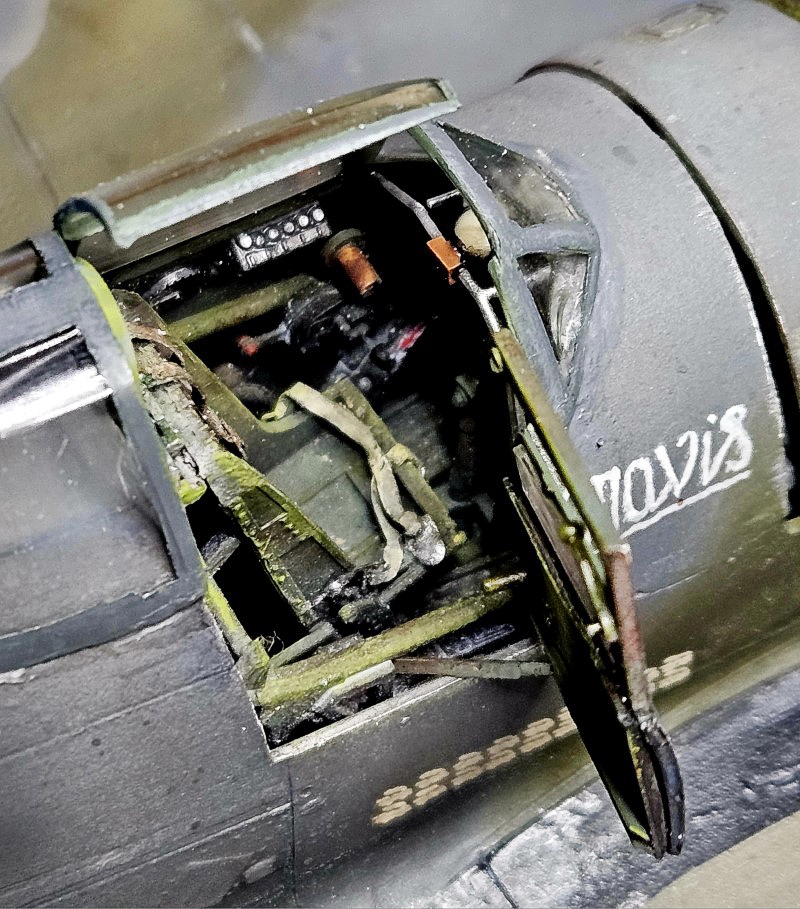
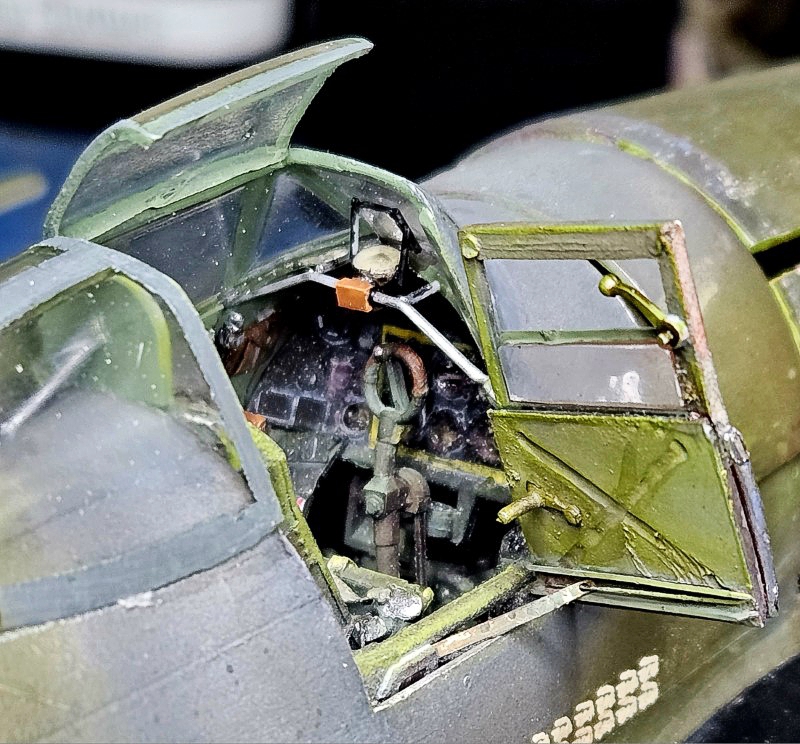
The cockpit is a complete rebuild with no parts used from the kit. The typhoon cockpit is very similar to the Tempest cockpit, and I chose to scavenge the cockpit from an earlier build. I extended the tubular frame backwards with the oxygen cylinder. This cannot be seen after the build. The canopy was provided a sanding block by casting an inner and outer support using plaster. This allowed sanding of the canopy with ever thinner grit sandpaper with a final polish with Novus and Future dip. I then carefully separated the top canopy door. The car door required some interior detailing, and I fashioned a sliding support from fine wire and brass sheet. It has a toy like hinge that is best removed.
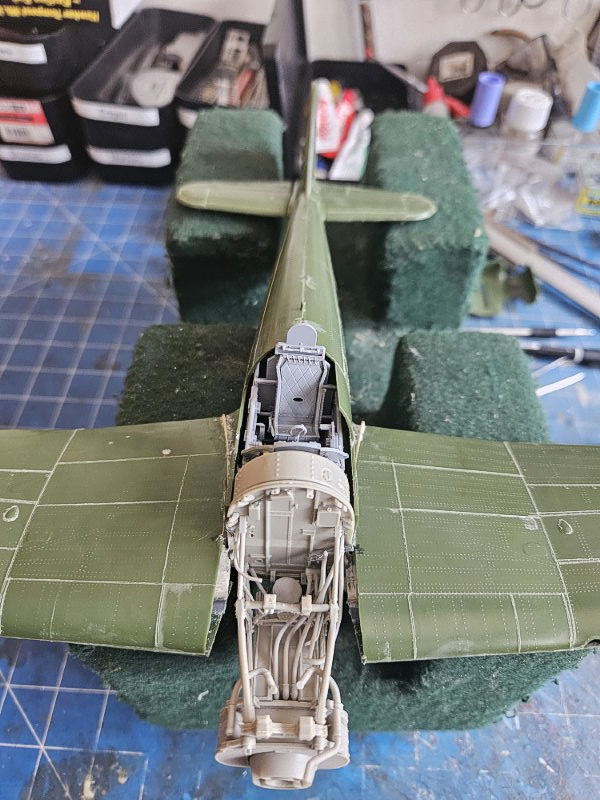
Fuselage and Wing
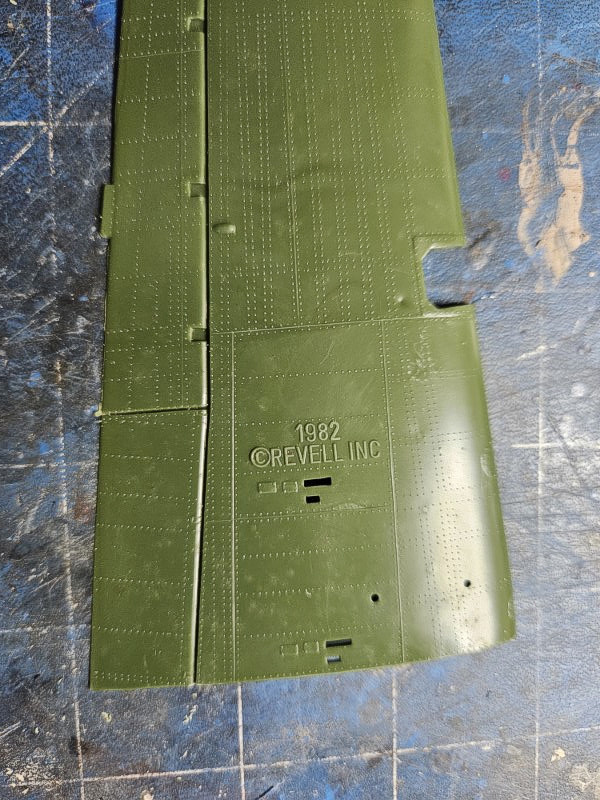
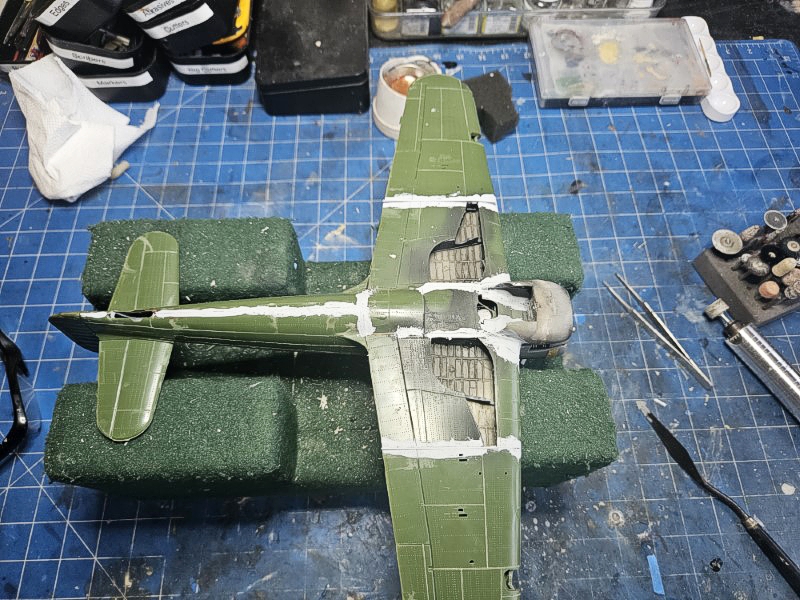

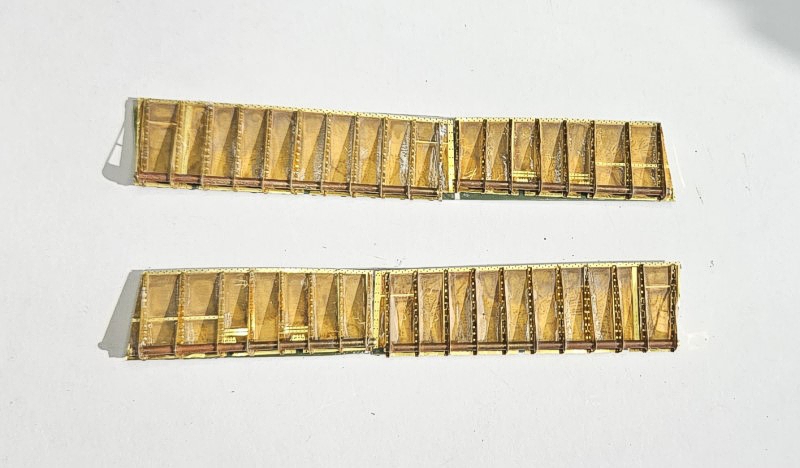
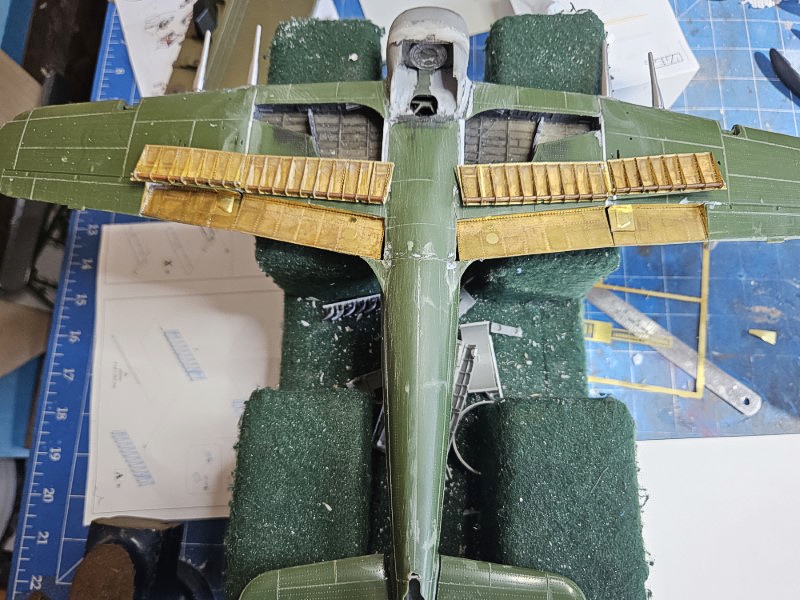
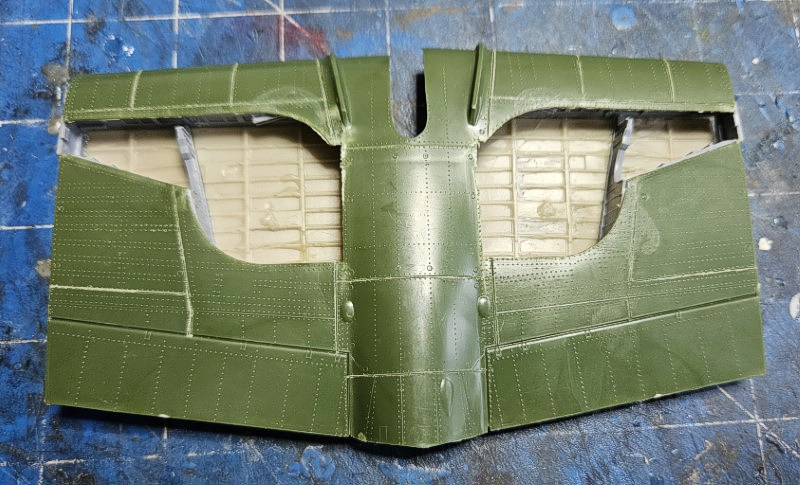
The kit rivet detail was accurately raised, and I preserved them. These were puttied over in the real thing and putty often flaked off with wear and debris damage. With light sanding and primer, I believe it achieved the prominence I wanted. Selected panels were cut out and reattached with magnets. All other panel and access panel lines were scribed and recessed. The flaps were detailed using photoetched parts from a different kit.
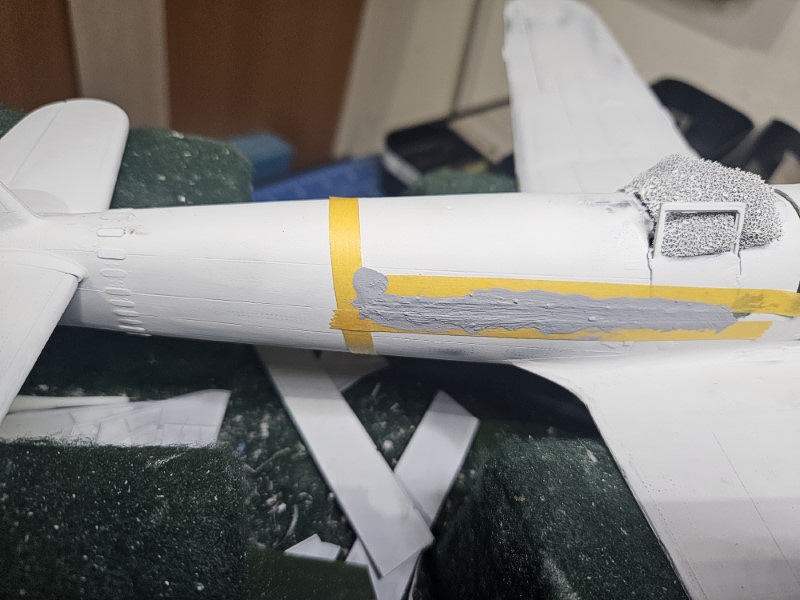


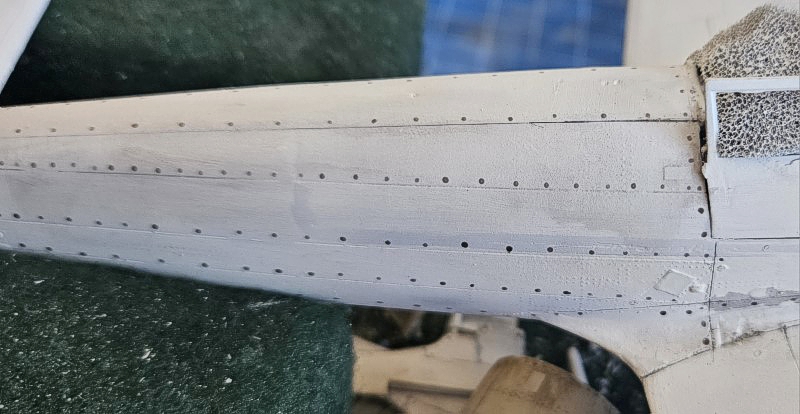
Upon completion I used Krylon white primer which is a tough yet fine primer suitable for model work and especially useful in conversion work. I then re-instated the rivets on the fuselage using a PVA- ink mix.
Undercarriage
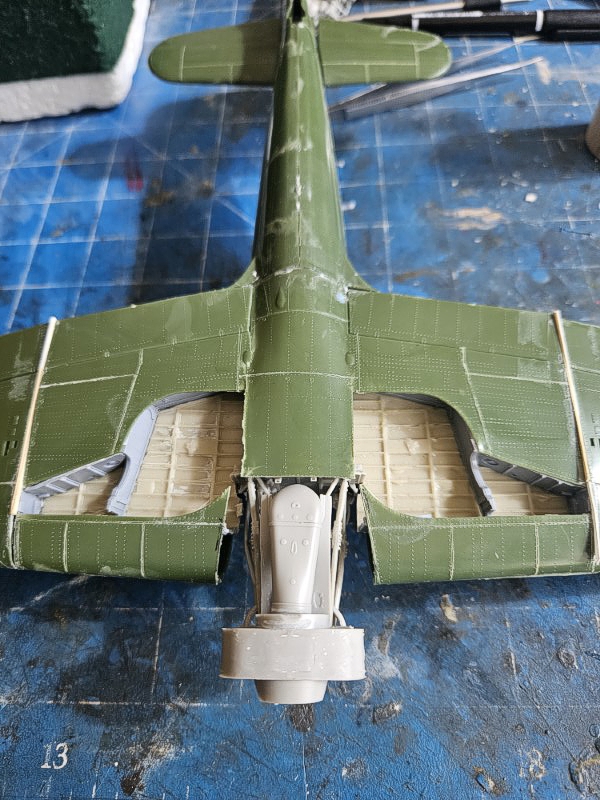
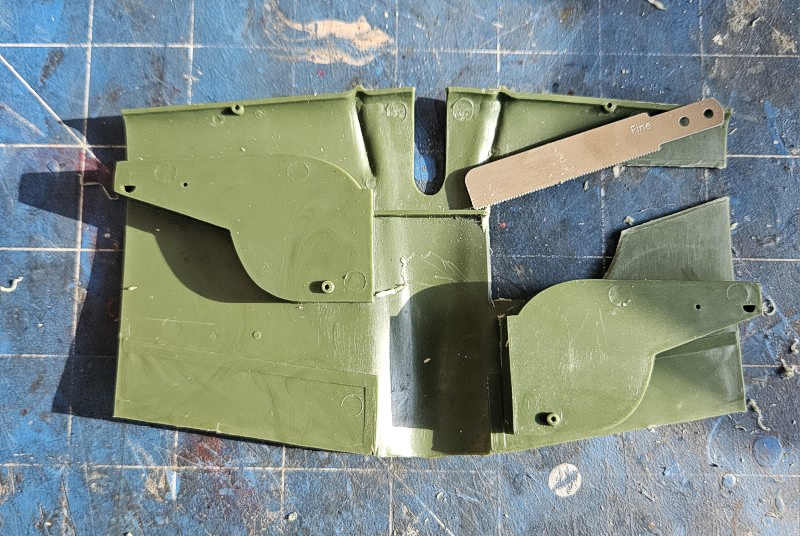
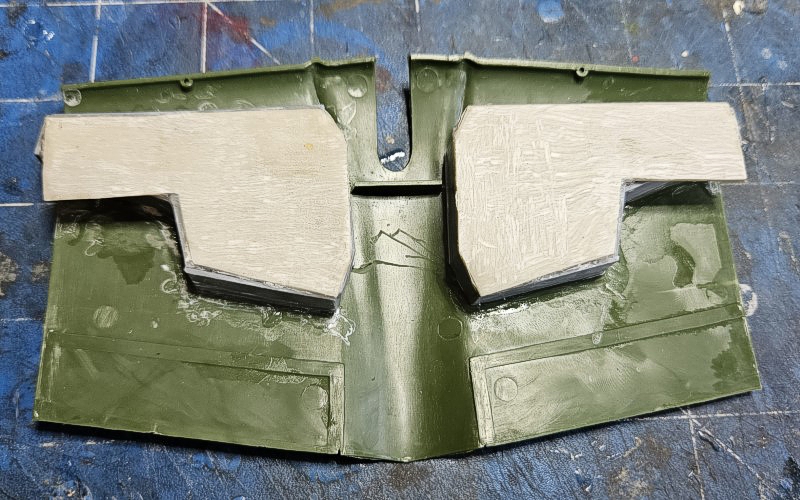
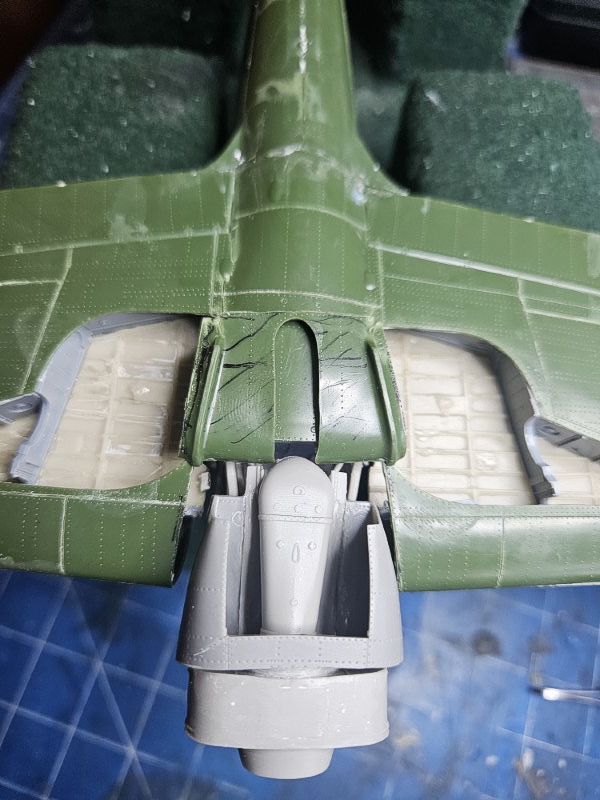
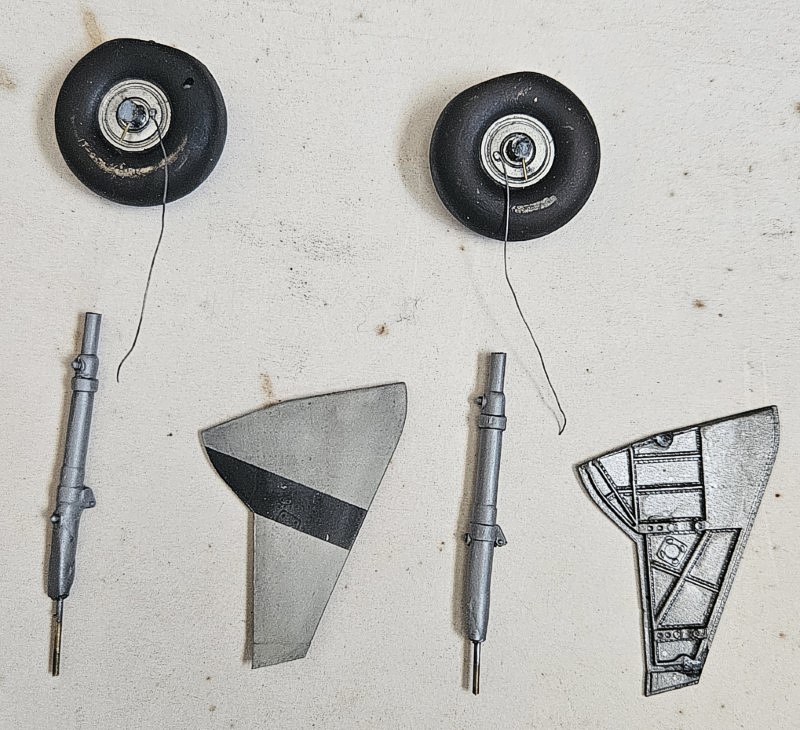
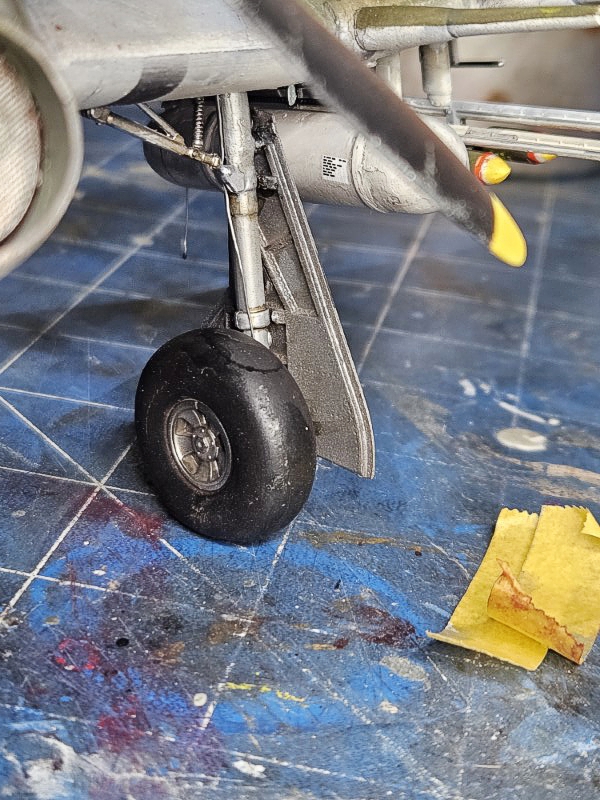
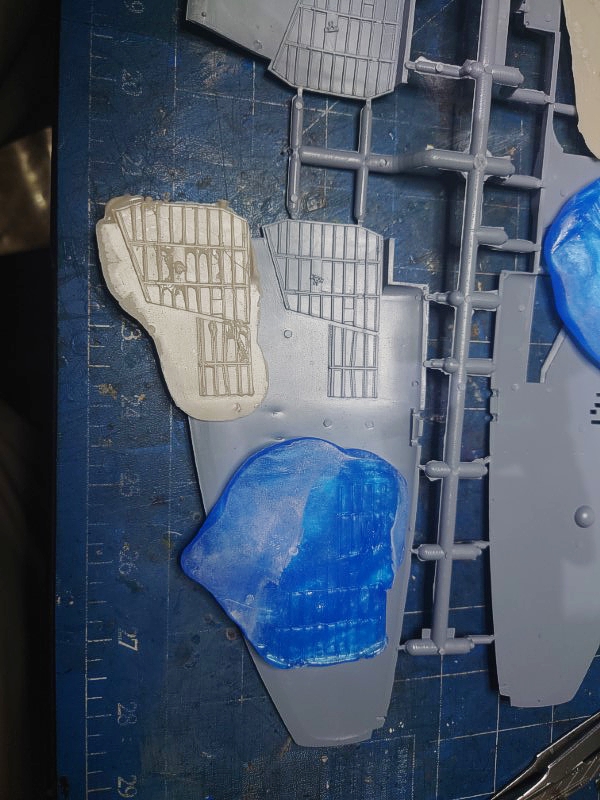
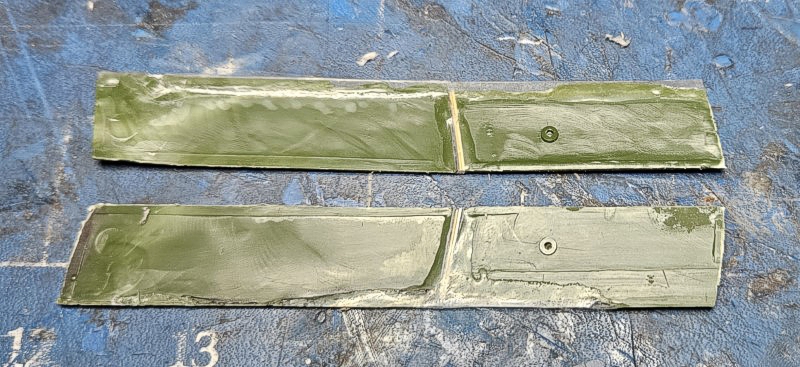
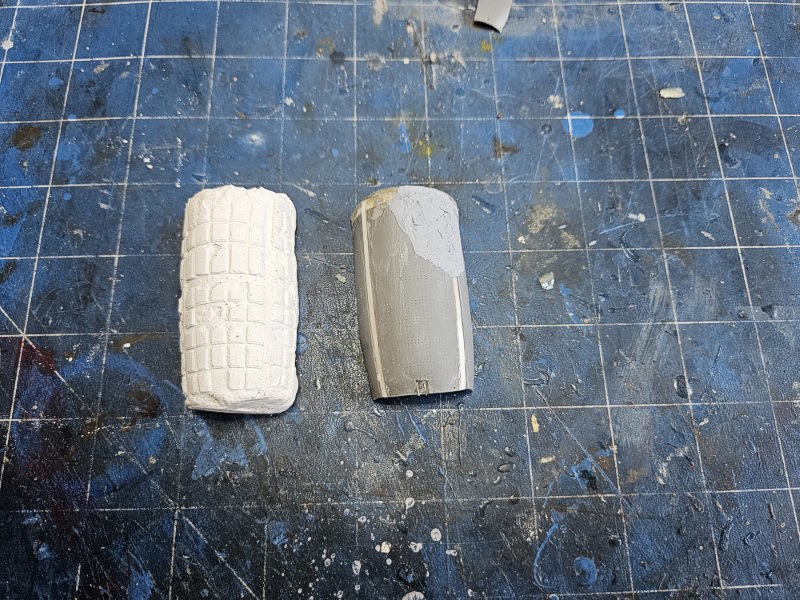
The kit-provided undercarriage had to be completely redone. I made a surface casting of the Tempest wheel well. I then cut off the kit wheel well. This destabilises the wing assembly and I should have put in re-enforcement bars. Various details were scratchbuilt or taken from the spares box. The undercarriage is a hybrid of the kit provided upright and parts from the Tempest kit.
That is it for Part 1. Please see Part 2 for the addition of ordnance, painting and markings, and the final pictures.
References
- Typhoon/ Tempest from Squadron/Signal Publications
- Aircraft Anatomy from World War II from Chartwell Books Inc
- Cockpit from Airlife
- Allied Aircraft Piston Engines of World War II from SAE International
- Various photos on the internet
- Resurrecting a Forgotten Legend RB396
© Suresh Nathan 2023
This article was published on Friday, November 10 2023; Last modified on Friday, November 17 2023