
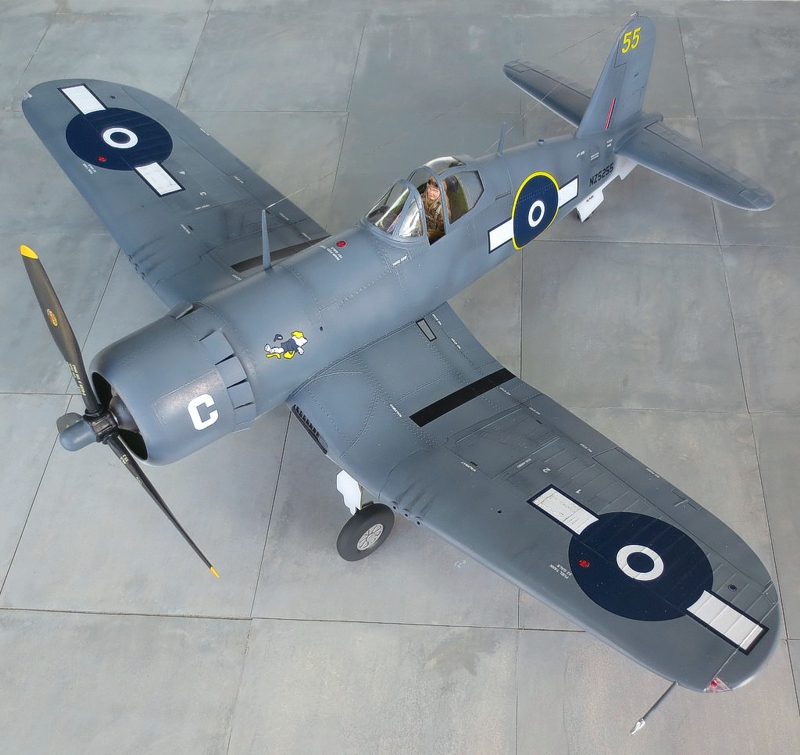
Revell 1/32 F4U-1A/D
By Peter Booij
A F4U Corsair is a perfect candidate for the “In the Navy” group build.

I have a big box full of unbuilt 1/32 kits in plastic bags, without their own box and mainly Revell. So, I dug out my Revell Corsair. For years this was the only game in town if you wanted a F4U Corsair and many masterpieces were built from it with lots of effort. This was until the Trumpeter kit came along and more recently the superb Tamiya one. The kit is big but very basic as most of us know, and I'm going to build it (almost) OOB for a relaxing build! I will just box in the wheel bays to avoid the see-through effect.
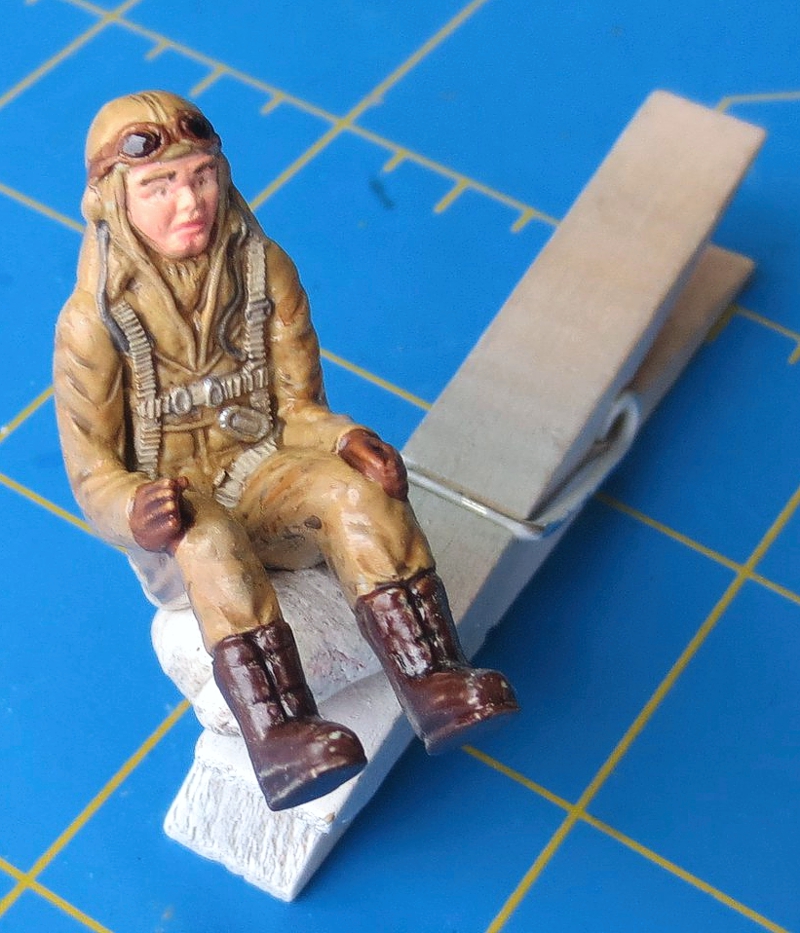
The pilot will occupy the cockpit. He will hide the floor which, in reality, is not there and also to hide the lack of detail. He is also the excuse to keep the flaps raised, since he is already in.
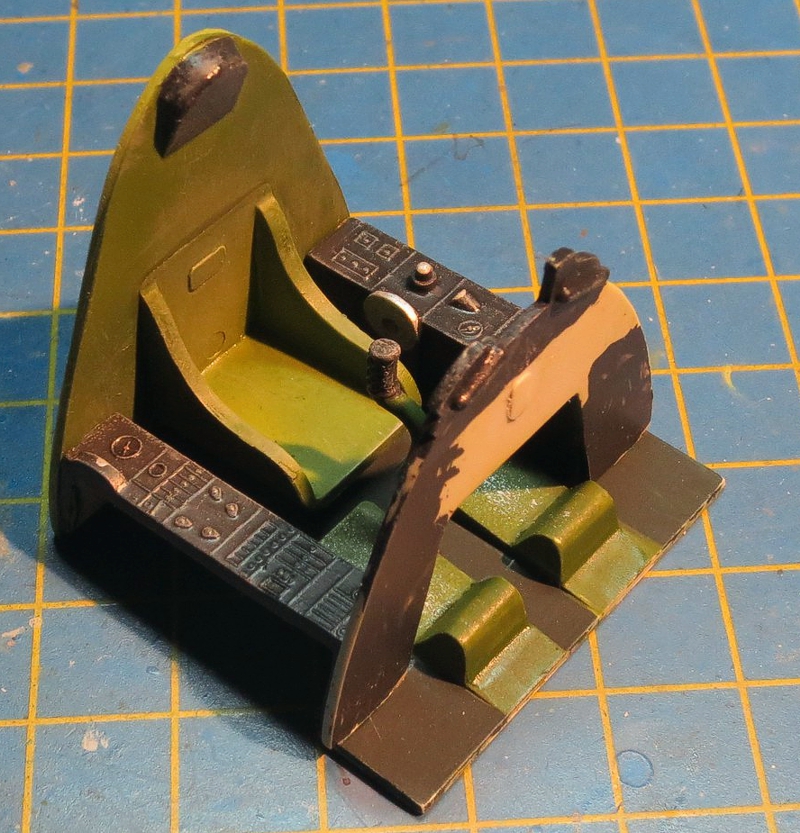
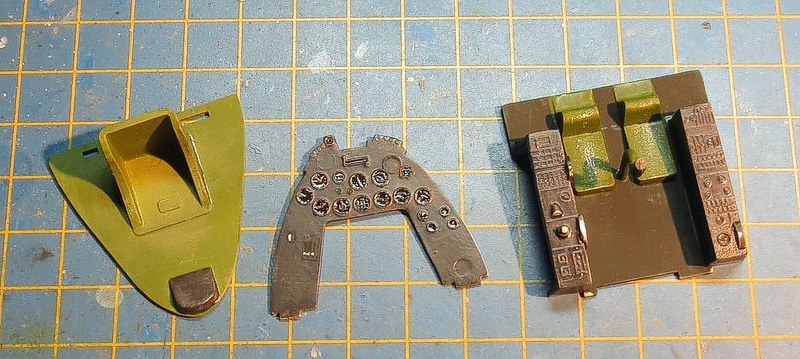

I painted and assembled the cockpit...all four parts!
Black and white waterproof markers are very convenient to make instrument faces, topped off with drops of Klear.
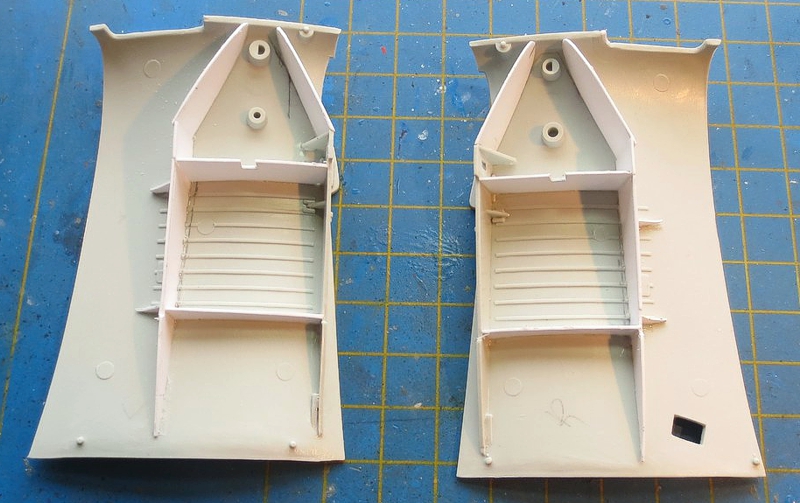
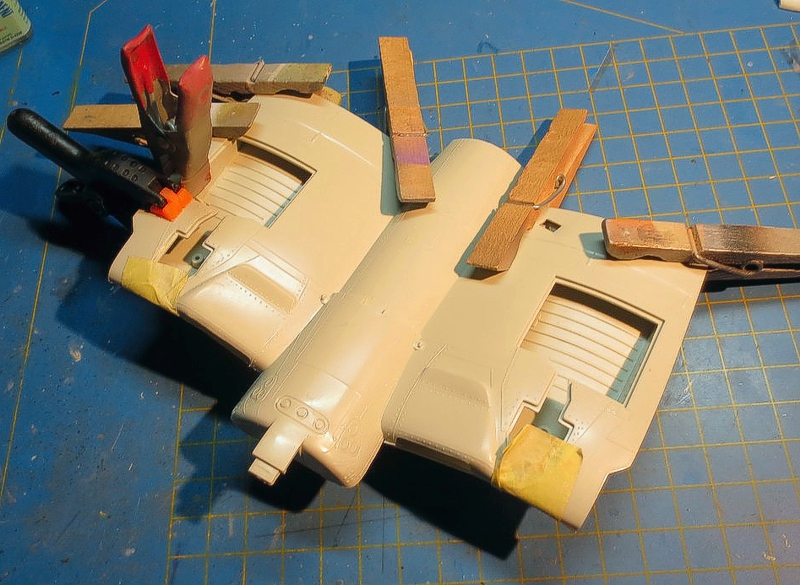
The main wheel wells were boxed in with plastic card. As explained earlier, I didn't go for accuracy, but just closing off to avoid see-through effects. (For example, the main spar between well and main gear legs looks much different in reality!)
It's a bit hard to photograph, but with the rib mounted in the outer wing panels, it is very hard to align top and bottom wing surfaces. So, the wings will be glued solid.
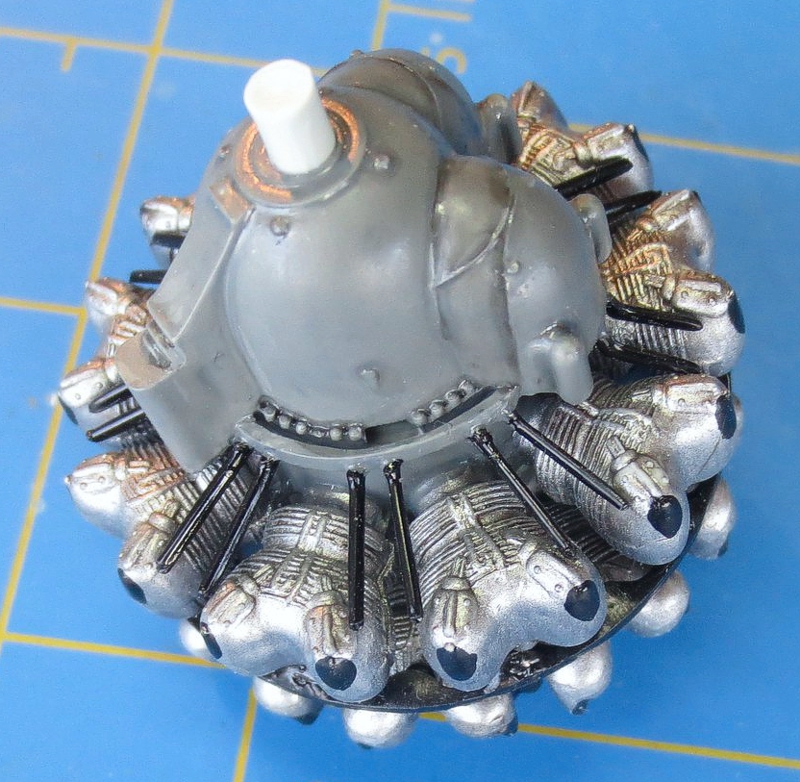
The engine was finished; Well, the pushrods are going nowhere in the cylinder head and seem to come out of the ignition wiring ring. I think it will not be that obvious after the cowling and the propeller will be installed.
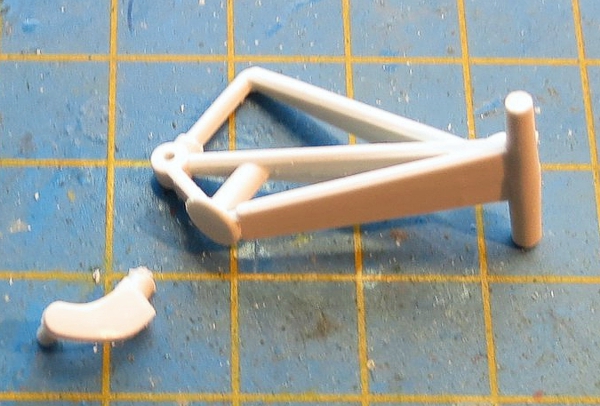
The kit provided the early short tail wheel strut which apparently was only used in early versions of the F4U-1A. So, it was cut off, to be replaced with a lengthened part later in the build.
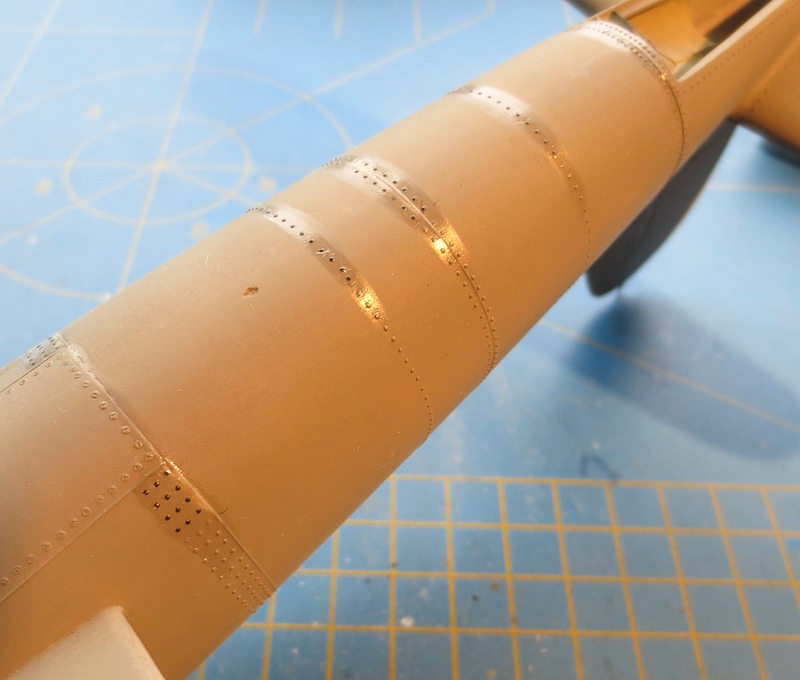
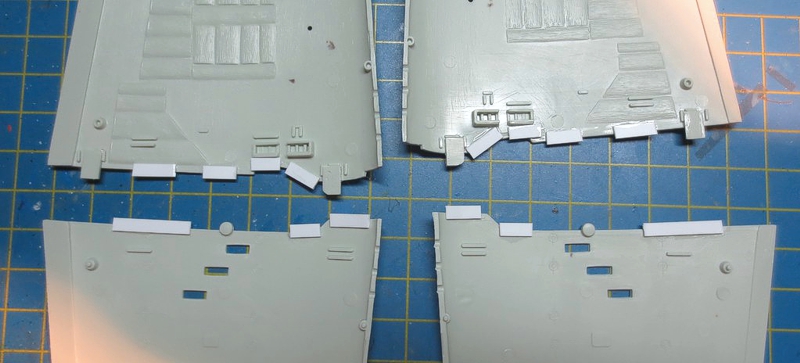
What raised surface detail there was, was sanded away and restored with stretched sprue and Micro Mark rivet decals.
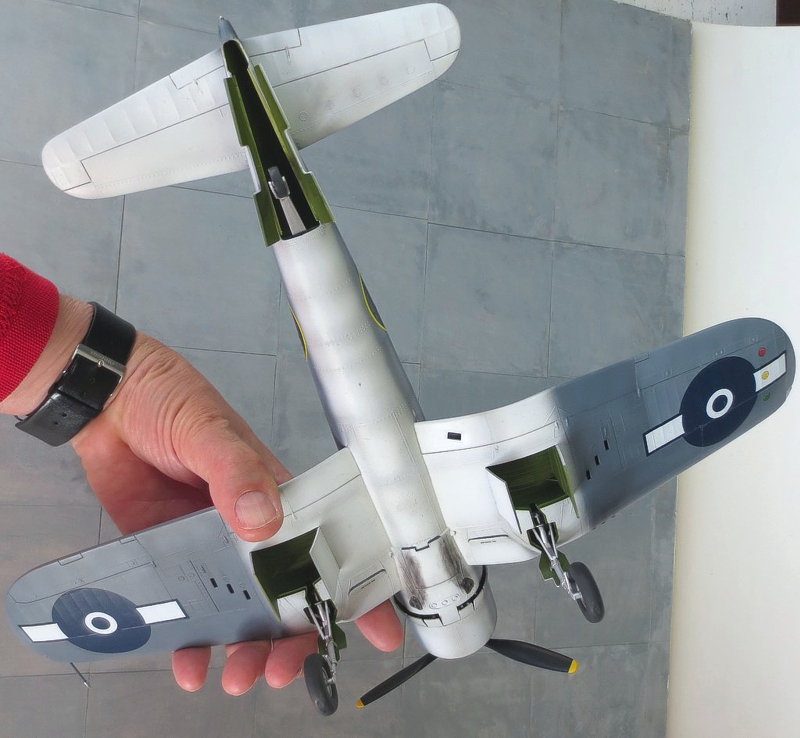

Painting started with the underside white color. Then, a bit of shading was executed on the white areas with light grey, followed by a second coat of white. Faded Intermediate Blue was sprayed next, then faded Gloss Sea Blue was sprayed. For this I used Colourcoats Glossy Sea Blue, with white added. Initially it looked a lot like my faded Medium Blue, which was Humbrol 144 with white added. I wanted a bit more contrast, so more Glossy Sea Blue was added to the mix where needed, especially on the fuselage sides and the wing leading edges. I also ensured that the linen covered surfaces were lighter than the surrounding metal, as seen on pictures of the Kiwi Corsairs.
The Corsair then got several coats of Alclad Aqua Gloss before decals. I bought the HGW wet transfer set for the kit. It is basically a decal set with the carrier film on top instead of at the bottom. The carrier film is also thicker than usual, because you remove it after the decal has been placed and dried. HGW recommends using Gunze decal fluids with them. I didn't have it, so I used Micro Set and Sol instead.
I started with the decals below the wing and brushed Set and Sol liberally on the intended location and placed the decals. Excess fluids were removed by rubbing the decal carefully with a cotton bud.
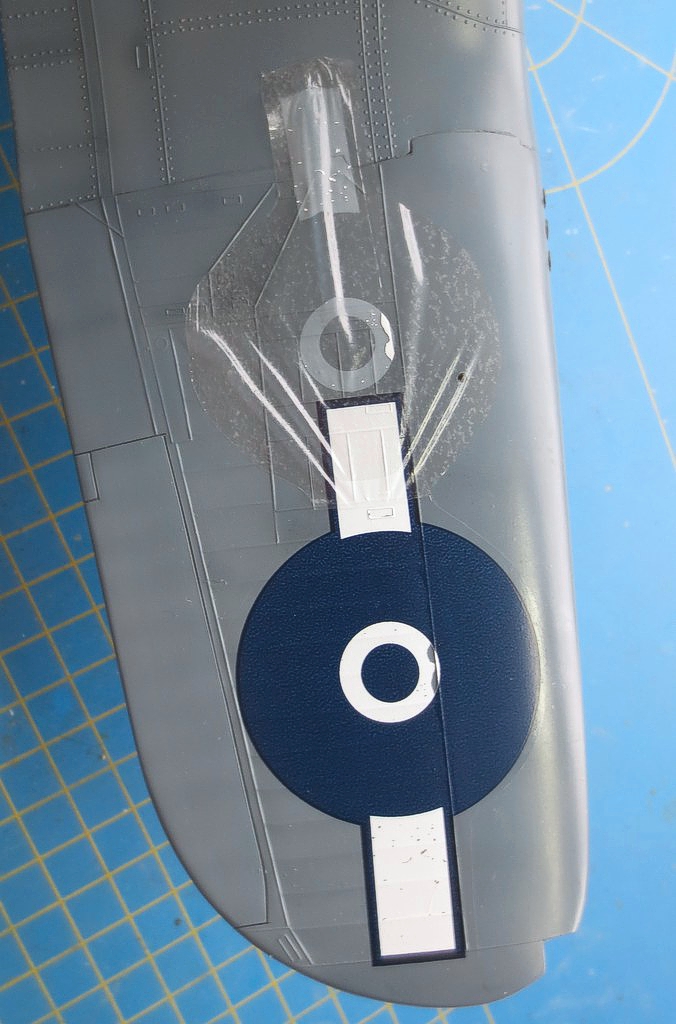
After a night drying, I removed the carrier film carefully. The carrier film stuck to the white ink and took away small particles. Wetting the film did not help. Removing it from the blue portions was very easy and trouble free. The decal on the other wing had the same issue. That means touching up will be required.
Whether it is caused by using Micro decal fluids instead of Gunze or whether I didn't gloss enough, I don't know. I'm not totally convinced by these decals and I was too lazy to make some paint masks with my Silhouette cutter. What I do know is that I need to touch-up.
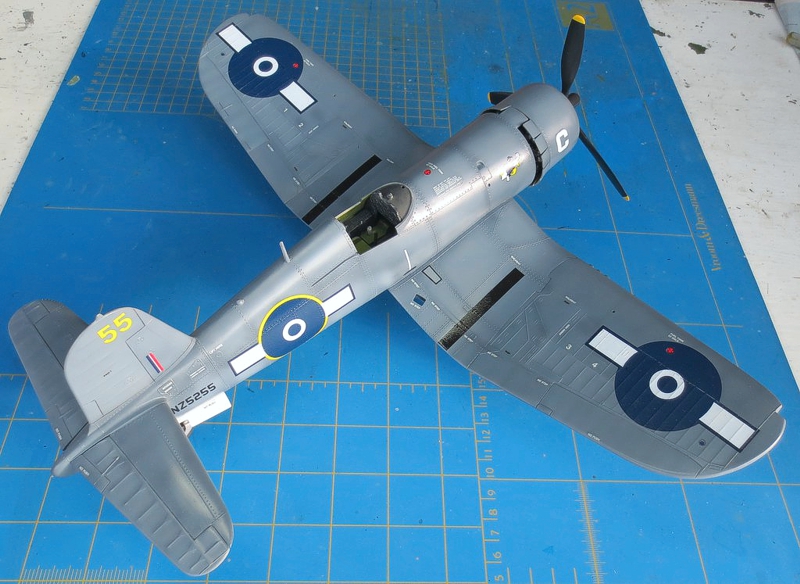
TAs did the numbering and the fin flash.
Flaking on the roundel occurred on the rivets, something that happens on real aircraft as well. The other side was similar. I decided to touch-up the roundel lightly with white paint.

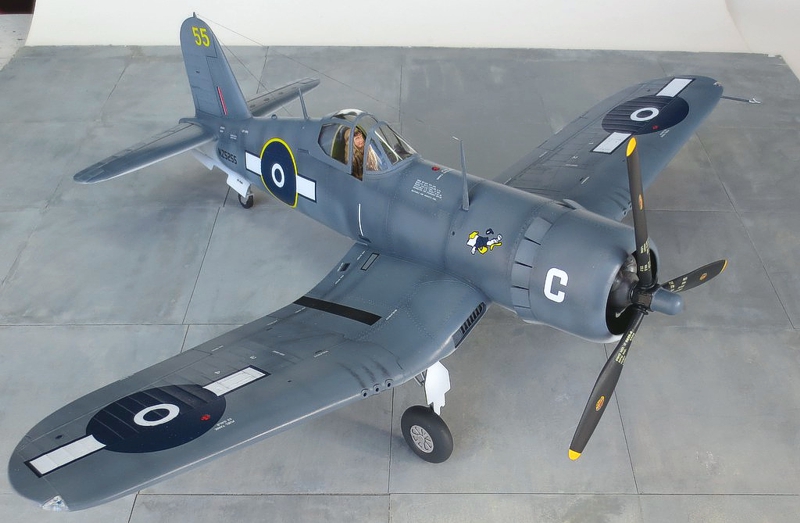
The white "C" and Donald Duck went on fine. Phew!
After the HGW decals were sealed by brushing on a little bit of Klear, it was time to apply the stenciling of the kit decals. Although hard to see on pictures of Kiwi Corsairs, they were ex-US NAVY planes, of which only the roundels and registrations were painted over.
The faded paint was left as-is and possibly also the stenciling until a repaint somewhere on the airframe was needed.
Anyway, it also adds a bit of interest to the model, so the stenciling, albeit a bit oversized, was added.
Painting the exhausts and add a bit of staining with Tamiya weathering powders.
Final bits were added: the antenna with wiring, the windshield, blended in with Kristal Klear and touched up, the pilot was fixed in place, also with Kristral Klear.
After some matt varnish, the clear navigation lights were added after first drilling them and simulate a light bulb with red and green clear paint. Of course, they didn't fit but were blended in with Kristal Klear.
For more about the build, pleas check out my thread in the "In the Navy" Group Build Forum. I think this model shows the older kits can look great on the shelf, too.


© Peter Booij 2021
This article was published on Thursday, September 02 2021; Last modified on Saturday, September 04 2021