
Italeri 1/32 F-104G, Converted to a CF-104
By Chuck Sawyer
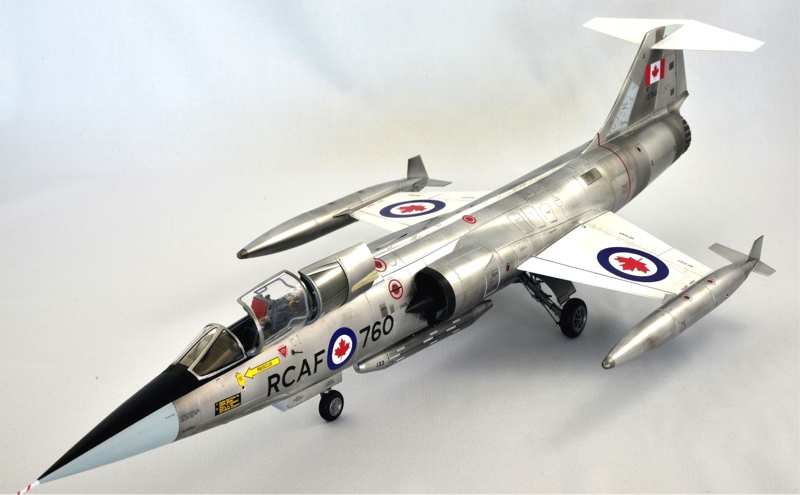
Thanks to Covid and lots of extra time, I have finally finished the 1/32 Italeri F-104G kit, converted to a Canadian CF-104 in only 4 months, which is a record short time for me. I also have a WIP thread, 1/32 Italeri CF-104 "Kicked Up A Notch", which shows how I built this model in detail.
Aftermarket Items are as follows:
- Black Box Resin Cockpit, 32009, made for the Hasegawa kit.
- Aires Electronics and Ammunition Bay, #2208.
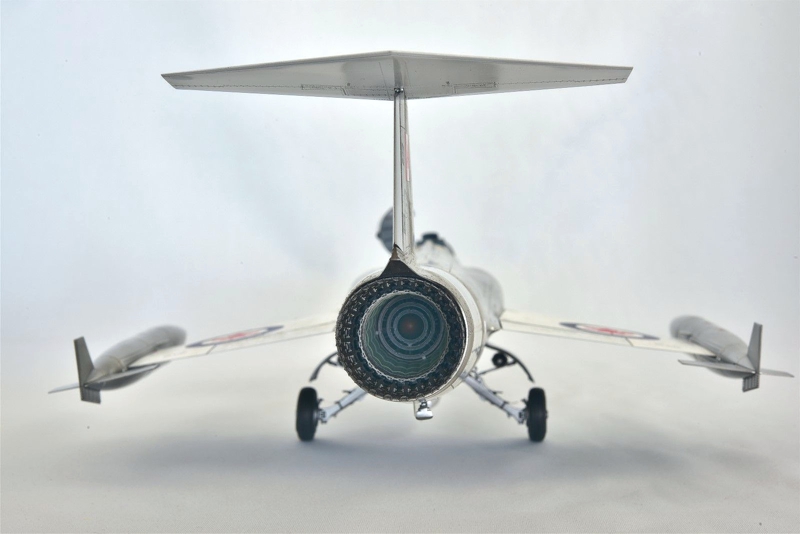
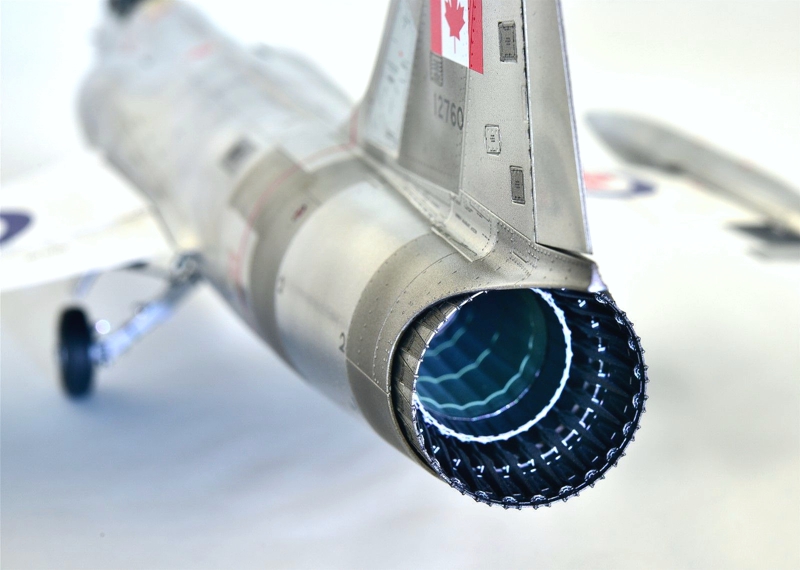
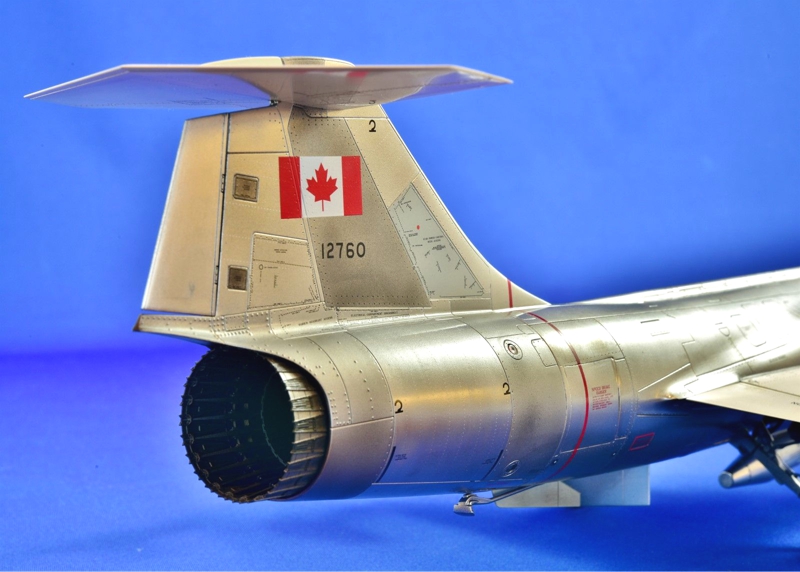
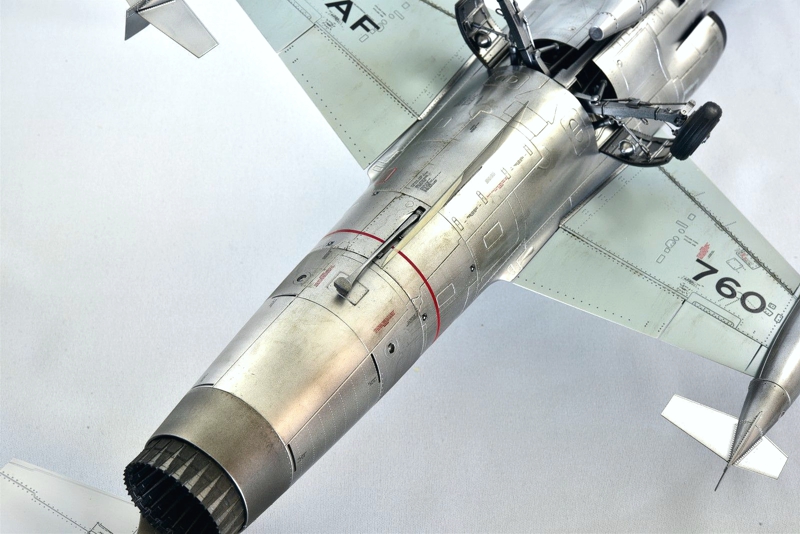
- ResKit Engine and Exhaust, RSU32-20.
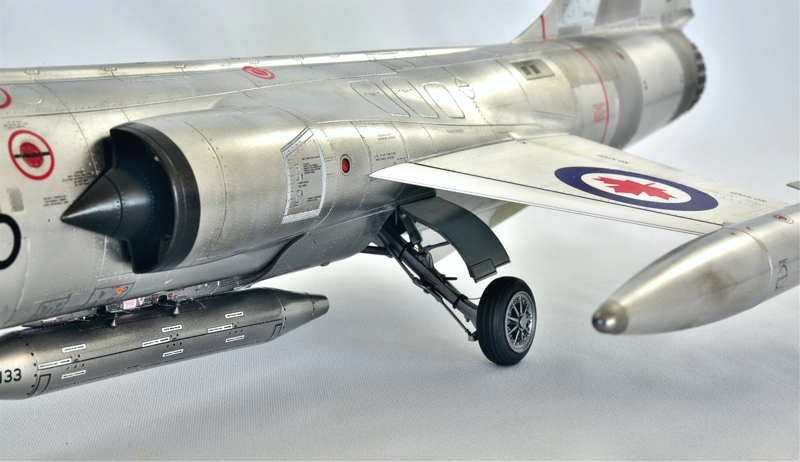
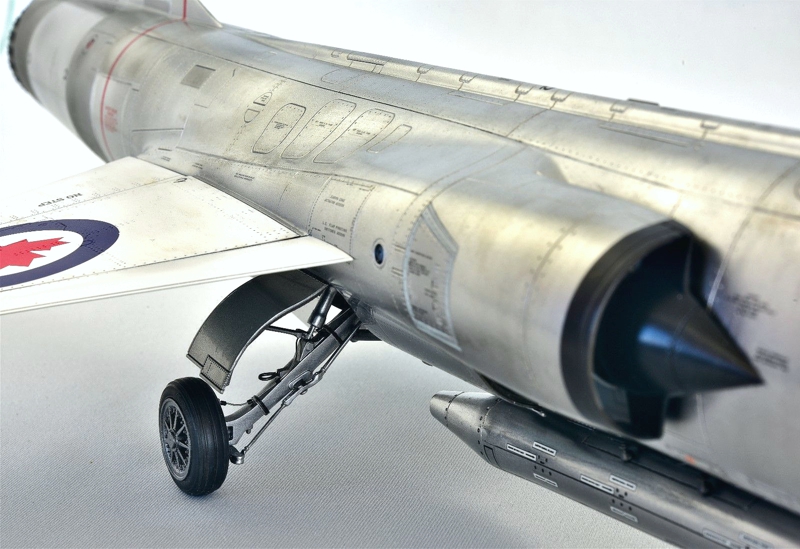
- ResKit CF-104 Wheels/Tires, RSU-32-9.
- Master F-104 brass Pitot Tube, AM-32-037.
- Eduard Exterior PE set, 32427 (only 1 part).
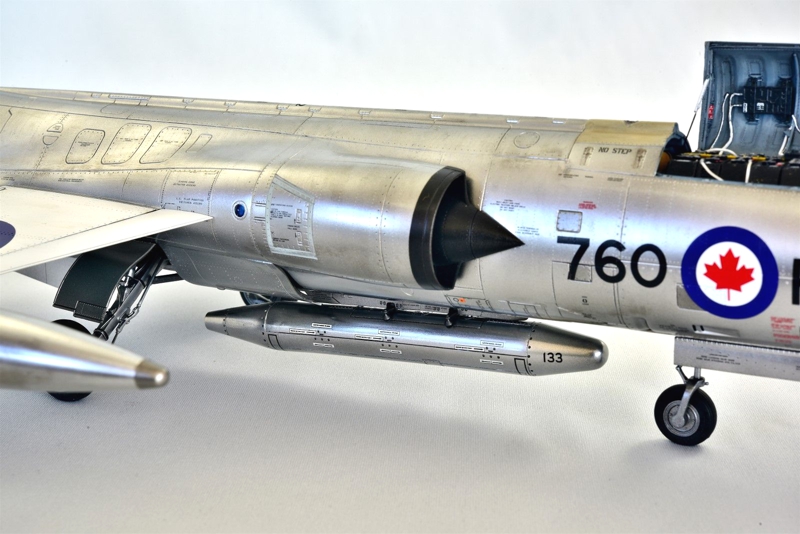
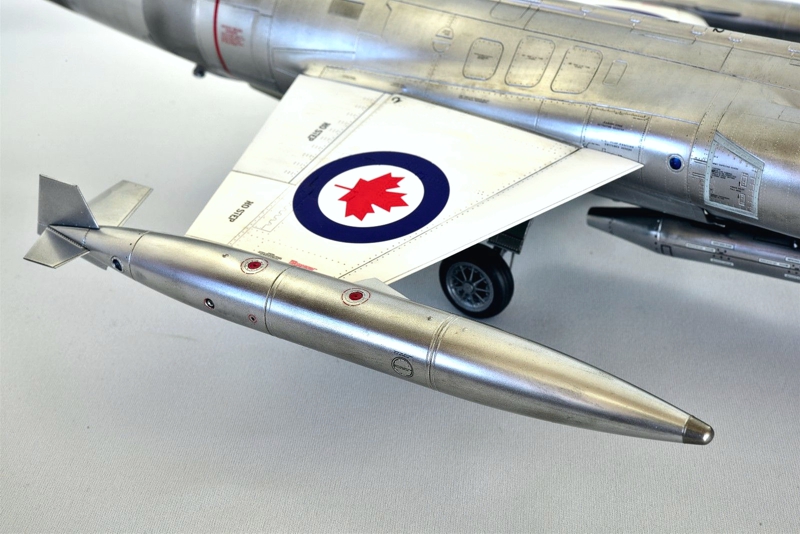
- Videoaviation SUU-21 Bomb Dispenser (converted to MN-1A), 141632.
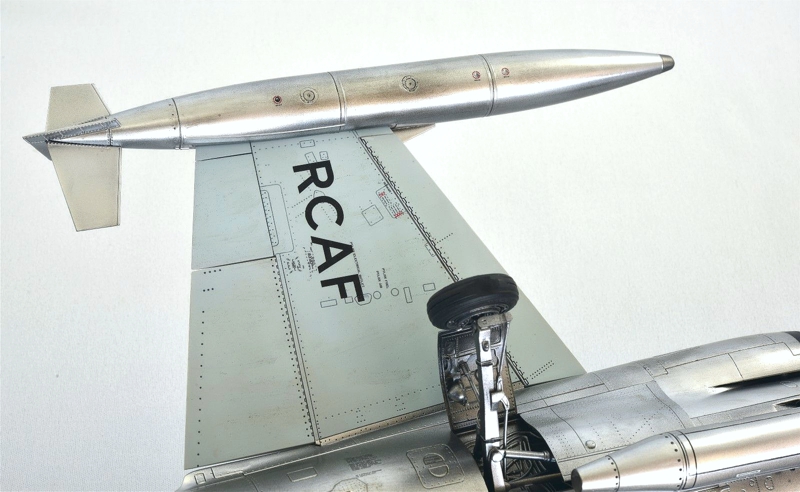
- Belcher Bits CF-104 decals, BD-8.
- Belcher Bits Canadian T-33 decals, BD24-1 (Letters and Numbers only).
- HGW decal rivets, 322011 (> 9,000 of them!).
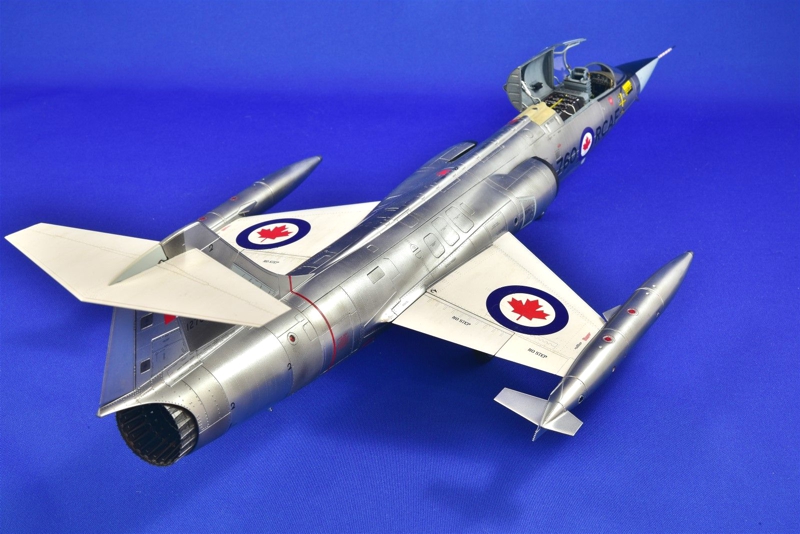
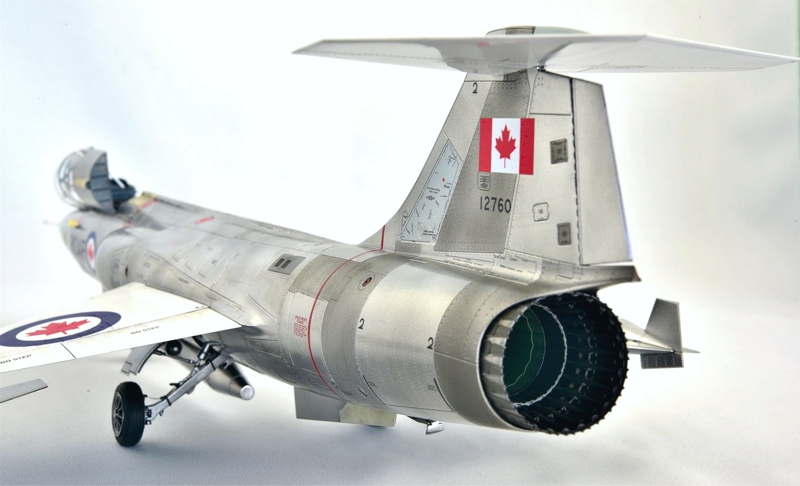
Paint was mostly Alclad Chrome and Aluminum shades over Tamiya Gloss Black Lacquer (TS-14), followed by a clear coat of Tamiya X-22 to allow for decals and decal solutions on the fragile Chrome. Other shades were mostly MRP synthetic lacquers.
Final Quick Thoughts
This kit is a real mixed bag of some good features and many challenges, but overall can be made into a pretty accurate looking F-104. The deep and wide panel lines are the weakest part of the fuselage which are very hard to mitigate, so you pretty much have to just live with them. While the Black Box (Avionix) resin cockpit made for the Hasegawa kit fit fairly well with a few modifications, the Aires Avionics and Ammunition Bay was a very tight fit and is not recommended for beginners. The ResKit engine/exhaust and CF-104 wheels are outstanding, while the Videoaviation SUU-21 (converted to MN-1A) bomb dispenser was pretty good with 2 sets of decals. The biggest surprise was the kit decals, which I would also consider outstanding, but I understand that decals in earlier versions of this kit are not very good. The HGW decal rivets worked much better than I thought, but with over 9,000 of them, you really have put in a lot of extra time to get the desired effect. Overall, a very good modeling experience, but I’m really glad it’s over with as well. Oh, Canada eh!
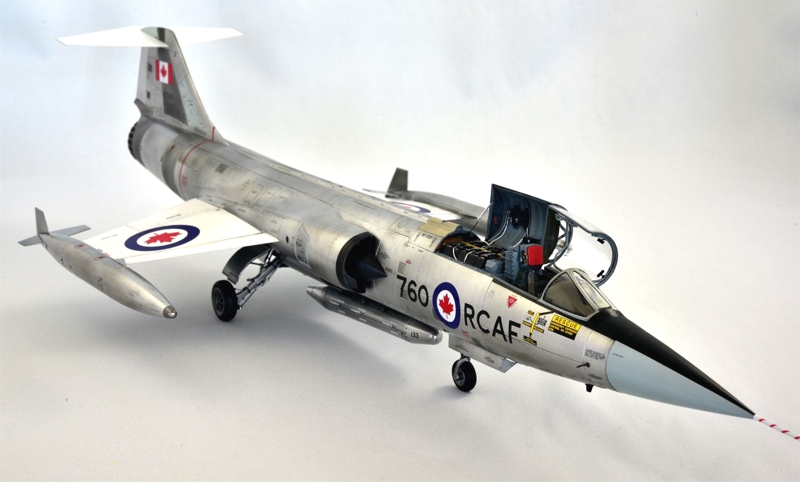
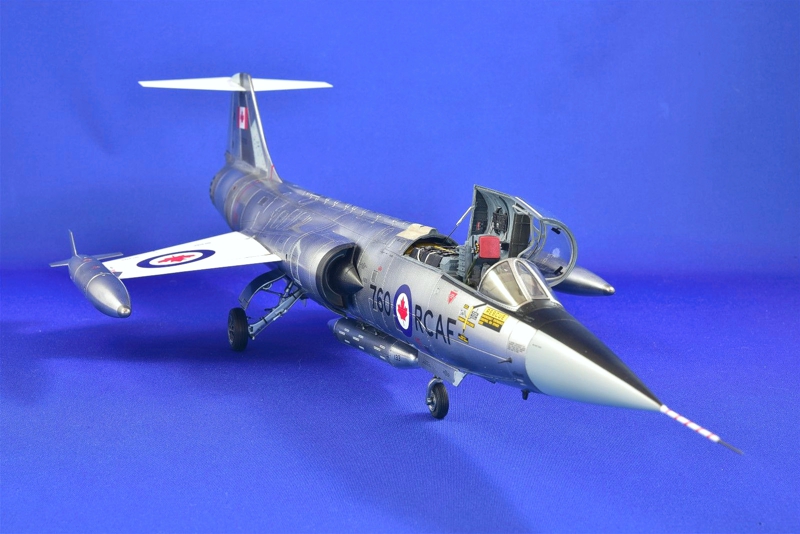
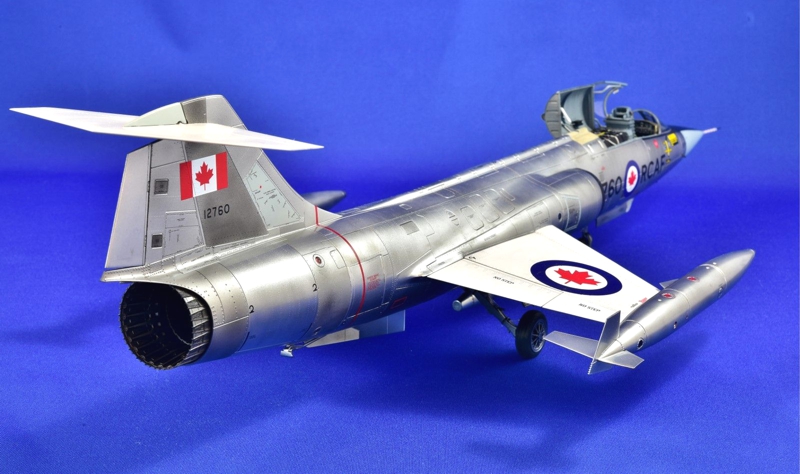
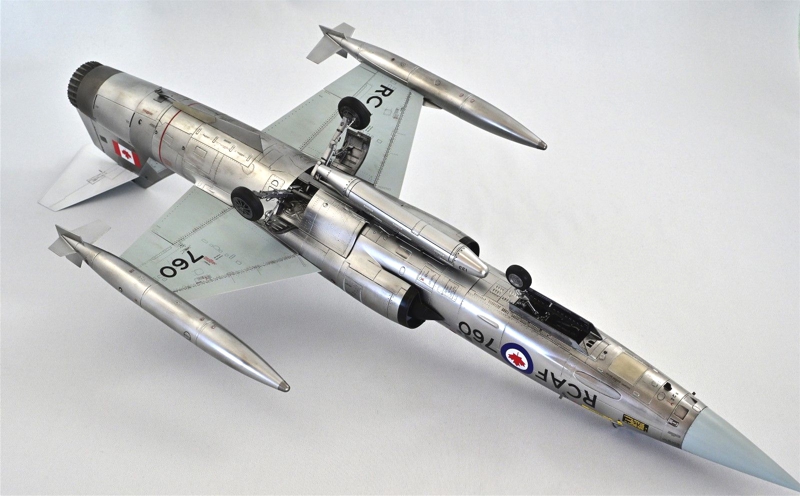
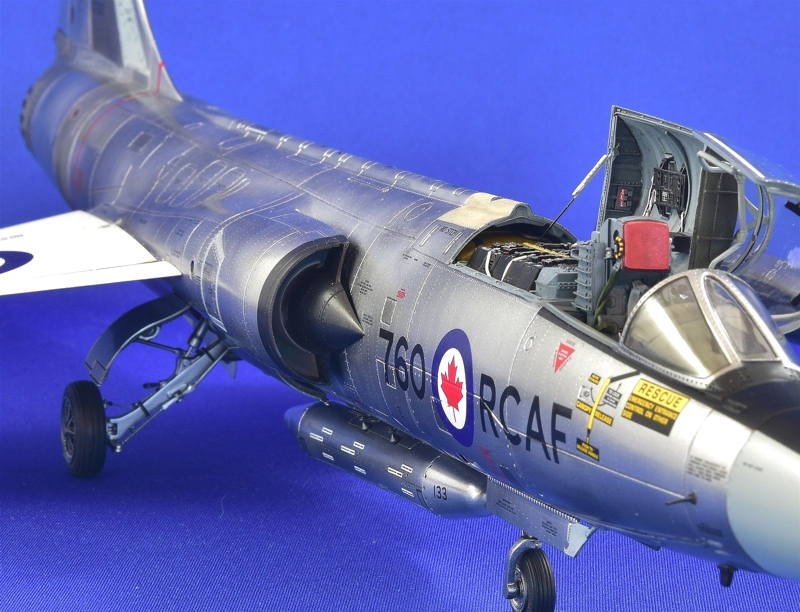
Note: The metallic finish was very hard to photograph with my usual flat white background, which made the paint look dull, so I have added a few more photos with a blue background to show the metallic finish a bit better.
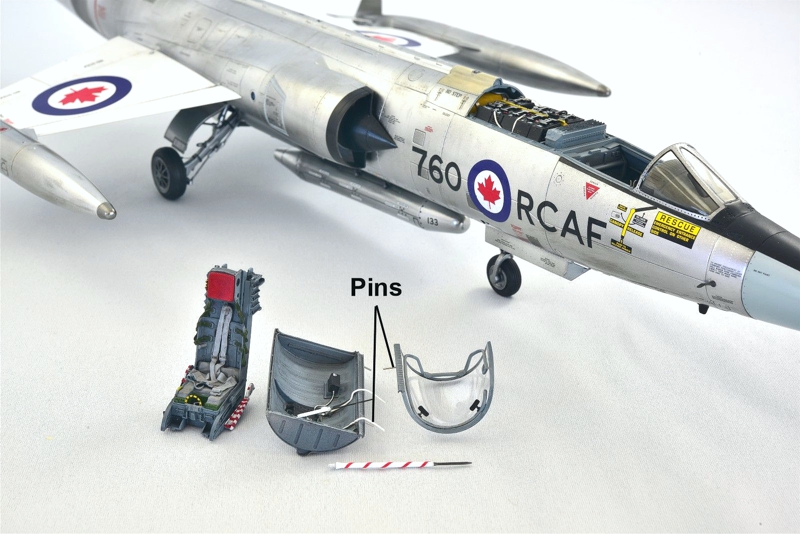
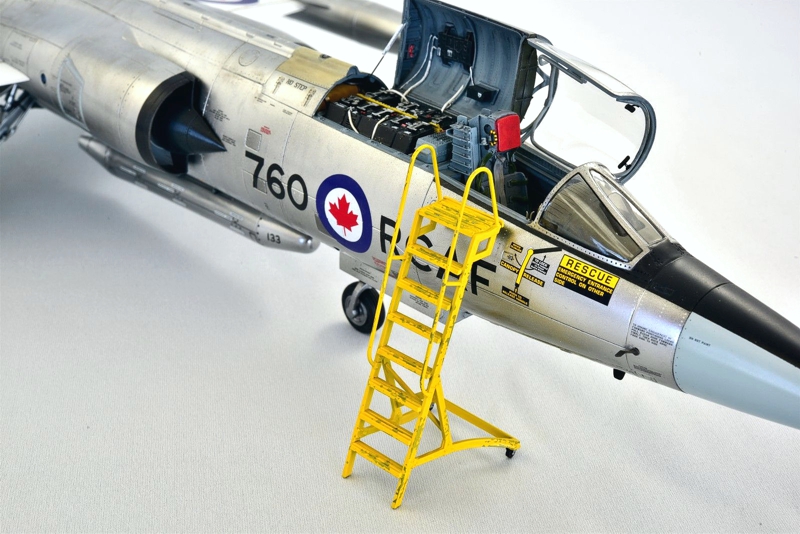
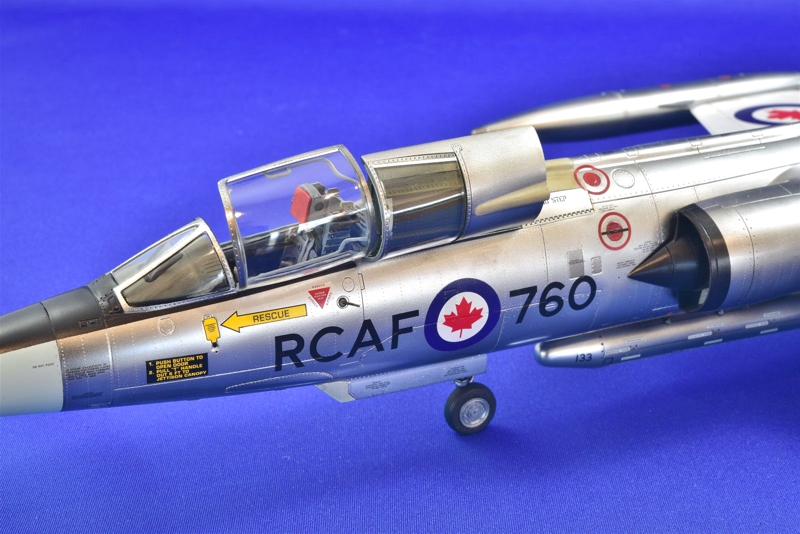
I am really proud of this "no-glue" accomplishment, which allows me to take stuff off that will break when transporting the model or flipping it over for photos.
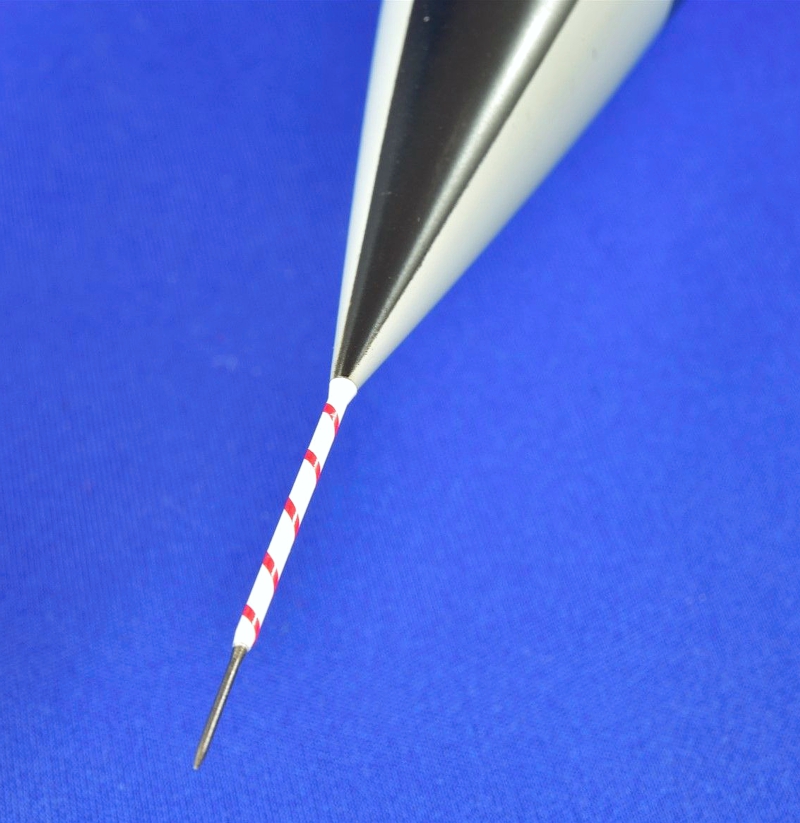
This is the Master brass pitot tube, but it is not plug and play. I sanded the nose down before painting to ensure that the rear of the tube fit flush and used red decal film for the sharp red stripe, which should be about 5 bands.
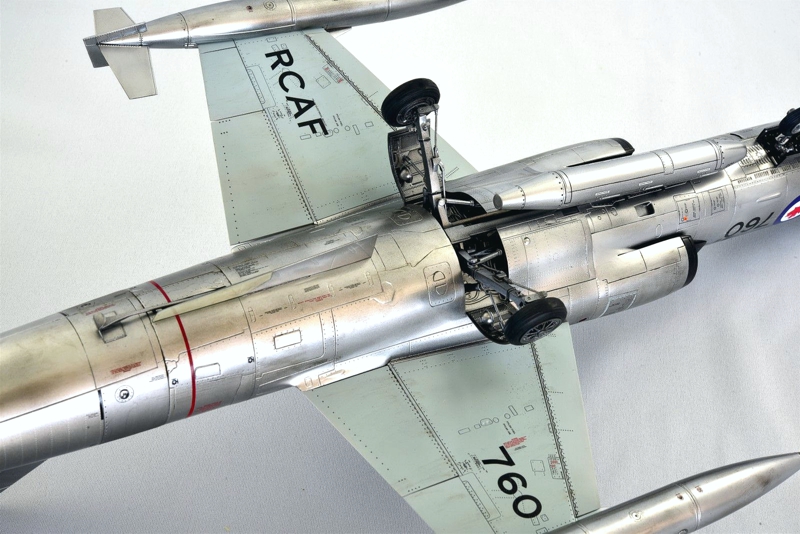
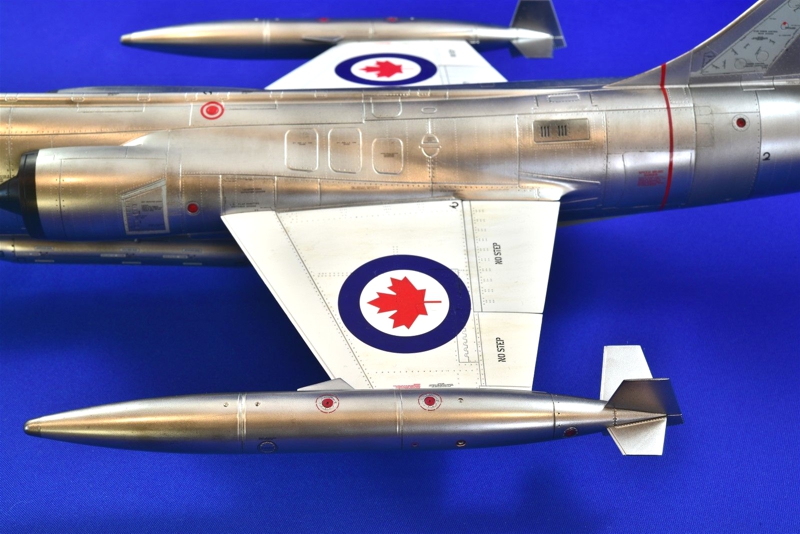
Lots of stencils and decals underneath as well.
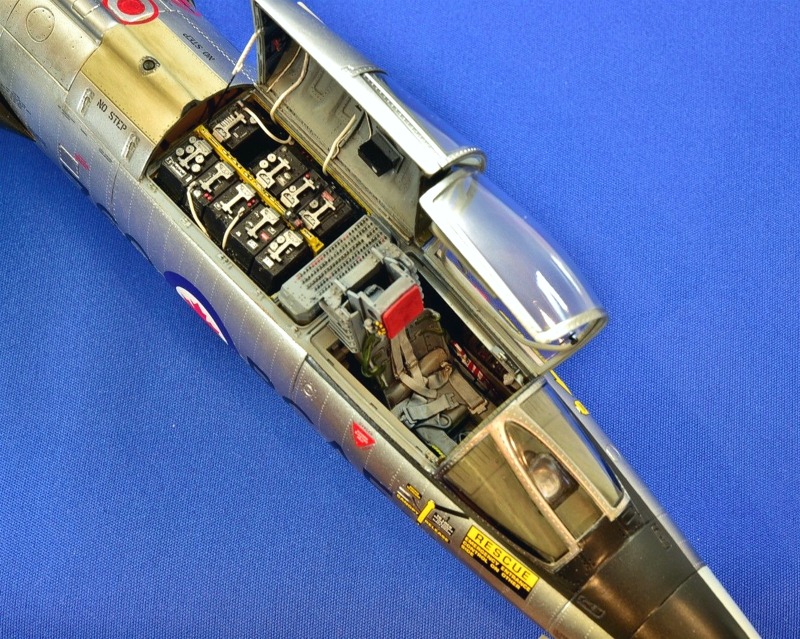
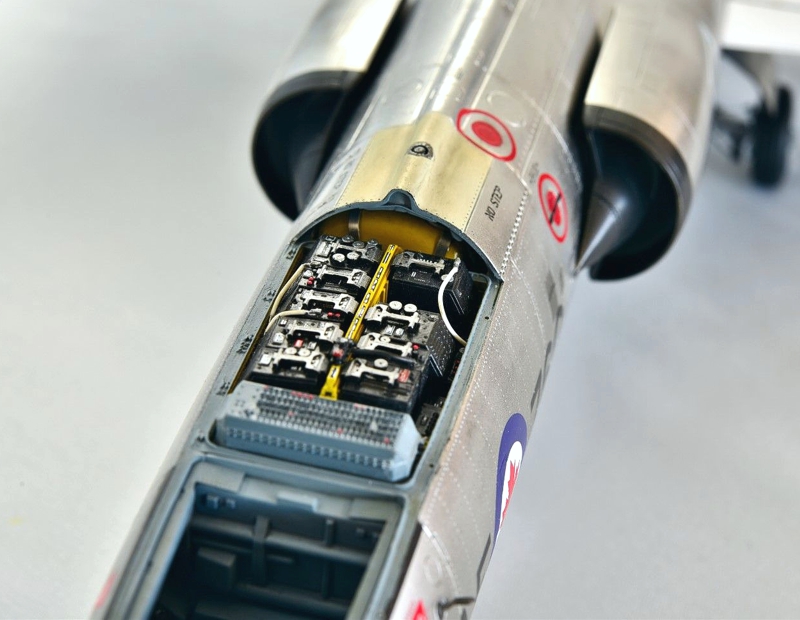
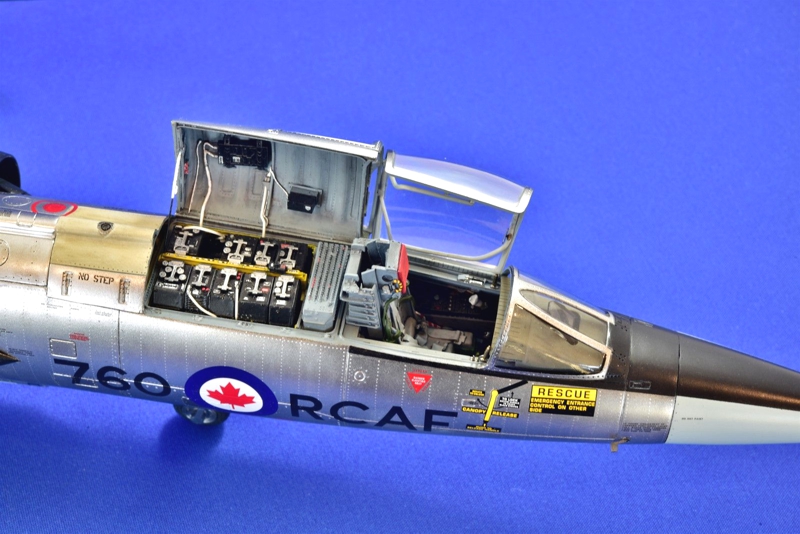
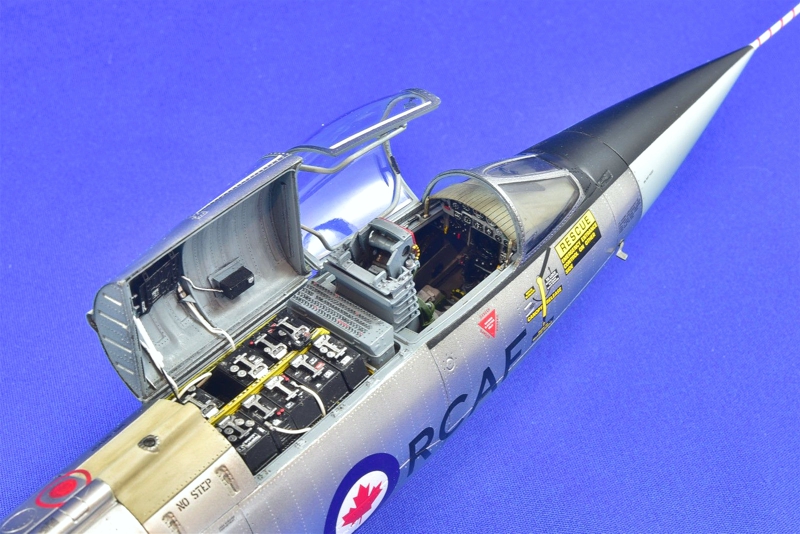
A few of the cockpit area. Note the holes where the pins are inserted along the sill on the right. Buried behind the Electronics bay is a fuel tank as found on early CF-104s, replacing the Ammunition Box.
The angle of the Avionics door should be more vertical, but once you drill the holes for the pins you are stuck with what you get unless you want the door sloppy. Good enough!


© Chuck Sawyer 2021
This article was published on Thursday, April 08 2021; Last modified on Friday, April 09 2021