
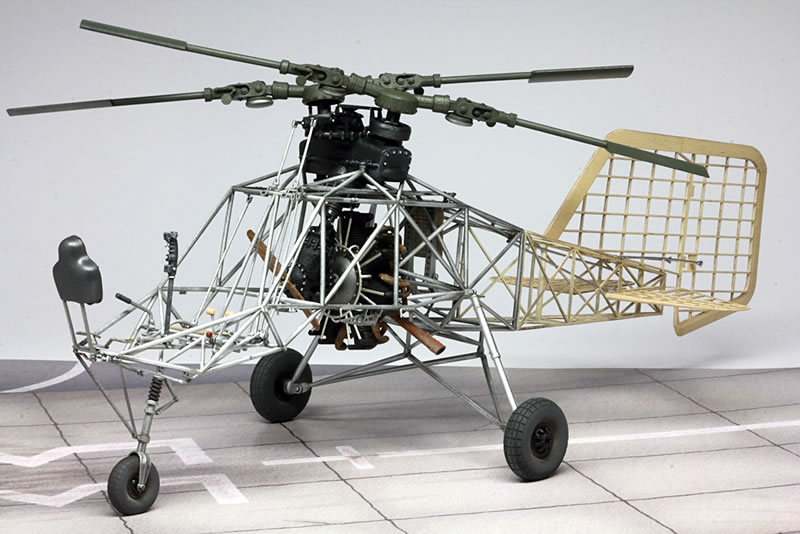
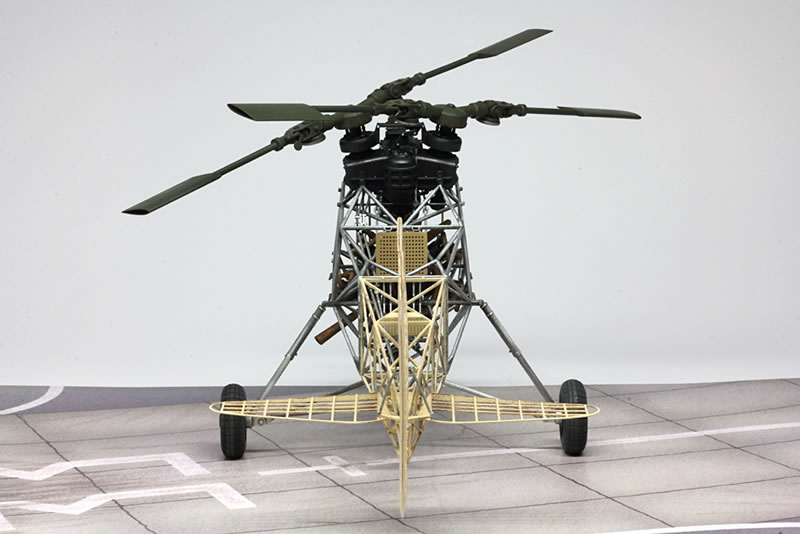
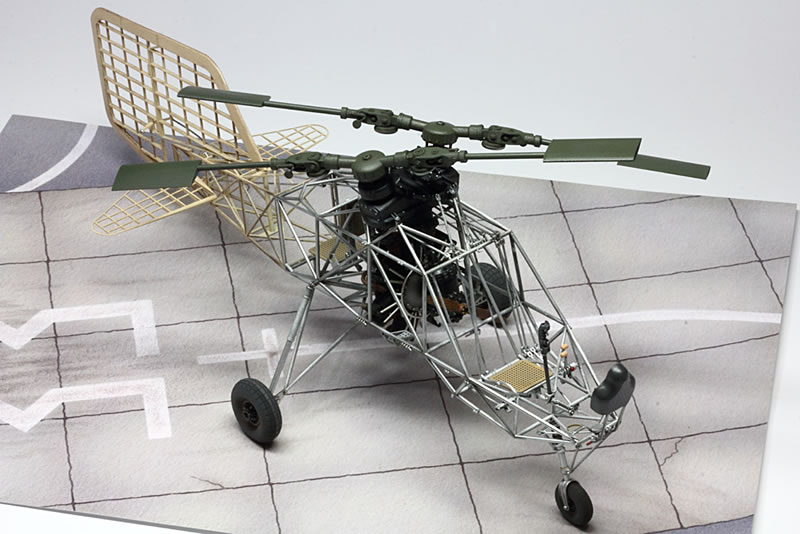
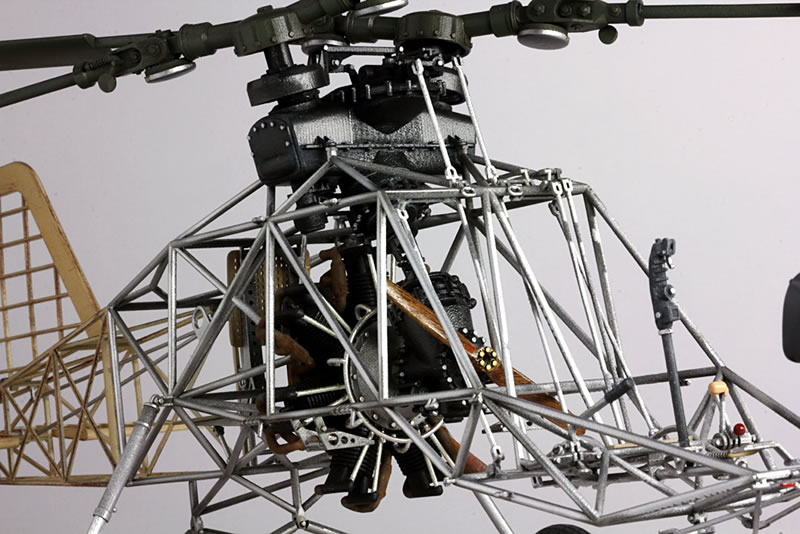
Anyuta 1/18 scale Flettner Fl 282 V21 Kolibri
By Thomas Mayer
First I want to thank LSP mate Nick Karatzides for this kit and his tremendous work designing it! This is my first completely 3D printed kit, so it did not went without some hassle.
Nick´s research and the design are shown here on LSP: http://forum.largescaleplanes.com/index.php?showtopic=51976.
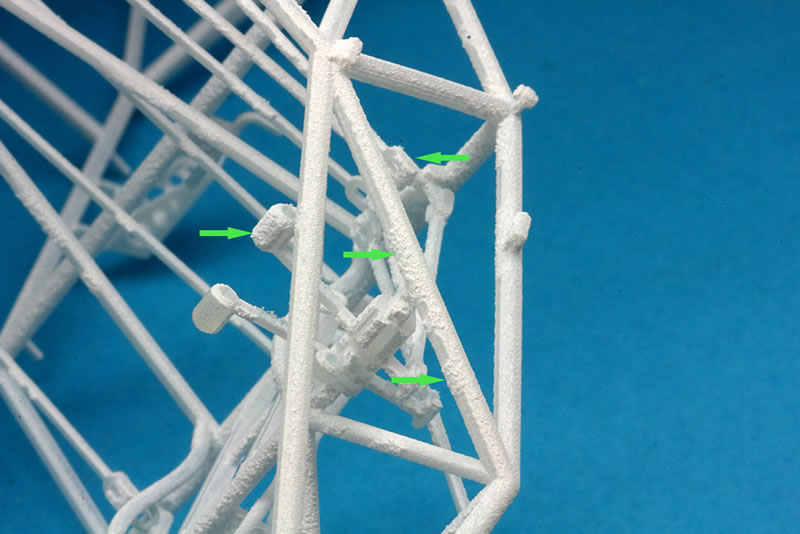
Most of my trouble was based on the 3D printing. My kit was printed by Shapeways in the Netherlands, for I am from Europe. Nick suggested to clean the parts in white spirit only. But this did not work for me. The parts got stained after giving them a bath in white spirit, well seen here:
So, I filed a complaint at Shapeways, strongly supported by Nick. Shapeways agreed to completely re-print the kit. Great customer care for a kit that costs some bucks!
Getting the second print I thought about how to clean them. I placed some not this visible parts in my ultra-sonic cleaner, filled with distilled (!) water and some dishwashing detergent. Well, this went wrong, too... Also, my ultra-sonic cleaner broke down after some runs, it started to smell charred. So I ordered a new one, which meant even more expense. But well...
In the end I cleaned all parts in distilled water only. Only water, no other stuff. Despite the kit parts having been cleaned from the supporting wax at Shapeways the parts still had lots of the wax on them, clearly shown by the water getting cloudy after some seconds. Don´t ask me how many litres of distilled water it took to clean all the parts!
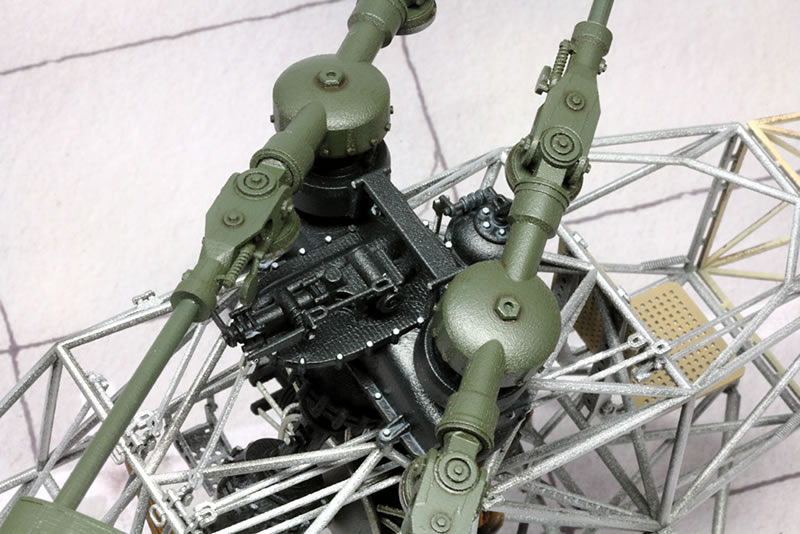
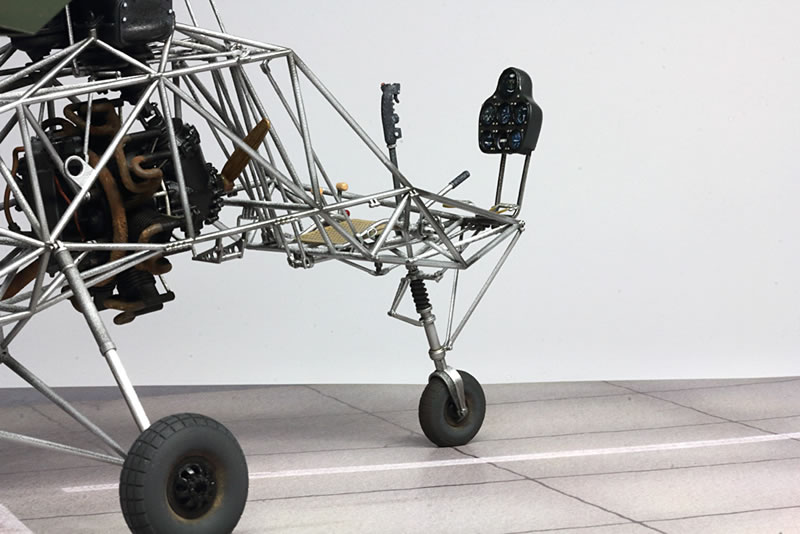
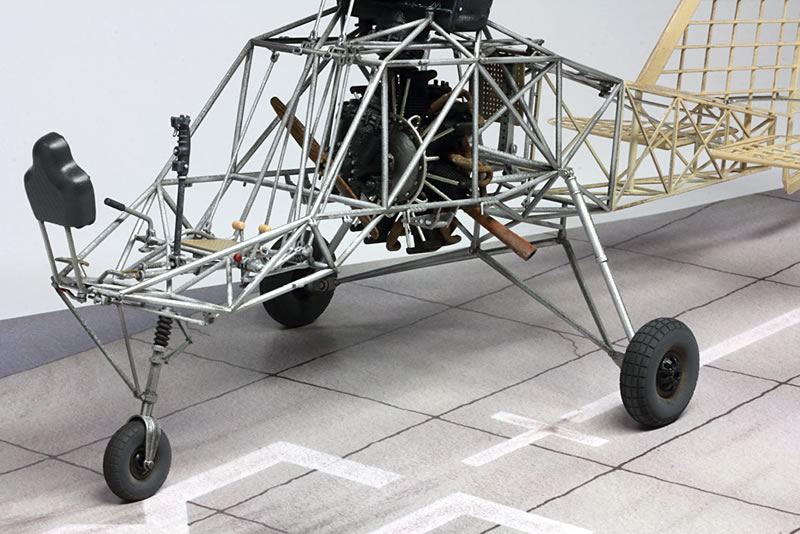
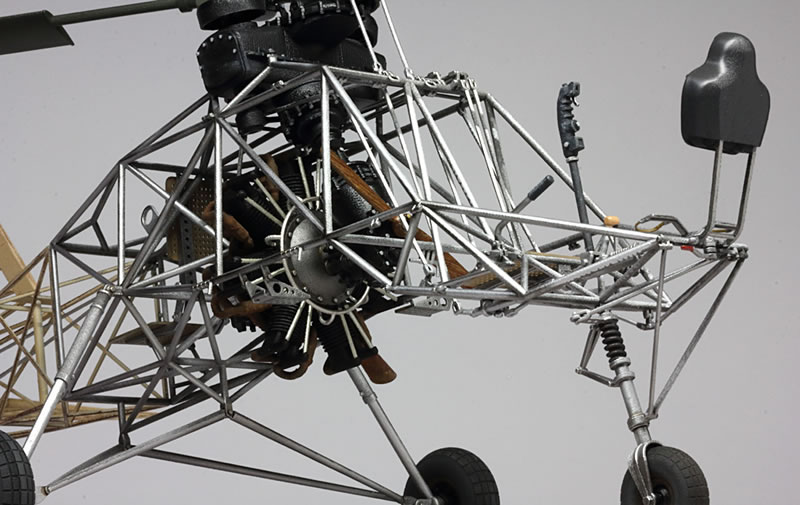
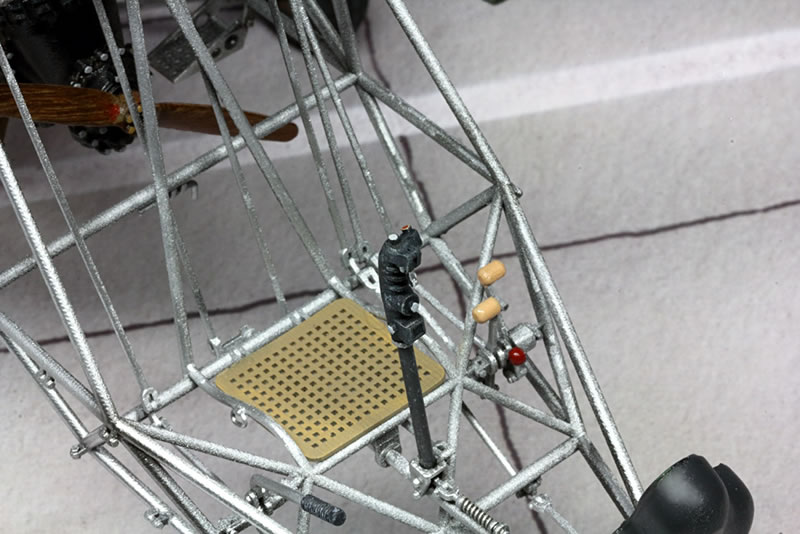
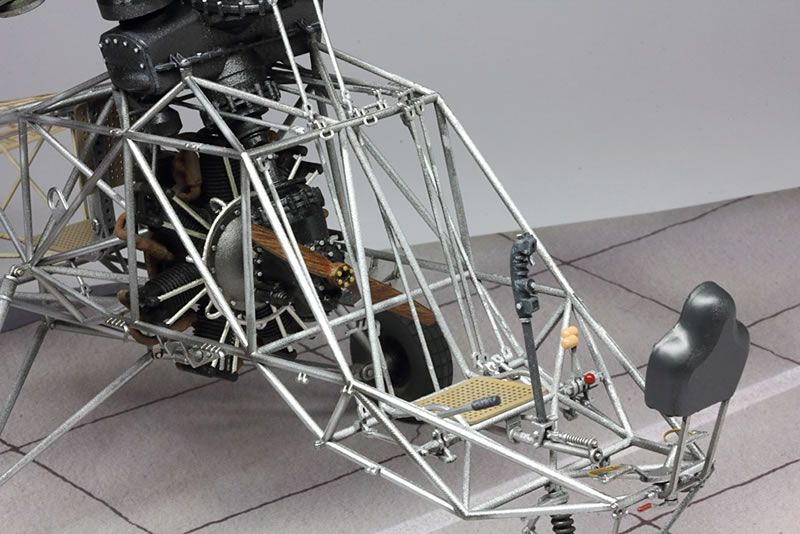
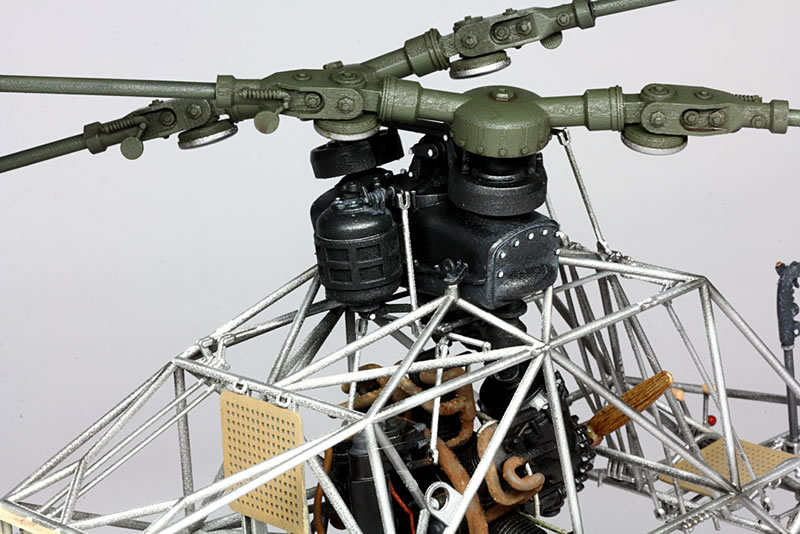
Nick designed all parts to a very tight fit. So I took utmost care to mask all locating pins and holes before giving the parts a coat of gloss black acrylic primer. Any paint on these points will make the parts impossible to fit! I guess it was from MiG, but I didn´t make notes on this.
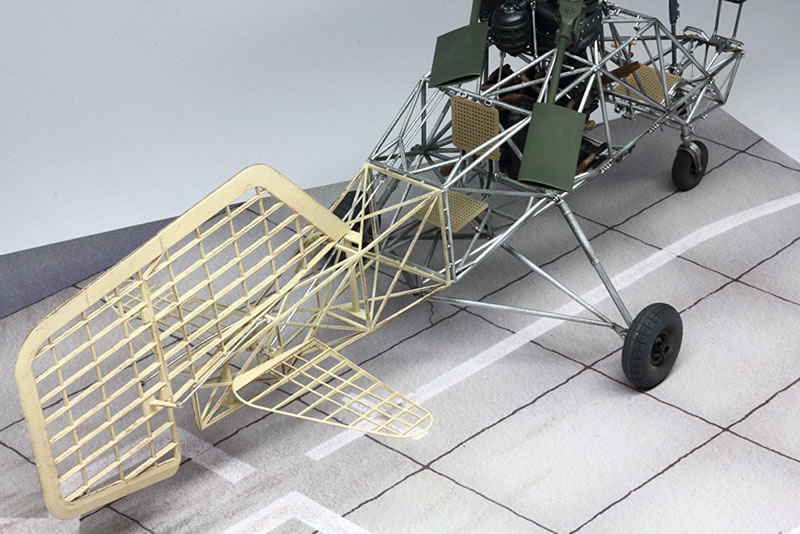
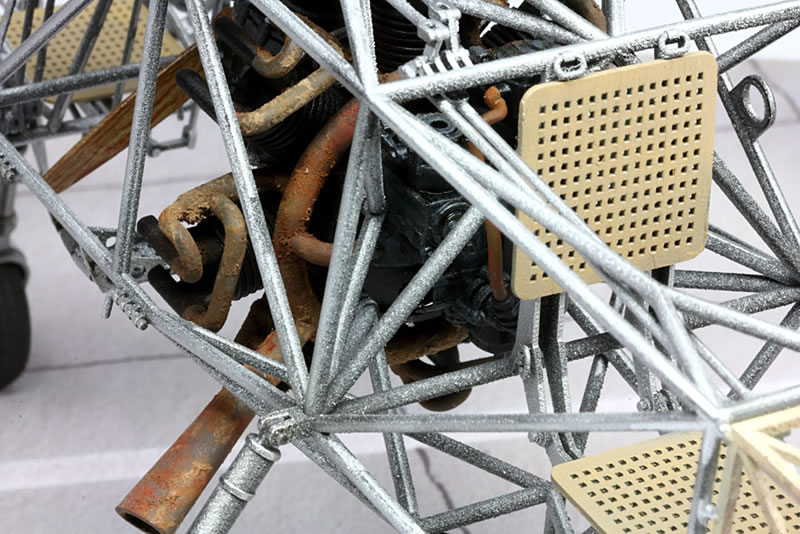
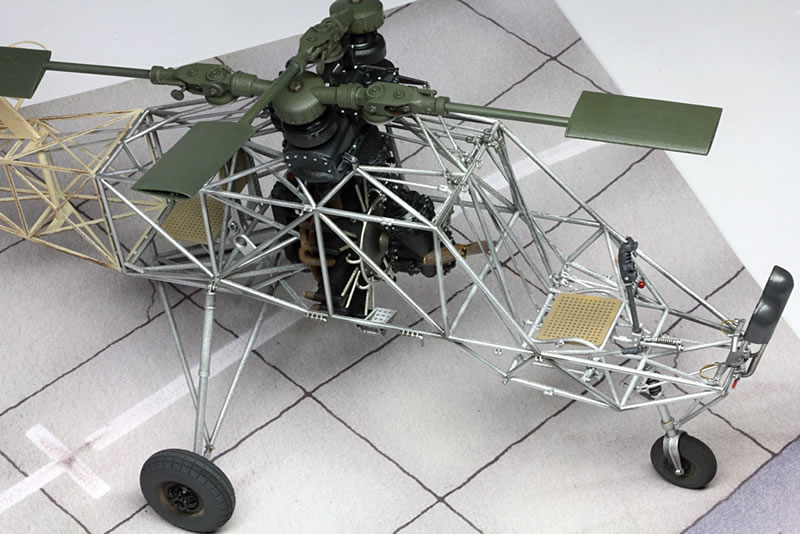
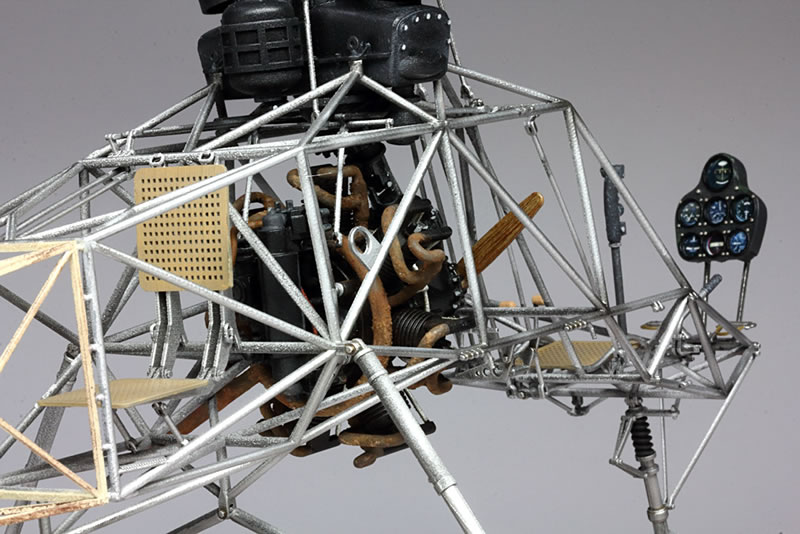
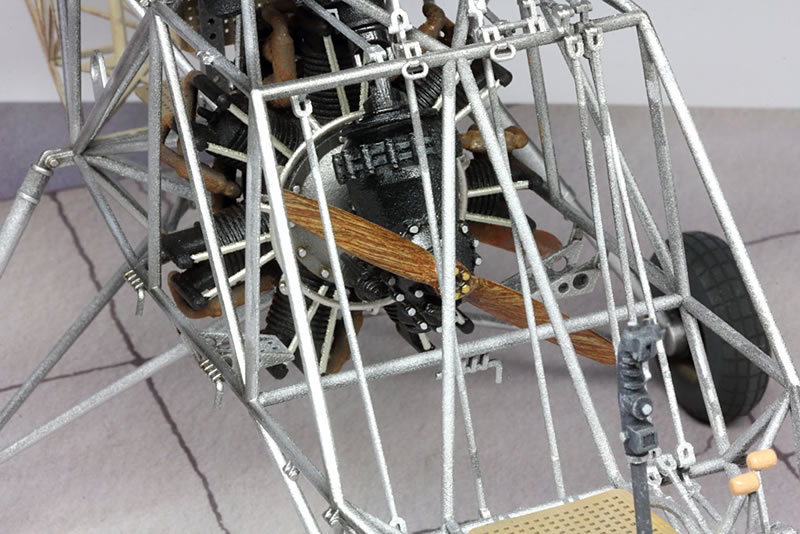
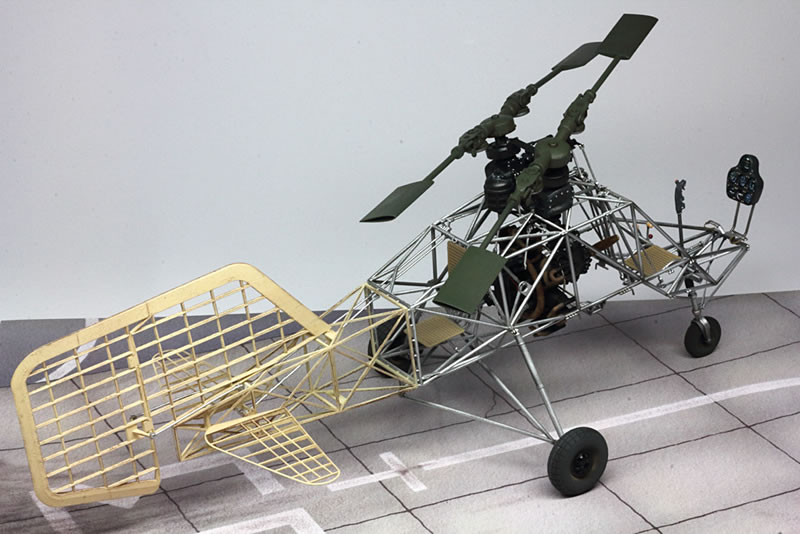
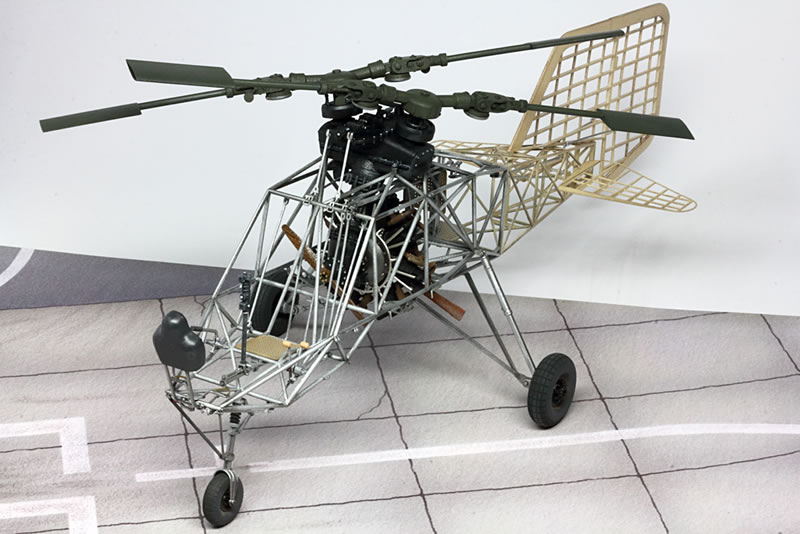
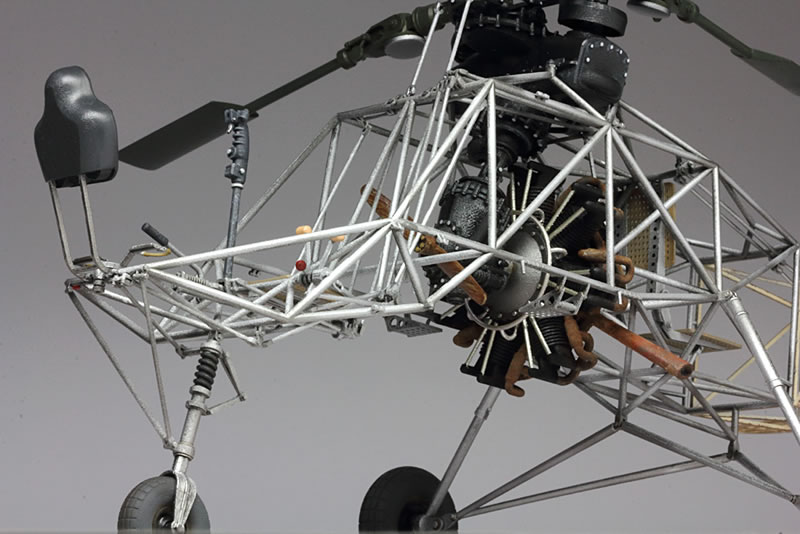
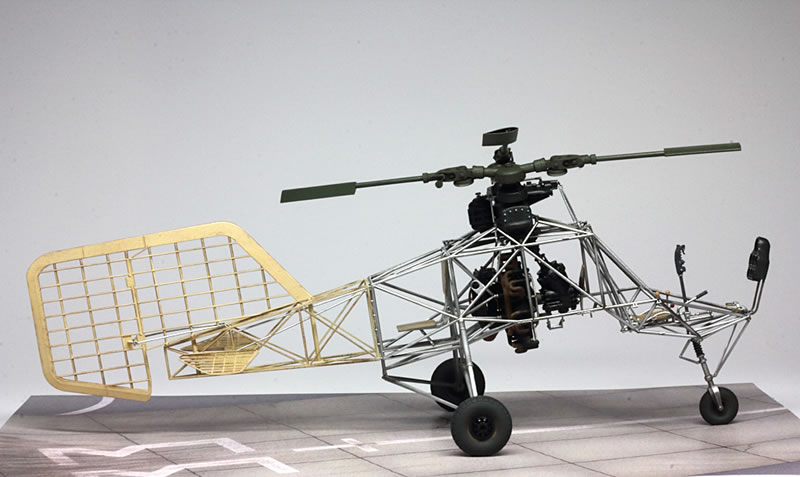
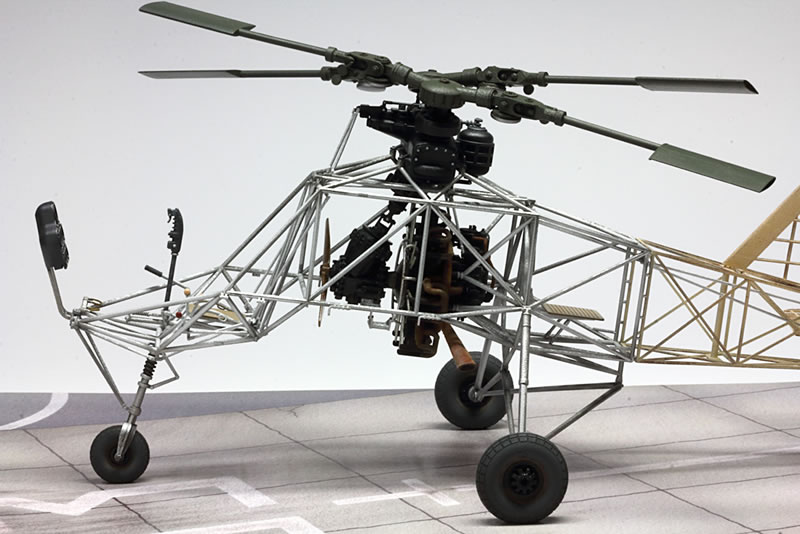
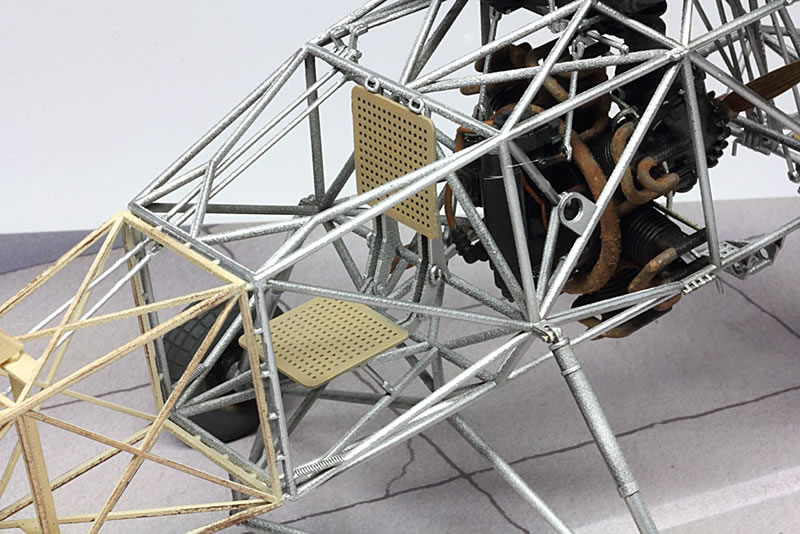
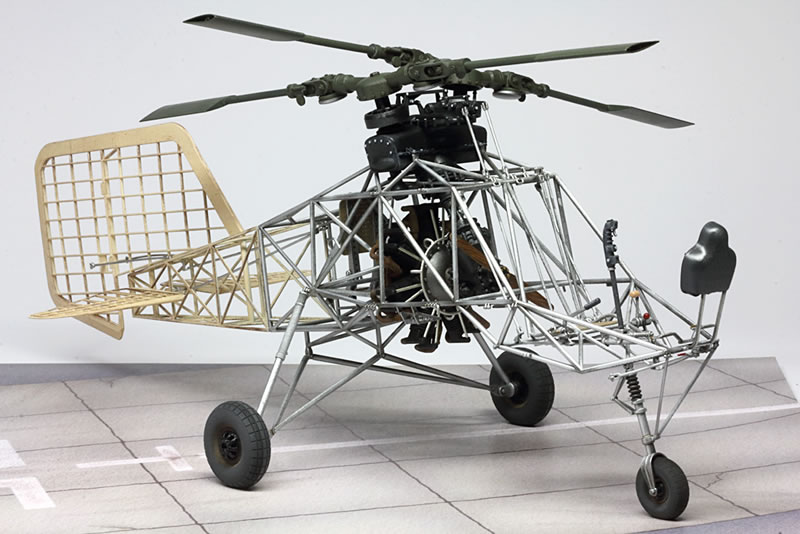
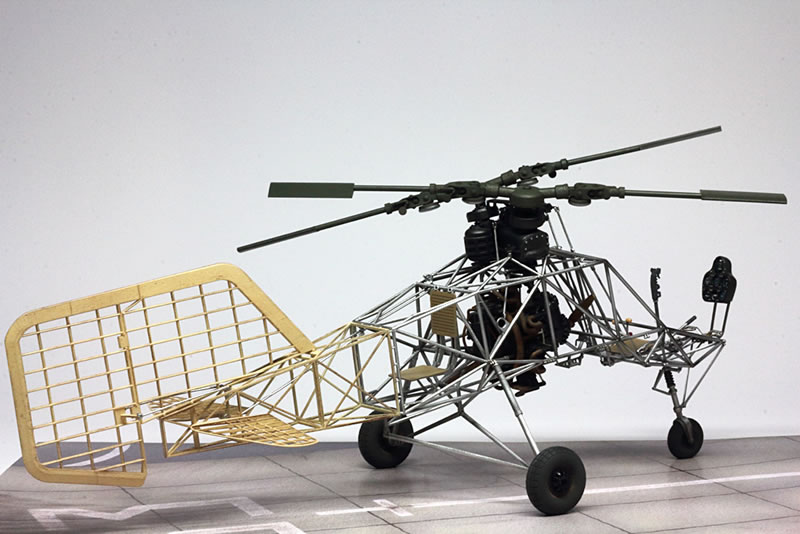
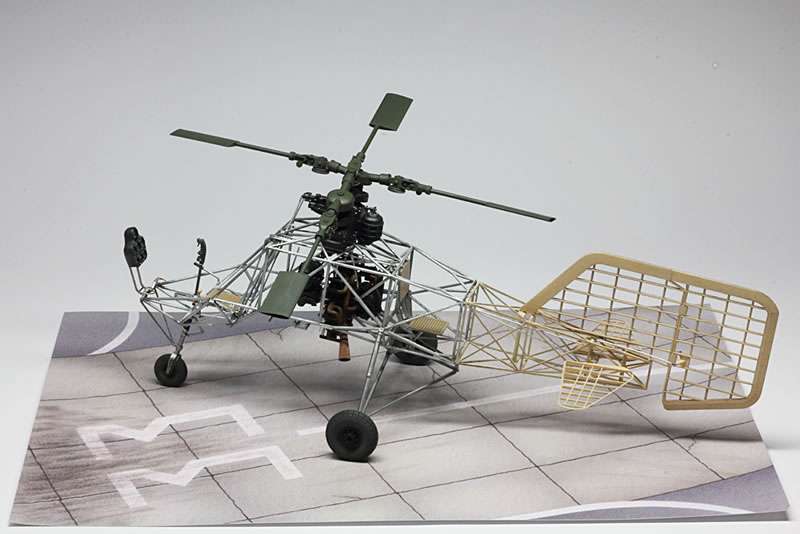
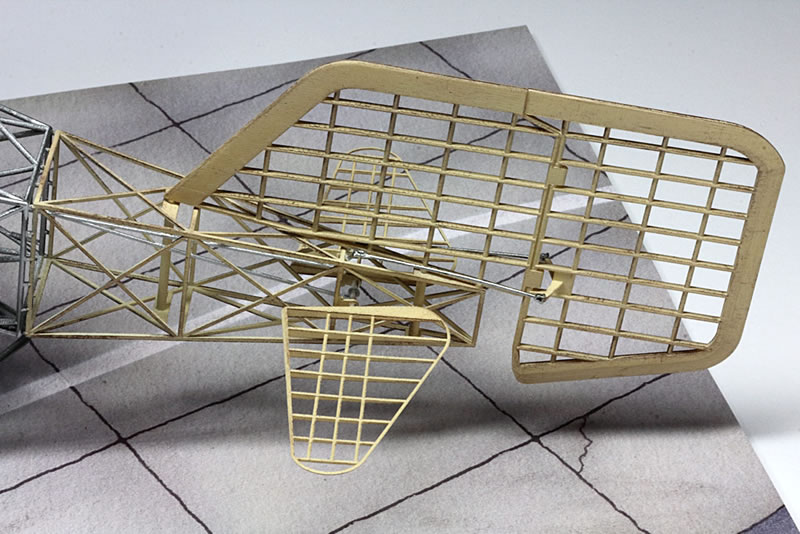
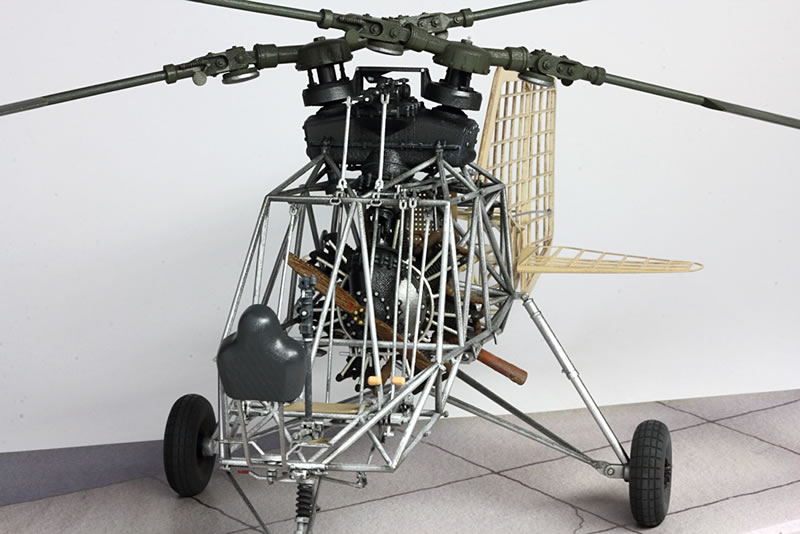
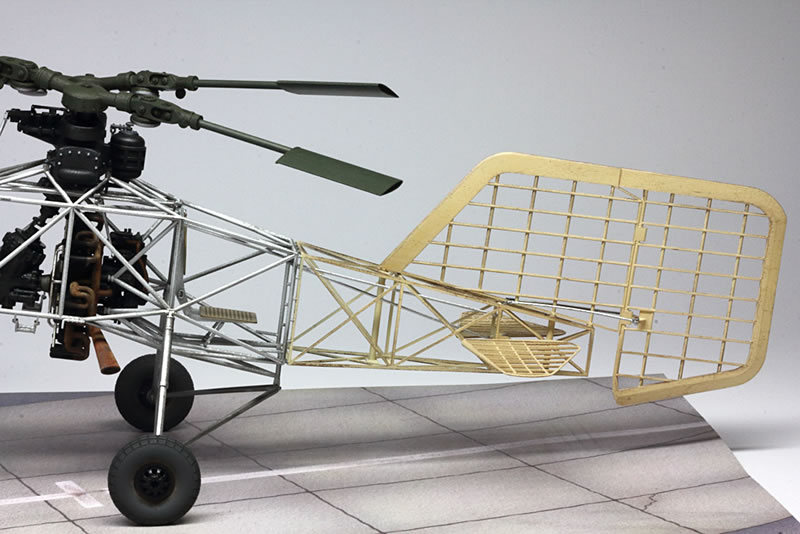
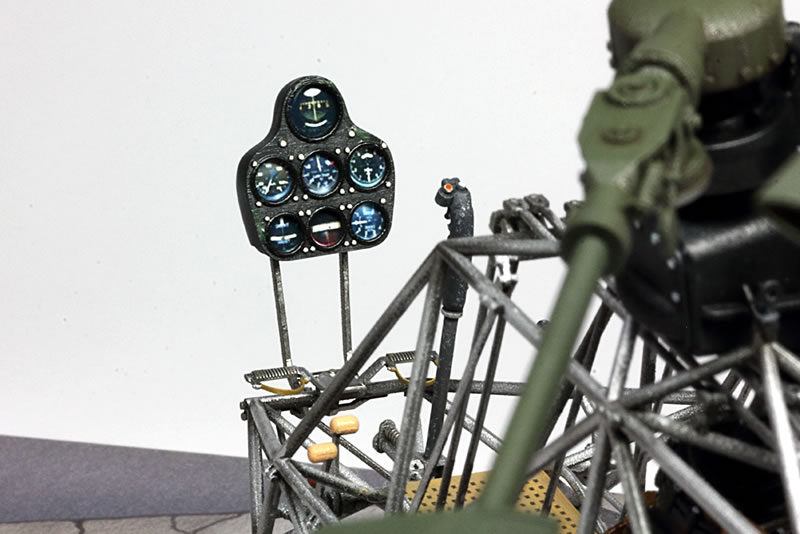
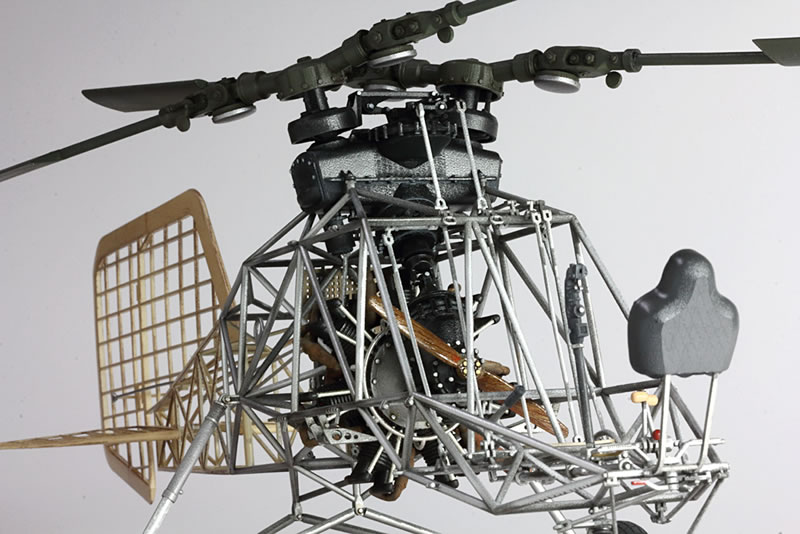
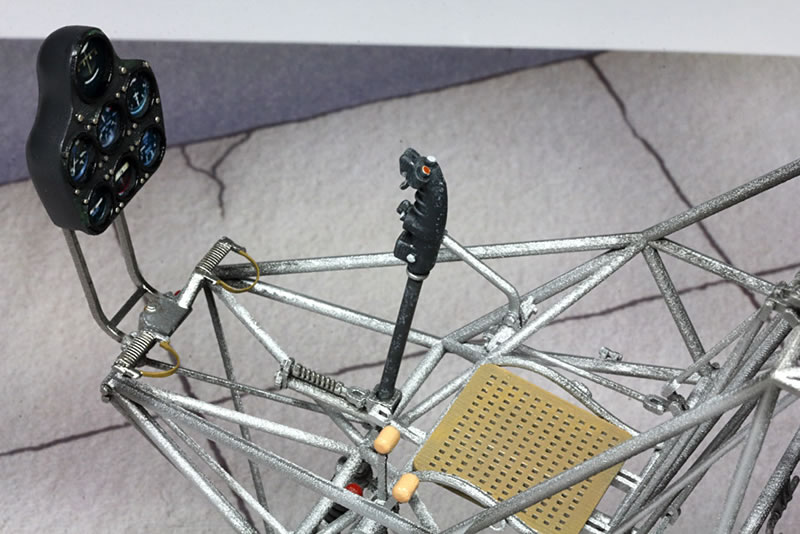
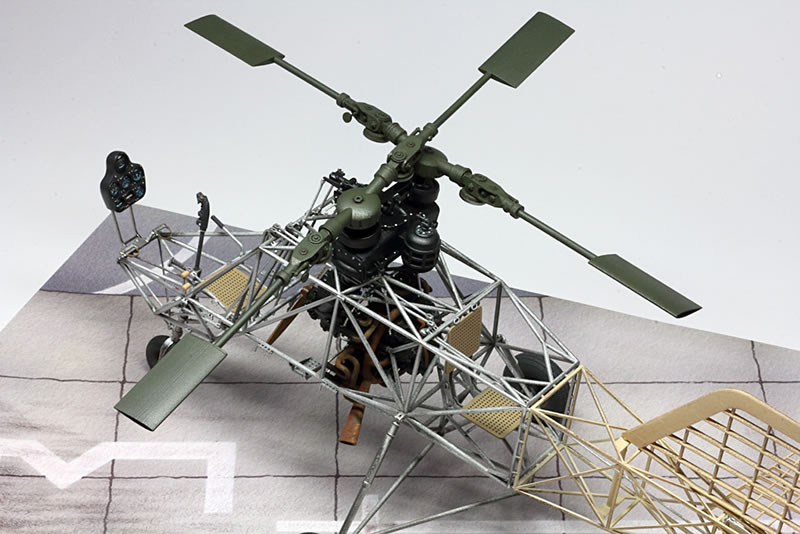
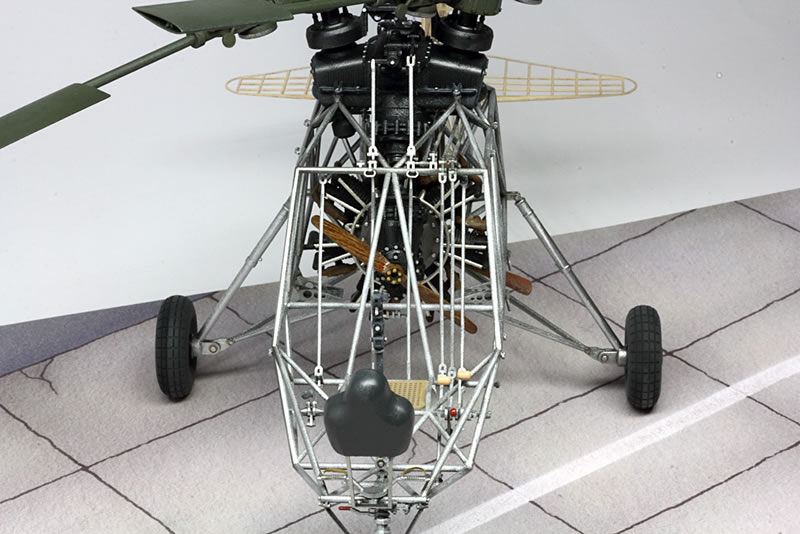
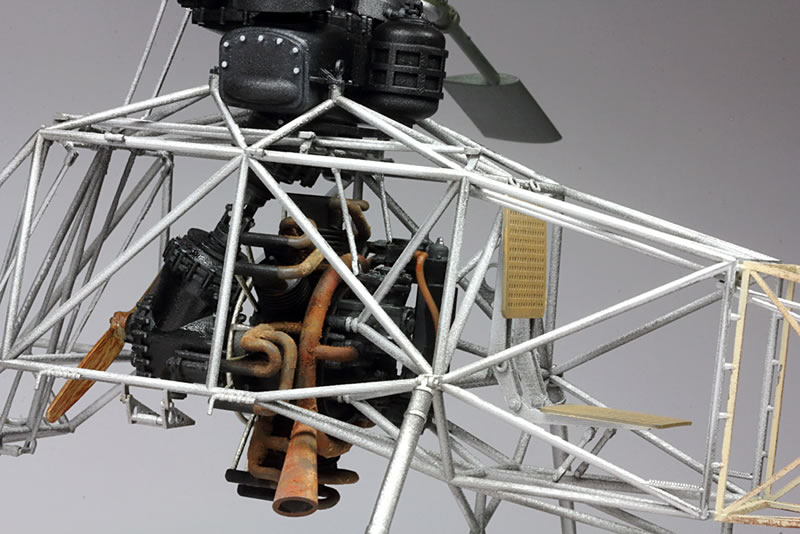
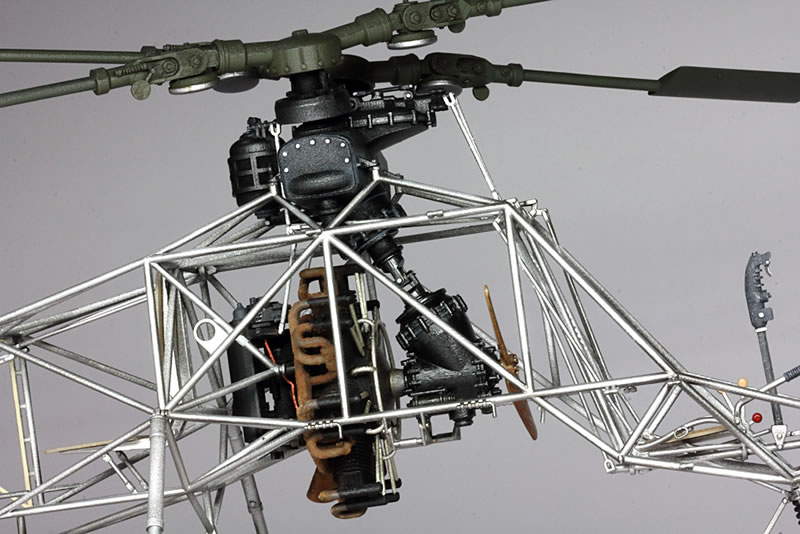
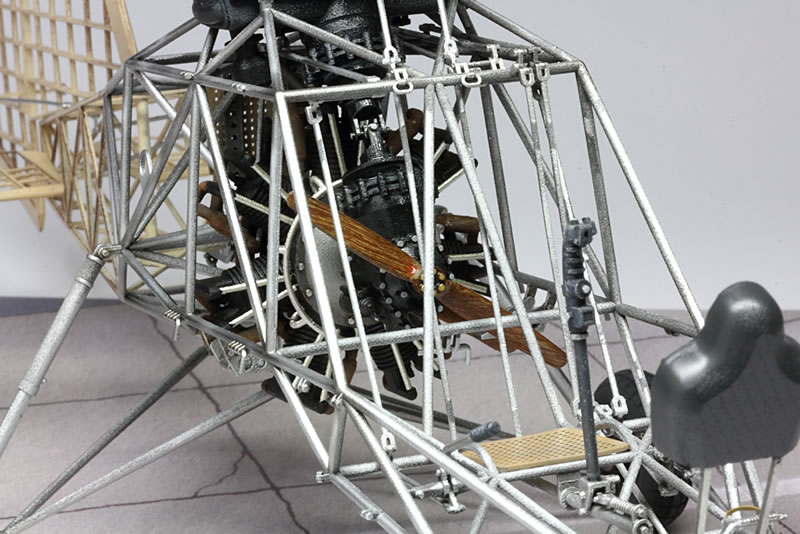
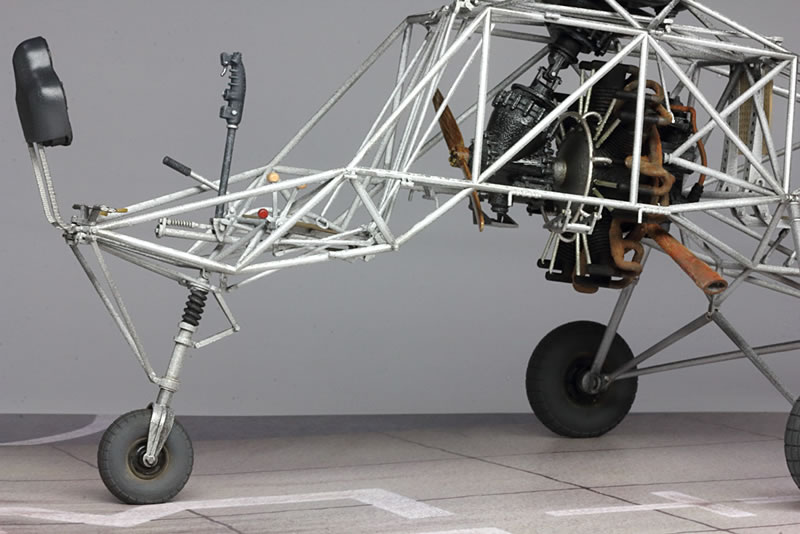
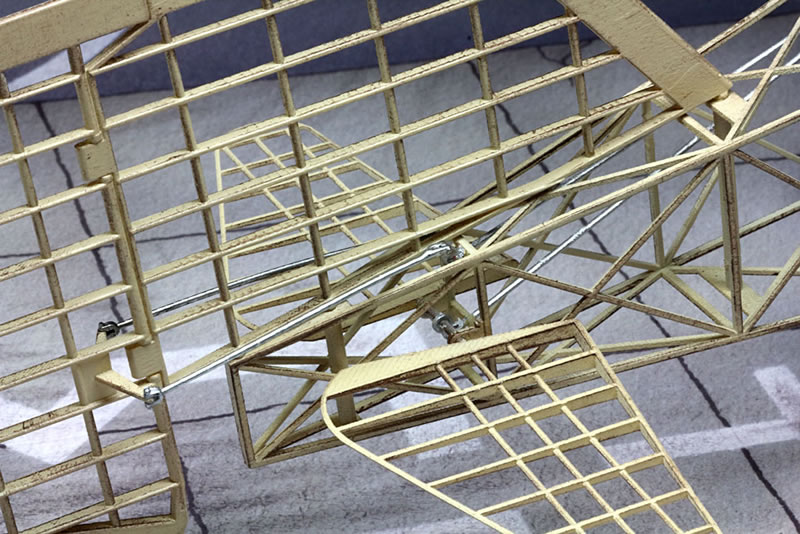
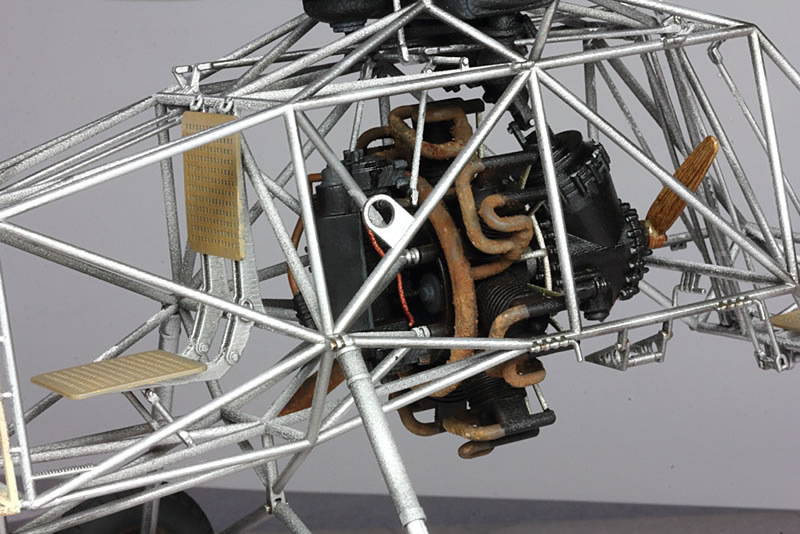
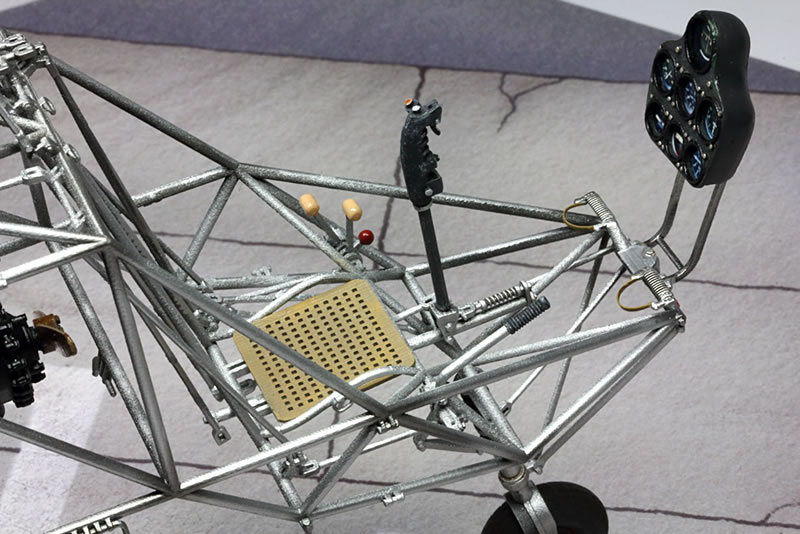
The main fuselage got a airbrushed in Alclad Duraluminium, to be followed by accents of Alclad Airframe Aluminium. Masking the rear part for airbrushing in a wooden base coat was intricate, for the part has this many details and is easily broken. Nick provides a template for the instruments, to be glued behind the part with the bezels on. But this template showed US instruments! So I checked my literature for pictures of the IP of the real Flettner. I then searched the Net for colour pictures of the needed instruments, resized and worked them in Photoshop. Also in Photoshop I placed and sized them onto a scan of the template and printed them on glossy photo paper on my colour printer. Much better!


All in all this was a very enjoyable build and it looks great in my cabinet. Hope you like it as well!
© Thomas Mayer 2016
This article was published on Tuesday, December 27 2016; Last modified on Wednesday, December 28 2016