
Tamiya F-4S Phantom
By Sean McDermott
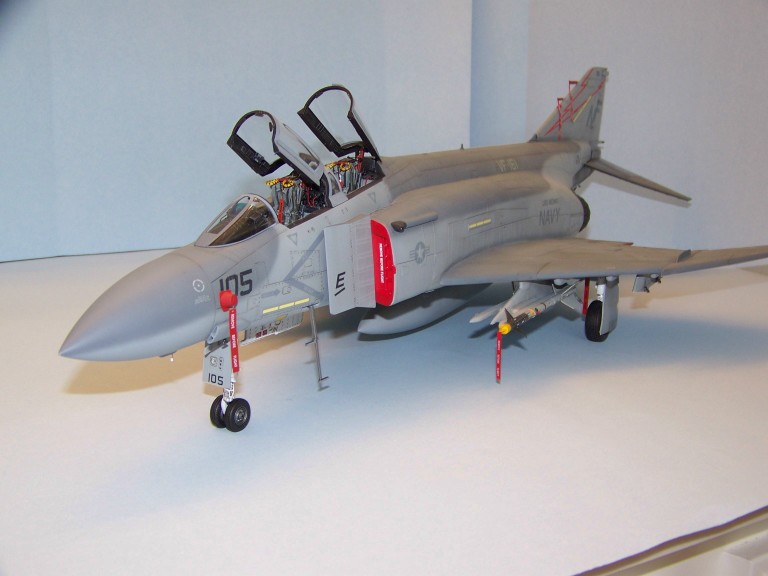
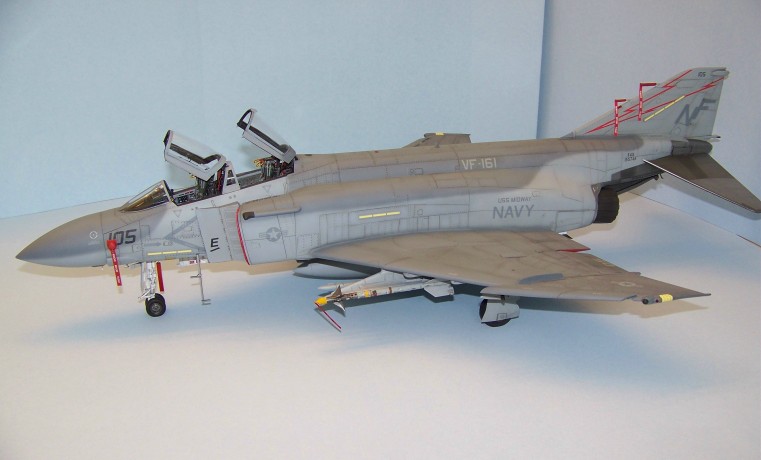
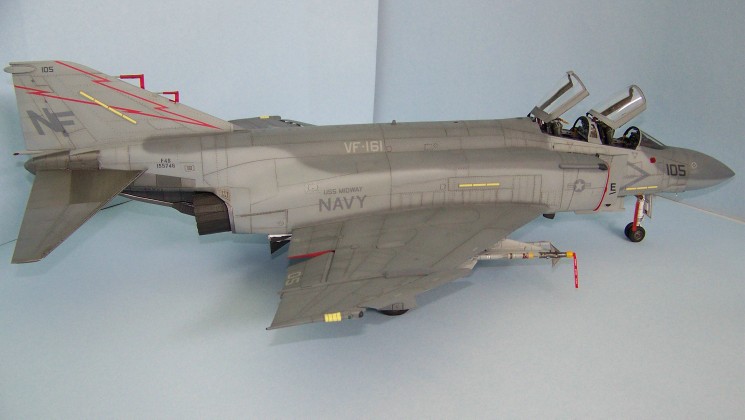
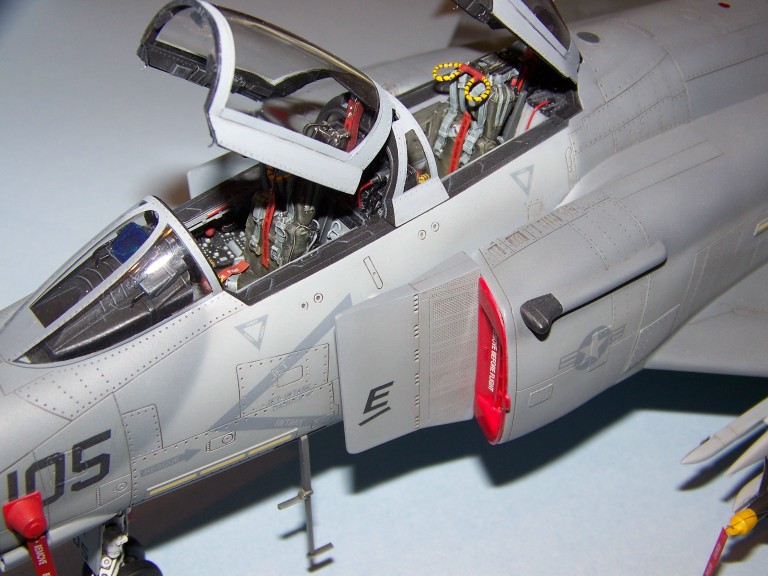
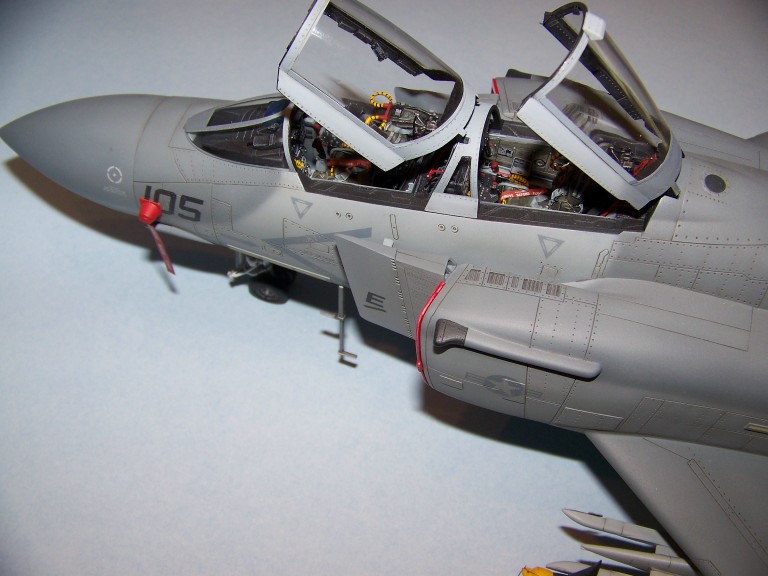
I have always been a huge fan of the Phantom and I wanted to build a 1/32 scale kit of the F-4S. I am one of those model builders in the minority who does not like the colorful artwork of the Navy Phantoms in the 1960s and '70s. I prefer the low-viz schemes. The problem is, there are no decals in existence for the F-4S in the official tactical gray scheme in this scale. I do not possess the equipment or the ability to make my own decals. Therefore, I had to improvise. I wanted to build a model that depicts one of the last fleet Navy Phantom squadrons that operated off the USS Midway in the mid 1980s. I chose an F-4S assigned to VF-161 back in 1984. To accomplish this, I cut out the outline of the solid red lightning bolt from the CAM VF-161 F-4S decal sheet using a straight edge and an X-acto knife. For the lettering, stenciling and the stars-and bars, I cannibalized a couple of F-14 and F/A-18 decal sheets from CAM and Two-Bobs. I had to cut and piece them back together to get what I needed. That took a lot longer than I thought it would.
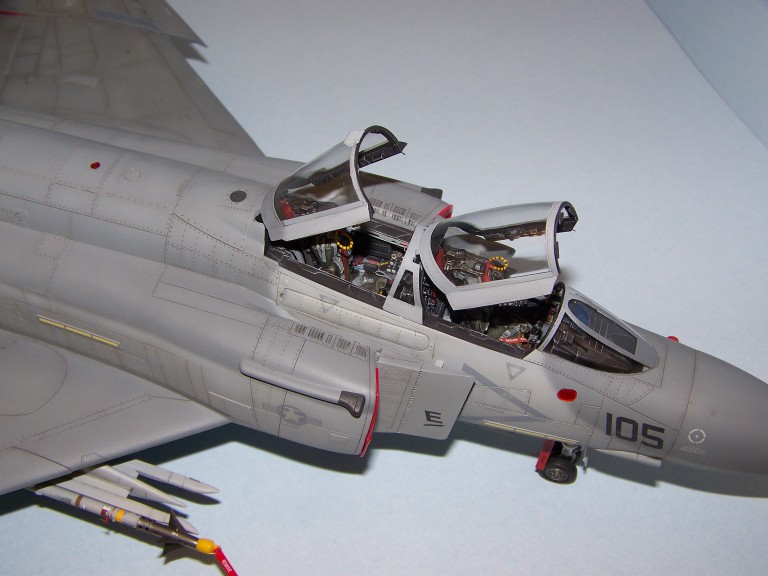
To convert Tamiya's F-4J into a slatted wing F-4S, I chose the conversion set offered by (the now extinct) Cutting Edge. This set is complete with the VTAS for the front canopy and a full-size template of the reinforcement strap for the undersize of the wing. I purchased the F-4J cockpit set by Black Box. However, I was too scared to cut the rear portion of the cockpit out and chose to use just the side walls and ejection seats. I just knew I would mess that up. I ended up detailing the cockpit with some scratch-built bits and the color photo-etched cockpit detail set from Eduard.
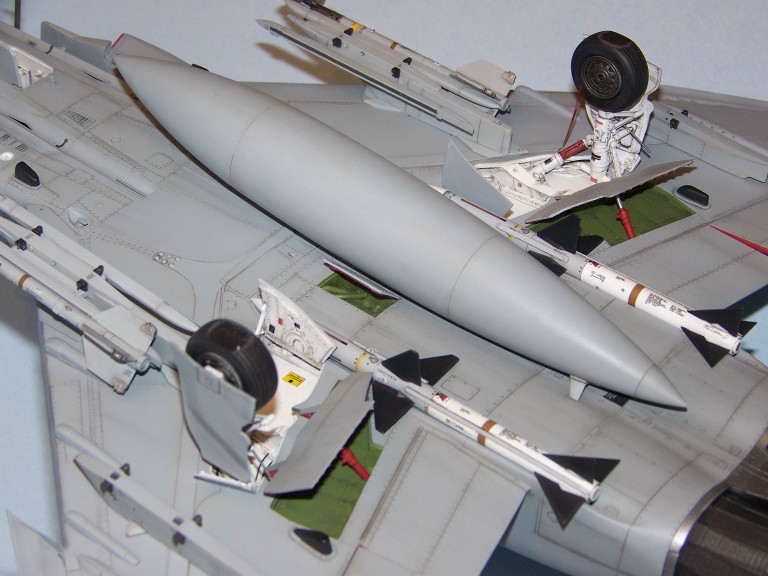
I only used the outer wings from the Cutting Edge conversion set. I corrected the shape of the inboard wings slats with styrene strips and epoxy putty rather than using the resin replacements. The slat actuators came from the Revell F-4E kit. They were much easier to use than the ones from Cutting Edge. Plus, I wanted to display the model with the slats in the retracted position. The resin wing fences that came with the conversion looked too short, so I made longer ones from styrene. Also, the panel lines on the resin replacement wings were incorrect, so I filled them in and rescribed them. The hinge fairings on the resin wings did not line up with those on the kit wing hinge. To correct this, I cut the hinge and hinge fairings off of the kit outer wings and the resin replacement wings. I then glued the kit hinge and hinge fairings on to the resin replacement wings to get a perfect alignment.
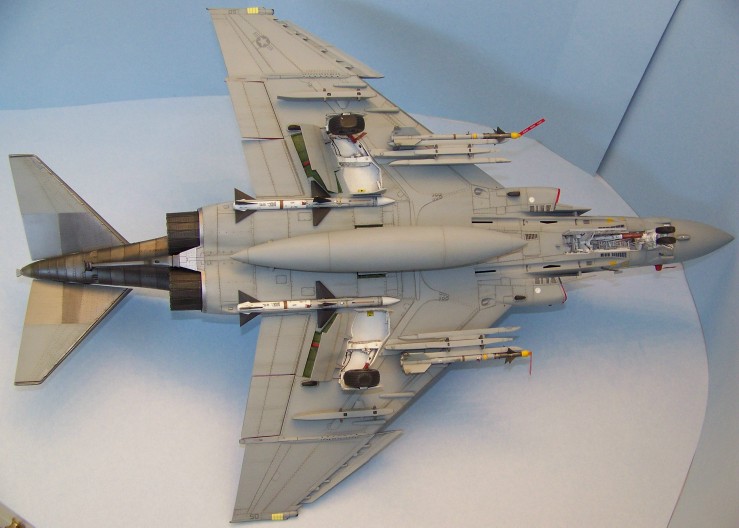
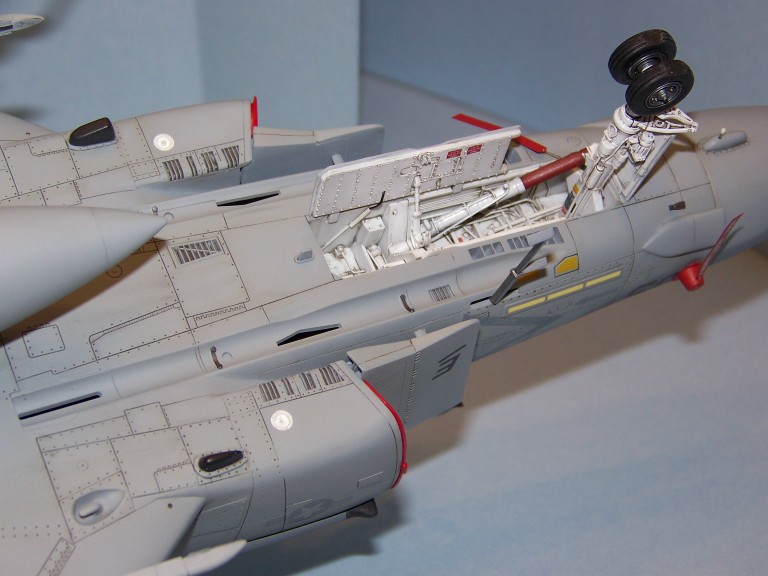
I did not like the way the main landing gear struts attached to the model. So, I did a simple correction. I removed the kit attachment point and replaced it with tube styrene that was the same diameter as the landing gear strut. I then glued the strut to the styrene tubing. It was simple and looked whole lot better than what the kit had. I dressed up the landing gear bays with styrene and used stretched sprue to represent hydraulic lines. I also used the F-4 Phantom placards to give a little extra detail. The oleo strut locks on the landing gear were made from coffee straws painted red.
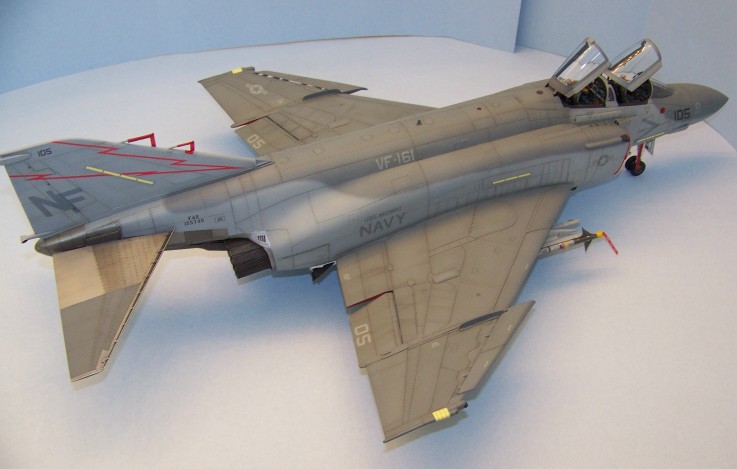
The official Navy tactical gray scheme for the F-4S calls for FS 36375 (Light Ghost Gray) for the underside, FS 36320 (Dark Ghost Gray) for the sides and FS 35237 (Medium Gray) for the upper surfaces. I chose Model Masters Enamels, matching the FS numbers. The Medium Gray from Model Masters did not look right. So, I mixed my own color using the only reference photo of the actual plane that I had. I airbrushed the colors using my trusty old Paasche H single-action airbrush. I added a little white to each color and "dusted" the model with the lightened mixture, focusing on the centers of each panel. In some places I dusted too much and had to come back and spray the base coat over again to touch things up. I sprayed the model with several coats of Model Masters Acrylic Gloss in preparation for the decals and a wash. To accentuate the panel line, I used an oil wash mixture of Paynes Gray and Burnt Umber thinned with mineral spirits. After this dried I sprayed the entire model with Polly Scale acrylic dull coat. I completed the weathering by applying pastel chalks in the panel lines to represent dirt and grime.
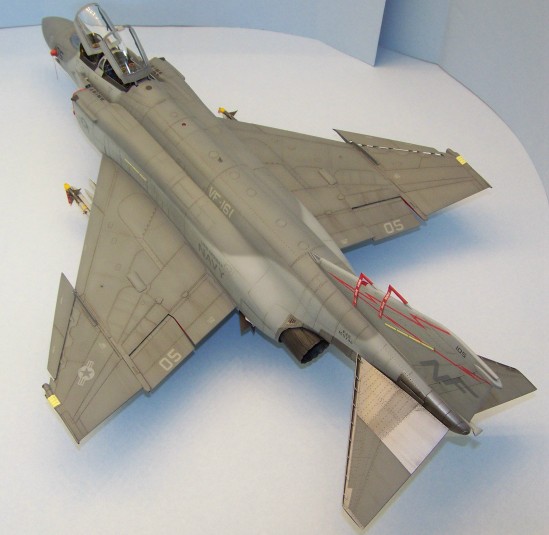
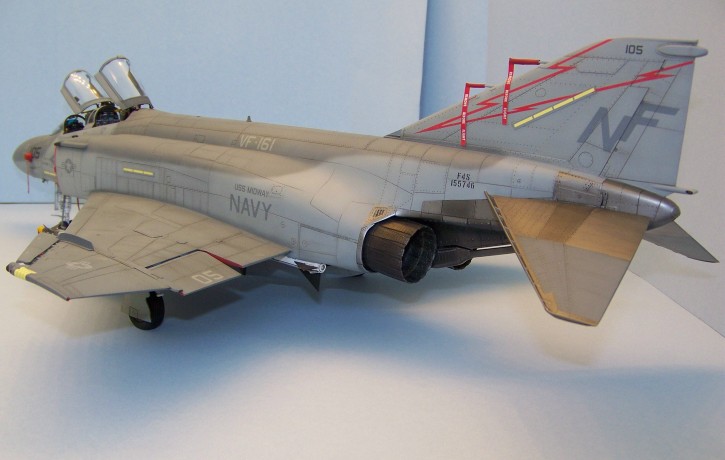
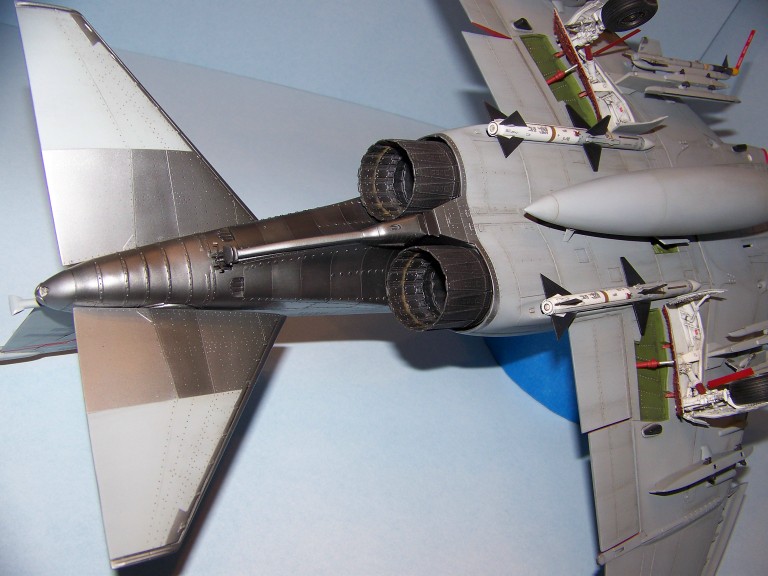
The bare metal sections were sprayed with varying shades of Model Masters Metalizers Titanium and Magnesium. Before painting the bare metal sections, I applied a coat of Tamiya gloss white acrylic to the areas. This hides scratches and the paints buff to a better shine. The exhaust nozzles, which came from Aires and are beautifully detailed, were sprayed with Gun Metal and Exhaust
Finally, I dressed up the kit Sparrow missiles with decals from Two Bobs. Wow, do those decals make a difference. I used Two Bobs Sidewinder decals to dress up the Cutting Edge AIM-9L/M's. Again, what a huge difference these decals make. The intake covers came from CAM. I purchased a set of resin intakes from Cutting Edge when this kit was near completion…too late for the F-4S.
This model took about six months to complete and is the second Tamiya Phantom I have built. Although the Tamiya kits are not perfect, they can still be built into really nice models with a little bit of effort.
© 2008 Sean McDermott
This article was published on Wednesday, July 20 2011; Last modified on Saturday, May 14 2016