
1/32 IDF F-4E
By Paul Stoner
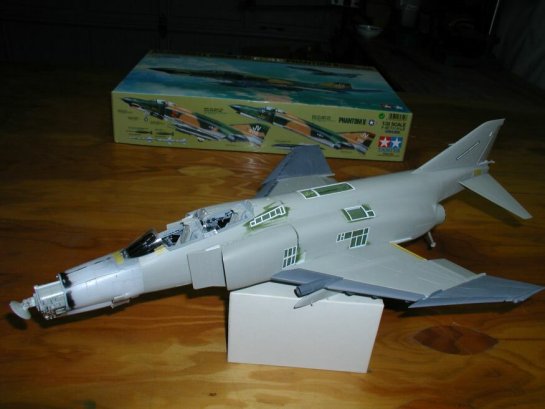
After building the Tamiya F-4 kit for the umteenth time, I decided to do a little exploring to see what I can get out of the new F-4E kit. I learnt some really valuable lessons while building this kit. I started of with just the decal sheet from CAM for IDF F-4E #187.
There wasn't much if any info at all for this jet and I looked everywhere I could think. After ¾ the way through I got the info I needed for this subject, and thought about what I could do to change things and make them right. Too late and not enough time, If your like me and pick the most off the wall subject that have little info on them, make sure it'd right if you want it historically correct. Lesson #1.
After talking to my good friend who I was building it for, both decided to just concentrate on the jet. After some good building and letting the jet take shape I started to rush things to balance time from work and building ( not to mention the honey do's) and started to make mistakes. The beginning of this project was a good time but the finish was stressful and very sloppy in my view. Patients are a virtue, Lesson #2.
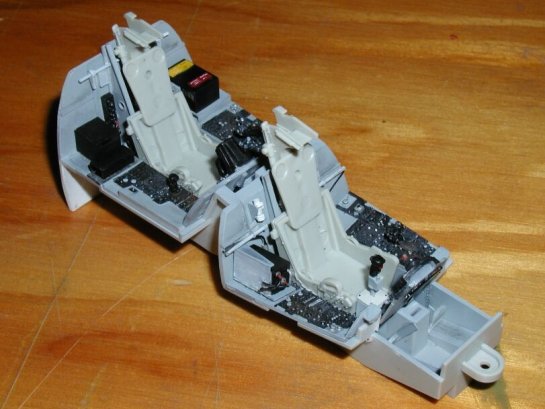
Keeping my shop area clean has always been a problem for me and I really mess up some good painting by debris that finds its way to the model like a magnet. Better shop cleaning habits are a must for me. Lesson #3.
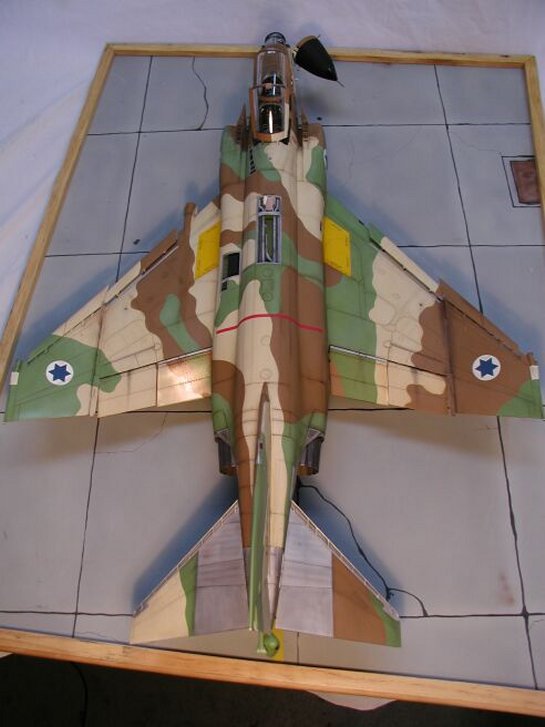
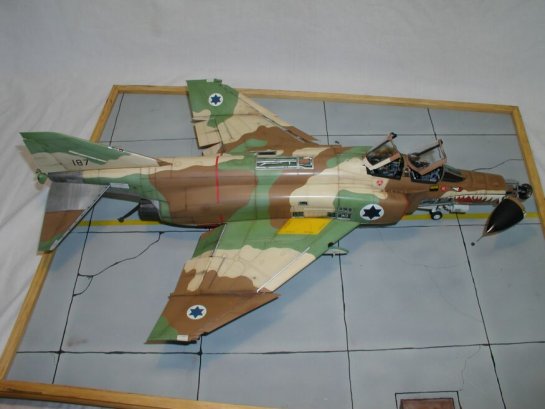
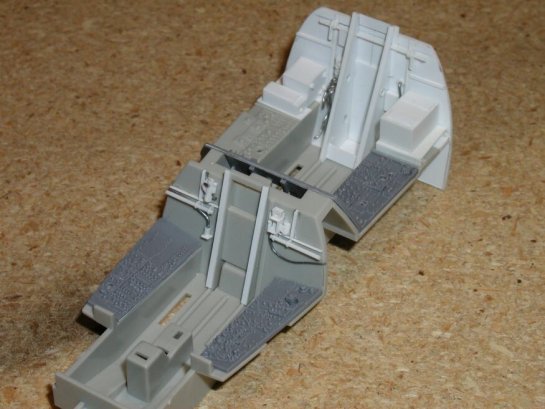
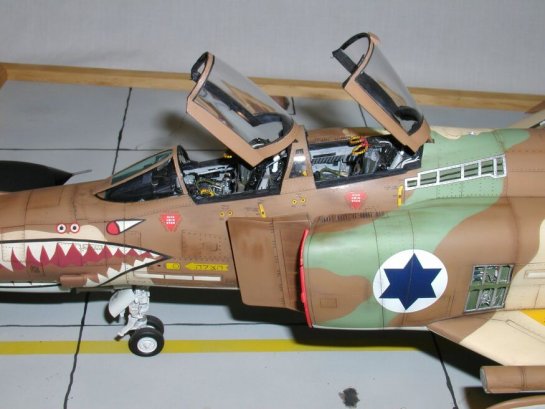
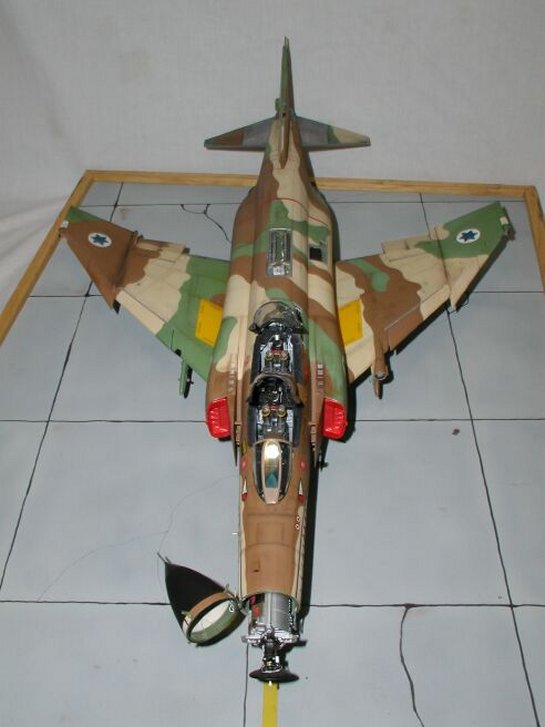
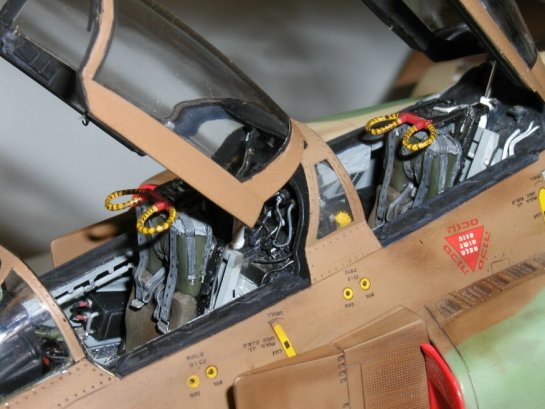
I could cry about what is wrong all day but I'd like to show you my jet. I waited for this kit for years and it's a lot easier and better than going the resin route. I still do wish that they spent a little more time producing the nose. There is good detail inside the cone and the Radar and Cannon are very well detailed. I don't know how many will build this kit and leave one side of the nose clear. I decided to take the cone off and slide the radar out. I also opened the cannon motor door open to show what I could of the cannon. I opened some panels on the fuselage to expose some inside systems. Cutting Edge's Hard wing conversion was used and there was some added area inside the cockpit to add a little more detail. One thing I have come to use with each F-4 kit I build is the PE sets from Eduard. I think they are very well done and add tons of detail to the kit.
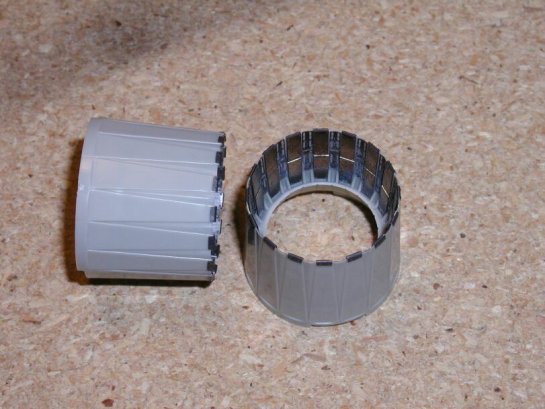
I wanted this jet to look like it was in for some maintenance so I dropped the flaps and extended the leading edge slats. Some good time spent on installing Cutting Edge's wing set will pay off in the end. Make sure to add stock to make up for the cut, make sure to dry fit and adjust or the slats will not sit right.
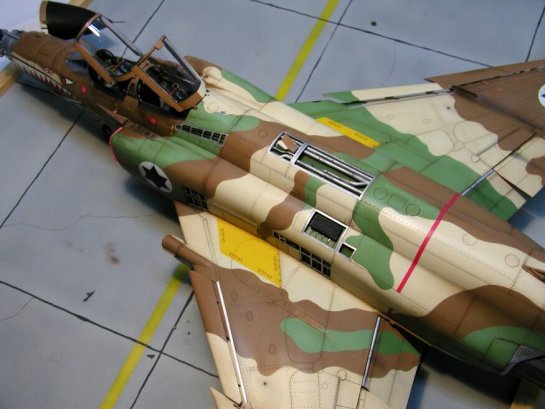

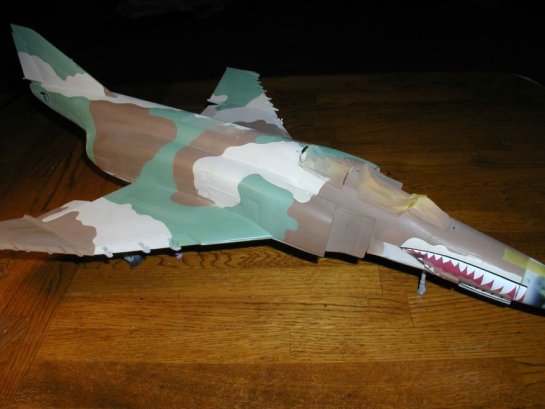
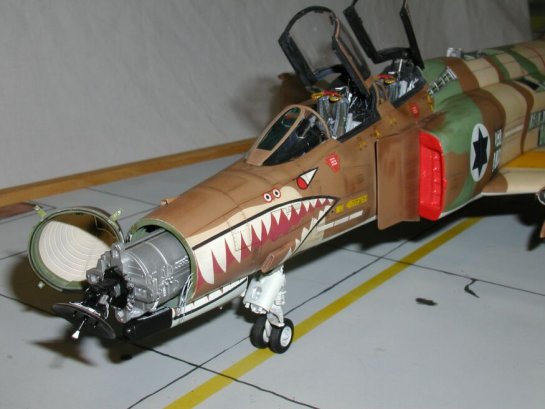
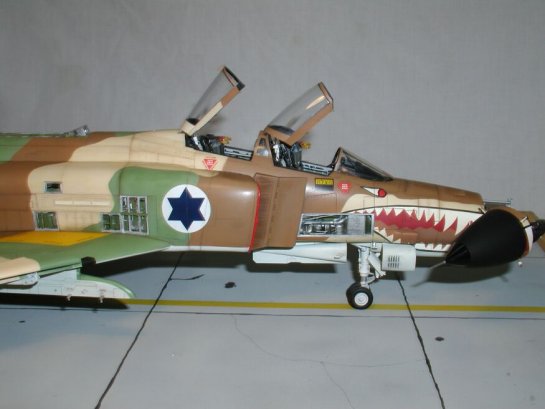
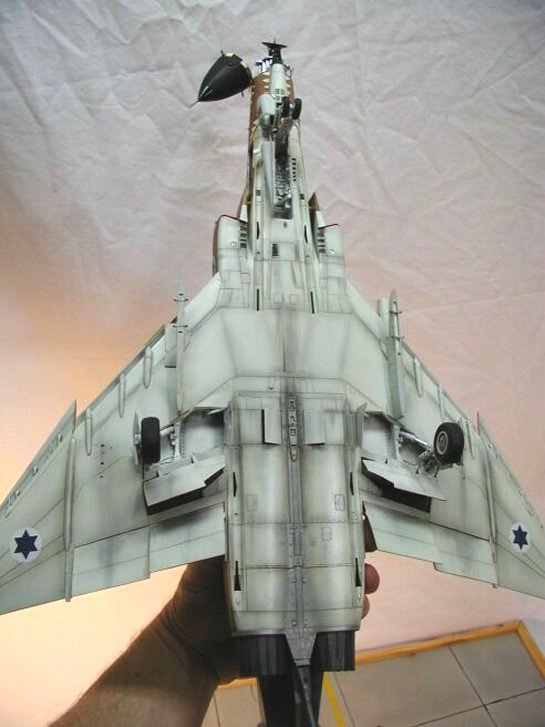
With my shop being as dirty as it was, this jet had no choice but to be well weathered. Testors Model Master enamels and chalk were used for the finish. The shark's mouth decal would not work so they were painted and came out pretty good. All in all I like the results; I just wish I could have had more patience with it.
© Paul Stoner
This article was published on Wednesday, July 20 2011; Last modified on Saturday, May 14 2016