
How to Make Ejection Seat Handles
By Luc Janssen
As people regularly ask me how I make the ejection seat handles in my models, hereby an easy way to reproduce such handles on 1/32nd scale.
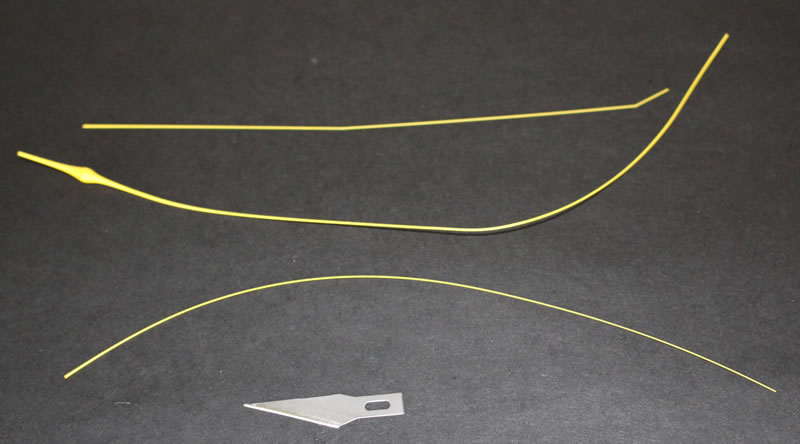
To start, make some “stretched sprue” rods in the thickness you need. As reference you can use the thickness of the handles of the kit, but do not forget to check your own references! Use Yellow-coloured sprue if available. If not, use light-coloured sprue and spray it Yellow. Do not paint it with a brush because the coat will be too thick and loose its flexibility when bending the rods later.
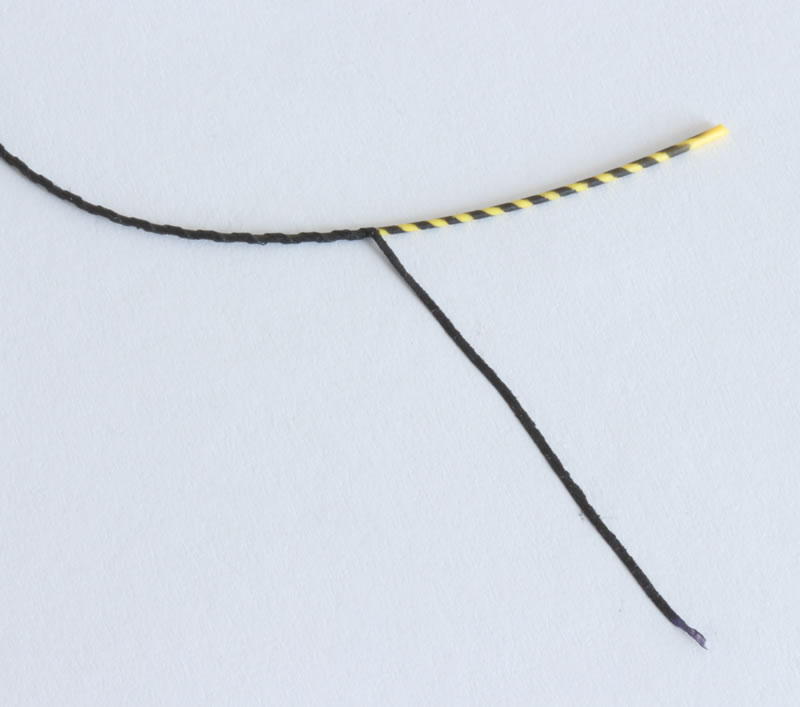
Cut some narrow strips (0.5 mm to 1 mm depending of the seat – check your references!) out of tape and run them over with a dark marker. I use Black or Dark Blue. This is to create contrast on the rods, which are Yellow.
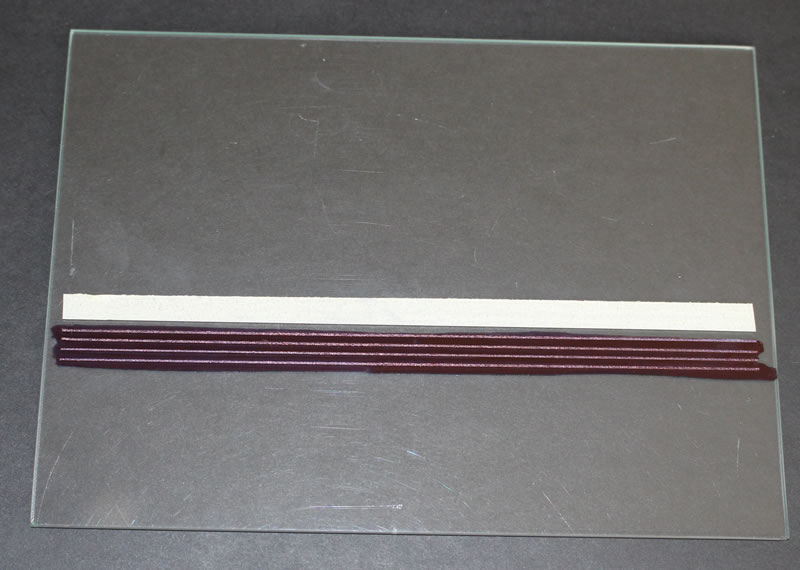
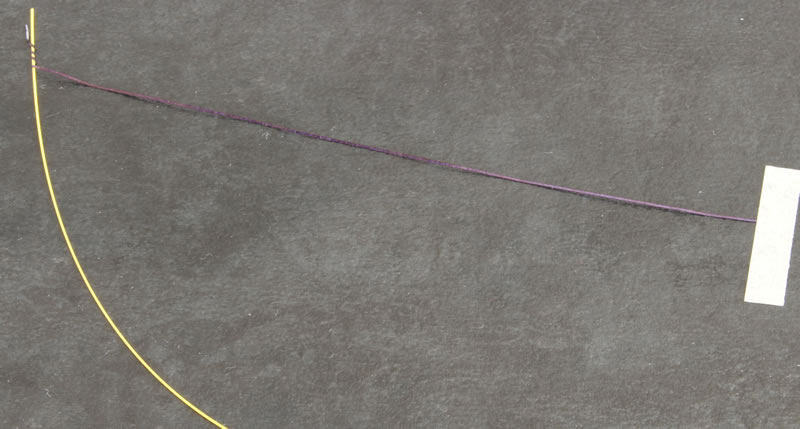
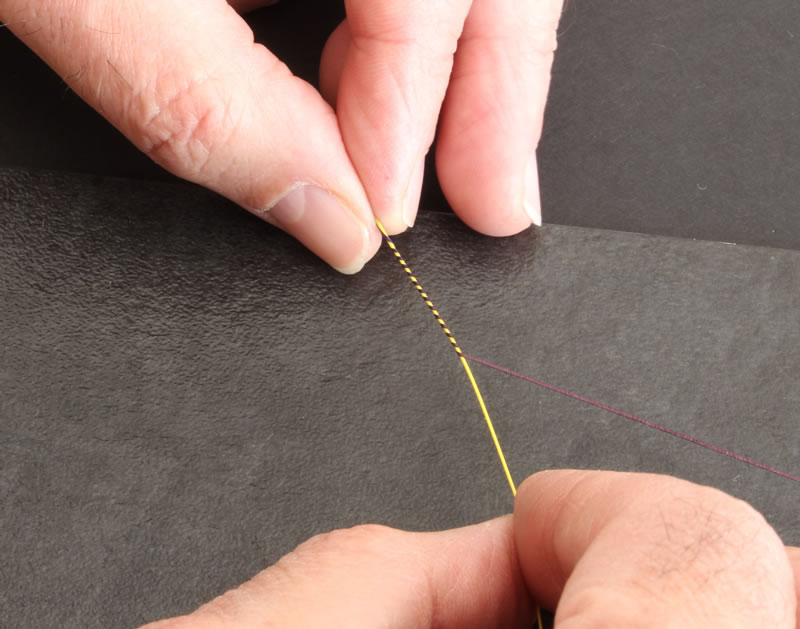
Now wrap the strips of tape around the rods, carefully keeping the desired spacing. The contrast between the dark strip and the Yellow rod will help. Working over a dark back ground will make things easier to see.
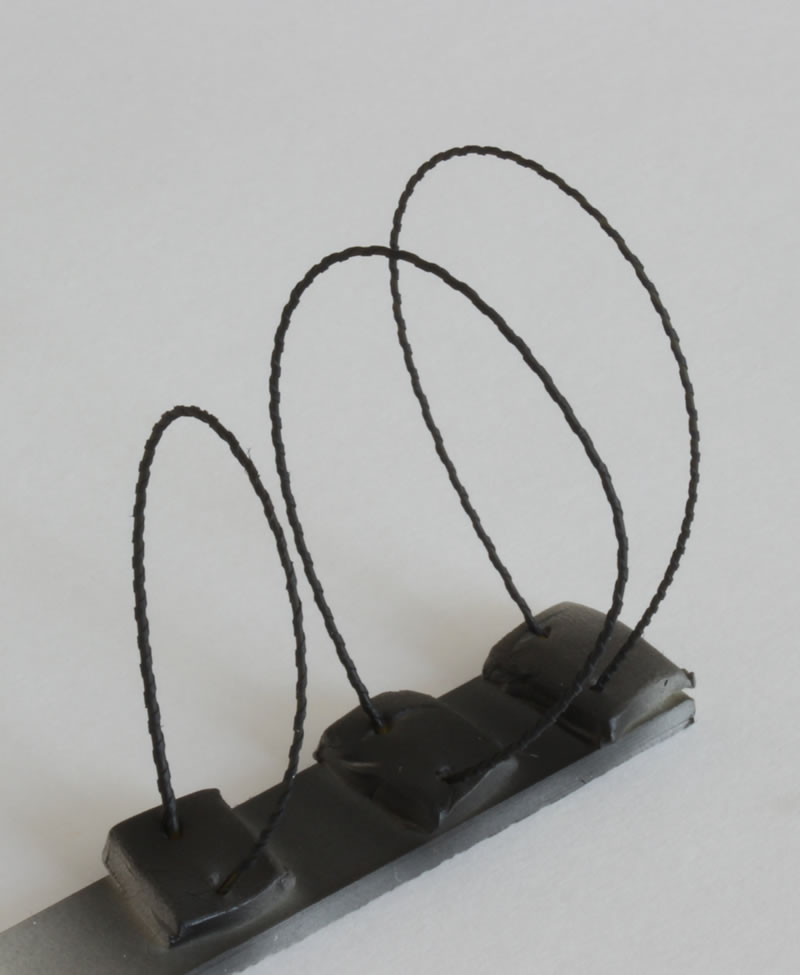
Once this finished, spray the rods in Black. I fix them in flexible putty to make the air brushing easy. Do not paint the rods with a brush for the reason mentioned earlier.
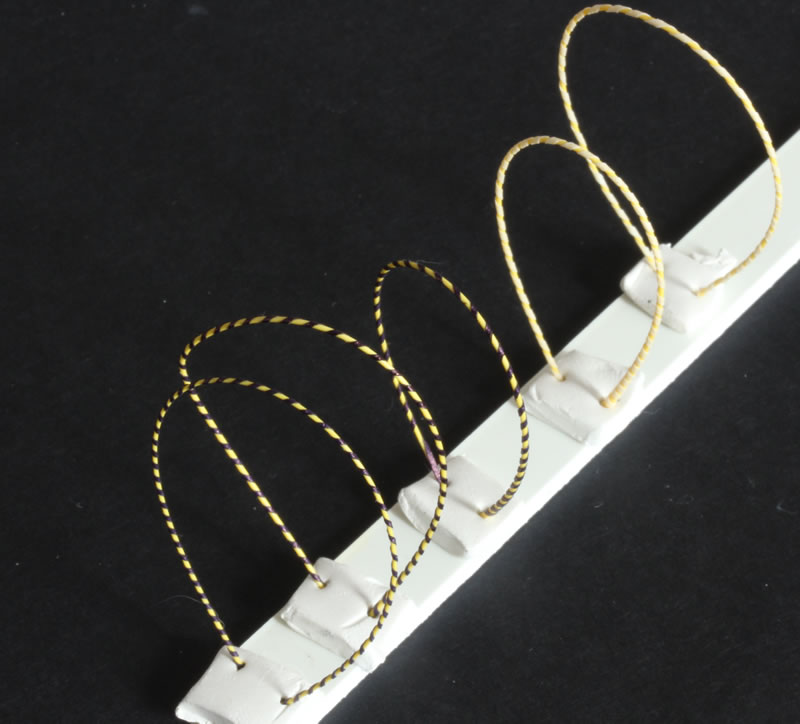
When the paint is dry, remove the strips and the painted wrap around Black and Yellow rods appear!
Now remove the handles of the kit and drill small holes in the centre piece where the new handles have to be installed. Cut a piece of the painted Black and Yellow rod to length, bend it gently until it fits the centre piece and fix it firmly with cyanoacrylate glue.

The final touch is the Red paint of the centre piece and some weathering, which I apply with Light Brown pastel powder.
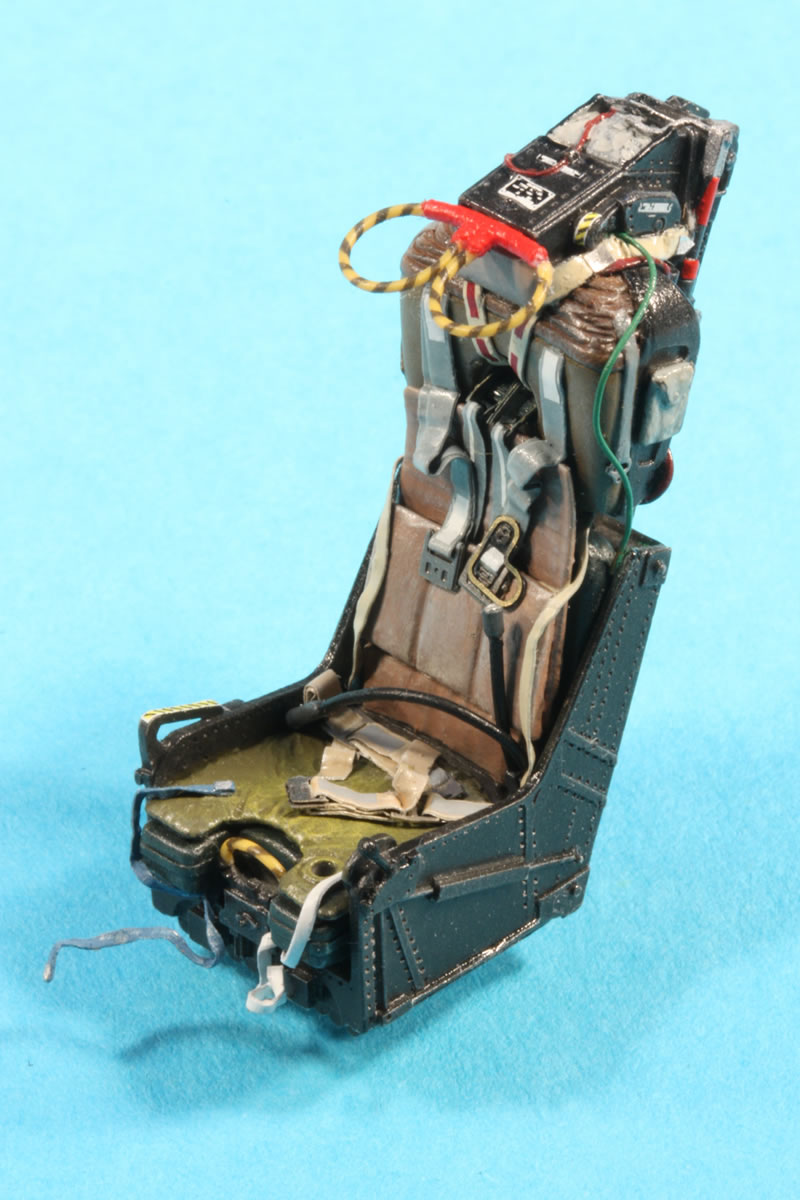
And voilà, there is the nice looking ejection seat handle!
© Luc Janssen 2016
This article was published on Friday, April 08 2016; Last modified on Friday, April 08 2016