
Cutting Numbers for Masking
By Chris Kirchhoff
With this brief article I would like to explain (or at least I will try to) how you can easily make your own painting masks. The example shows a Yellow 4 for a German WW 2 fighter. The decal sheet used for your reference is the suberb Eagle Editions EC # 46.
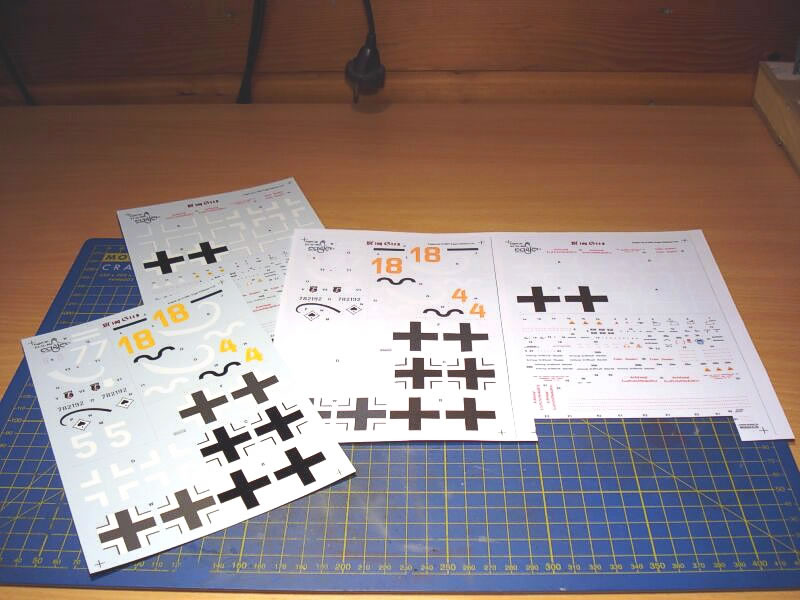
Picture 1: Make a colored copy of the decal sheet. (Obviously you should only make a copy of a decal sheet you have yourself purchsed as making a copy of someone elses decal sheet is not only unethical, but also illegal and hurts the business of the decal producer. Ed.)
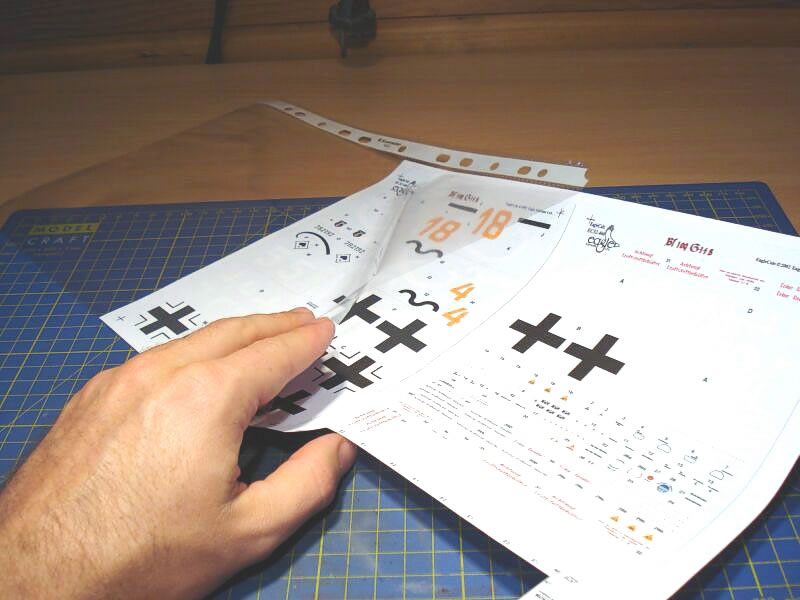
Picture 2: Carefully insert the copy into a clear protective jacket.
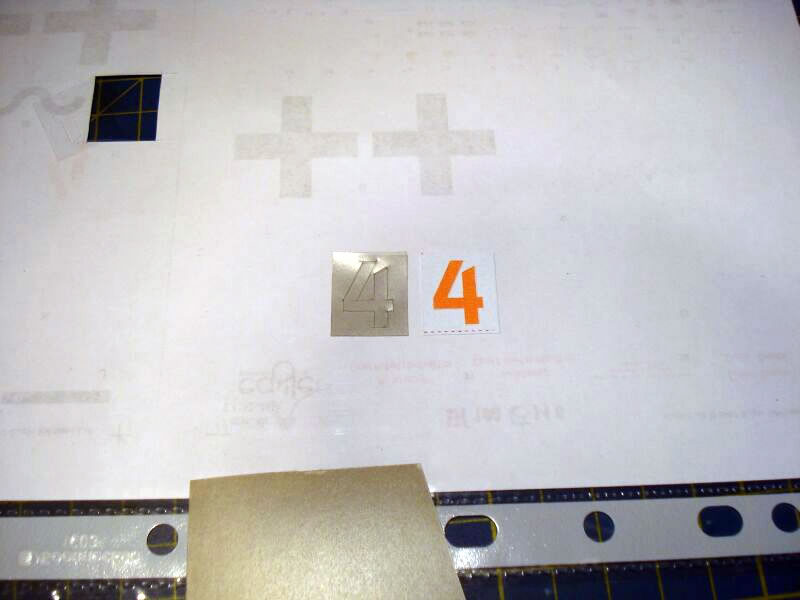
Picture 3: Attach a piece of masking sheet over the "decal" you need. (Yellow 4 in this example)
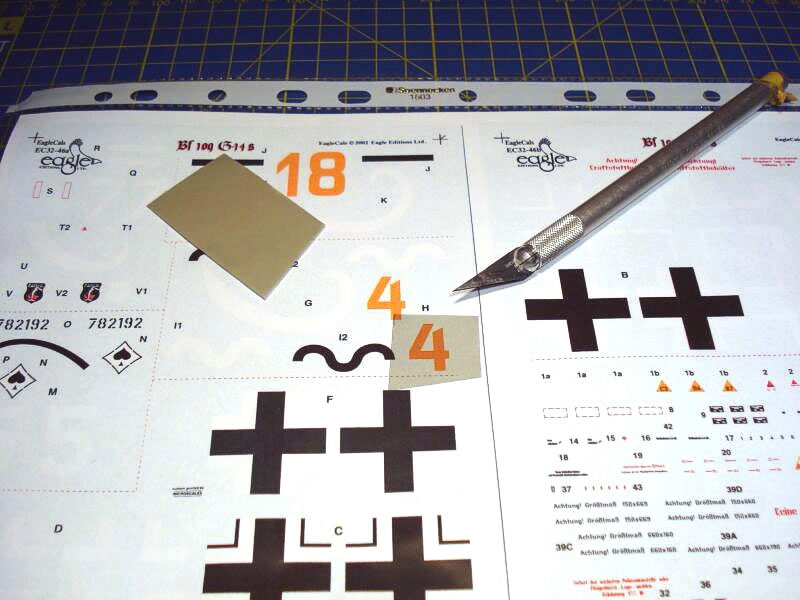
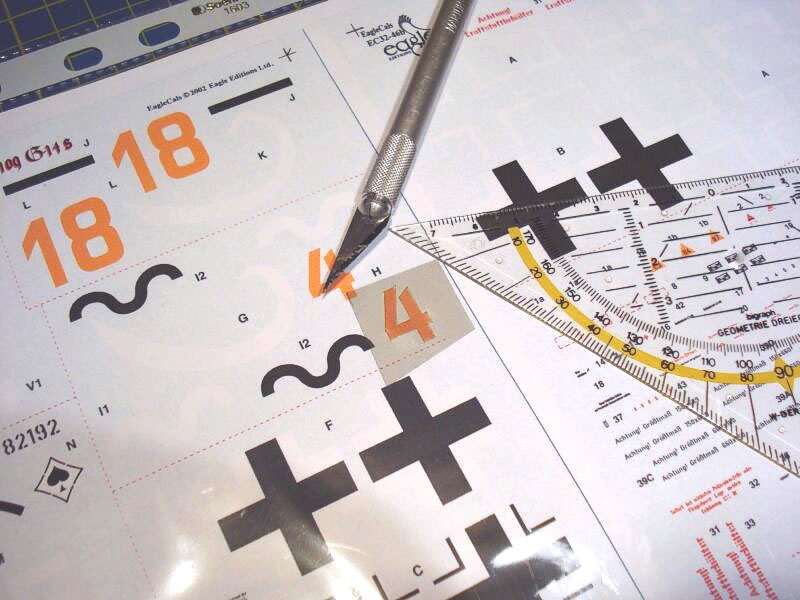
Picture 4: Carefully cut along the outlines of the 4 with a new sharp sclapell blade. Use a ruler to make straight lines if needed.
Picture 5: Cut out the masking foil.
Picture 6: Remove the 4 from the masking sheet.
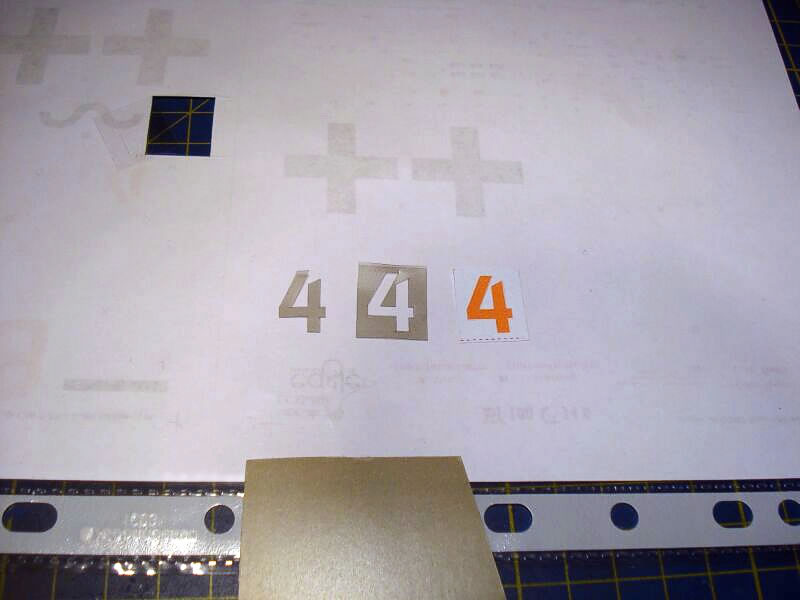
Now you can decide which part you want to use. The good thing is, you can store it somewhere till you need it, as the glue side of the masking sheet is covered with the plastic of the clear jacket.
That´s it. Hope it is of help and makes sense to you. If there are any questions, feel free to ask. And no, I don´t know where to get that masking foil, as mine came from a friend. I just know, it is expensive. Maybe you can get some masking foil in your LHS.
© Chris Kirchhoff 2007
This article was published on Sunday, November 01 2015; Last modified on Sunday, November 01 2015