
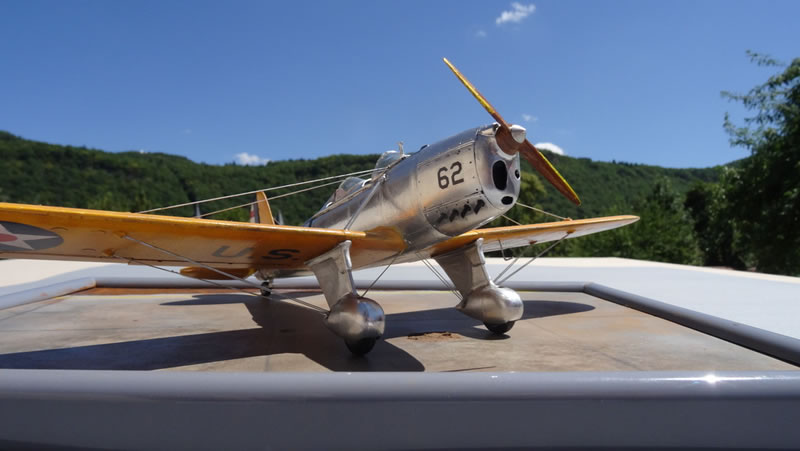
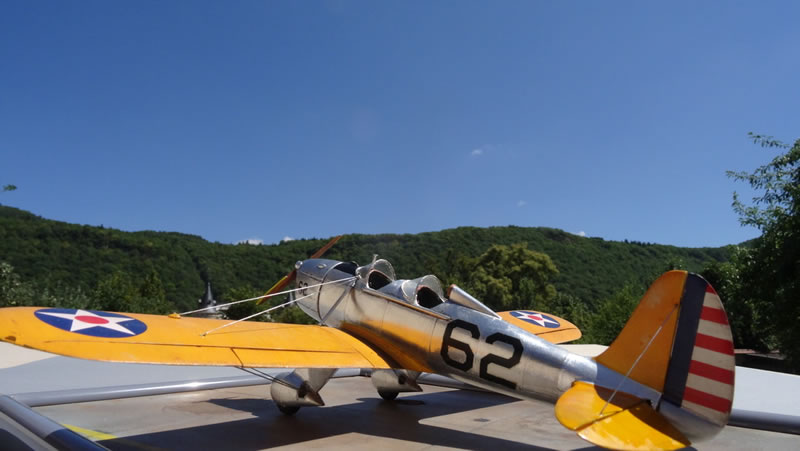
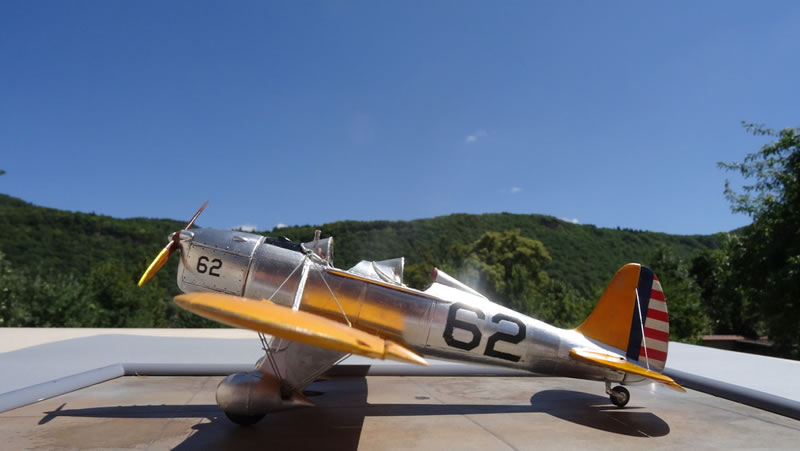
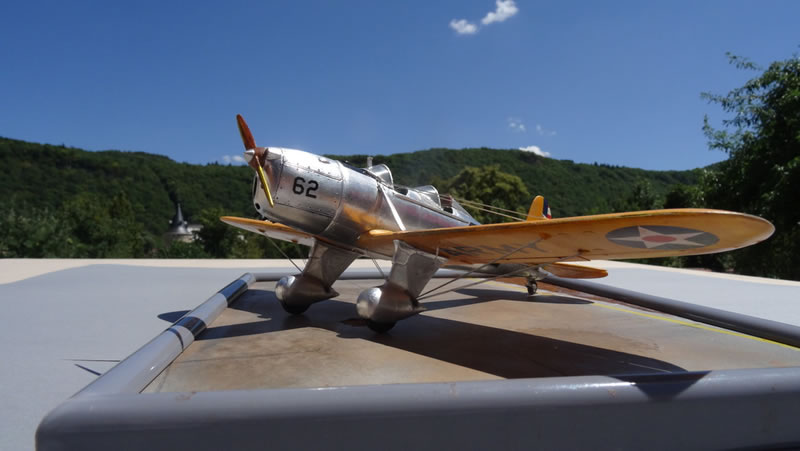
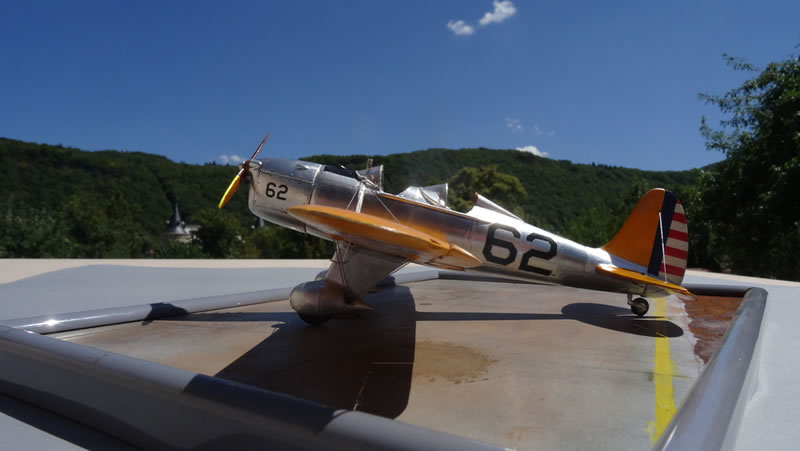
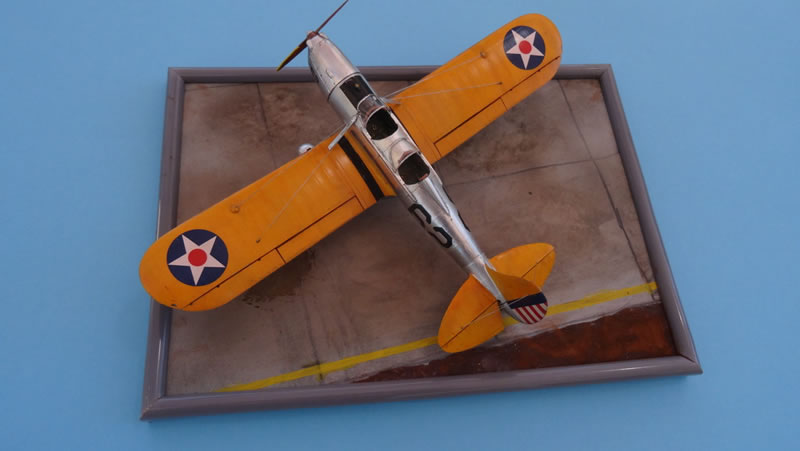
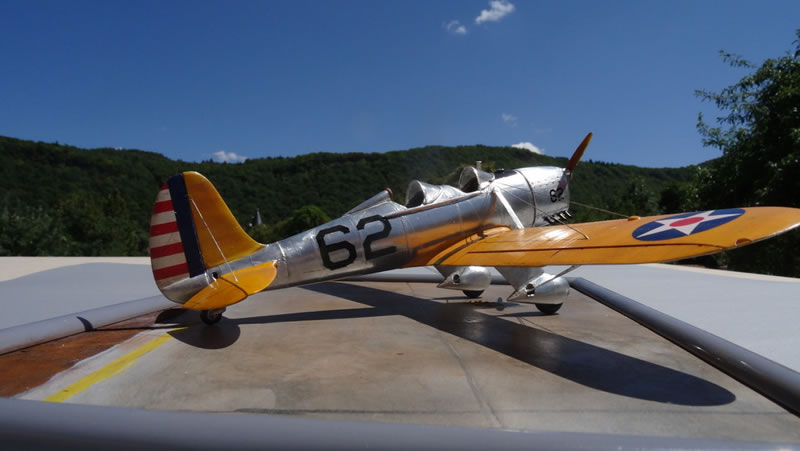
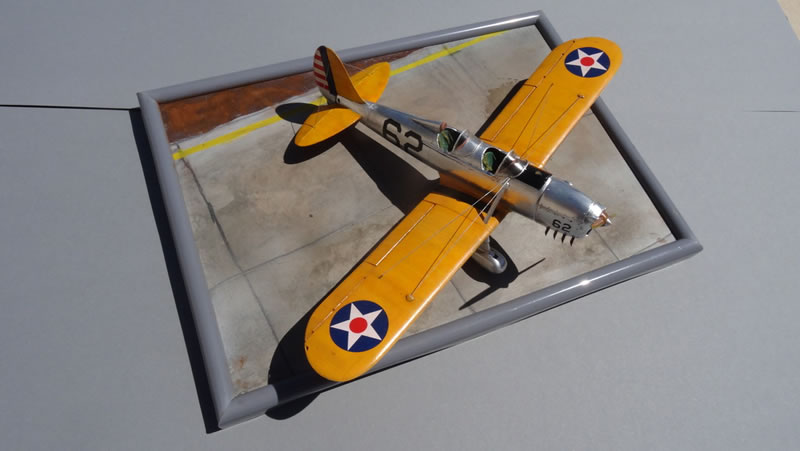
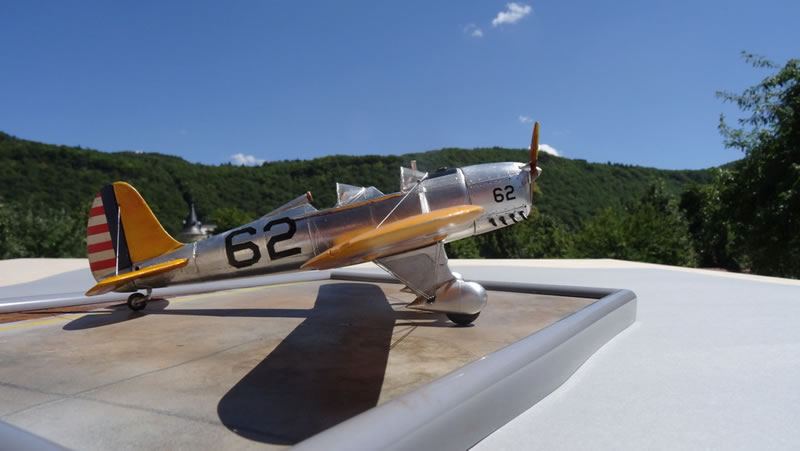
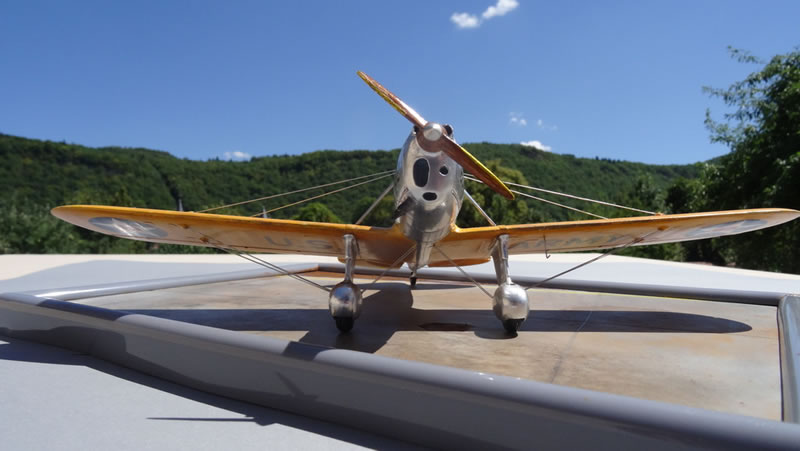
Fisher 1/32 Ryan STM / PT-20
By Hubert Boillot
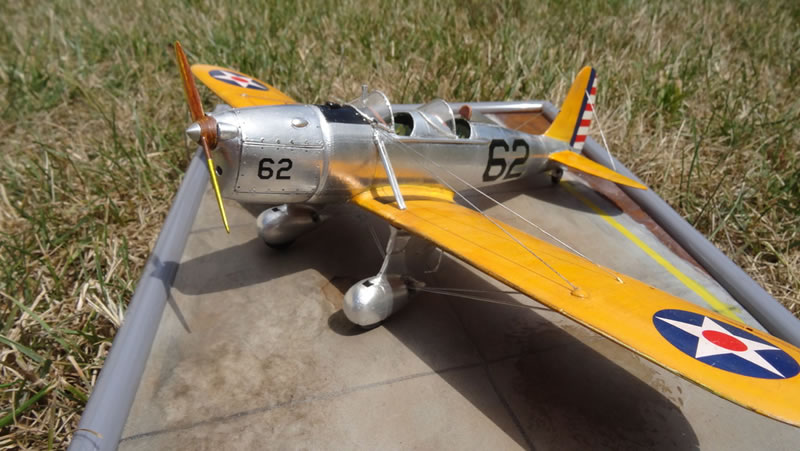
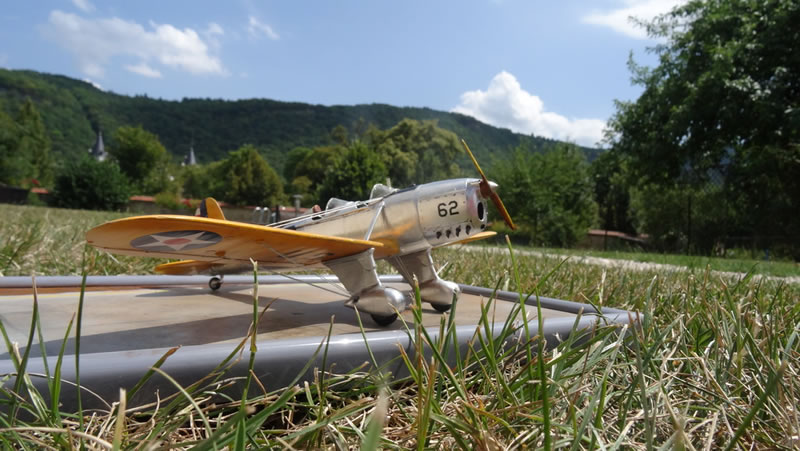
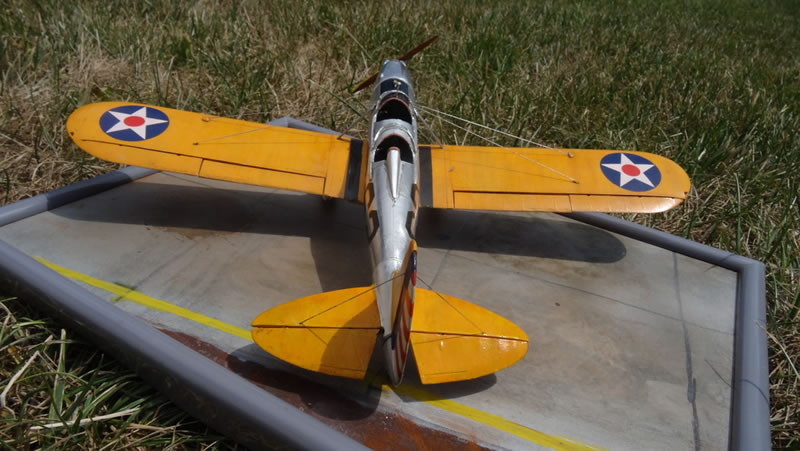
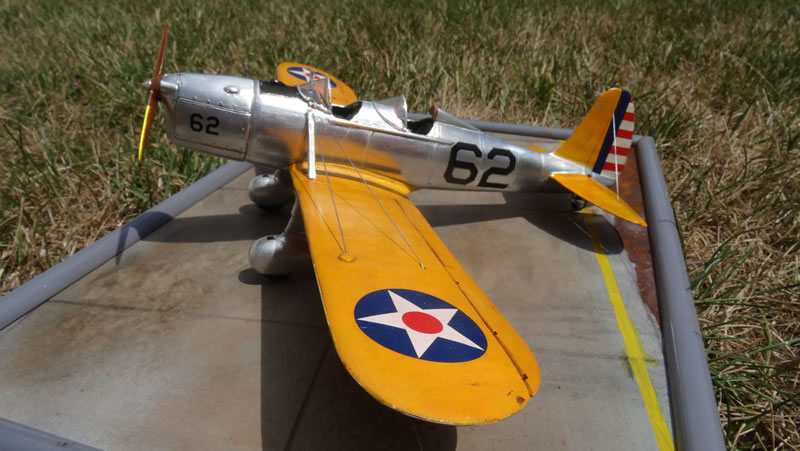
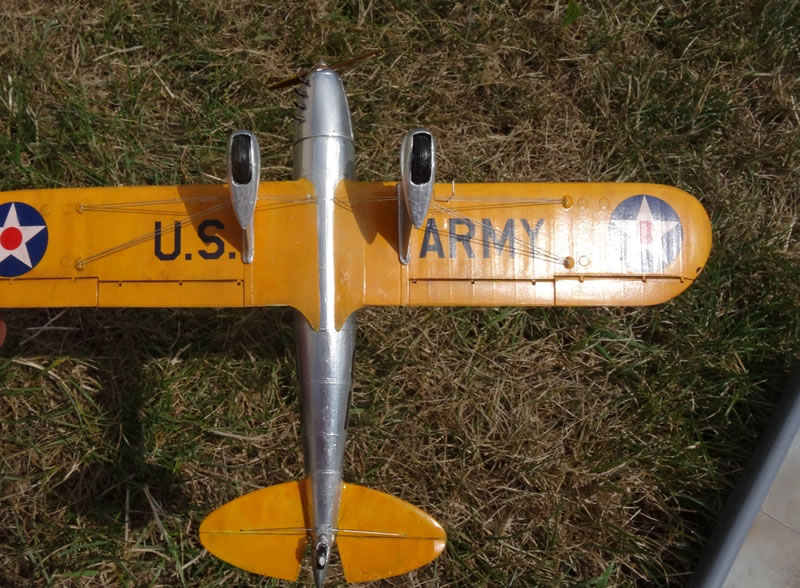
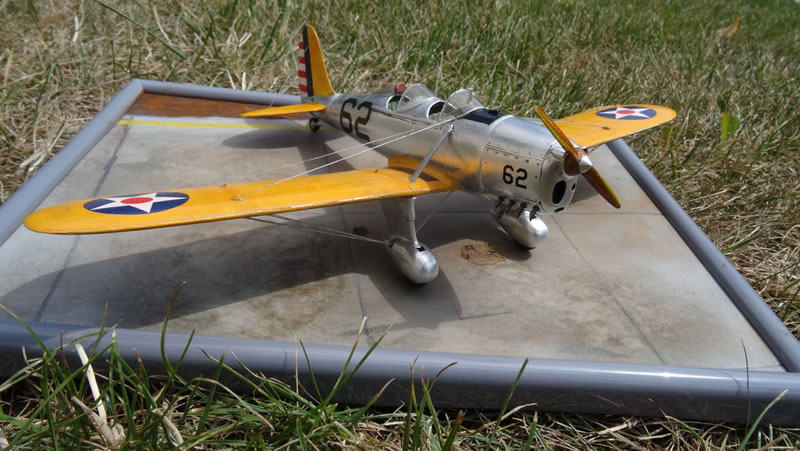
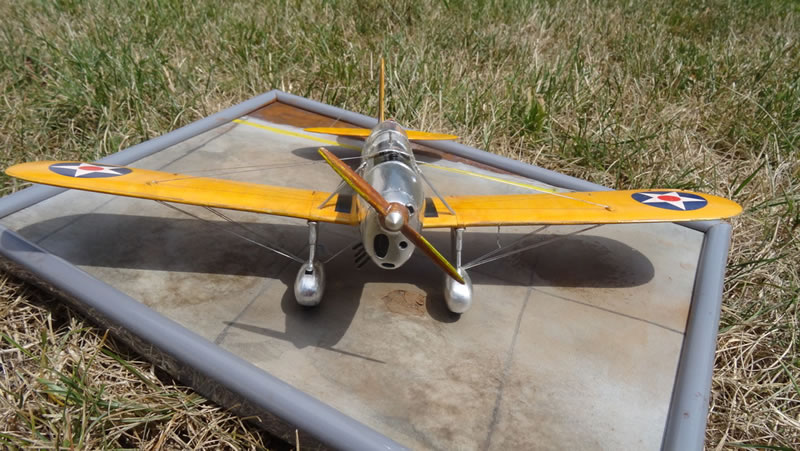
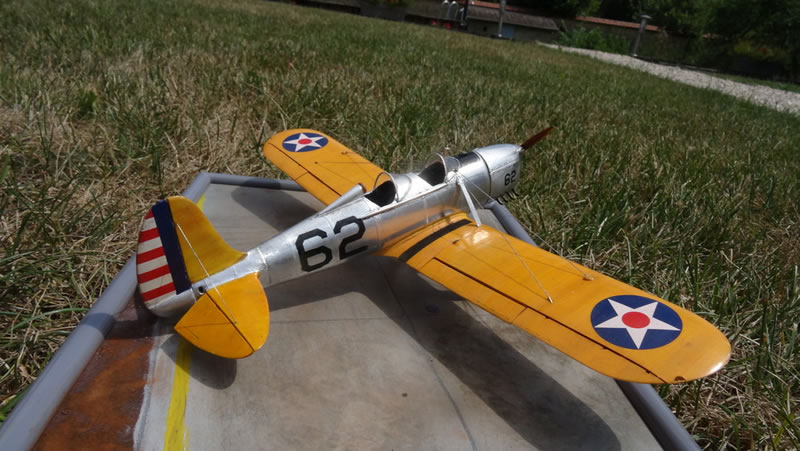
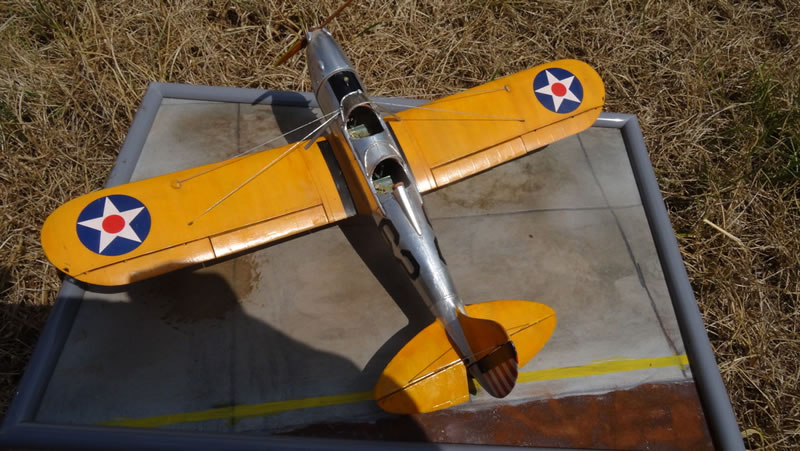
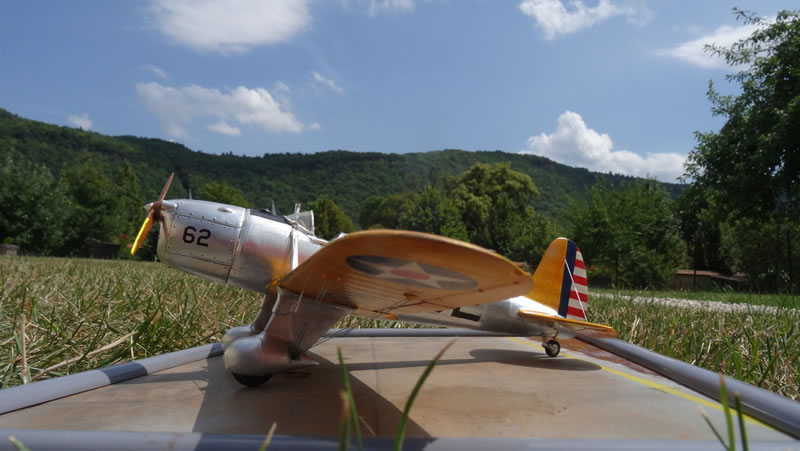
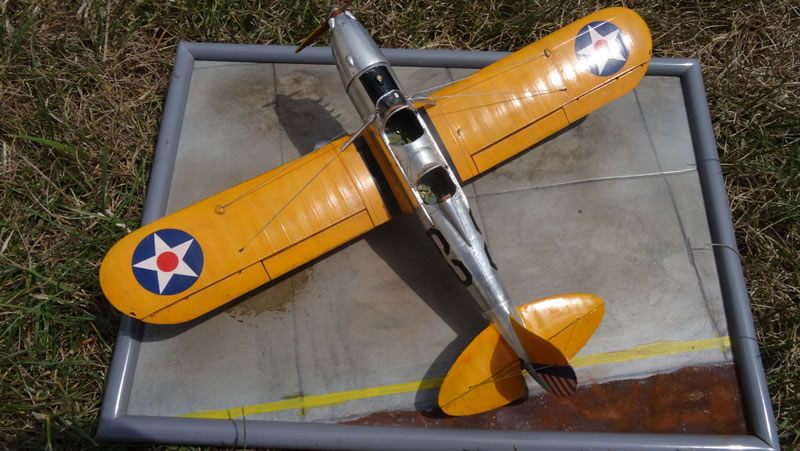
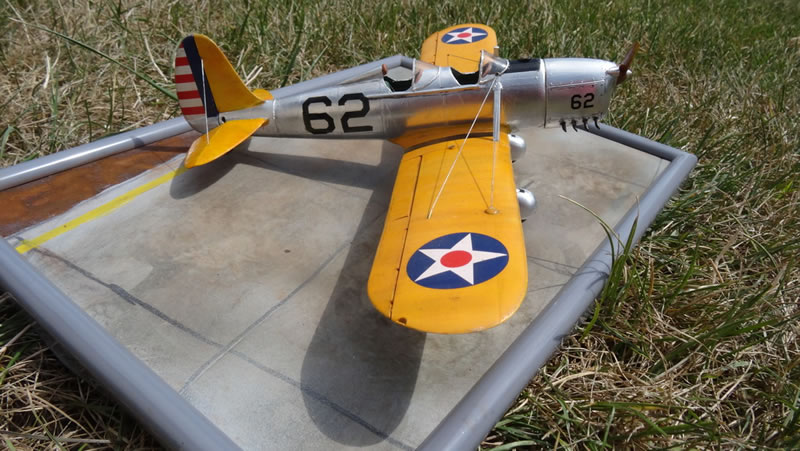
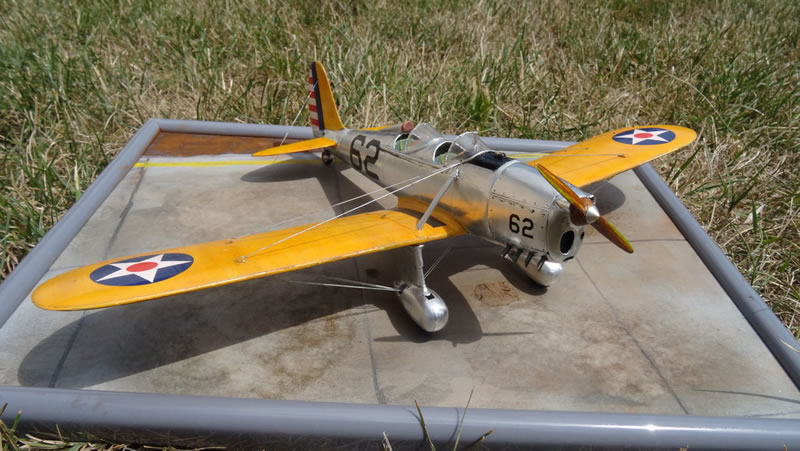
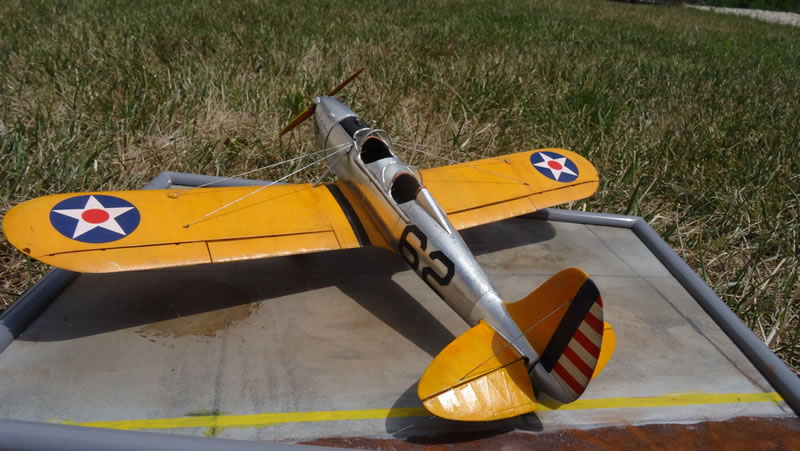
Here is my completed Fisher Ryan ST-M / PT-20. This kit is a first for me in many respects:
- My first compeleted kit in 15 years
- My first completed aircraft kit in 20 years
- My first resin kit
- My first kit where I have been trying and used foiling for metal parts
- My first kit where I used Archer rivet decals
- My first operational use of the Silhouette cutter, for detailing the engine
- My first use of Airscale instrument decals. They are as good as Peter is a great modeller, that much!
So it has enabled me to come-out of my modelling doldrums, regain my mojo, and overcome my psychological block on painting and using an airbrush. I have always preferred detailing and buidling over painting, but I this site has taught me that great kits result of good painting more than detailing. I will now feel more confident / less wary of painting in my future kits. And I am now sold over to the benefits of acrylics in airbrushing, but not yet for brush painting.
However, given that I learnt or re-learnt a number of things in building this kit, it did not come out as good as I dreamt of. But I have learned many things in the process that I feel worth sharing with you all:
- Archer rivets are very good. When used with Micro Sol / Micro Set or the likes, the carrier film completely disappears. They will take foiling well, BUT, if you mess-up the foiling, they will tear off with the foil when you remove it. So they have to be sealed under a coat of paint if you want to foil them over.
- Being in the beginning reluctant to do any airbrushing, I used a Tamiya TS rattle can for the sealing overcoat. With hindsight, I should have used the airbrush and would have achieved a thinner coat, and therefore better definition of the details and rivets.
- Tamiya TS rattle cans paint react with alcohol : when redoing foiling and cleaning-up the Microscale Metal-foil Adhesive, alcohol is the best way to do so, but will not work well with an undercoat of paint coming out of Tamiya rattle-cans. Another reason not to use them to seal rivets.
- Foiling is easier and less daunting than one imagines. It is really worth giving it a try, as, in the end, nothing looks more like metal than metal.
- When going over compound surfaces, small areas are better than big ones, and thick foil, that will stretch under the burnishing tool, much better than thin foil that will tear-off.
- Wood dowels, toothpicks and brush handles are great burnishing tools for foiling.
- Spread the glue onto the part rather than the foil. This way, you can control more accurately which area will be foiled.
- Monofilament is great for rigging. I could have used Eazyline, but found out that the benefit of taut monofilament is that it contributes to structural strength of the kit, just like on the real aircraft. Tensioning monofilament can be achieved by passing near or under it an incandescent match or toothpick. After one or two « snaps », you'll learn how not to overdo it.
- A working jig is an absolute must for manipulating and building kits. I made mine in a few minutes using foamed cardboard, and that was certainly the best thing I did (and another first) in all my modelling life.
Now back to the kit. It is straight from the box, with the following tweaks:
- I have used Airscale instruments decals for the instrument panels.
- The belts are HGW's USAF laser-cut fabric belts. Very good, and taking washes very well, but the instructions on this specific set could be clearer
- The cockpit as represented by Fisher is inspired by their (earlier) PT-22 kit. The control sticks are wrong: they should be straight, vs the kit's S-shaped ones. As they were chromed-metal on the real airplane, pins with a Milliput handle were an easy replacement.
- The rudder pedals are not right either. The ones on the ST-M were different, with a brake pedal at the extremity. But they are barely discernible in the end, so you can bypass this tweak...
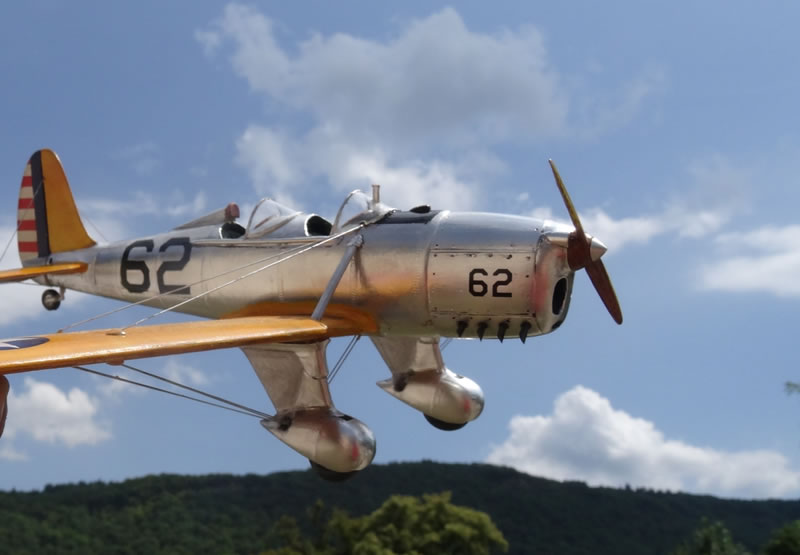
- The engine representation is minimal. It will probably do, given the size of the opening, but I chose to redo it, using the Silhouette to cut the circular cylinder fins from paper, and stacking them over a central rod. The engine block was sculpted out a plastic block and painted KLM blue, Finally the pushrods were done using pins.
- I added a 3 mm dia circular intake in the engine cowling face, as it was present on some early ST-Ms, if not all of them.
- Take care when assembling the flaps of making sure their trailing edge is aligned with the TE of the ailerons. As designed in the kit, there is a small step that should not exist
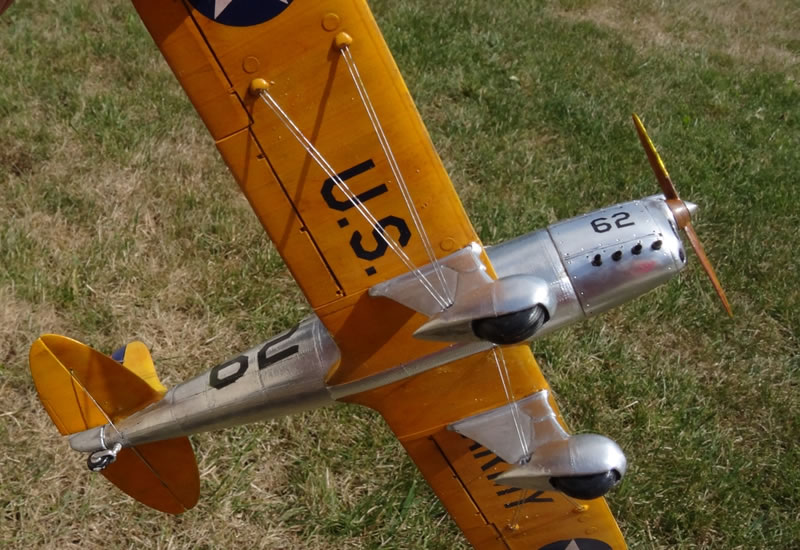
- My kit was missing the wing to fuselage struts. I did new ones by wrapping a plastic rod with thick alu foil (from disposable kitchen-ware)
- The wheels are a little anemic, and their hubs are too big in diameter. I beefed-up mine with Mr Surfacer, and turned a smaller (3.5mm) hub for them. But when in the wheel spats, this new hub is not visible anyway.
- The kit-supplied exhausts are good. But I redid mine using some brass tube (1.2 mm dia) thinned from the inside with a 1 mm drill. The tube was then blackened using Uschi's blackening fluid.
- Finally I added a pitot tube, made from a suitably bent Albion Alloy 0.5 mm dia brass tube.
Finally, a list of some products I used and found great and very useful:
- Micro Metalfoil Adhesive: nothing beats it for foiling.
- Uschi Van der Rosten's blackening agent. Great to blacken brass parts
- Uschi Van der Rosten's Blitz Dry: dries oil paints (used for simulating wood) in 1 to 1.5 hour rather than 5 days
- HGW fabric seatbelts
- Tamiya Craft Bond glue, for gluing transparent parts. Looks like a white PVA glue but dries very fast and achieves a very strong (transparent of course) bond
- Pebeo satin varnish. Found in Arts & Crafts stores in France. Levels well, dries quickly. Better results IMHO than using Future.
- POSCA paint pens: it sometimes far more natural and precise to use a pen than a brush. These paint pens (found in arts & Crafts stores) are so convenient for small touch-ups and precise paint applications, and far easier to use than brushes in many circumstances. Plus you do not have to clean them after each use
- Albion Alloy micro-tubes. Besides the pitot tube, I used them for building the anchor points for the wires on the wheel-spats.
The WIP thread can be found in the forums.

© Hubert Boillot 2015
This article was published on Monday, July 20 2015; Last modified on Wednesday, July 22 2015