
Using Brass for Detail Parts
By Peter Castle
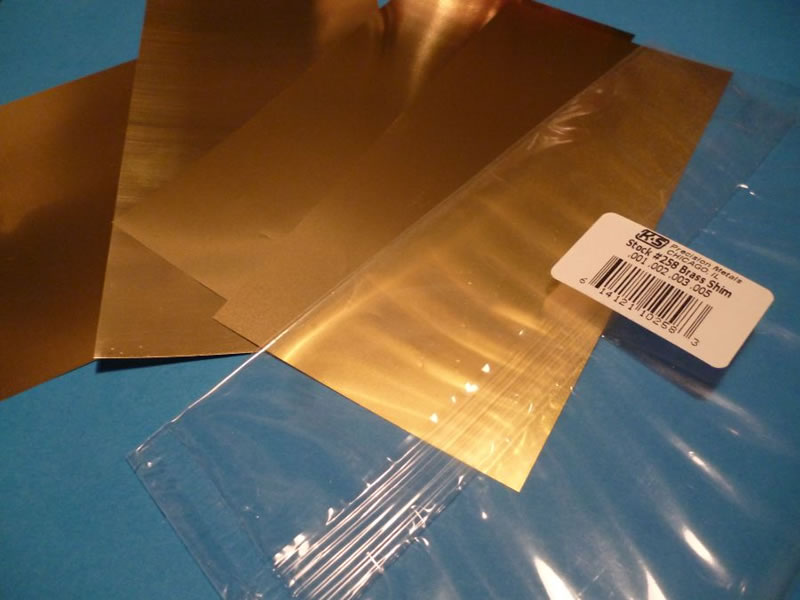
First get the right brass - I use K&S shim which I get off Amazon - it's about £9 GBP for this pack which has four thicknesses:
- 0.01 - thinner than paper but good for the 'T' part of T stringers & rivet details and skinning cowlings / control surfaces etc where there is a plastic or kit part substrate
- 0.02 - multi-purpose - general detailing but not self supporting as it's not rigid enough
- 0.03 - ideal for replacing panels - self supporting and rigid
- 0.05 - used as internal cores for control surfaces, will give a razor-sharp thin trailing edge
This is the pack:
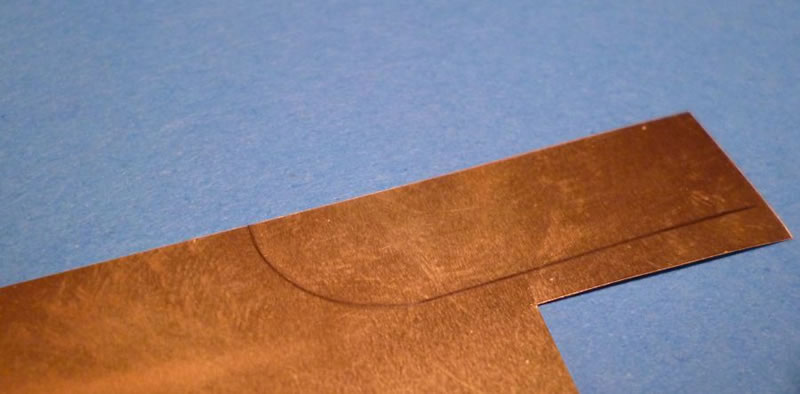
Draw out the shape you want in pencil:
Get a bit of perspex - I got this offcut for £1 GBP:
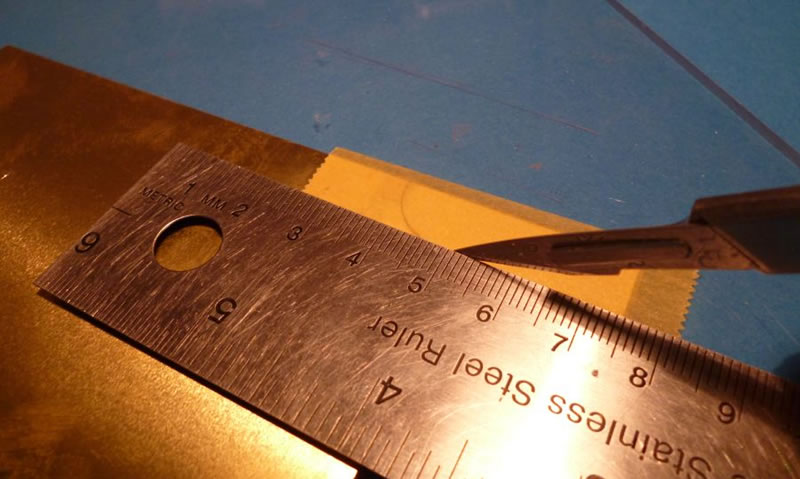
Tape the sheet to the perspex and cut straight lines with a scalpel - use new blades as thin brass will tear:
Cut curves with scissors or snips...these are just cheap IKEA scissors:

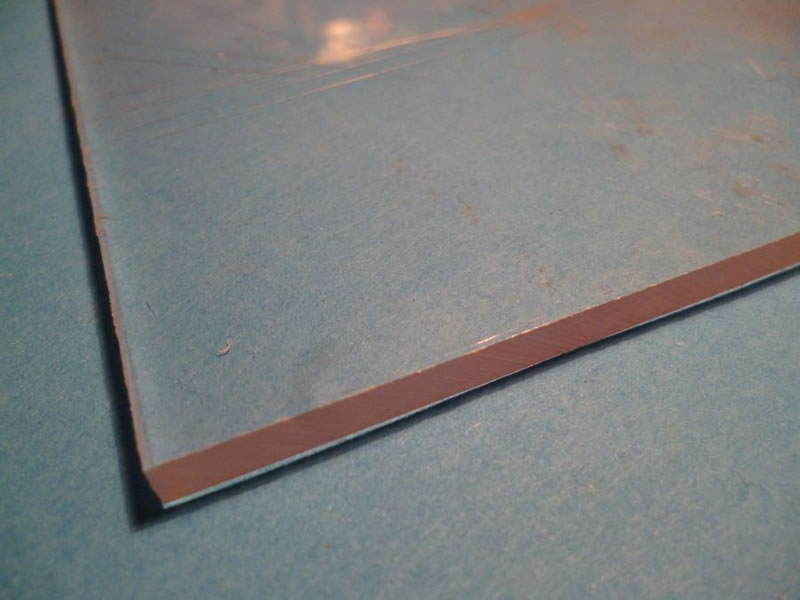
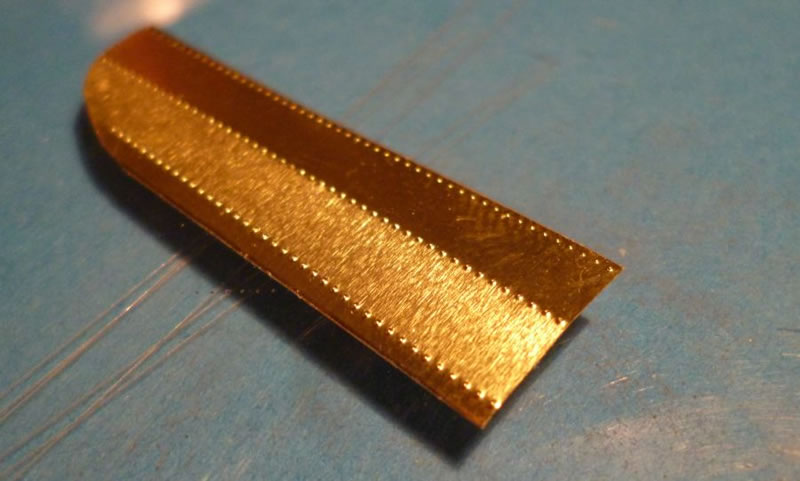
Once cut out you can see the edges are a bit flared & bent:

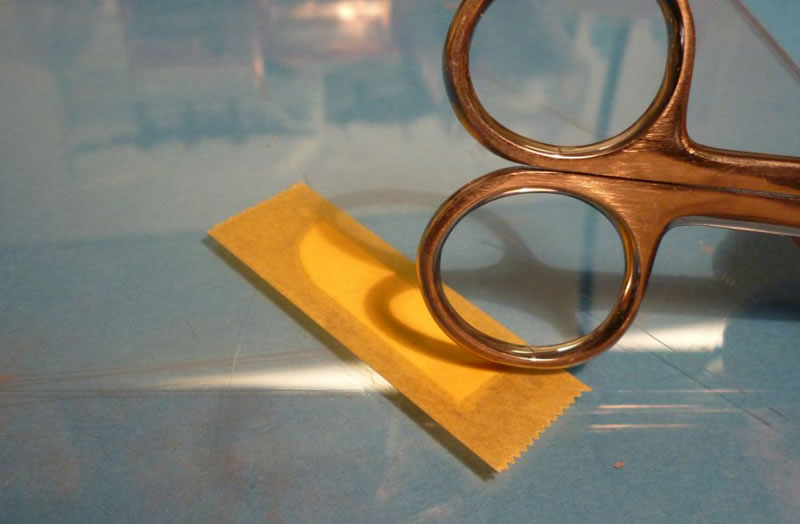
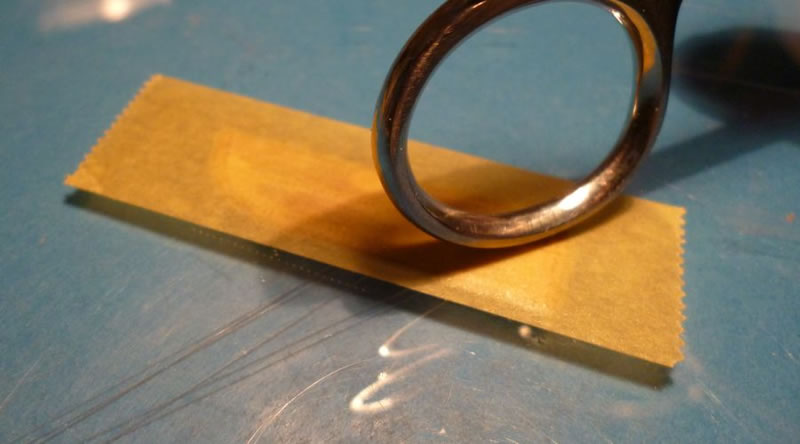
Tape the part down and burnish the edges with a hard, curved surface - in this case scissor handles:
Use a rivet wheel to add detail - either the depression for flush rivets, or the dome it creates for domed rivets. You can vary the size by either riveting straight onto the perspex for the smallest depression:
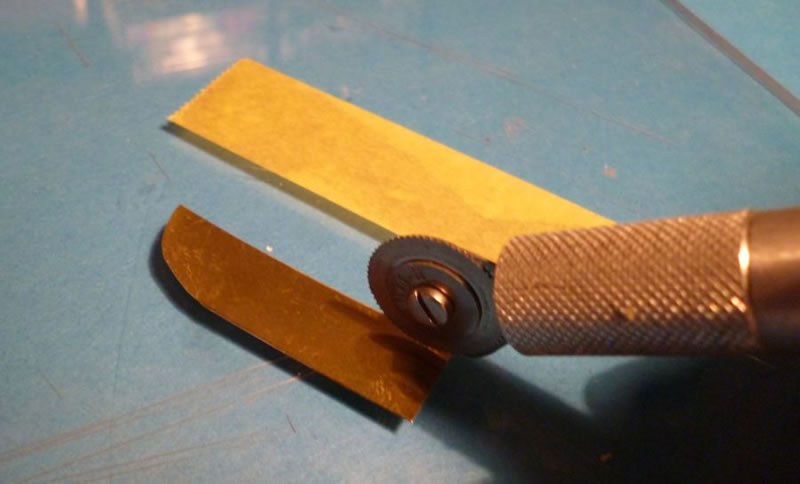
...onto a bit of tape for a bigger impression:
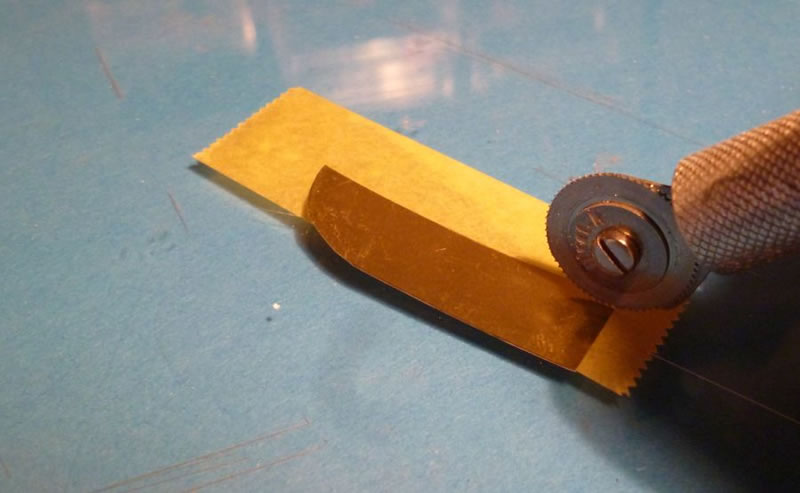
...or onto a cutting mat for the deepest impression:
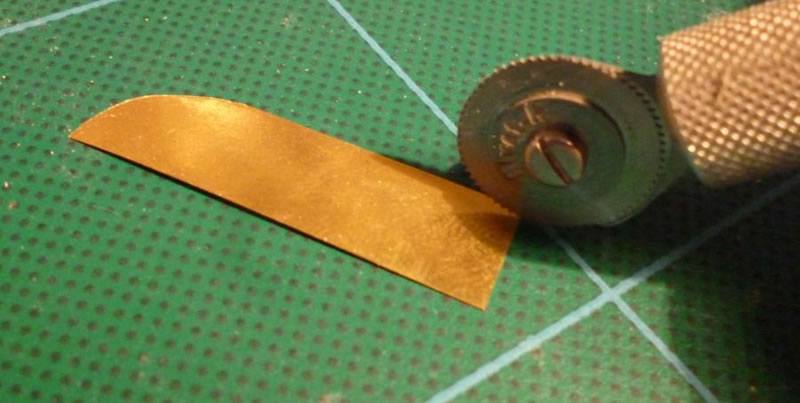
You may be able to see the subtle differences in rivet size here - you will also see the part has bent along the lines of rivets - no problem we sort that later:
You can scribe access panels etc - I use a pin in a pin vise - tape the two down so things don't move about:
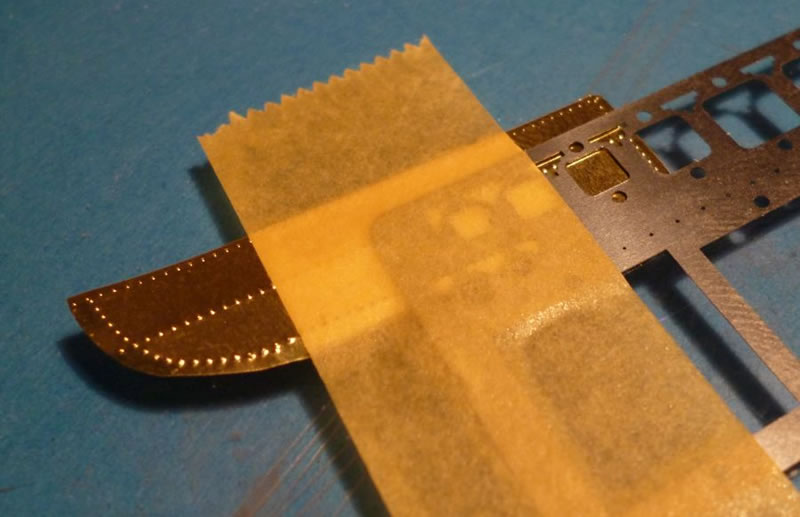
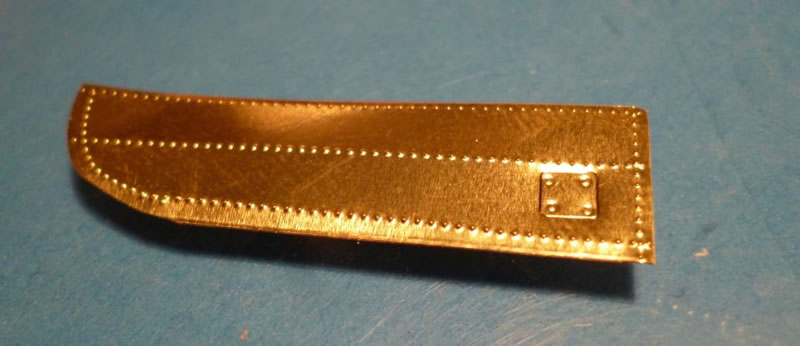
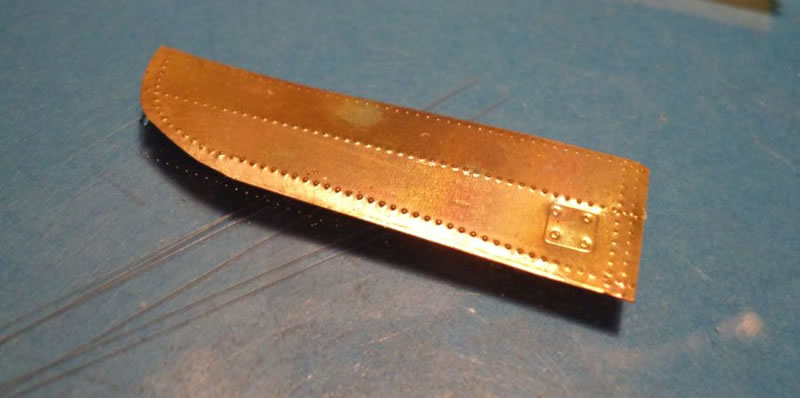
Add fasteners, etc:

The detail looks a bit 'blown' for now - no worries we sort that out later too:
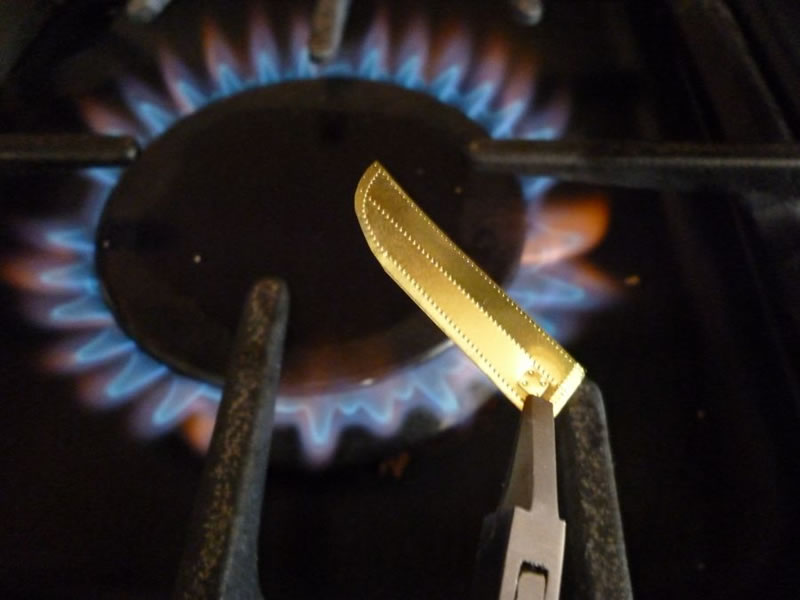
If the part will need bending, then we need to 'anneal' the brass - no witchcraft here - just hold it over a flame until it glows - afterwards dip it in water to cool:
Now we tape the part down and burnish all that 'quilting' where the part got deformed:
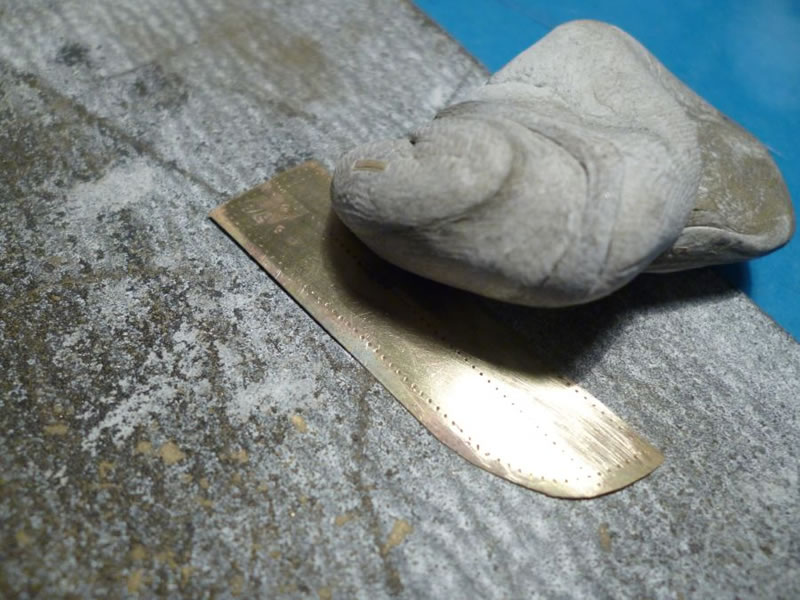
I like to clean the part up so onto a sanding pad - sometimes it's hard to get it to move as it's so thin it just grips the pad - get a bit of white tac / blu tack to make it move:
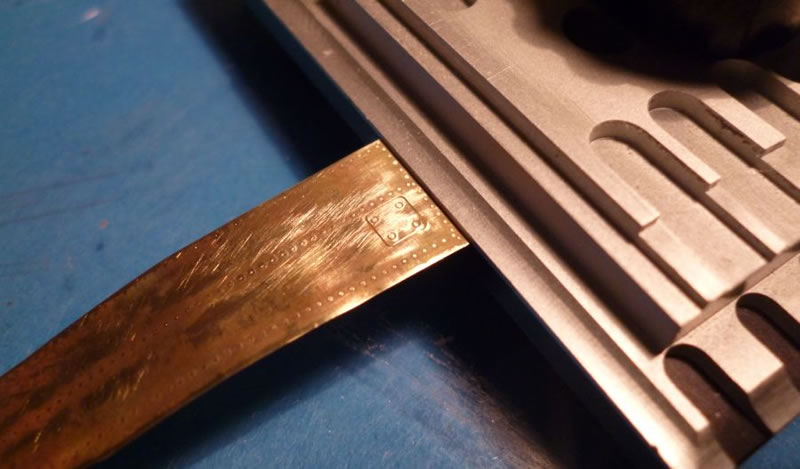
You can bend it if needed - I use a tool - before I had this it was just as easy with a steel rule and a blade:
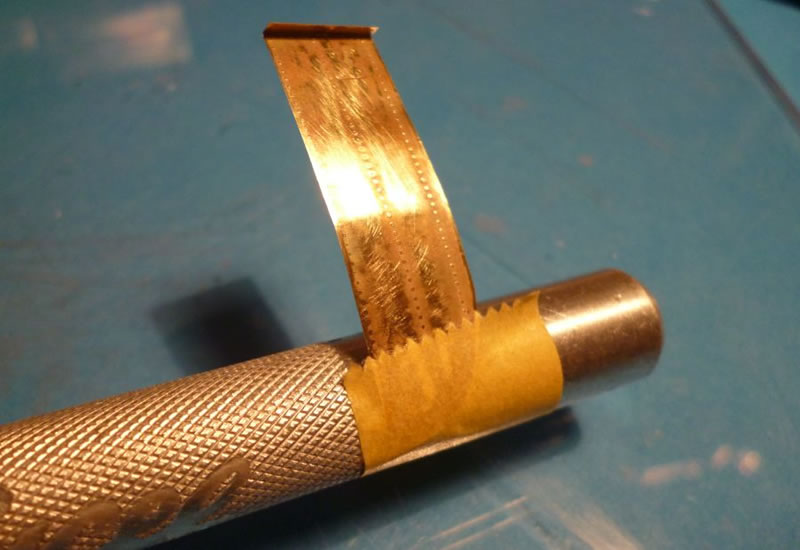
If the part is curved, tape one end to something of a smaller diameter and work away from the end you taped down:
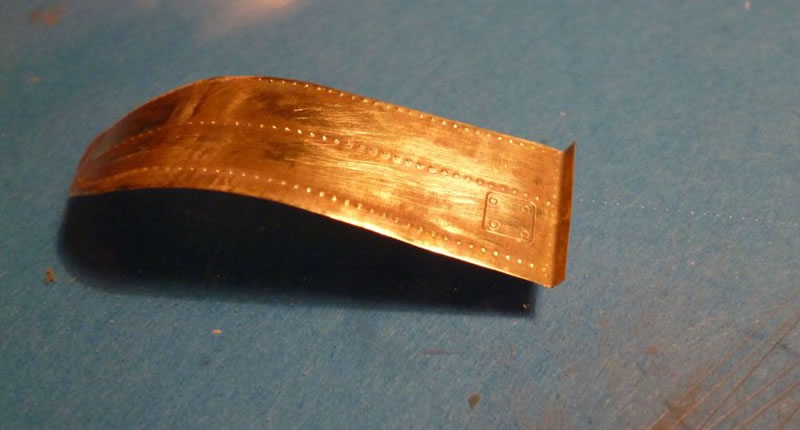
Here is our demo part - it can now be primed - I use Mr Metal primer:
I use this method for a lot of parts. I find it easier and certainly more realistic than plastic - it's easy - give it a go!


I hope that inspires someone to try it - this method revolutionised how I go about detailing.
© Peter Castle 2015
This article was published on Friday, February 20 2015; Last modified on Friday, February 20 2015