
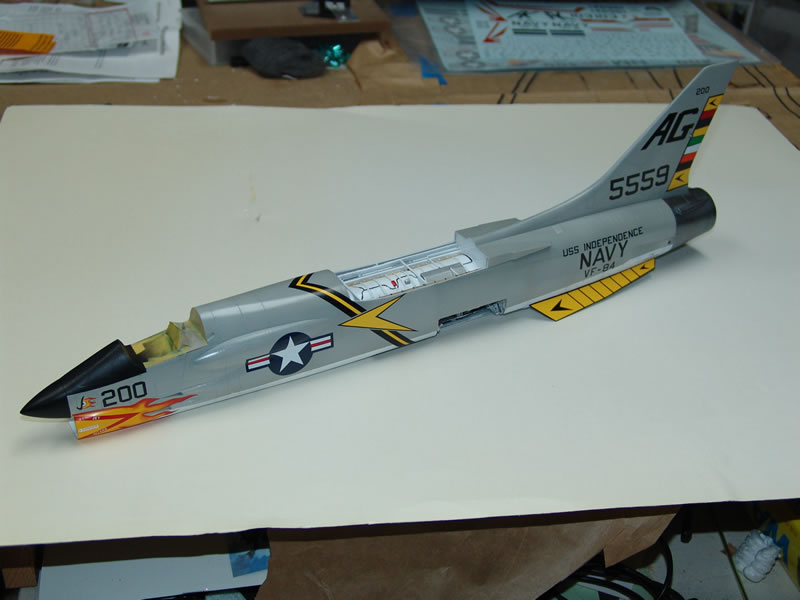
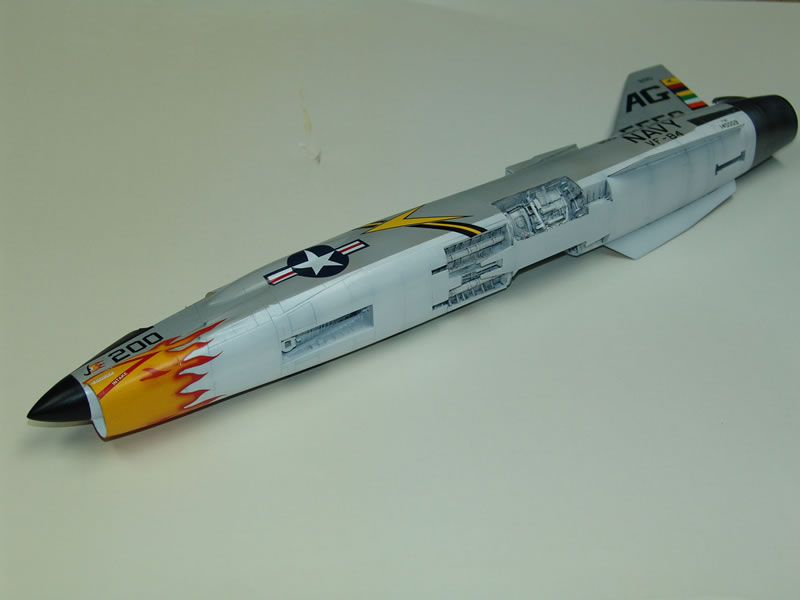
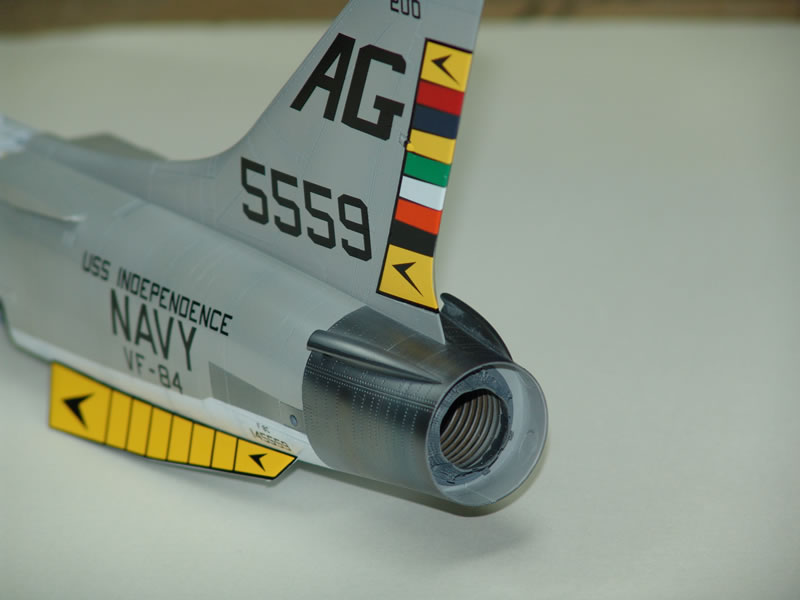
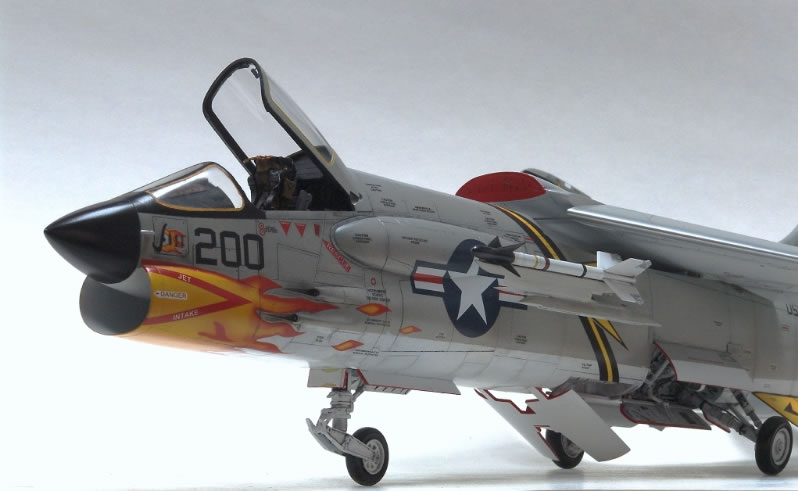
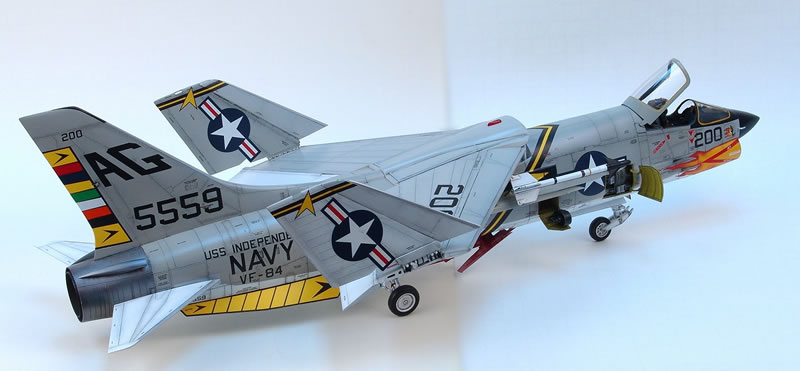
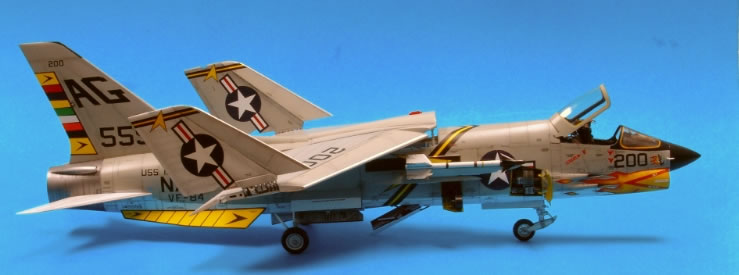
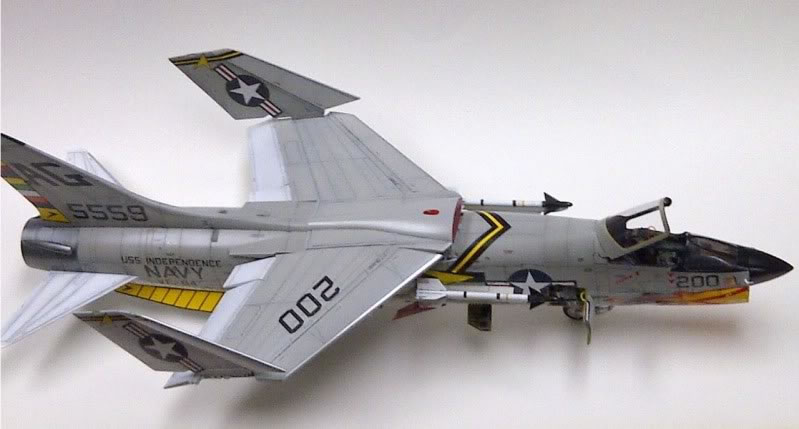
Trumpeter 1/32 F-8E Converted to an F-8C
By Jeffrey Brundt

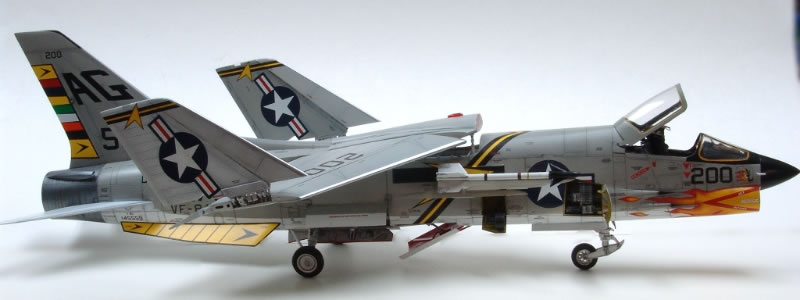
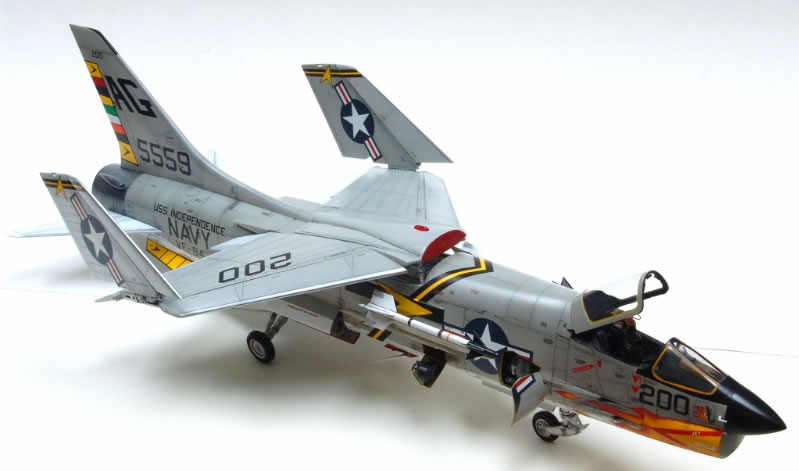
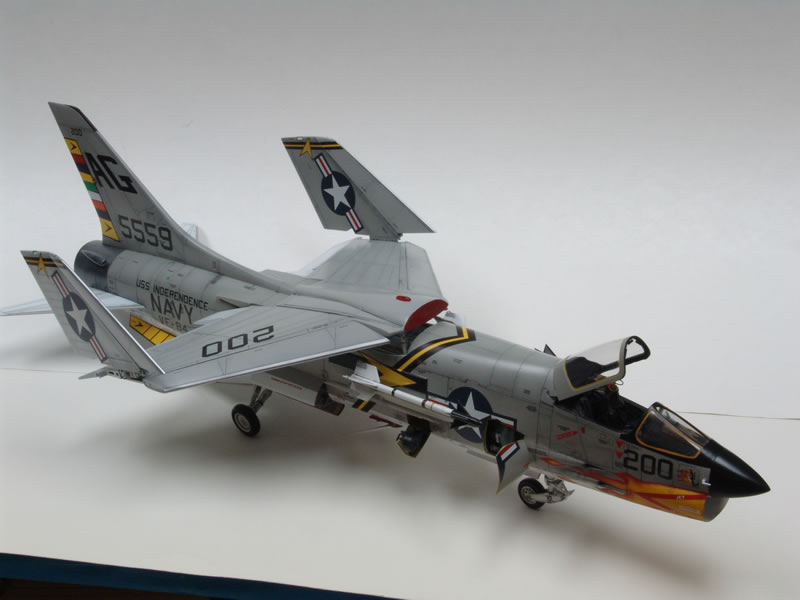
Here is my Trumpeter F-8E converted to an F-8C.
I used quite a bit of aftermarket on this one:
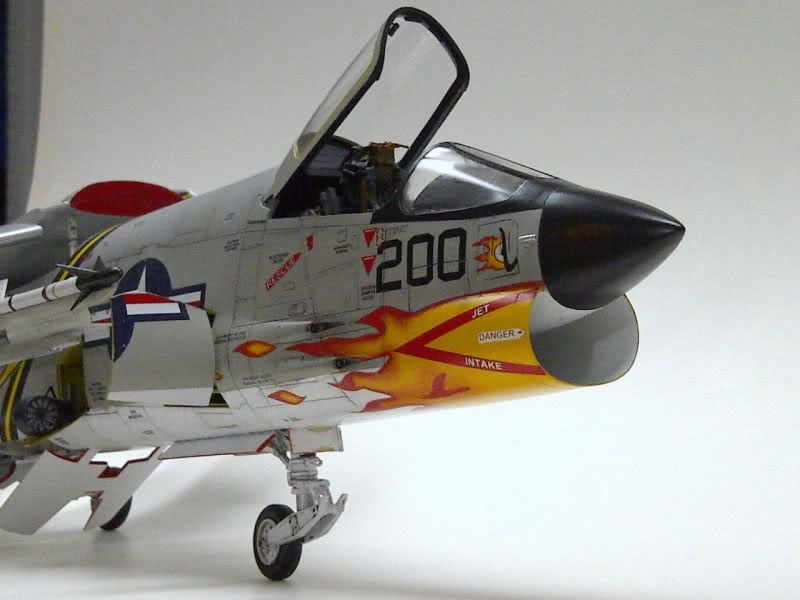
- Fisher Models F-8C conversion set
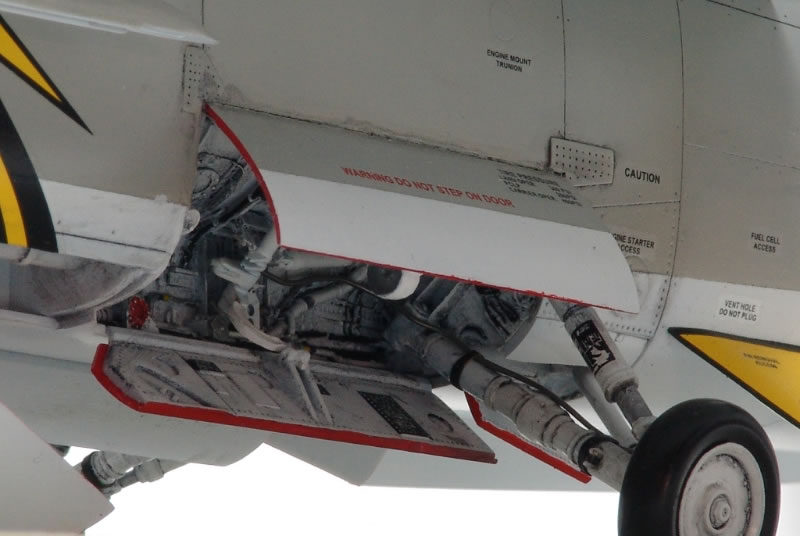
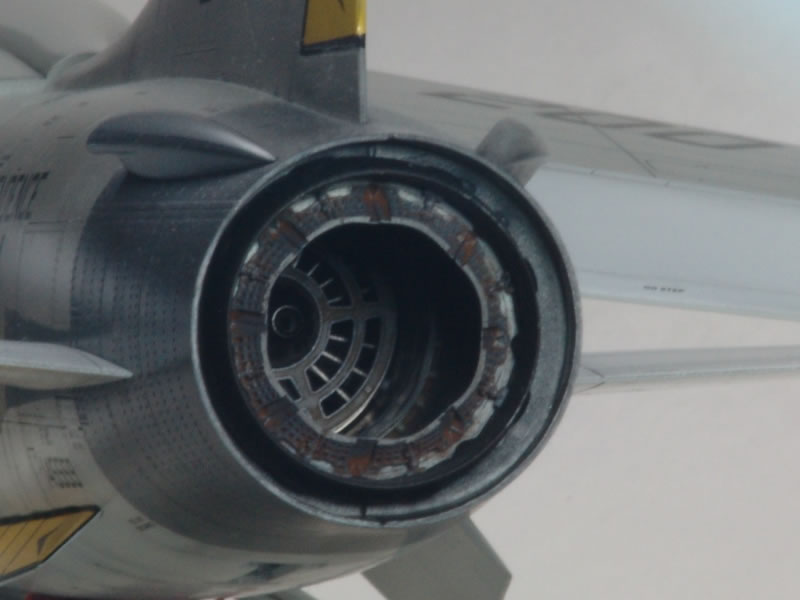
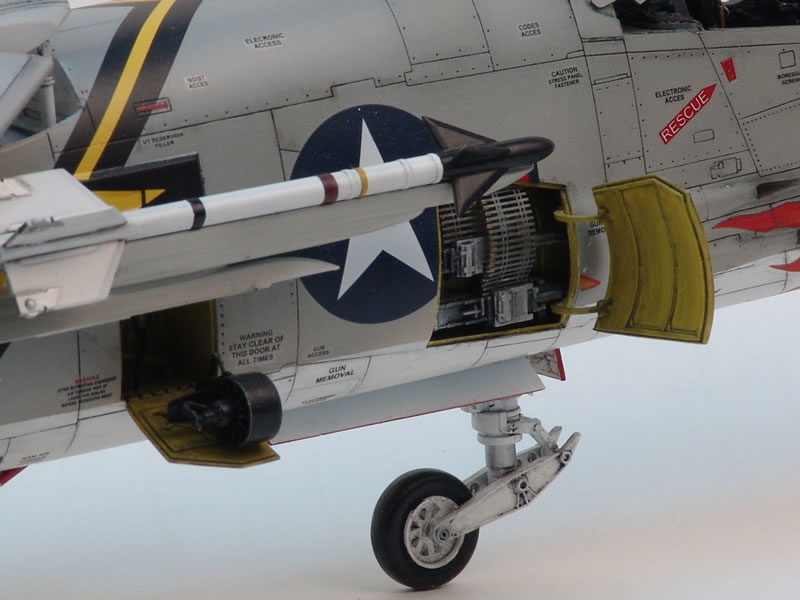
- Aires wheel wells and exhaust nozzle
- G-Factor landing gear
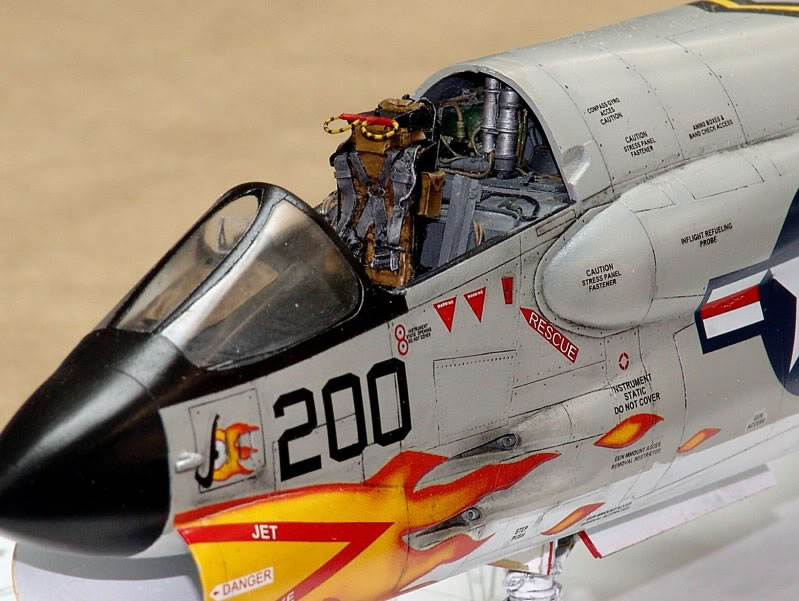
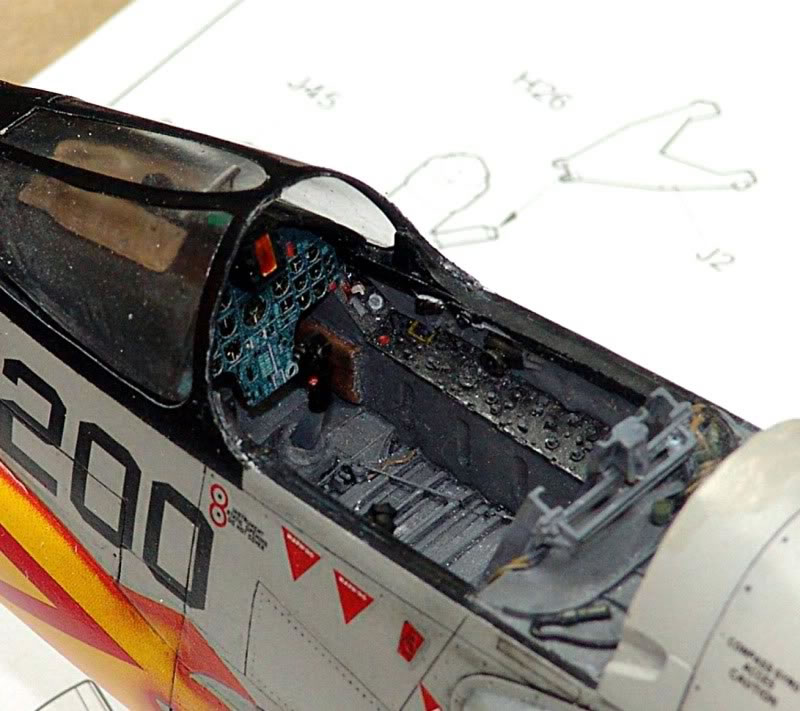
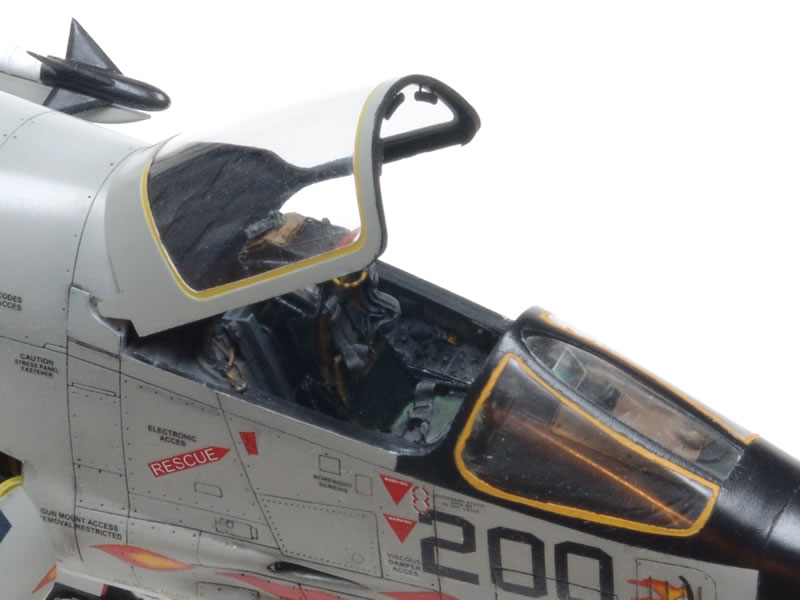
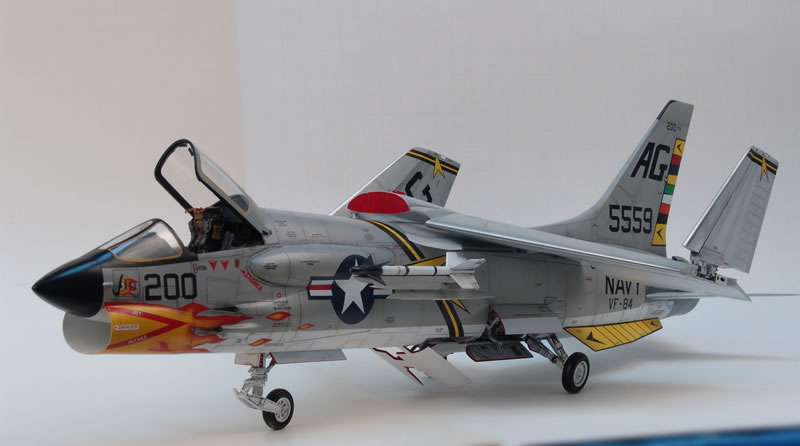
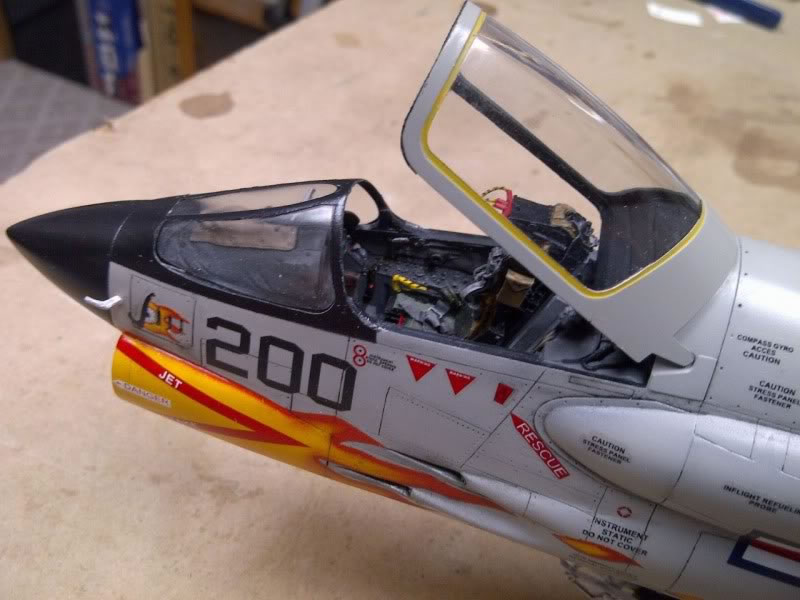
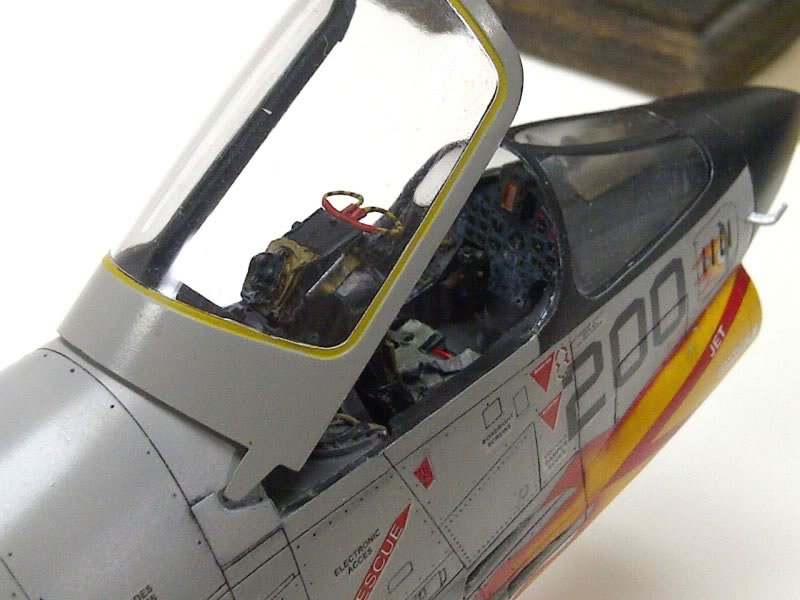
- Avionix resin cockpit
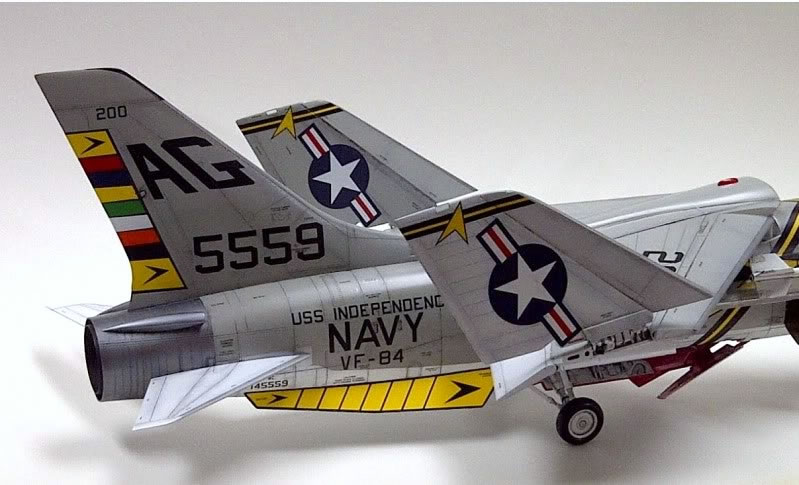
- Zotz decals
- Eduard color PE detail set (SA interior and exterior)
Construction Photos
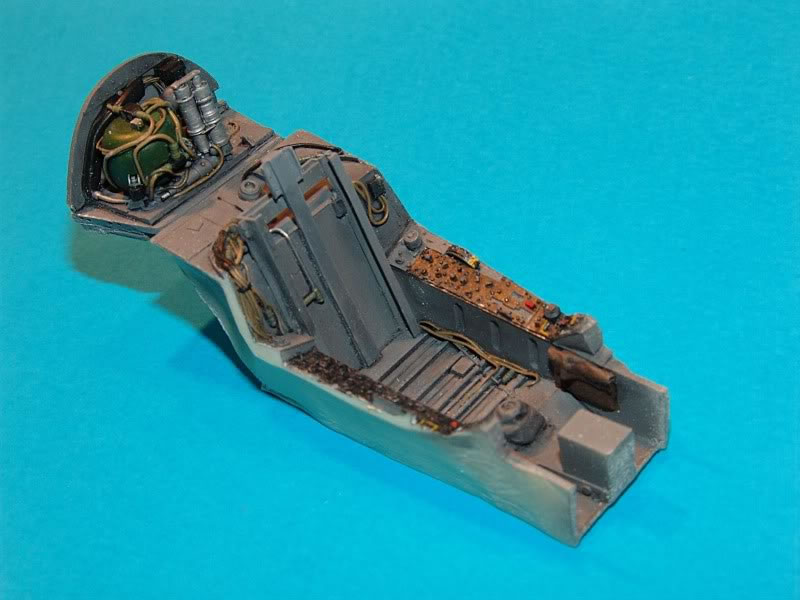
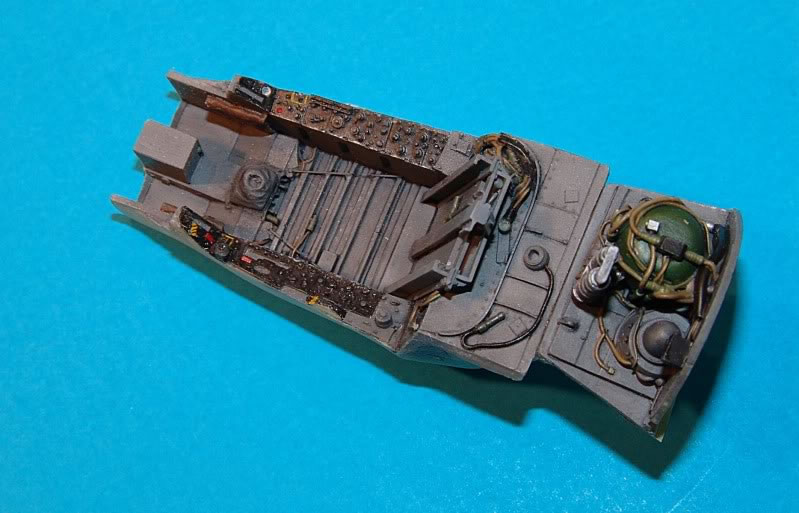
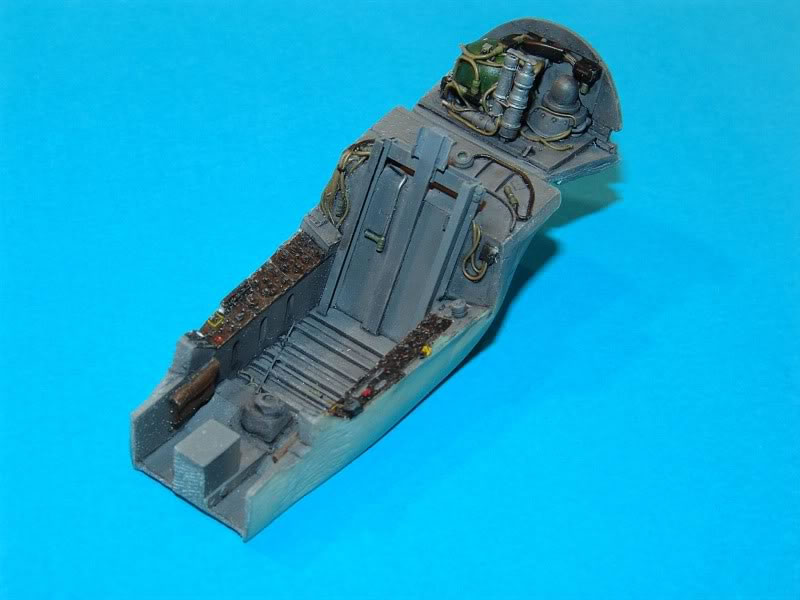
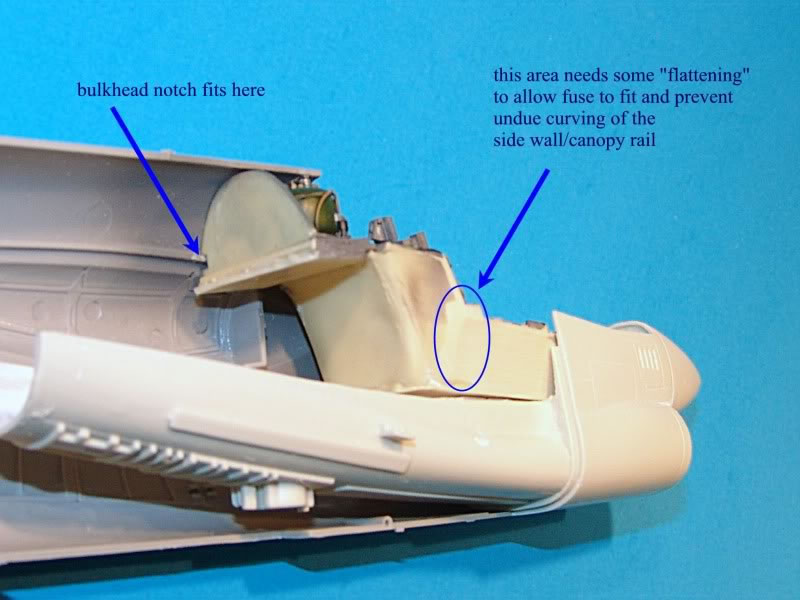

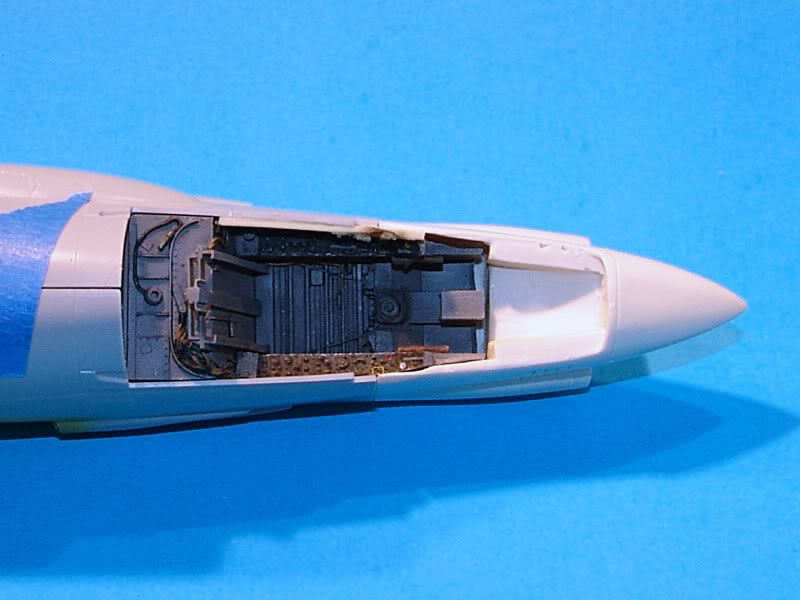
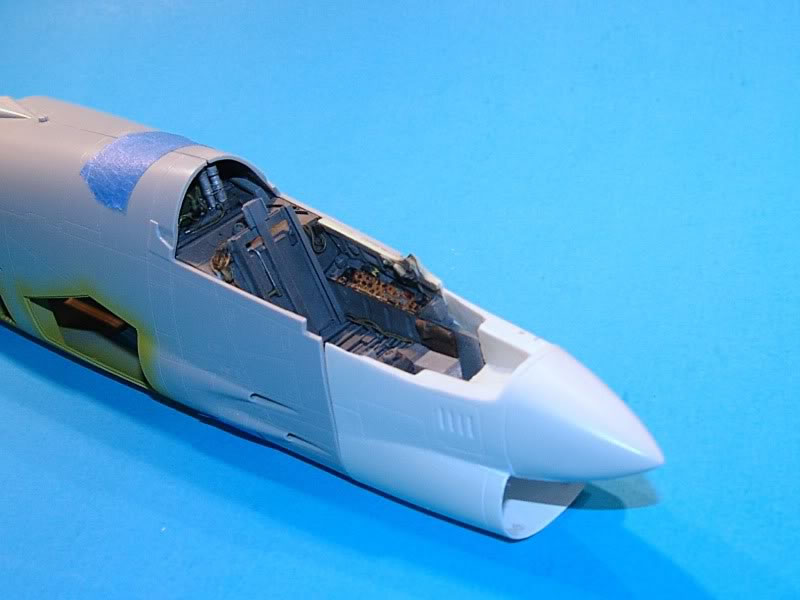
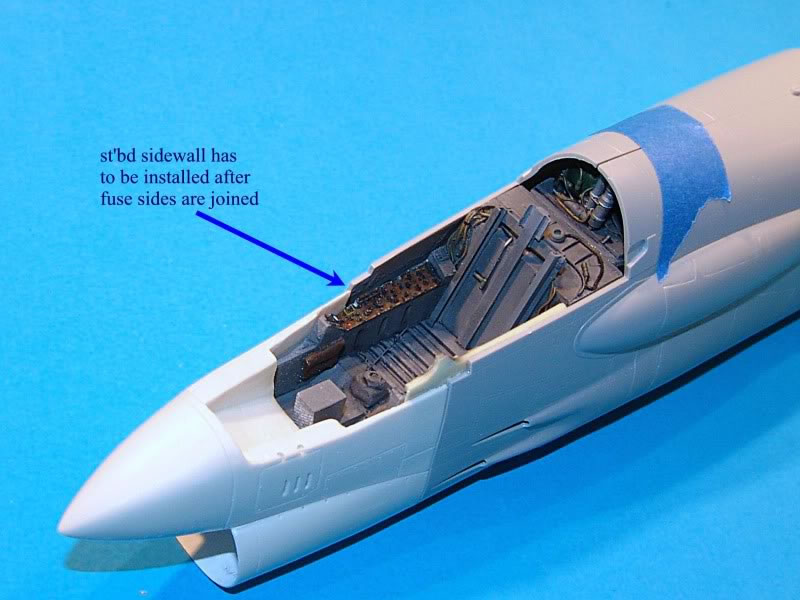
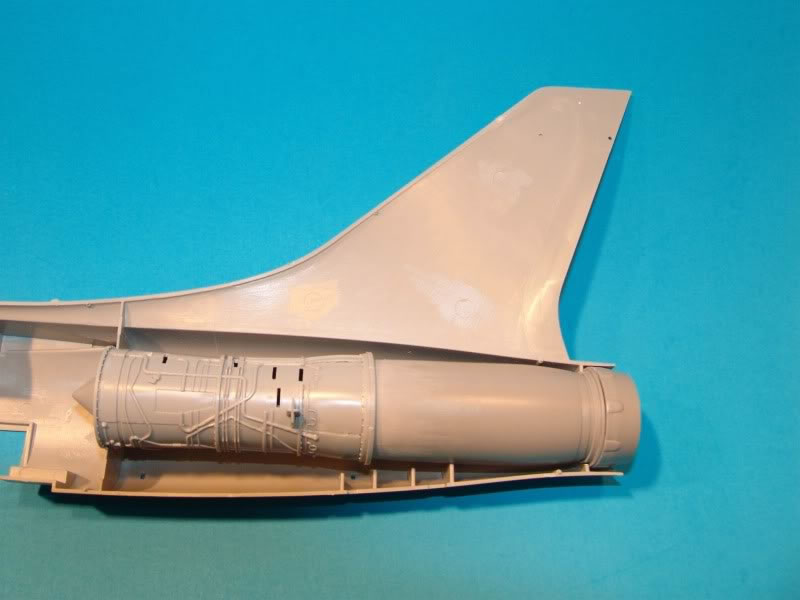
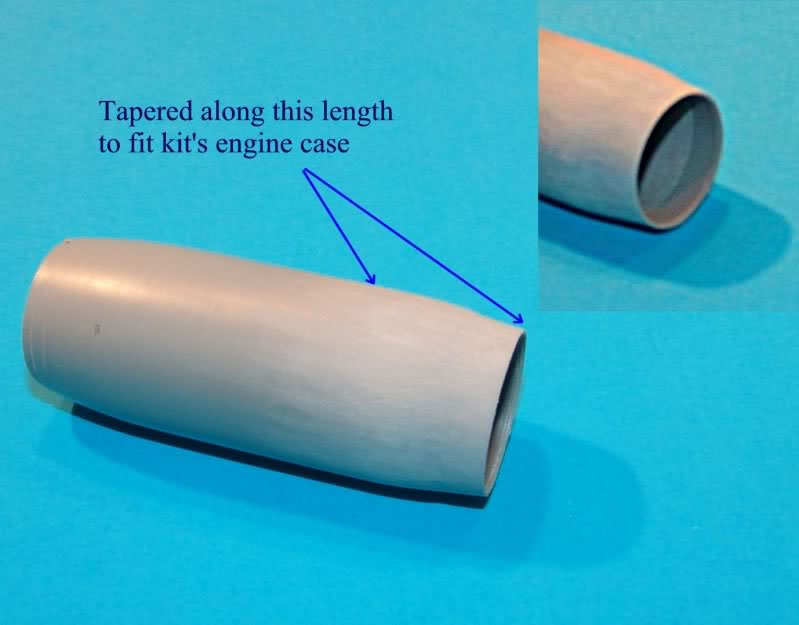
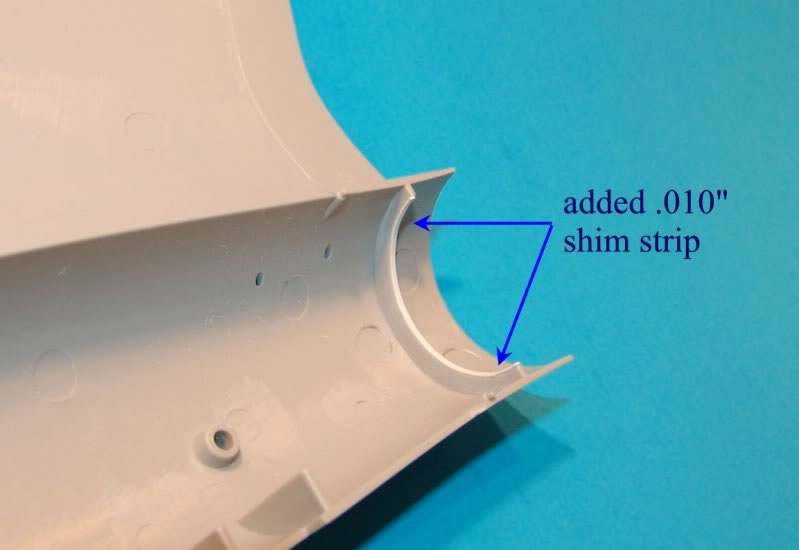
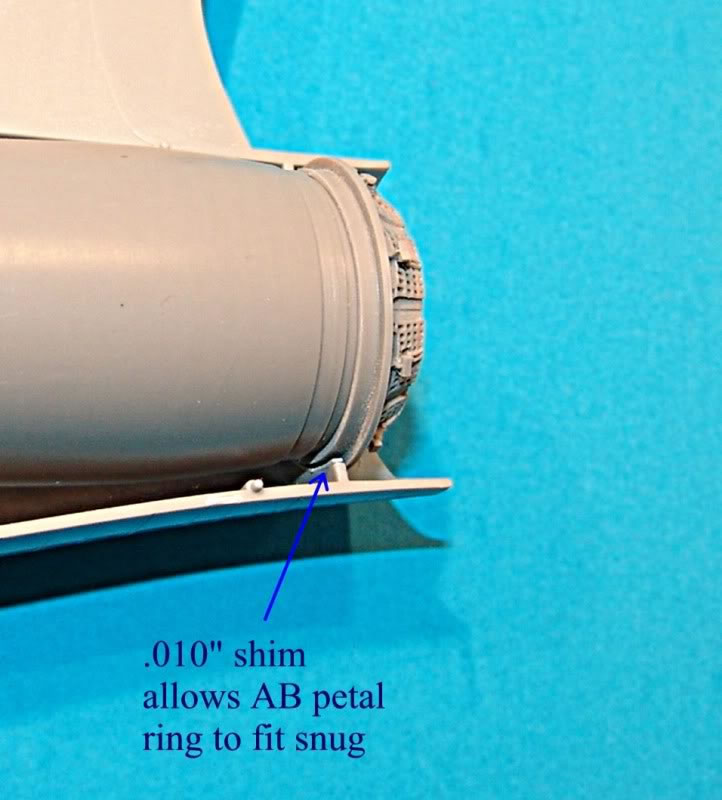
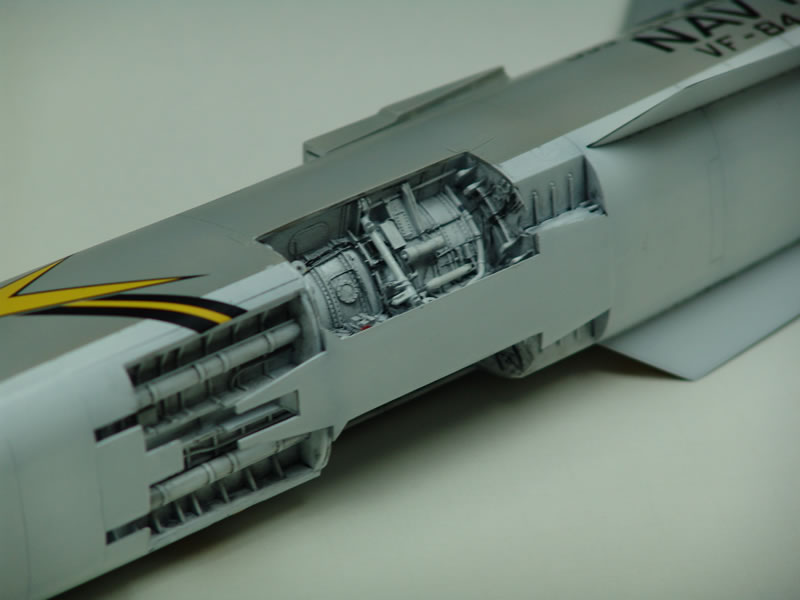

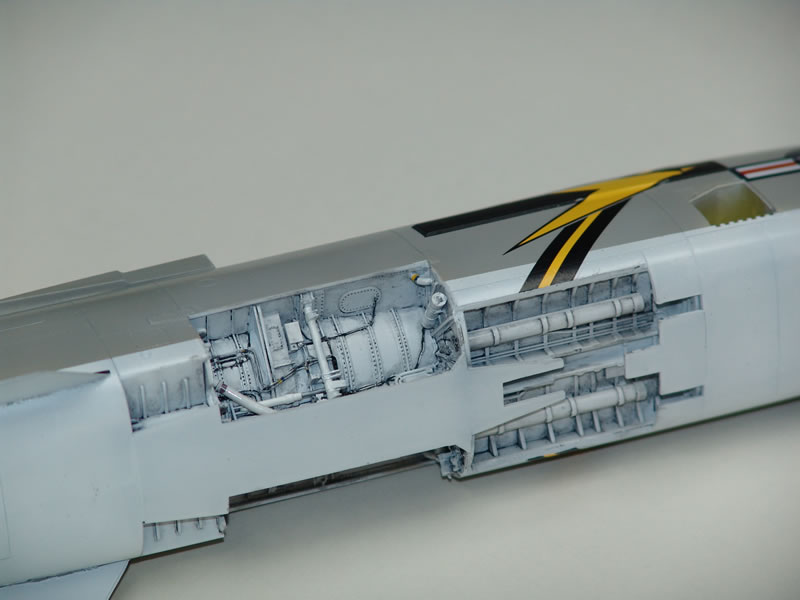
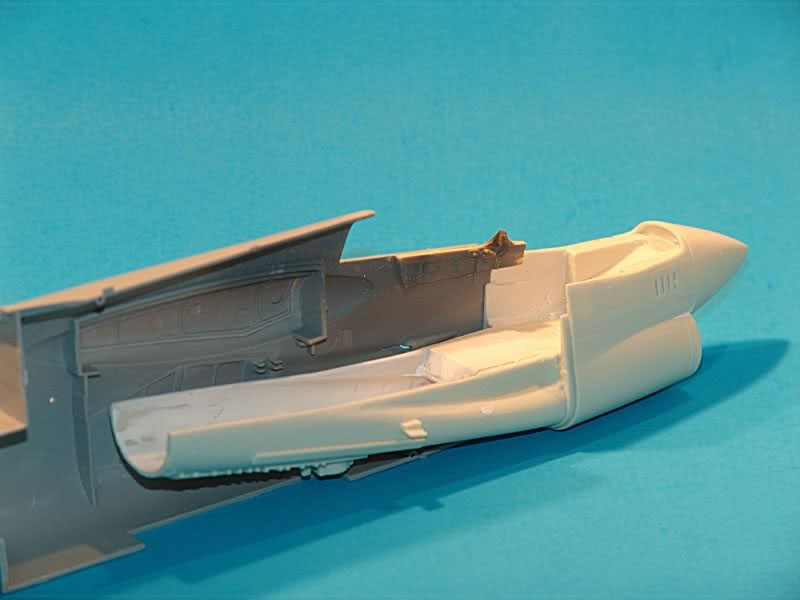
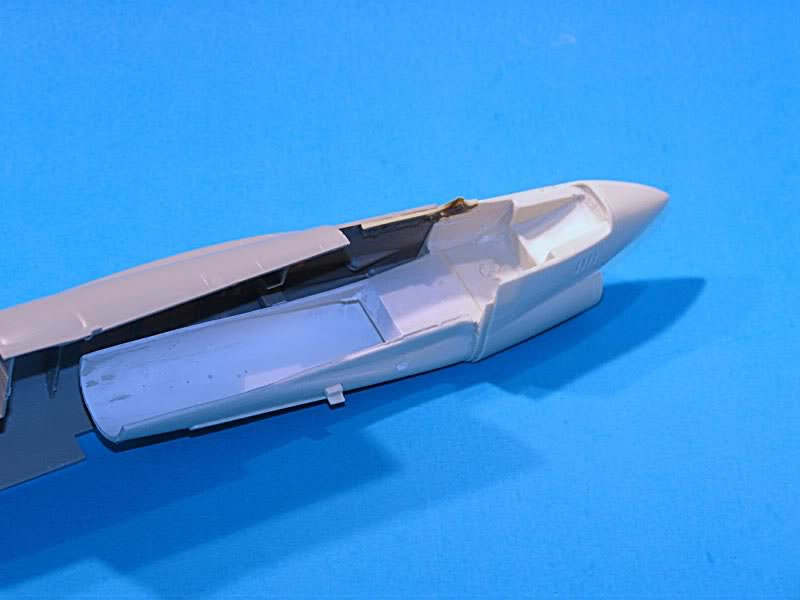
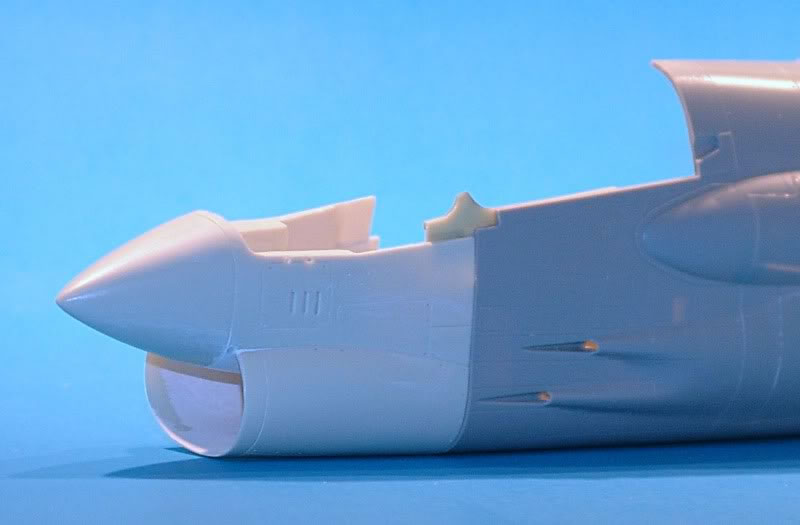
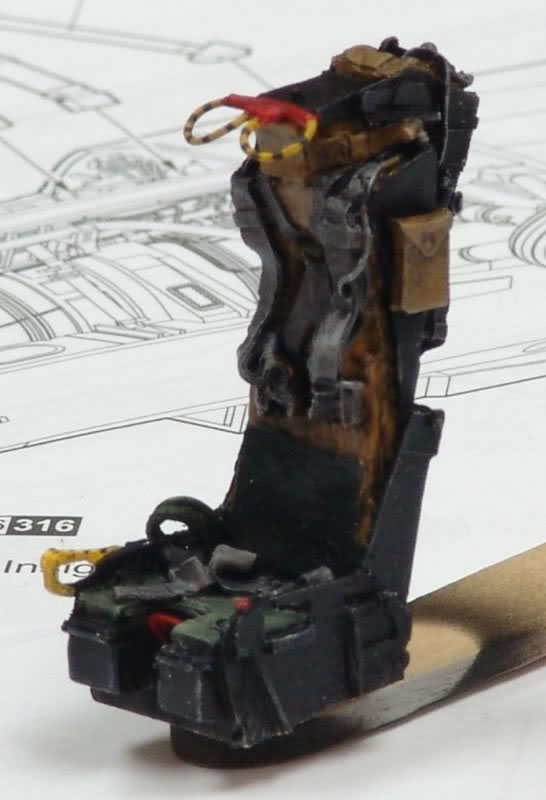
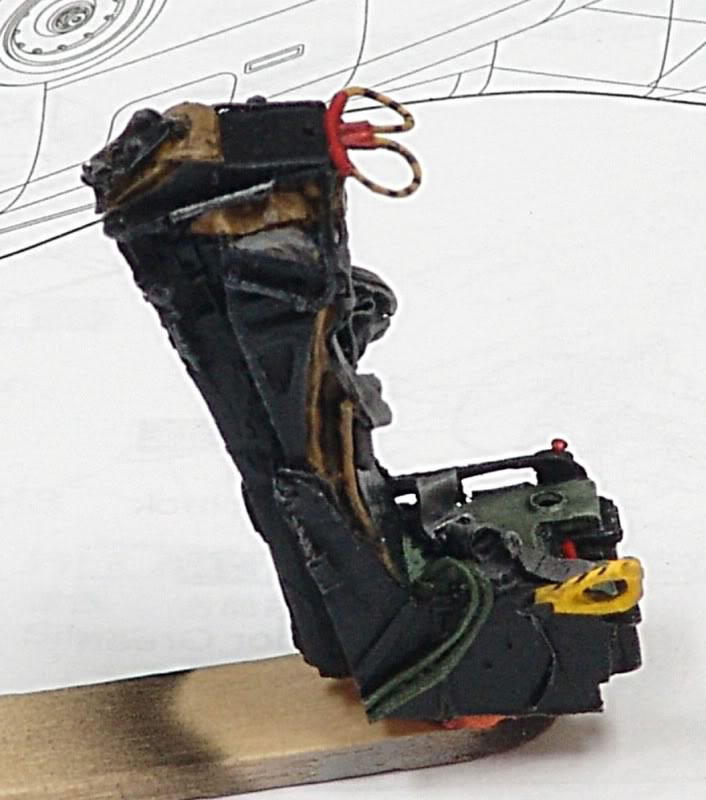
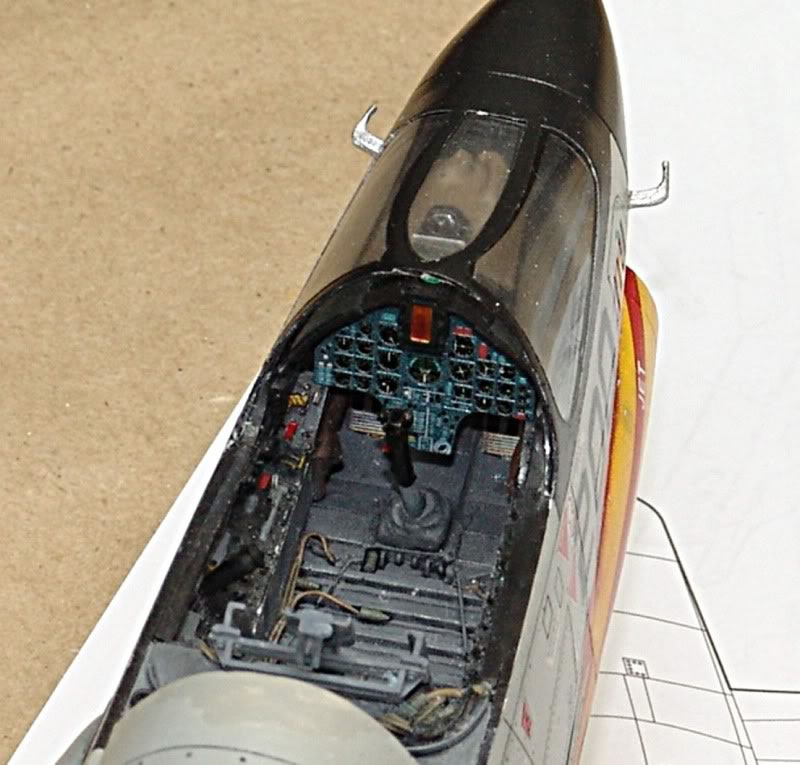

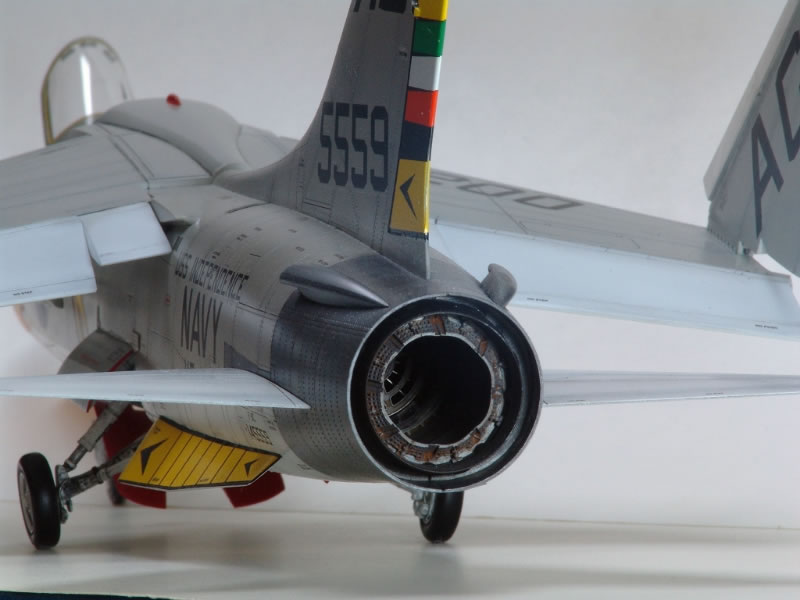
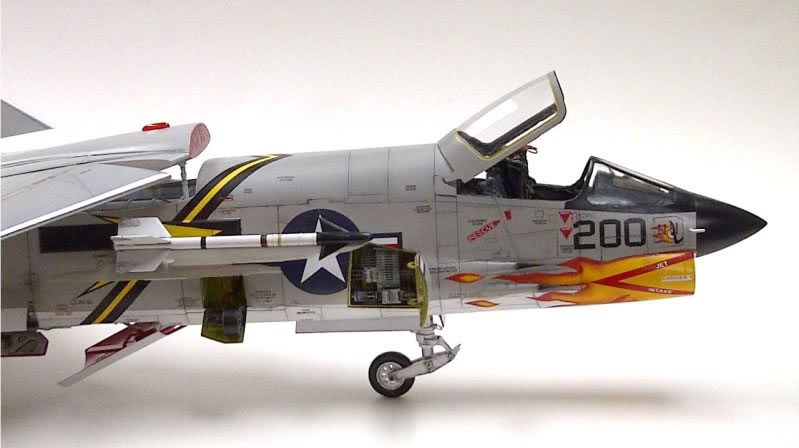
It took over two years to complete. There was a lot of sawing, hacking and sanding but in the end the effort was worth it. I'm including pictures of the build process as well. These were posted in the forums over the years. The Aires instructions are not very well written, especially for the exhaust nozzle. The Fisher nose/intake does fit very well but when you add the Avionix pit and Aires nose wheel well there is some additional work. Fisher includes a correct seat for the C model but IMO the Avionix seat has much finer detail. Trumpeter included a lot of detail on the engine which is really bizarre as you will never be able to see it. You can't even see the front face of the compressor as it's hidden up in there by the intake duct curvature. The only reason I used the engine was to hold the exhaust nozzle in place. The kit instructions would have you open up all the doors/access panels for the guns, ammo bays, RAT, IFR probe. I got lucky when closing some of these up that the doors fit with minimal gaps. I did replace the gun barrels with brass tubing. The detailing you see in the one open door is what comes with the kit.
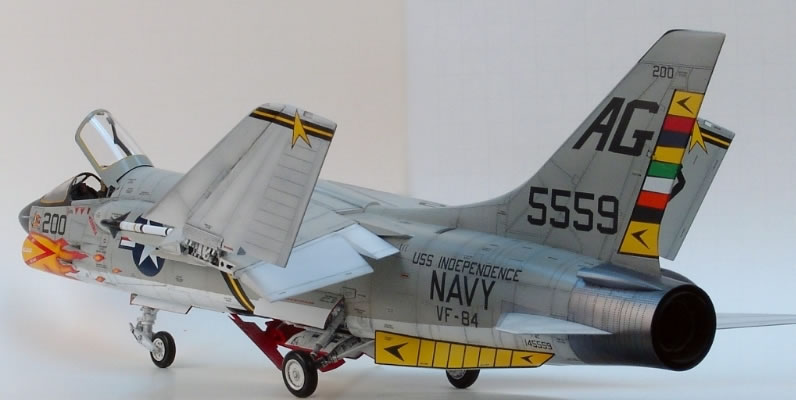
I used G-Factor's metal landing gear. I opted to use the G-Factor gear rather than metal gear that came with the Fisher set as they were a bit more detailed and made from brass. A model this size really needs the beefier gear to accommodate the added weight of all that resin. The G-Factor gear fit exactly like the kit gear and went right into the Aires wheel wells with no problem. I added some brake line to the gear with small diameter solder. Once they were painted and decals applied they were epoxied in place with JB Weld. Don't use anything less or the gear will sag out of the slots they fit into on the main wheel bays. I did use the Fisher nose wheel as this is correct for a C model Crusader.
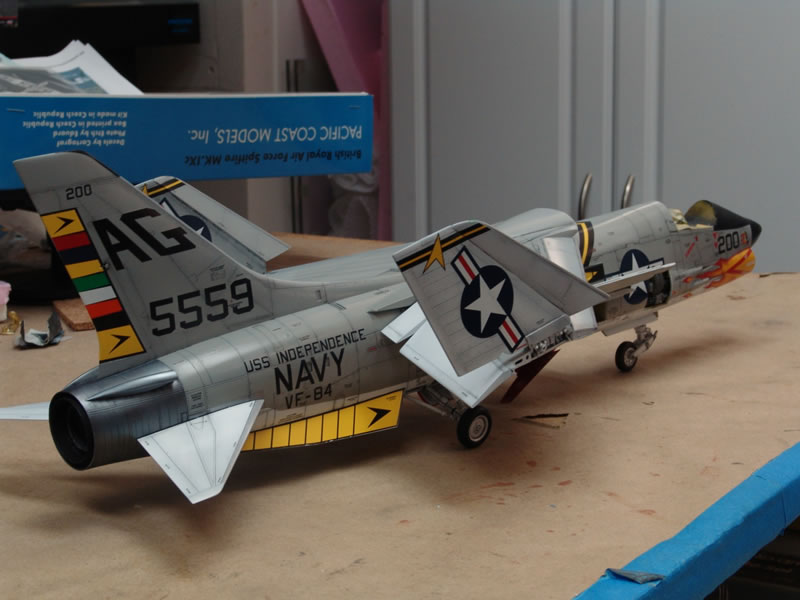
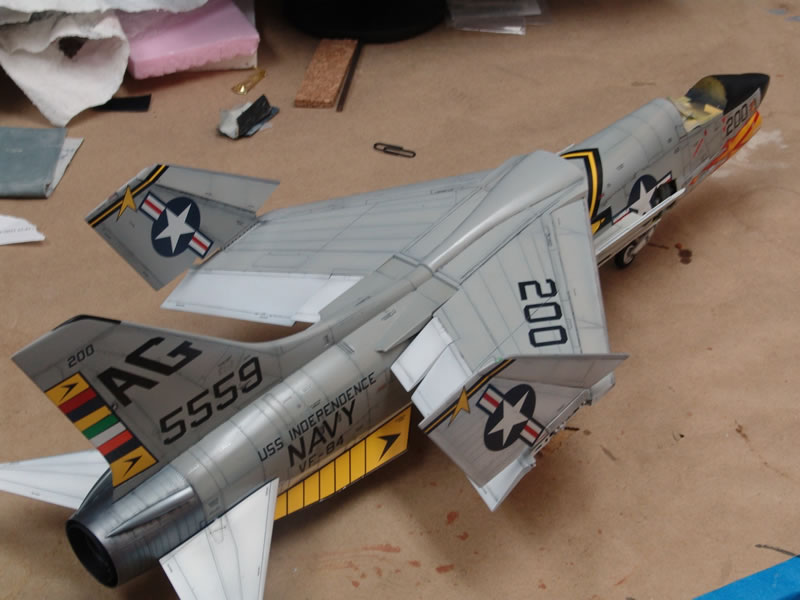
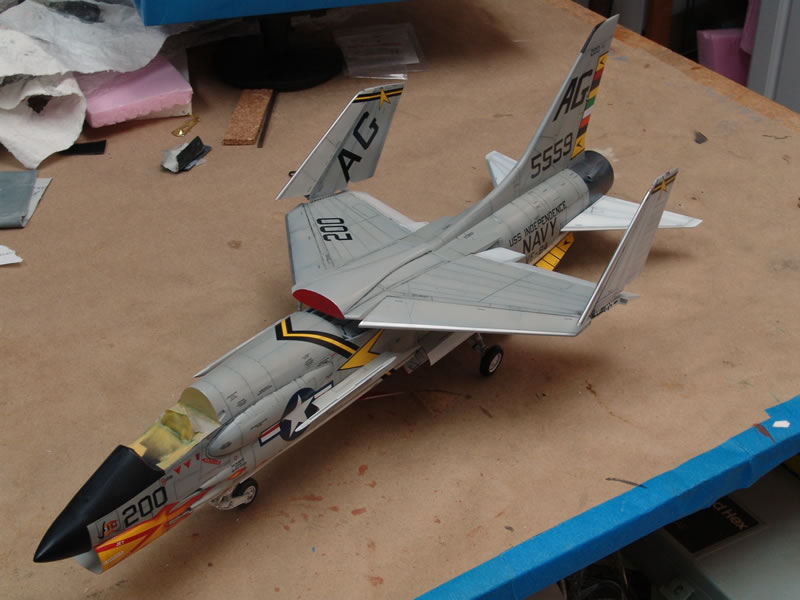
I rescribed lost panel lines and rivet details once the basic airframe was put together. Paint was a mix of Tamiya and Xtracrylix. The panel lines were pre-shaded. I used both Trumpeter and Zotz for marking the plane. Zotz decals went on great but man-o-man are there a lot of data decals to apply. The flames really gave me no trouble and everything reacted well to Solvaset. I used oil washes to highlight the panel lines and grunge up the wheel bays.
Also the wing is not permanently glued on. It just rests in place. It makes painting and moving the completed model around easier and allows me to get it in and out of the display case.
Photo Gallery

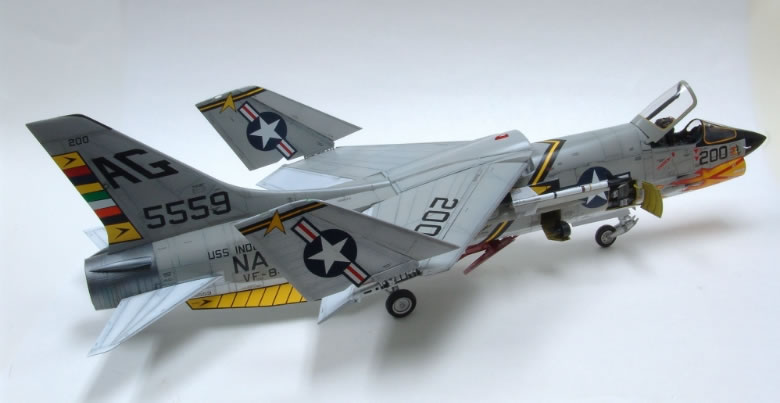
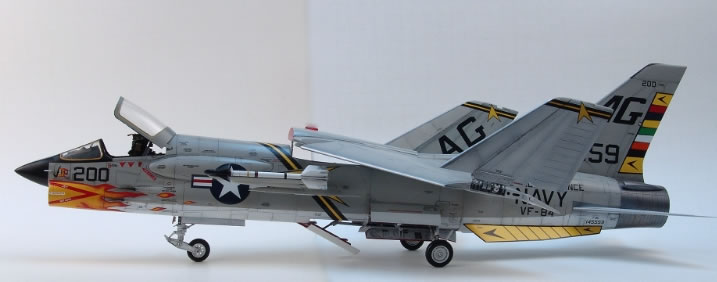
So there you have it, The Last of the Gunfighters in 1/32.
© Jeffrey Brundt 2013
This article was published on Tuesday, November 05 2013; Last modified on Friday, January 27 2017