
Hasegawa 1/32 Ki-44 Part 1
By John Doerr
The Ki-44 has always been a favorite of mine for several reasons. The looks are reminiscent of a Gee Bee racer, and the technical aspect that it marked the recognition by the Japanese that speed and climb rate were more important than maneuverability.
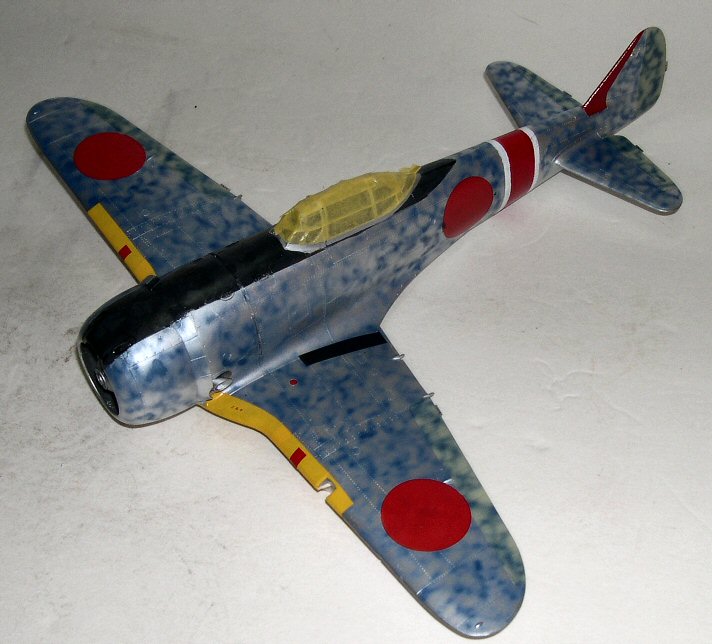
I got the Ki-44 not long after the kit was released. I found a profile at the Wings Palette site that featured an unusual blue mottle over NMF. I have not documented the profile but it was so unusual and beautiful I knew I had to build it. I have had several modelers comment that the blue is too light but I have not found any good references showing what shade the IJAAF used.
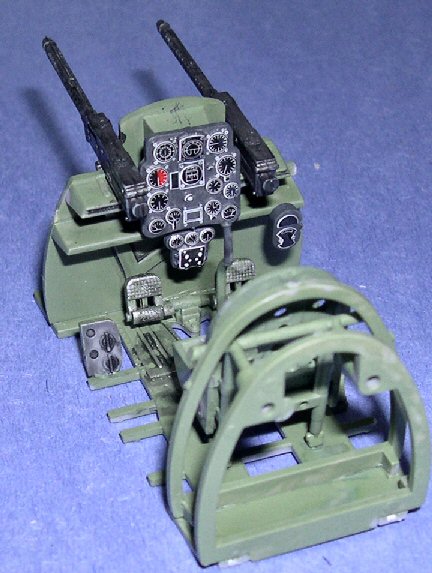
The Cockpit
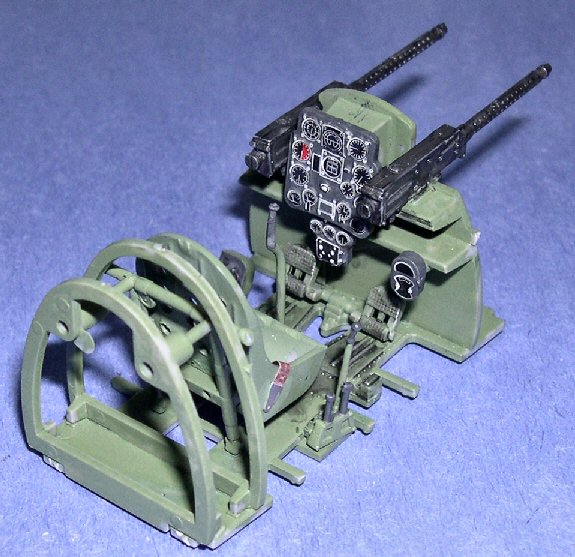
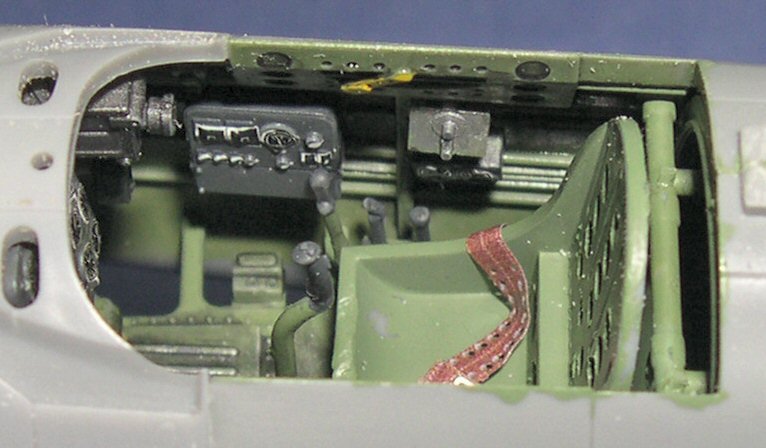
As in most builds the work started with the cockpit. The progressive assembly sequence is shown in photos below
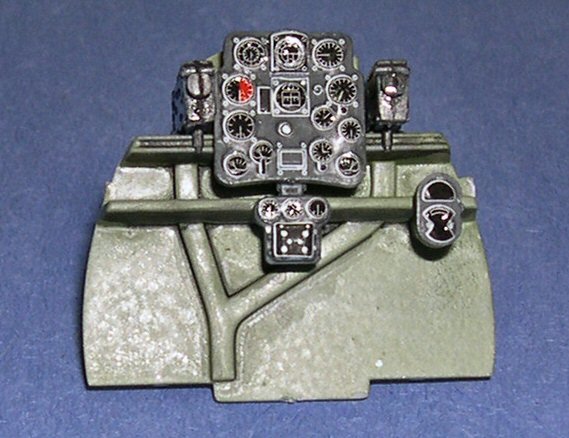

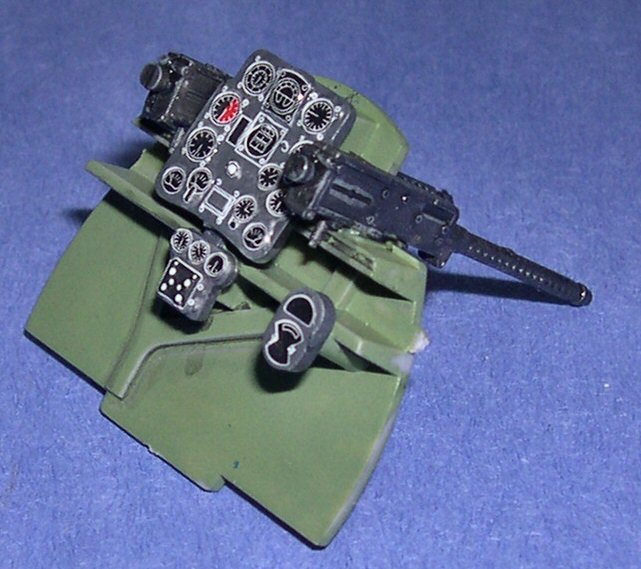
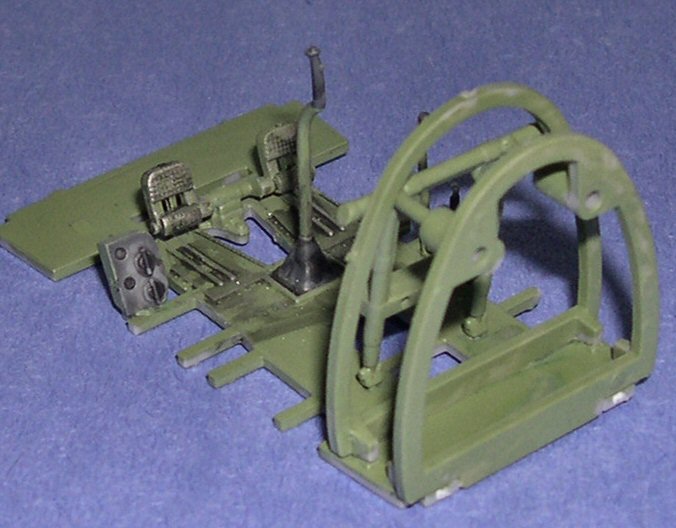
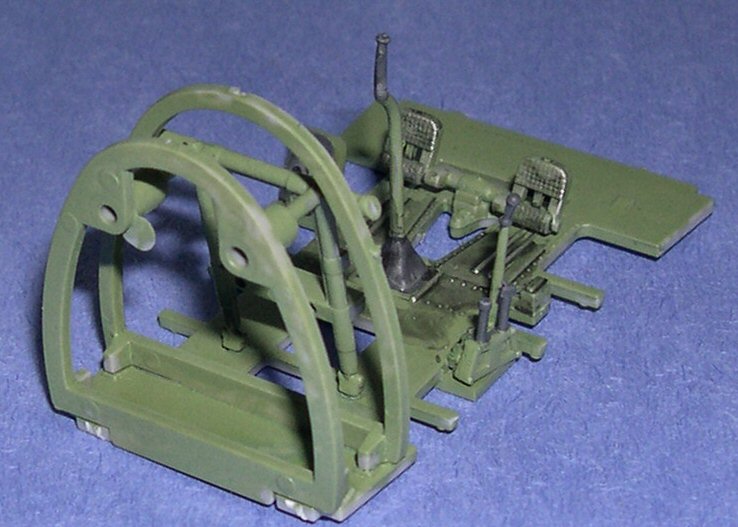
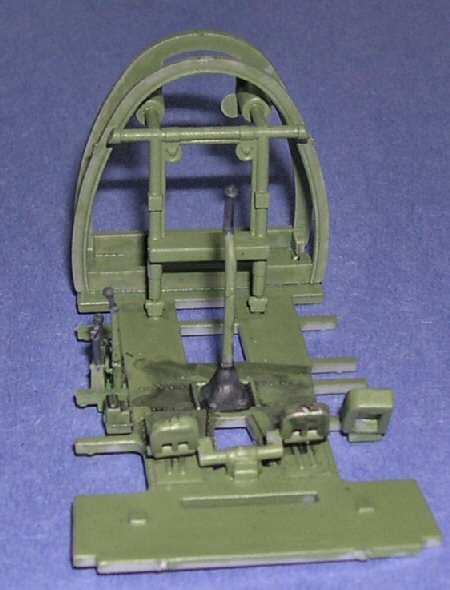
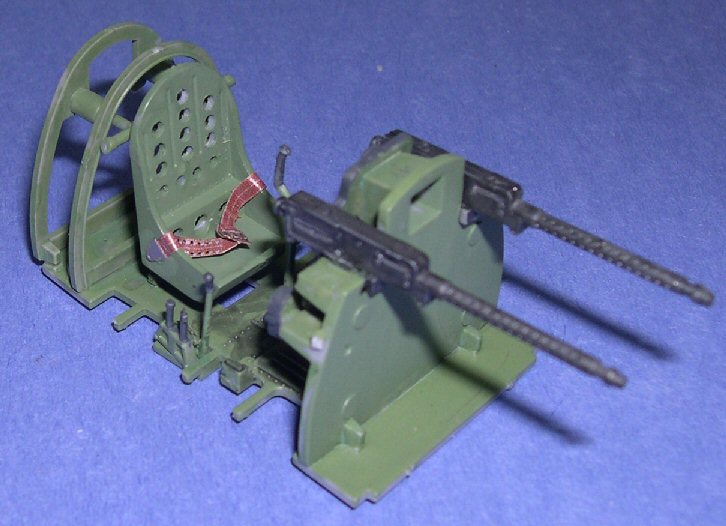
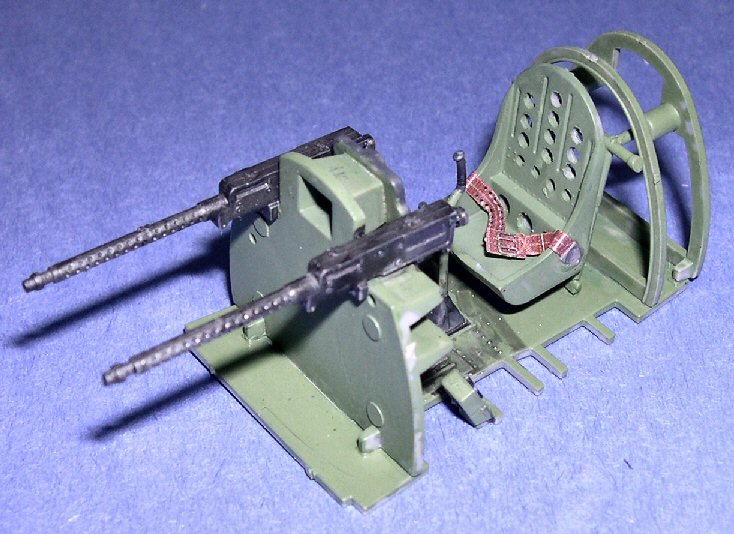
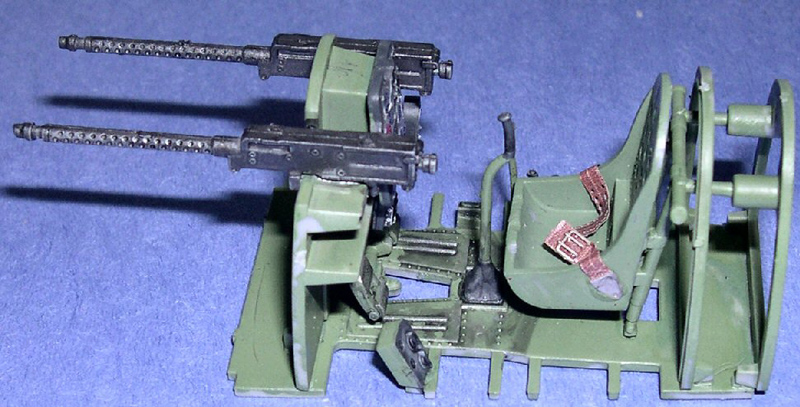
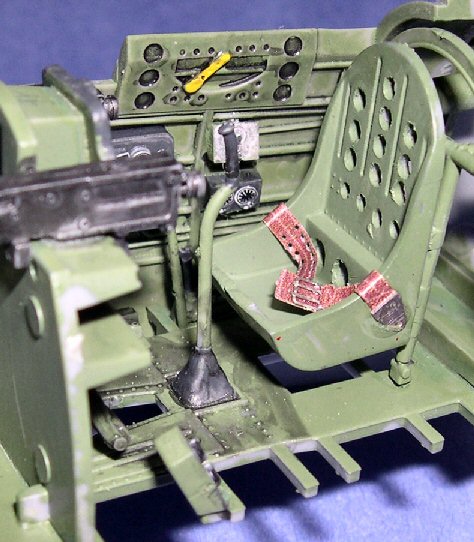
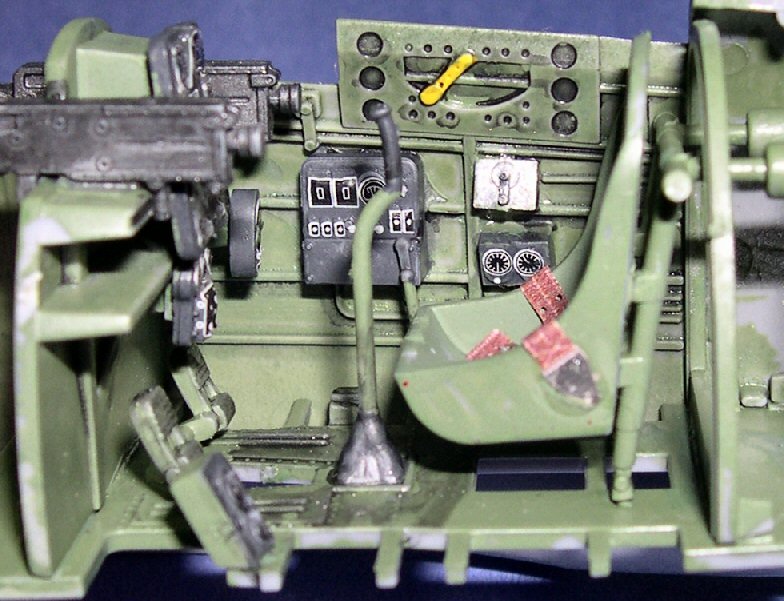
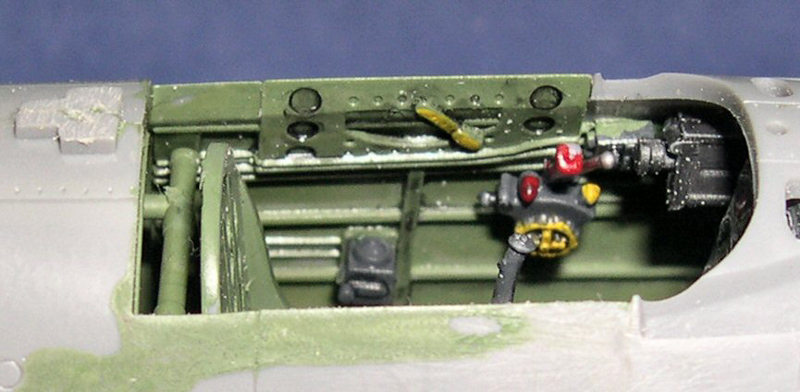
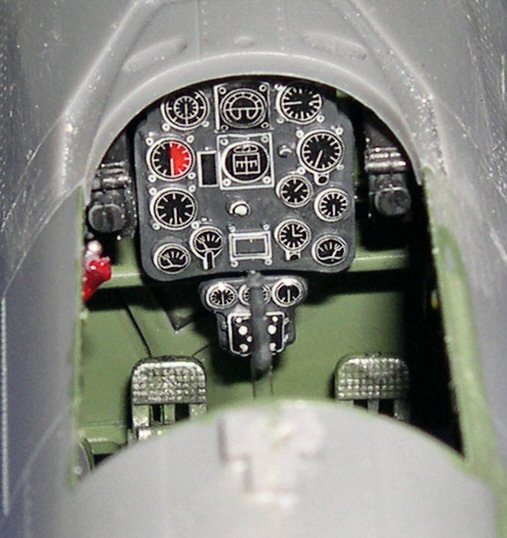
The basic color was Tamiya cockpit green, which is a close approximation of Nakajima cockpit green. Each of the Japanese companies used their own shade of cockpit colors. The color would be altered in appearance by the use of washes and dry brushing the high lights, so approximate is good enough. I used Tamiya German gray in lieu of black. With a black wash the gray darkens to look more like a faded black. After the base colors of green and gray were applied, a black wash was added to the underside of the ribs and longerons, and in recessed areas to enhance the effect of depth and shadow. Wear areas, such as the rudder pedals, cockpit floor and seat bucket were dry brushed with Model Master Metalizer steel to simulate wear. The machine guns were painted in Model Master Metalizer gunmetal. Photos below show the cockpit sides after the black wash and the details picked out with red, yellow and steel.
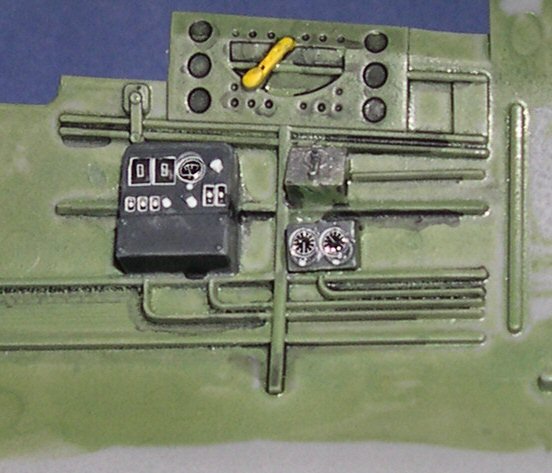
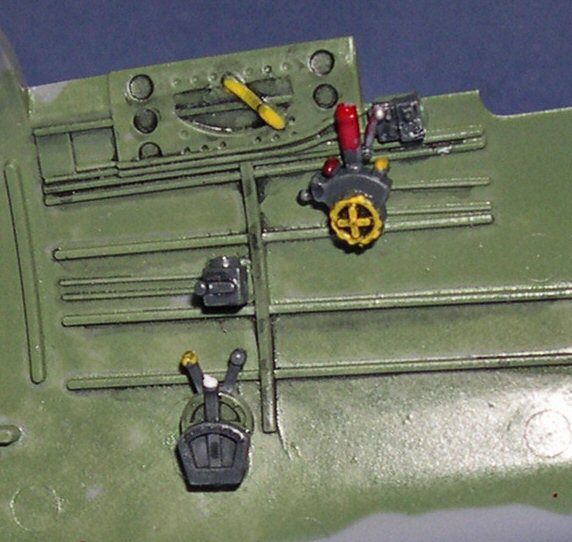
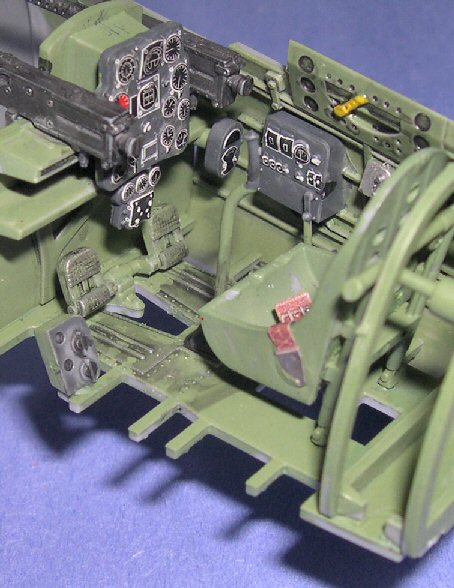
Hasegawa has improved the quality of their decals, something Tamiya San should heed, and the panel decals featured gauge faces and outlines on a clear film. The panel features very nicely done raised details and after a coat of clear gloss, the decals were applied directly over the raised details. With Hasegawa decals I apply them using only water as a lubricant and allow them to dry and adhere completely. I have found that using setting solution tends to make the decals curl and distort. After drying overnight the decals were given a thorough drenching with Micro Sol. The dried decal adheres in place and softens and conforms to the underlying details. This was followed up with a coat of clear flat and a drop of Future was placed in each of the gauge faces, to simulate the glass.
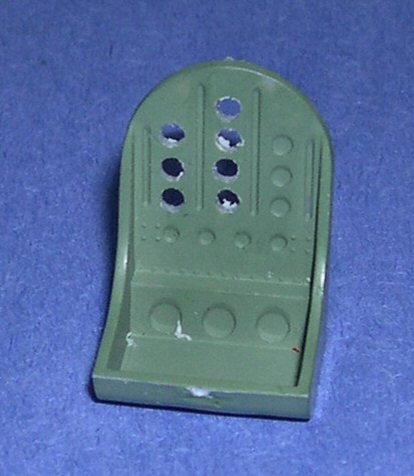
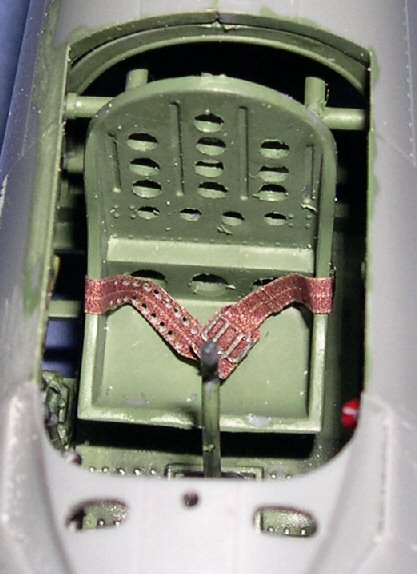
The holes in the back of the seat were drilled out and a set of the Eduard, Nakajima IAAF belts was installed.
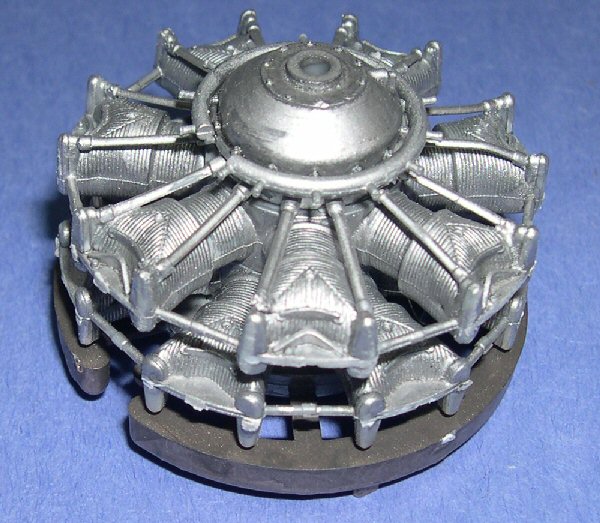
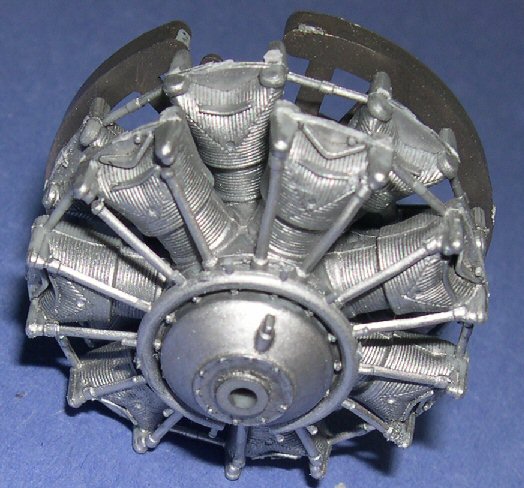
The Engine
The entire engine was painted in with Model Master Metalizer steel, and given a black wash to simulate the darker parts of the cylinders. The effect did not achieve the look I was hoping for and although it worked quite well with other radial engines. In this case after assembly and adding the prop, very little of the cylinders will be visible. The ignition ring was painted in Testors’ gloss silver.
The next photos show the cockpit in the assembled fuselage, showing how much is really visible in the assembled kit. One draw-back of the kit is that the Ki-44 featured fold down side panels ala the Spitfire. If modeled with the canopy one or both side panels down should be displayed open. The inside of the panels feature very nicely done molded details and I was afraid that cutting them out would ruin the details.
Assembling and Painting
After the entire fuselage, wings, and stabilizers were assembled, and the seams sanded and polished, the fabric-covered control surfaces were painted in Tamiya IJA gray and masked off. One issue that I have had crop up is Hasegawa’s penchant for molding the kits with their flaps in the down position. Both the Ki-84 Fowler flaps and Ki-44 butterfly flaps were never in the down position, except when in use. They were never left in the down position when parked. In this case I sanded off all the inside details of the butterfly flaps and thinned them until I could fit them into the recesses in the underside of the wing. In retrospect it would better to have cut out recesses and glue the flaps directly into the hole.
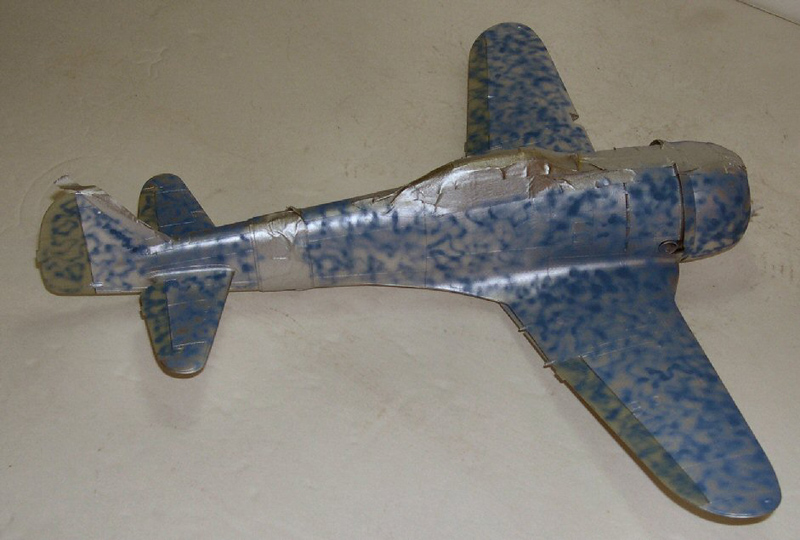
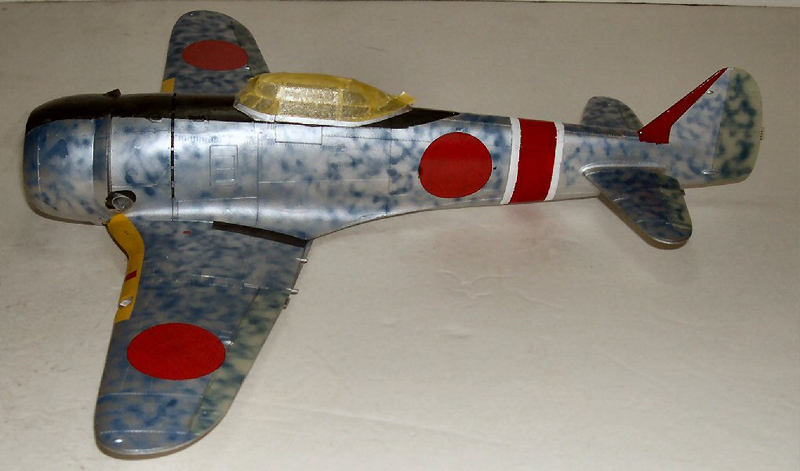
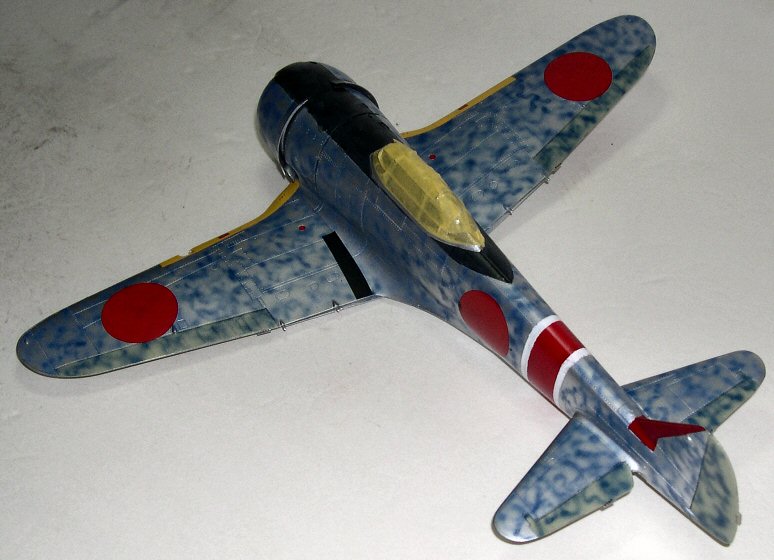
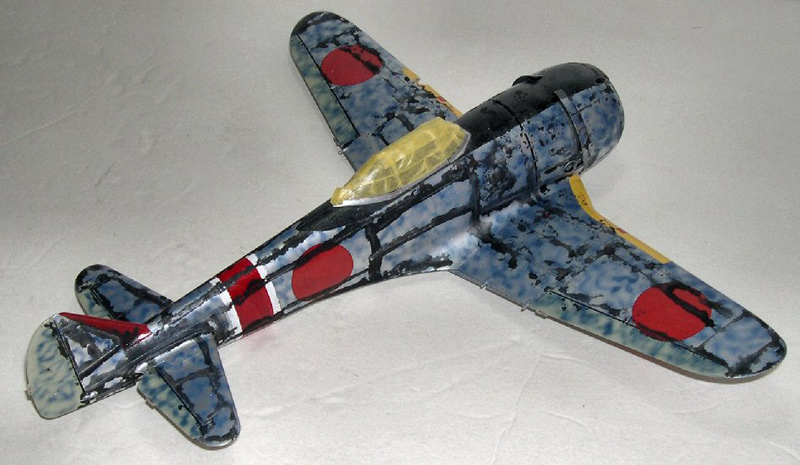
The anti glare panel along the fuselage top was painted in Tamiya German gray and given a heavy black wash. The windshield was attached and the sliding canopy portion was fitted in place and the whole assembly masked off. The fuselage band and tail markings of the 85th Sentai were painted and masked as well. The entire model was painted in Model Master Metalizer buffing aluminum. The paint was allowed to dry thoroughly, buffed and given a very light coat of clear gloss lacquer. I have found the Metalizer sealer tends reduce the sheen of the polished paint to looking like aluminum paint. The Tamiya TS-13 Clear Gloss spray can lacquer does not dull the polished paint if applied lightly.
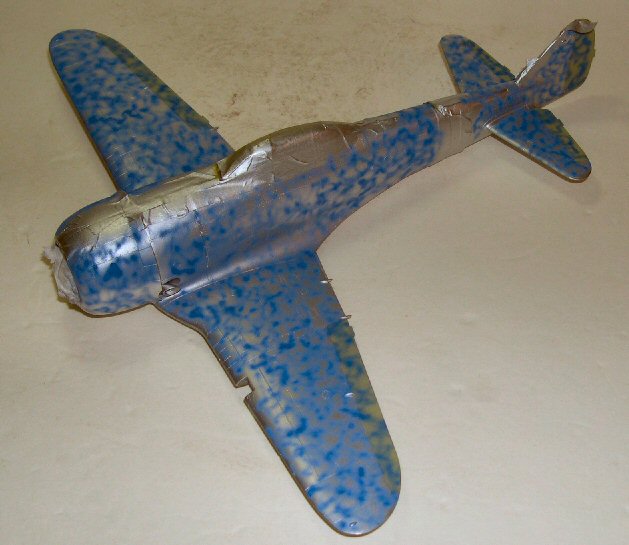
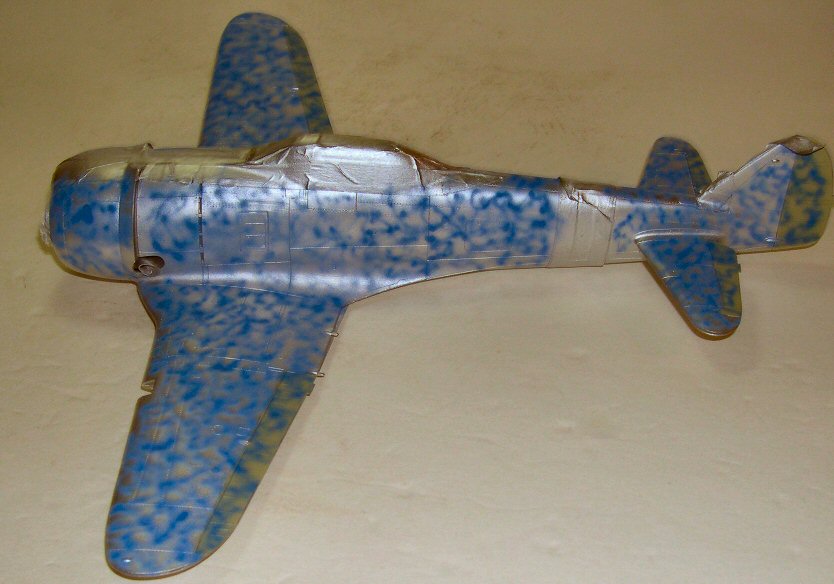
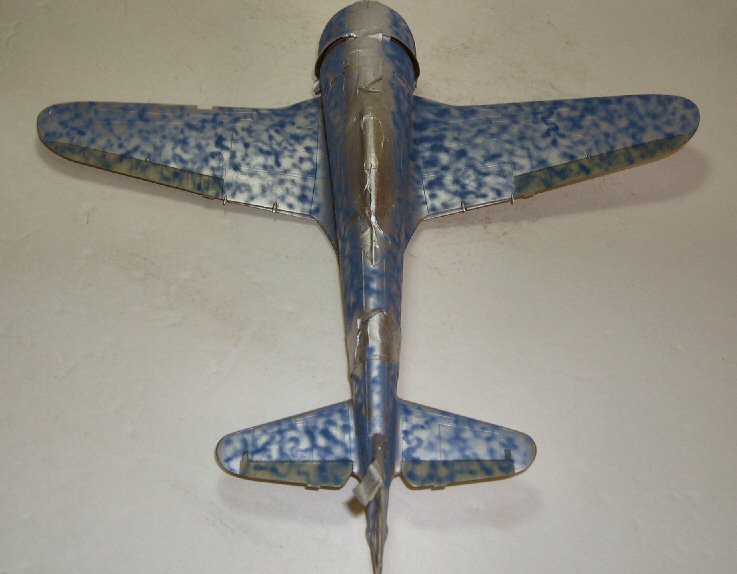
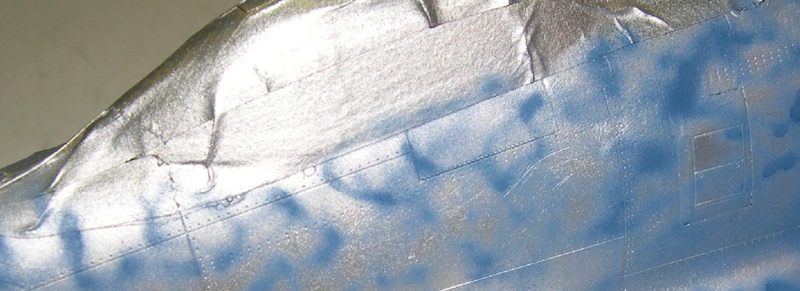
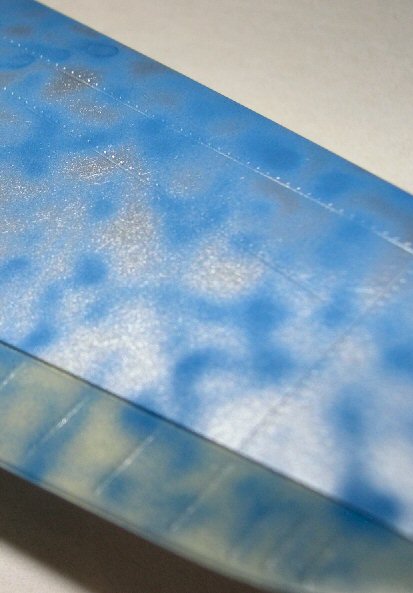
Now for, what to me is one of the most enjoyable parts of modeling, painting the mottling. I have an Iwata Revolution I had won at a show raffle. While nowhere near the precision of the top end airbrushes. I have learned to use it and am quite happy with it. I run 10-15 psi and use the air button to tone down the pressure even more. I take a piece of paper towel to get the paint flowing and practice to find the “sweet spot” of proper air and paint flow, then go the plastic. The other factors are distance and rate. The closer you get the tip to the plastic the thinner and sharper the line will be. The rate at which you move your hand dictates how much paint will hit a certain area. The photos below show the mottling after drying. The entire top was given a further light coat of clear lacquer.
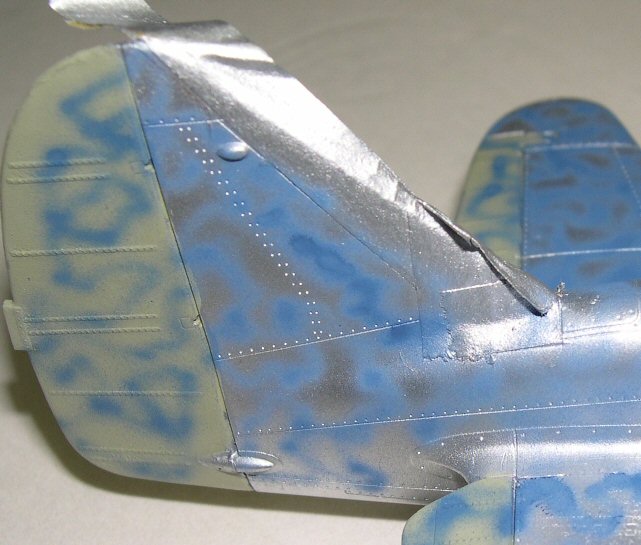
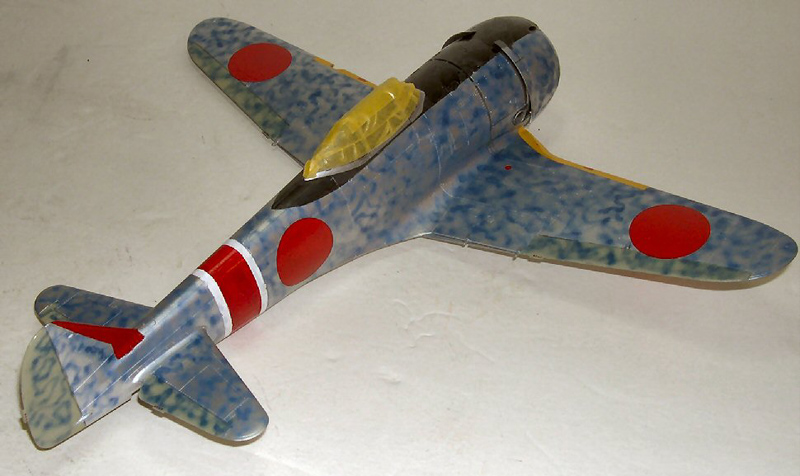
Next, the tape has been removed from the antiglare panel, fuselage stripes and tail markings and the decals have been applied.

To be continued in Part 2.
© John Doerr
This article was published on Friday, September 27 2013; Last modified on Tuesday, January 24 2017