
Revell | 04728: Junkers Ju 88A-1
Reviewed by David Robbins
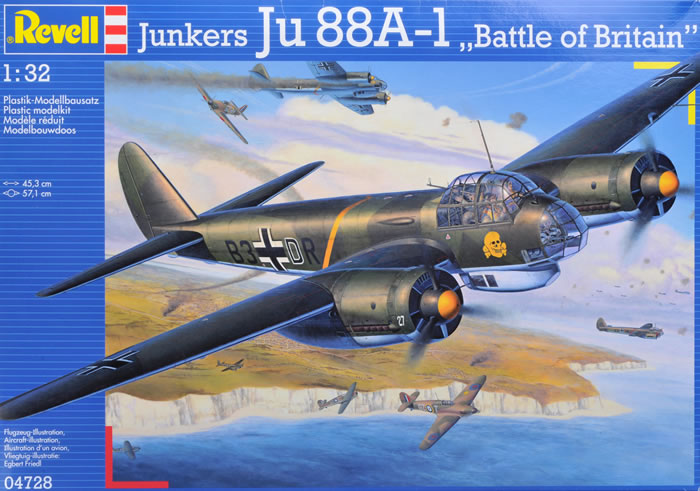
The Ju 88 was one of the workhorses of the Luftwaffe. During the course of its career, the basic airframe was used for many different variants. This also includes the Ju 188/288/388 series of aircraft. I wanted to have at least one in my collection, and since there was only the vacuum formed version from Roberts Models at that time, I decided to get one.
While I was contemplating building the vacuum formed kit of the Ju 88, I heard that Revell was producing a 1/32 kit of the A-1 and I had to have one. So, when the kit became available, I wasted no time and ordered my copy from Wonderland Models. Many questions circulated through my brain about what was in the box. Some of the questions that came up were "Does this also make an A-4 version as well or just the A-1 and is it correct?" I wanted to know how the kit is set up, and what room is available for other variants to be made. I also wanted to know if other versions will be produced in the future.
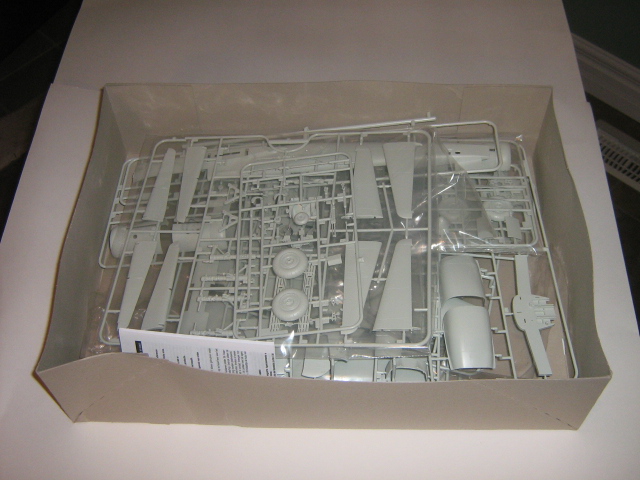
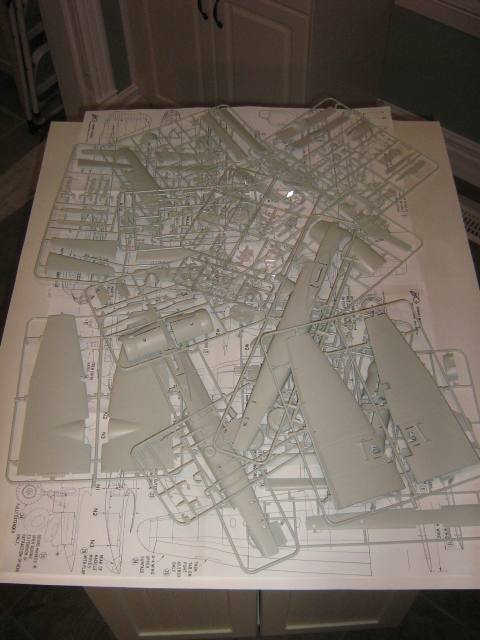
The kit arrived in a very large box and upon opening the box, I was impressed with amount of plastic in the kit and the amount of detail as well. The kit is comprised of 9 grey colour parts trees and one clear parts tree.
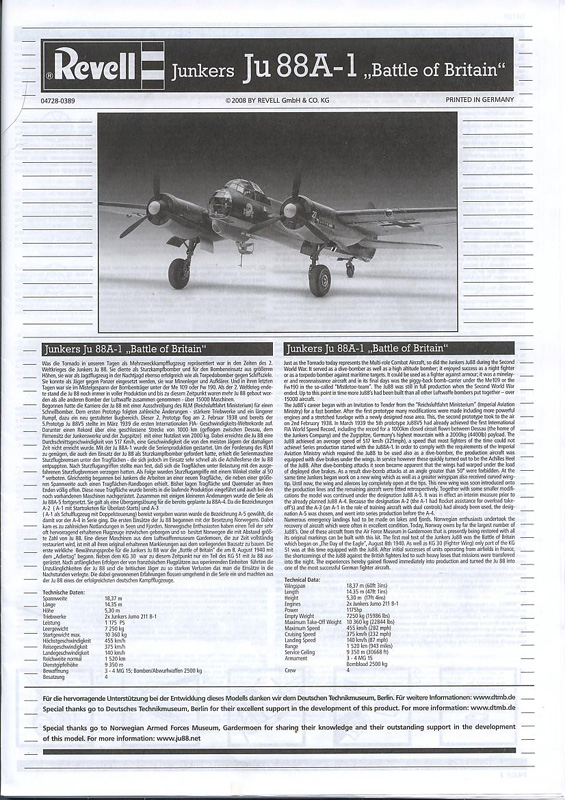
The instruction sheet was in an A4 format with picture of the finished model on the front with brief history of the plane in both German and English in VERY small print. For someone with even good vision or, in my case, reading glasses, it is very hard to see.
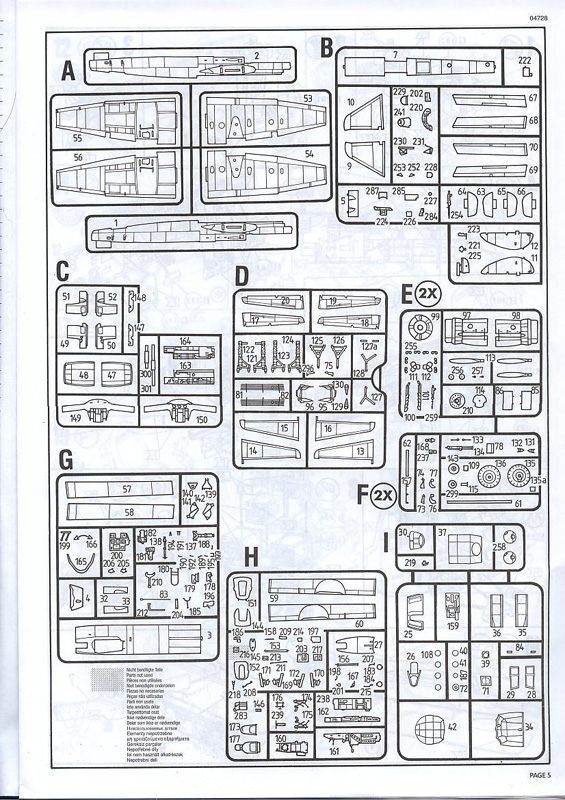
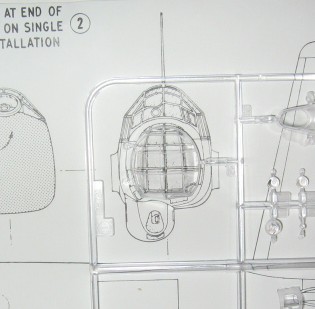
The inside contains a lay out of the parts trees, as shown above, and very well illustrated instructions show the step by step assembly of this bird. Trust me, read the instructions carefully as there are a ton of parts just in the cockpit alone.
Having a set of scale drawings, I proceeded to check accuracy of the kit. First up, are the wings. The first question answered about the wings is that only the A-1 version can be assembled from the kit. However, the setup of the molding suggest that an A-4 and possibly other versions may be on the way in the future.
Laying the wing on the drawings, we see that it is well within the lines of the drawings and all of the panel lines match up with the drawings.
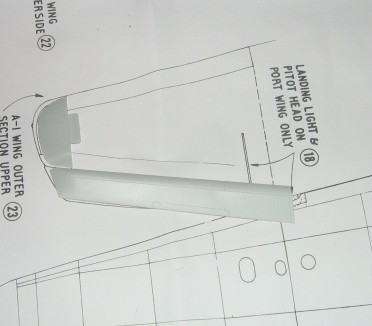
The drawbacks here are the tips. My drawings are in error and they do not match up with the kit parts, but, from what I've been told by someone else with knowledge, Revell did get these correct. Also worth noting are the dive brakes in the correct slightly slanted position - this explains why the kits decals are tilted slightly. Almost all other Ju 88 kits have the dive brakes in the wrong position.
Checking the nacelle, I found that these pieces do matches up nicely with the drawings.
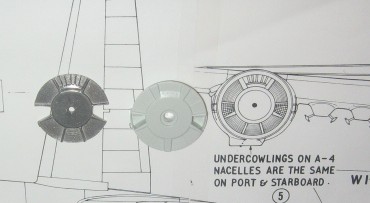
The front radiator moldings are spot on for an early A-1, but compared to the A-4 radiators I have, they lack the depth in the radiator fins.
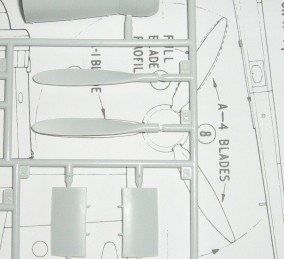
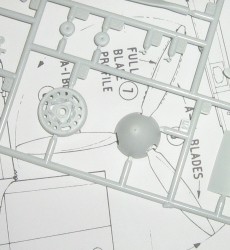
The propellers and spinner parts are well done and they match up to the drawings very well.
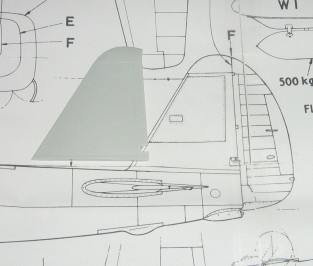

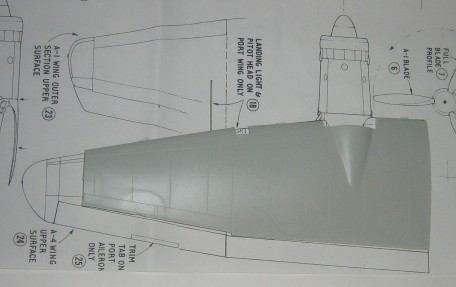
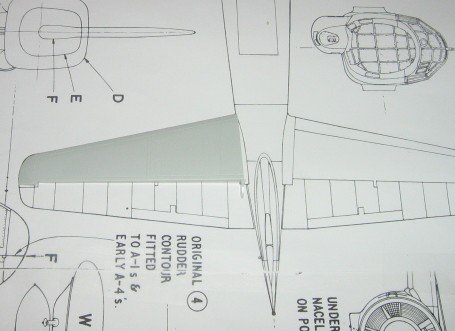
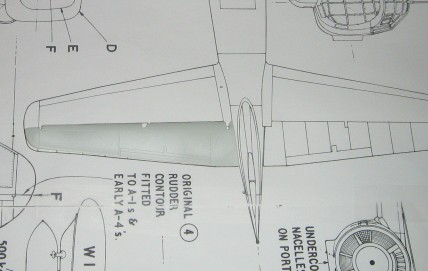
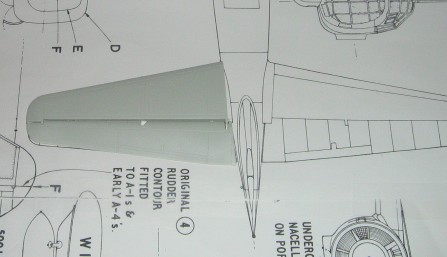
The vertical stabilizer looked good when compared side by side with the drawings. However, when placed on the drawings, it was a little short at the top.
The rudder/stabilizer combination is the correct style for an early A-1, but the rudder is way off. When compared to my scale drawings, it should be squarer at the bottom. In addition, the top of the rudder, near the hinge line, is a bit too rounded.

On conferring with someone with more knowledge, I was sent this picture to show my drawings were in error and the kit rudder has the correct shape toward the bottom.
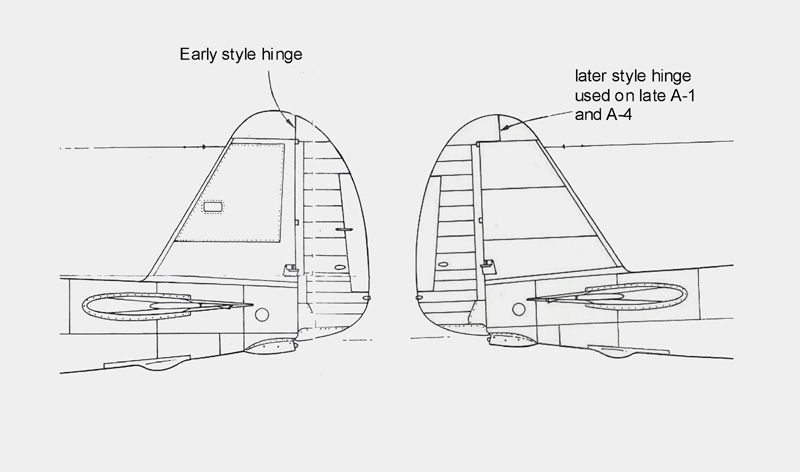
Just a note here, late production A-1s and later versions had a revised vertical stabilizer/rudder combination shown above.
The horizontal stabilizers are spot on with the drawings.
And so are the elevators when compared to my drawings.
They look very nice indeed.
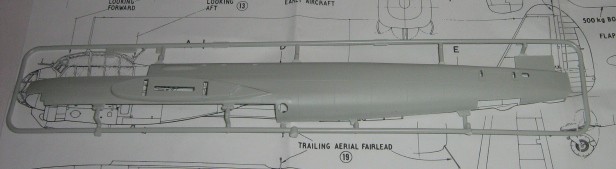
The fuselage matches up good with my drawings.
The underside part of the fuselage and the lower gunner gondola matches well with my plans.

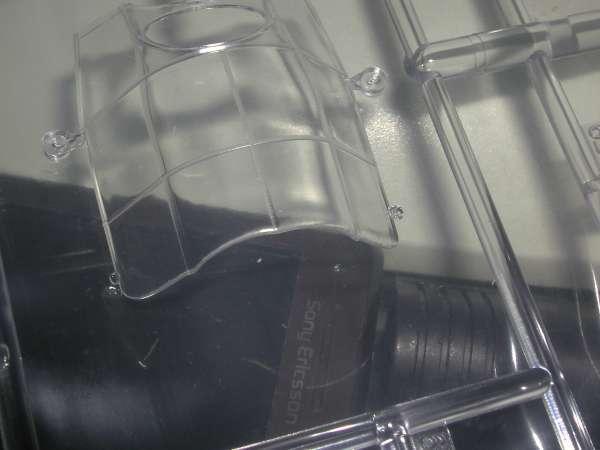
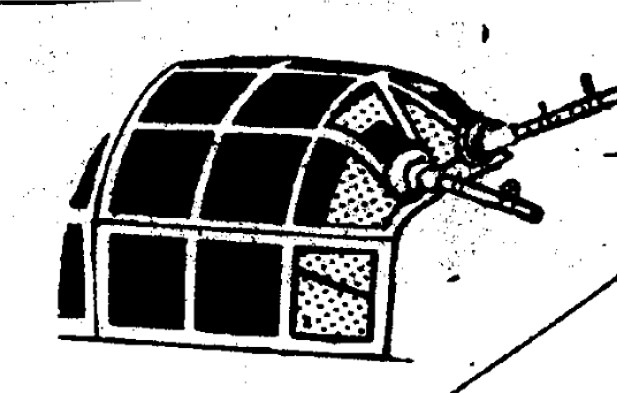
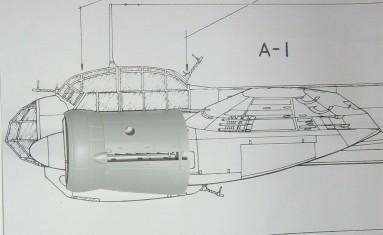
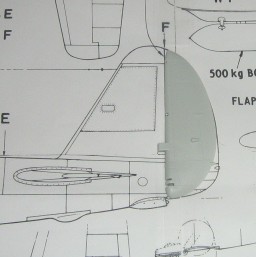
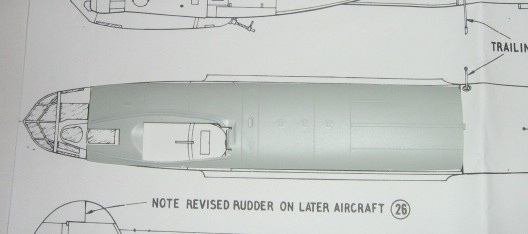
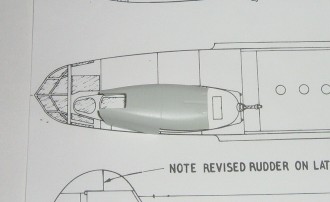
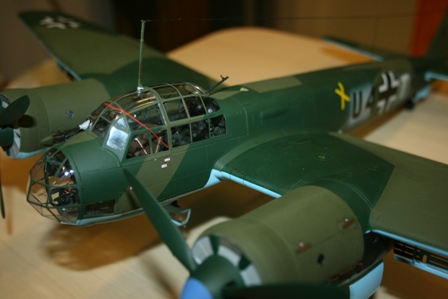
All of the clear parts are nice and thin. When comparing the nose with the drawings, the nose matches up very well too. This model has the later style rear gunner's position where as earlier models of the Ju88 had a different style as illustrated above. More after market parts??
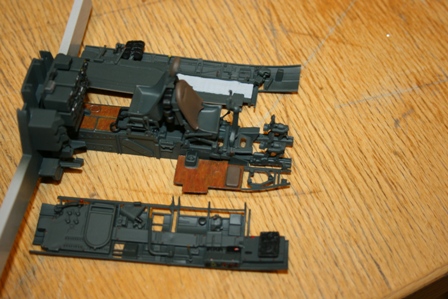
The cockpit detail is very well done and extensive as seen in these pictures provided by Guttorm Fjeldstad.
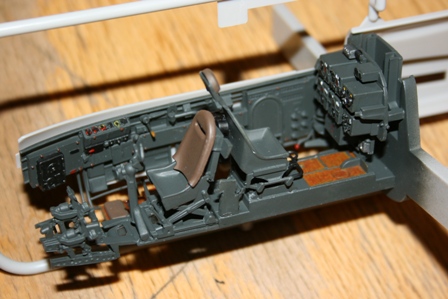
The side walls are also well detailed as with the radio equipment on the back bulkhead.
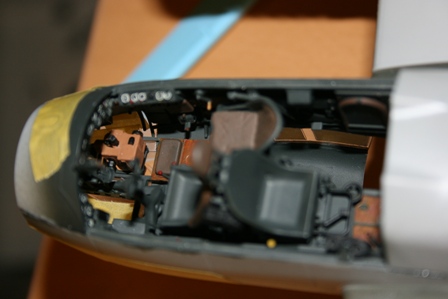
Yes a very nicely done cockpit. With all that green house canopy you can see a lot of detail and I, for one, am glad Revell did not skimp on the detail here.
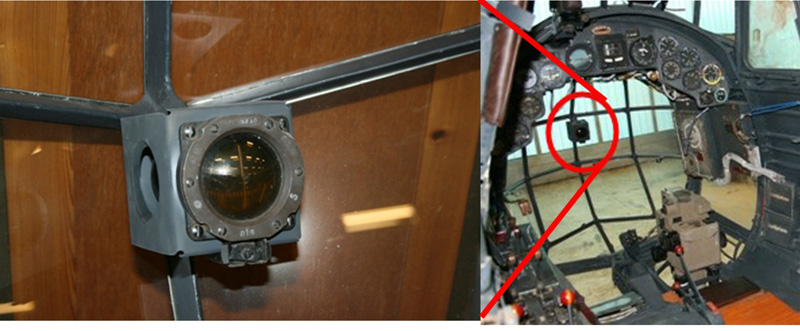
The only thing missing is the compass in the nose of the bomber. For what ever reason, this was omitted from the kit. It may appear in later issues or the aftermarket guys will pick it up and provide us with one.
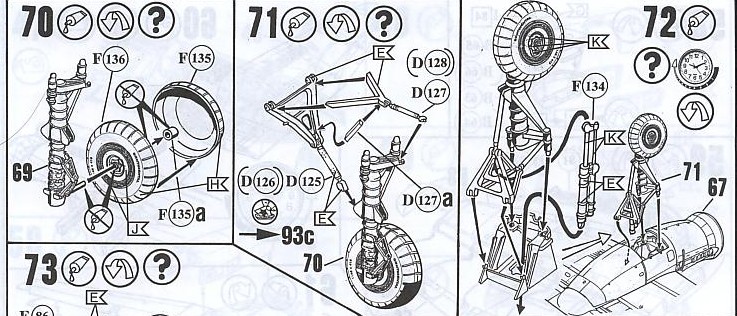
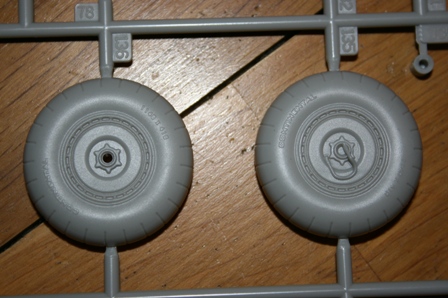
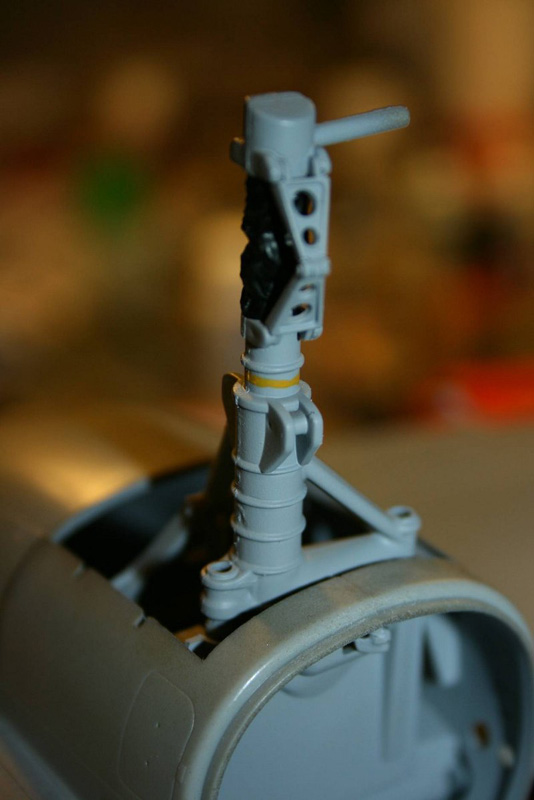
The landing wheel wells are well detail and the landing gear itself, like the wheel wells, is also very well detailed. However, I can foresee some white metal landing gear replacements coming out soon. The main gear in the kit comes in two halves which, for some, might be difficult to clean up the seams. The wheels look as they should, but I can also see new resin wheels.
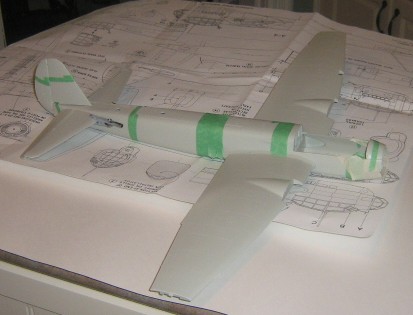
I taped the fuselage together and the fit is good. Even though it was not glued and there were some gaps, I feel it will be virtually seamless. And if there is some filling needed, it will be very minimal.
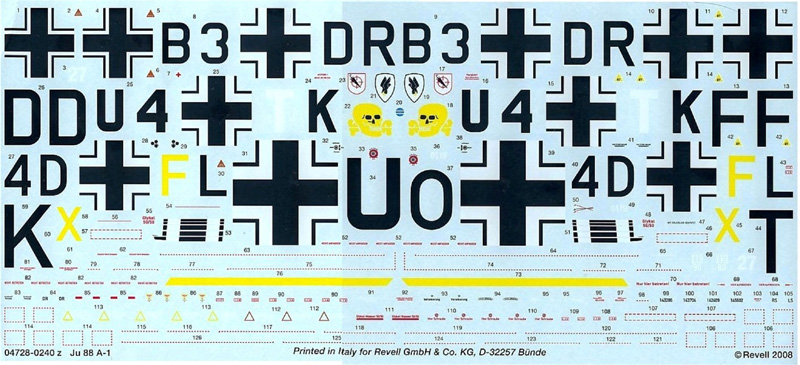
A very well printed large decal sheet, approximately 35cm x 15 cm (14" x 6 "), is provided. Unfortunately, there are no decals for the instrument panels. Printed by Cartograph, the decals are up to there usually high quality - they are nice and thin and the registration of the printing is excellent. Please note that the two shades of blue decal paper are the result of the decal sheet being too long for the scanner forcing me to scan the sheet in two halves and photo shopping two halves together in order to provide you picture for this review.

The decal sheet provides the modeler with options for three aircraft, two that flew in the Battle of Britain and one for a navigation test unit in Norway.
- Junkers Ju 88A-1, "B3+DR", 7./KG 54, France, September 1940
- Junkers Ju 88A-1, "4D+FL", 3./KG 30, France, 1940
- Junkers Ju 88A-1, "U4+TK", unknown Luftwaffe Test Unit for Navigation Systems "Knickebein", Norway, April 1940
The last markings option is the plane that was pulled from a Norwegian lake and is currently under restoration in Norway. The instruction sheet gives you the profiles of all three planes with painting instructions giving you the recommended RLM colours along with the placement of the decals.
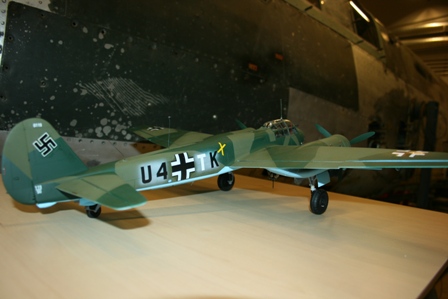
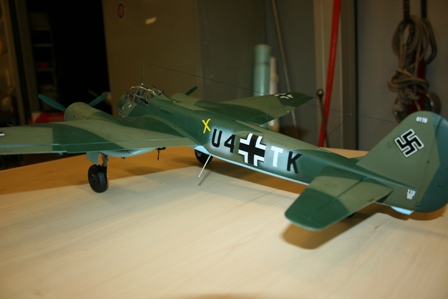
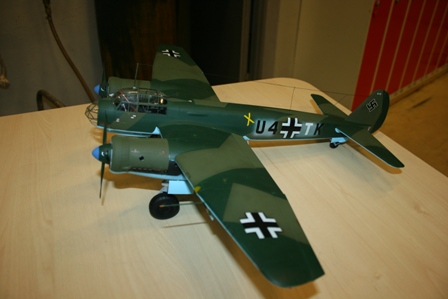

The preceding images, provided by Guttorm Fjeldstad, show a build for the Norwegian Air force Museum in Gardermoen, Norway (http://www.ju88.net/). This kit builds into a model that looks very much like a Junkers Ju 88A-1 should look.
Overall Revell put a really good effort into this kit, and, despite some minor problems with my drawings, I found it to be a very good and extensive kit. The quality of the molding and the fit of the parts is excellent. The highly detailed cockpit, as well as other details, is simply outstanding. In addition, its marked at a very affordable price. As I said earlier, it's obviously set up for other variants that may or may not follow. Other than some minor things missing, as pointed out by some more informed members then me, I would highly recommend this kit to anyone wanting a Ju 88 in their collection.
Thanks to Guttorm Fjeldstad for the information and pictures he contributed to this review.
© David Robbins 2008
This review was published on Saturday, July 02 2011; Last modified on Wednesday, May 18 2016