
MDC/RB Productions | RBK32002: 1/32 Arado Ar 234B
Reviewed by Randy Bumgardner
Wow. If I had to sum up my initial reaction in a single word, that would be it. As I opened the box and sorted through the individual bags of resin, I kept uttering that same phrase, “Wow!” Well, that and “Holy Crap, would ya look at that...” The Arado Ar234 is the follow on release from MDC and master model maker Radu Brinzan to their Ki-61-I Hien. First, to even be offered this aircraft in 1/32nd scale is an awesome feat. Second, the amount of detail captured is truly beautiful. Radu, whose design and build of the masters for this kit was followed by many of us here on LSP, has proven himself up to the challenge of creating works of art. And coupled with MDC's great reputation in resin casting, this kit is surely a winner and a worthy successor to the Tony. Comparing my references and everything that is in the box, Radu has certainly done his research very well on this aircraft.
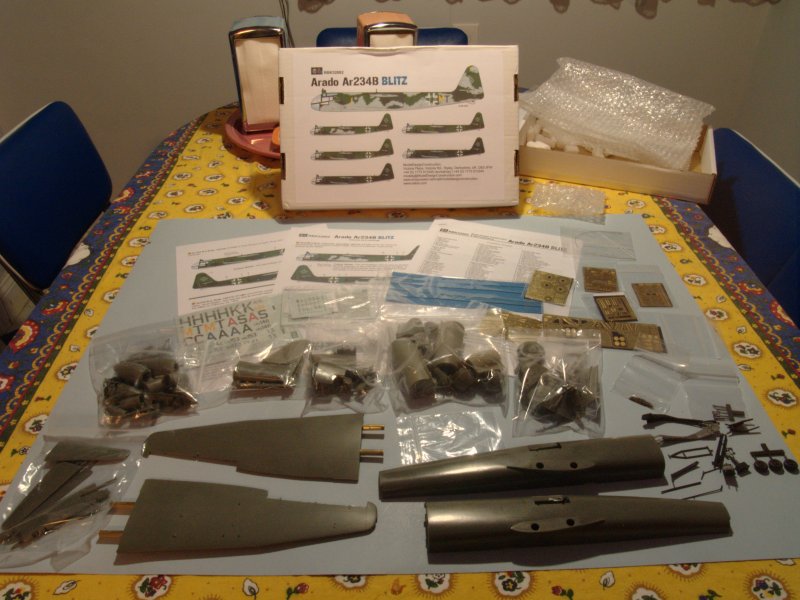
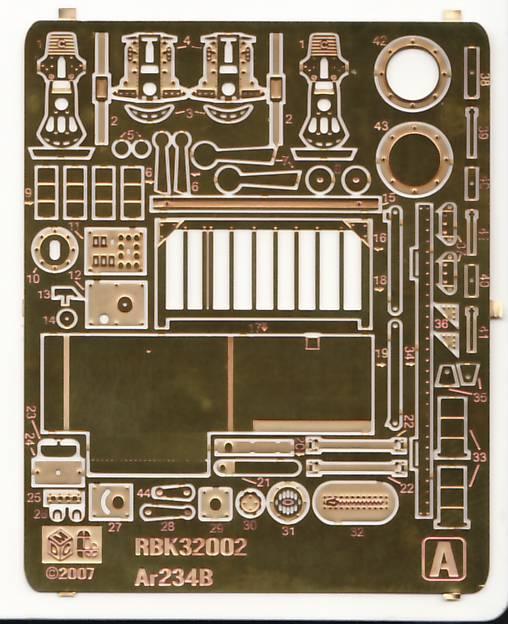
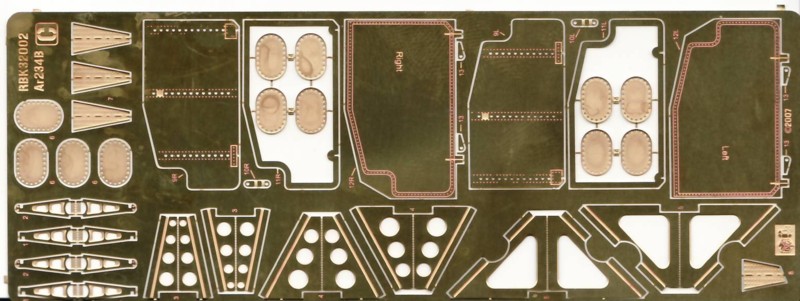
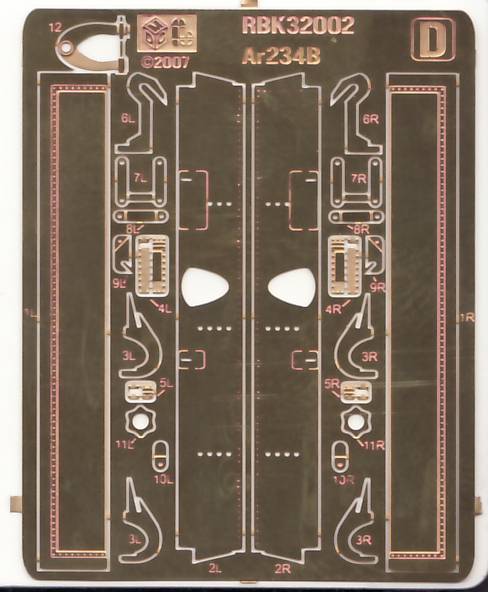
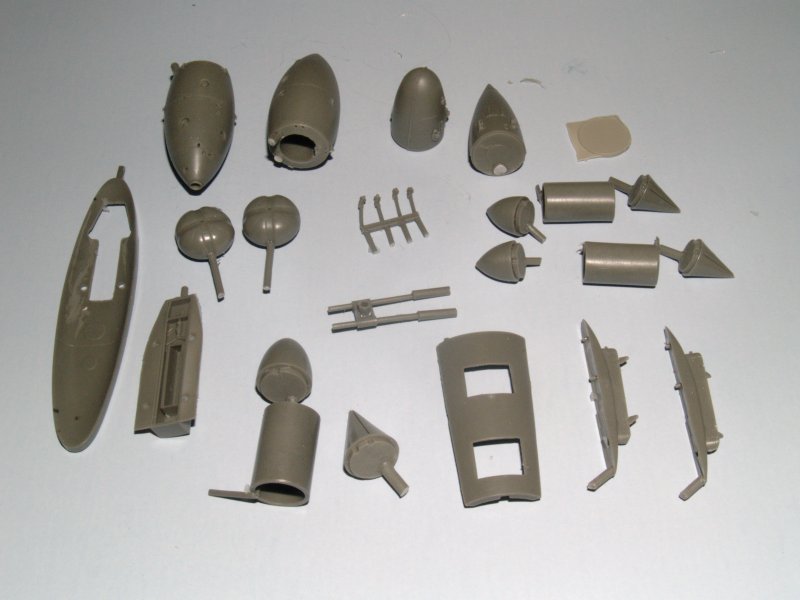
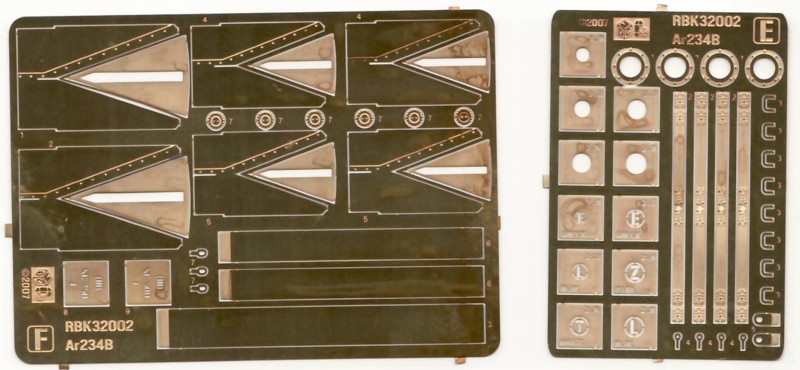
When you open the box, the modeler is presented with a veritable cornucopia of resin, photo-etch, and lots of other goodies. Nicely packed in a sturdy box, the sub-components are individually bagged with the fuselage halves and wings wrapped in bubble wrap for extra protection. Also included is a folder containing full color instructions, six color profiles and painting/stencil diagrams, seven photo-etch frets, and decals. In addition, MDC thoughtfully provides the wire necessary for some of the construction steps. As seen in the image below, there is a lot packed into that box – and it's packed very well, my sample survived the long trip from the U.K. to California without any breakages.
Included in the first 100 kits is a Luftwaffe bomb cart. Mastered by Derek Bradshaw, this is a kit unto itself, and comprises 18 parts in resin with great details. This item will add a little life and visual interest to any diorama featuring the Arado, or any other Luftwaffe bomber if the modeler chooses. Once assembled, the modeler will have a bomb cradle that actually works. The cradle height may adjusted to taste by simply increasing or decreasing the height of the cradle piston.
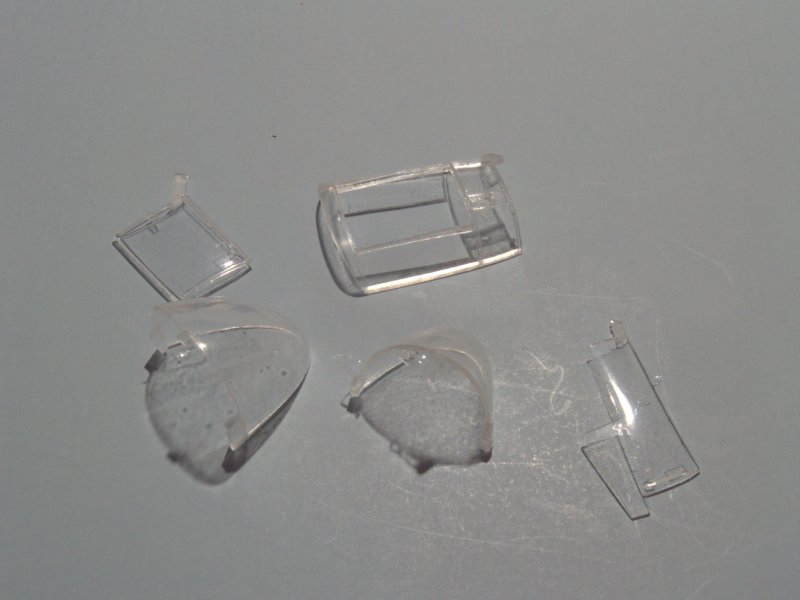
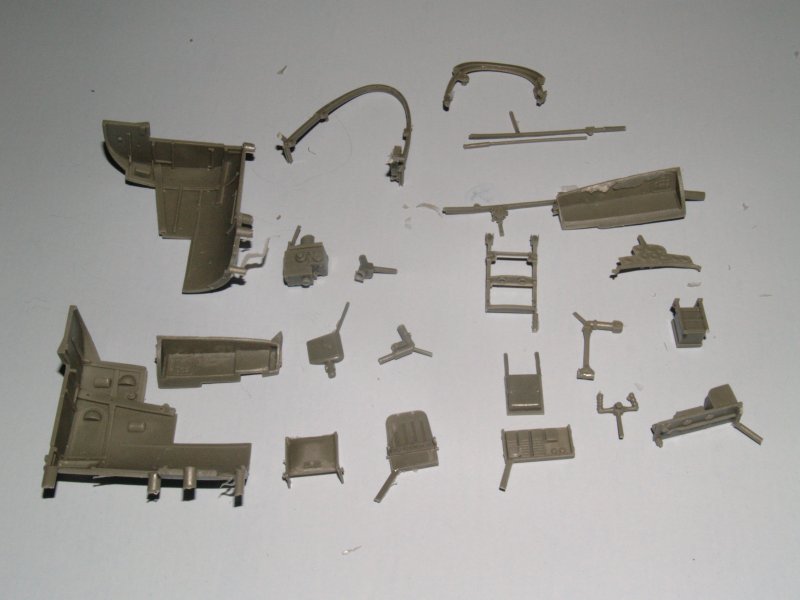
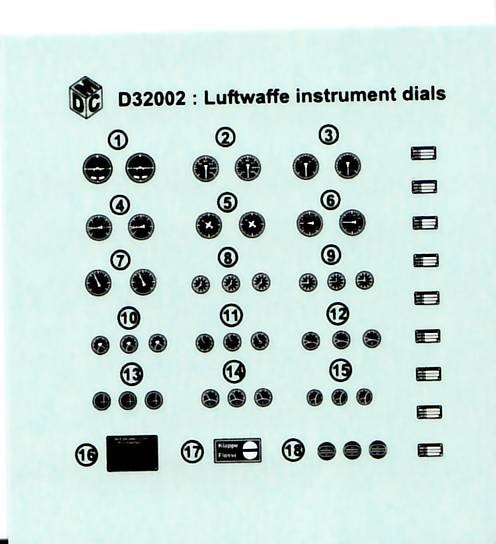
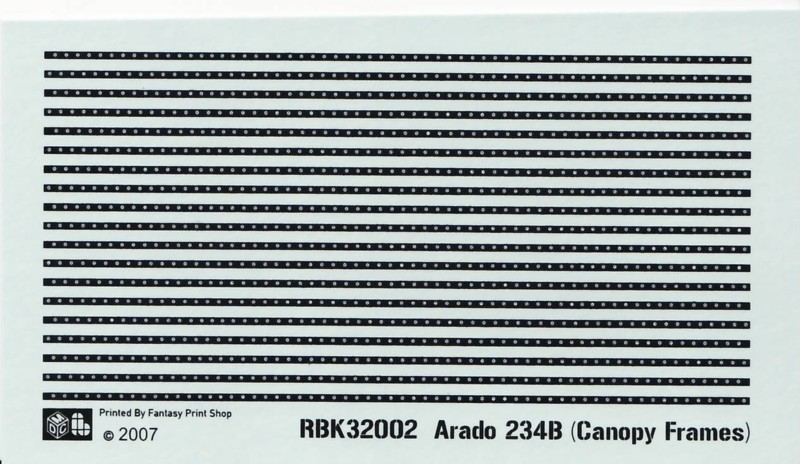
So, where to start...? The cockpit is really the jewel of the kit. And rightly so, as everything can be seen through all of that cockpit glass. The cockpit glass is cast in clear resin and is very thin. Once in place, the resin is distortion free and lots of detail can be seen. The cockpit parts are cast in MDC's gray resin, this component features very fine and subtle detail. The modeler is provided with MDC's Luftwaffe instrument dial decals for the instrument panel. The instructions provided tips to the modeler for routing wiring in this very visible area. The cockpit area also includes the forward fuselage to the cockpit bulkhead. Framing for the cockpit glass is provided as decals which will look the part once all is said and done.
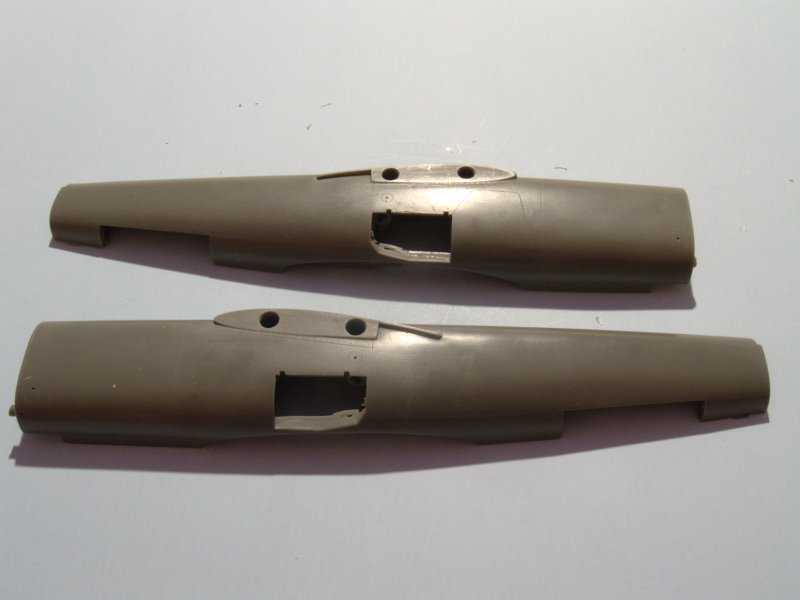
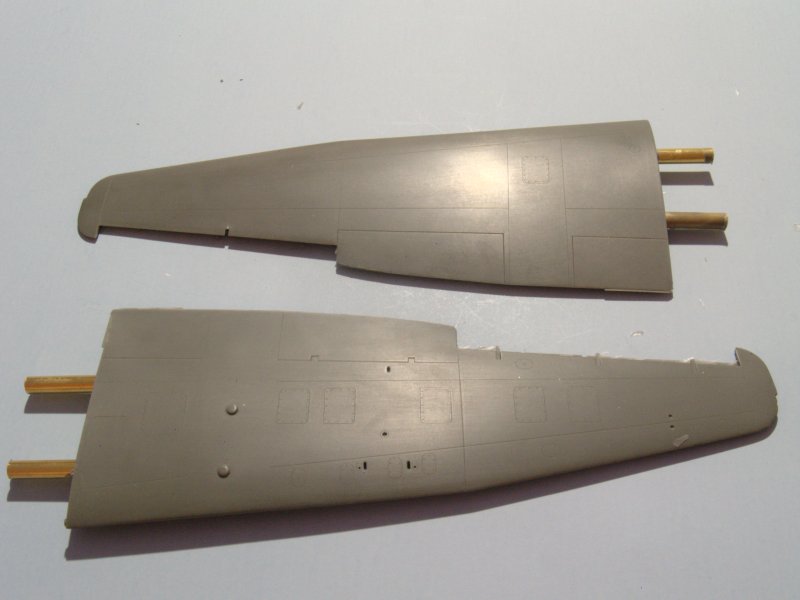
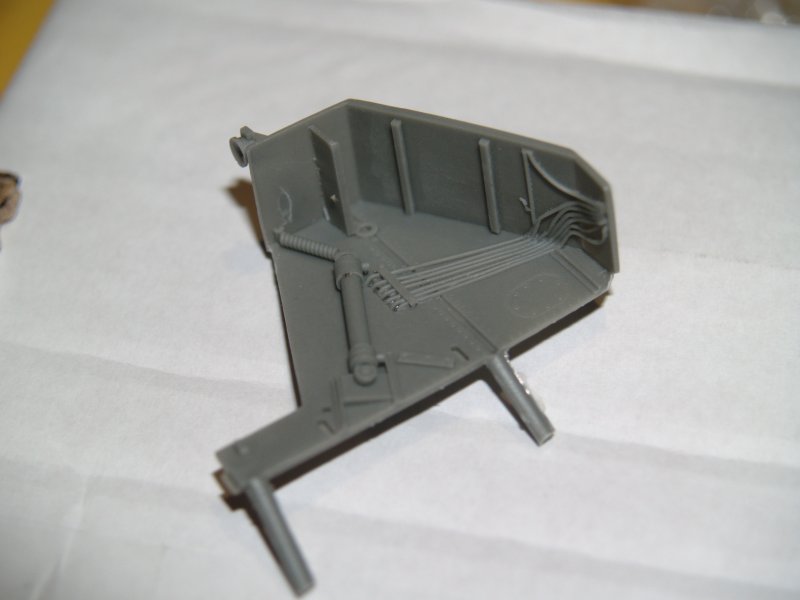
The fuselage itself comes in two halves with separate parts for the empennage and forward fuselage. These are very hefty pieces of gray resin. Mine showed slight warpage around the vertical axis, resulting in a slight gap at either the forward or aft end depending on where I held the pieces. Nothing to worry about, as the gap was only about 1 – 1.5mm and using epoxy and some clamping during construction will fix this right up. The modeler is advised to assemble each fuselage half separately prior to joining the fuselage halves. This is the best way to approach the construction sequence to reduce seams and steps from appearing. The fuselage also contains some of the wheel well details such as the retraction mechanism, and other bits. All of it nicely cast with petite detail.
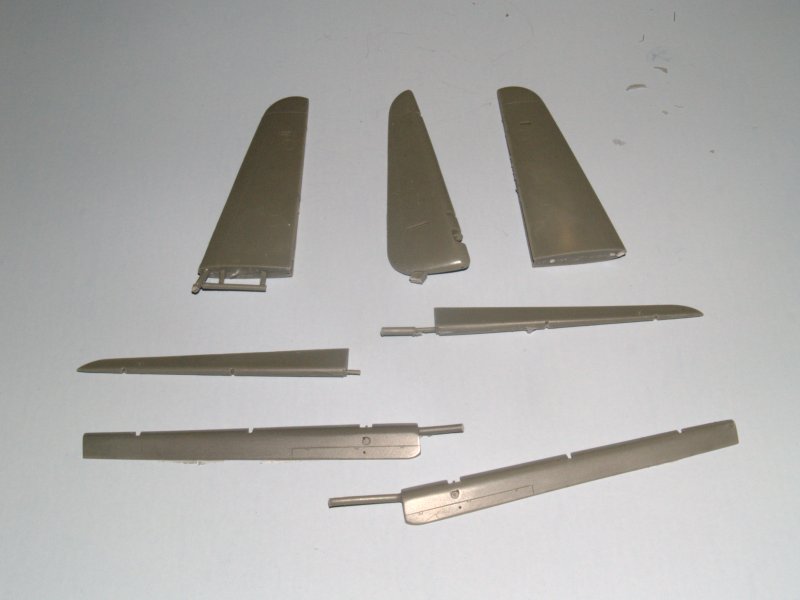
The wings are a solid piece of resin with fine surface detail. The control surfaces provided separately, so the modeler can position them at will. Two stout brass rods form the fuselage attachment points and slide nicely into the corresponding holes in the fuselage. Using some epoxy is a must for this joint. The wings themselves are quite heavy and when the modeler attaches the engines the resulting assembly will weigh quite a lot, resulting in stress on the wing/fuselage joint and the upper fuselage joint as well. The control surfaces, included separately as mentioned before, are nicely cast without flash and contain subtle details. The pour stubs are minimal and can be easily removed.
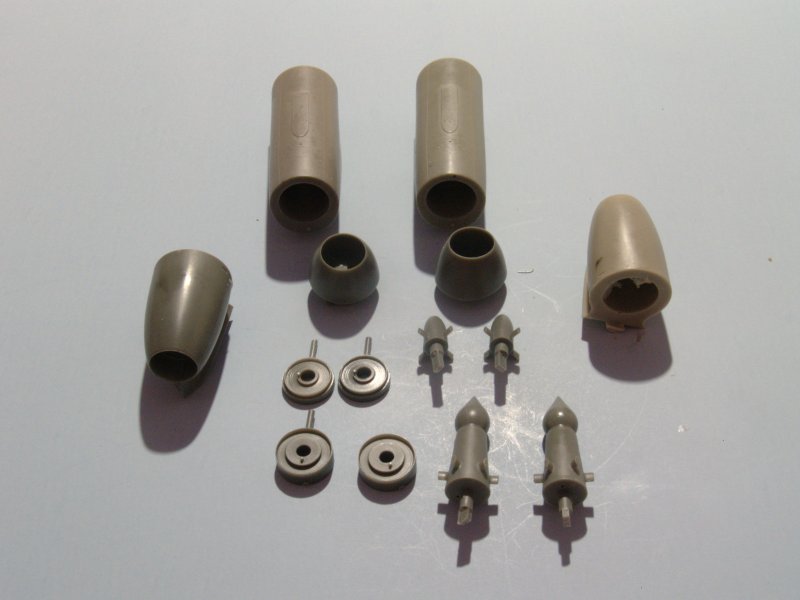
The engines are nicely detailed and contain separate nozzle and exhaust parts. The turbine faces for each are included as photoetch parts and will provide a nice subtle detail. The “Zwiebel”, or “Onion”, looks great and is the correct size and shape. Not that I doubted it, I just wanted to use “Zwiebel” in a sentence...
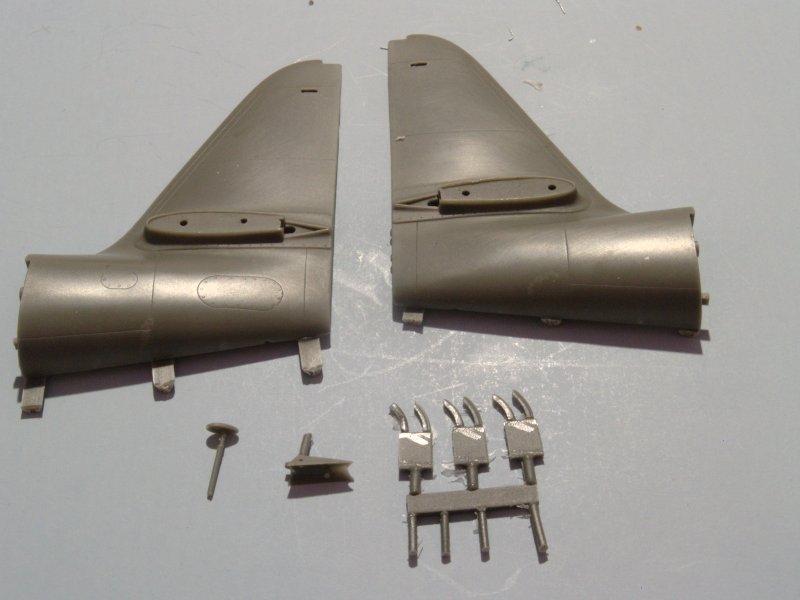
The empennage is included as a separate unit and is nicely detailed. Separate control horns are provided on the photoetch fret and should probably be added at the end of the build to prevent being broken during construction. As mentioned previously, the control surfaces are provided separately for the modeler to position as desired.
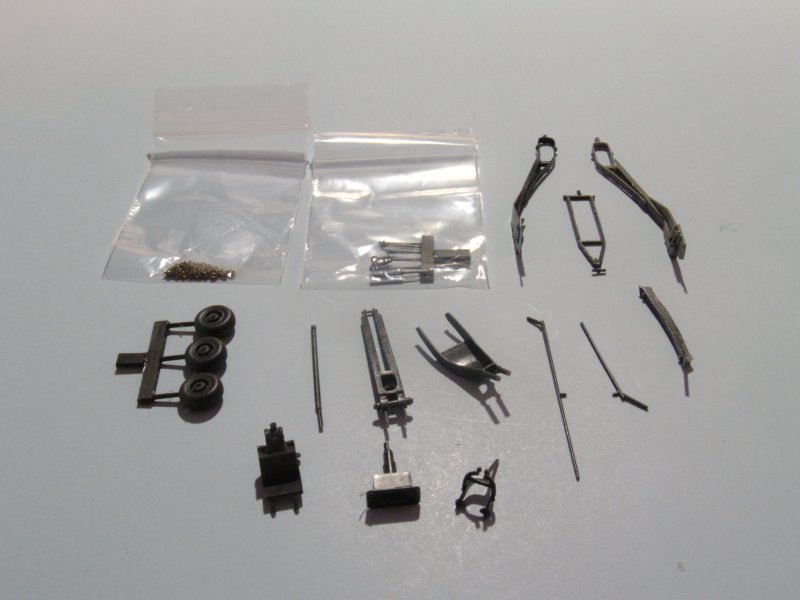
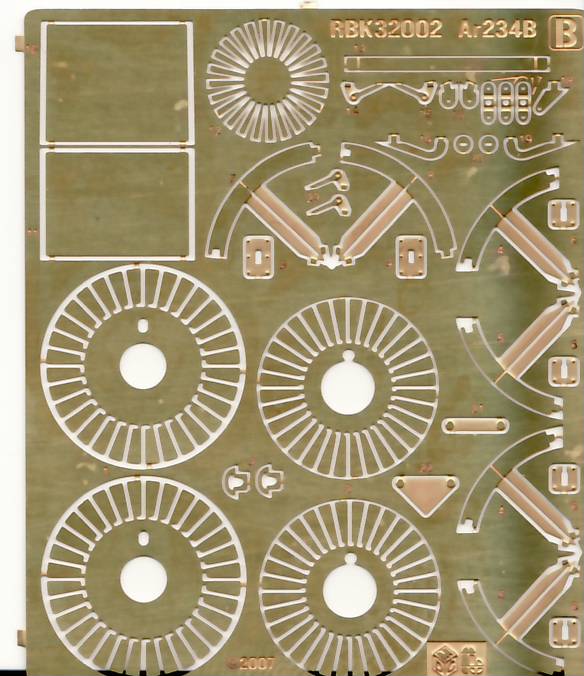
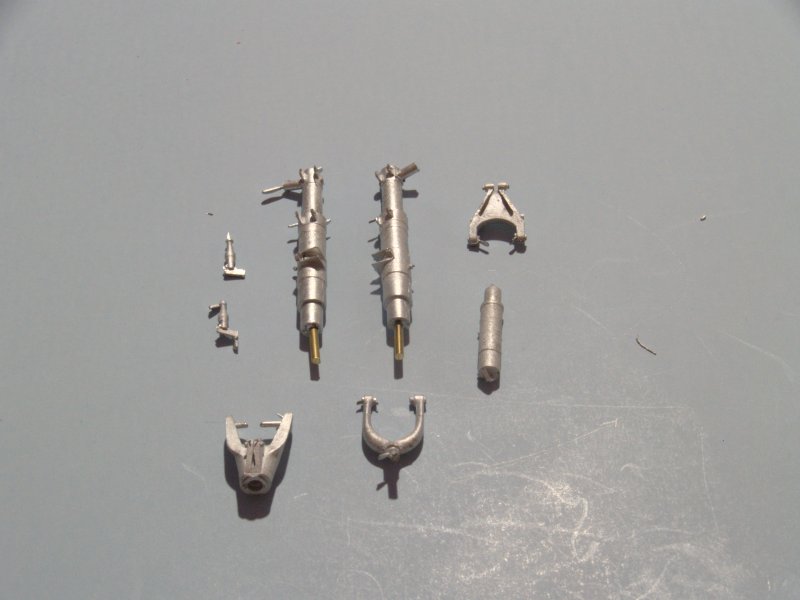
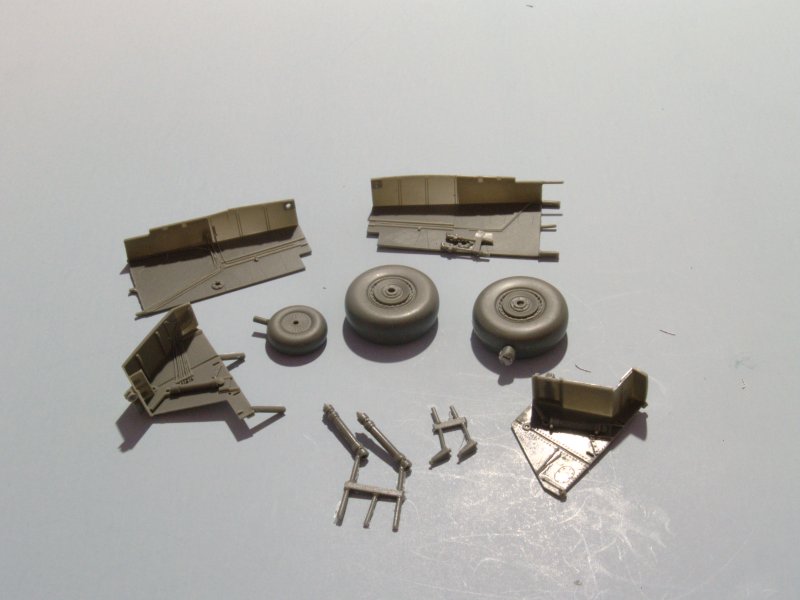
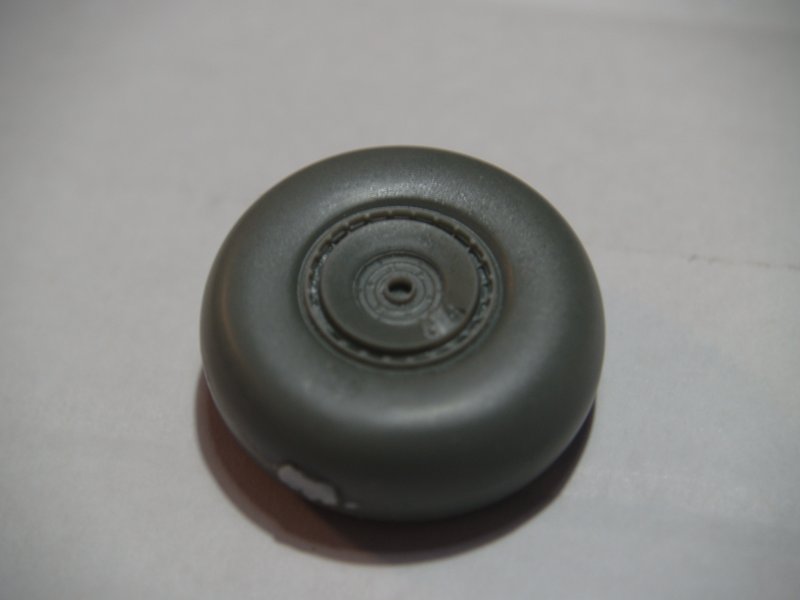
The landing gear and wheel wells are mini models themselves. Cast in white metal, with the main gear legs reinforced brass pins at the fuselage attachment point, these parts certainly look strong enough to hold up this kit. The tires/wheels are well detailed and will look great when painted and washed. The gear wells are a host of details and the main gear doors are provided as photo-etch for a nice scale thickness. The main gear wells are very busy places and will look fabulous with paint and a wash to bring the details out.
The kit contains the necessary armament in the form of the SC250 and SC500 bombs. Each bomb is composed of three resin parts and photo-etch fins. The takeoff assist rockets and their parachute packs are also included in the kit. Photo-etch details to further enhance the detail are provided. MDC also provides photo-etch stencils so you can paint the markings on the bombs and the maintenance stencils on the rocket packs. A very nice touch to enhance the subtle detail of the model.
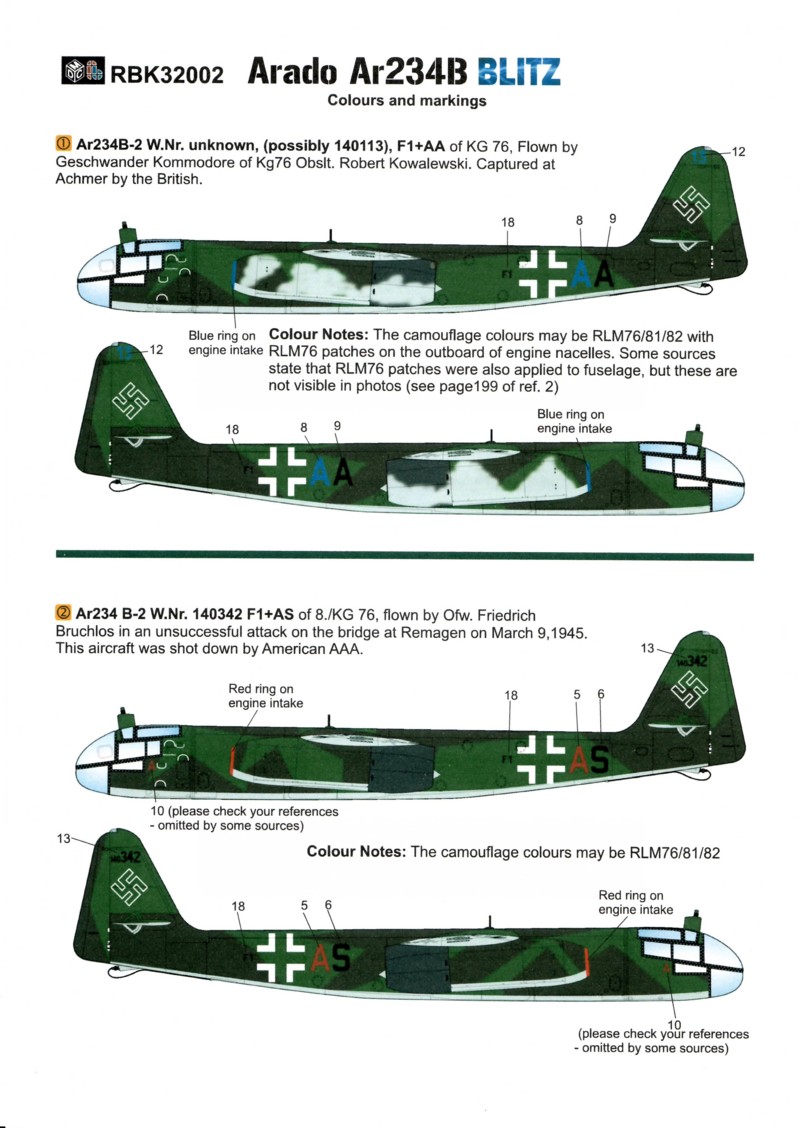
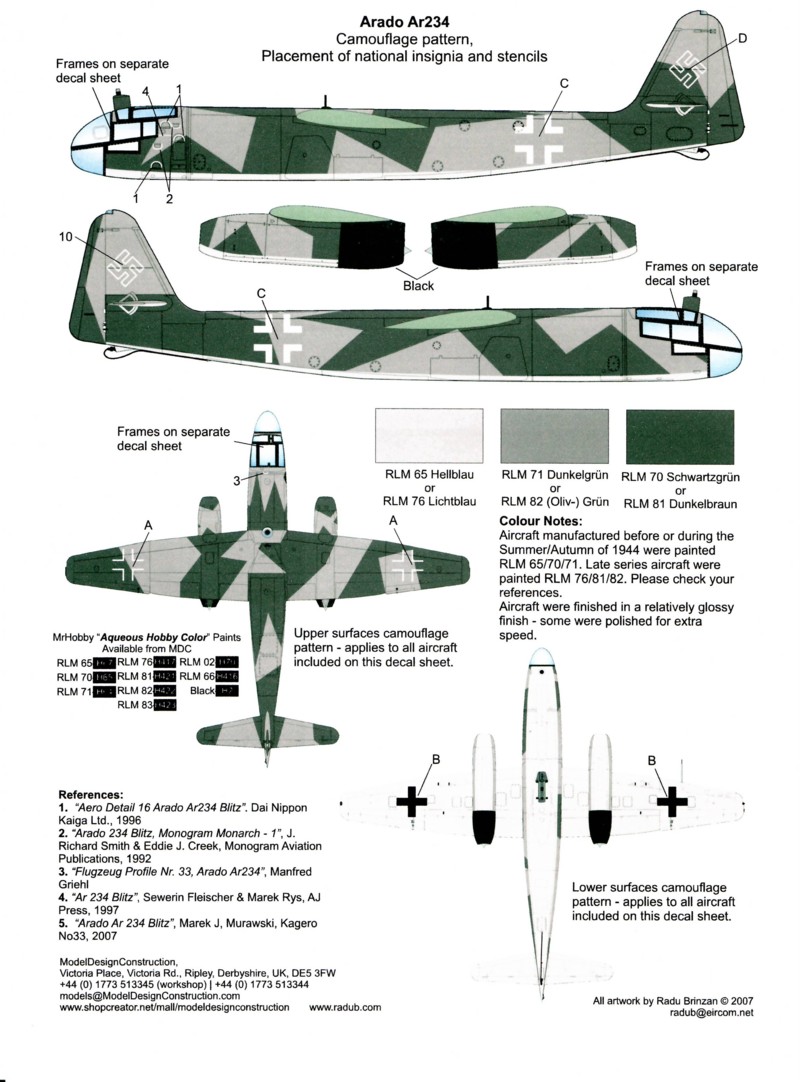
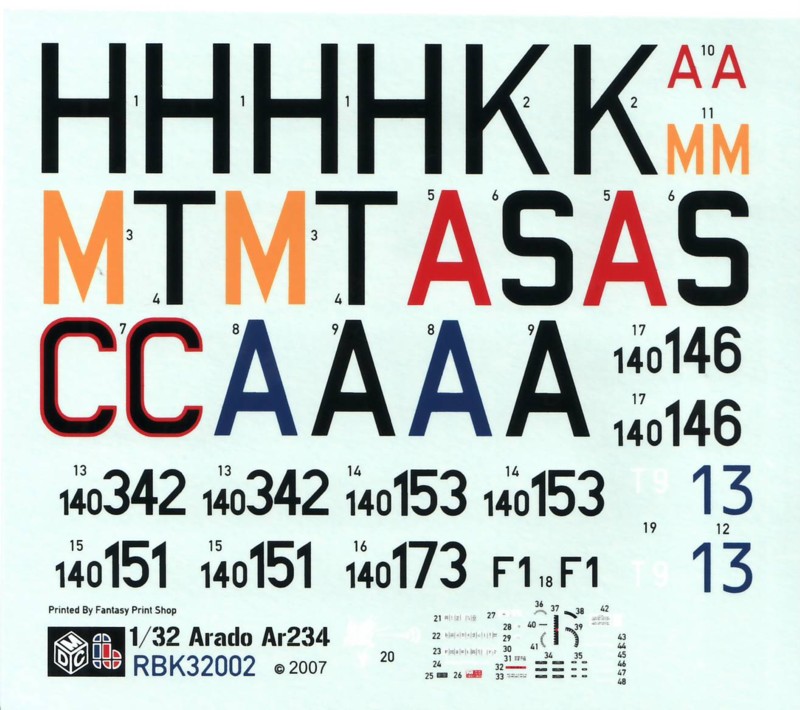
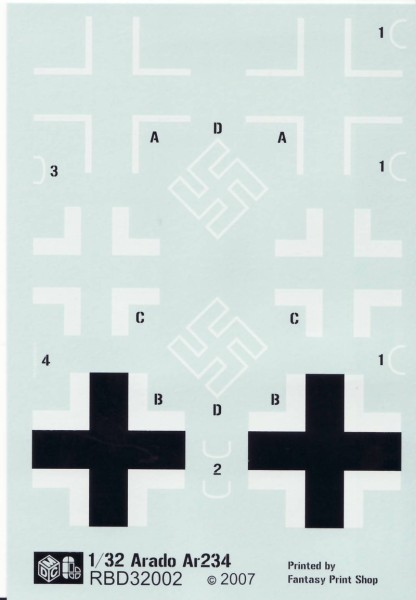
Markings for no less than six aircraft are provided. Each has it's own color profile with color callouts and any notes relevant to that particular airframe. Included is a generic camouflage and insignia/stencil placement guide. This guide specifies the color call-outs for Gunze paints, as well as the available references for this kit. All of the decals are printed by the Fantasy Print Shop and are very thin and show great registration. The colors are dead on and are nice and crisp.
So, this is a stunning kit of an aircraft that has not been kitted in this scale, vac kits aside. The level of detail and the quality of the castings is superb. Radu should certainly be congratulated for this achievement, and MDC commended for their willingness to produce this model. I think it's worth every penny and will provided the modeler with a lot of enjoyment while building this kit. As a caution, this kit is recommended for intermediate to advanced level modelers. The instructions are well laid out, and the assembly of the parts is equally well laid out, so modelers who have experience working with resin, photo-etch, and resin kits are advised to dig in!
Highly Recommended.
Review sample courtesy of MDC.
© Randy Bumgardner 2007
This product is available from the following LSP sponsors

This review was published on Saturday, July 02 2011; Last modified on Wednesday, May 20 2020