
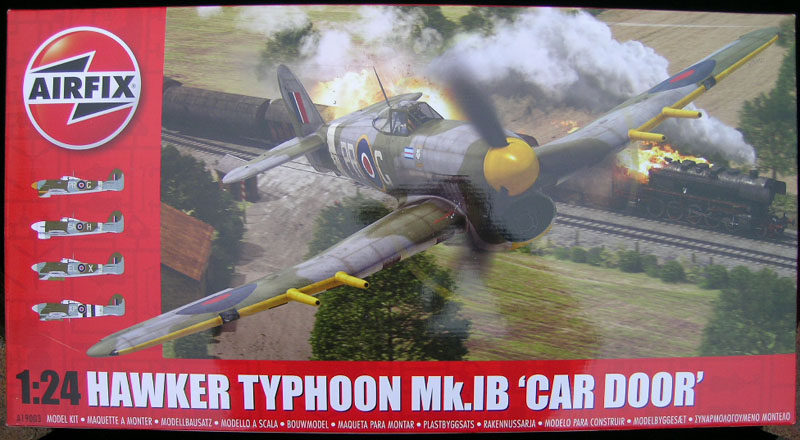
Airfix | 1/24 Hawker Typhoon Mk IB (Car Door Version)
Reviewed by Kevin Williams
I decided at the outset to remove myself from the somewhat typical and lengthy description of the Typhoon technical development and operational history. I will however say that I personally believe that for all the work the Typhoon squadrons performed, be it supply interdiction, communications, transportation (both road and rail) destruction, as well as the assaults directly against armor formations, that they deserve to be recognized for the tremendously important role they had to play during the war, and the fact that they performed in that role quite admirably. (Since this is more of an in-box review than a build review, I have no photos of assembled sub structures, so should be considered more of an overview of the various areas I thought might be of interest.)
Packaging/Box
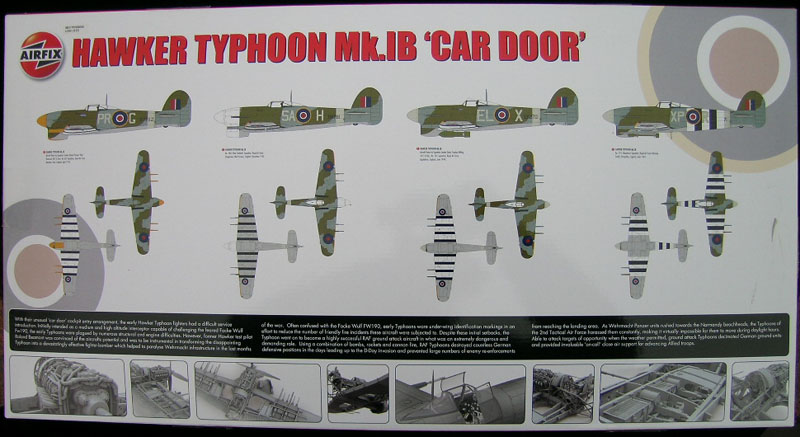
Nice sturdy box, plenty capable of holding the weight of this kit (photo below shows rear).
Instructions
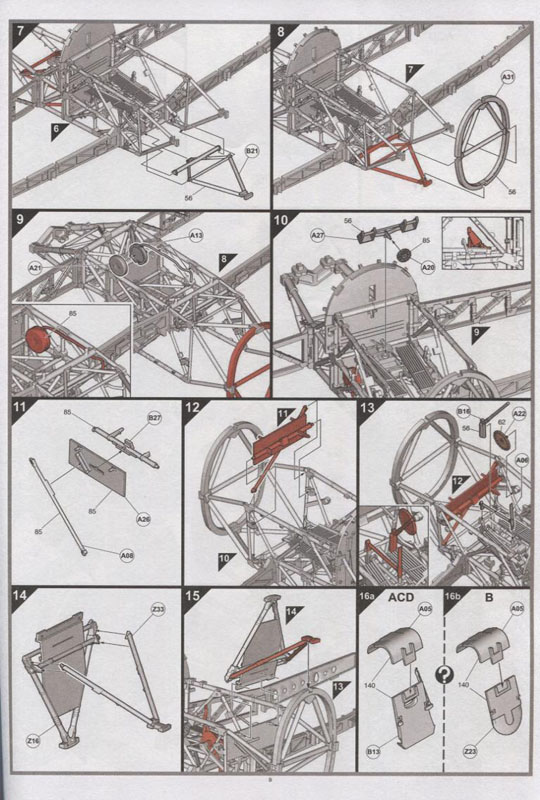
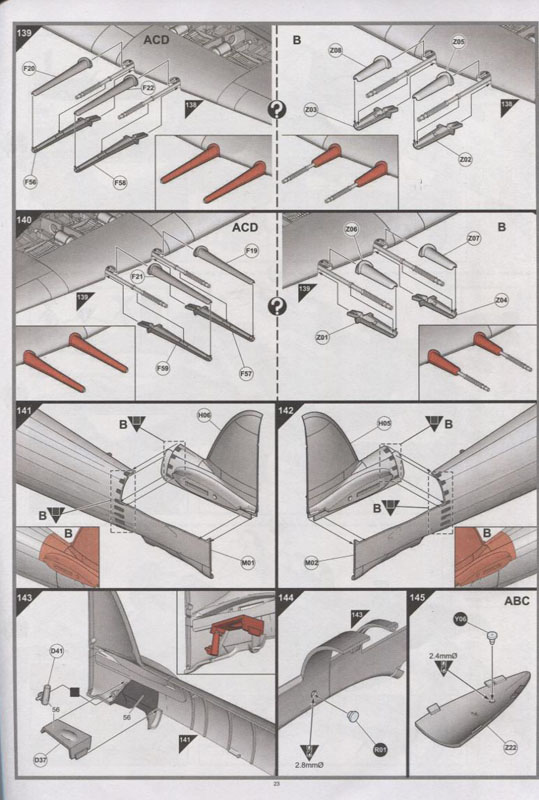

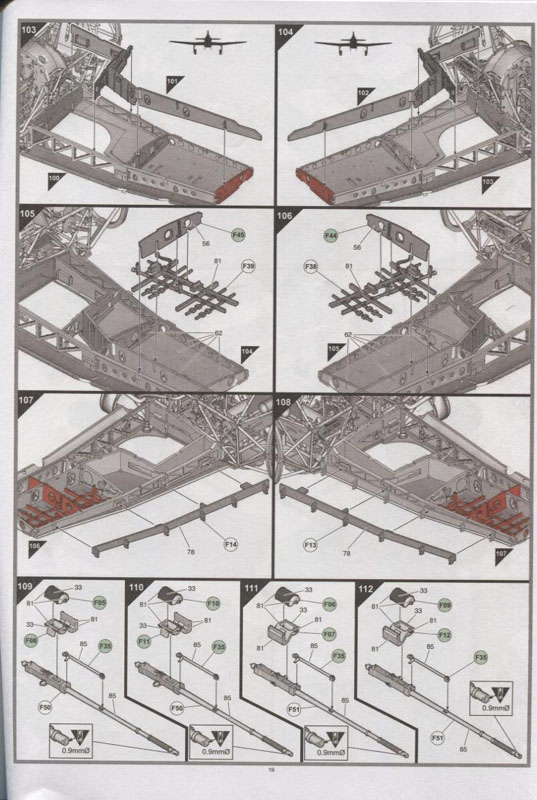

Instructions are depicted in a sort of pictographic way, making assembly a reasonably straight forward process, similar to what WNW provides in their kits. One thing I find a bit distressing though, is the complete lack of a parts chart. Given that there are a jillion parts to hunt down for the various assemblies, that would have been nice. (Perhaps this is an opportunity for a "How to Find Your Hawker Typhoon Parts" book, he says, tongue in cheek.)
Decals

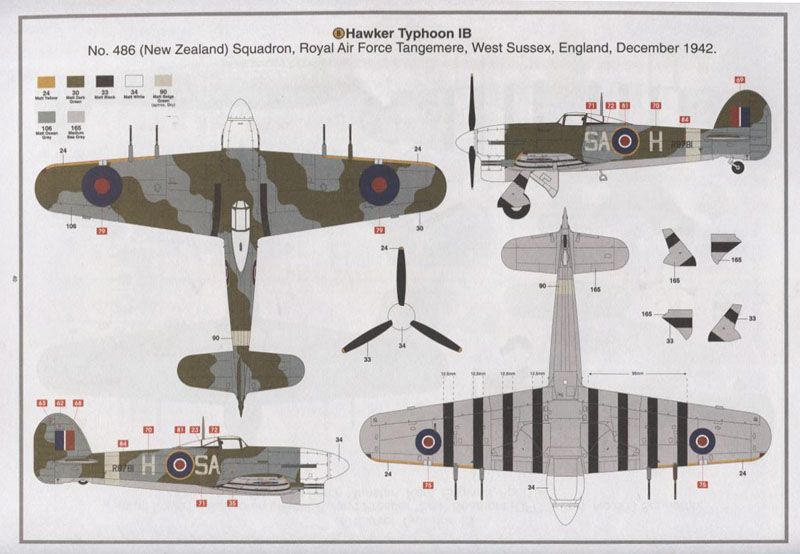
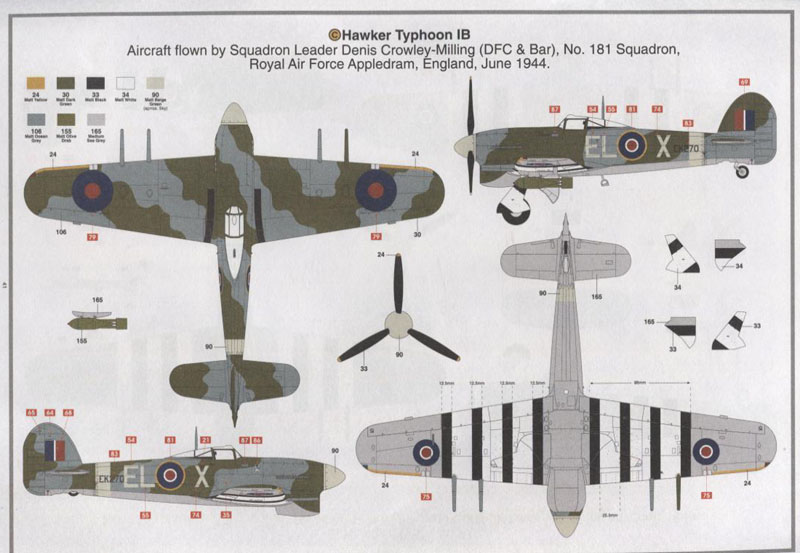
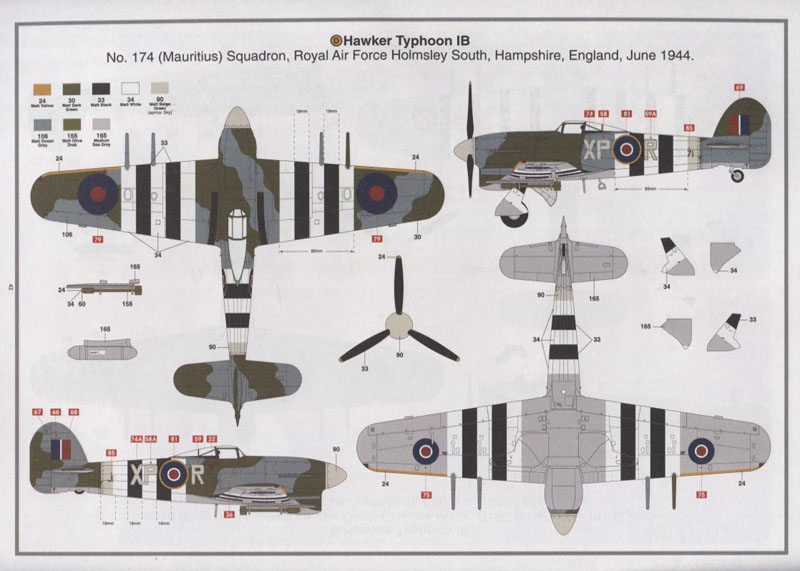
Markings are provided for four Typhoons:
- R7752, PR O G, No. 609 Squadron (Standard under wing ID stripes, but no yellow band on upper wing, shrouded cannons)
- R8781, SA O H, No. 486 (New Zealand) Squadron (Standard under wing ID stripes w/no white bands, and no yellow band on upper wing, un-shrouded cannons)
- EK270, EL O X, No. 181 Squadron (Standard under wing ID stripes, but no yellow band on upper wing, shrouded cannons)
- JP671, XP O R, No. 174 Squadron (Full blown invasion stripes, shrouded cannons)

Decals appear to be in register, quite opaque, and well detailed, with complete stenciling for air frame, rockets and bombs. Whereas the bubble top decals clearly stated Cartograf as the printer, there is no such notation regarding these, so I really can't say who they were printed by.
(A word about ID stripes vs Invasion stripes: As a general rule, most Typhoons were found with black and white alternating ID bands on innermost portions of lower wings, three white, and four (narrower black). Invasion stripes on the other hand, were three white, two black, and all even width, and should not be confused with ID stripes.)
In addition to these ID stripes, frequently there were also yellow bands on upper wing surfaces as well, (one per side), in chord alignment with innermost cannon.
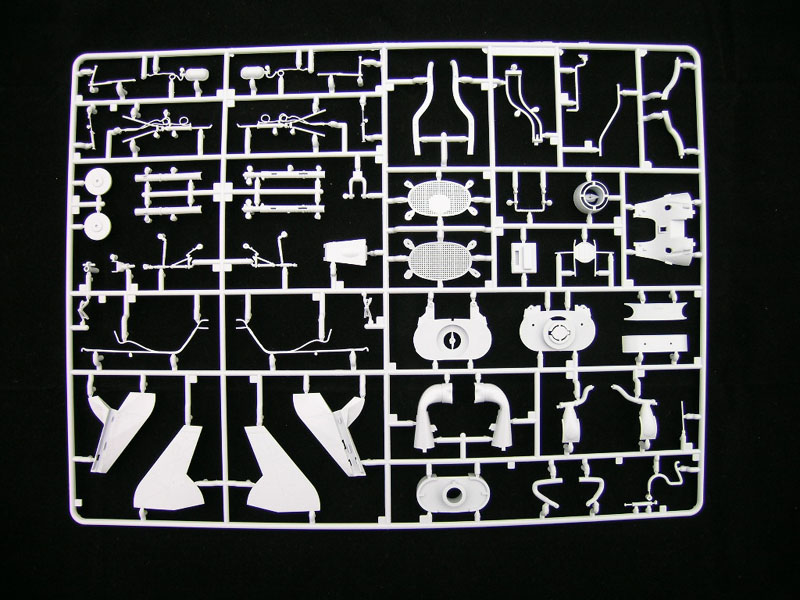
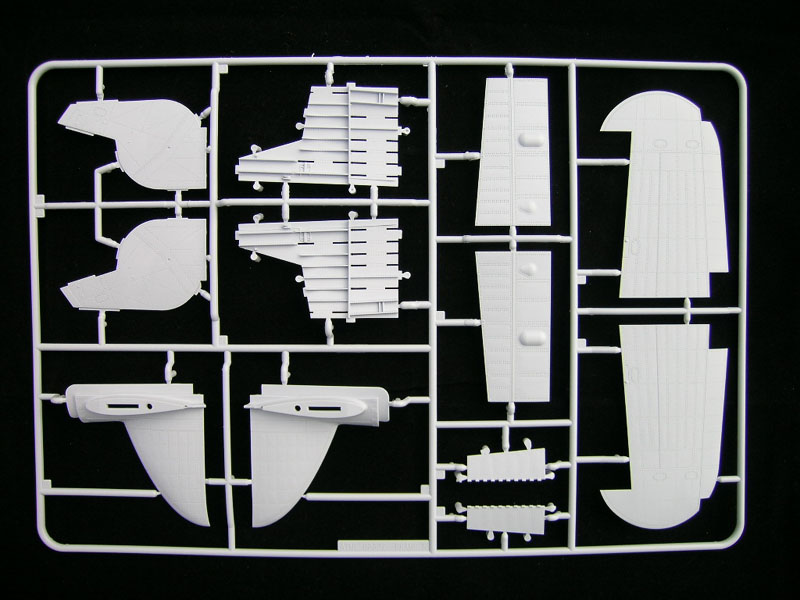
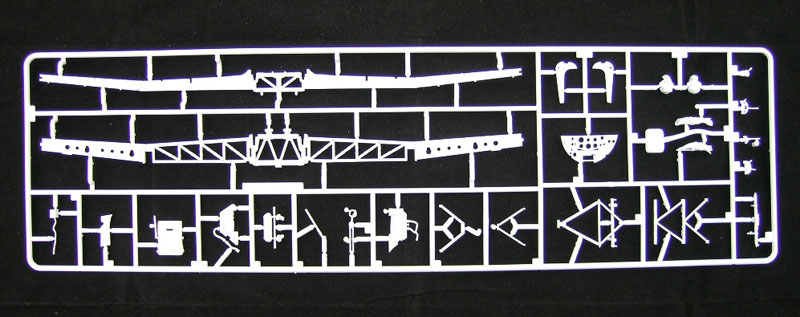
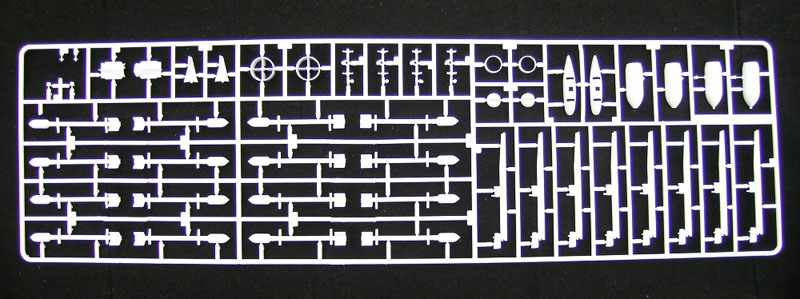
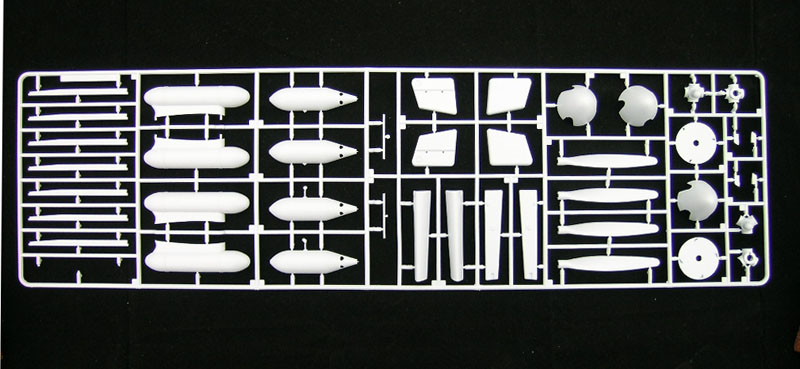
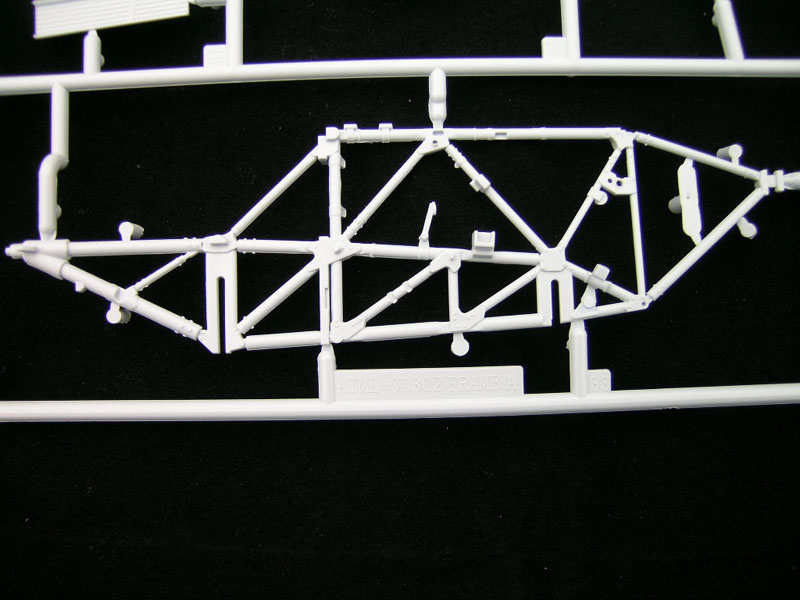
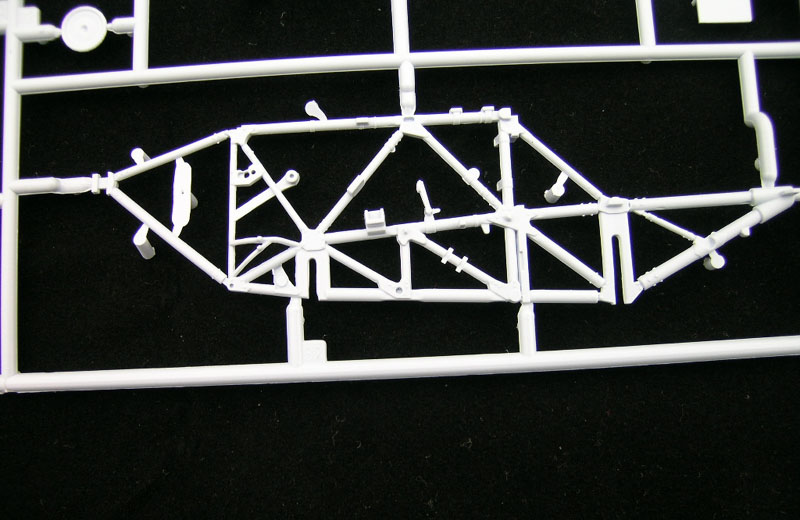
Sprues
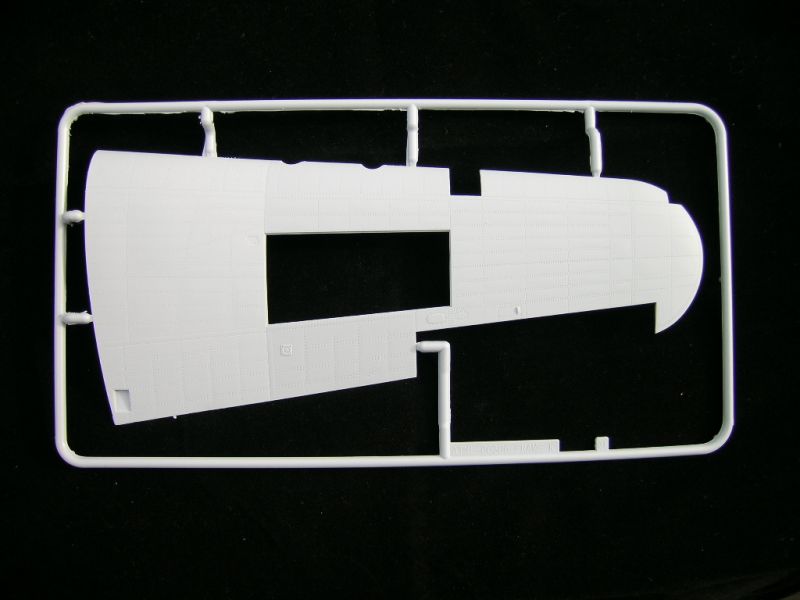
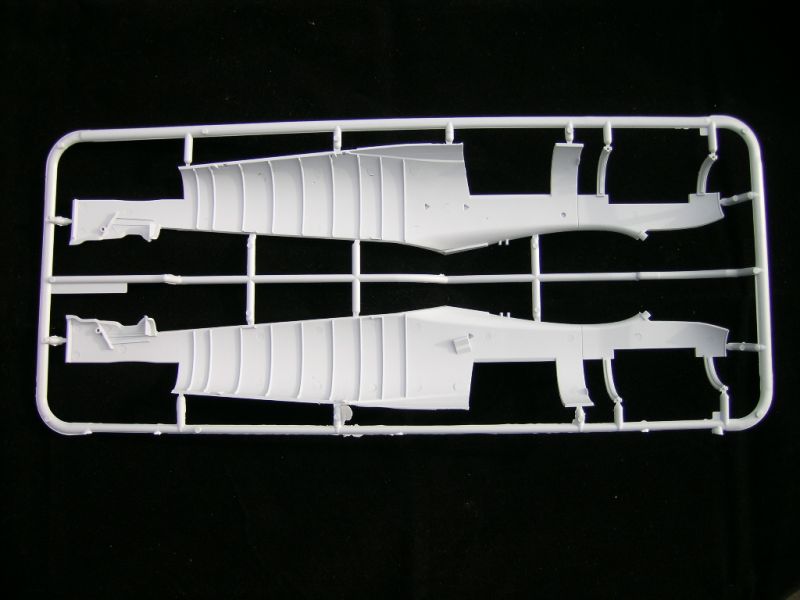


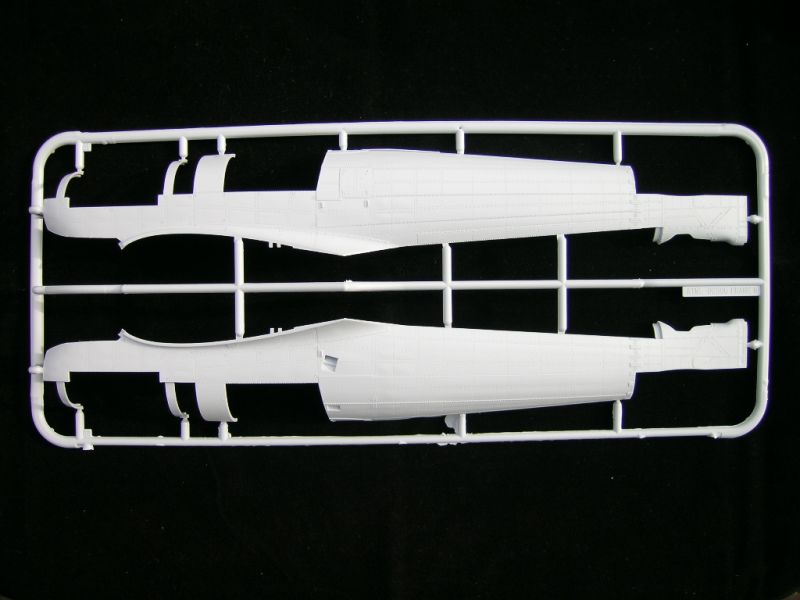
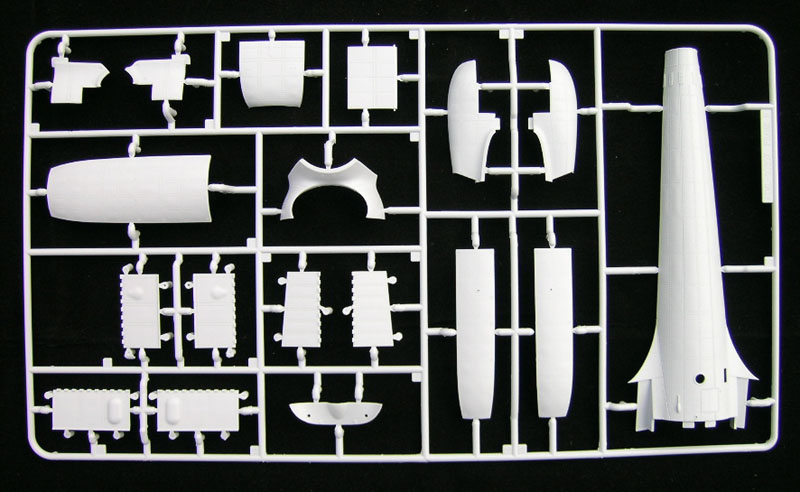

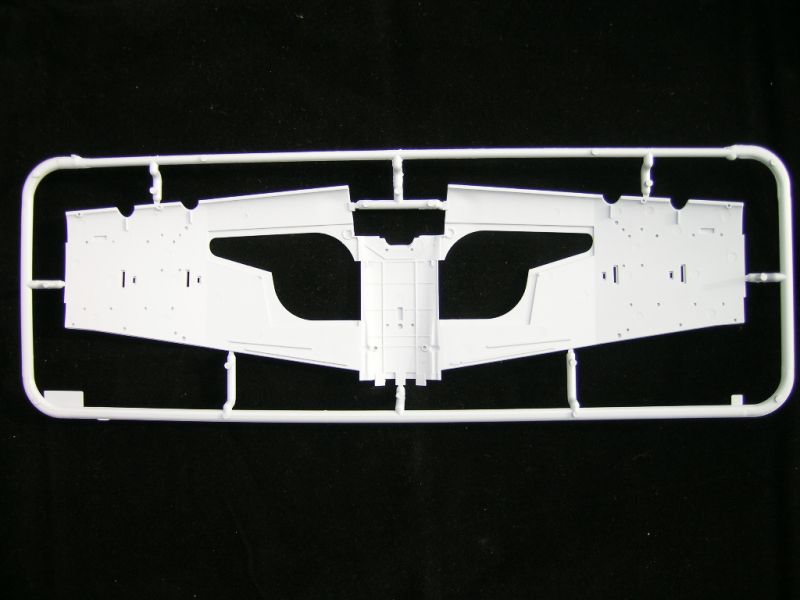


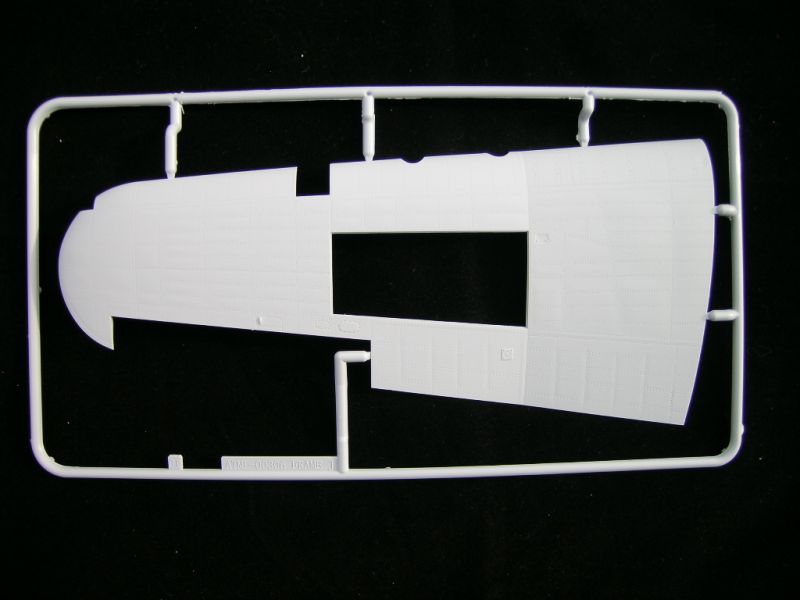
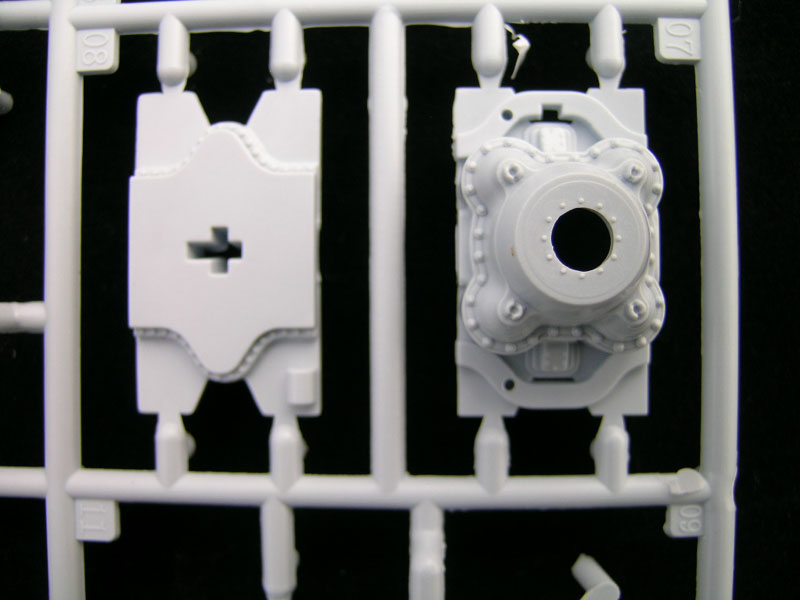
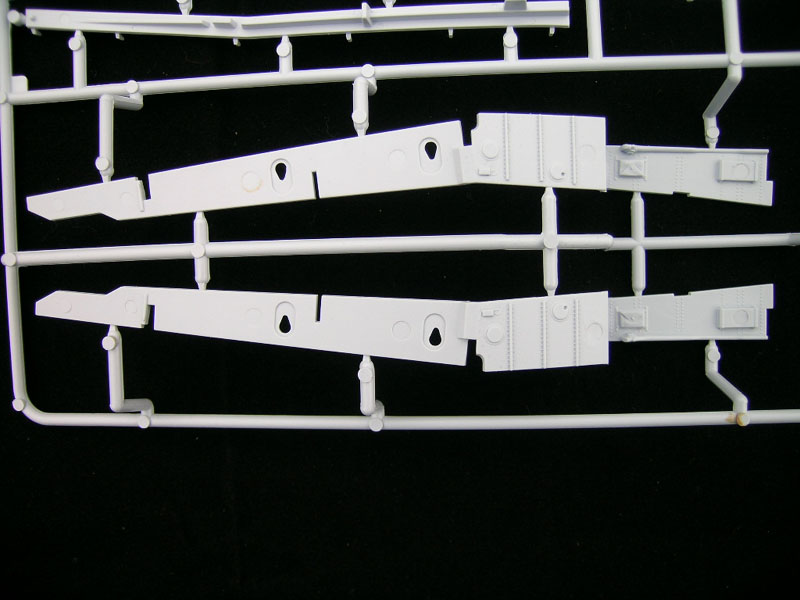
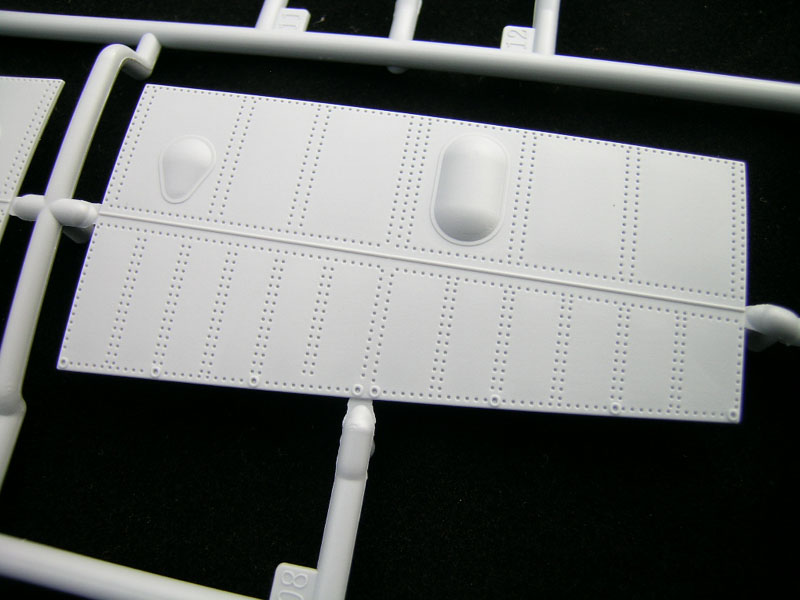
Airframe: The Vaunted “Stressed Skin” Effect
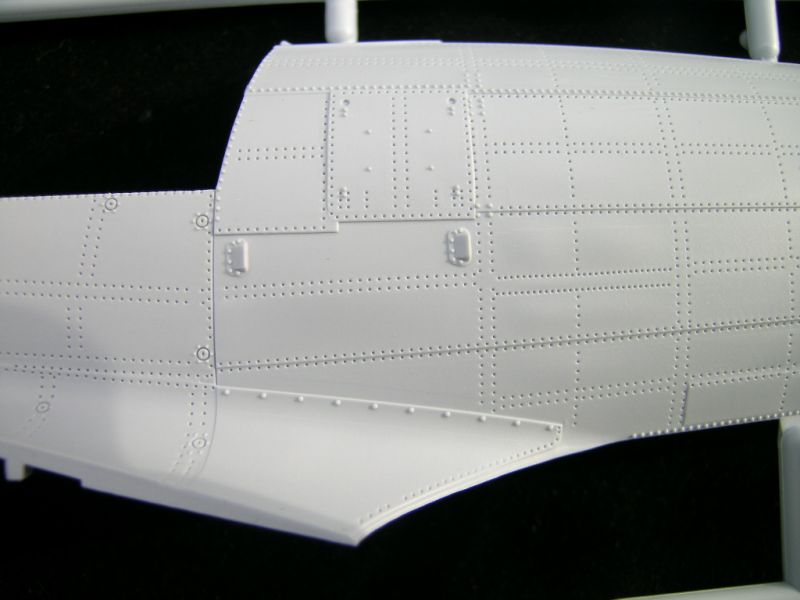
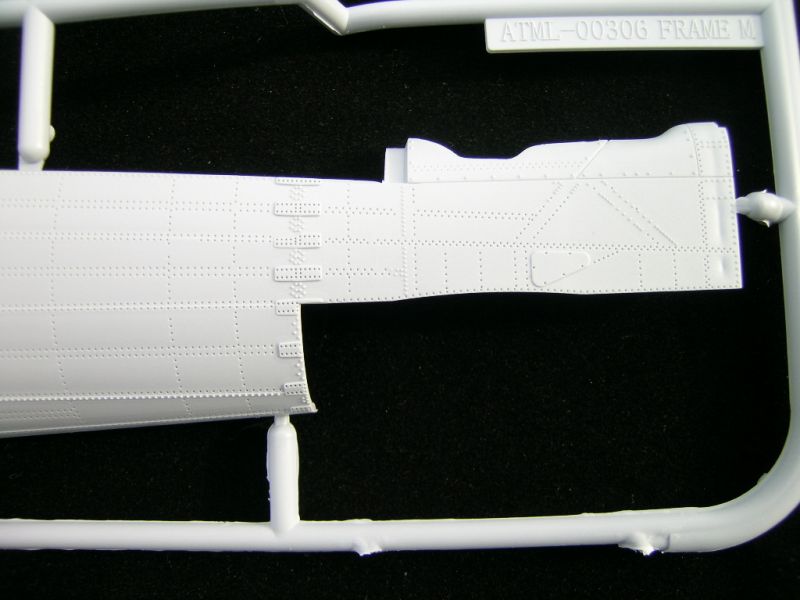
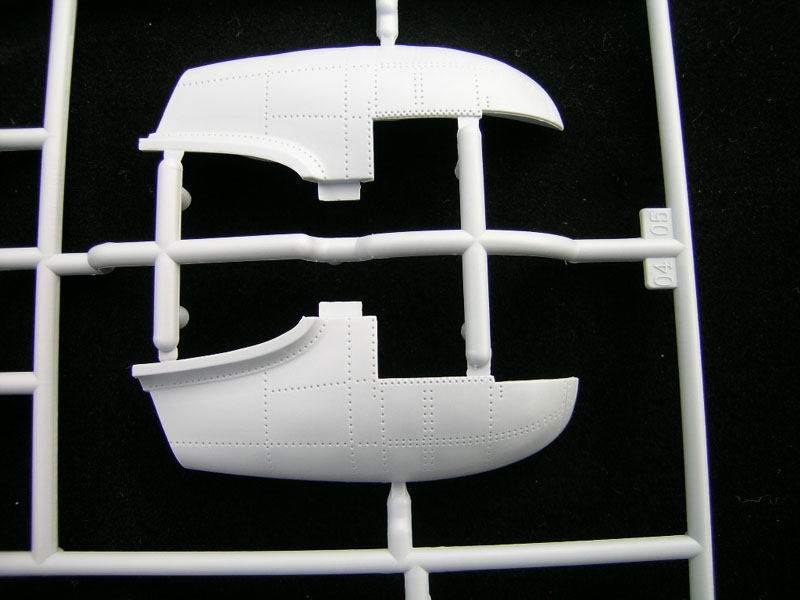
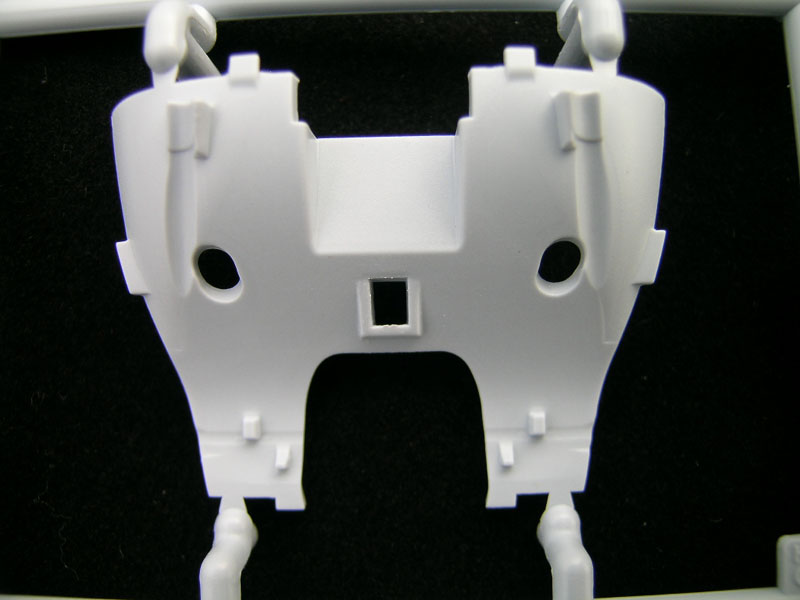
Now that I have the kit "in hand", I can say that the stressed skin effect on the airframe, where present, seems to be very subtly done, and adds a certain "character" to the model that I greatly approve of.
One area that I saw in the early test shots that I had hoped Airfix would have changed, is the area where the reinforcing plates are located. Perhaps because of my ham-fisted approach to building, I anticipate this to be a real pain to clean up, though detailing appears to be accurate in shape, and pretty much scale representative. (Version 'B' has these reinforcing plates removed entirely.)
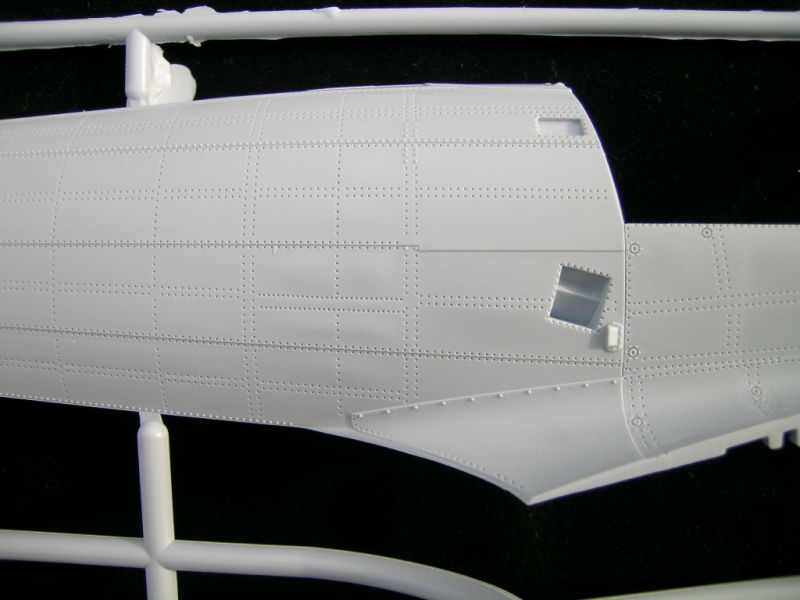
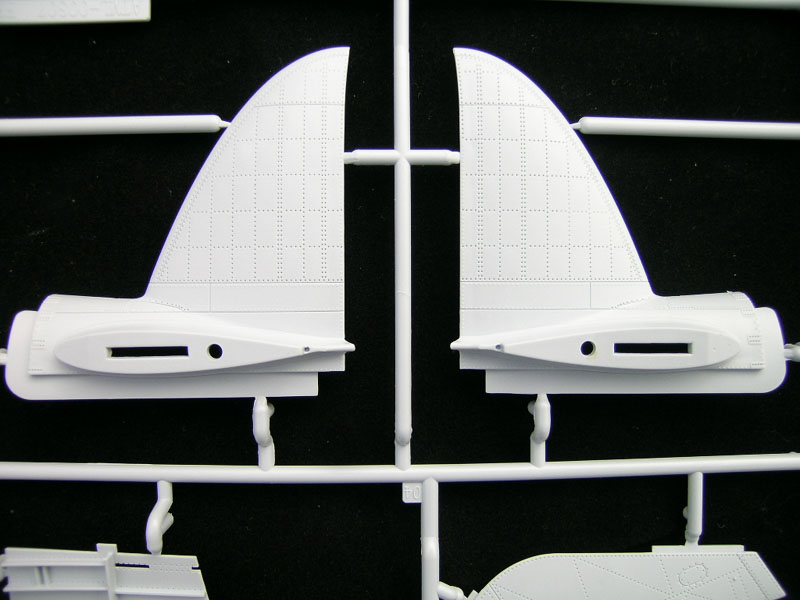
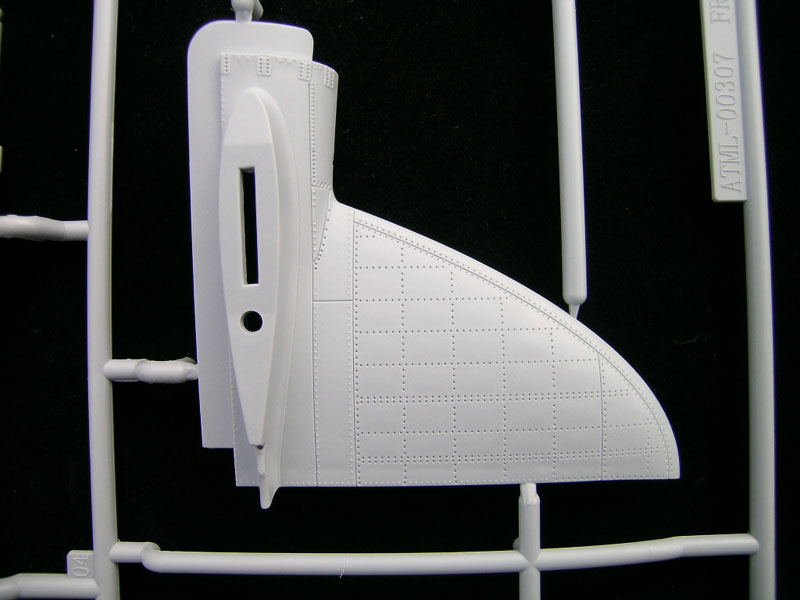
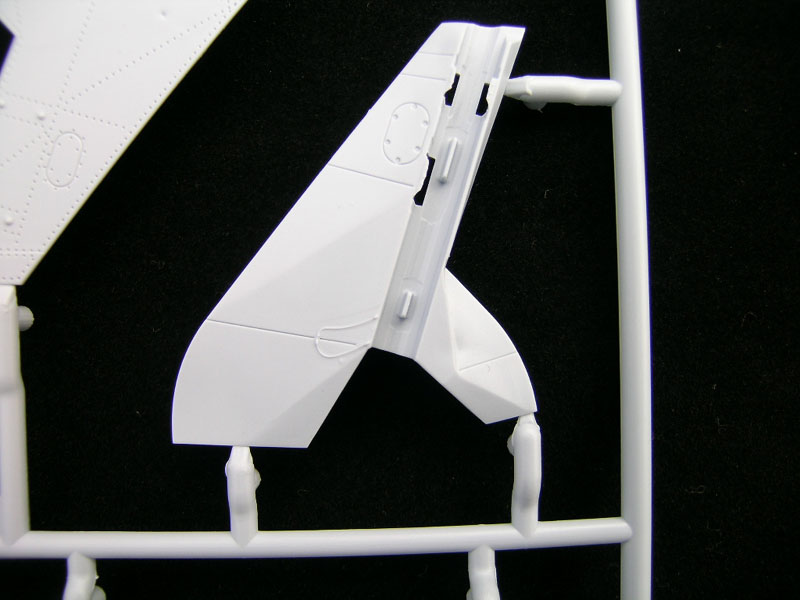
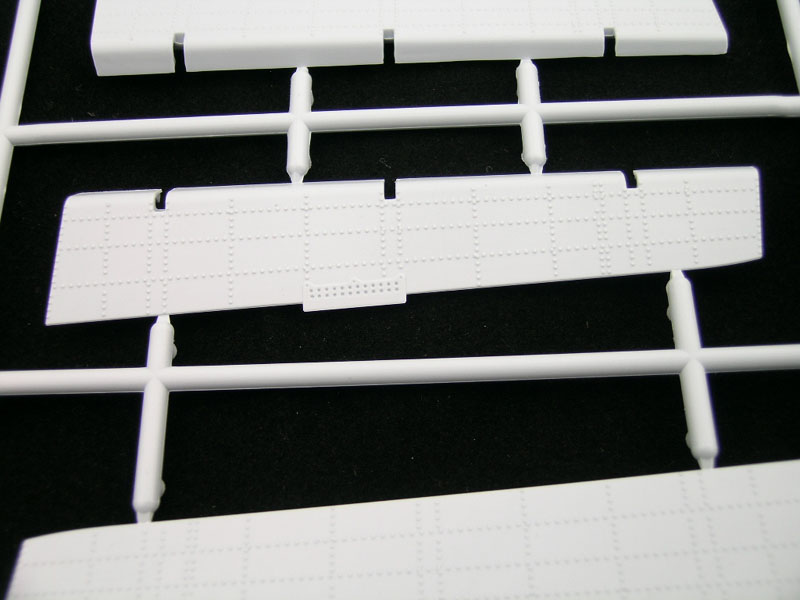
Wings


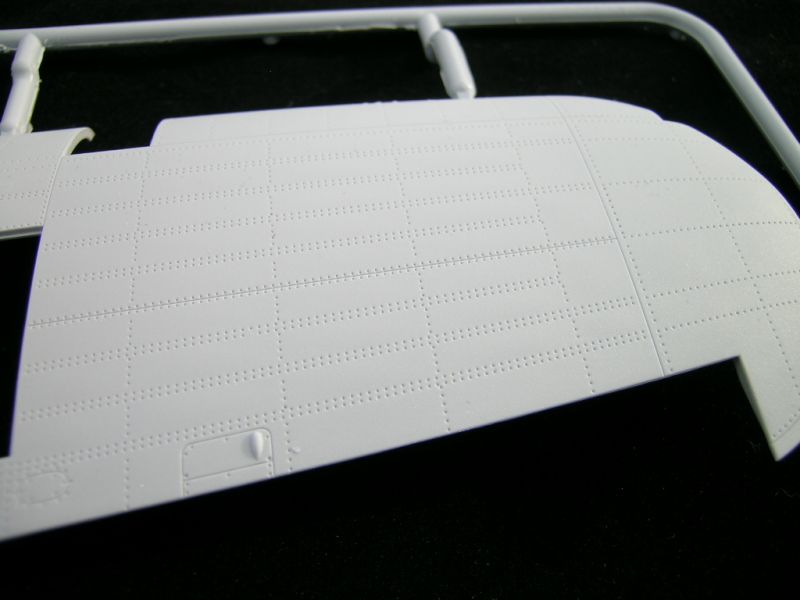
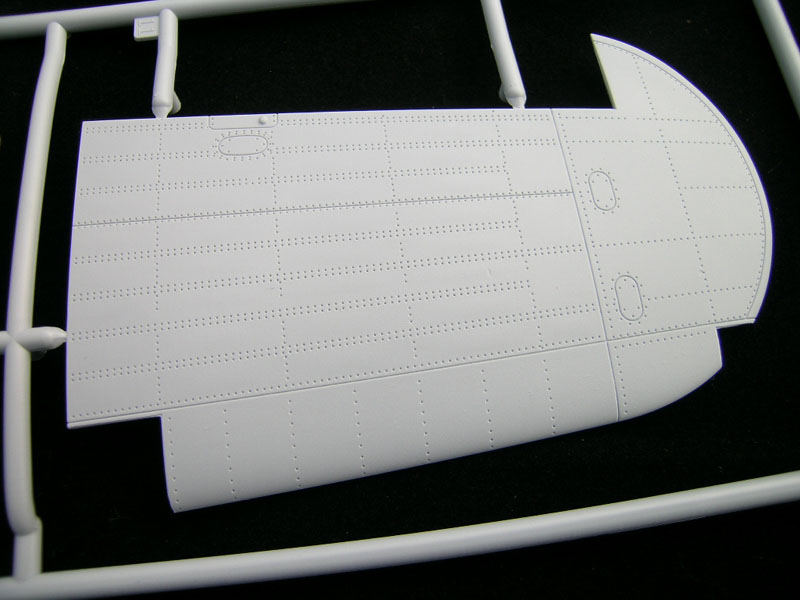
Here once again, the wings have been given the "stressed skin" look, which looks quite excellent to me. This is especially noticeable in the inboard aft upper wing segments.
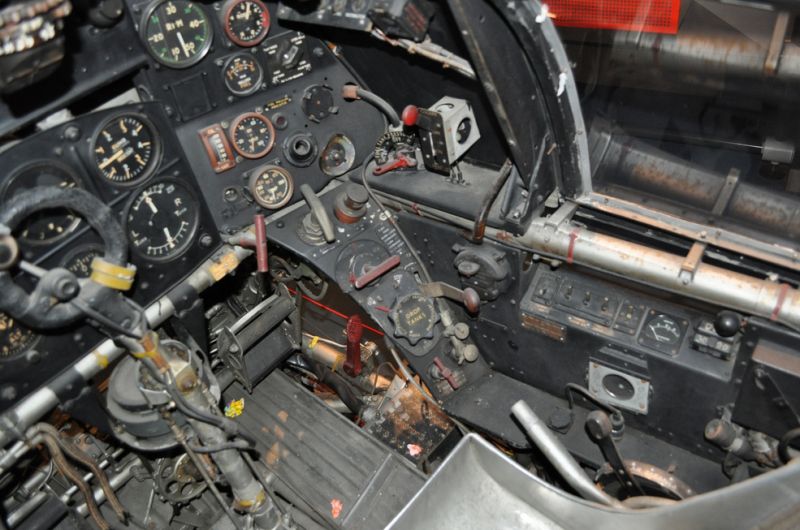
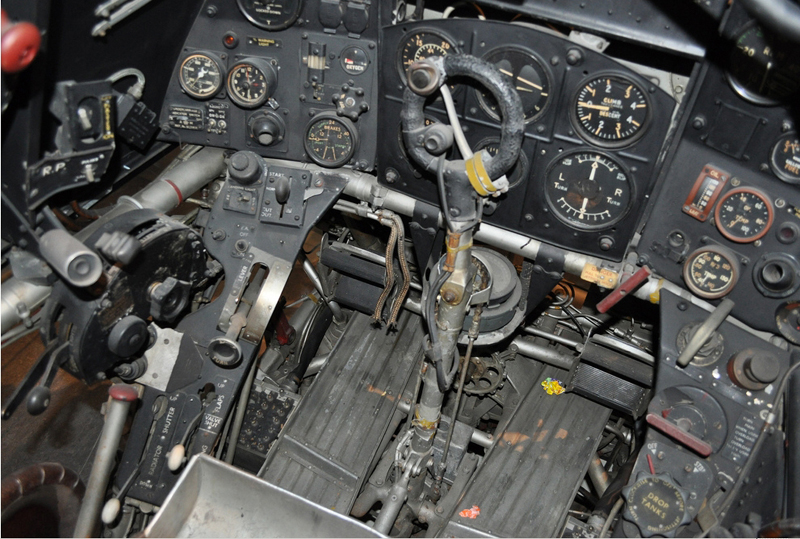
Cockpit
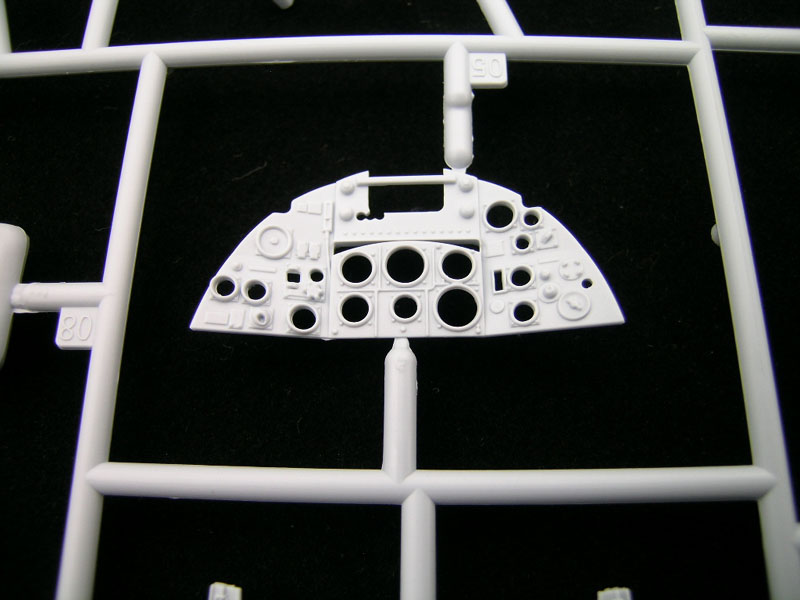
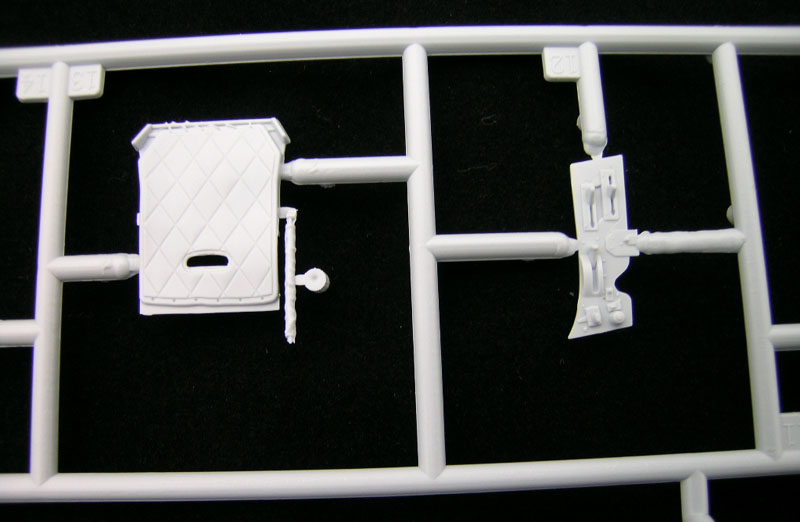
Not a lot to be said here, save for the notion that if one takes his time, cockpit will build into an outstanding representation, and is a model in its own right, very comprehensive and very well detailed.
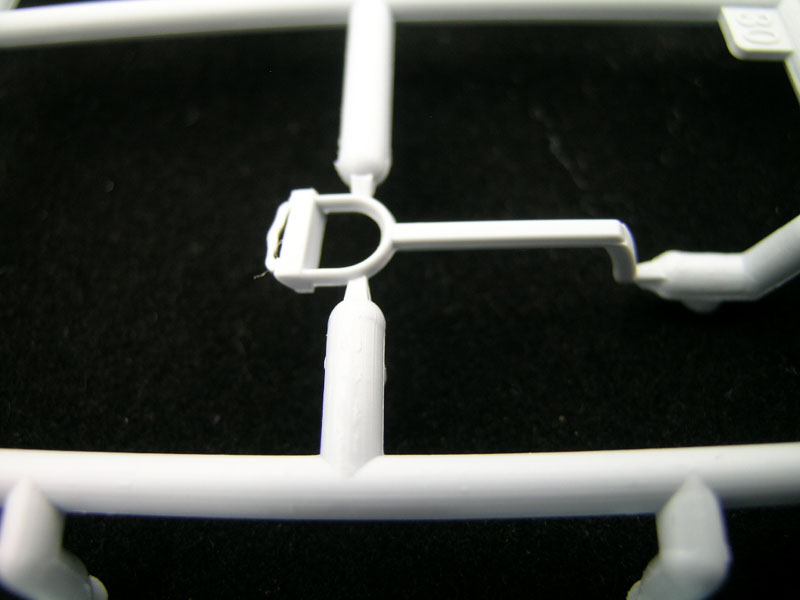
One thing that was a bit of a personal disappointment, was the complete omission of the door hold open bar. This doesn't really show up in a lot of photos, but to the best of my knowledge, was always present.
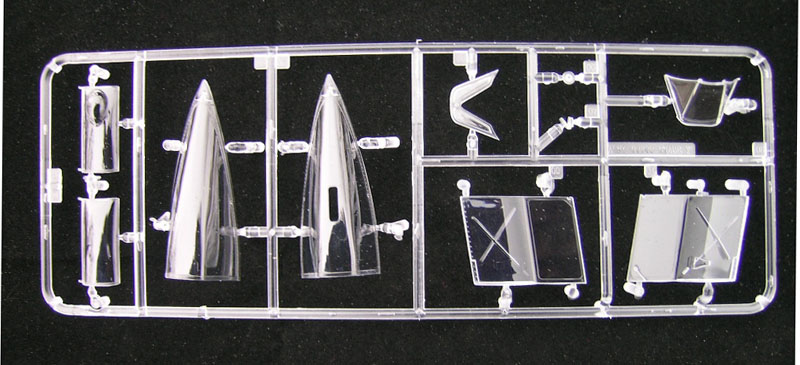
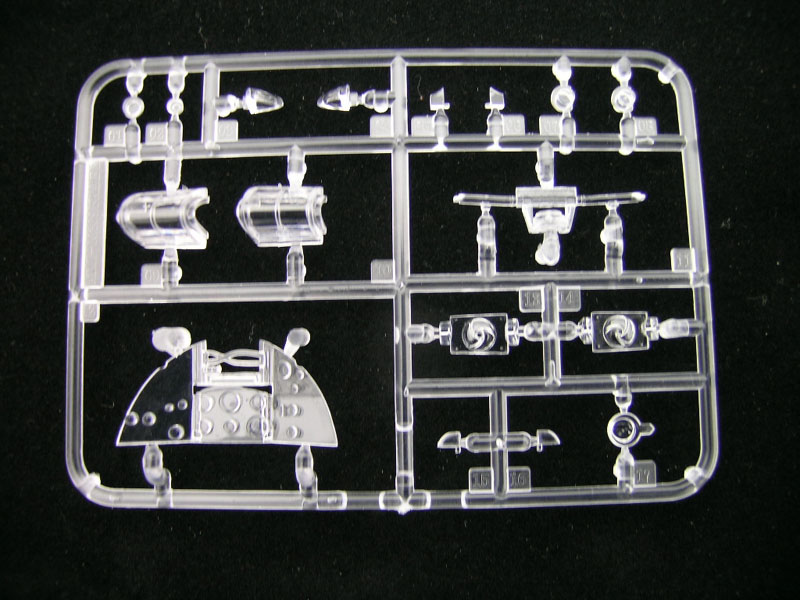
Clear Parts
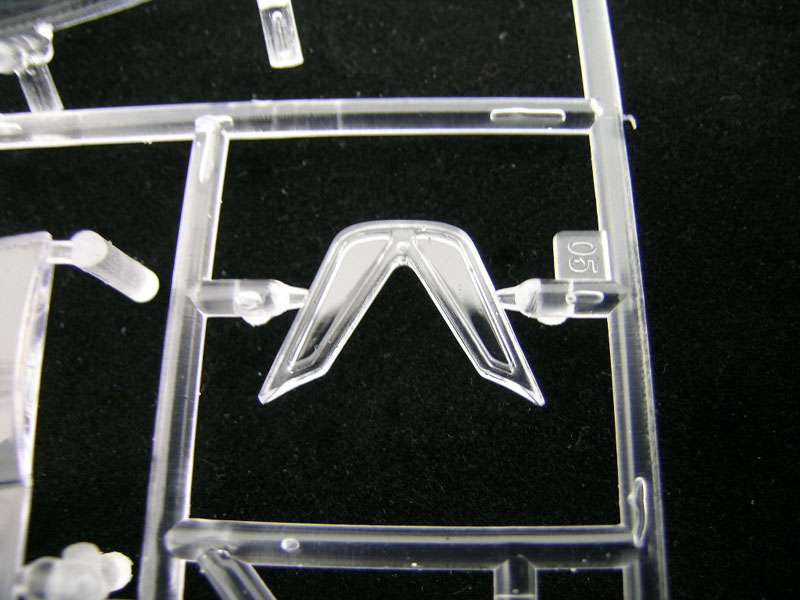


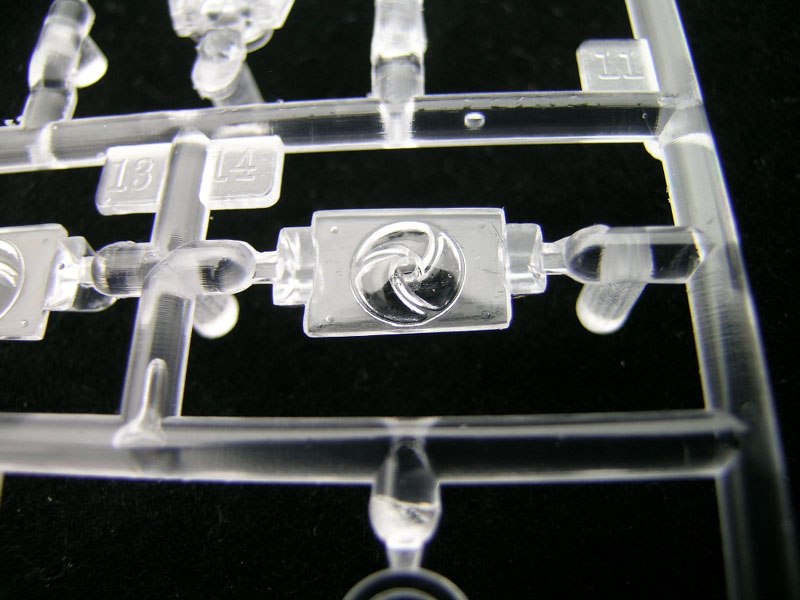
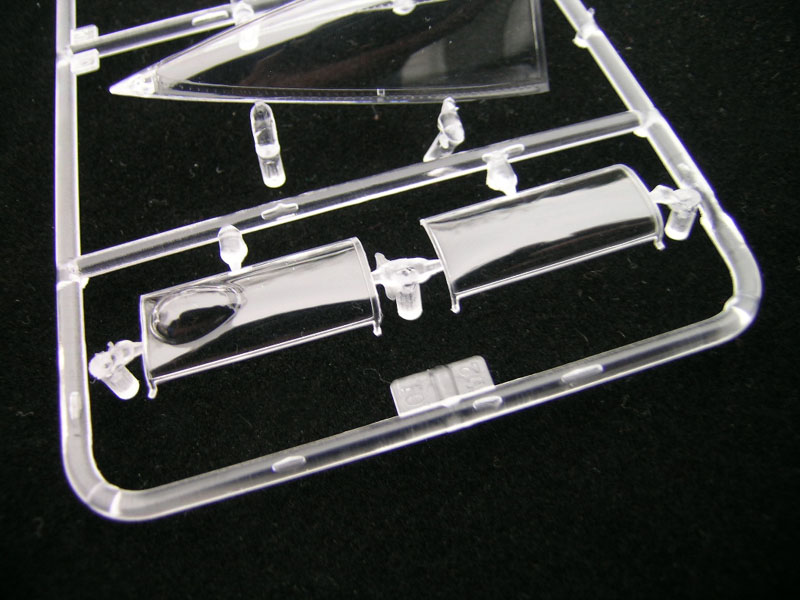

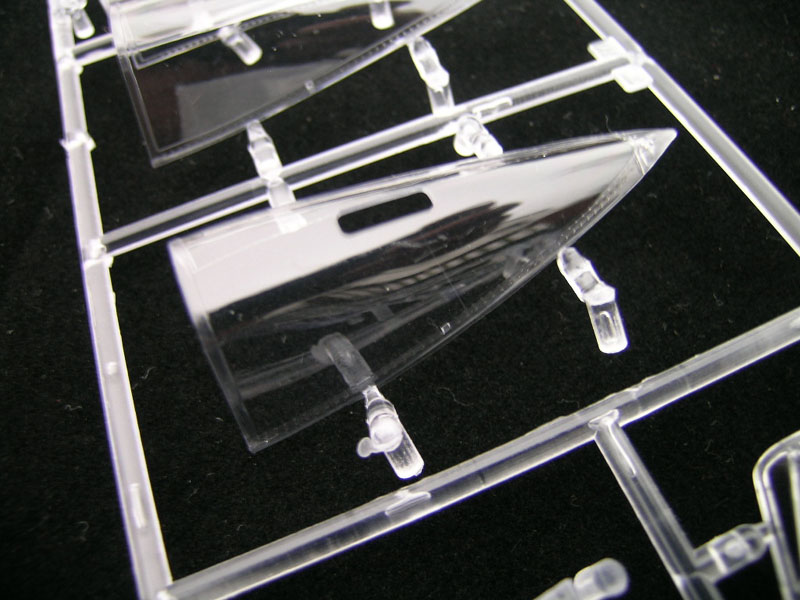
Clear parts are just that, crystal clear. Worthy of note, is the fact that two different aft canopies are included; one with, and one without opening for antenna mast. (I have very few photos without the mast, but it did occur.) Also, two styles of overhead glass are included; one with the rear view mirror blister, and one without. The molded wing LE lamps are gorgeous too, and with some trick painting, should look quite excellent.
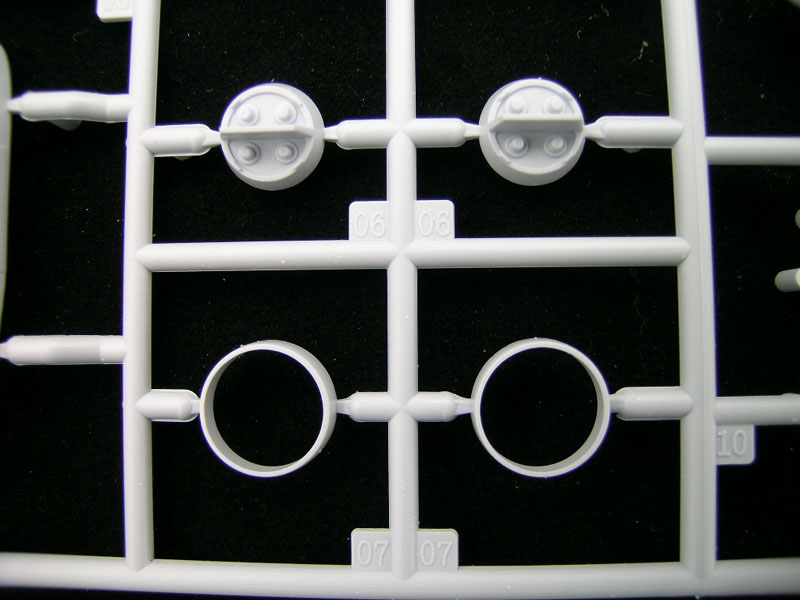
In addition to all of the normal lights and markers one would expect to see, Airfix also caught the tail lamps (part #R05, R06), that are situated on the aft fairing for the horizontal stabilizers.

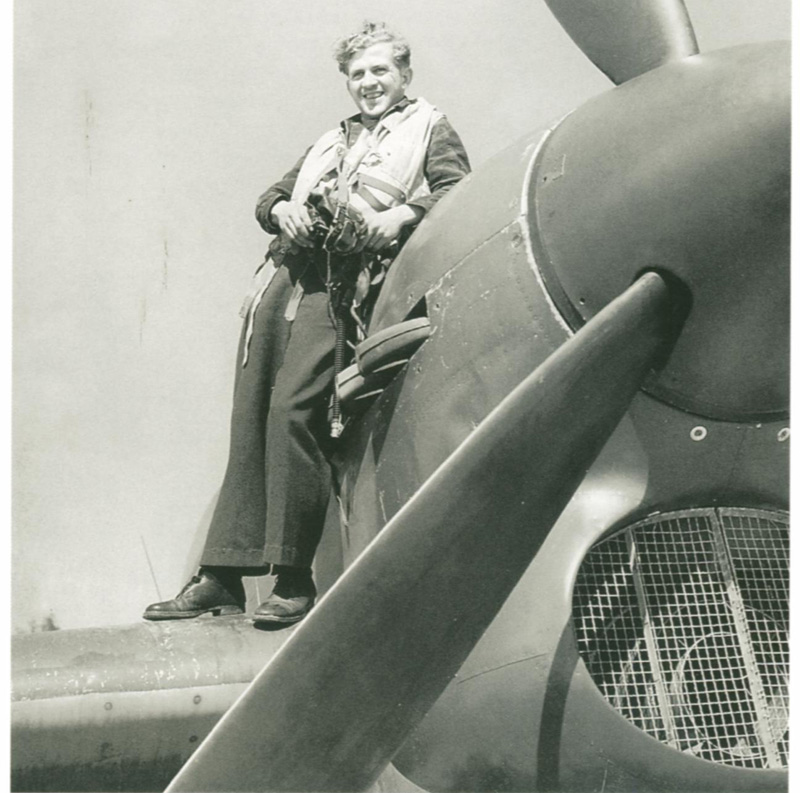
Photo above provided by Alain Gadbois. Thanks very much, Alain.
Engine
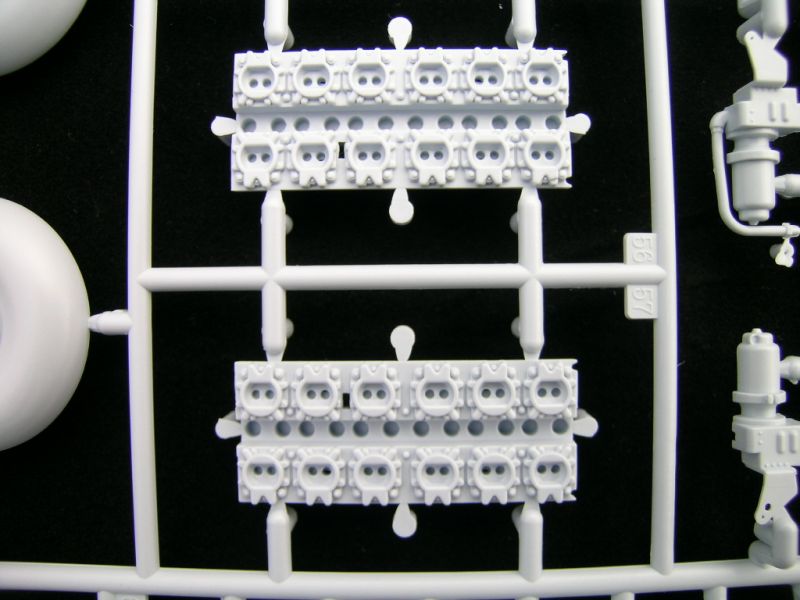
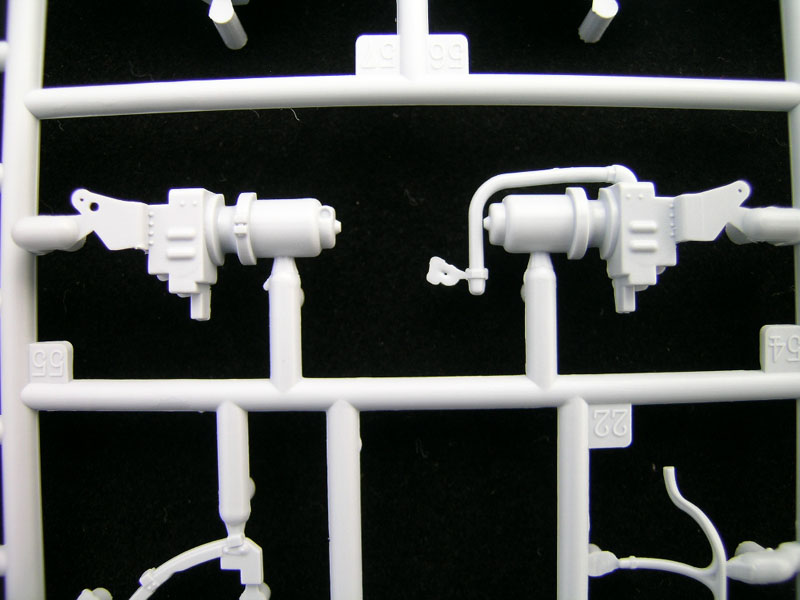
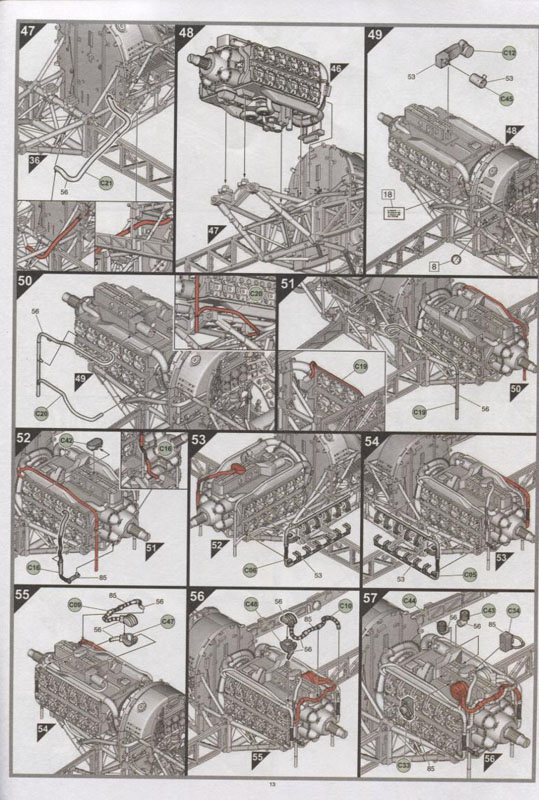
The Engine is another area that seems to be very well detailed, and will look excellent on those models where the builder decides to leave it exposed, (I will not.). One thing I found distressing though, is that all exhaust stubs (probably the most visible part on my effort when the time comes, are interconnected right at the welded seam representation, making clean up a real pain, (hopefully Barracuda will come to the rescue here). The good news is though, that Airfix has seen fit to thoughtfully include two different styles of exhaust shrouds, (though these are mentioned nowhere in the instructions that I can find), and if used, will require some real attention be paid to the openings, as my examples have irregular openings that are not consistent one to the other, and will look much better once thinned for scale appearance.
Engine Exhaust Shrouds
Two distinctly different exhaust shrouds are provided in kit, but the car door version of the Typhoon most frequently flew without either. Exceptions do exist though, so carefully scrutiny of references for a specific machine, should be examined.
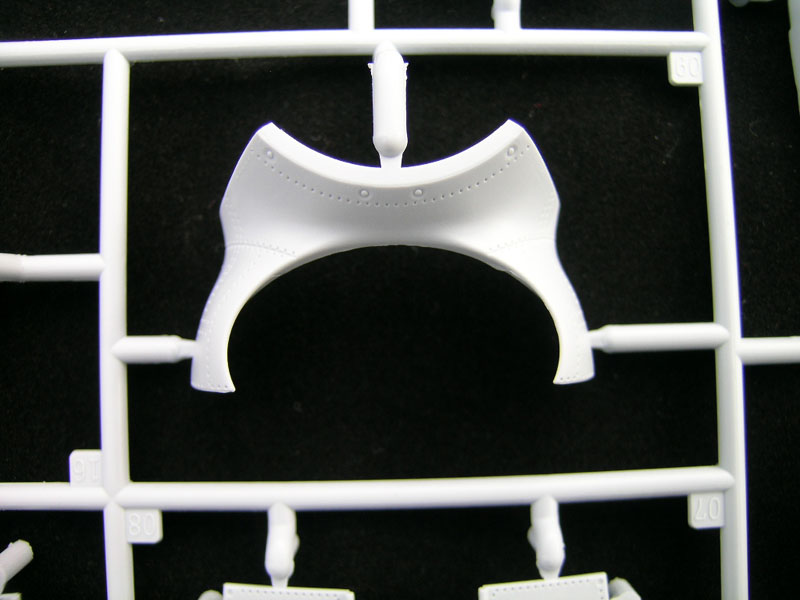
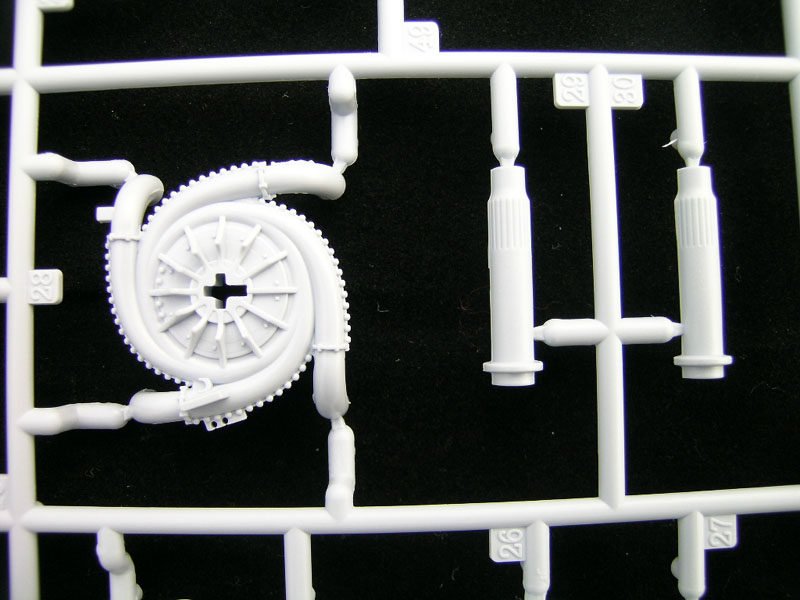
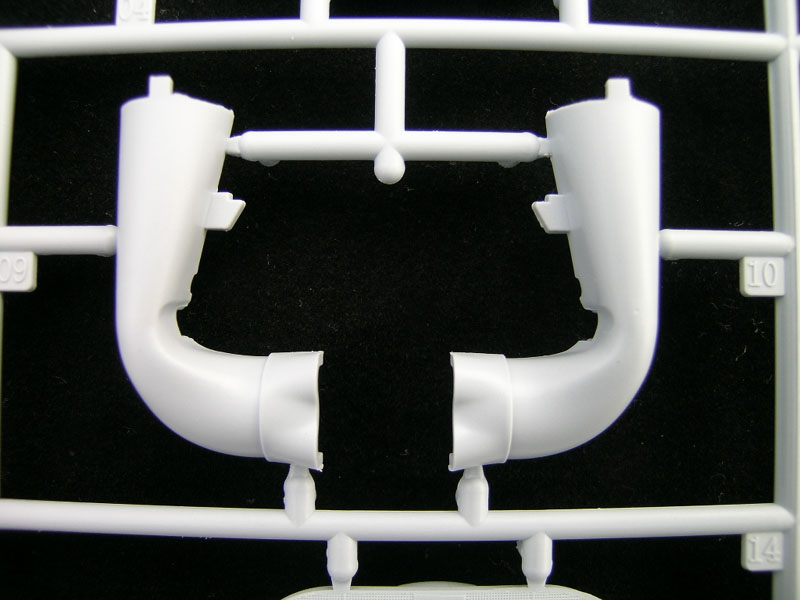
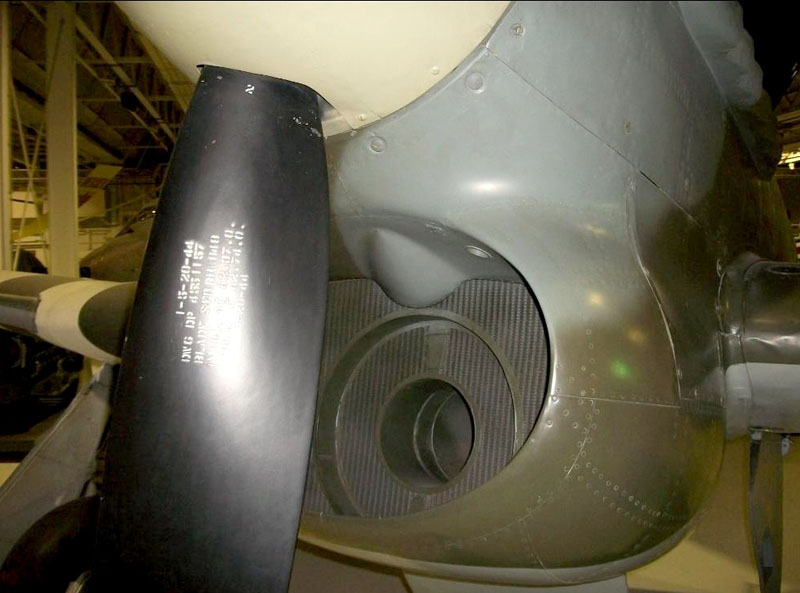
Radiator/Intake
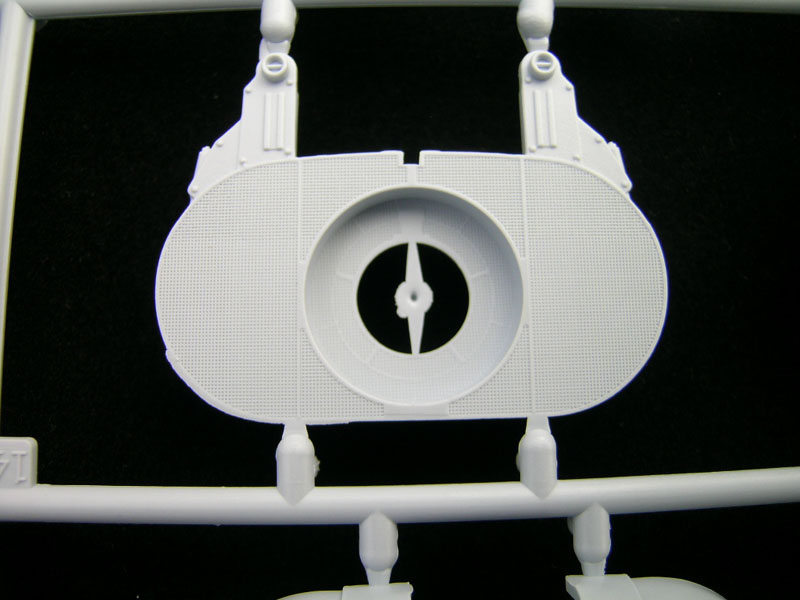
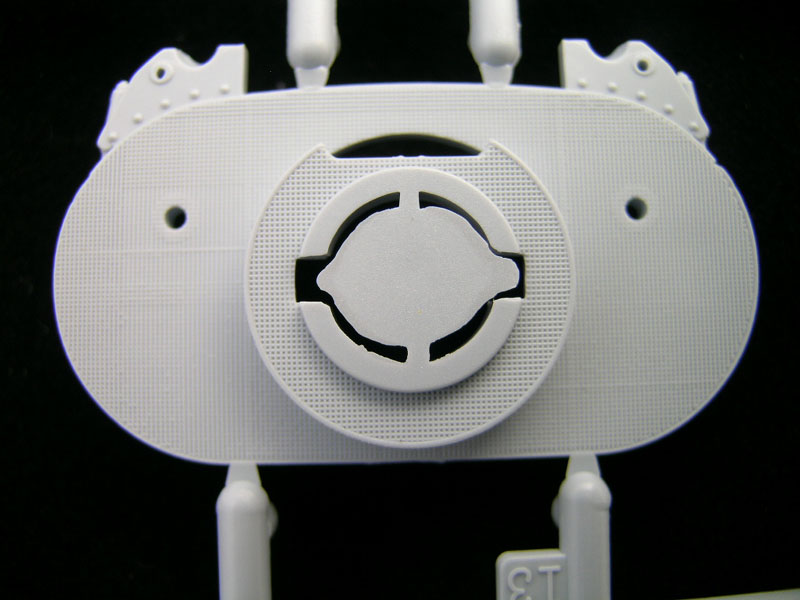
Intake parts are molded well, with the possible exception of the (sometimes used), round extension (for lack of a better word), Part #D17, which appears to me to be too thick. Radiator cooling area might benefit from some AM replacement screens, but I don't believe they're really necessary, as it appears a very nice result can be had just by using a careful wash technique.


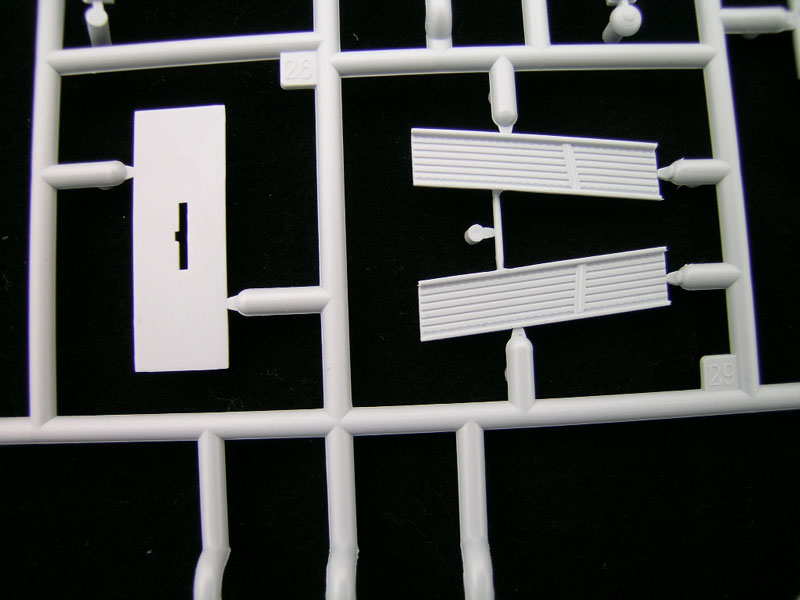
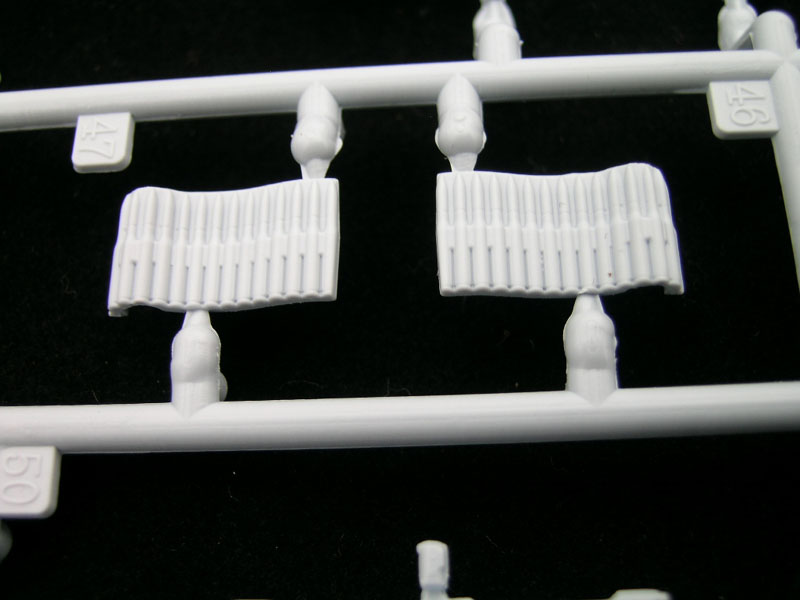
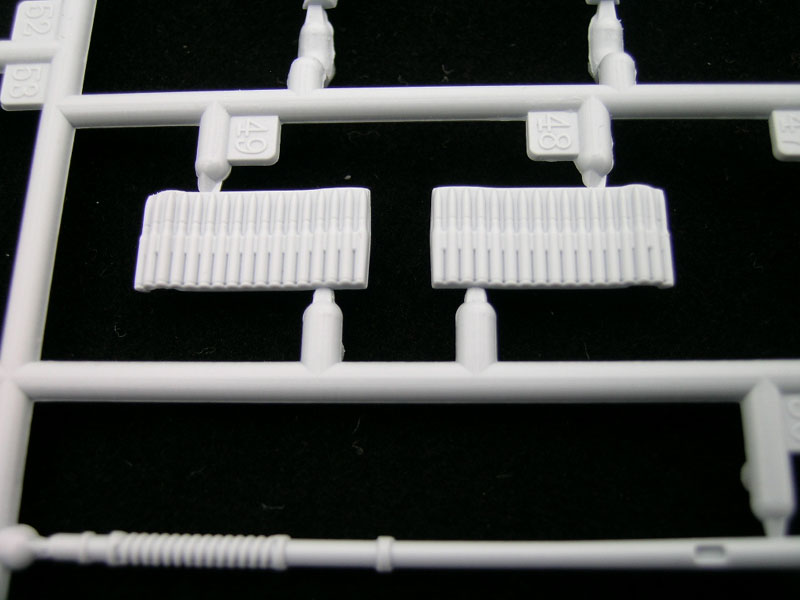
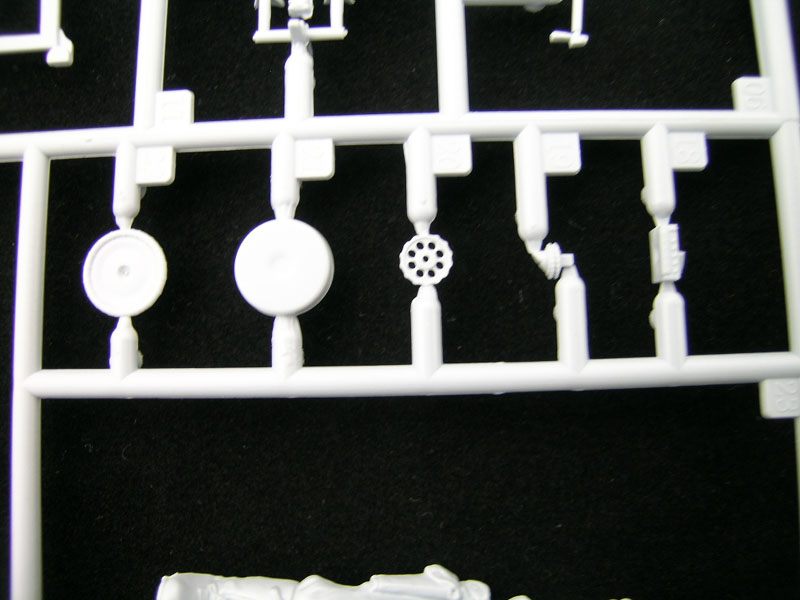
Intake Debris Screens
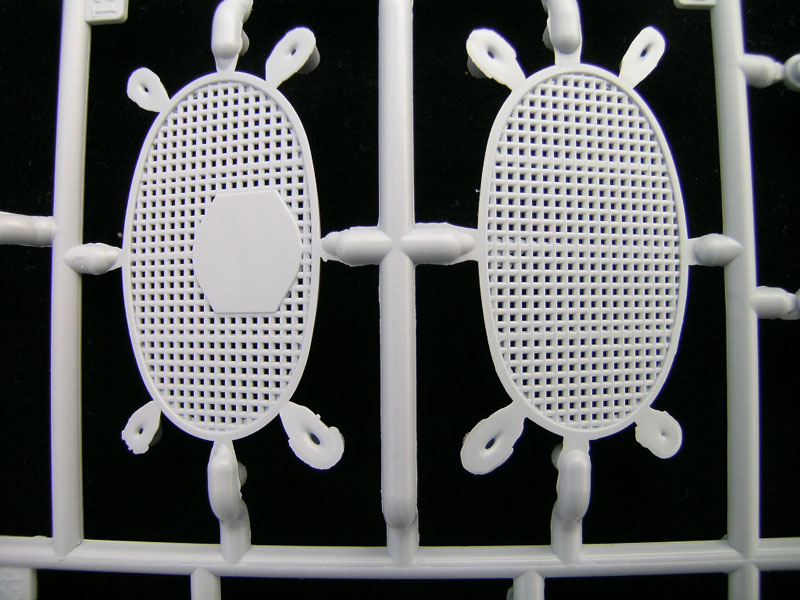
Debris screens (two styles), are not molded well, being way too 'thick and chunky' and in my opinion, would be best left off or replaced, if their use is desired/required.
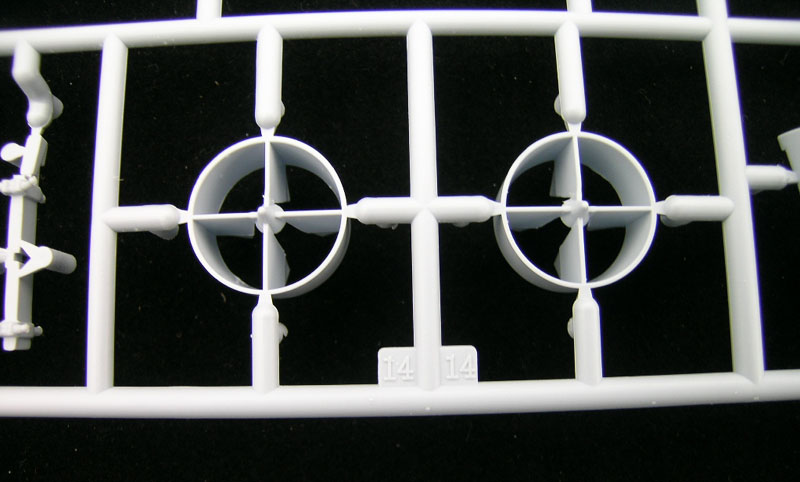
Prop/Spinner

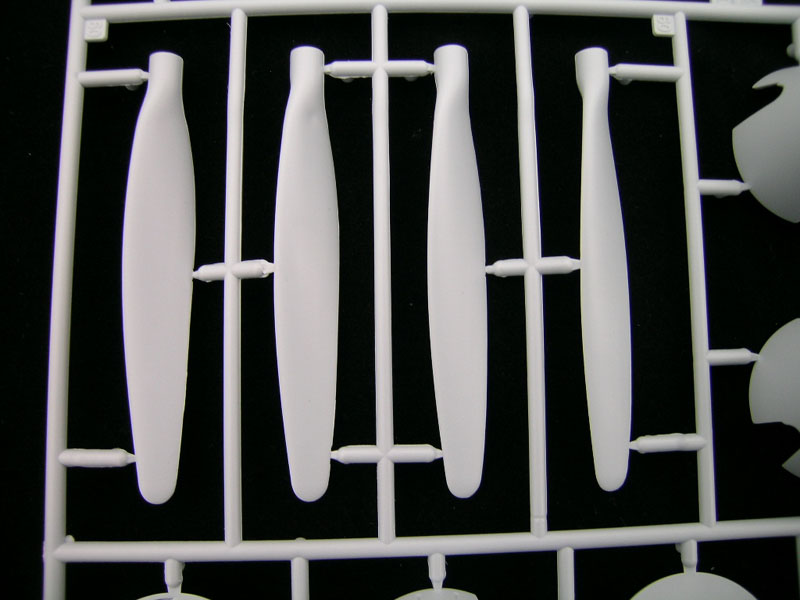
Kit provides three propeller assembly combinations, two three bladed and associated (different), spinners, as well as one four blade with spinner. Quite some possibilities there, so careful attention to reference photos of any specific machine are in order, as either three or four blade can be appropriate.

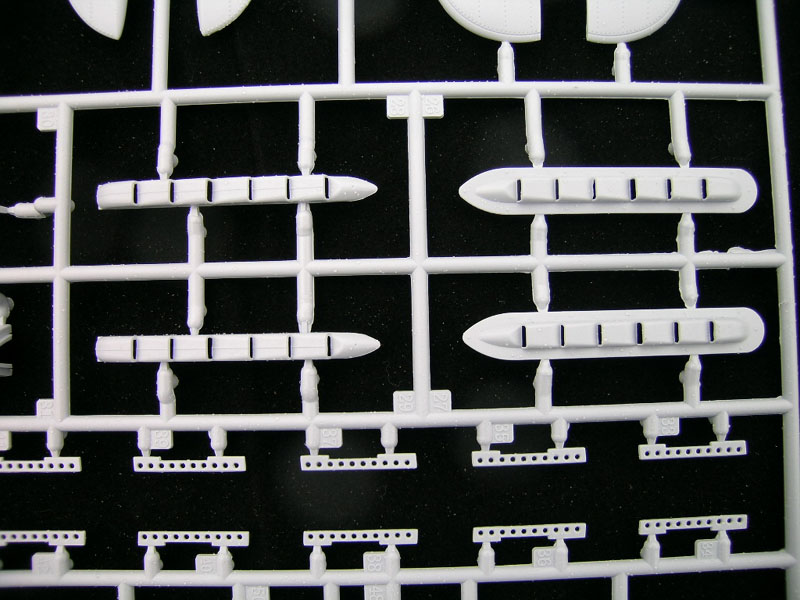
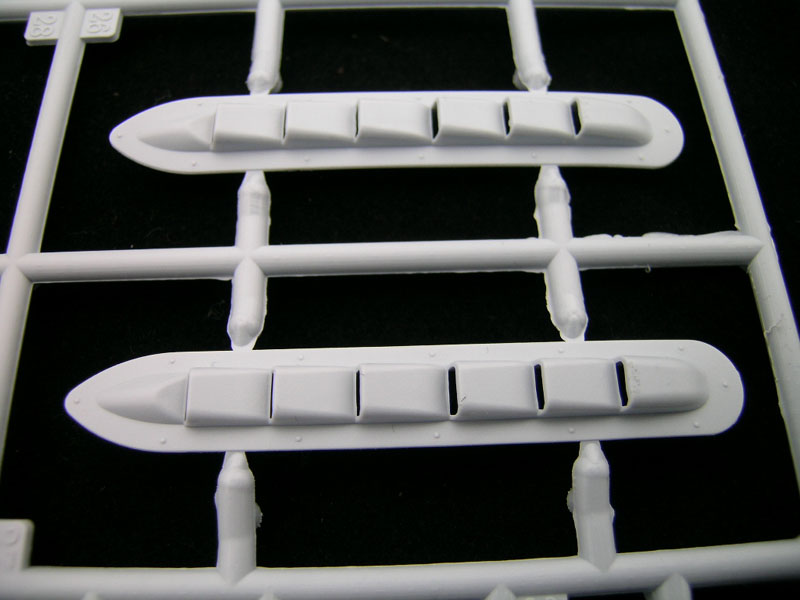
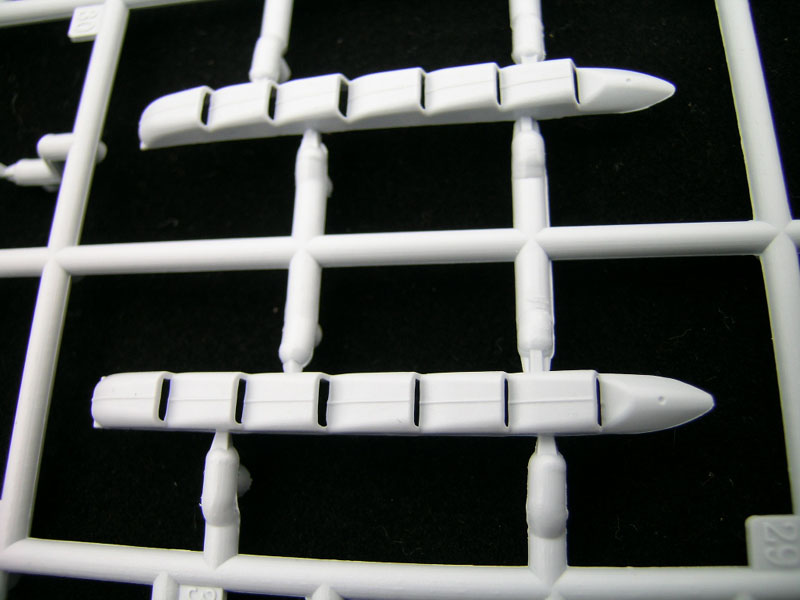
Fuel Tanks

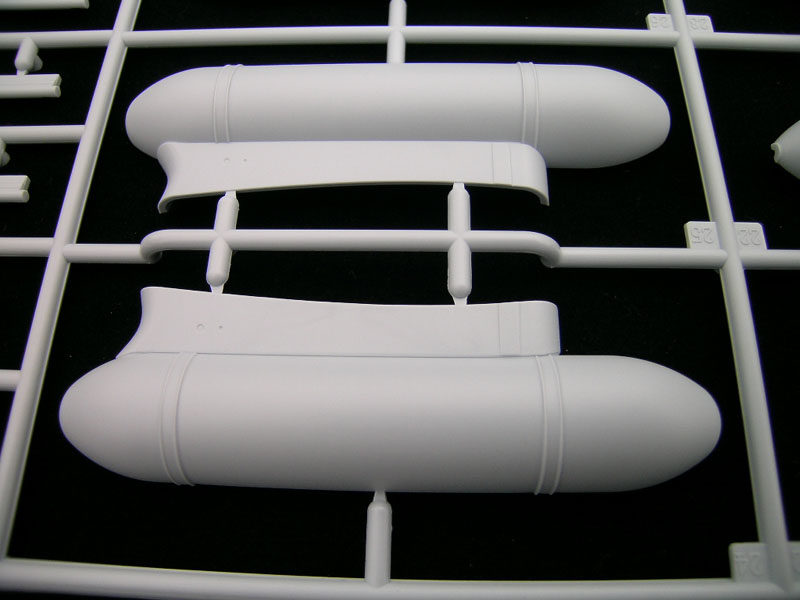
Two under wing fuel tanks are provided, and appear to be of correct proportions, though straps may be just a tad heavy handed.
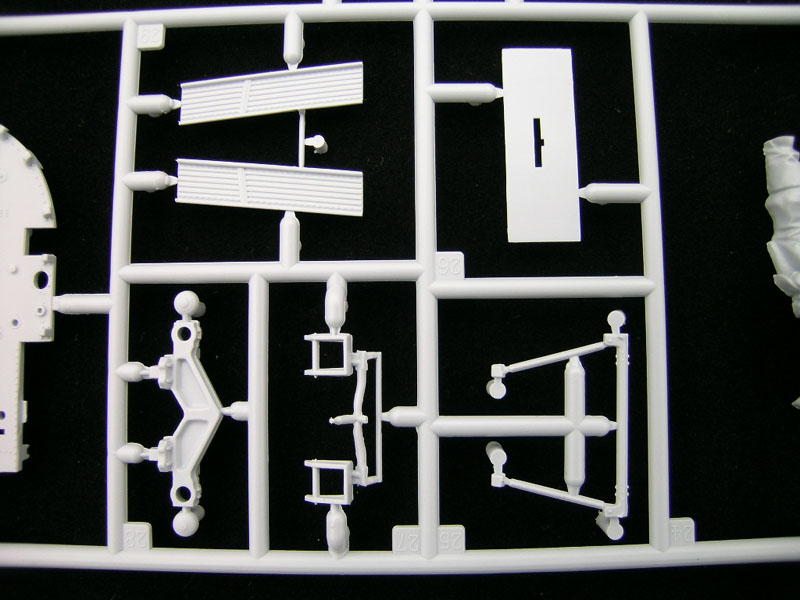
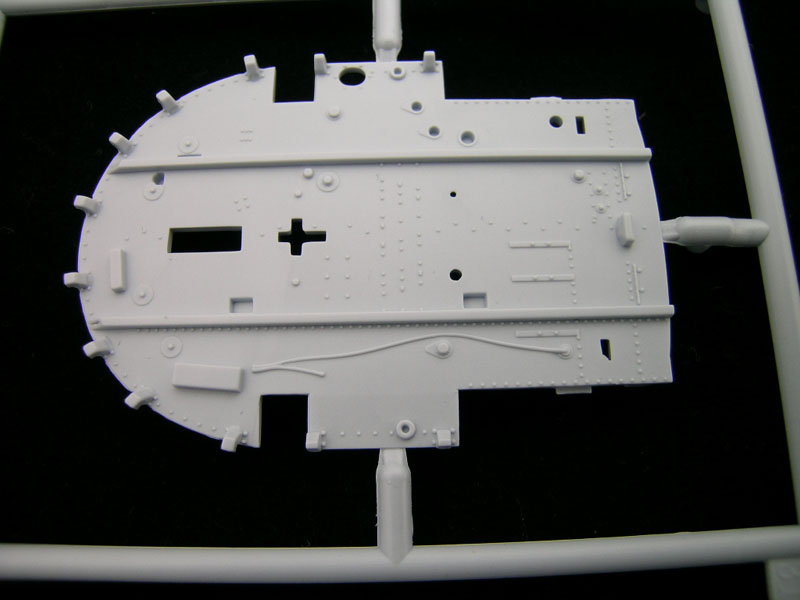
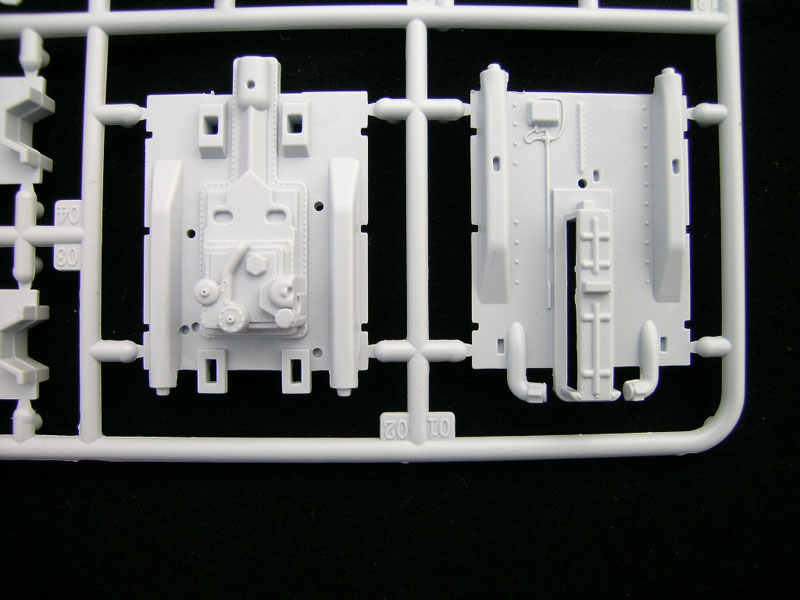
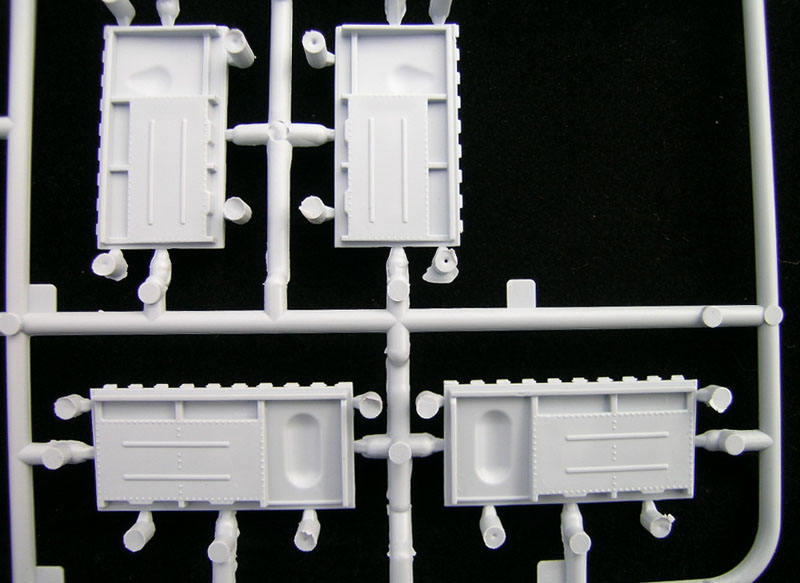
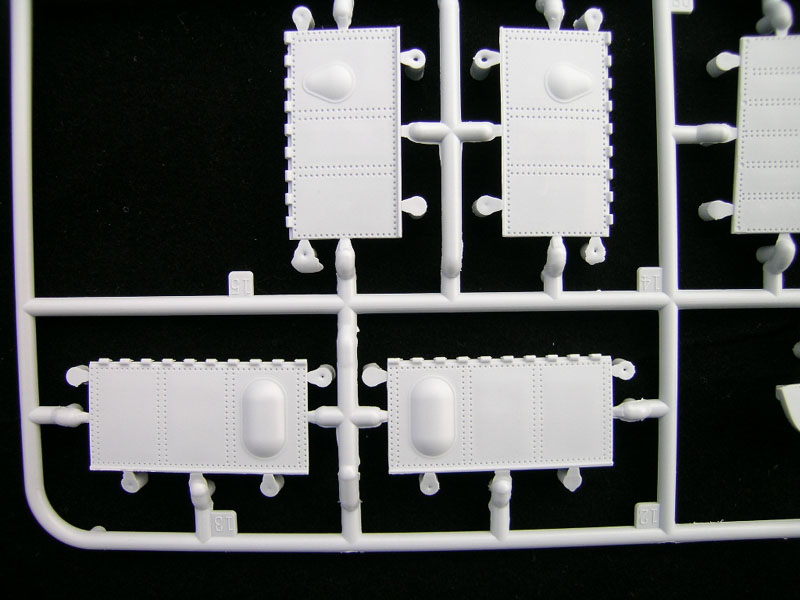
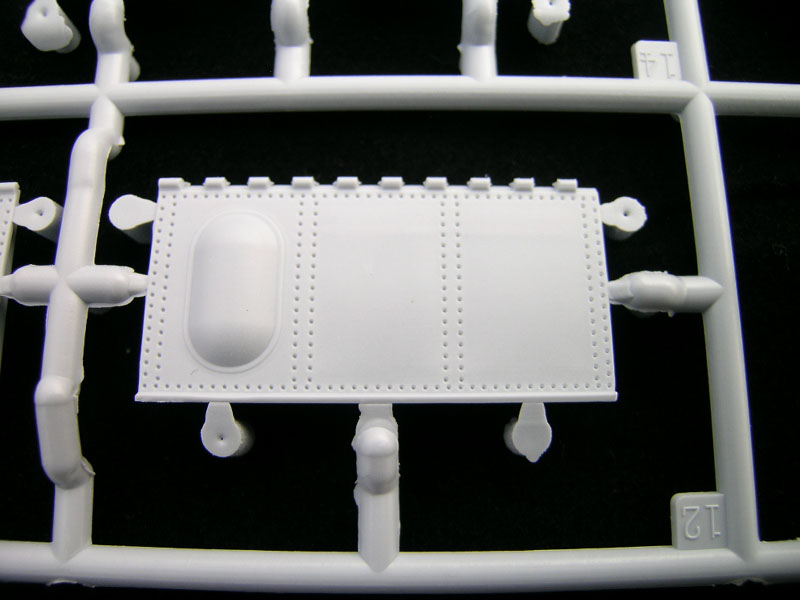
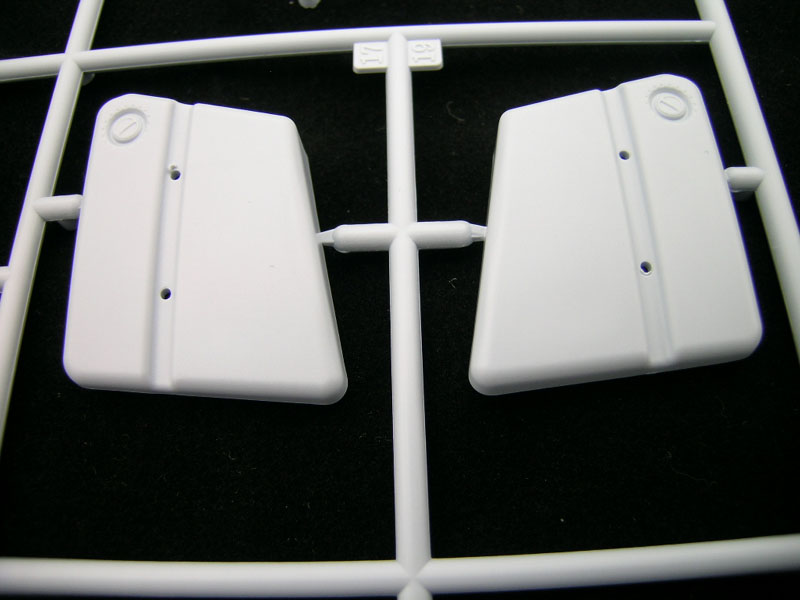
Landing Gear, Wheels, Wells and Doors
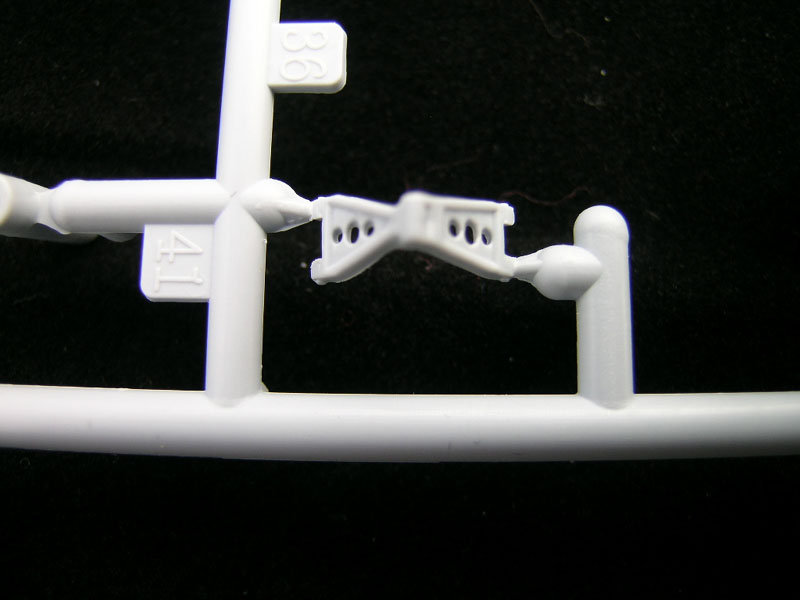

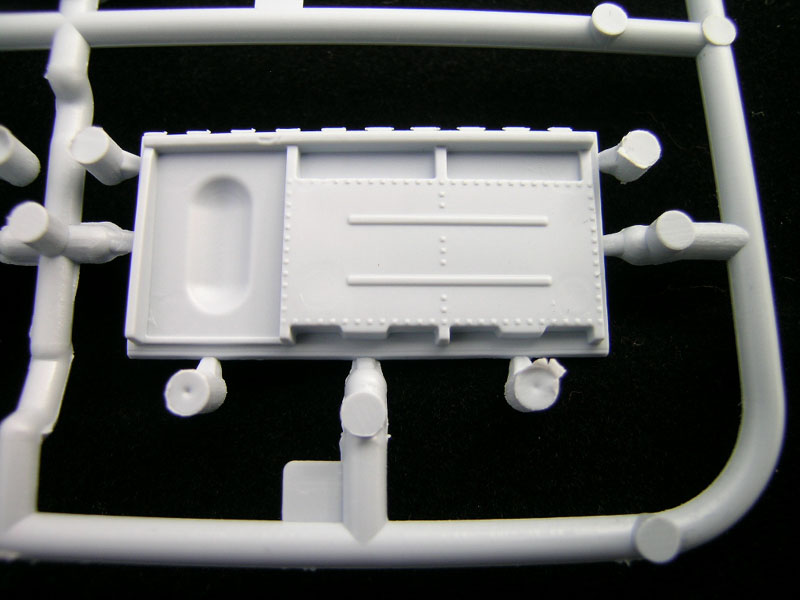
Outer gear doors (outer surfaces), on my example both have small sink marks opposite the pins that attach them to the inner door face, but no big deal really. Doors seem to be quite accurate, with starboard inner door face having the oval panel that appears correct. Also, both inner door surfaces have a portion of the brake line molded on; some of the more hardcore among us may want to replace that with more three dimensional detail from solder or similar. Additional rivet detail not present on main gear door interiors, once added by the modeler, will greatly enhance these doors.

Wheel wells are quite a marvel, and appear to be very comprehensive and accurate.
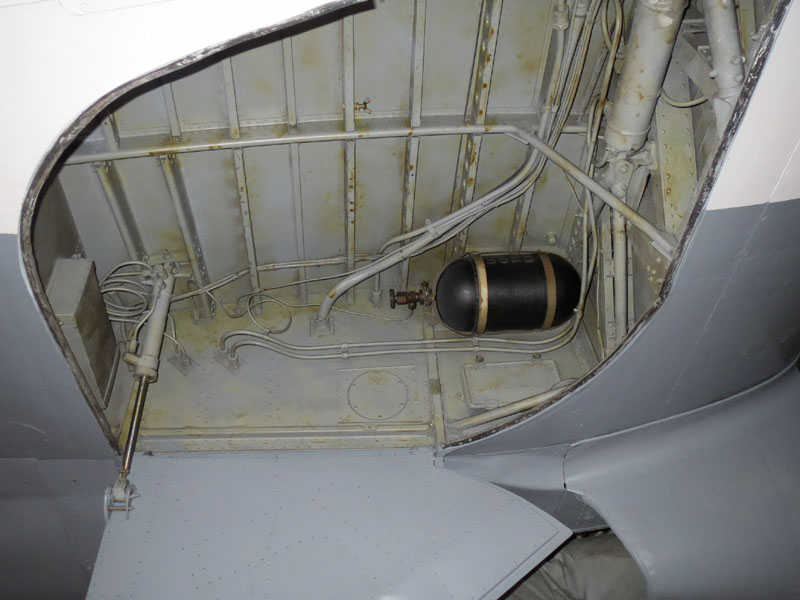
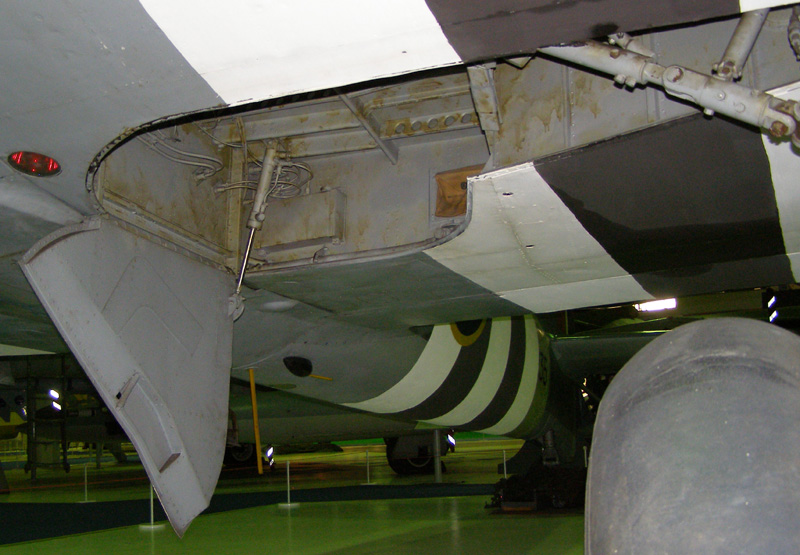
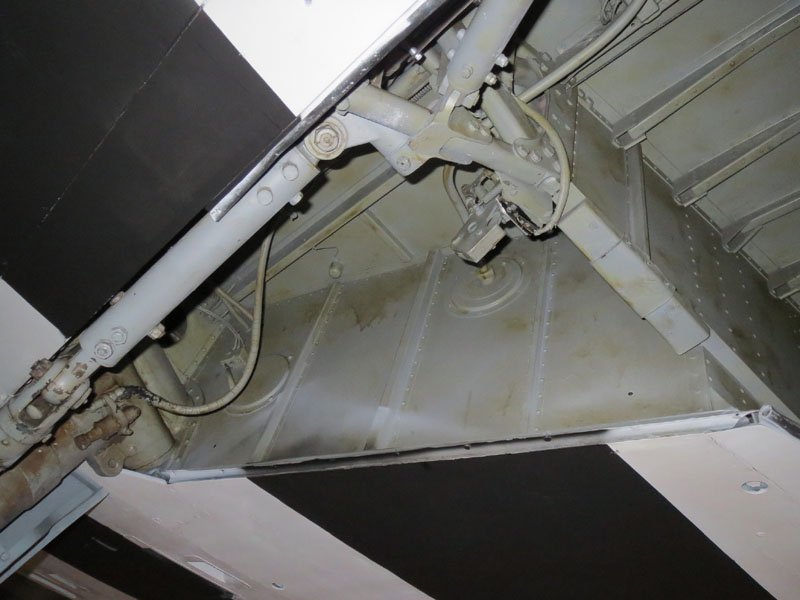
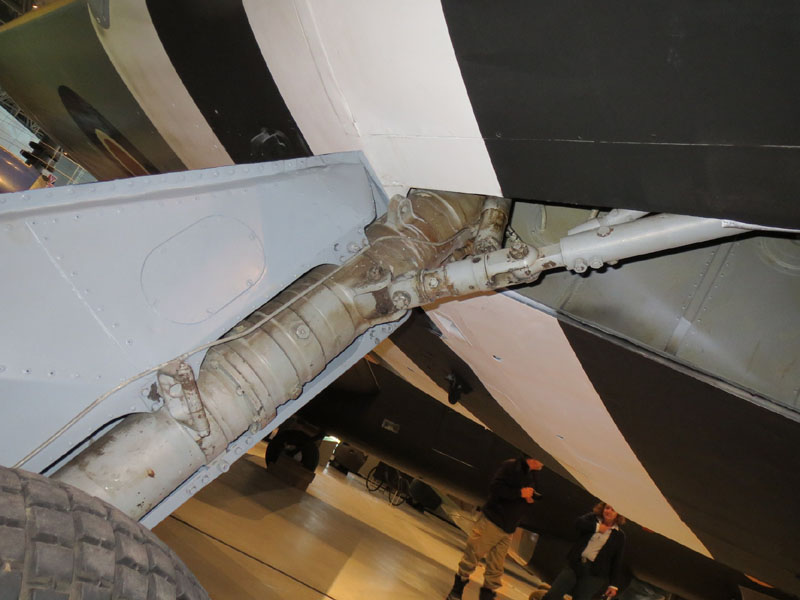

Photos above provided by LSP_Ron (#103) and Alain Gadbois (#102, 104, 105, & 105. Thanks very much, fellas.
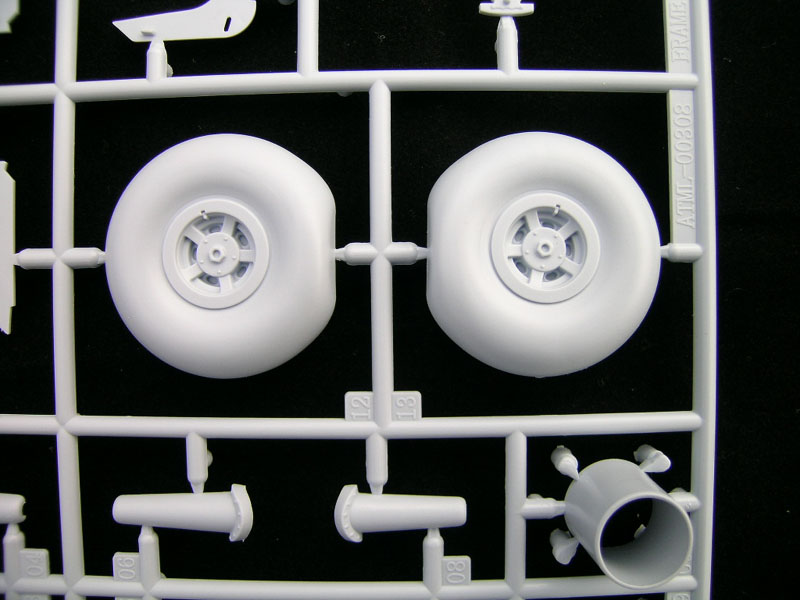
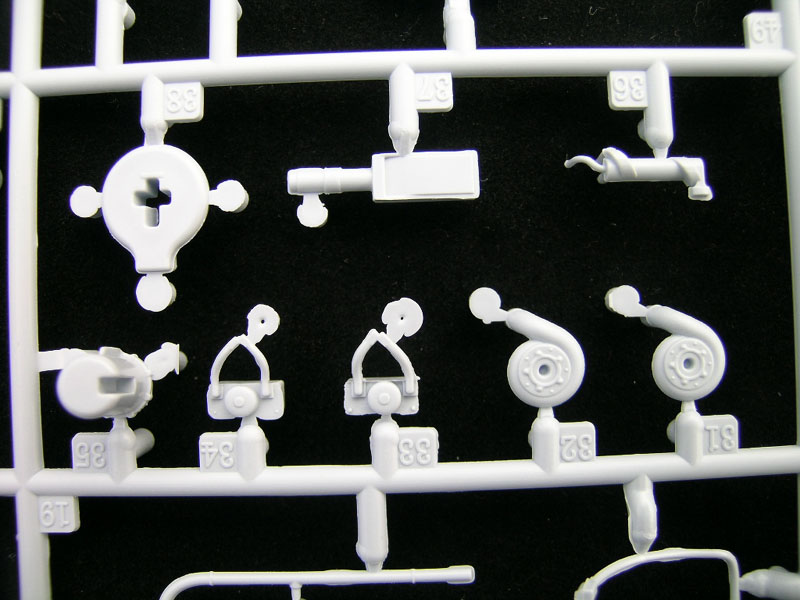
Main wheels look to also be molded excellently, with authenticity readily captured, though tires are again, another weak point, with the very visible ribbing left off entirely. Both Barracuda and AMS have come to the rescue here, providing very nice tires to serve as direct replacements.
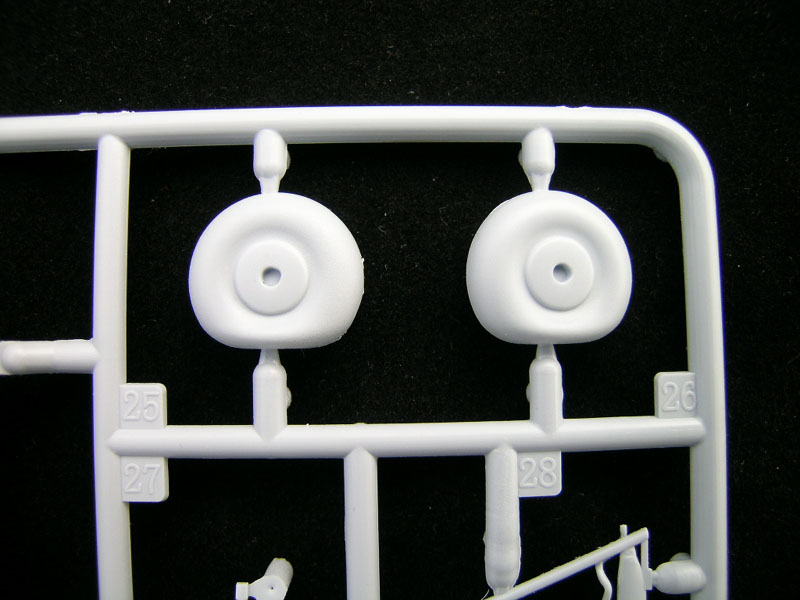
For in flight type displays, Airfix has provided the main gear doors as one solid piece, in addition to the open doors. Tail wheel can also be installed tucked up into its own well.

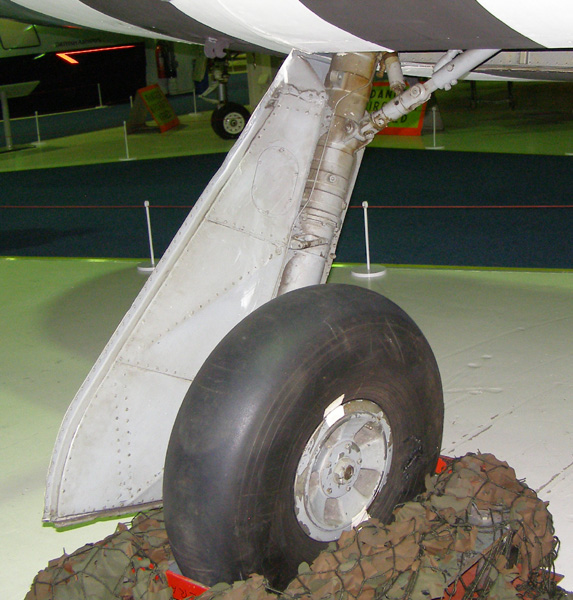
(The two photos above, provided by LSP_Ron.)
Weapons
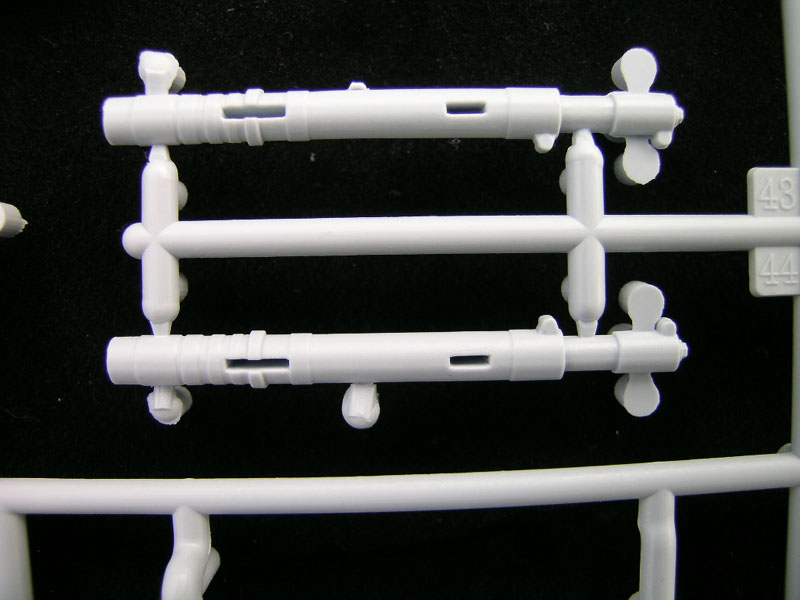
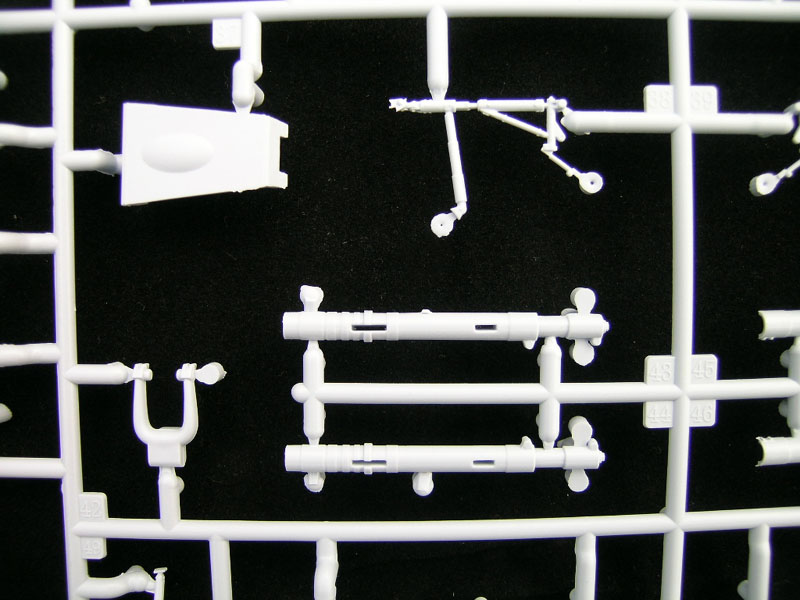
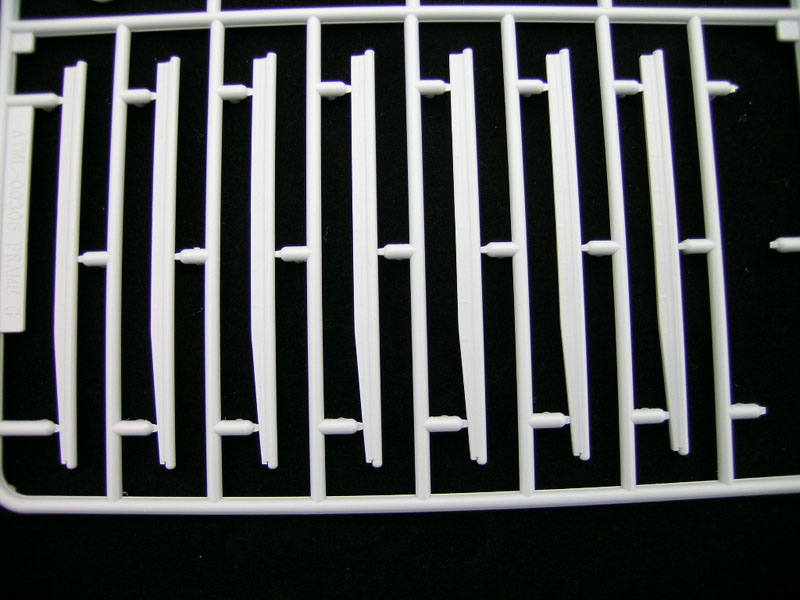
1. Rockets/Rails:

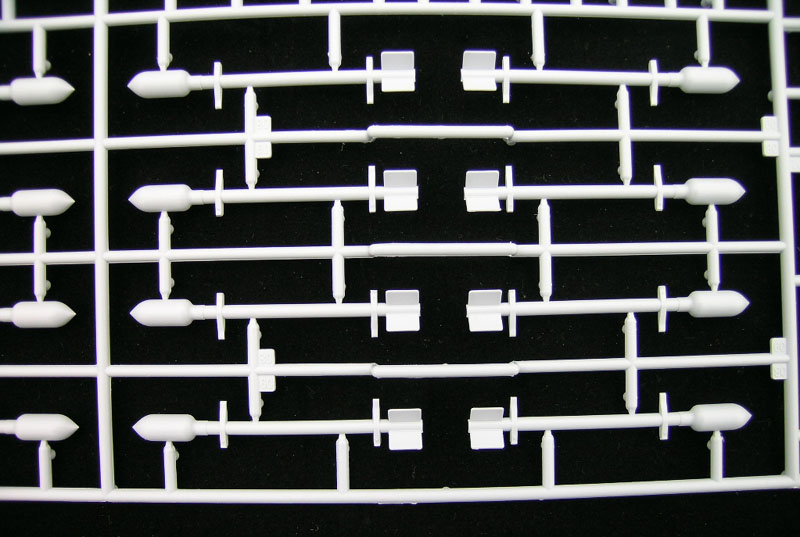
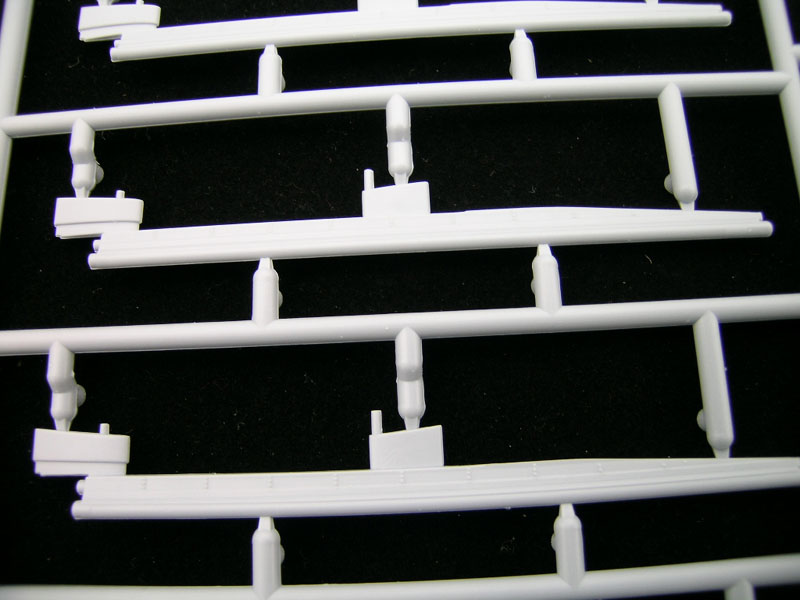
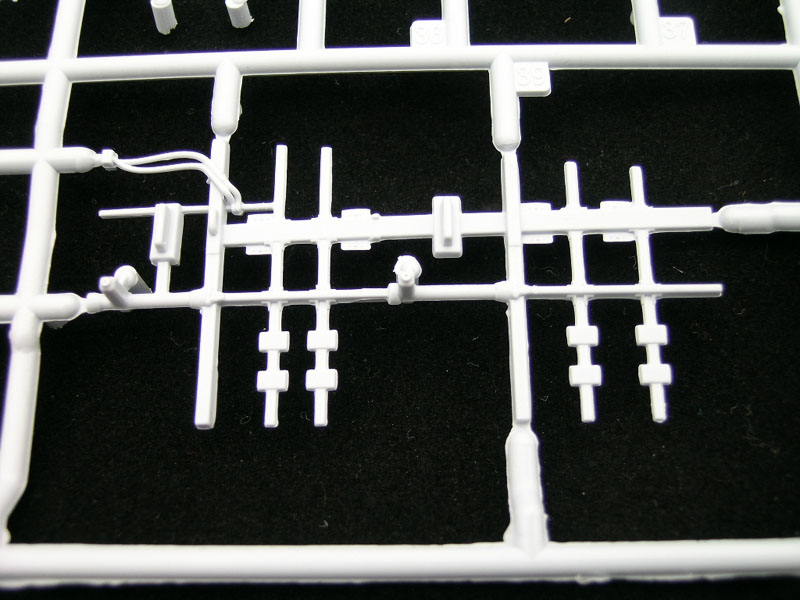
Owing to injection limitations, the spring clips that attach the rockets to the rails are just solid chunks. I assume (and hope), that Eduard or similar will come to the rescue here. The warheads themselves have a blunt fall off on the aft end, when all references I can find indicate that these should be a gradual contoured taper. The second and third types of rockets sometimes carried by the Typhoon are no where to be found, so the modeler is left to his own devices if those are desired. The dovetail connectors for the stabilizing fins are present, and are delicately represented, as are the fins themselves, if just a tad too thick. All rocket warheads and tubes once screwed together, left a slight raised shoulder on either one (depending on configuration), and therefore a small step between the two should be present, but I believe this is reversed on these rockets, as the shoulder would most normally have appeared on the rocket body itself, not the warhead.
Note: Though I have one or two photos of Rocket armed car door Typhoons, I cannot say with any certainty that this was common. However, knowing that it is at least possible, is a good thing, and I'll have to seriously consider arming my machine as such.
(Instructions depict small bombs (500 pounders?) only, fuel tanks and two rockets per wing, or four rockets per wing. I have seen photos of 1,000 lb bombs on pylons (no rockets), which the kit also includes but does not show on instructions. I have to assume that other combinations are possible, but have no confirmation of that at this time. It certainly bears looking into though.)
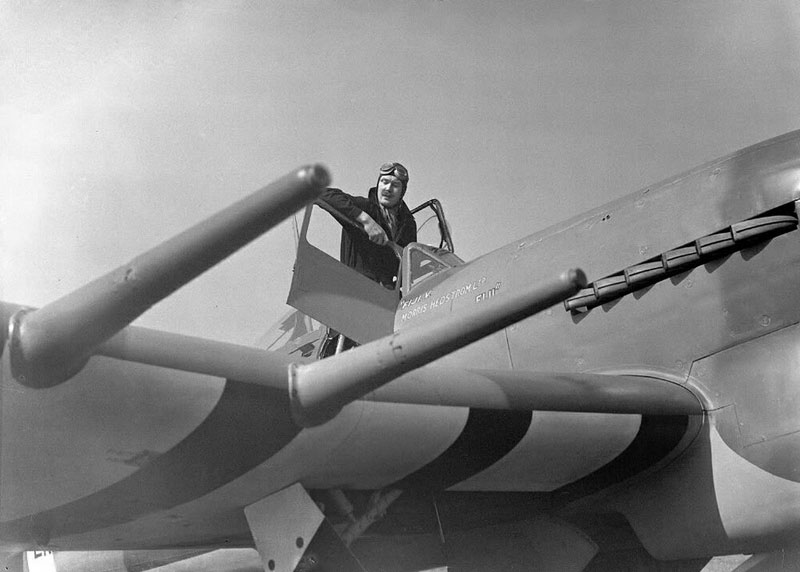
Two different styles of rockets/rails are provided, singe and double rail, though I must confess I've never seen the single rail variety.

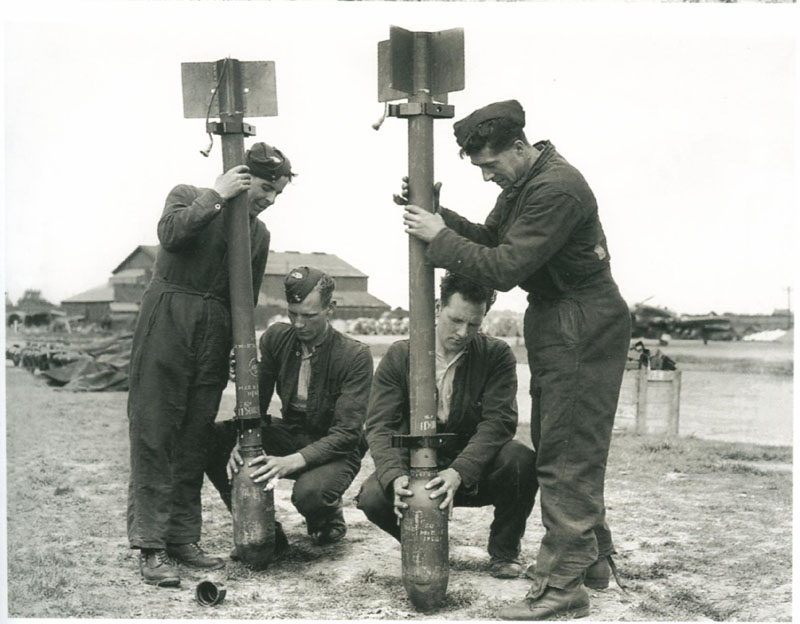
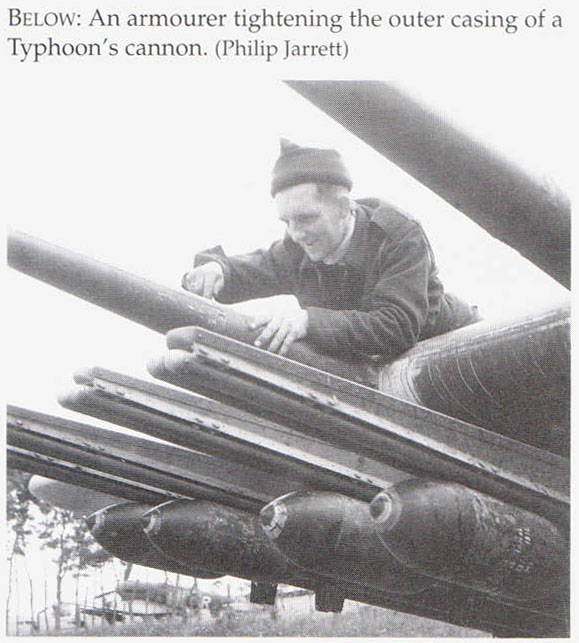
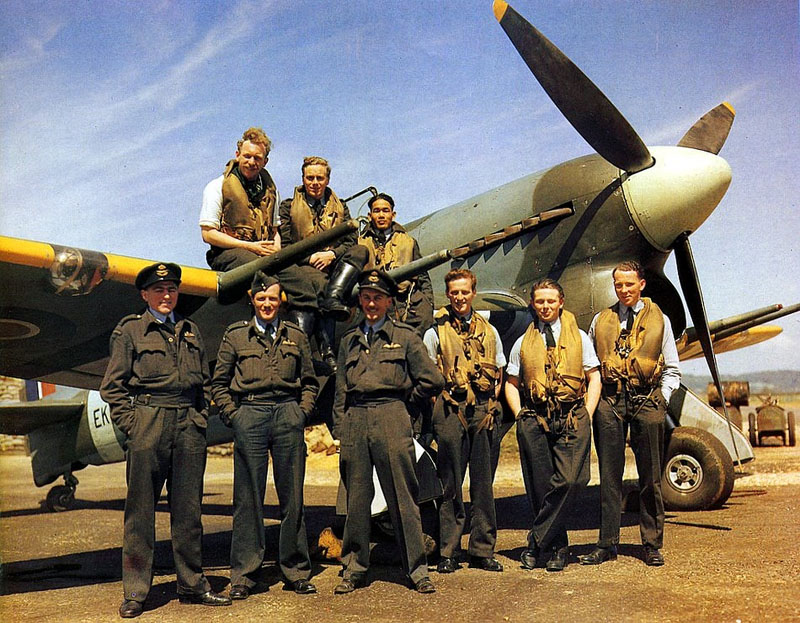
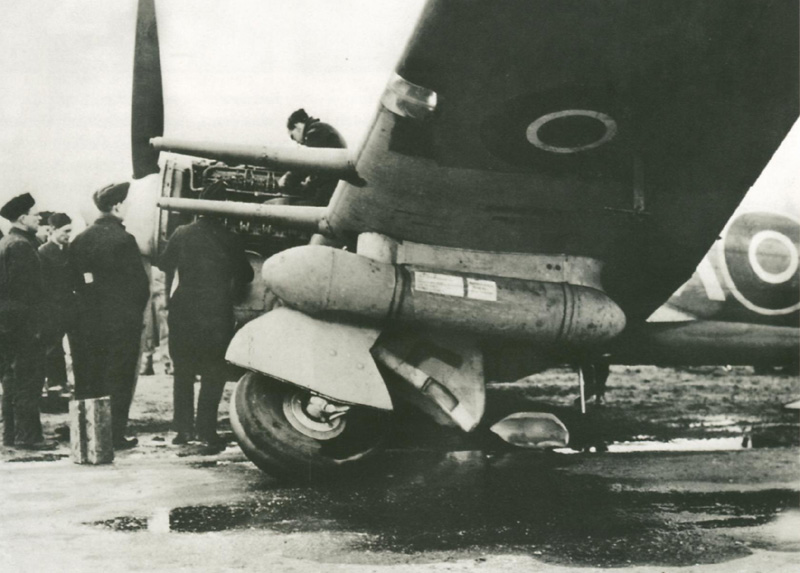
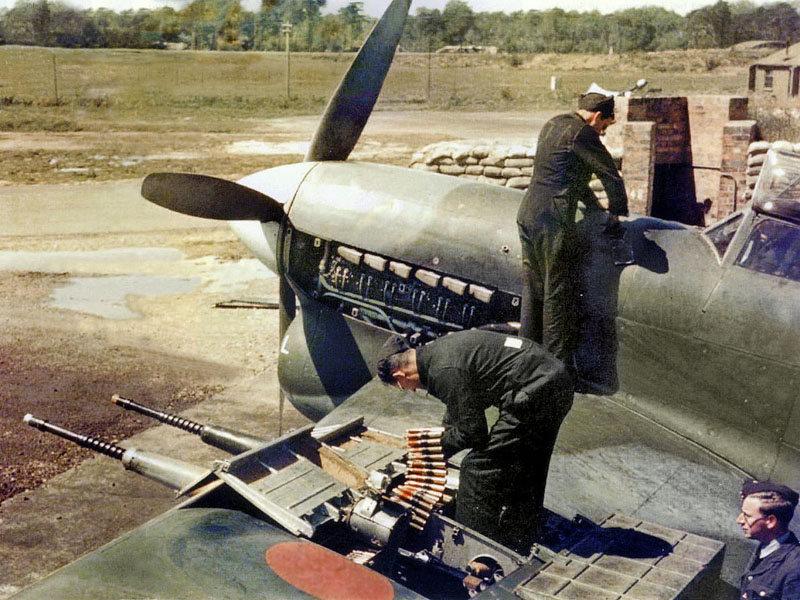
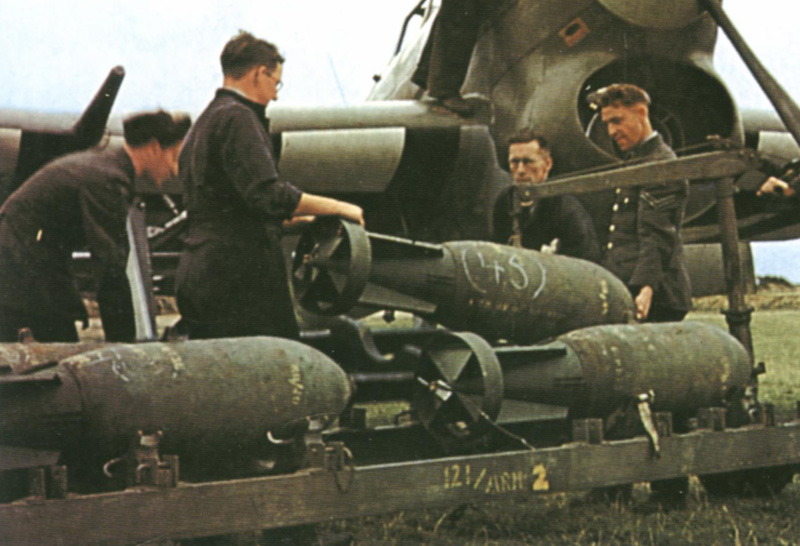
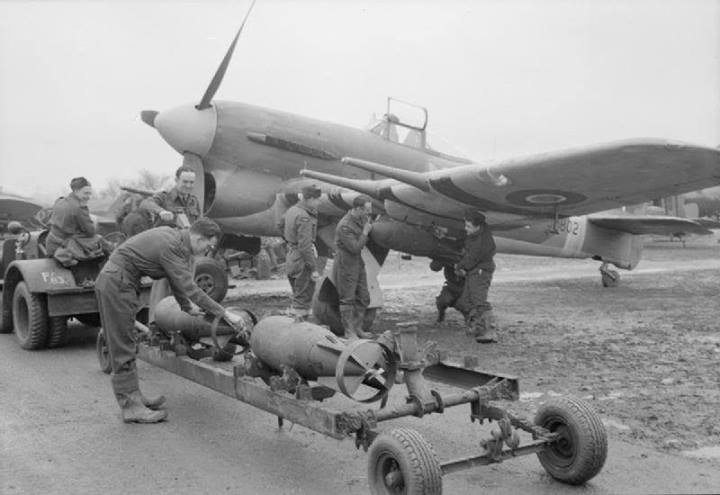
The third photo above is handy not only in that it illustrates the rockets fairly well, but also depicts a ground crewman tightening the bolts on the outer cannon shroud, securing it in place.
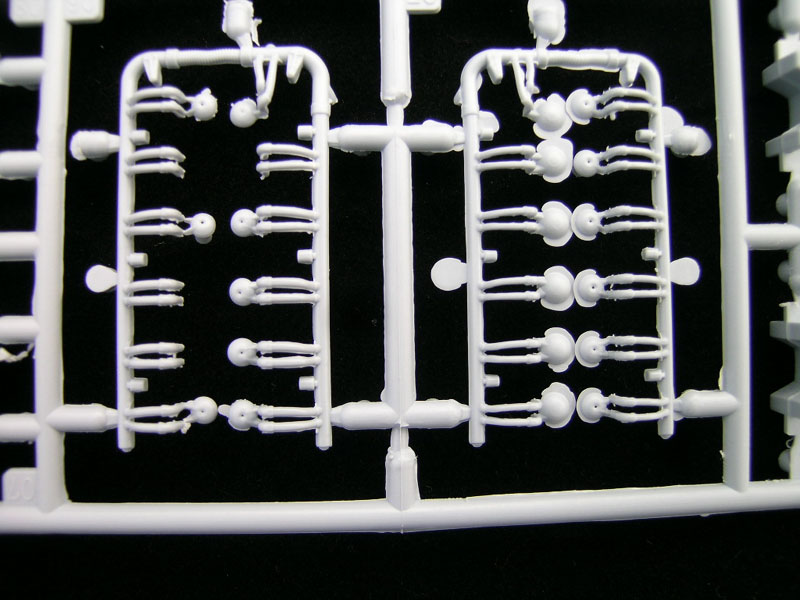
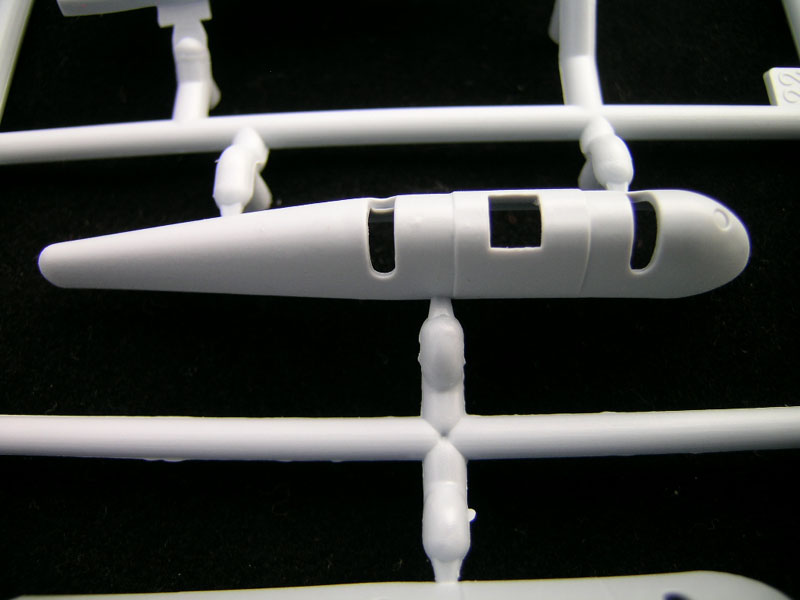
2. Cannons and Shrouds:
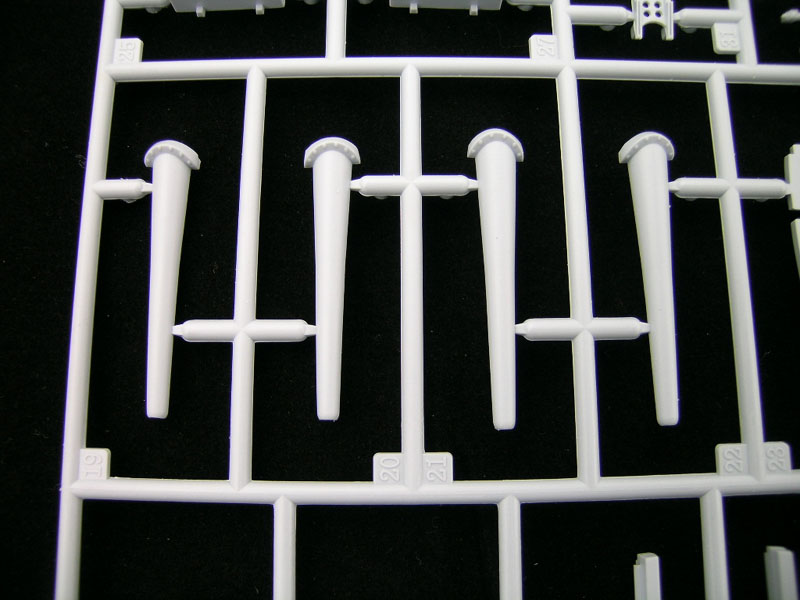


Full cannon barrel shrouds are molded as one piece, when in fact there is an inner and outer section to the shrouds, and no attempt has been made to simulate this. Where outer cannon shrouds are not present, there is still no molded in representation of connections between inner and outer, though this is far less noticeable on the un-shrouded versions. My hope (and belief), is that Master or equivalent, will whip up something that will address this issue.

2a. Cannon Bays:
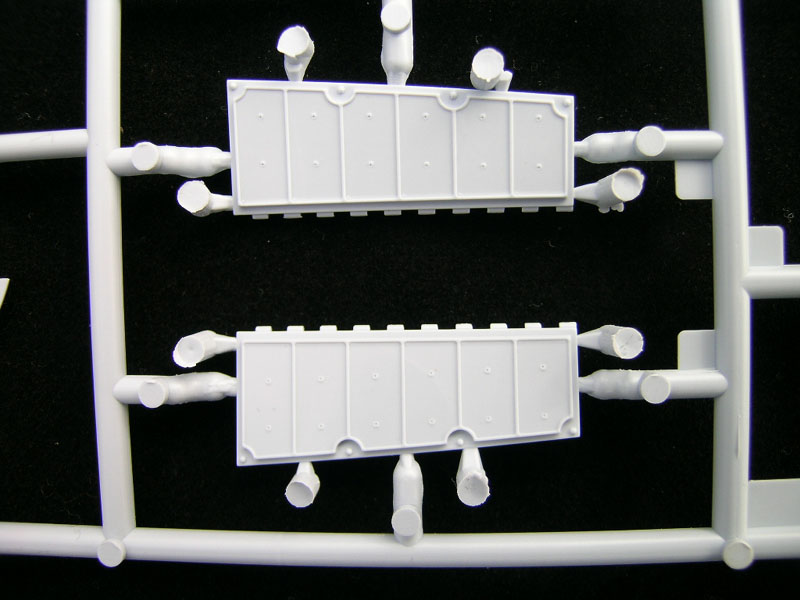
Gun bays seem very comprehensive, well detailed, and need no further elaboration. (Too bad I'll probably be doing mine with bays closed.) I've concentrated mostly on the doors and ammo belts here, as the bays themselves are part of the wing structure proper.
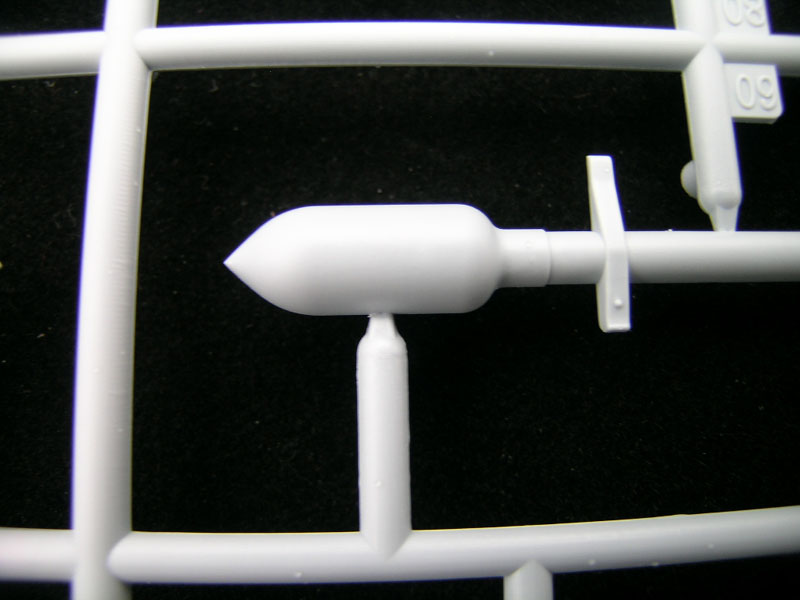
3. Bombs and Pylons:
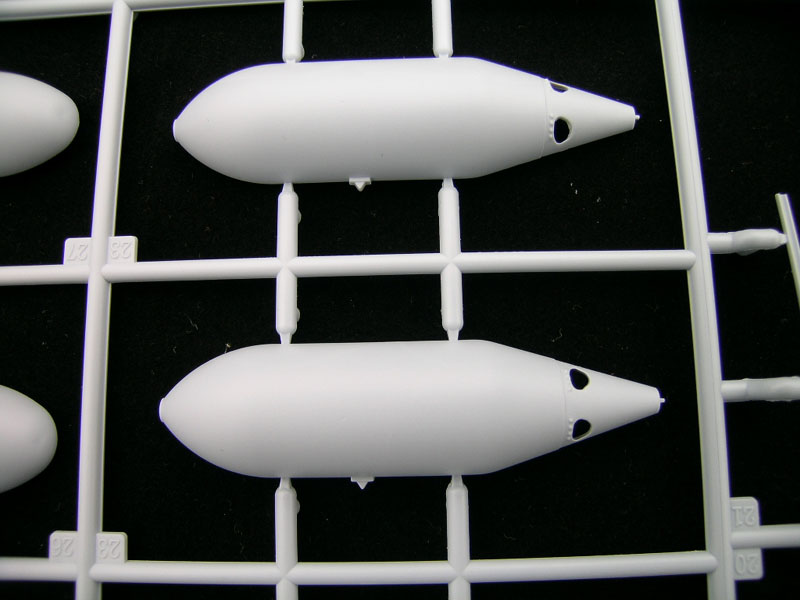


Two sizes of Typical British bombs are provided, and look to be very nicely molded, with fairly delicate stabilizing fins and rings, as well as the larger bomb being provided with a nice nose fuze. Additional detailing combined with some painting trickery could really make them look great.
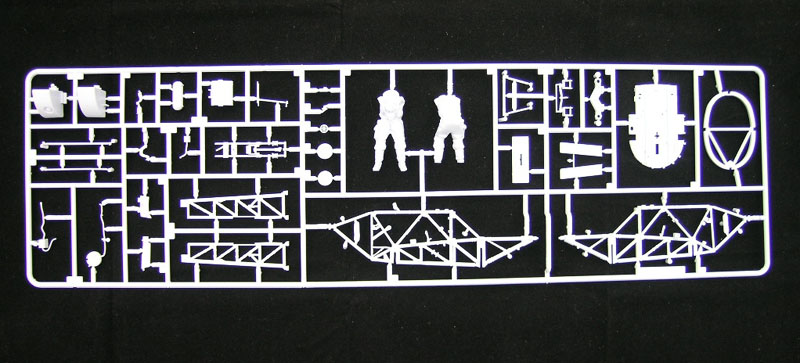
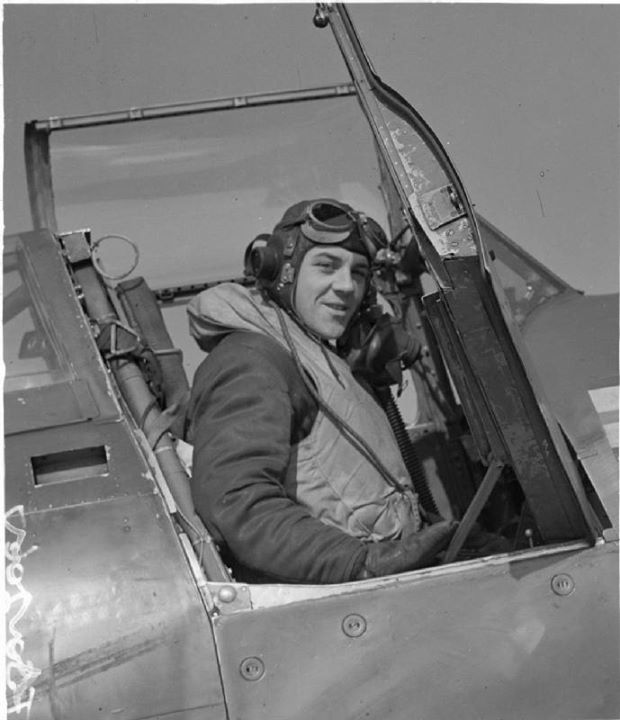
Pilot Figure

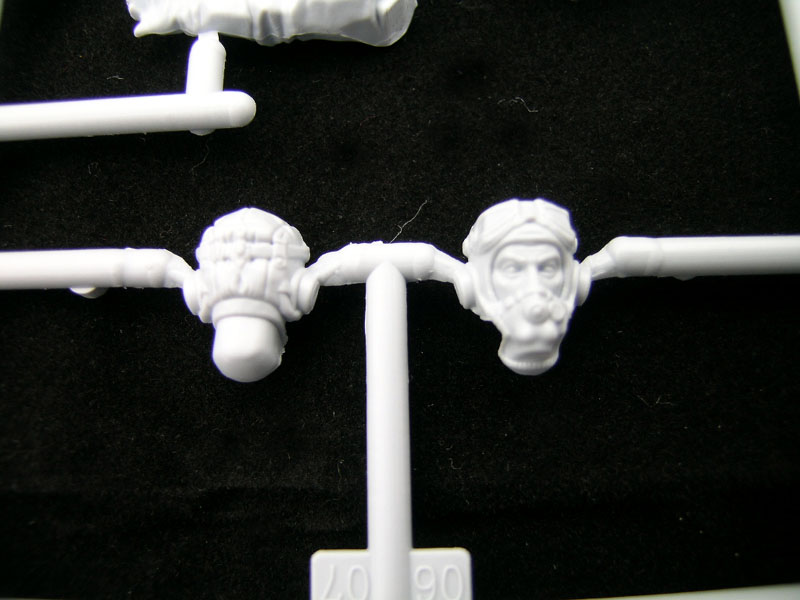

One pilot figure is included, and is an excellent representation, capturing the 'feel' of the figure quite well.
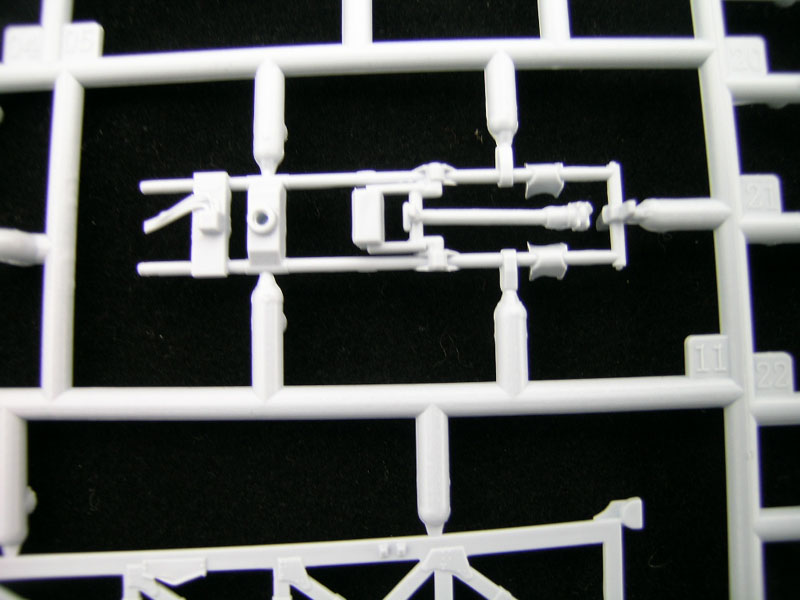
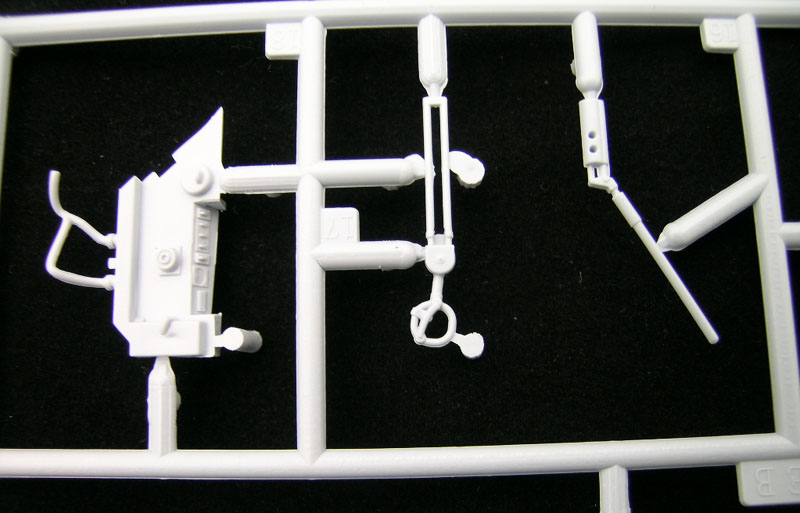
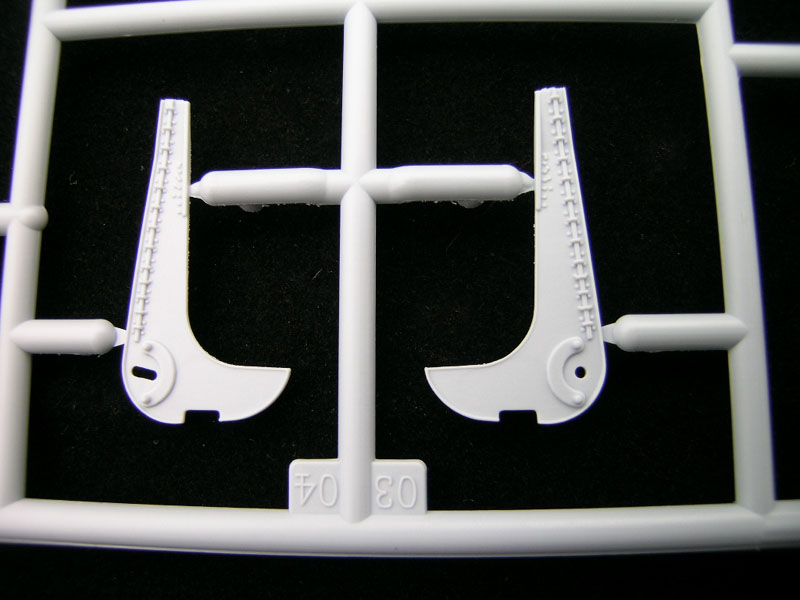
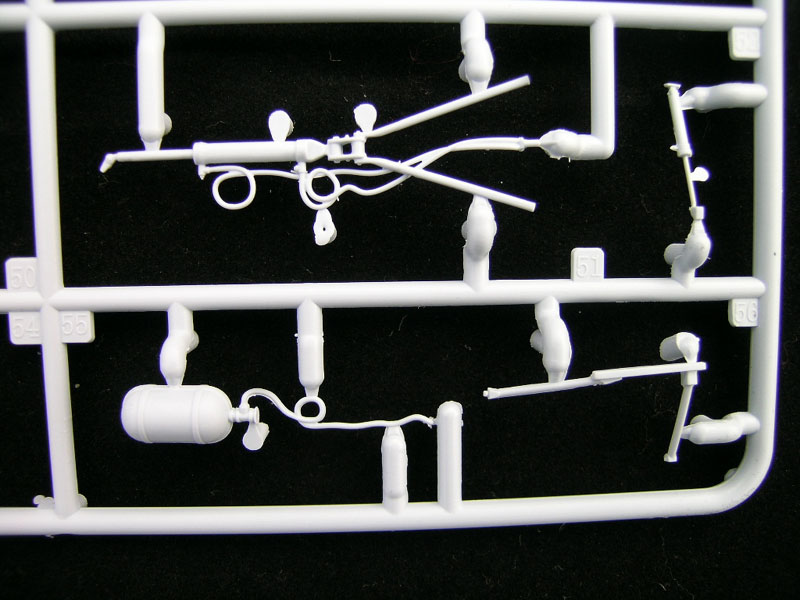
Miscellany


Miscellaneous bits and pieces that seemed to have no convenient other place to be located.
Summation
All in all, I think this is a fabulous effort from Airfix, and I am very pleased with what I've found, and anxiously await the opportunity to begin working on my example. I also expect that the AM folks will jump on when and where needed, to provide us with additional enhancements for this cool, benchmark kit.
(Note: Many reference photos that were snatched from the Internet, had no credits listed, so I have offered none here.)
© Kevin Williams 2016
This product is available from the following LSP sponsors

This review was published on Saturday, December 17 2016; Last modified on Saturday, December 17 2016