
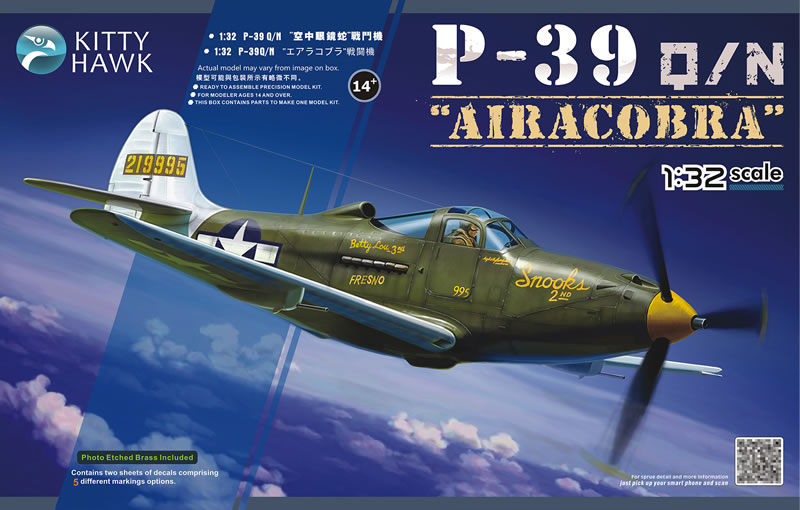
Kitty Hawk Model | KH32013: 1/32 P-39Q/N "Airacobra"
Reviewed by Kevin Futter
Since the release of the company's debut 1/32 kit in late 2013 (the T-6G Texan), Kitty Hawk Model has set itself an aggressive and ambitious release schedule in this scale. The company's newest release is the P-39Q/N, its sixth 1/32 kit in less than two years.
Let's take a look at what's in the box:
- 4 large sprues in grey plastic
- 1 sprue in clear plastic
- 1 photo-etched frets
- 2 decal sheets
- 1 instruction booklet
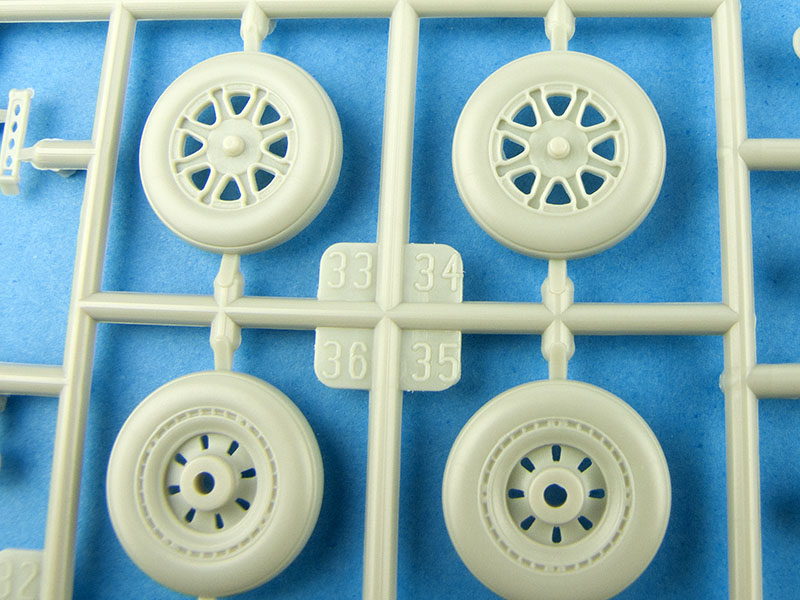
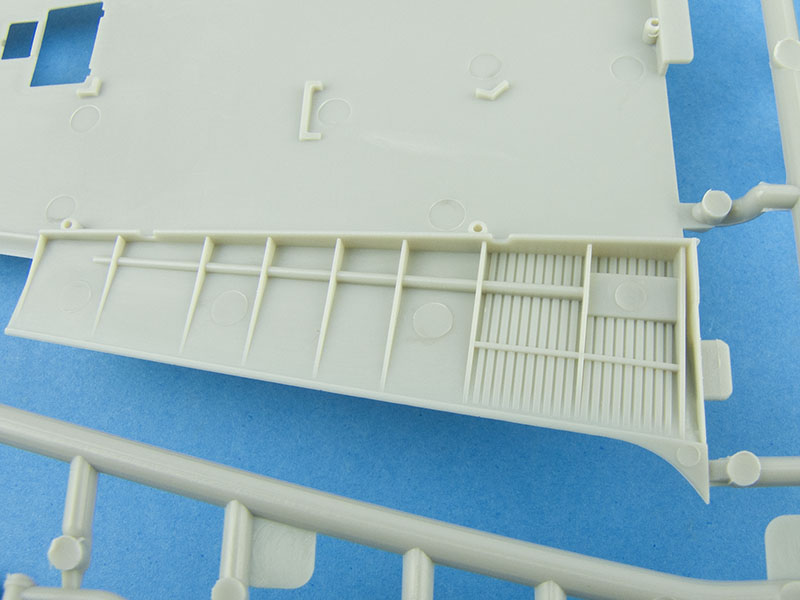
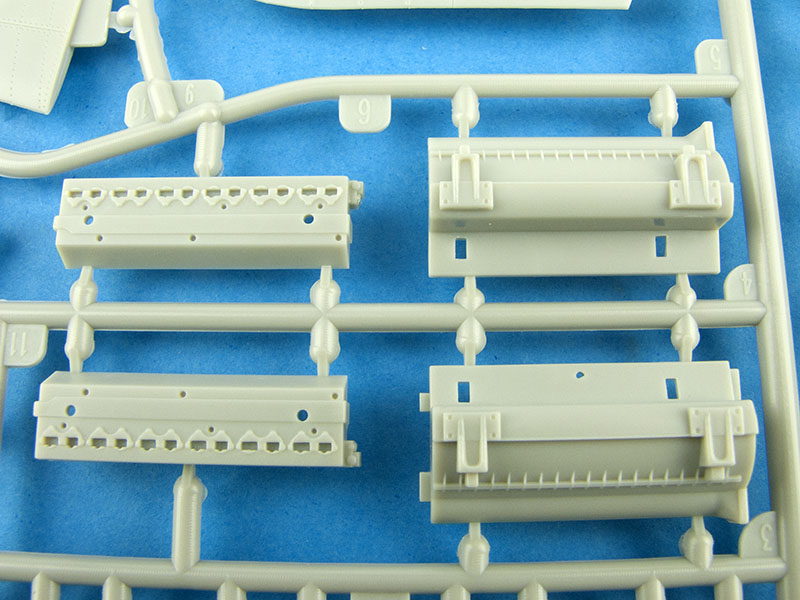
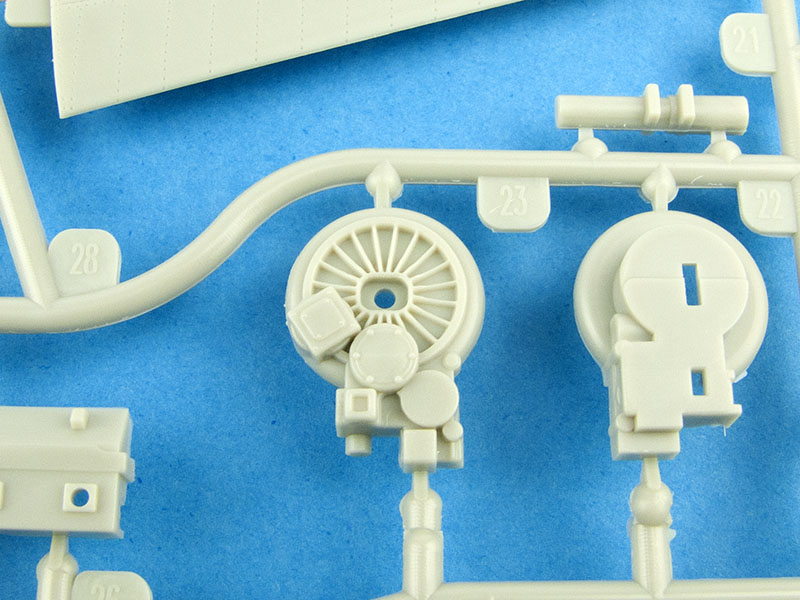
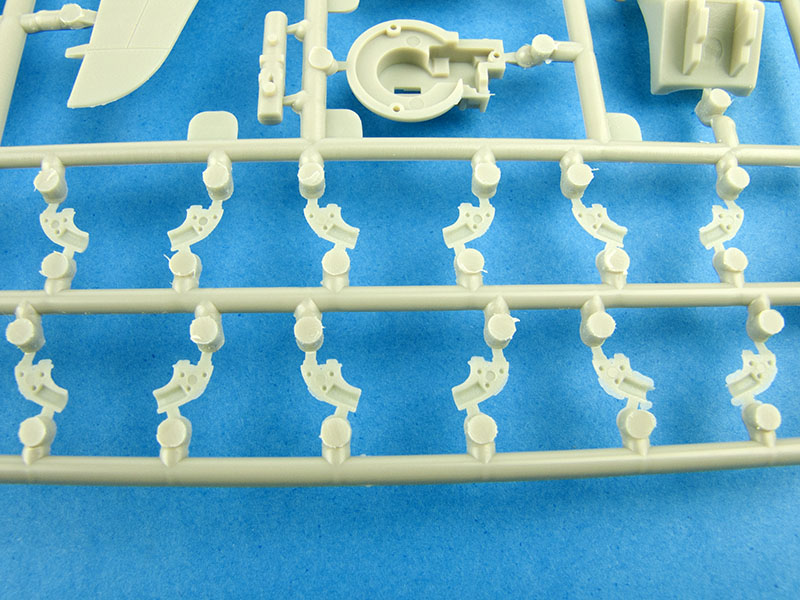
Plastic Sprues
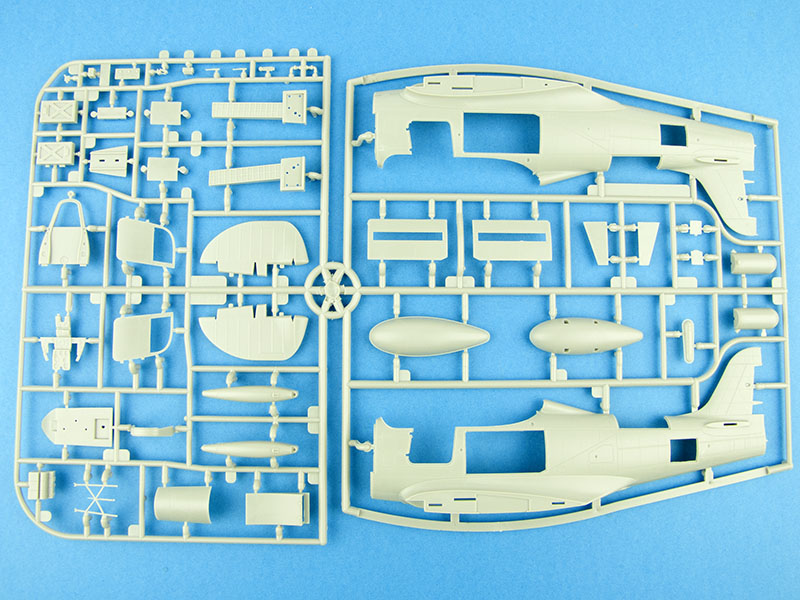
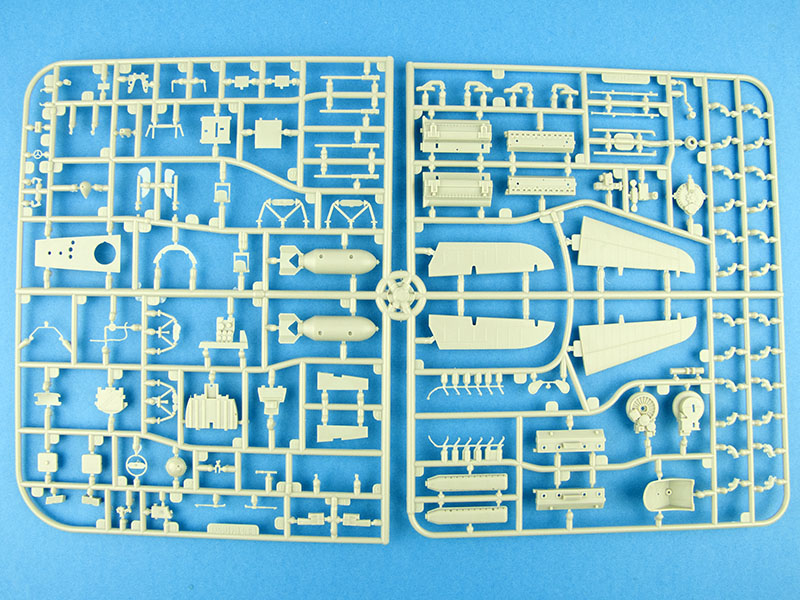
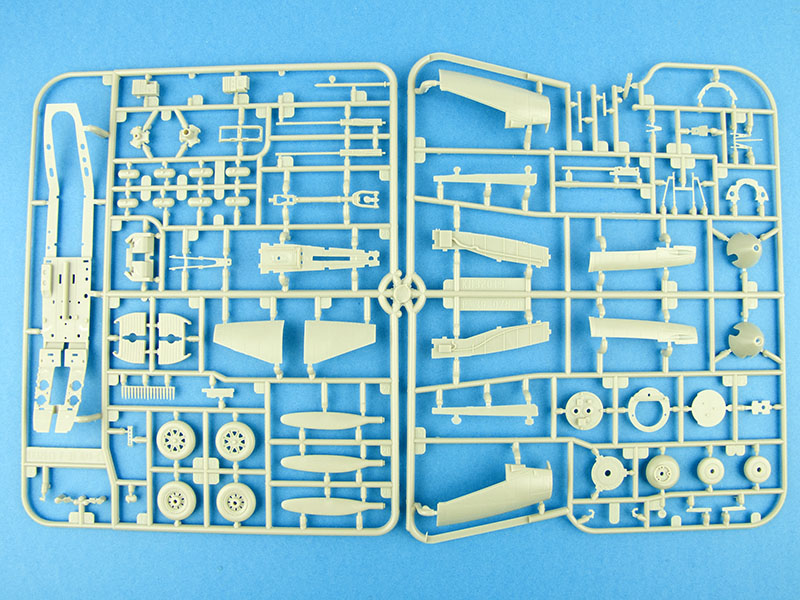
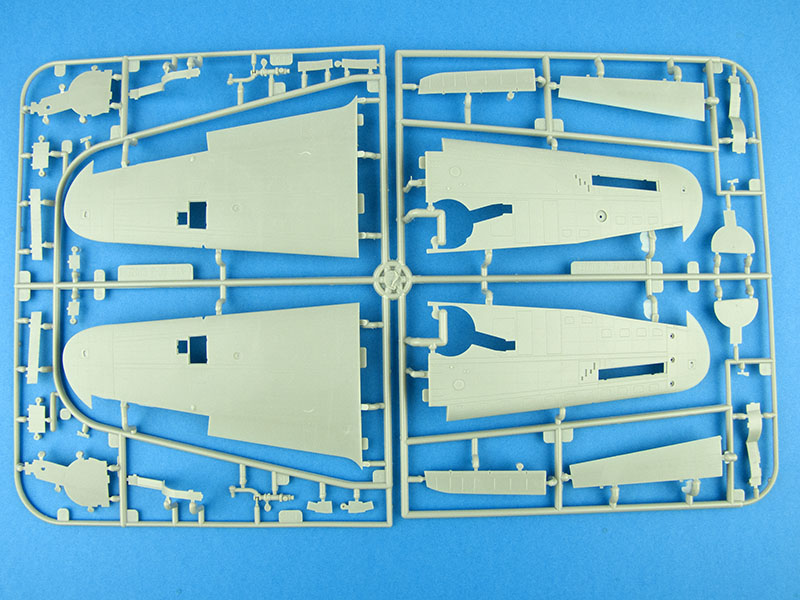
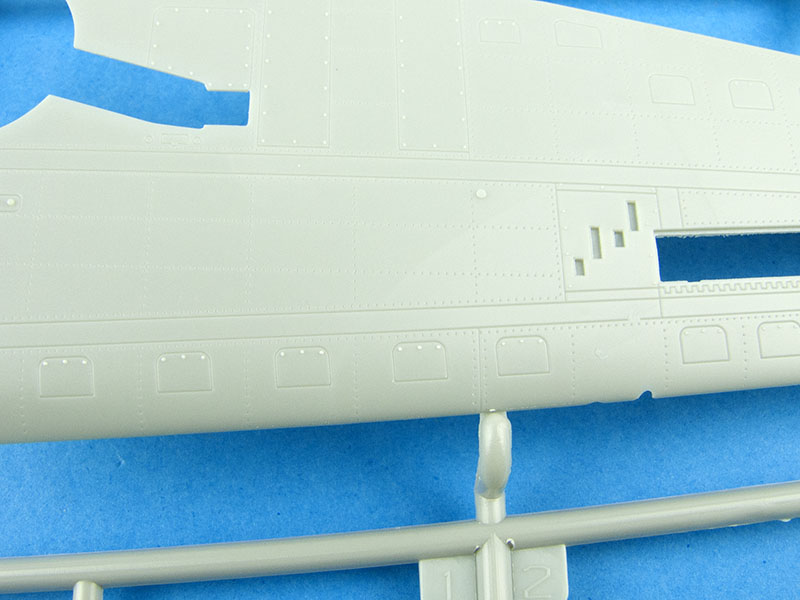
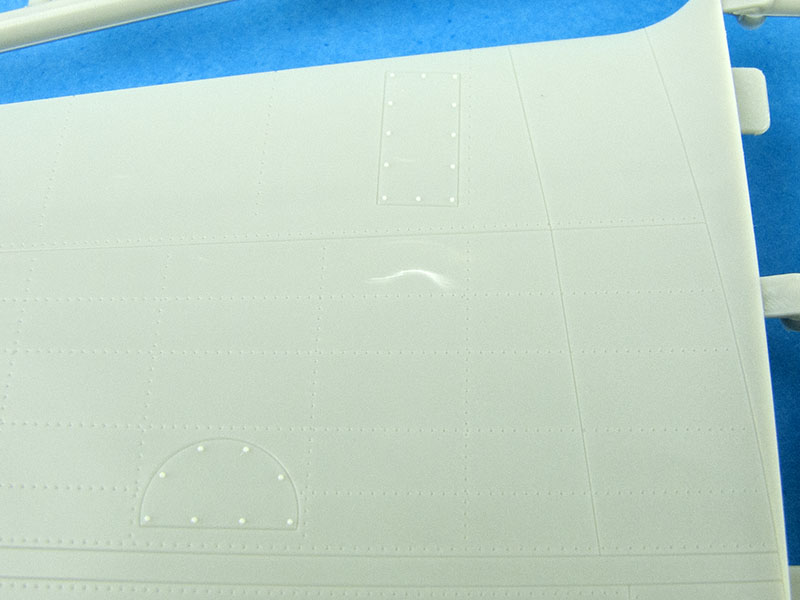
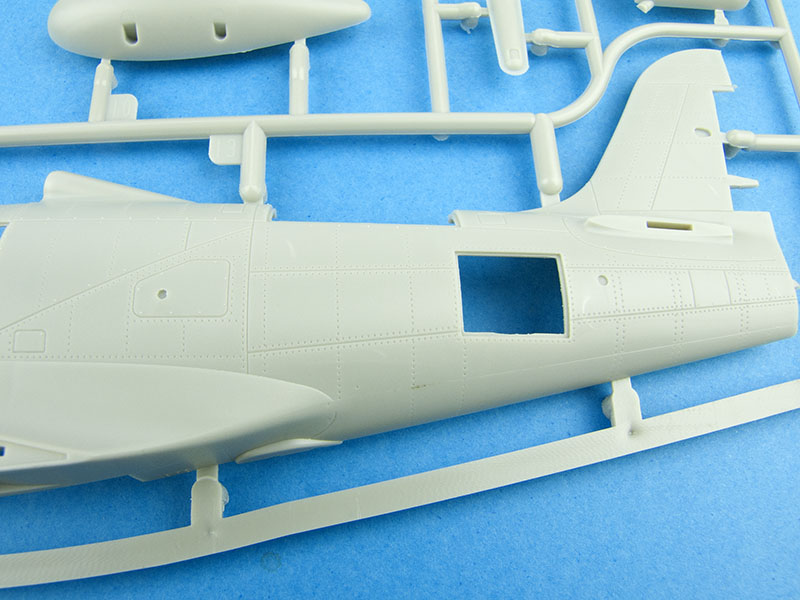
The plastic parts in this kit are emblematic of the kit as a whole, in that they feature some really positive elements alongside some oddly problematic ones. For example, the moulding is crisp and detailed, and the surface detail is subtle and petite, as befits a 21st century tooling:
On the other hand, several parts feature prominent stress marks on their outer surfaces, created by some seemingly overly-aggressive ejector pins:
And another issue that continues to be present in KittyHawk kits is short-shot parts:
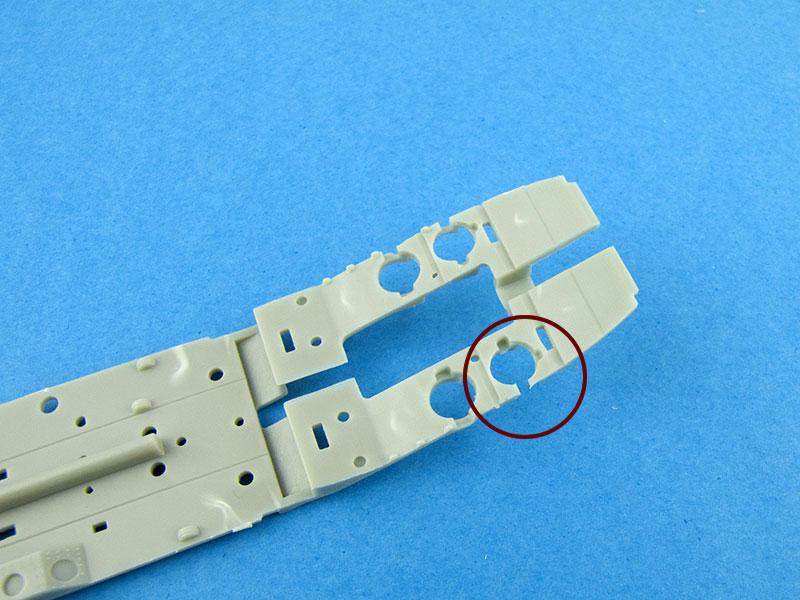
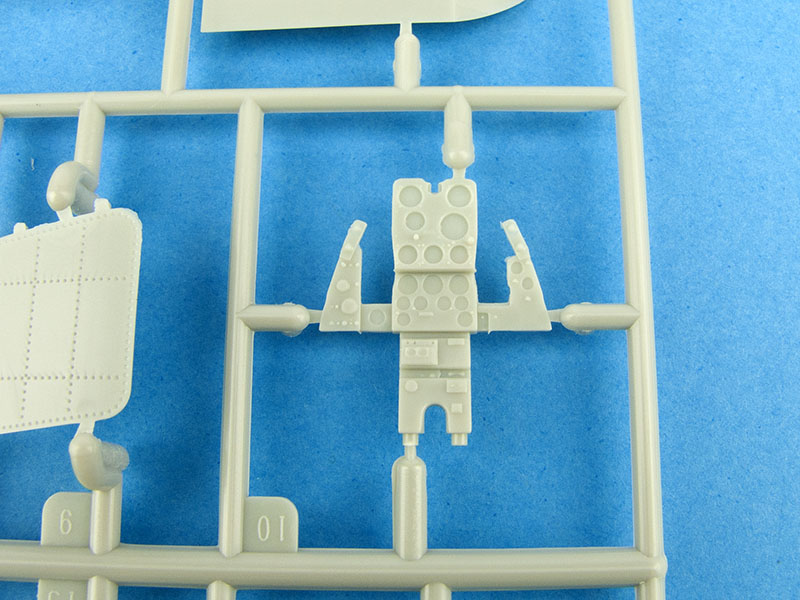
We also have some large 'ejectites' on the inside of the engine parts:
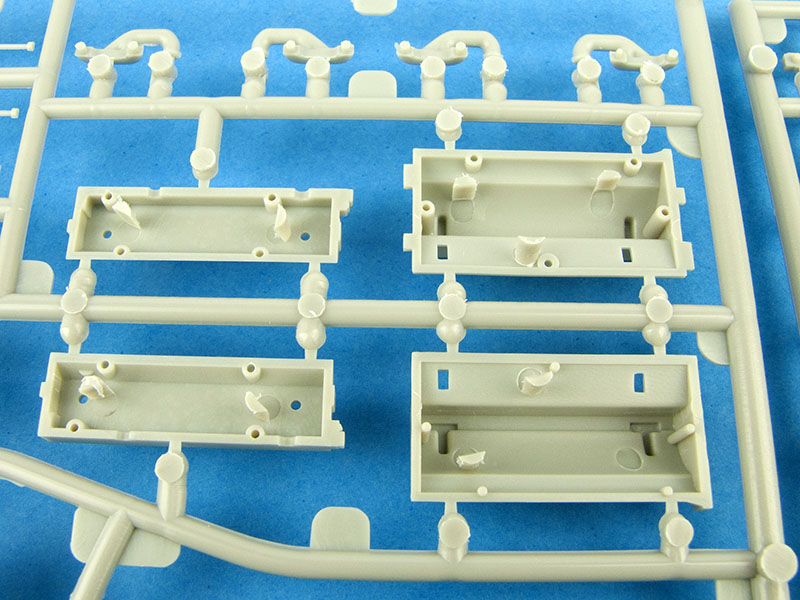
These are annoying, but easy enough to deal with, especially when located in a hidden area like this. On balance, though, the detail provided in the kit is really quite good, as evidenced by the following random close-ups:
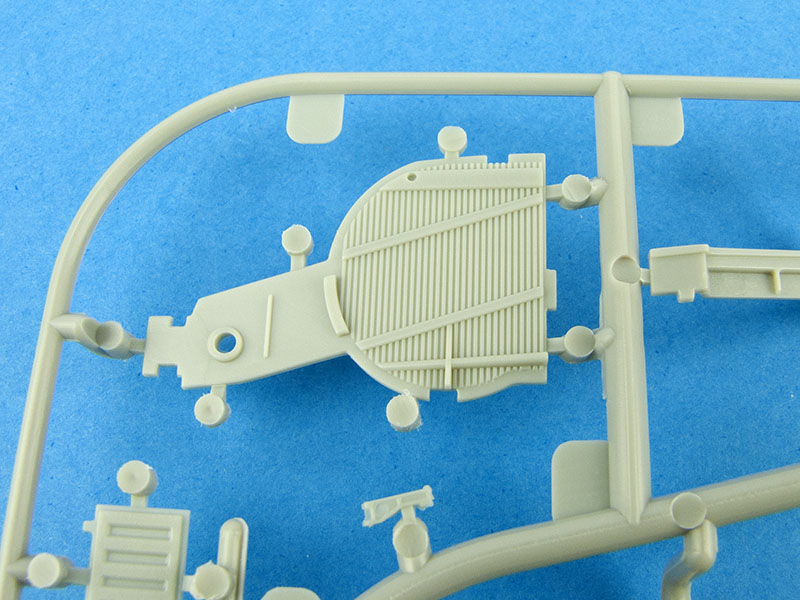

The nose gun troughs are very crisply done:
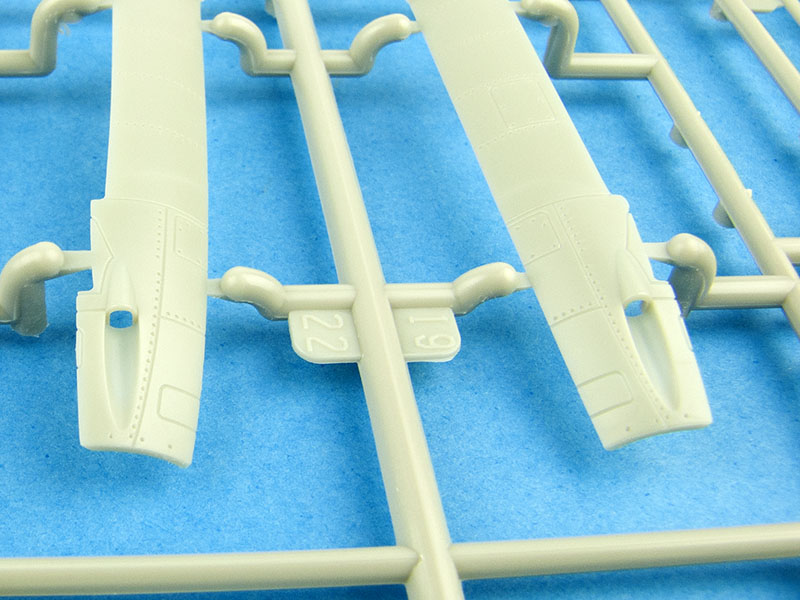
The radiator inlet parts are moulded separately as single pieces, and again we see the juxtaposition of the good and the indifferent - clever and thoughtful moulding, marred by ejector pin marks inside both inlets on one part:
I thought it curious, too, that the kit has been engineered without the expected full-span lower wing piece. Instead, there are two each of upper and lower wing halves, which, when assembled, butt-join to the fuselage. This could potentially make achieving the correct dihedral somewhat tricky, and will demand a solid join at the wing roots. In practice it may be that neither of these things is a real issue, but I thought it an odd engineering choice.
Two spinners are provided, with the principal difference appearing to be the size and shape of the cannon blast tube outlet:
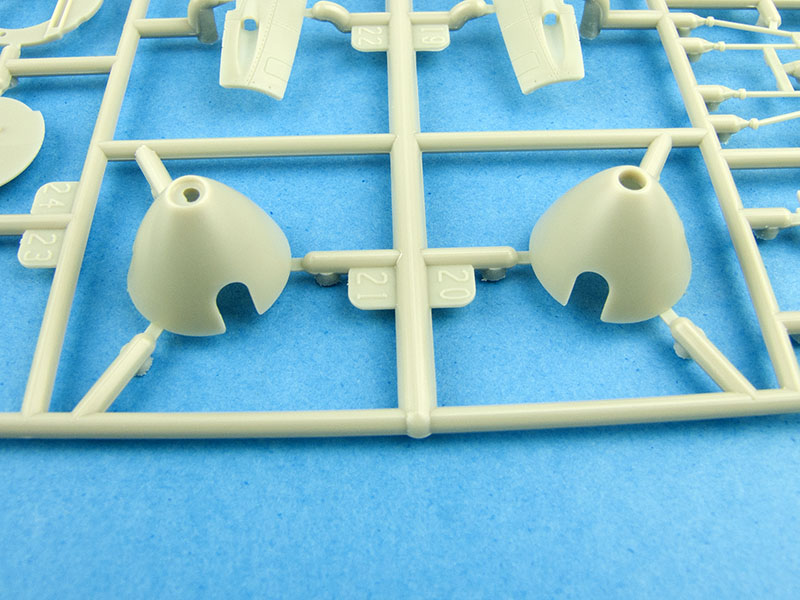
Presumably the more open-ended version is for the 37mm cannon blast tube, with the other being for the 20mm cannon blast tube. The supplied part representing the 20mm cannon blast tube appears to be too short, however, being roughly the same length as the 37mm version. The extended blast tube is a notable feature of the 20mm cannon on P-39s. These optional parts are given in the build sequence, but are not really explained. All but one of the markings options on the kit decals are P-39Qs, and should all be fitted with the larger 37mm cannon.
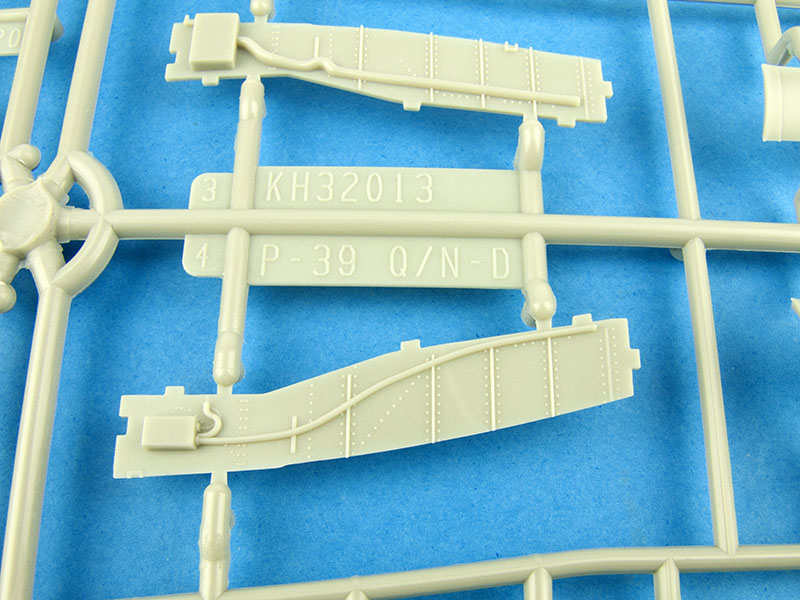
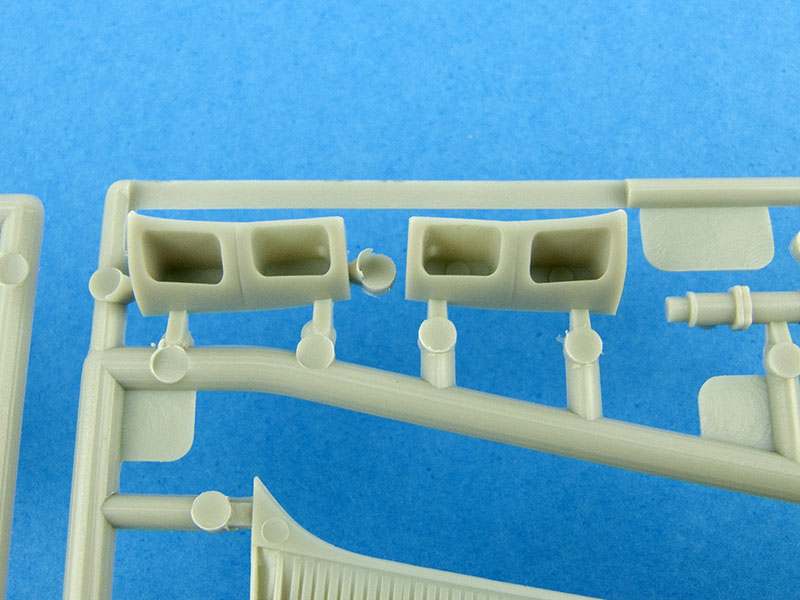
The exhaust stacks all come in two halves, which could potentially make for some awkward internal seams:
They're definitely a prime target for resin upgrades.
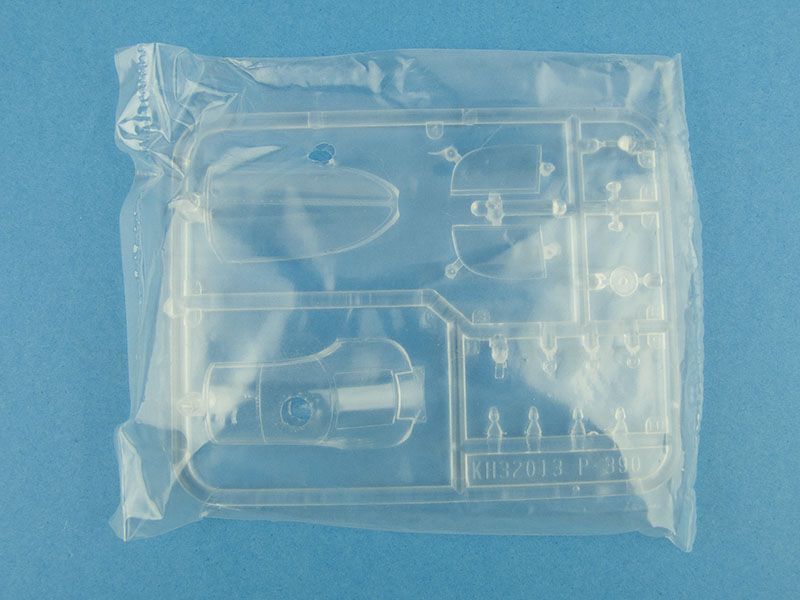
Clear Parts
As in previous kits from Kitty Hawk, the clear parts sprue is packaged in its own separate cardboard box:
Once removed from its box, we find that the clear parts sprue has additional protection in the form of its own plastic bag. This makes eminent sense, as the last thing you want after protecting the clear parts with their own box, is for them to be scuffed by the insides of the same box. The clear plastic bag should prevent that nicely.
The clear sprue itself is very nicely moulded, with no visible flaws or flash. The plastic is impressively thin, clear and distortion-free:
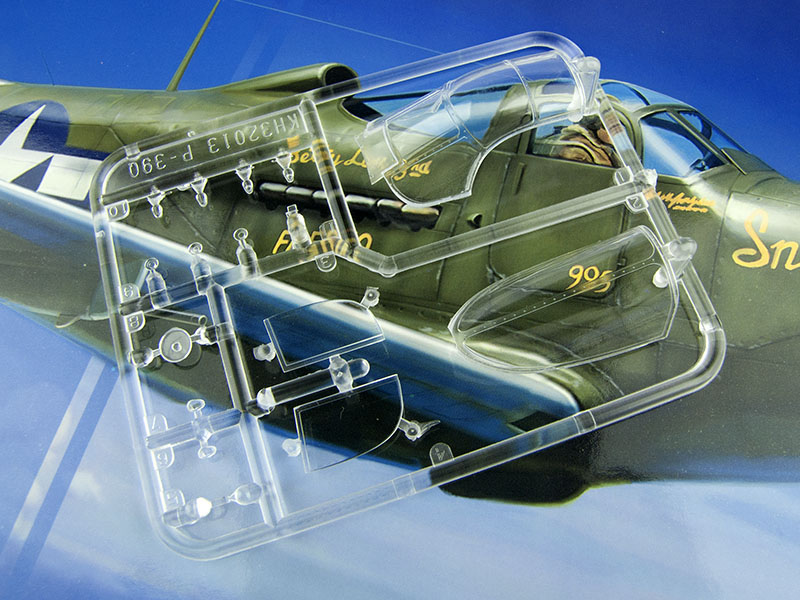
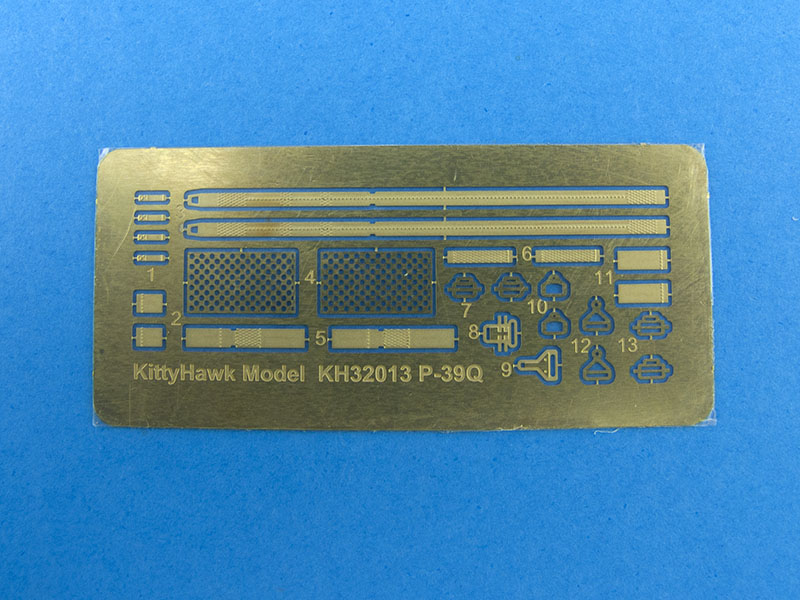
Photo-etched Parts
The kit supplies a single small photo-etched fret, consisting mostly of seat belts:
Decals and Markings
The kit supplies markings for five Airacobras on two decal sheets, one of which is a small supplementary sheet containing emblems and instrument panel decals.
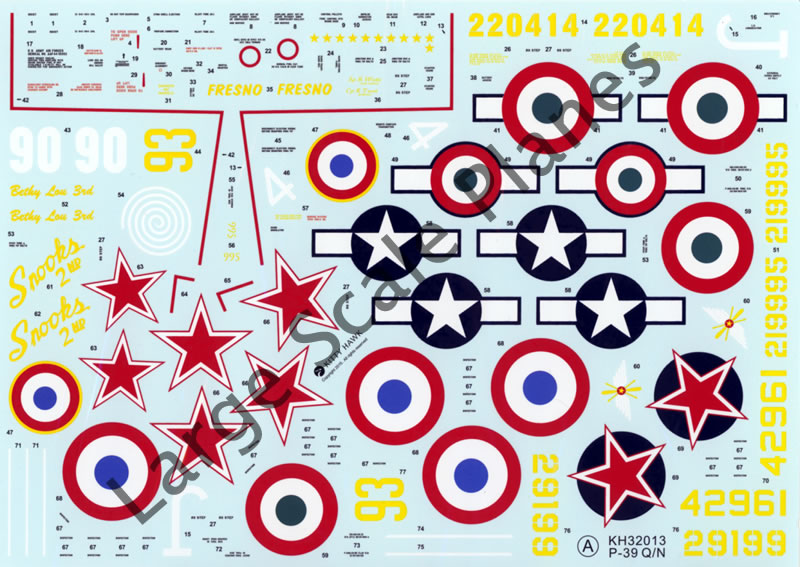
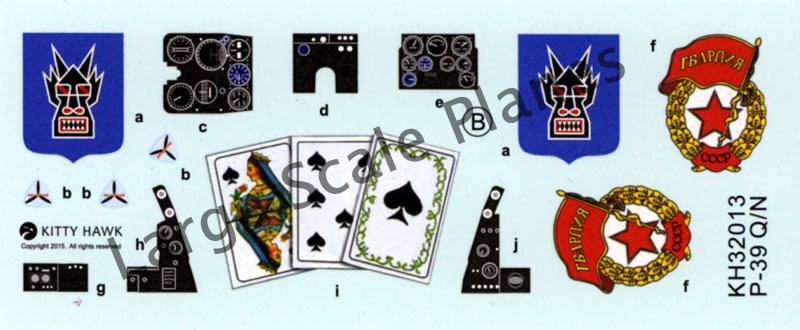
No printer's name is given, so the projected performance of the decals is unknown. The decals themselves are very crisply printed, with good colour density and registration. The main decal sheet is very tightly packed, however, so some care will need to be taken when remove various items for use.
The five markings options are as follows:
- P-39Q-5-BE "Snooks 2nd", 71st TRS, 82nd TRG, 5th AF, USAAF
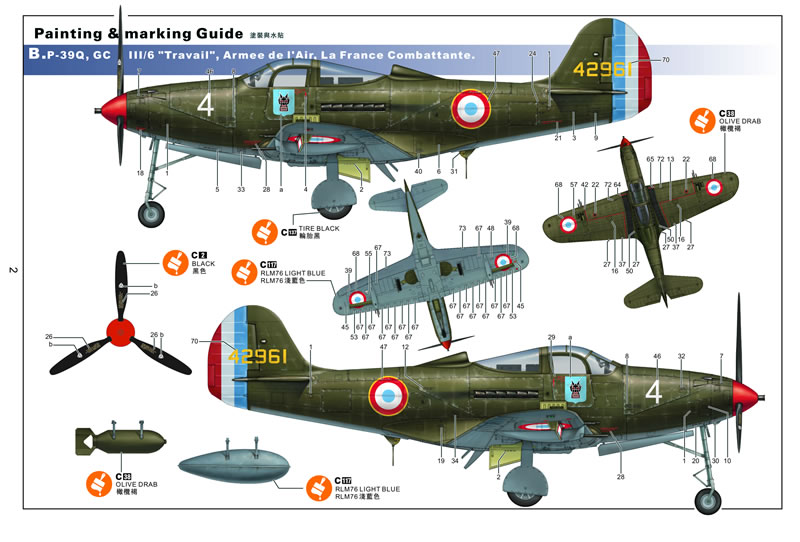
- P-39Q, GC III/6 "Travail", Armee de l'Air, La France Combattante
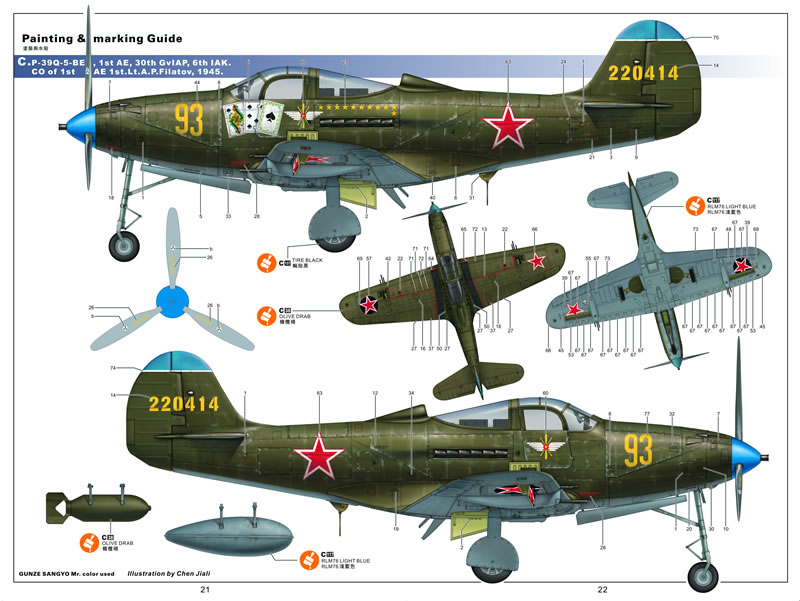
- P-39Q-5-BE, 1st AE, 30th GvIAP, 6th IAK; CO of 1st AE 1st Lt. A.P.Filatov, 1945
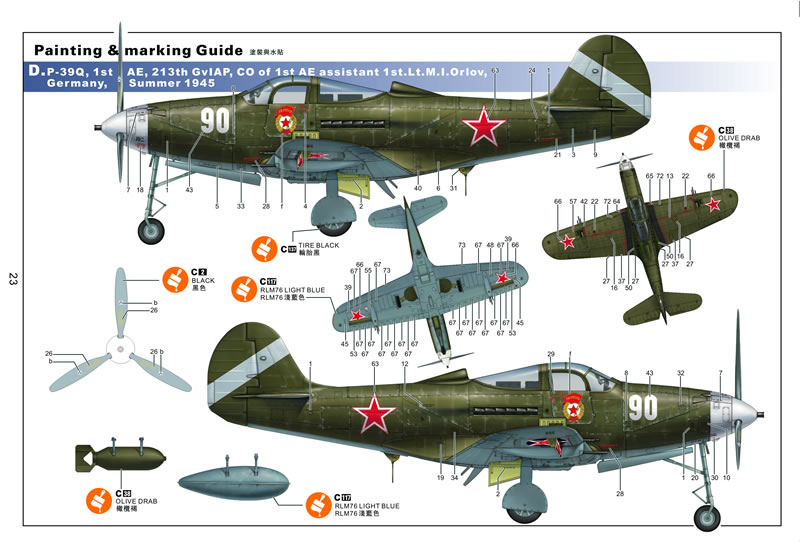
- P-39Q, 1st AE, 213th GvIAP; CO of 1st AE assistant 1st Lt. M.I. Orlov, Germany, Summer 1945
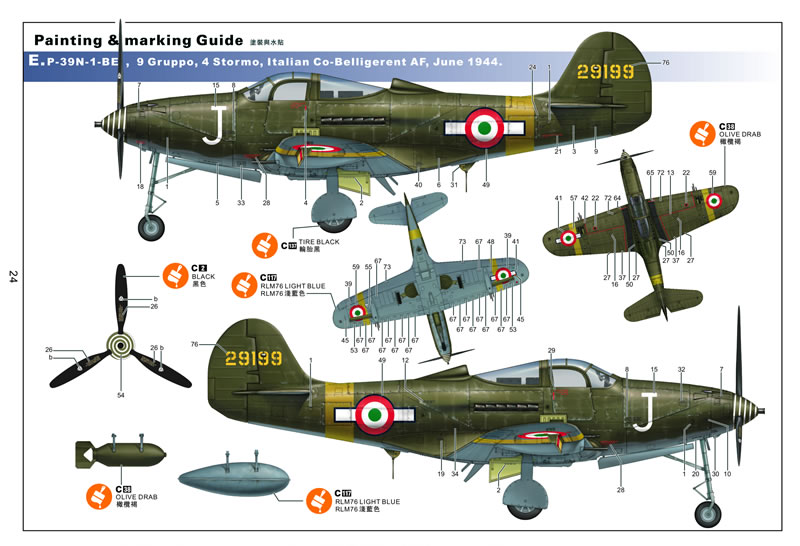
- P-39N-1-BE, 9 Gruppo, 4 Stormo, Italian Co-Belligerent AF, June 1944
Instructions
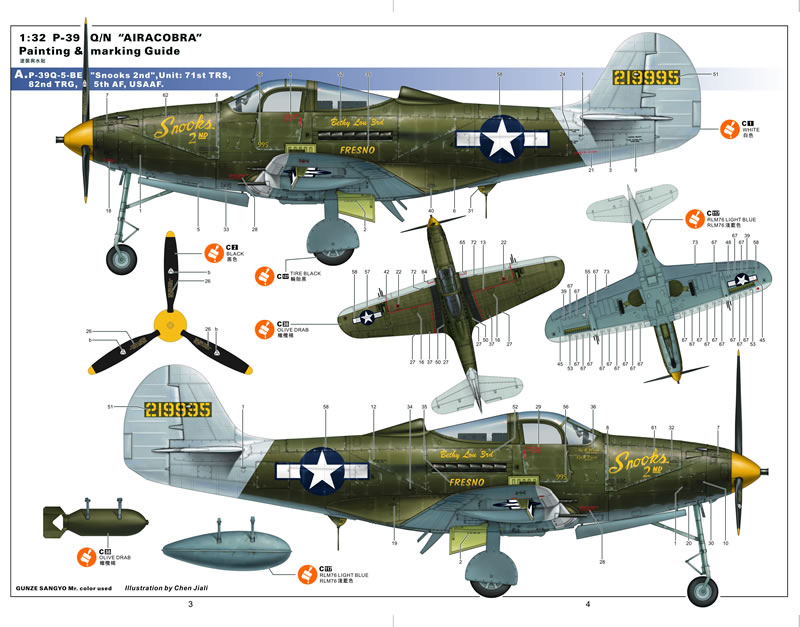
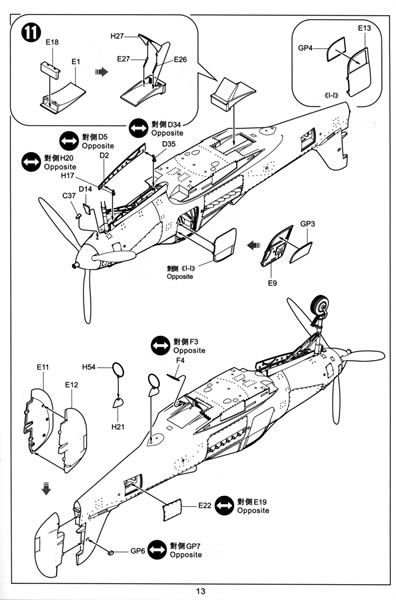
The instruction booklet supplied with the kit is a robust, saddle-stitched affair covering 24 pages.
Apart from the various painting guides (shown above), which are in full colour, the bulk of its contents comprise standard exploded-view drawings, with inline paint call-outs and optional assemblies marked where applicable:
The assembly sequences seem logical enough at first glance, especially given the high number of detail parts included in the kit. My main criticism would be that almost no attention is given to the differences between the Q and N variants included in the markings options.
In fact, there is a significant error with regard to the wing armament, with all the options shown featuring all available guns. This is incorrect for all versions of the P-39. In reality, the P-39Q dispensed with the wing-mounted .30-calibre machine guns of the P-39N, replacing them with a .50-calibre weapon housed in a pod under each wing. If you're building one of the P-39Q options, you'll need to use only the under-wing gun pods, filling those holes and panel lines applicable to the internal guns.
Open Panels?
There has been quite a bit of discussion in the forums in recent times about the modern trend of producing kits with lots of internal detail and open panels. One of the main criticisms of this approach is that the separate panels rarely fit well in the closed position. Since this kit features plenty of open panels on both the wings and fuselage, I thought I'd do a quick test-fit of some of to see how they fared. I started by taping the two fuselage halves together and fitting one of the engine covers:
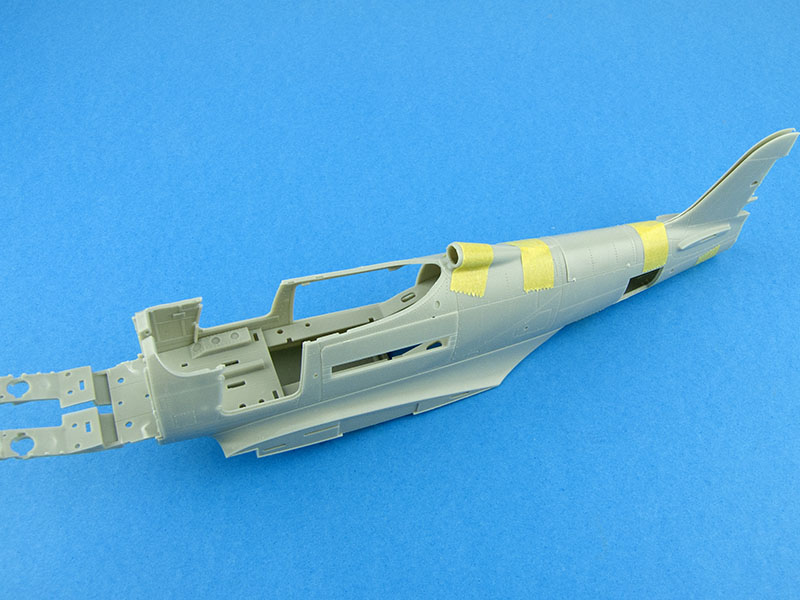
As you can see, the fit is really very good indeed. The panel, without the engine or exhausts fitted, generally just falls out, so I'd recommend either gluing it closed or leaving it off on the final model.
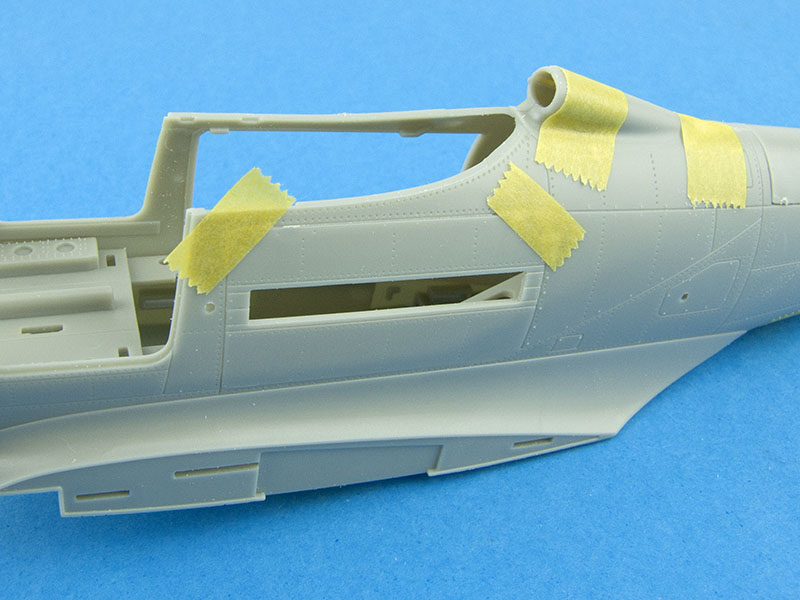
There's another prominent open hatch on the fuselage spine, and it's one that I suspect most people building this kit will elect to close up. Let's see how the panel fits:
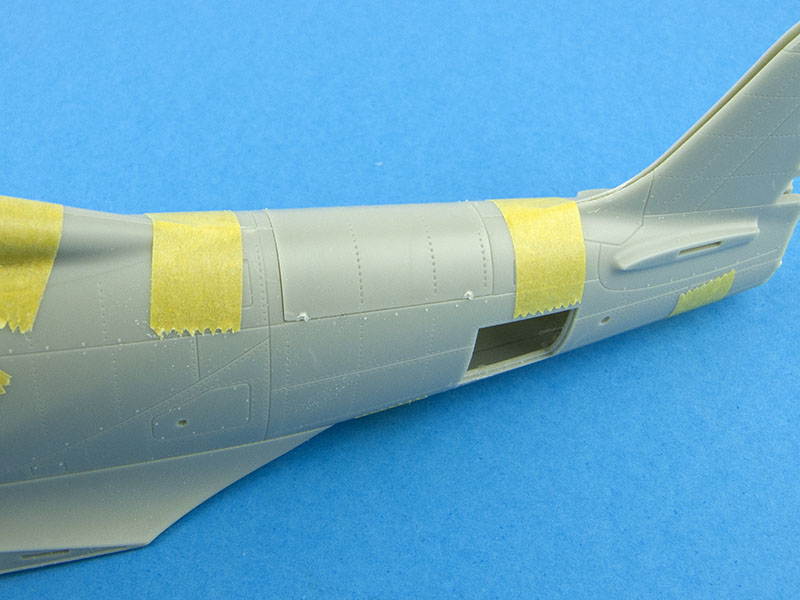
Again, pretty good! With a little more work on the mating surfaces, this could be made to blend in quite nicely. I had originally intended to test some of the nose panels too, but they rely on the internal structure being in place to form the shape of the nose, which really wasn't feasible for the purposes of this review. So far, though, the signs are good.
Conclusion
Despite a few niggles, this is an impressive kit from Kitty Hawk. With plenty of well-moulded detail and numerous markings options, this kit should result in a very nice finished model. Kitty Hawk continues to improve with regard to the number and especially placement of ejector pin marks, but there's still room for further improvement in that area. Not everyone will be thrilled with the number of open panels designed into this kit, but at least they appear to fit well in the closed position.
The challenges presented by all that internal detail probably put this kit slightly beyond the absolute beginner, but for modellers with a modicum of experience, I think this will be a great build. I'm looking forward to starting mine soon!
Thanks to Kitty Hawk Model for the review sample.
© Kevin Futter 2015
This product is available from the following LSP sponsors

This review was published on Saturday, August 29 2015; Last modified on Saturday, February 27 2016