
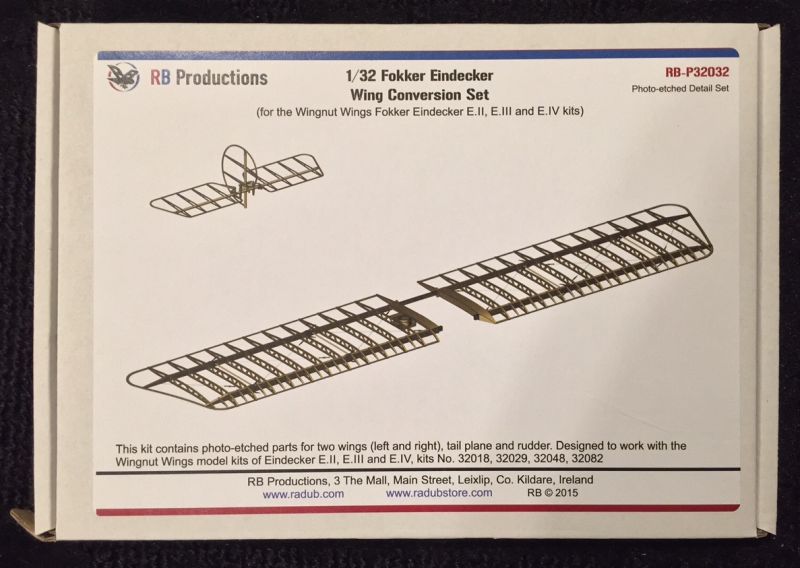
RB Productions | 1/32 Fokker Eindecker Wing Conversion Set for Wingnut Wings Fokkers E.II, E.III, and E.IV
Reviewed by Mike Swinburne
Radu Brinzan of RB Productions has made a name for himself in recent years with resin kits, high quality photo-etch detail parts, and accessories all rivaling the best in the business. With his latest release, kit number RB-P32032, a new level of model detail mastery, or insanity if you prefer, has been achieved. This also marks the first skeleton, or "strip-down" option available for aircraft in 1/32 scale to my knowledge.
This is most welcome as there have been options for "strip-down" kits in smaller scales for a number of years now from Eduard in 1/72 and 1/48 and Brengun with a 1/144 DH.2 (!!) in addition to full-structure skeleton kits in larger scales from Hasegawa (1/16 Camel, 1/8 scale SE.5A, Camel, and DR.1) and Model Airways (multiple wood/metal models in 1/16 scale).
While I'm unsure if this is technically a conversion set or if the phrase "über-accessory" is more suitable, what you get is a very involved photo-etch project for your Wingnut Wings Fokker E.II, E.III, or E.IV kit which allows you to display your model with the bare skeleton of the wings and tail surfaces. Unless you are not particularly concerned about accuracy, this set is not appropriate for the Fokker E.I as this variant of the famous aircraft series featured a shorter wingspan. Sample photos of the built-up parts look absolutely stunning!
Firstly...
Before we look at the components of the "conversion" set, let's get several points out of the way: You will need to make sure to clearly understand each step of the instructions before proceeding with the step, and it will be a good idea to study walkaround photos and historical photos from the multiple sources mentioned in the instruction sheet. More importantly, you will need experience working with metal sets, and preferably soldering, to achieve a good result with this set.
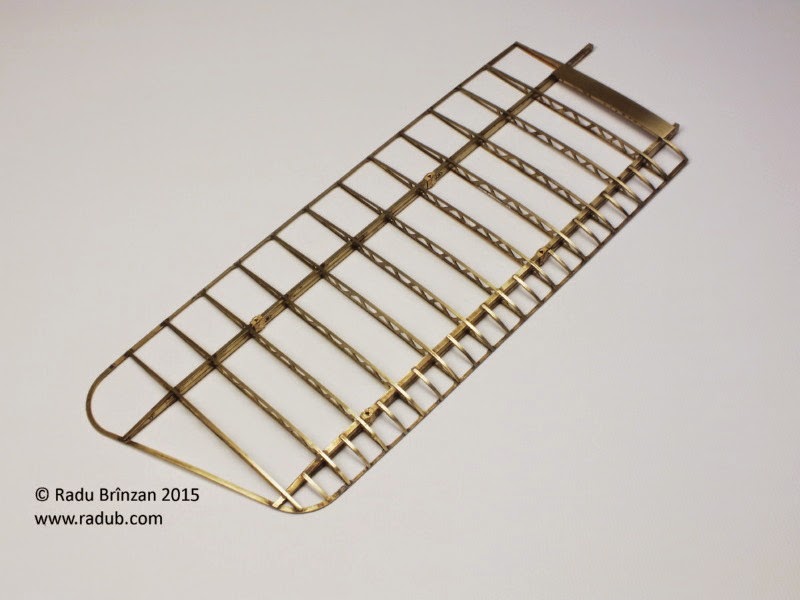
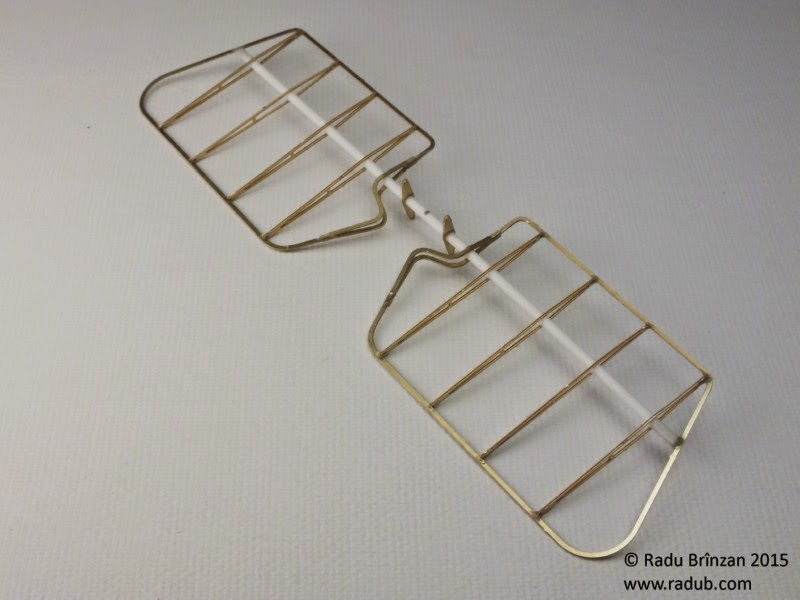
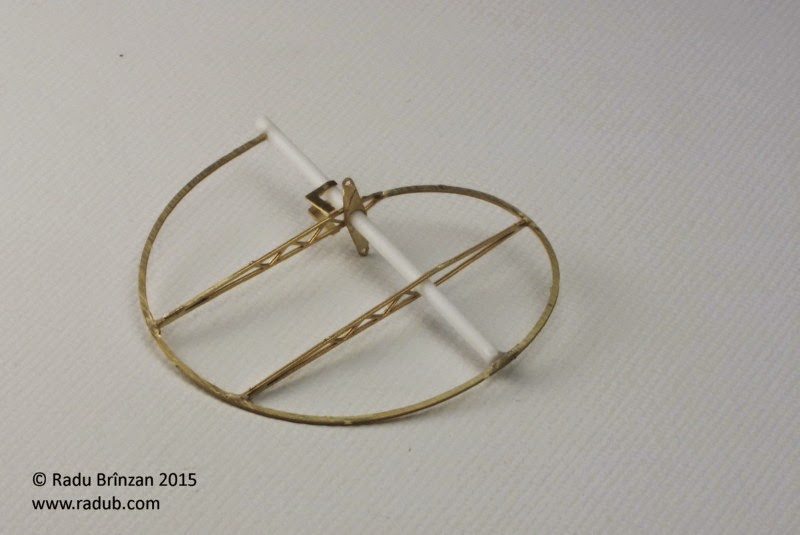
To show the end result the builder can expect from their hard work, the following three photos are posted with permission from RB Productions:
In the Box
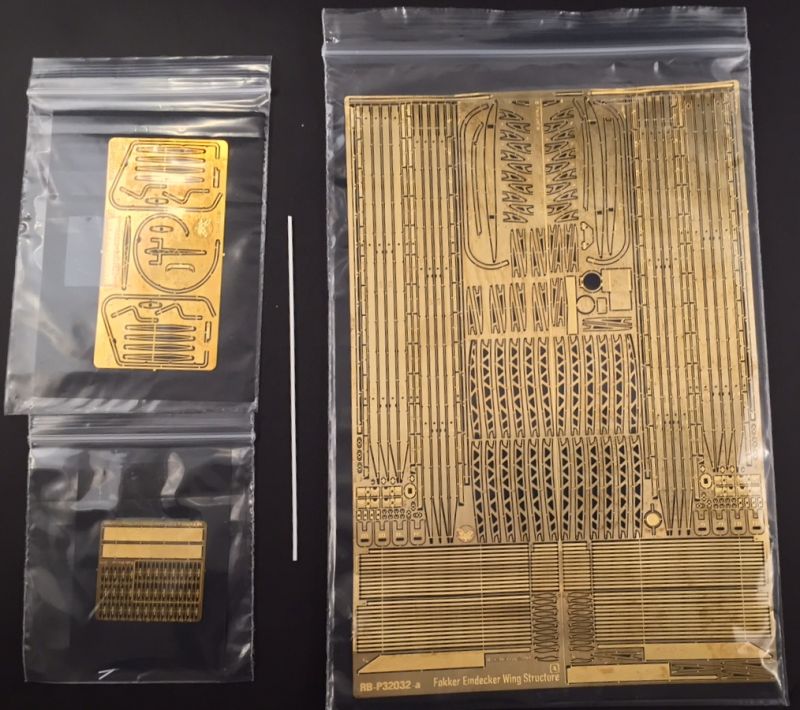
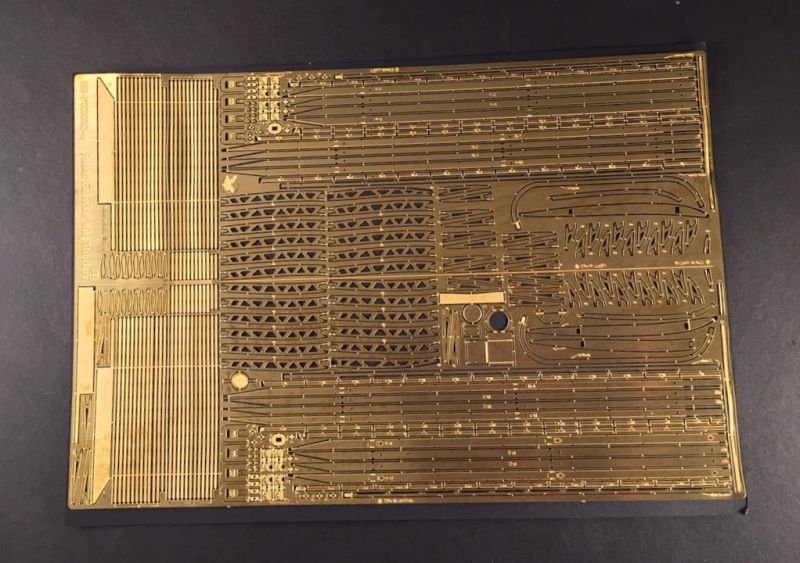
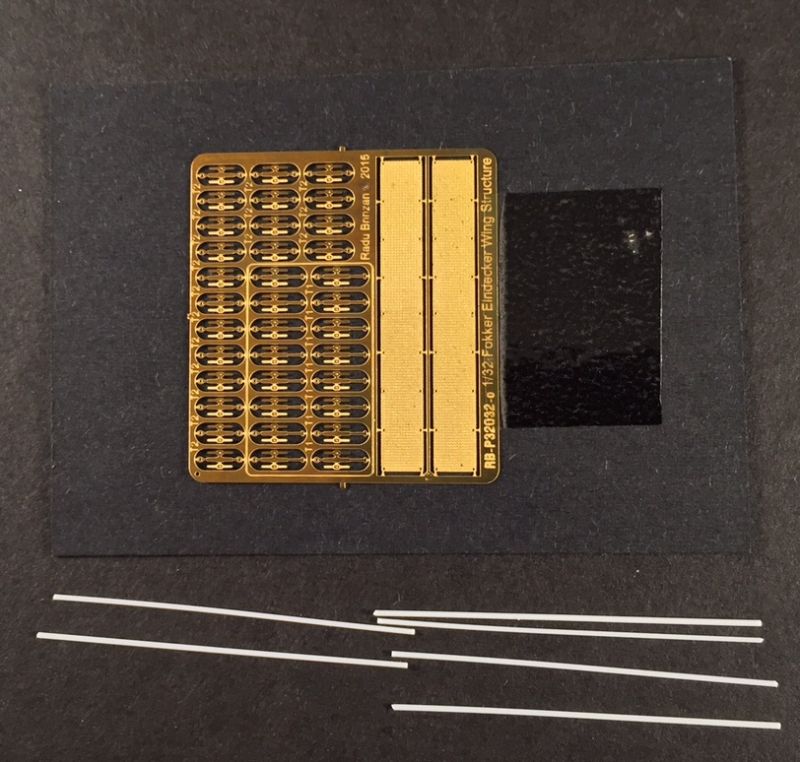
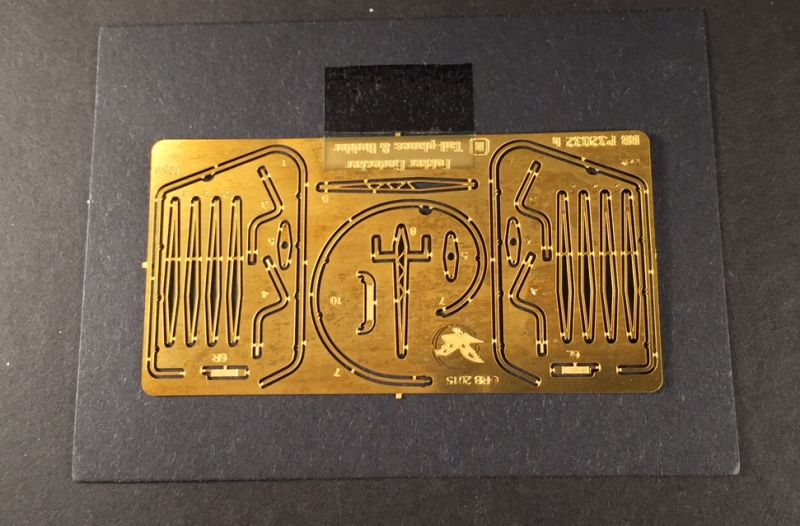
Three brass sheets are included in this set, with more parts than I can count. Several lengths of plastic rod are included as well in two diameters. The one large photo-etch fret contains all pieces for the wing skeletons and the compass mounted in the right wing. Two smaller frets hold the tail surface parts, wing skid plates, and 36 turnbuckles.
You may notice some bending on the edges of the large PE fret in the photo below - this was due to user error when unpacking. I tried to remove the fret along with the cardboard backing at the same time. The cardboard was too wide to remove from the zip-lock bag without bending, so consider removing the PE fret first, and then the cardboard backing, to minimize the risk of damage here. It's nothing that cannot be repaired, or easily replaced as the pieces affected are flat and void of detail.
The instructions, available online as a PDF download, are very clear and well thought out, with many steps detailing the construction often no more than 2-3 pieces at a time. In addition to text explaining the construction at each step, individual pieces are shown in different colors to clearly see where the parts fit in relation to others. There are also scale diagrams of each component that can be printed out at actual size so that you can potentially cover the print with wax paper and assemble in a manner not unlike how many balsa kits are built.
Looking at the simple part of the construction first, the tail surfaces, these appear to be very straightforward in their construction with minimal bending of pieces and a low parts count. I recommend using a metal rod for the spars in place of the included plastic spar, and soldering the included PE control horns onto them.

Just Winging It
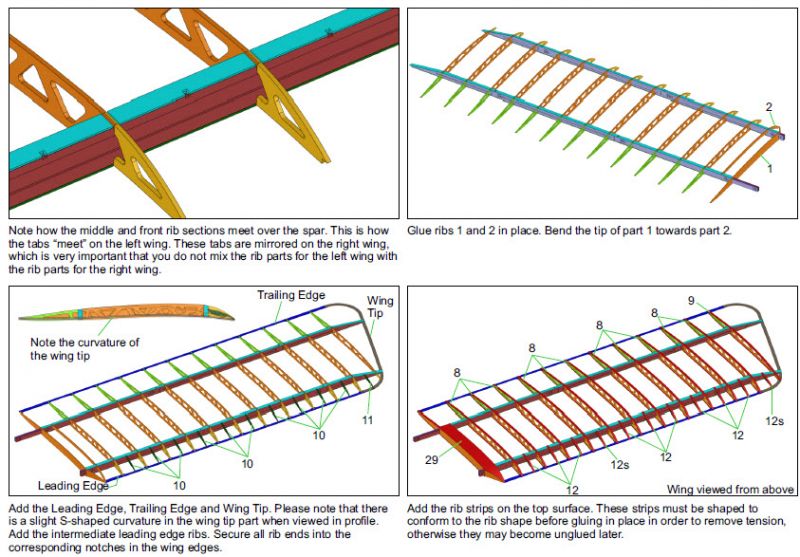
Three components make up each wing rib, and they are keyed to slot together around the forward and rear wing spars. It is critical for your build that these are mated correctly. Wing spars are each made up of six pieces each: top and bottom caps and four laminated verticals for strength, scale thickness, and to best depict details on the sides. According to RB Productions, the rear spar will fit strongly in the kit's rear wing mounting slot.
I highly recommend using fine wire or another load-bearing line for the rigging of the upper wing to the center strut. Using EZ-Line or Uschi's equivalent thin elastic will not provide additional support that the wings will almost certainly need to stay level. If you prefer to use fine elastic thread for rigging as I do, you will be glad to know that you should not "need" any other load bearing rigging on your model.
To completely build your wings to depict a real Eindecker, you'll need to add thin fabric strips which weave between the wing ribs - Wingnut's flat rigging line or another light-colored flat elastic line would probably work the best for this. RB Productions includes links to online photo archives of the Eindecker replica in San Diego, and these can be clearly seen in the 1:1 scale wing structure. Compared to other steps of the construction, this should be a fairly simple step to complete.
Skeleton in the Closet
RB includes diagrams in the instructions drawn to-scale, should the builder wish to scratch build the rear fuselage structure of the Eindecker. It appears to be a very simple matter relatively speaking, due to the simplistic design of the real aircraft. Simply follow the plans with plastic or metal rod and add some wiring and turnbuckles. The sides of the Eindecker fuselages were fabric-covered all the way up to the metal cowl, so you technically could cut the fuselage at any point to depict the rear, and could even extend this to build an entire skeleton fuselage with a little creativity and engineering knowledge.
You'll want to build the fuel tank for the kit from scratch, this was located behind the pilot's seat and would be visible with the uncovered rear end. At first glance, there should be enough turnbuckles included to complete your internal and external wing rigging as well as the rear fuselage rigging. If you need more, RB makes a separate set of turnbuckles, and you also have the standard other turnbuckle options from Gaspatch, Bobs Buckles, Albion, etc.
Recommendations
With the caveat already stated of needing a good amount of modelling skill for a build such as this, I highly recommend RB's wing conversion set! The Fokker Eindecker Wing Conversion Set is available for purchase directly from RB Productions.
Thank you to Radu and Aaron at RB Productions for the review sample.
© Mike Swinburne 2015
This review was published on Sunday, April 26 2015; Last modified on Tuesday, May 03 2016